 Just4Fun
* * HARDWARE OVERVIEW * *
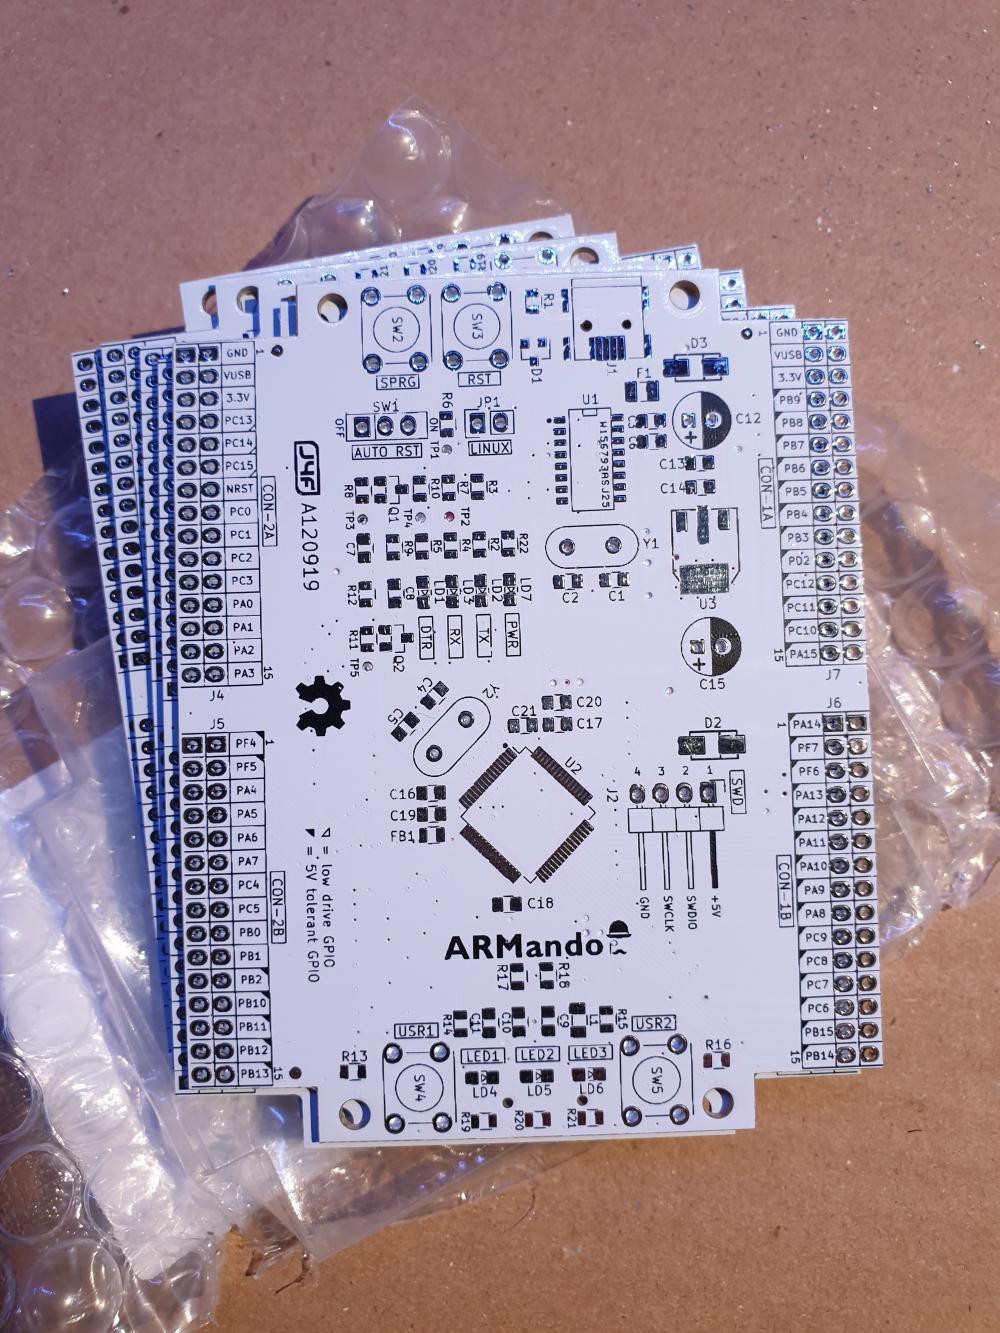
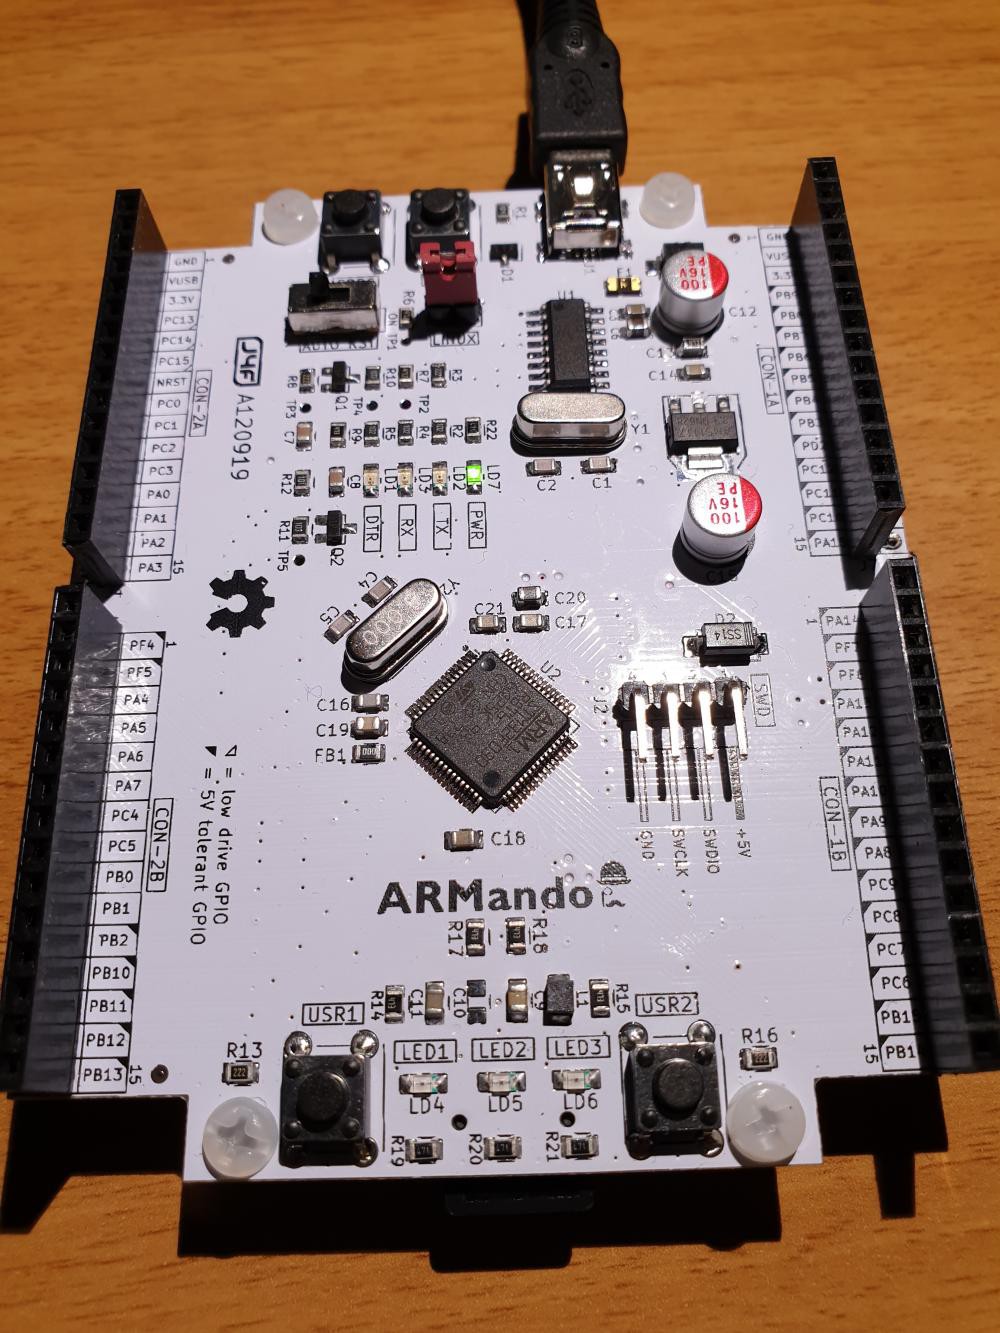
ARMando is a STM32F030R8T6 dev board with some "little features" that do not seem to be present in any other commercial board (as far as I know...). It is compatible with the 32F0308DISCOVERY board by ST.
I chose STM32F030R8T6 as a "replacement" for the Atmega328. It is more powerful and can be found "around" at a lower cost.
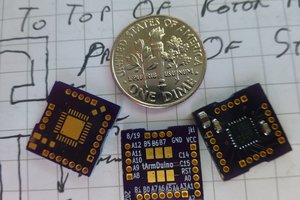
ARMando has a standard "form factor" as others boards, but can be used as a breakout board too using the lower connectors that allow it to be easily inserted into breadboards (can be inserted into 1-4 common 830 points breadboards):

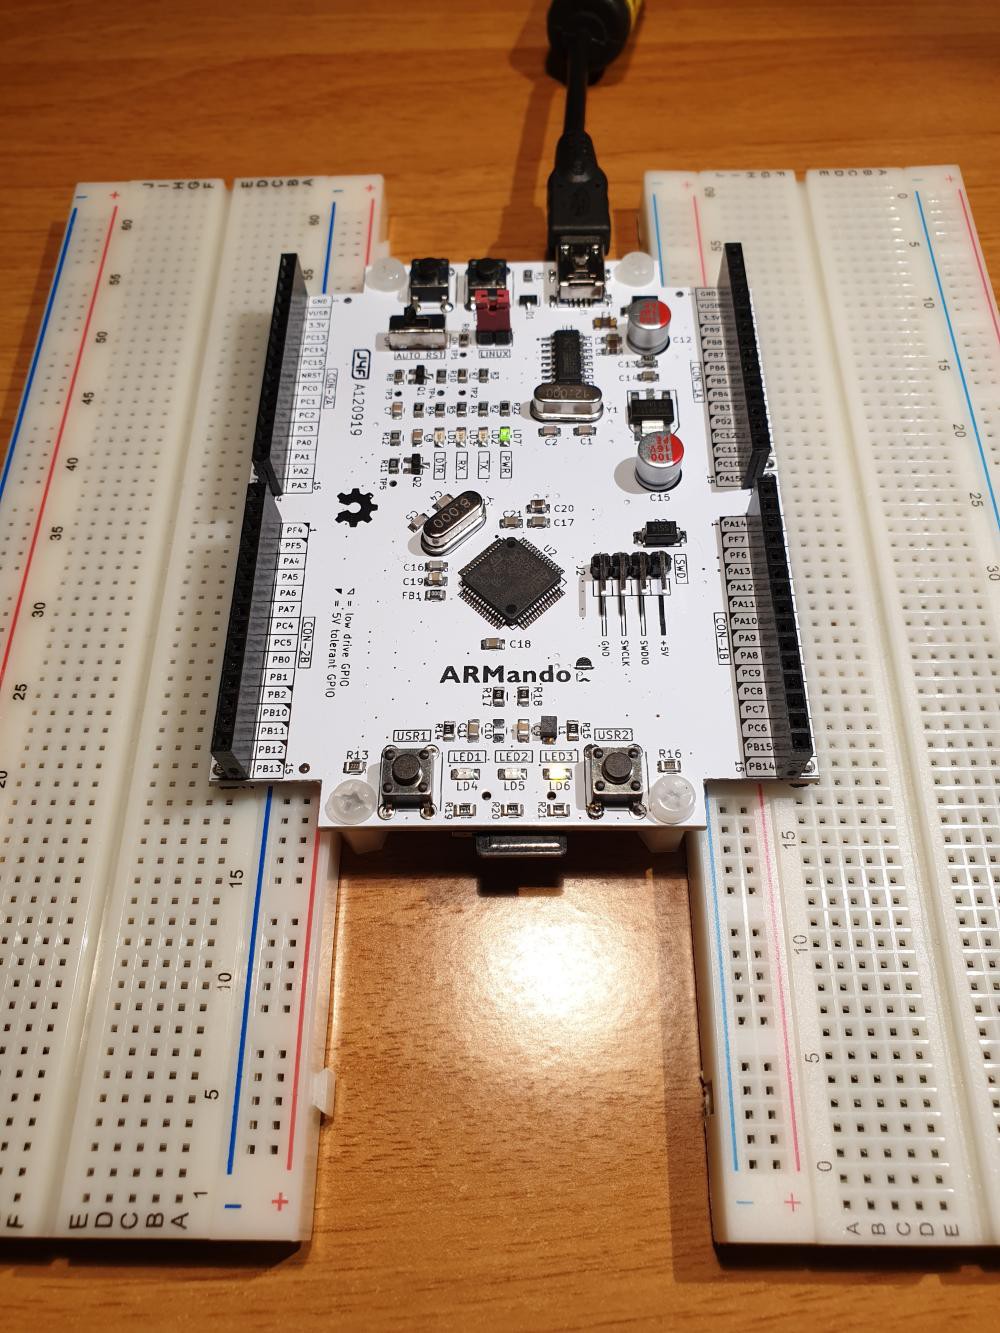
Here a video that shows the use with breadboards to form a stable assembly:
* Setting to use Arduino IDE under Windows 10 *
You can use ARMando with Arduino IDE installing the official STM32 core by ST. To use the serial upload method you need to install the STM32CubeProgrammer from ST too.
You must set the SW1 switch (AUTO RST) to ON, and leave the JP1 jumper (LINUX) open.
You have two option about the action performed after the upload:
If you want an auto-reboot to the flashed program you must leave the Arduino serial monitor (or plotter) open (i.e. in a background window);
if you want manually reset the MCU to reboot leave the Arduino serial monitor (and plotter) closed.
In the following video there is a demo session with Arduino IDE under Windows 10 loading the Blink.ino example:
* Setting to use Arduino IDE under Linux *
You can use ARMando with Arduino IDE installing the official STM32 core by ST. To use the serial upload method you need to install the STM32CubeProgrammer from ST too.
You must set the SW1 switch (AUTO RST) to ON, and leave the JP1 jumper (LINUX) closed.
You need also to make a tittle edit in the BOARDS.TXT file located in the /home/<username>/.arduino15/packages/STM32/hardware/stm32/1.8.0 directory (the path may be a little different in your host), adding this text:
Disco.serial.disableDTR=true
as shown in the following video:
You have two option about the action performed after the upload:
If you want an auto-reboot to the flashed program you must leave the Arduino serial monitor (or plotter) open (i.e. in a background window);
if you want manually reset the MCU to reboot leave the Arduino serial monitor (and plotter) closed.
In the following video there is a demo session with Arduino IDE under Linux loading the Blink.ino example:
* Setting to use the STM32CubeProgrammer *
You must set the SW1 switch (AUTO RST) to OFF (when SW1 is OFF the JP1 jumper status is "don't care", so can be open or closed).
In the following video there is a demo session with the STM32CubeProgrammer loading an .elf file compiled with the STM32CubeIDE (ex Atollic TrueSTUDIO):
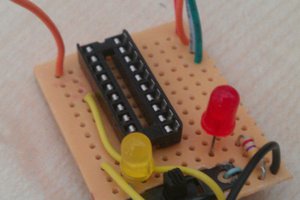
* * EMULATING A 8080 CPU WITH BASIC ROM :-) * *
I've adapted a previous 8080 emulator (from here: http://jeelabs.org/book/1549c/) to run with this MCU. Of course here the RAM is not so large, but enough to have some fun...
All the needed files are zipped in the File section. Remember to set the Capslock because only capital chars are accepted. Set the serial @ 115200 (8N1). Disable DTR/RTS in your terminal because they might interfere with the autoreset circuit (or just disable it on the board).
The result in the following video:
* * WHERE TO GET A PCB * *
I've prepared an "easy" link to get a small lot (5 pcs minimum) of PCB. The link is this one.


 J3TTBlack88
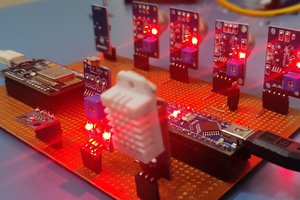
 doctek
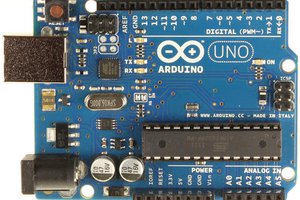
I would like to add the bootloader programming circuit to one of my projects. I am curious why the "LINUX" jumper was needed? why would the software work differently on linux? What exactly does the jumper do with regard to the RTS, DTR, and NRST signals?