 Justin Scott
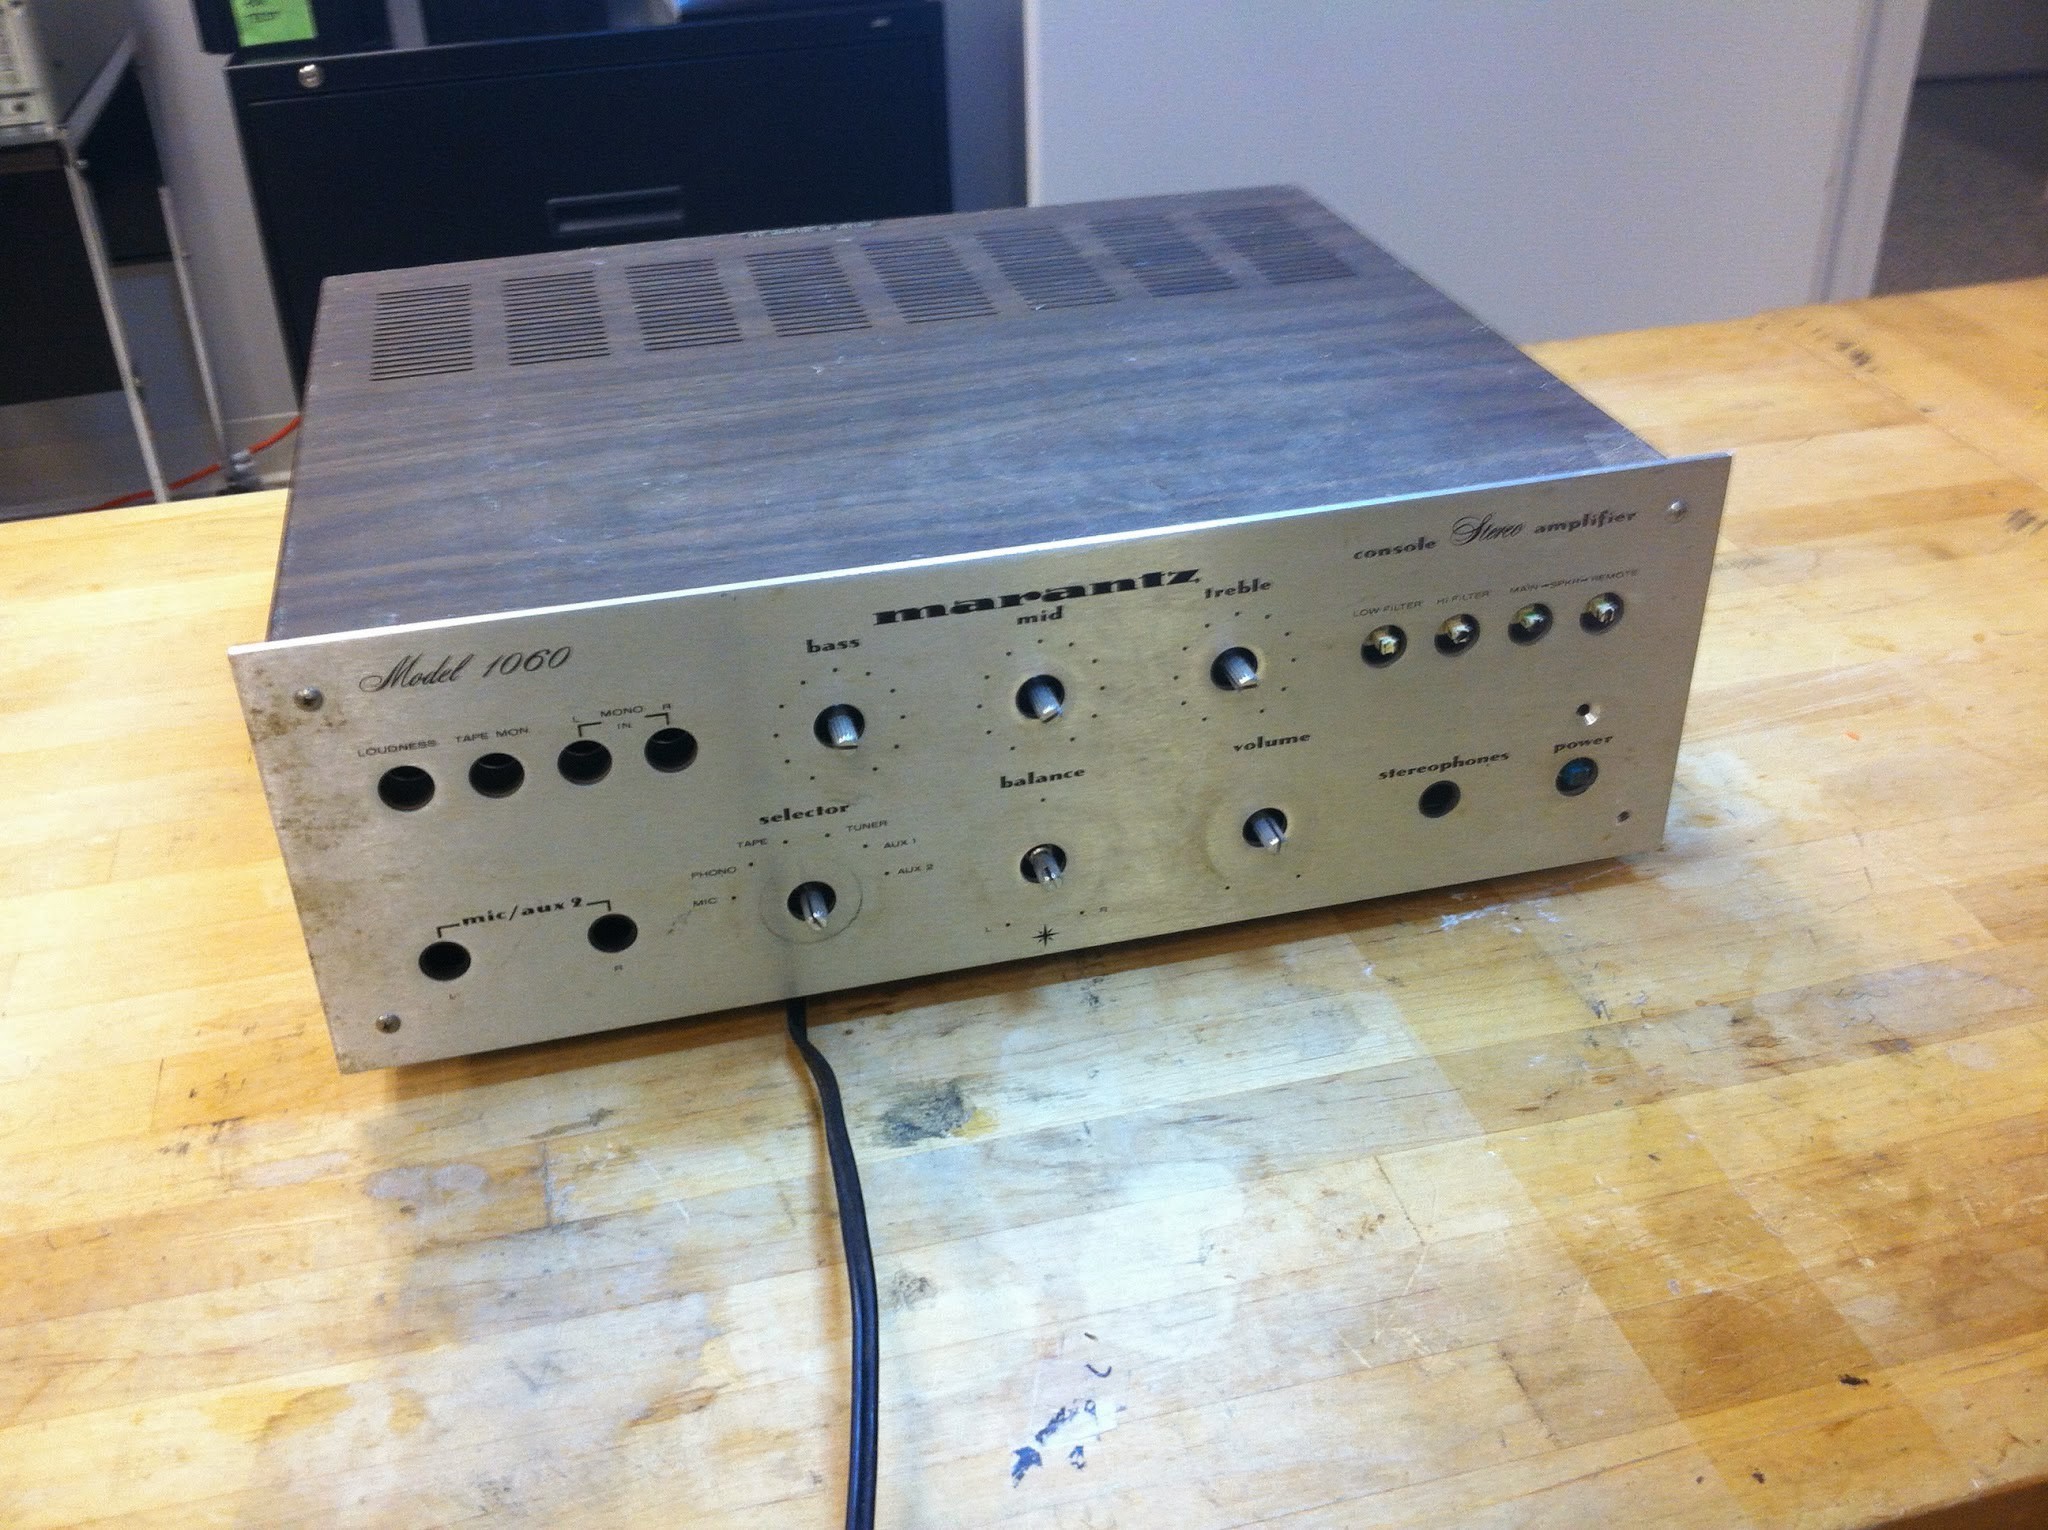
In 2013 I found my dad's old Marantz 1060 amplifier rotting in his basement. He purchased it in 1971 when he was 20 years old. At some point it had stopped working (I think a channel went dead) and he gave it to me as a kid cause I liked to take things apart. I decided to restore it for him as a Christmas present.
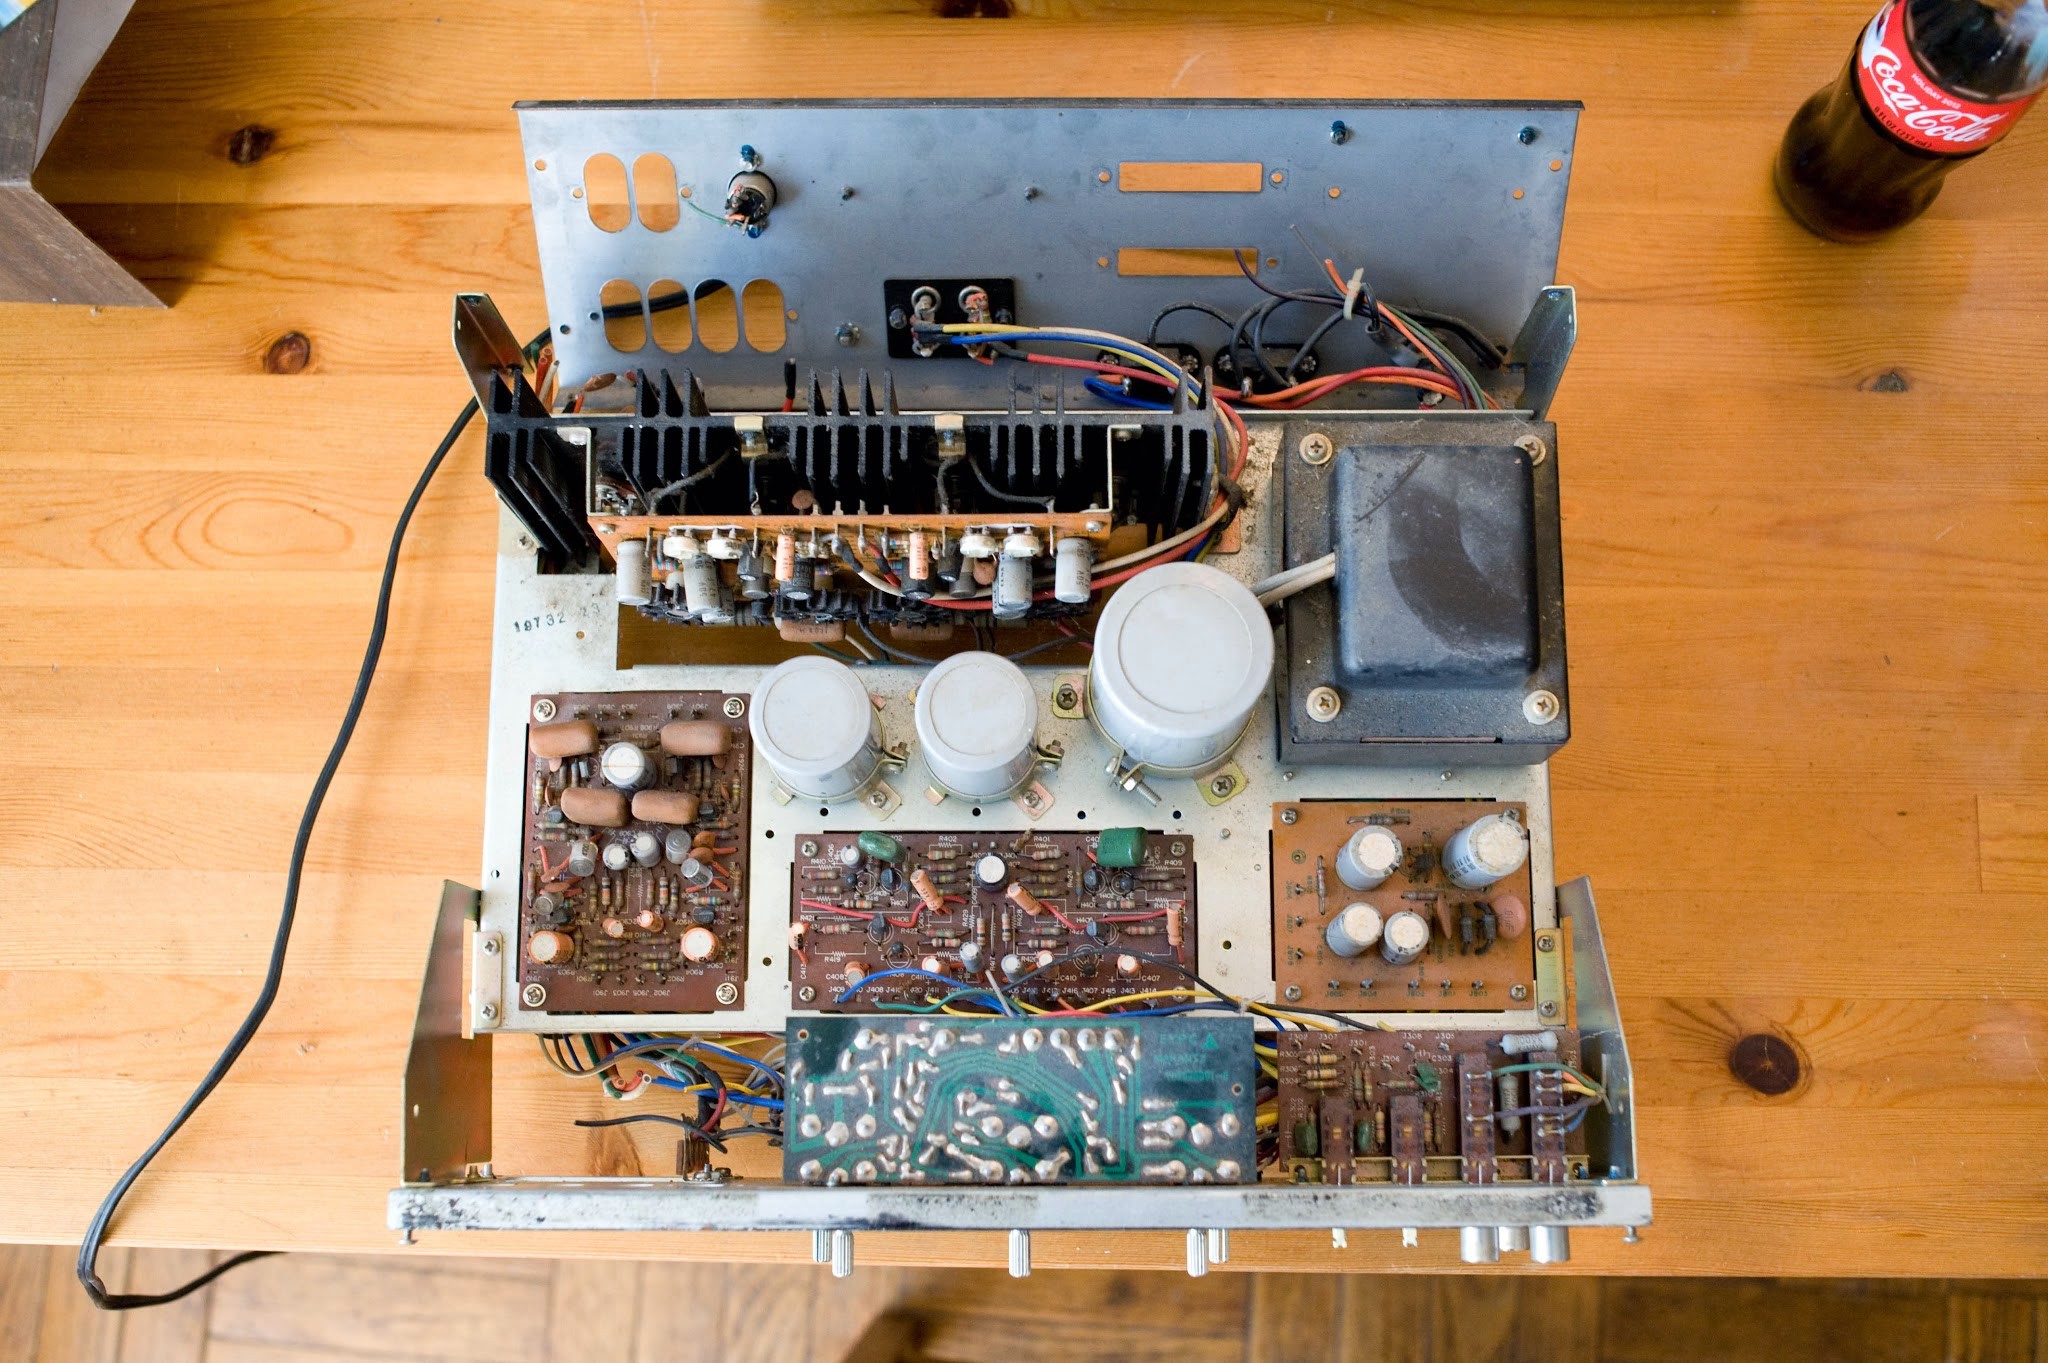
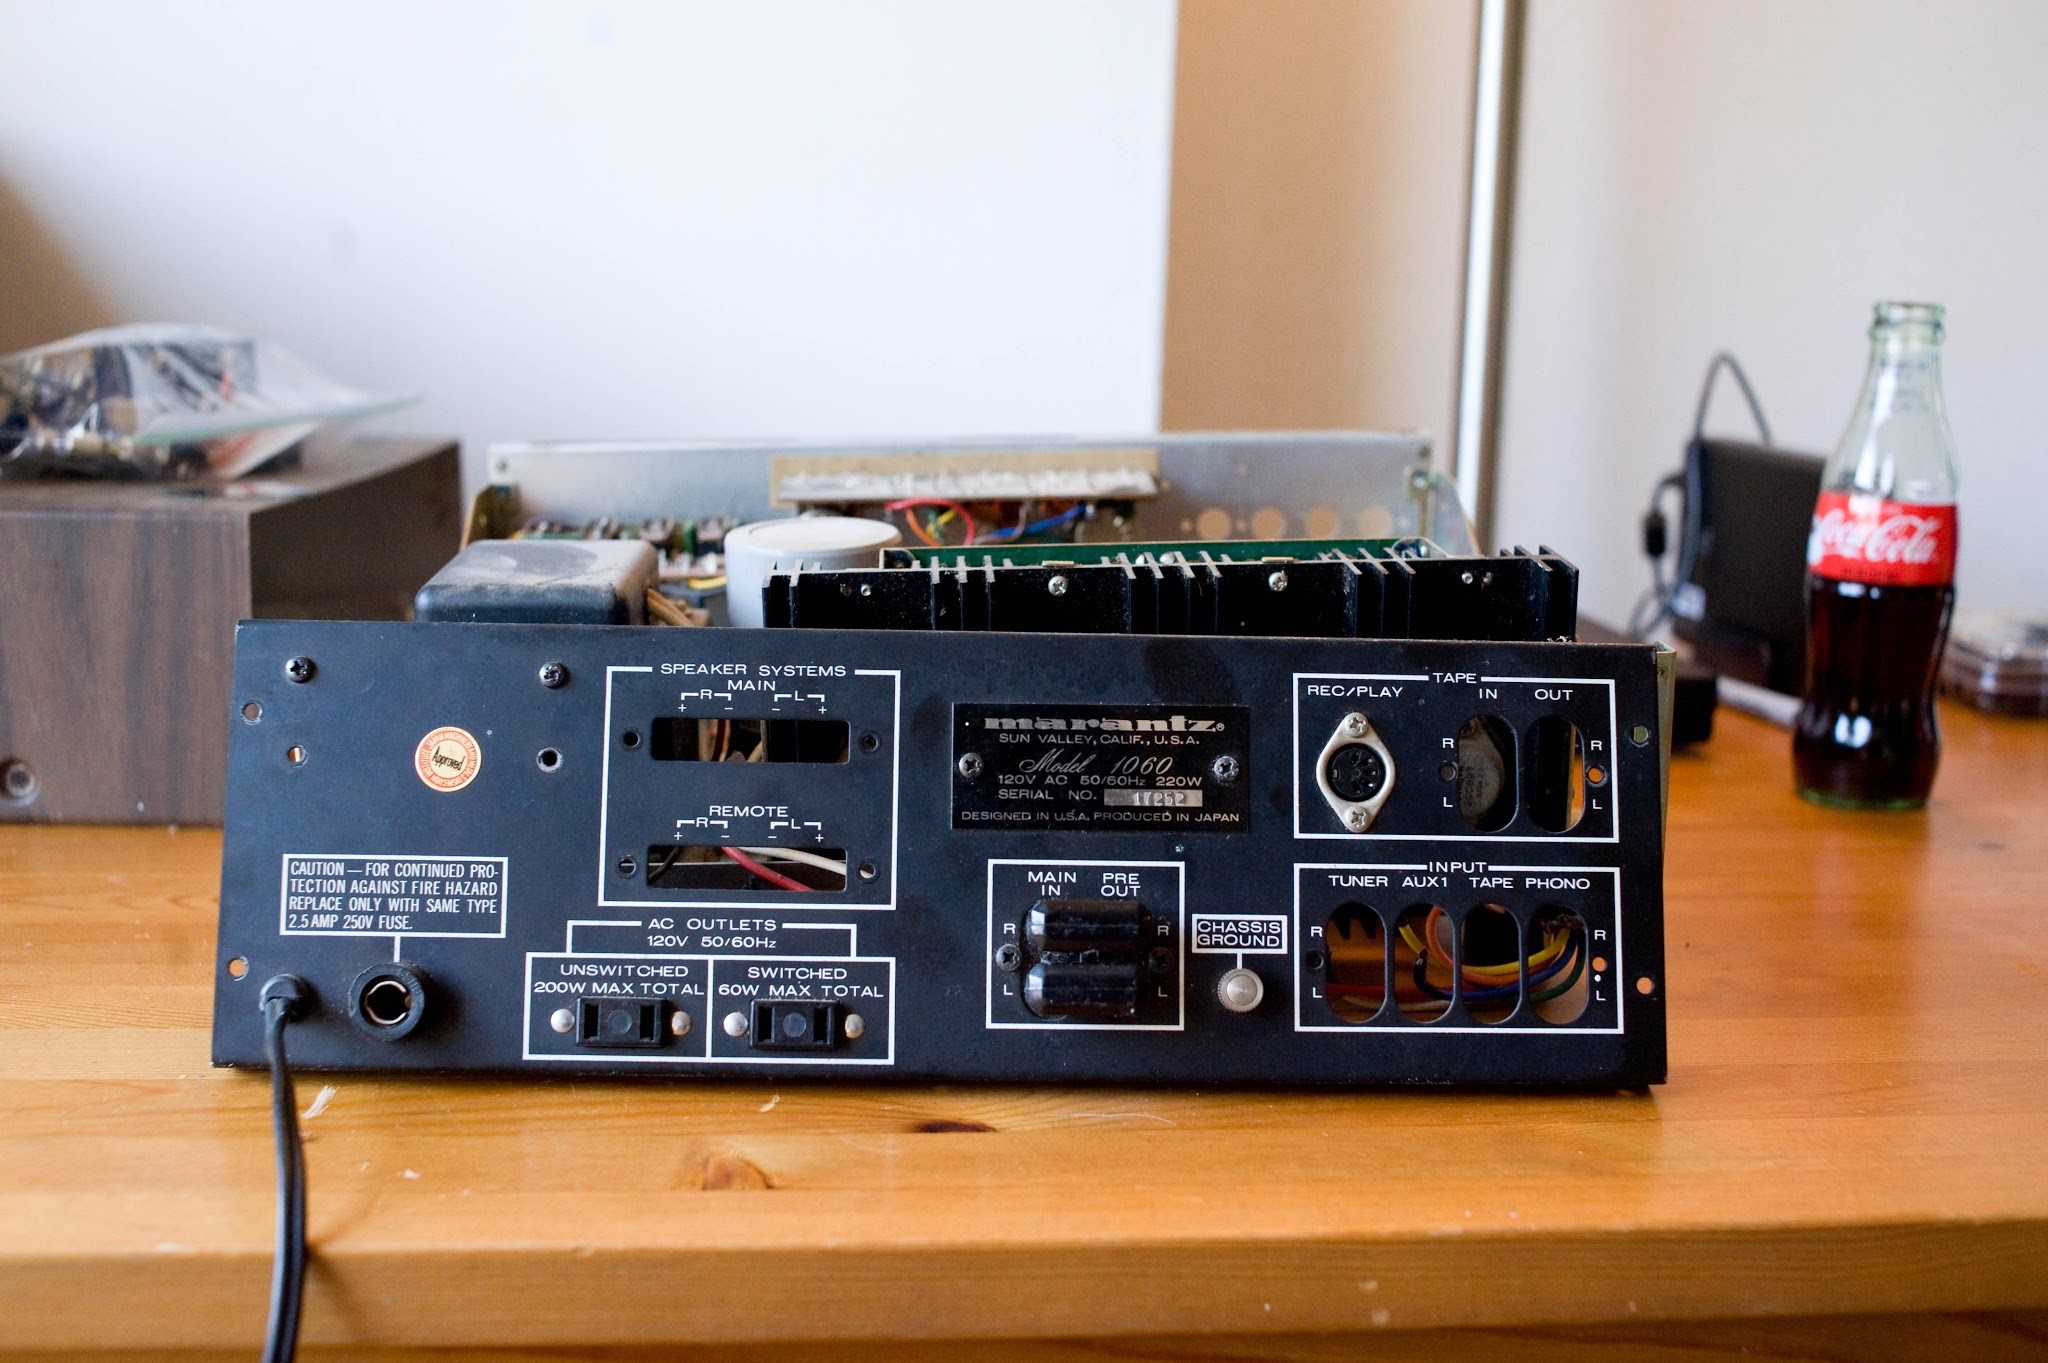
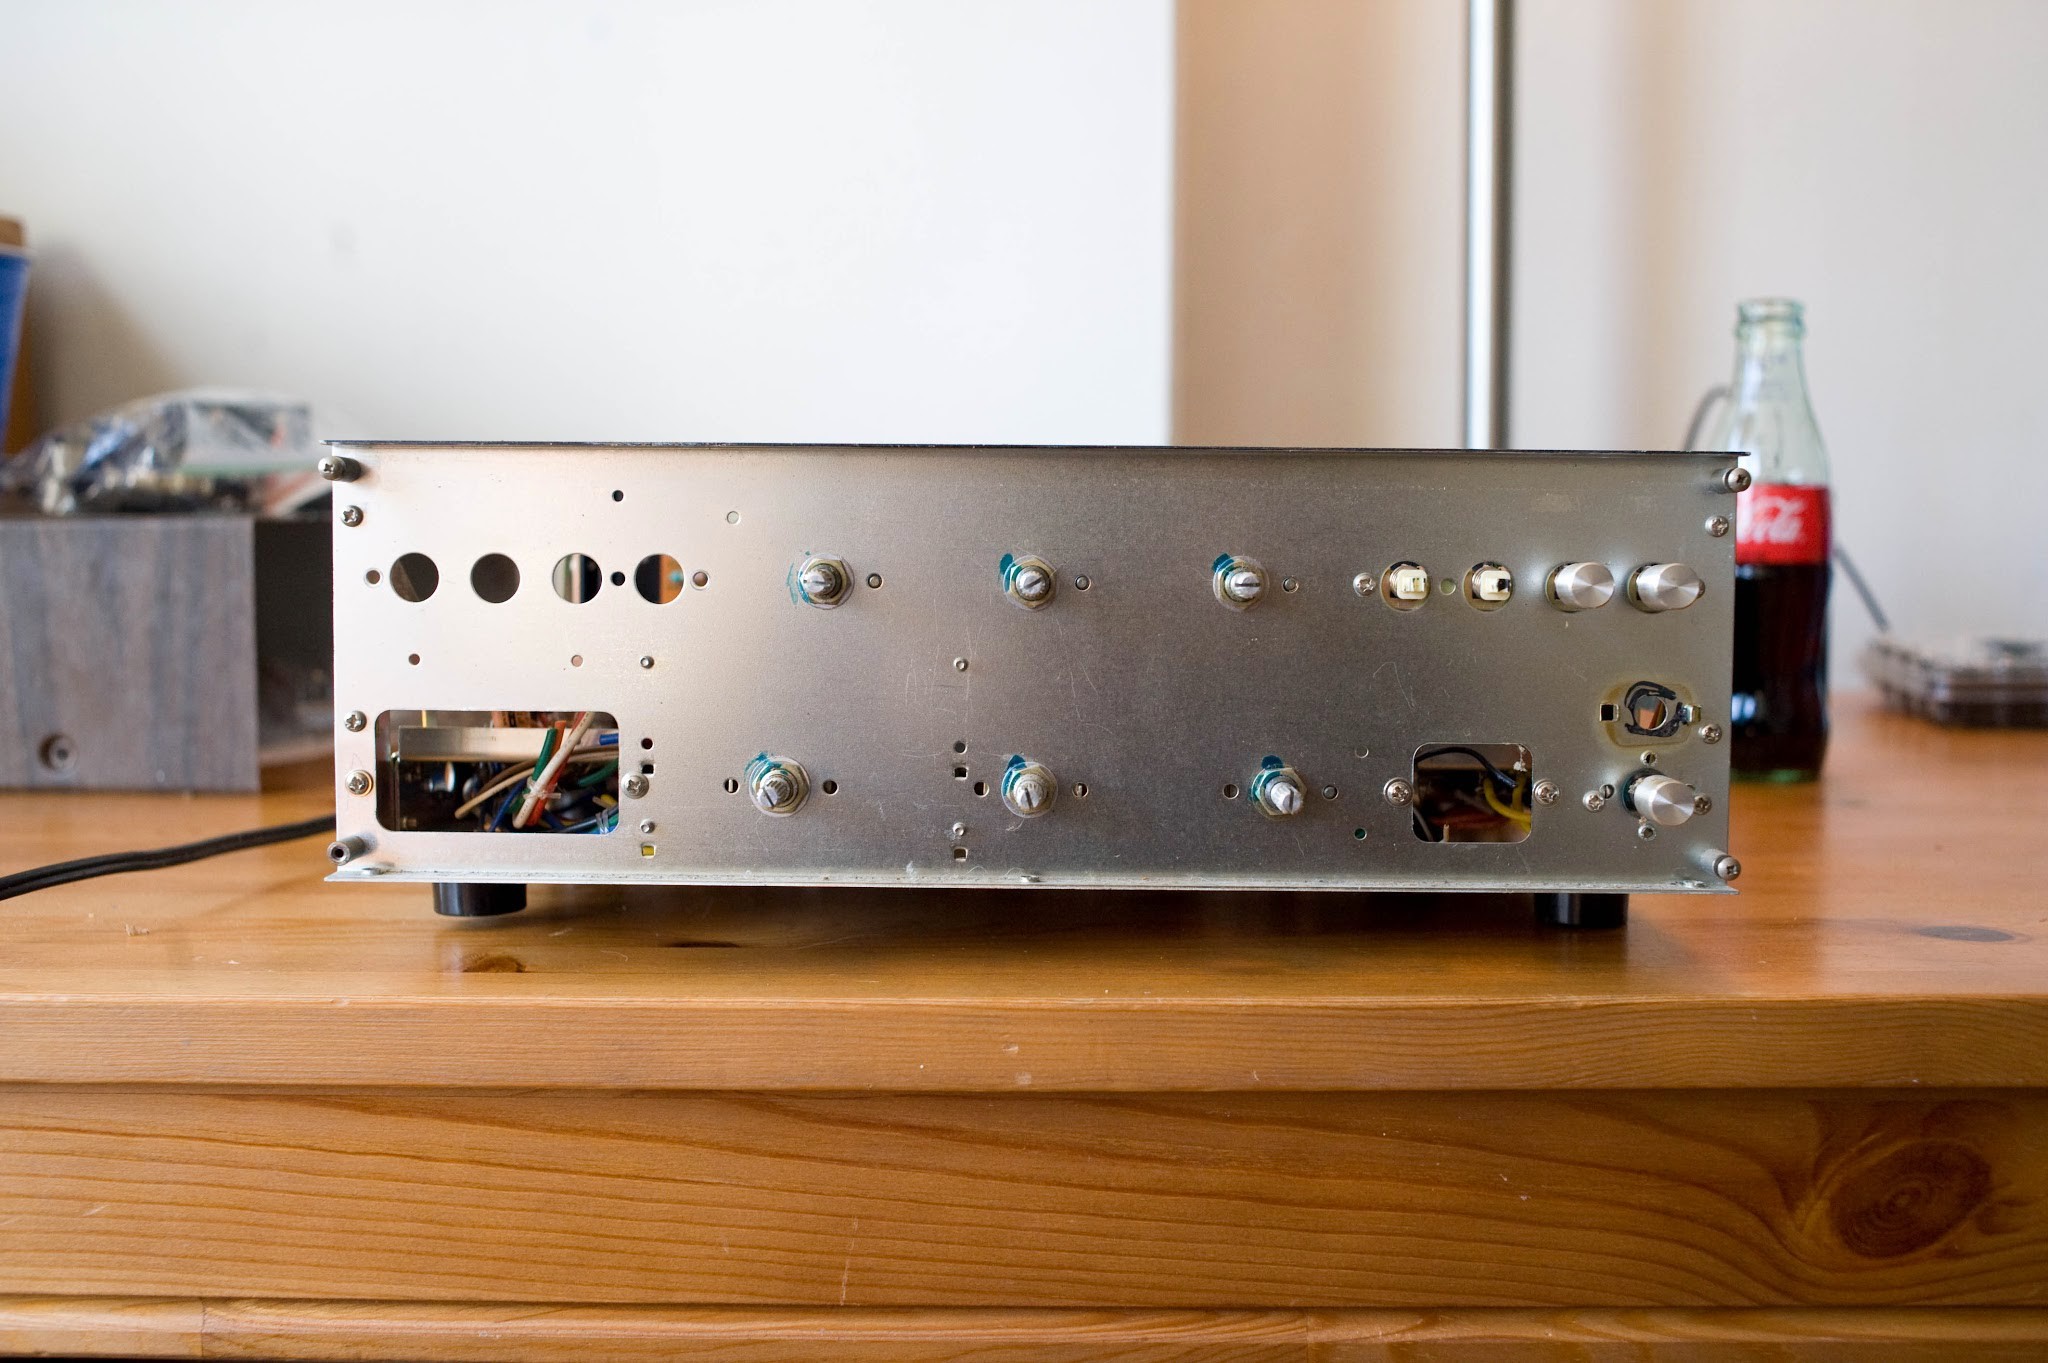
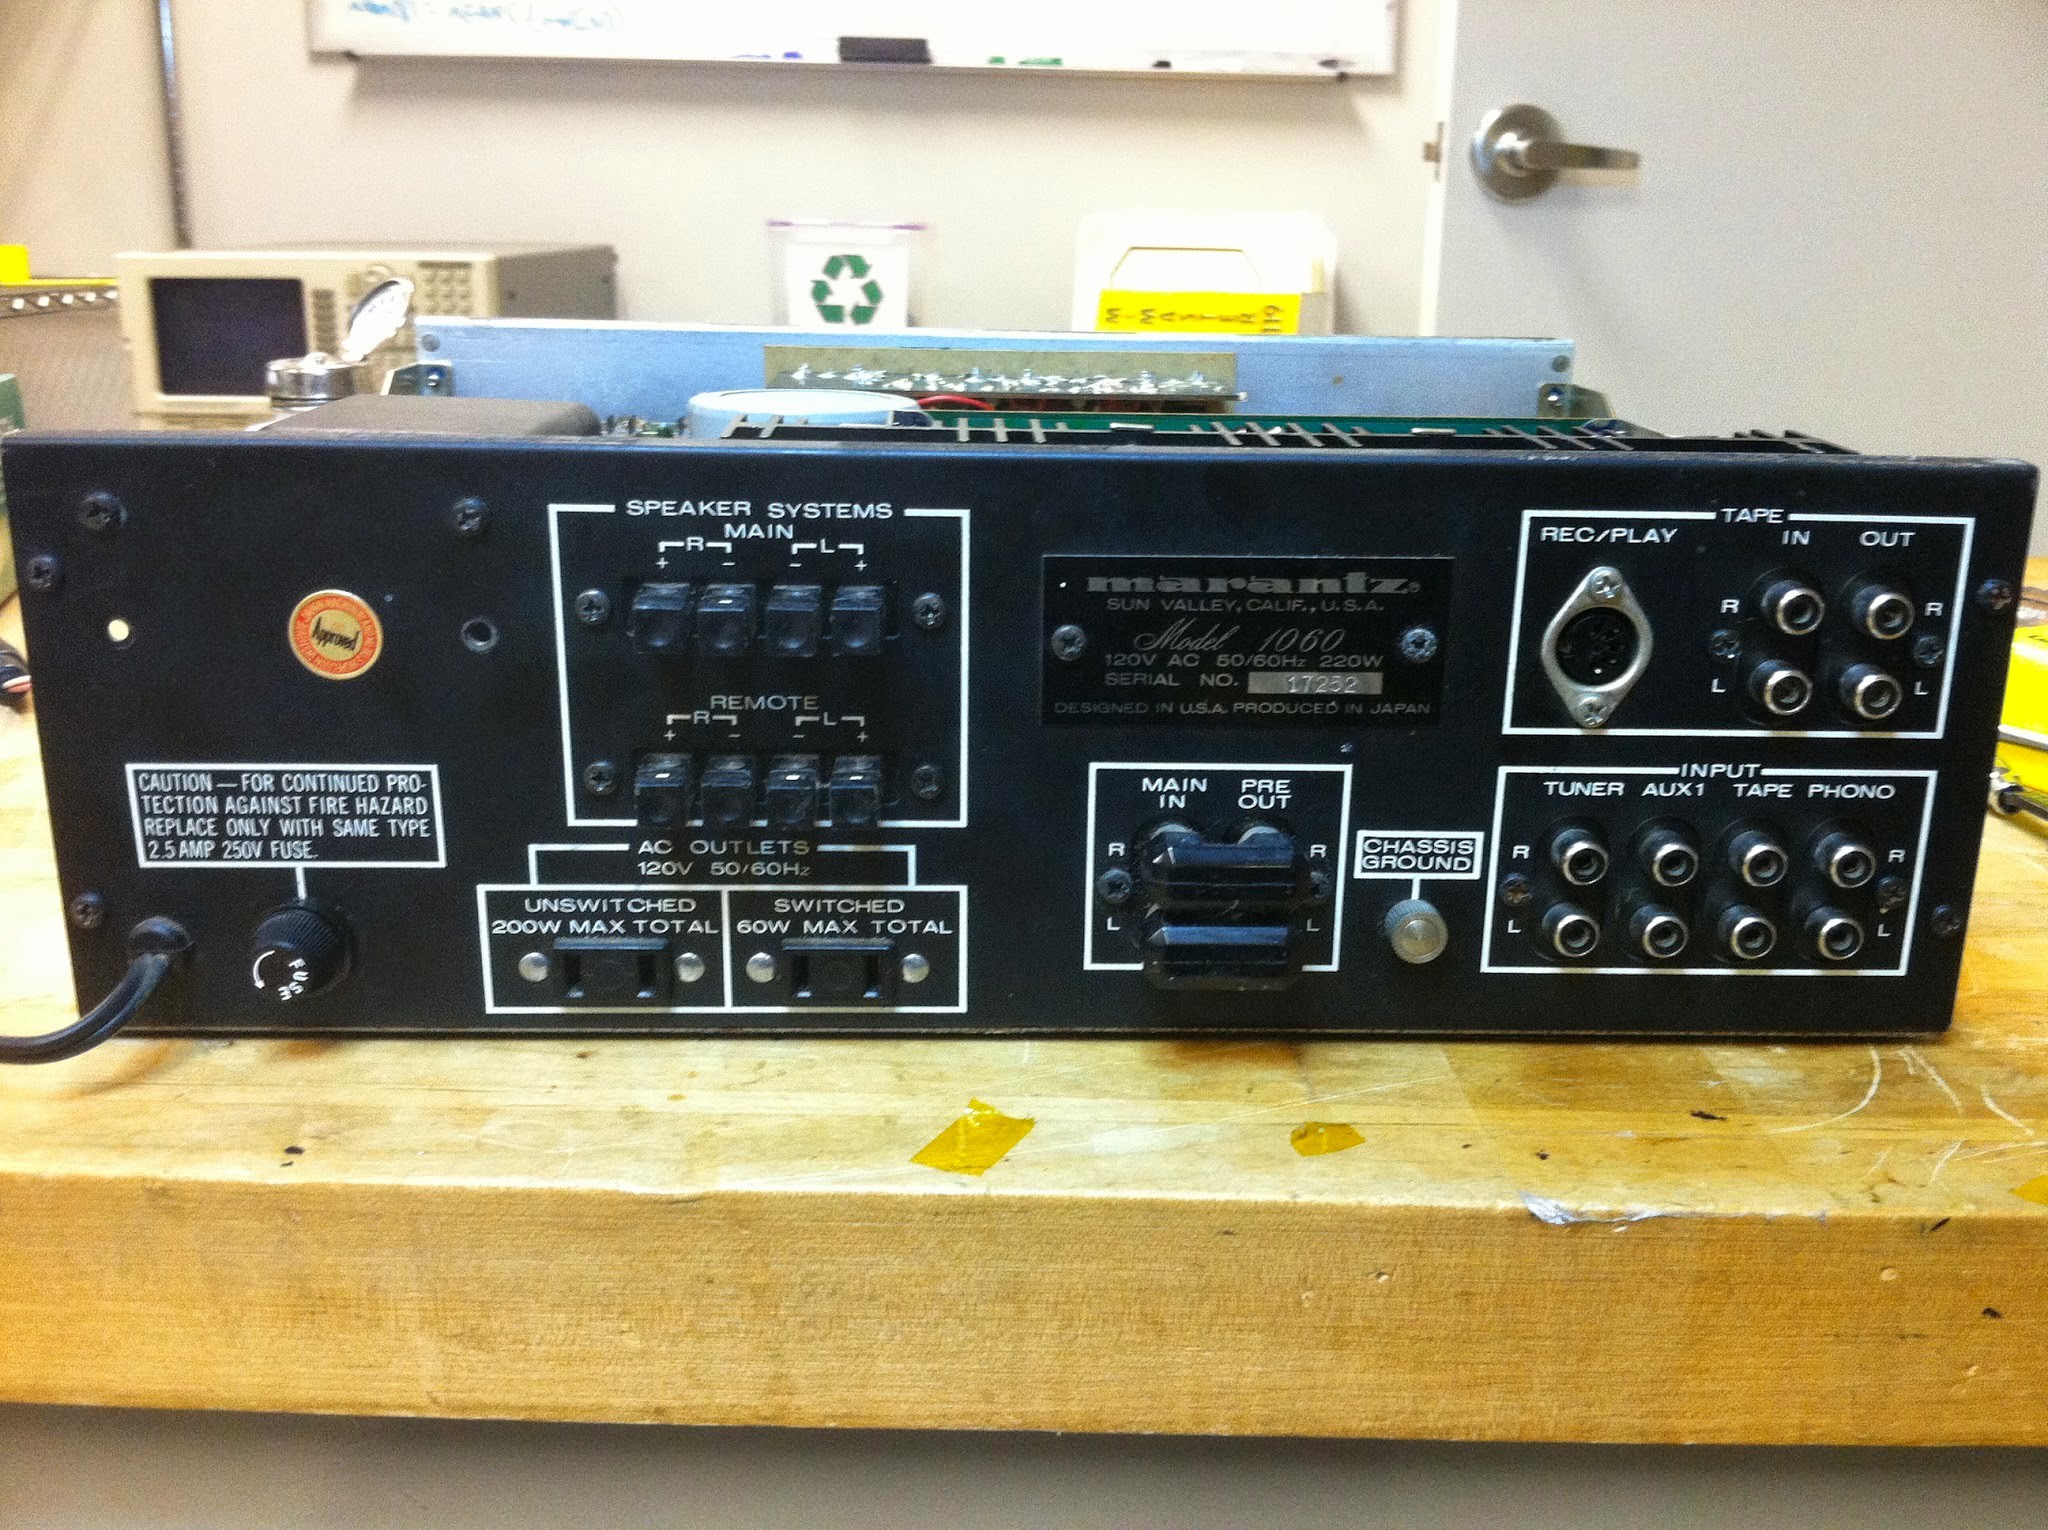
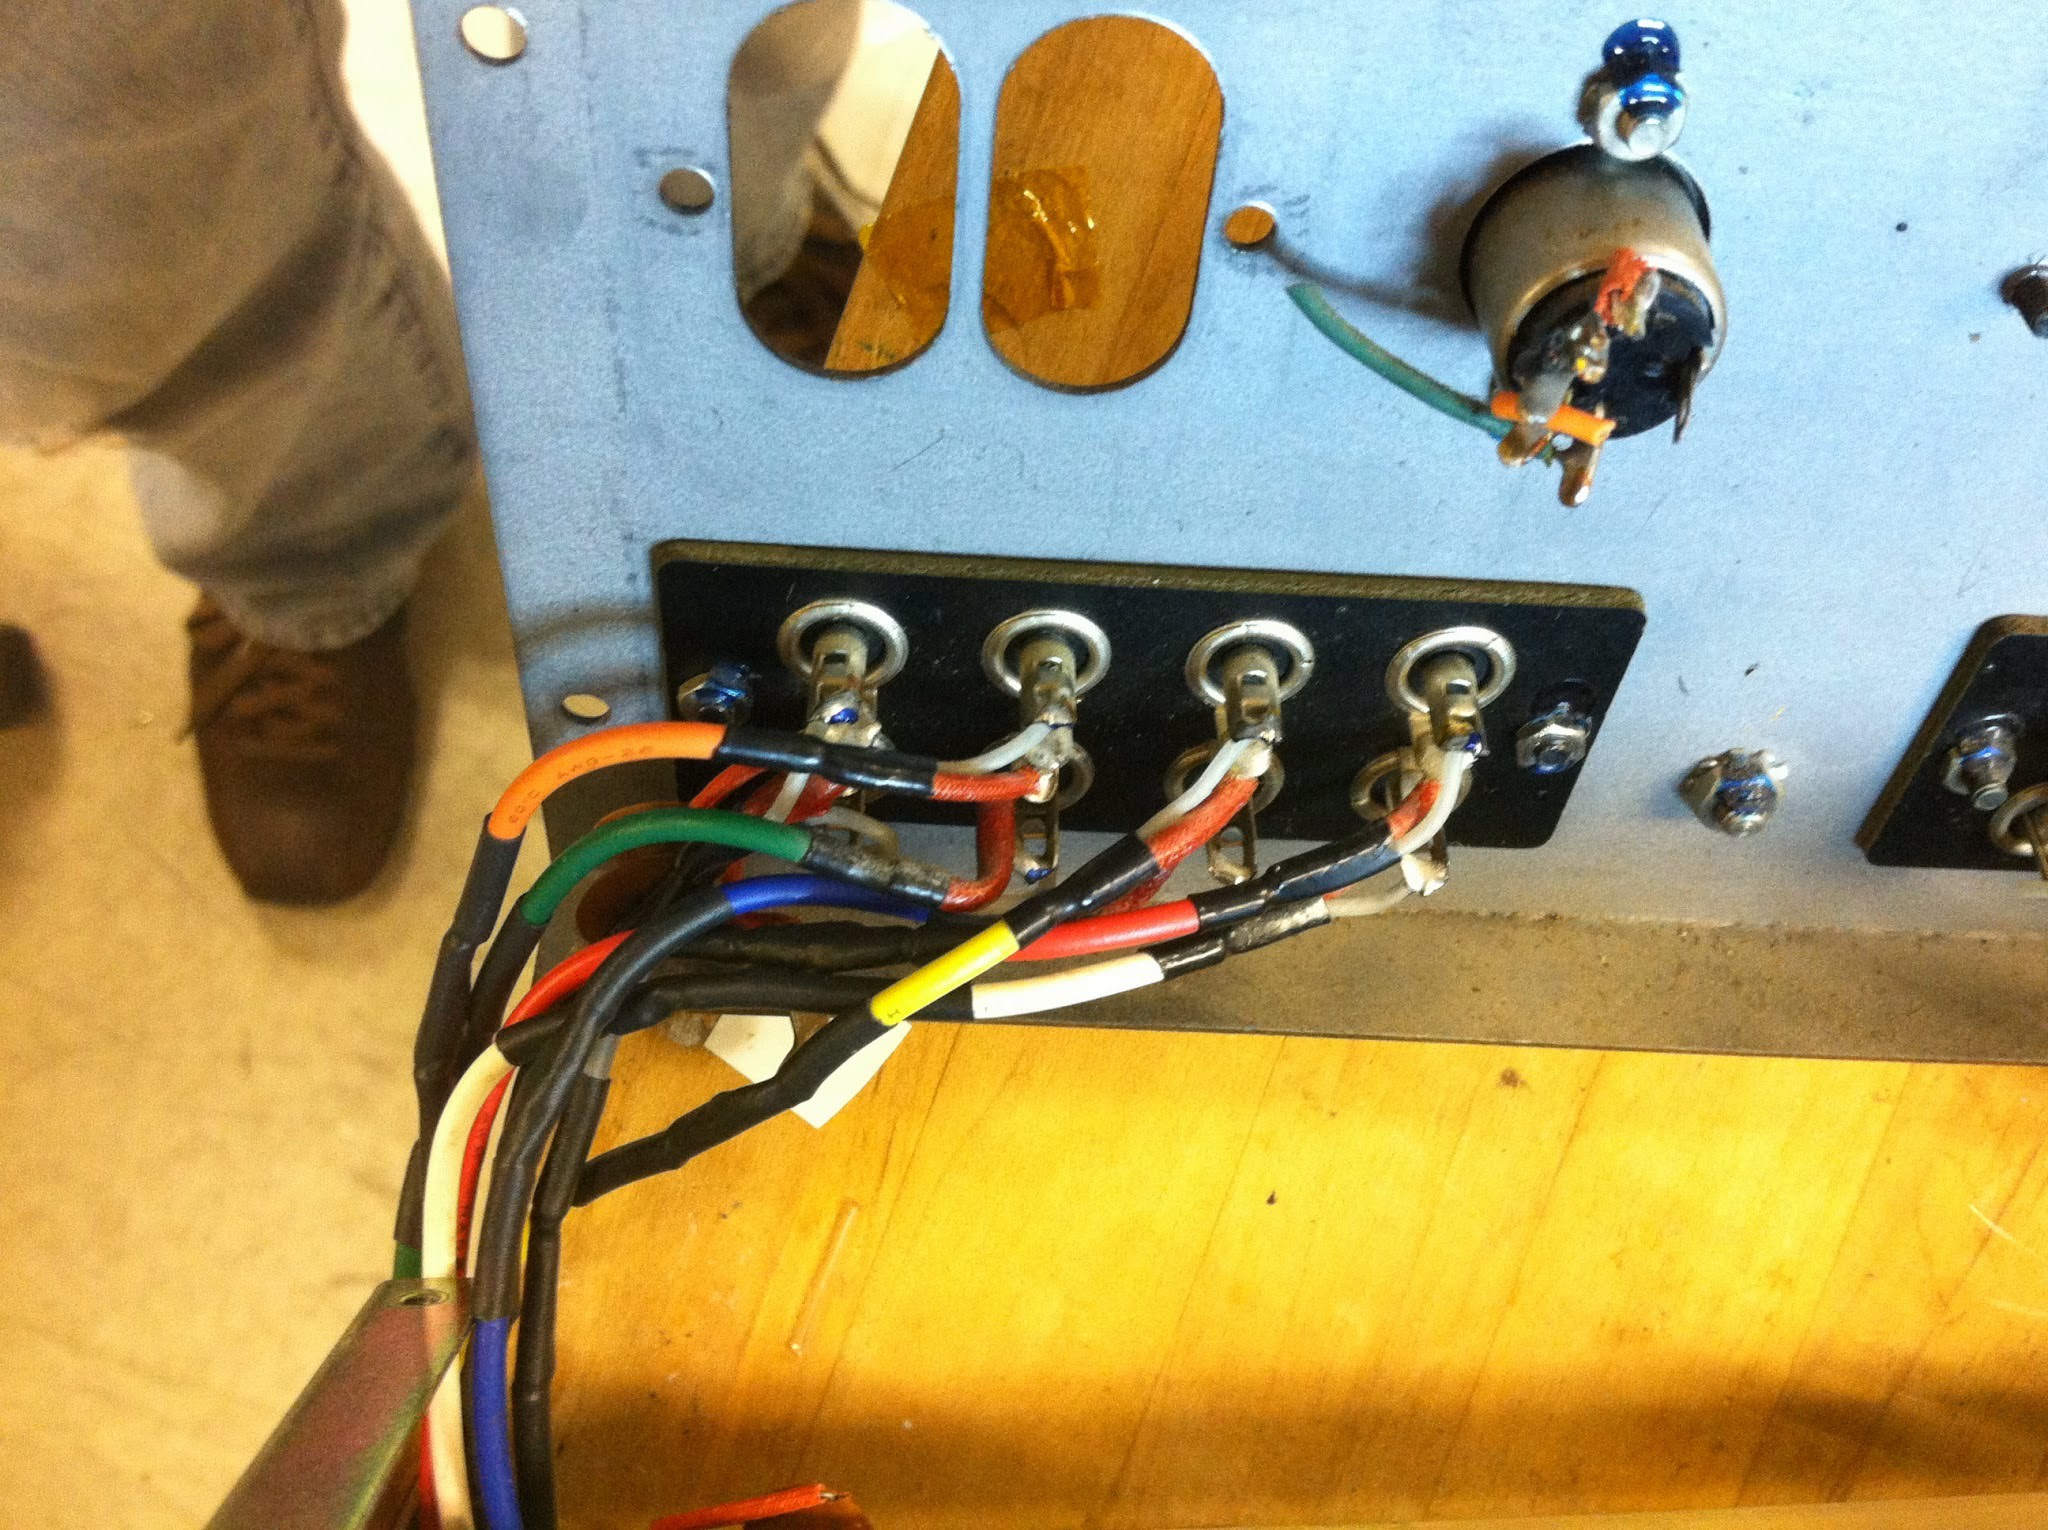
When I got the amp home, I took photos to show what shape it was in. The mic/aux jacks, headphone jack, speaker terminals, left quad switch circuit board, input RCA jacks, tape RCA jacks, and lamp had been removed. The fuse holder, four of the switch caps, and the blue lamp jewel were all missing.

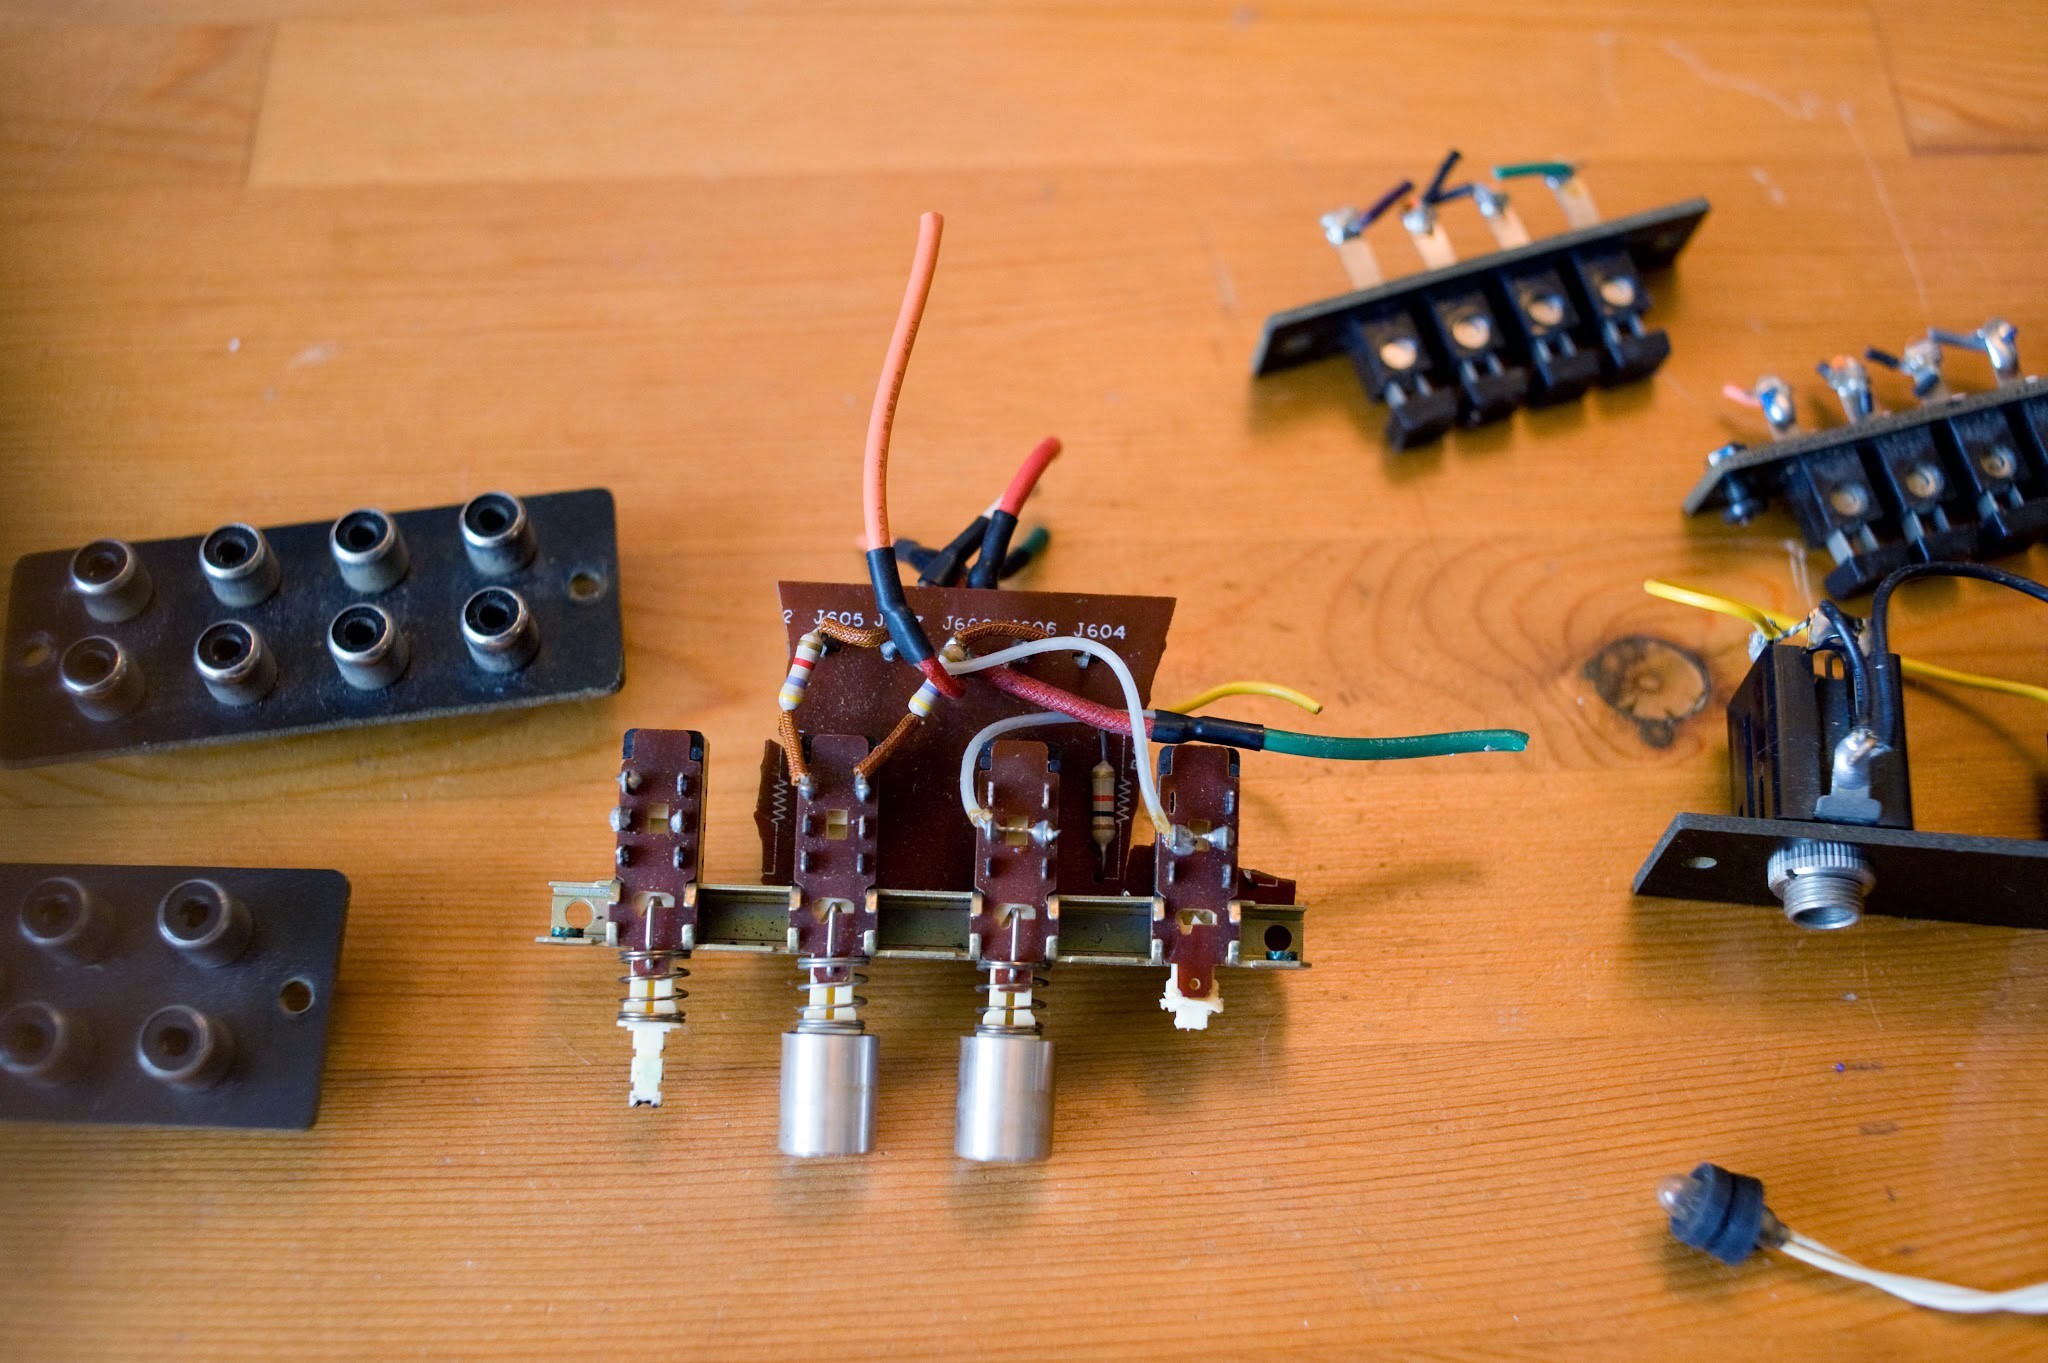
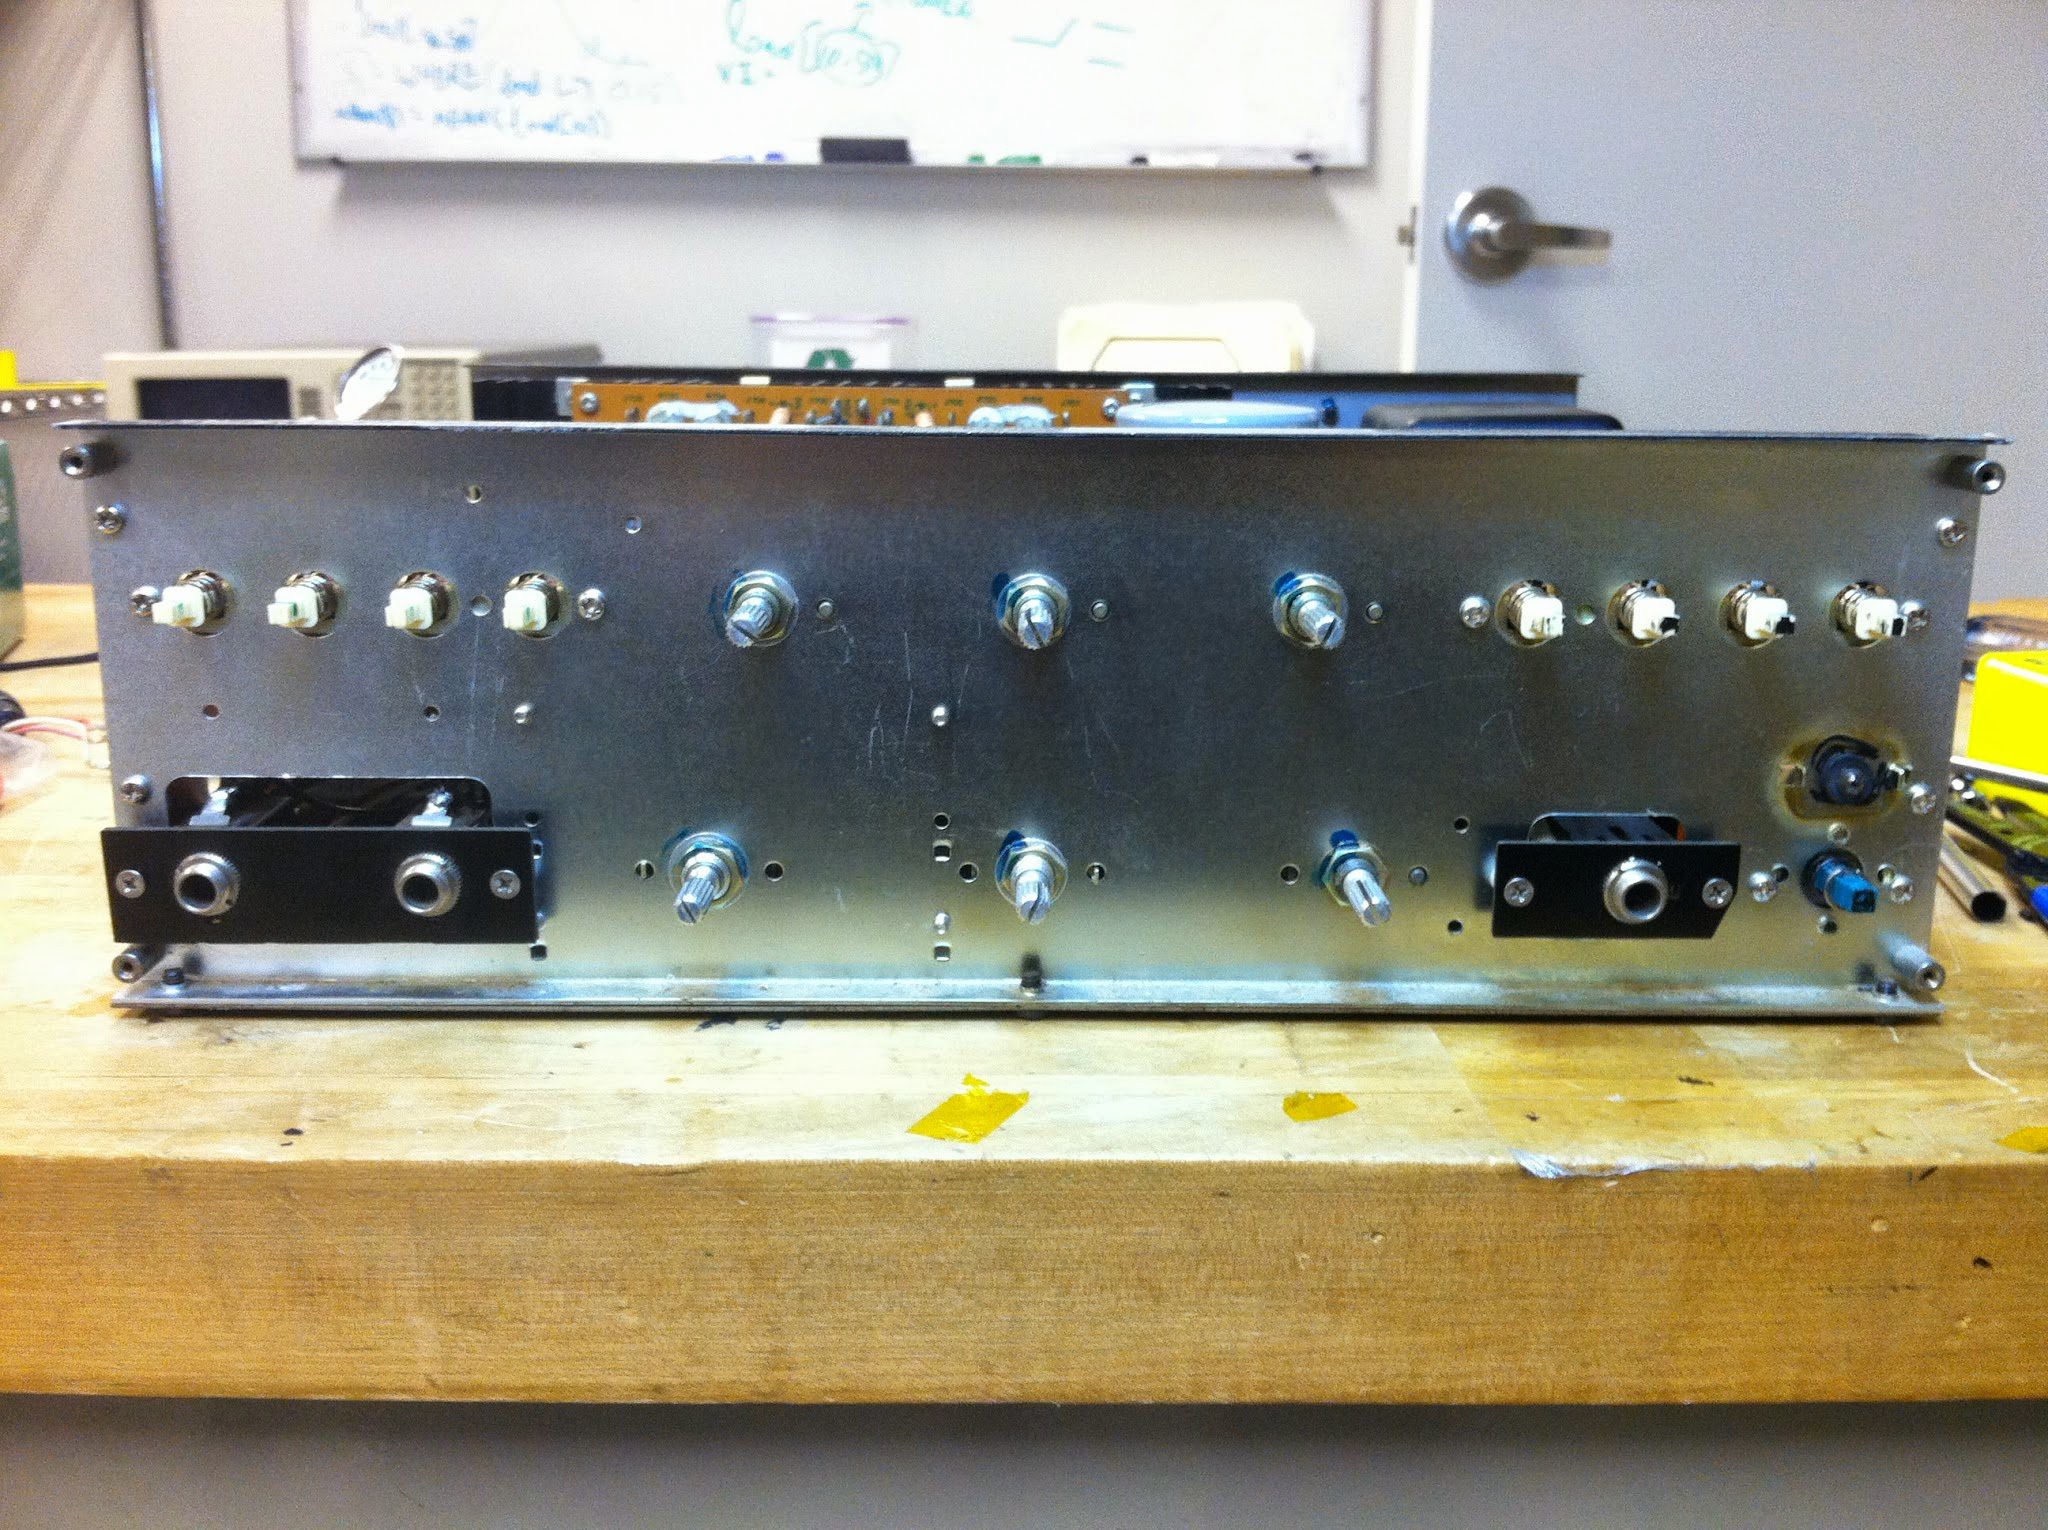
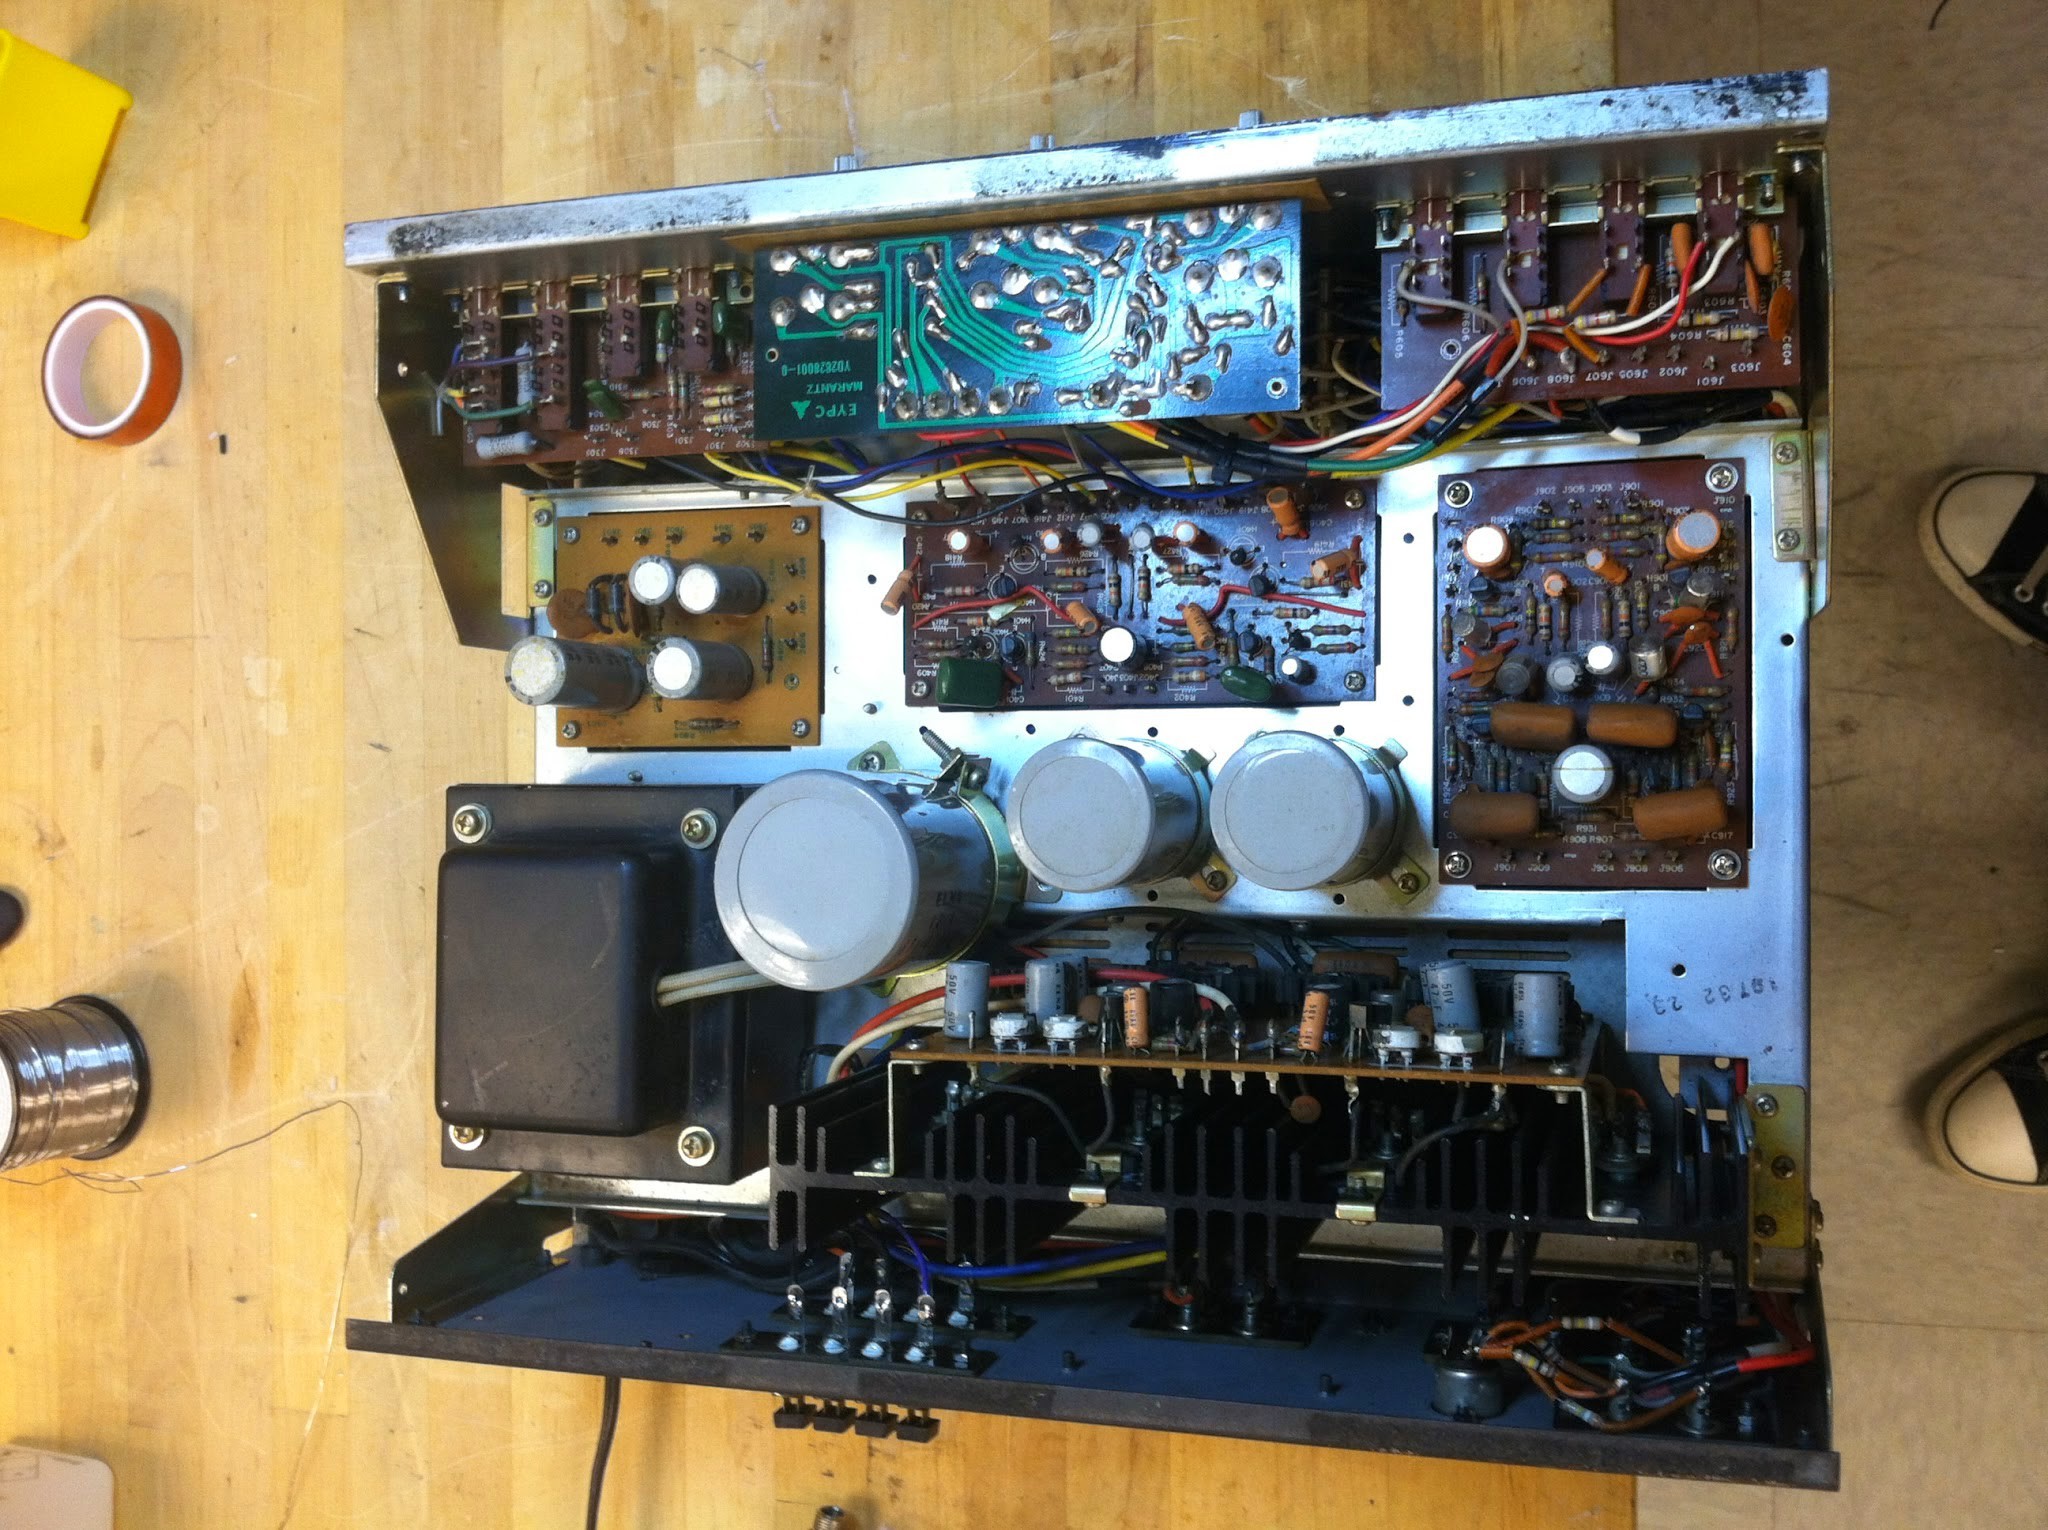
I found a generous eBay seller who sold me the circuit board, plus the fuse holder and the lamp jewel, for $25. I was able to find the service manual online, so getting everything back in was straightforward. The lamp was burned out so I replaced it with an LED. The hardest part was figuring out how the aux/mic jacks connected back to the input selector switch. Here are some shots after replacing all of the removed items:
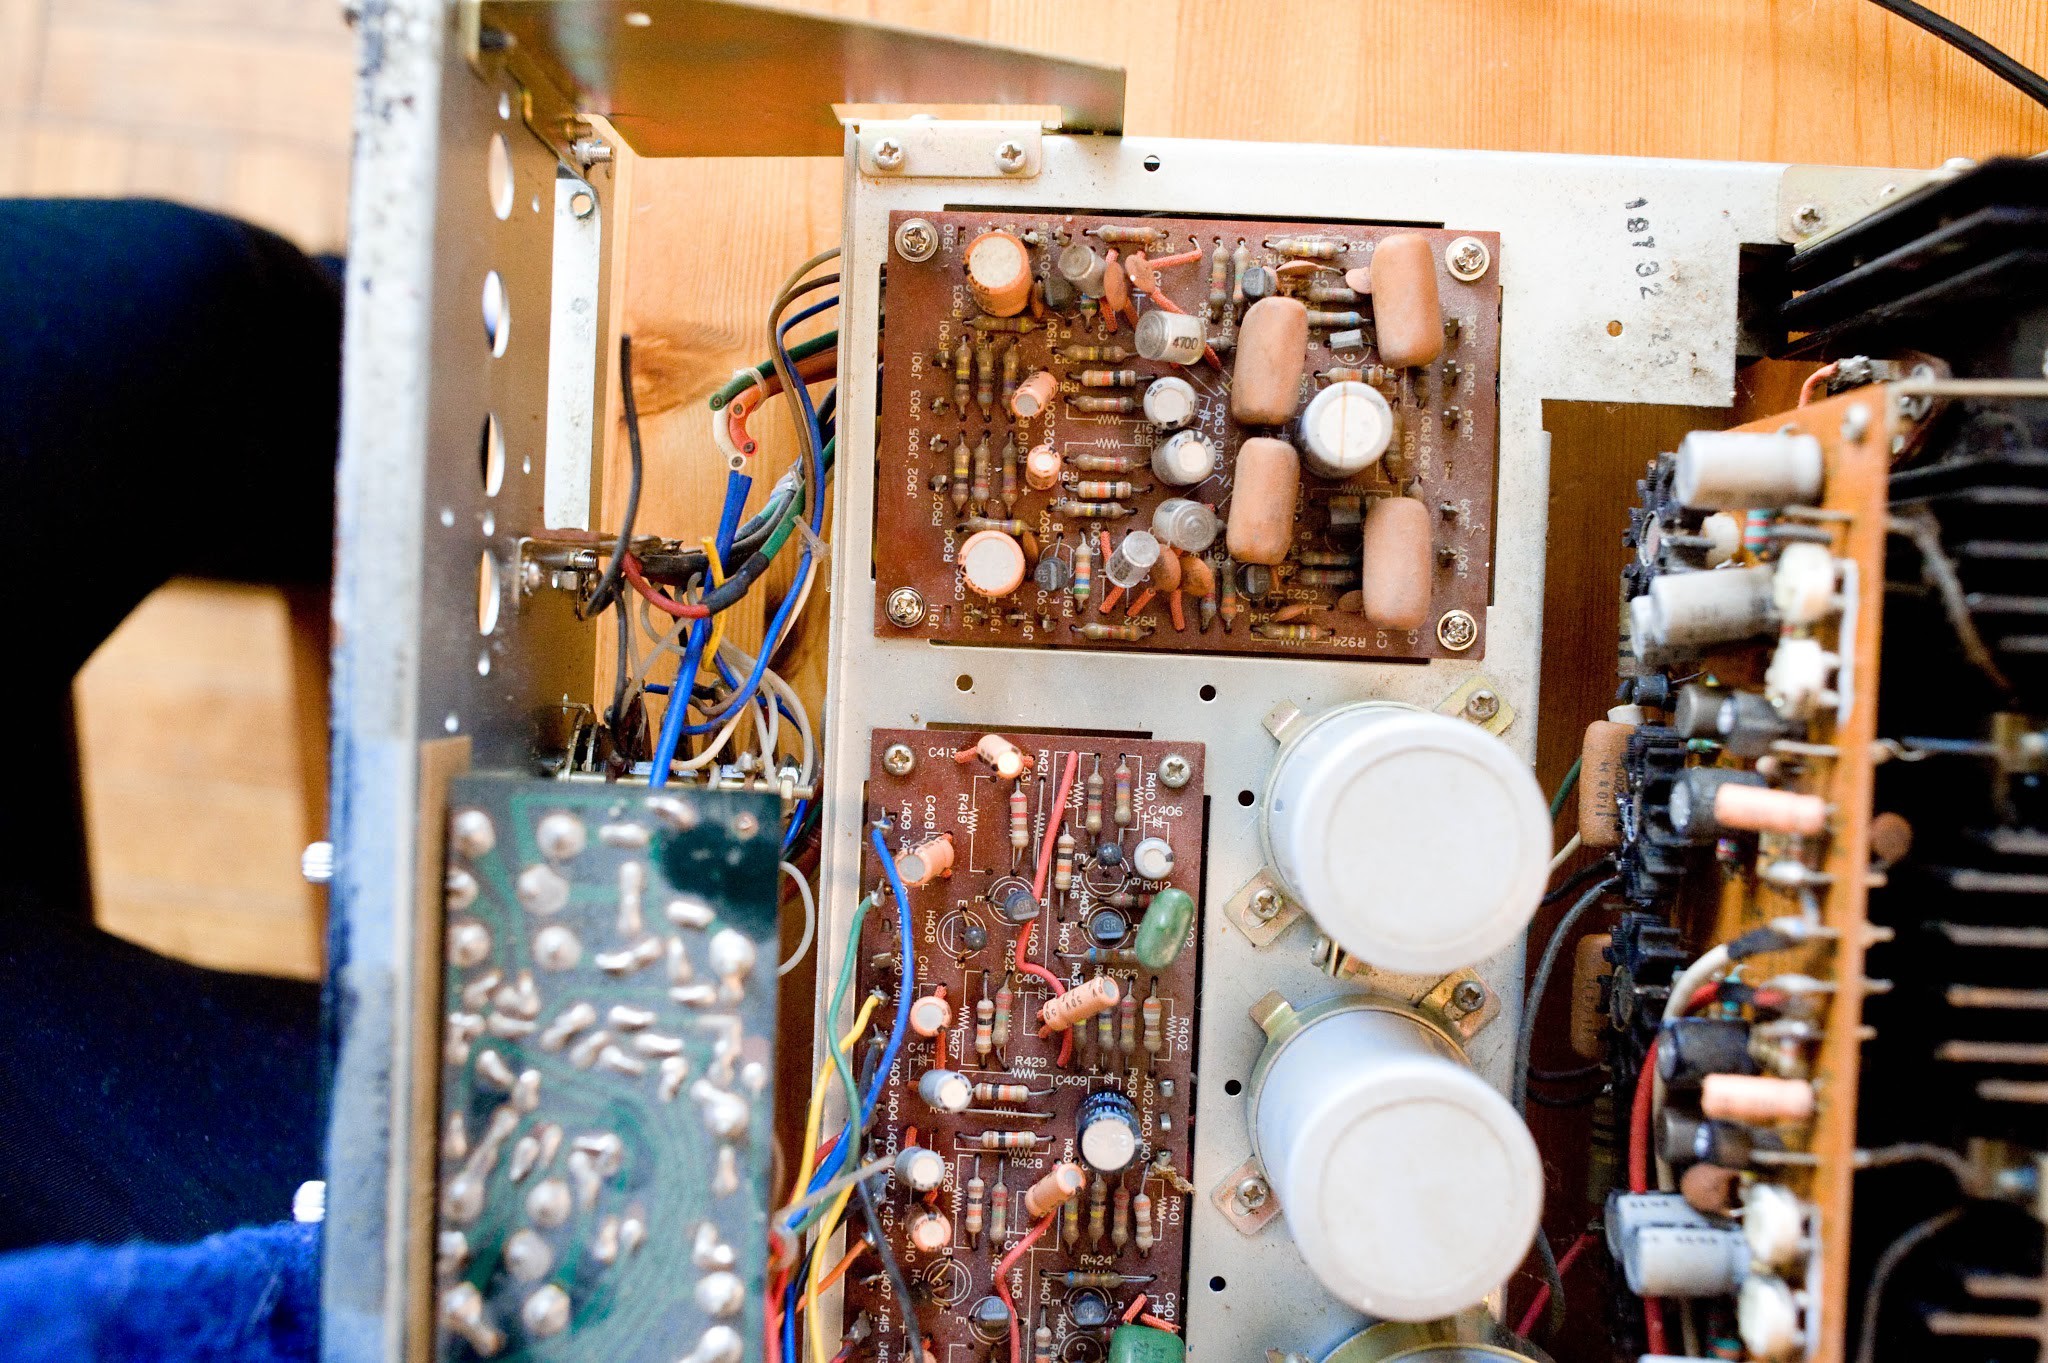
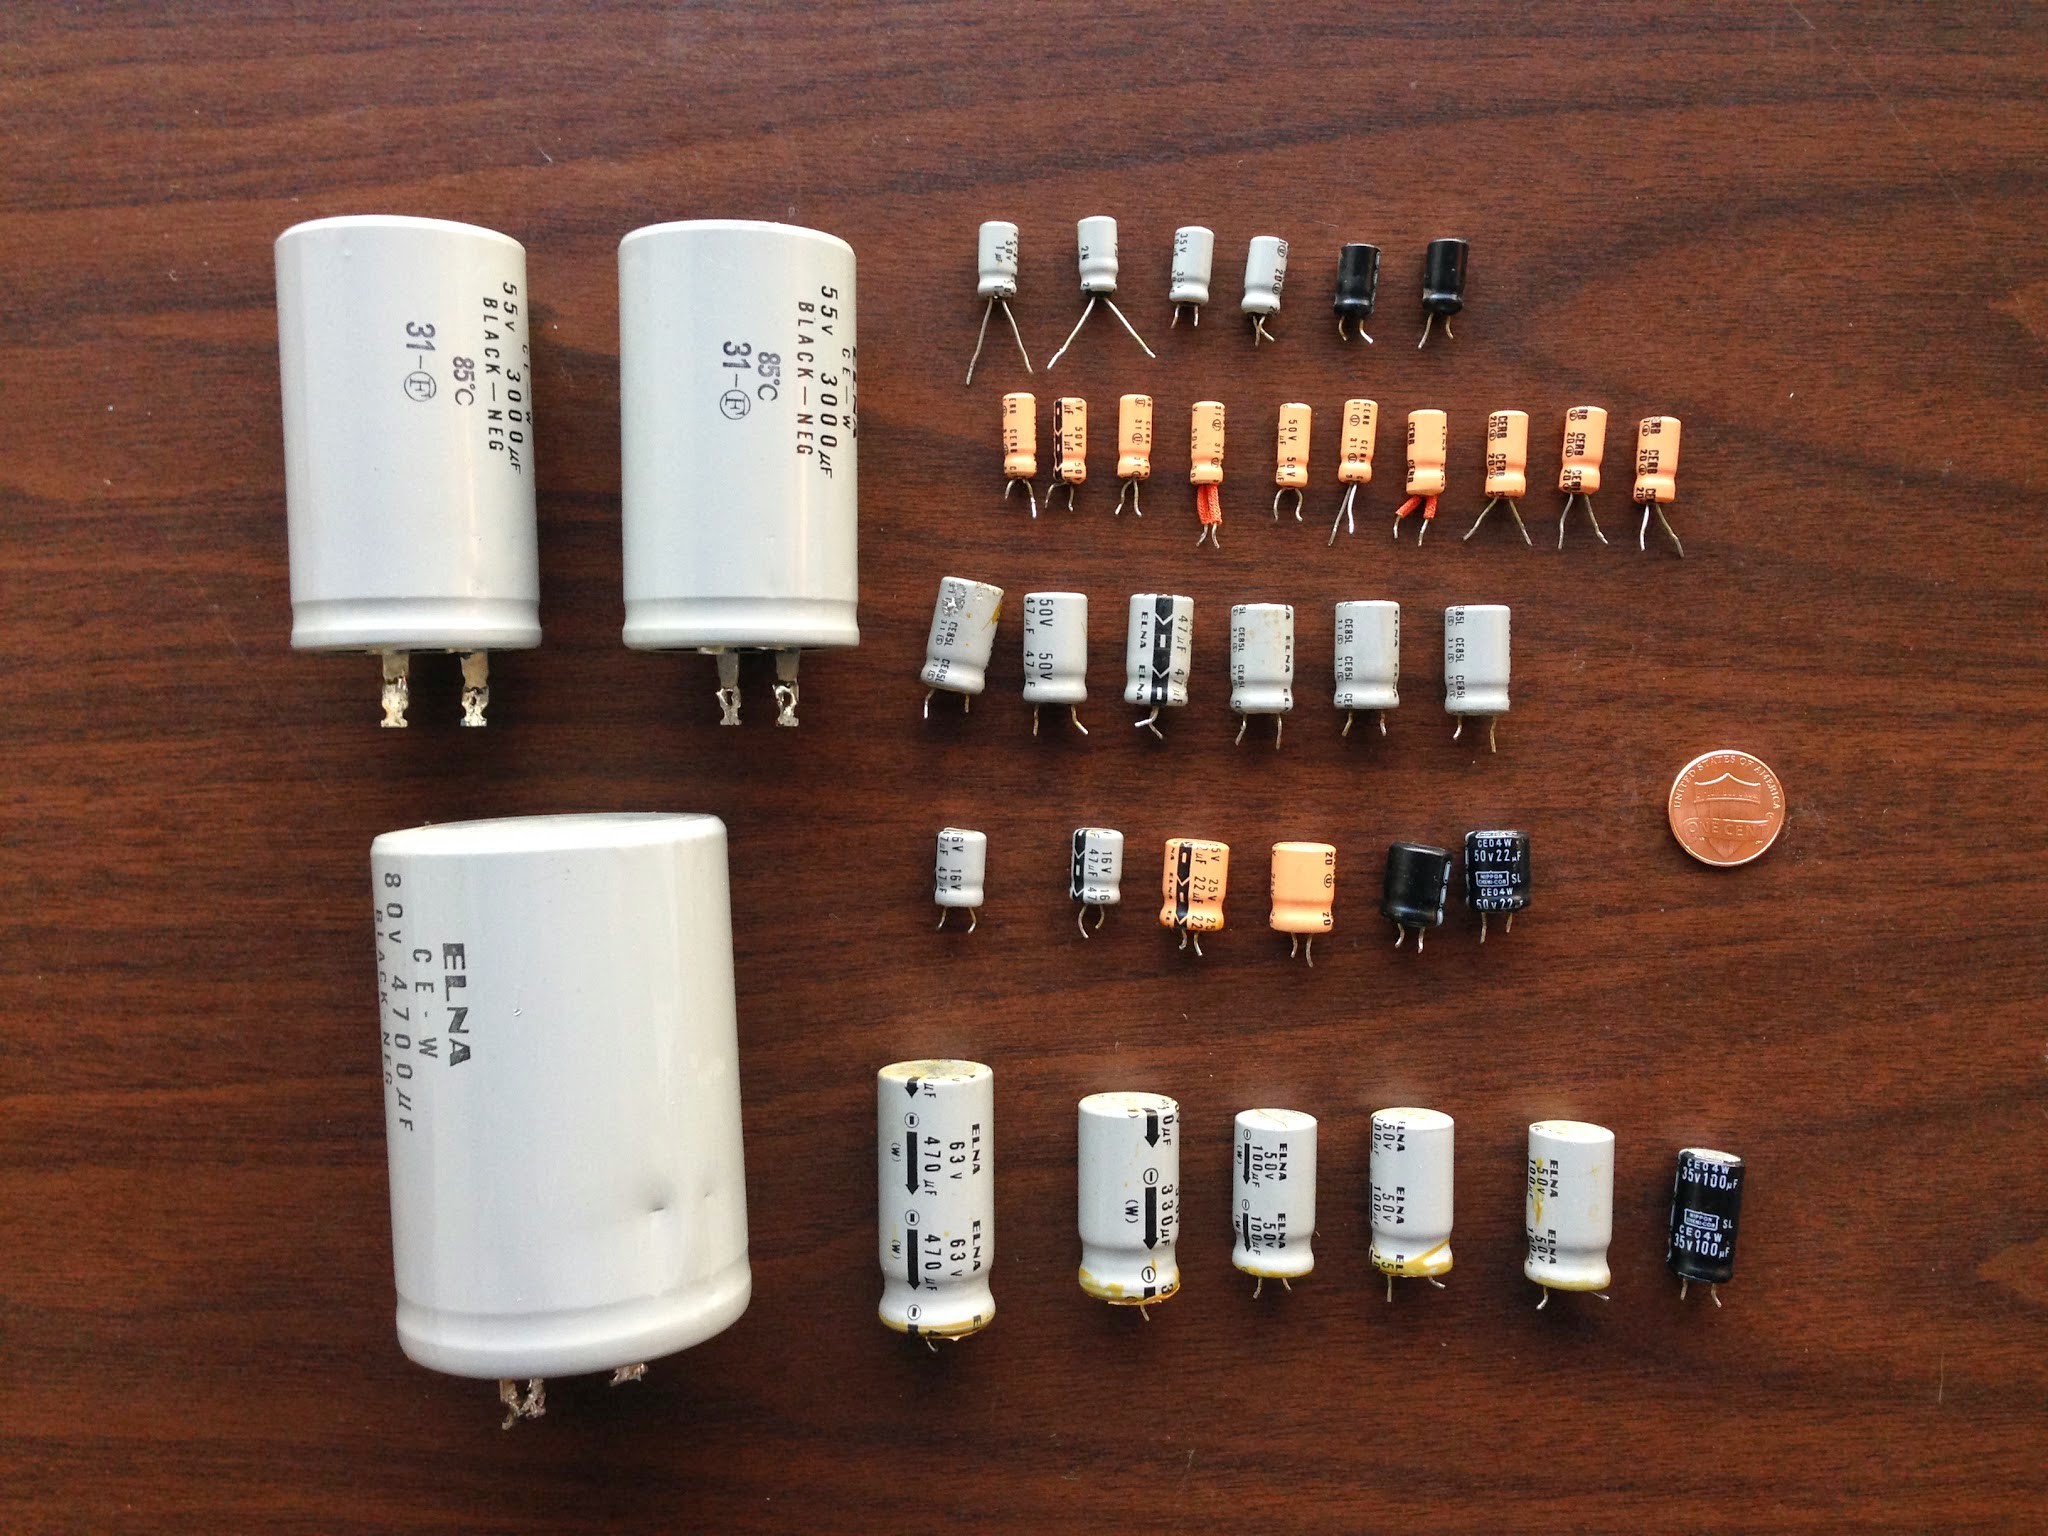
The next step was a full recap. With any vintage piece of a equipment, it's a good idea to replace all of the electrolytic capacitors which can begin to degrade quickly after 30 years or so. It's a good idea to do this first before any further troubleshooting, in case there are leaky caps causing problems. I tried to use replacements that were as close to the original voltage / capacitance / tolerance as possible. I bought Elna caps to replace the original Elnas, and United Chemi-Con to replace the Nippo Chemis. Everything came from Digi-Key. After recapping, I cleaned the circuit boards with flux remover, the chassis with alcohol, and the switches / contacts with DeoxIT. Unfortunately I didn't take many pictures of the recap process, but here is a photo of all the caps I replaced:
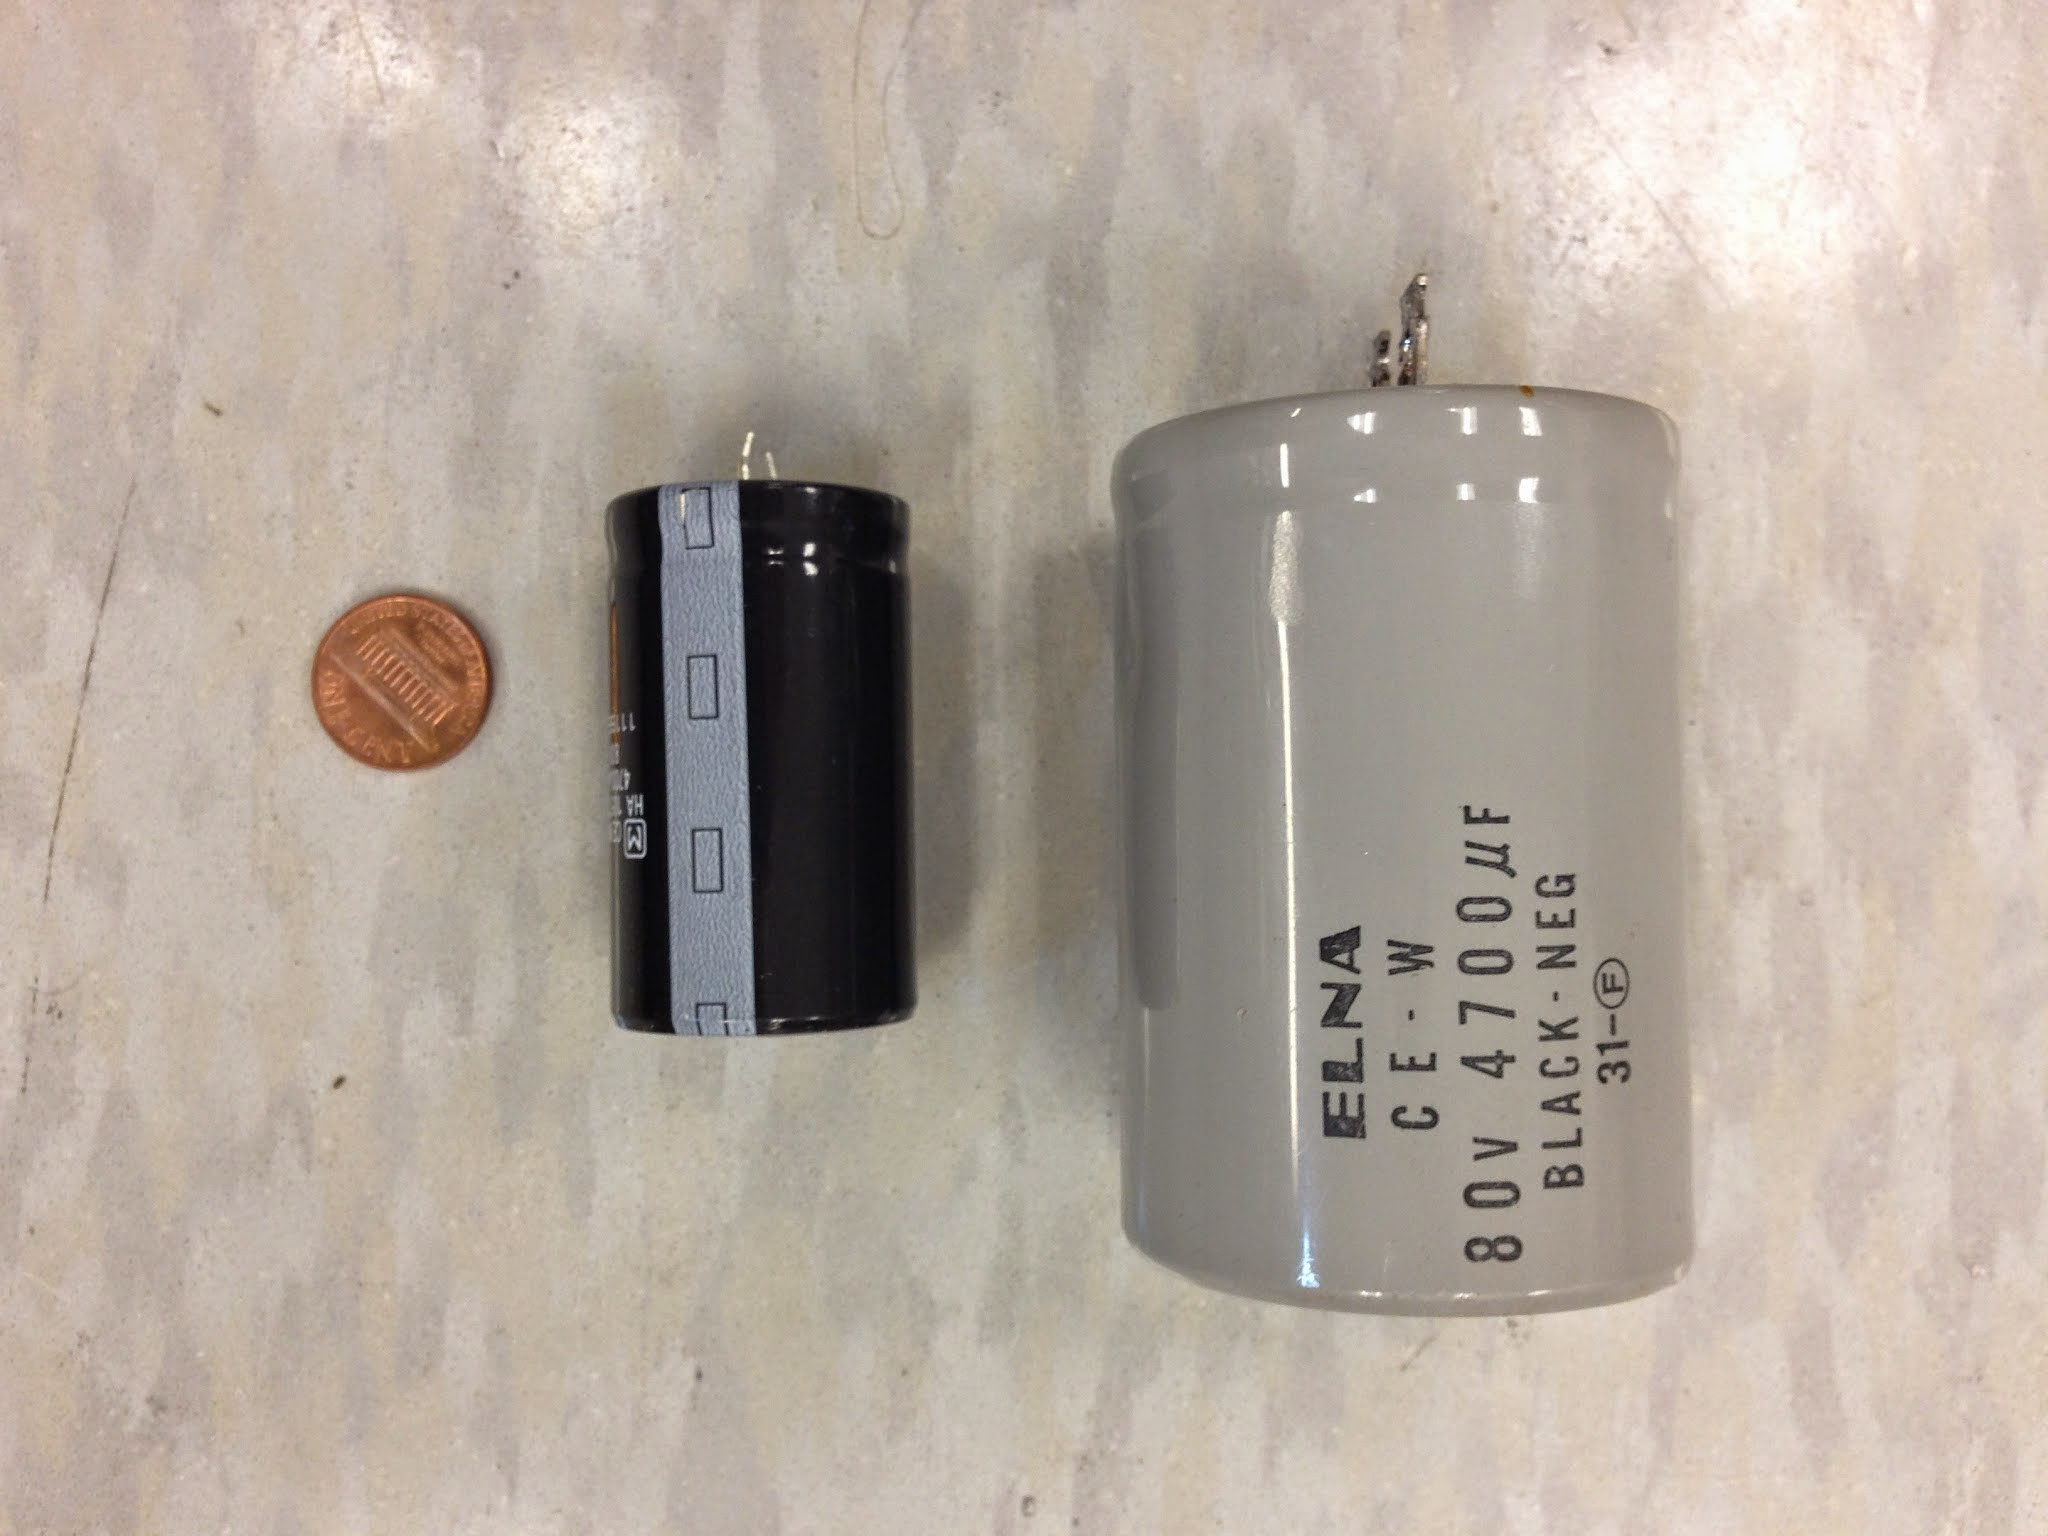
Here is a photo of one of the large power supply caps and its replacement, to show how dramatically cap sizes have decreased over the last 50 years. I had to wrap some foam around the new cap to make it fit in its holder.
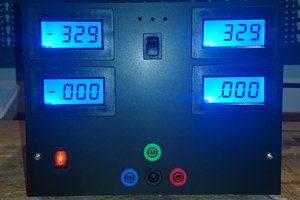
Once the recap was done, it was time to power up and find out where things stood. When powering up electronics that are in questionable condition, it's a good idea to slowly increase the power applied. This way if any of the components inside are drawing more current than they should be, you can catch the problem without causing even more damage. Variacs are commonly used for this purpose, but I don't have one, so I made a dim bulb tester. The 1060 passed the power-up test and I was able to plug it into the wall.
With the unit safely powered, I performed the "maximum power output" test listed in the service manual. This test confirms that each channel is capable of delivering 30W to its load (typically a speaker) at its maximum input level. After that, I hooked up a function generator to the input and a sacrificial speaker to the output. Everything sounded good. I took a look at the output with an oscilloscope and the waveform looked nice and smooth. I tested all the inputs, outputs, and controls and everything seemed to operate normally. Whatever the original problem was, the recap must have fixed it.
I did not perform any further analysis to test noise floor, frequency response, or distortion. I was more interested in getting the amp in reasonable working condition than making sure it perfectly matched its original spec. Maybe one day I will go back and perform these tests.
The final step was cosmetic restoration. The faceplate was very dirty. I read a lot of online forums and determined that the most popular products for cleaning aluminum faceplates were Windex, dish soap, Blue Magic metal polish, and Simple Green. I tried all of these. They did a decent job, but the best performer was actually a Magic Eraser (which I was careful not to use on the screen printing). I performed a few other minor repairs such as replacing missing hardware and fixing...
Read more »


 SUF
SUF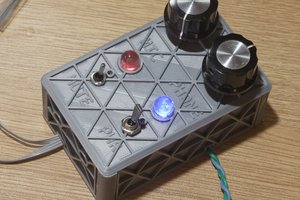
 lion mclionhead
 ric866
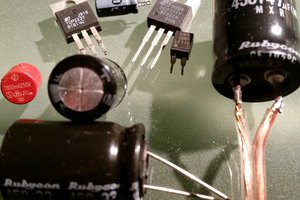
Great, great work! I like the way you fixed the small main cap with foam tape ☺.
Also the idea to get similar looking knobs from China is nice. Less nice is the fact we have to purchase everything from far east instead of having national sources.