 Maakbaas
Now that all the physical components are available it is time to finish the housing and assemble the full clock. First I will talk about the housing design, and the process of getting it printed. After that I will show the final product when it is all put together.
As you could see from the concept drawing in my introduction I wanted to go for a simple and square design of the clock and the housing. Even though I used the most dense LED strip with 144 LEDs per meter, the clock was still going to be over 35cm in length. The good news is that my 3D printer is a Creality CR-10S, which has a bed size of 300x300mm. You might think: hey, but that is not enough... But by printing it diagonally on the bed it just fits!
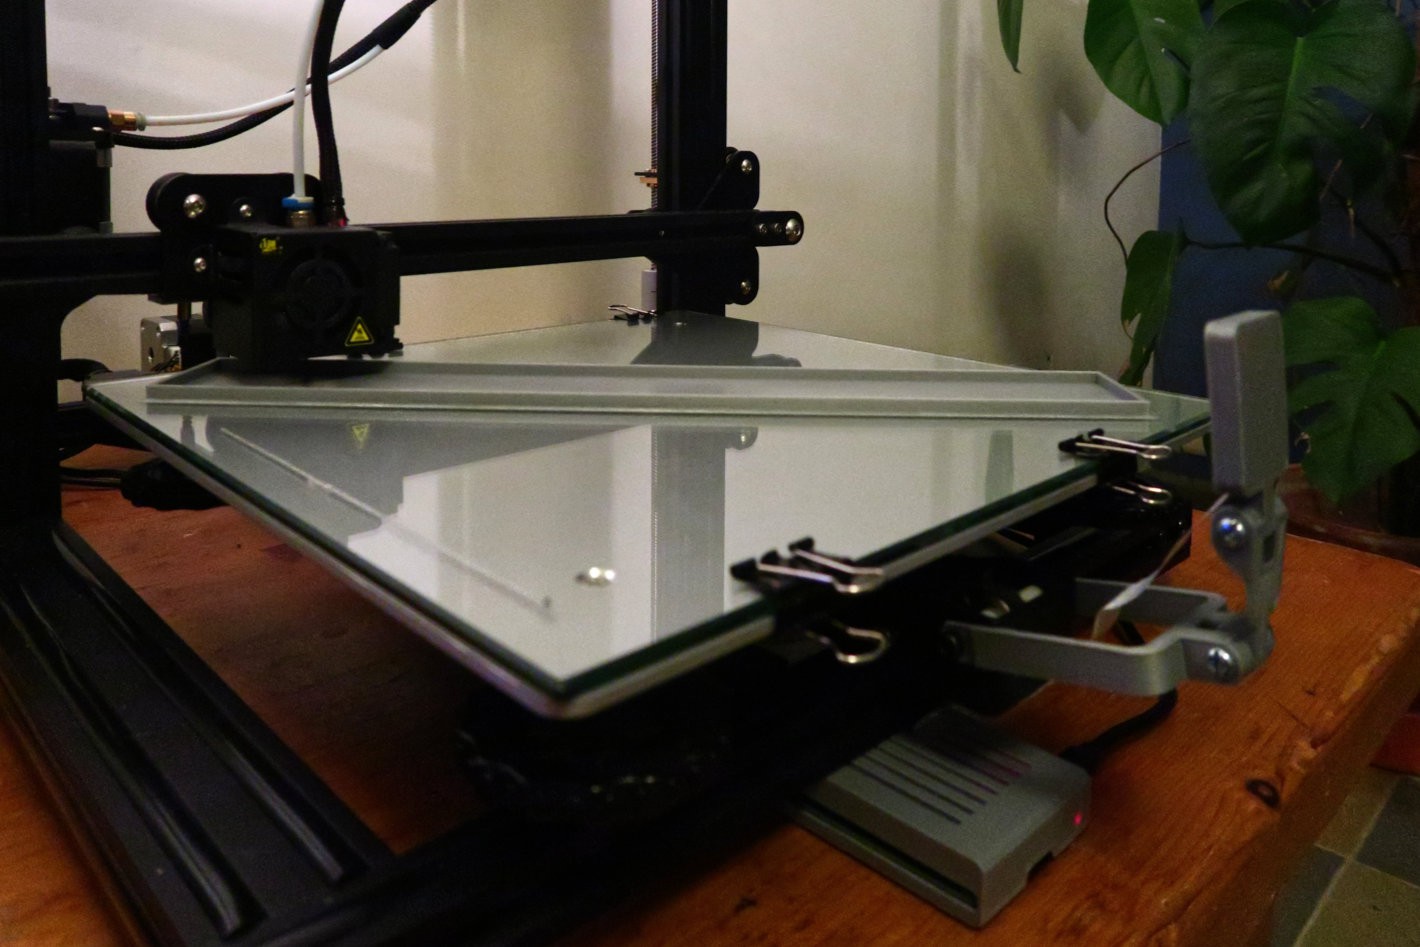
Printing the housing on my Creality CR-10S
This is the first project where I have used my own printer. It turns out that the main benefit of 3D printing at home is not necessarily rapid prototyping, but rather rapid iteration. I designed everything to be press and snap fit into the housing, such that I could always disassemble the clock in the future. However, to make all the fits right I had to go through three iterations. If I would have had to order these three iterations from a service like Shapeways, I would have lost weeks of time, and almost the total price that I paid for my printer.
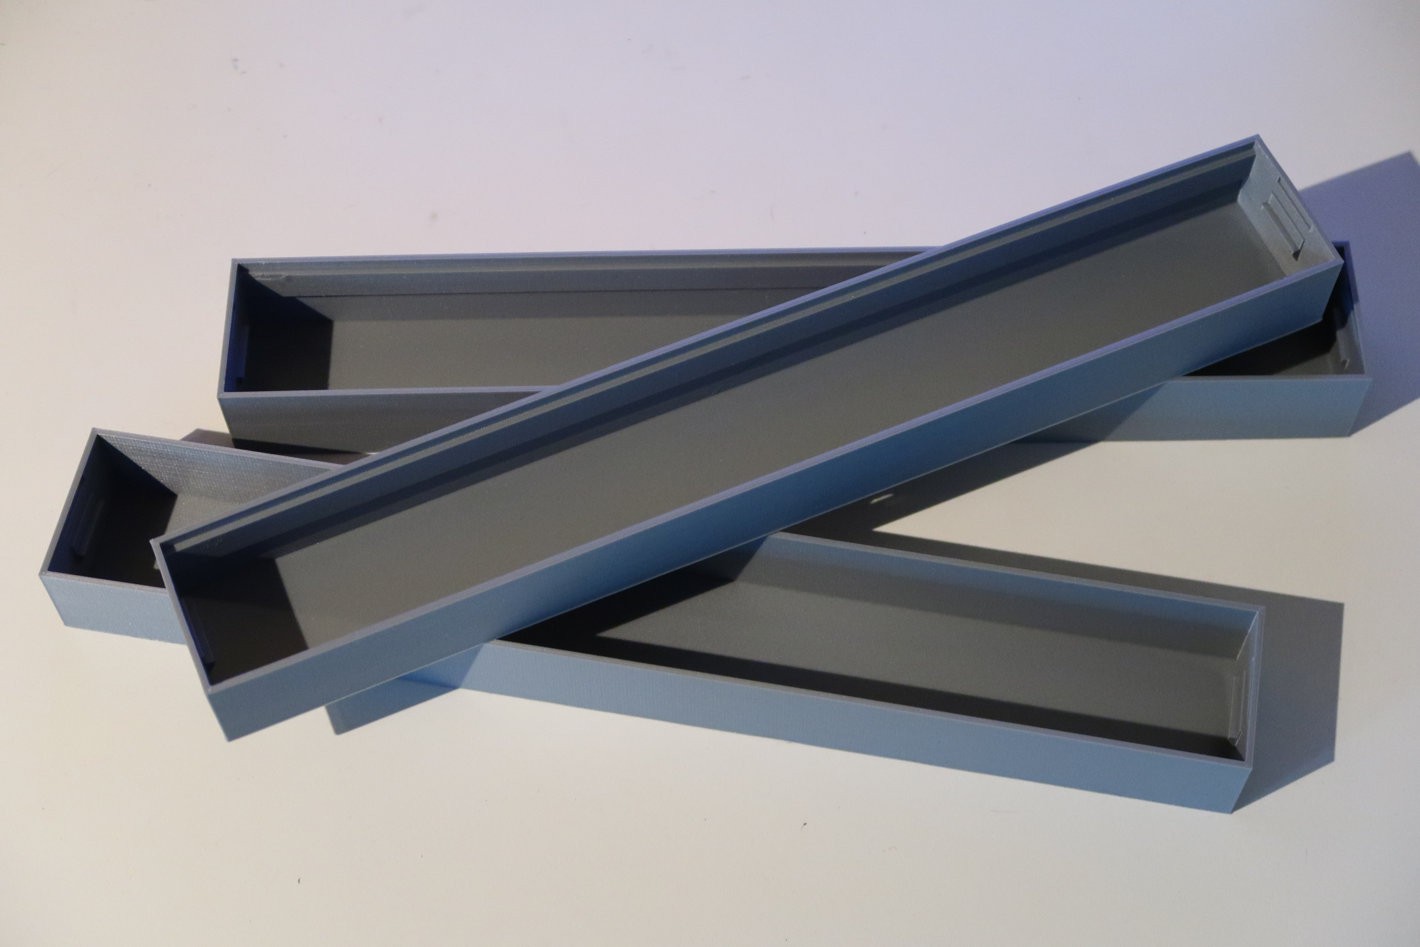
After more than 30 hours of total print time: third time's a charm!
Final Assembly
With the housing finished, it was time to put everything together. I put the ESP8266 at the back side of the frame, to have the core of the clock with the frame, LED strips and electronics into one unit. Next to that I printed two guides to fit the core frame into the housing, as well as a small part to fit the USB port to the back of the housing.
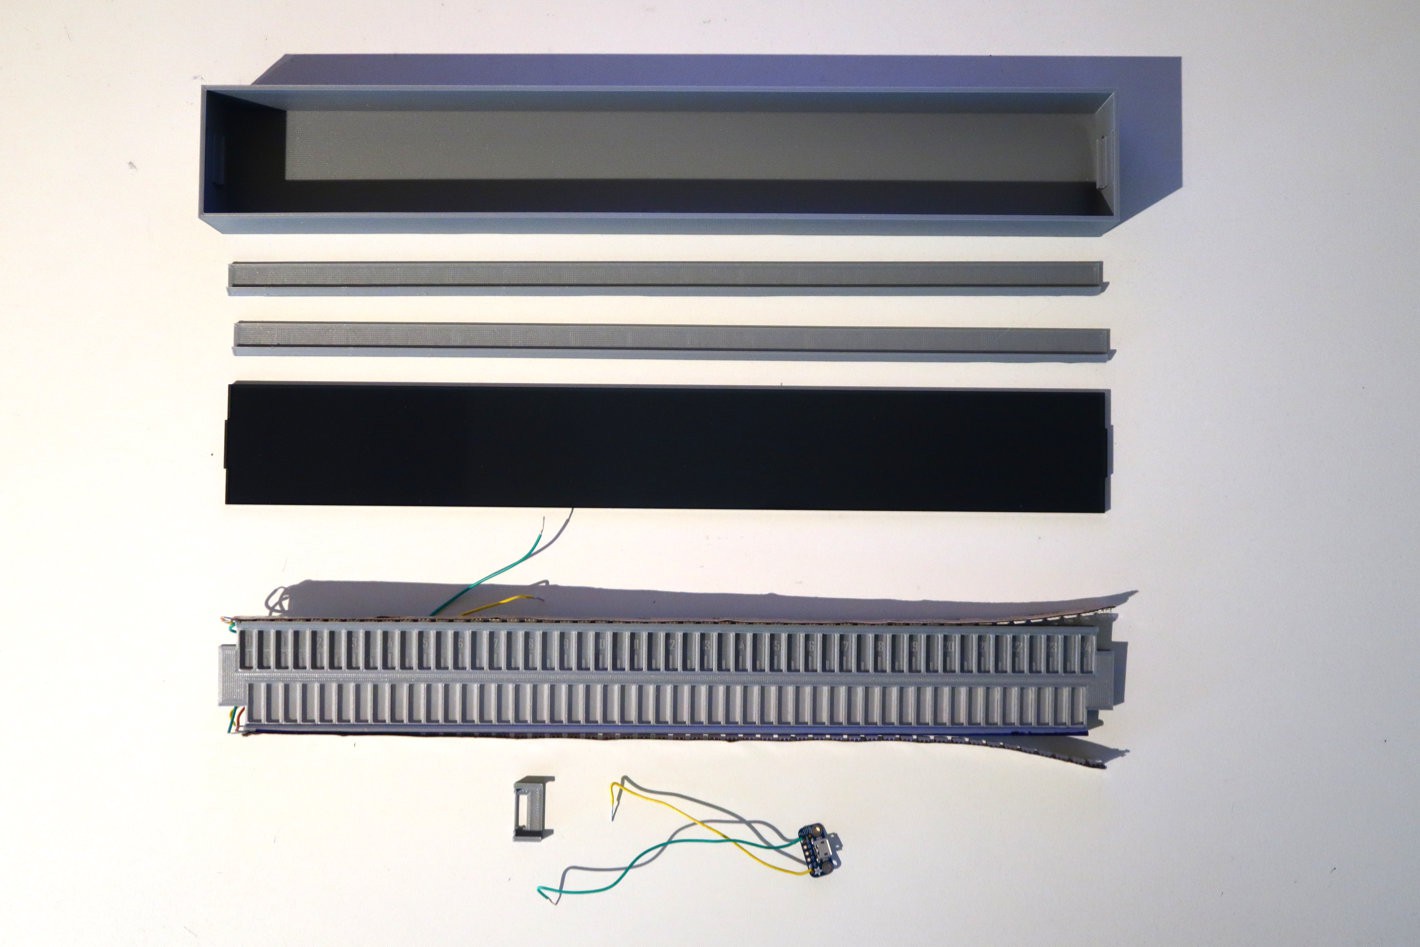
All components ready for assembly
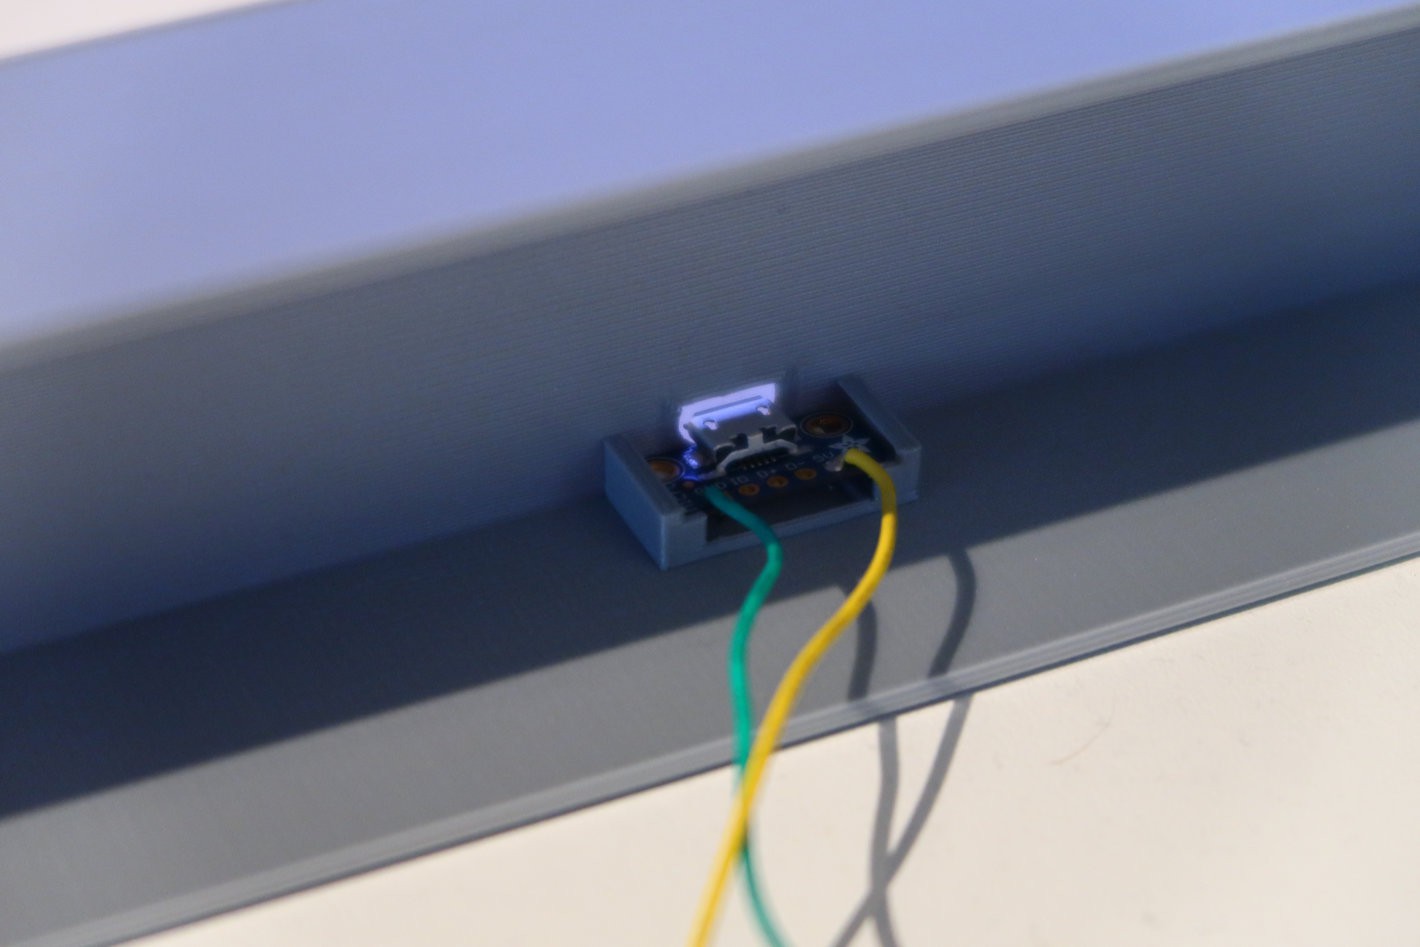
Fitting the USB port into the back of the housing
After putting everything together I am quite happy with the result. You can see the final product in the pictures below. In the next update I will go into more detail into the software and discuss which data I want to show on it, and how to display it. So far I mainly focussed on the hardware and did not really work on the software yet.
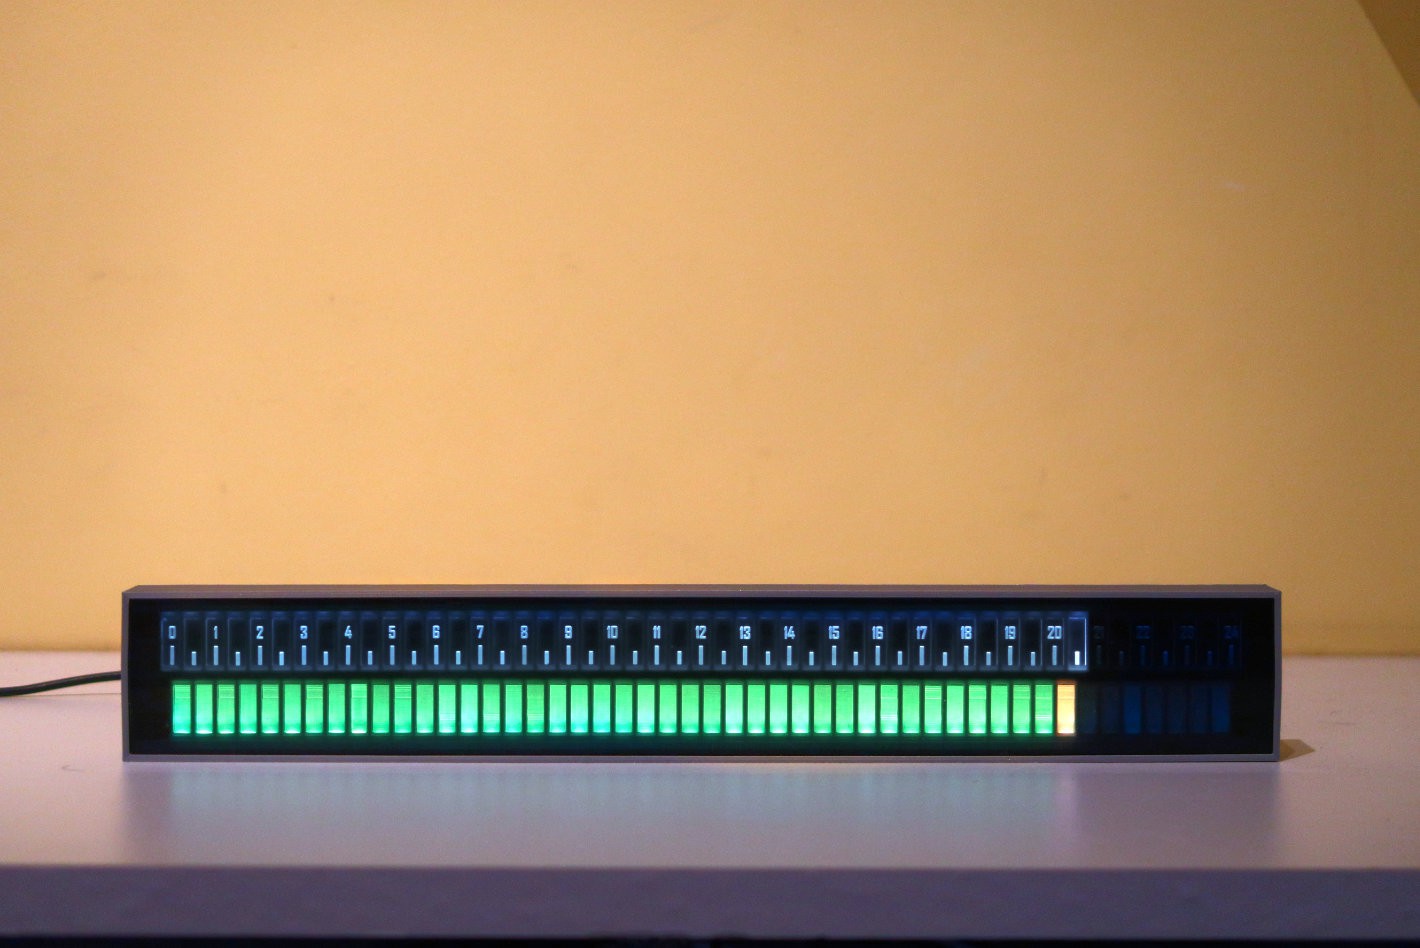
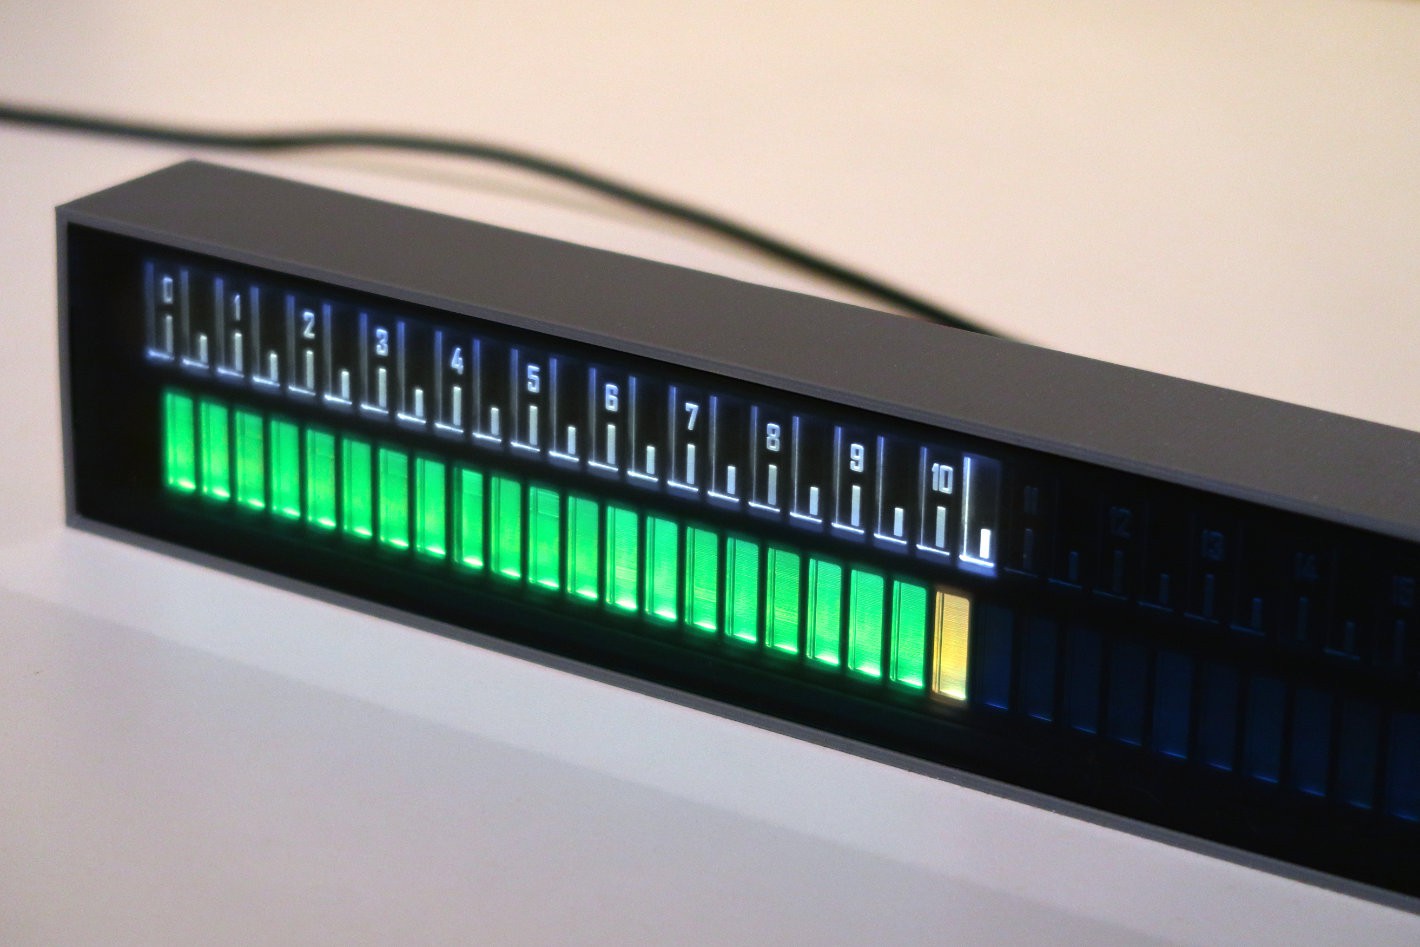
The finished clock after assembly
Discussions
Become a Hackaday.io Member
Create an account to leave a comment. Already have an account? Log In.
Very nice!
Now that I've got my 3D printer for a few months I should definitely re-design my linear RGB clock and create a printable case for it so people can build it less hassle and build-steps too!
Very true words on why to own a printer, too. The rapid iteration possibility really is the main strength of the technique.
Filament is quite cheap at 30€/kg for the better stuff. Did you use Prusas Galaxy silver? Sure looks like it and print quality is awesome!
Are you sure? yes | no
Thanks for your comments, I have seen your clock as well in the past and was also impressed with the build quality and materials!
Filament used is Devil Design aluminium :).
Are you sure? yes | no