 Chris Combs
The prototype software worked fairly well. I tuned it further to eke a few more frames per second (examples: skipping displays if their contents hadn't changed, using i2c block transfers, rewriting some pixel effects in scipy), and ended up around 27fps for most of the renderers.
Fast forward a year! I got distracted with some other projects.
I showed the prototype in another art show at VAE Raleigh in the fall of 2019.
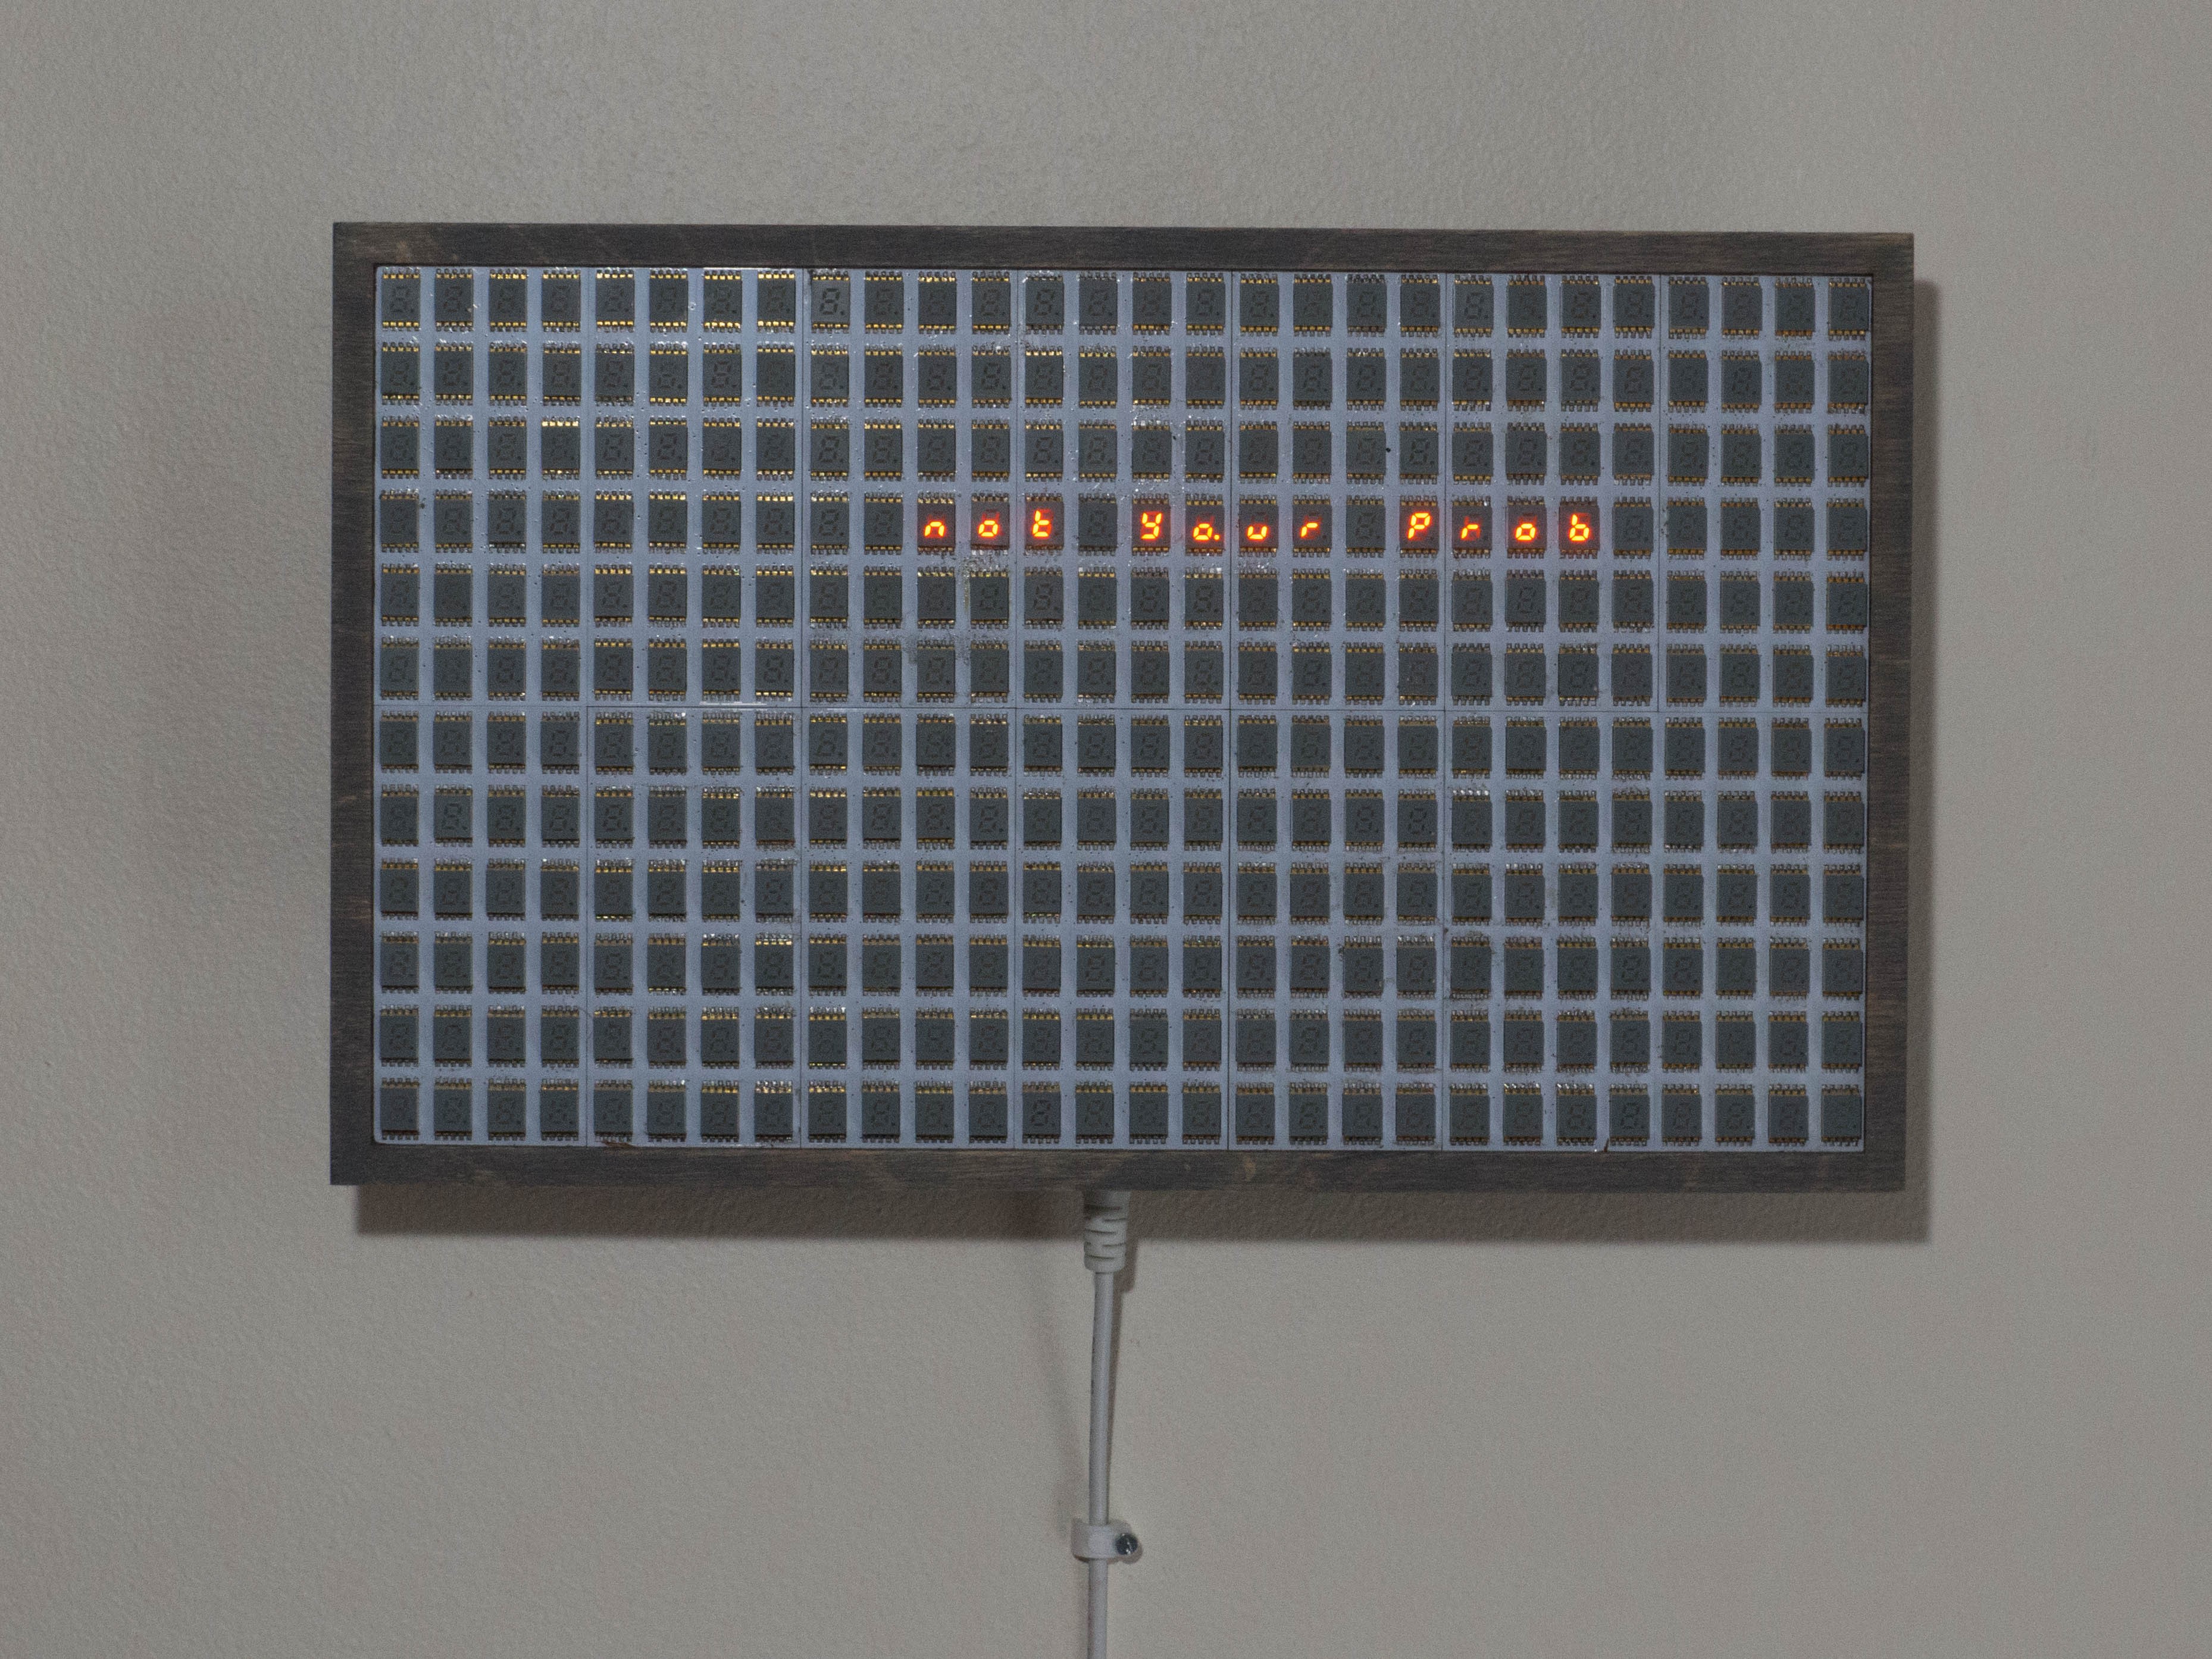
(did I mention it has some text based easter eggs?)
The prototype was fine but I felt that its enclosure was a little too nice and approachable. I felt that something about cold, hard numbers should probably feel like a cold, hard machine--ideally an ominous mainframe. So I revisited my favorite computing history reads, got some inspo from a few enclosure catalogs, and slowly pieced together a way of fitting it into a powder-coated steel frame.
I should mention at this point--I live in a 1-bedroom condo with my extremely patient s.o. and don't really have a garage-type space for doing big fun machining tasks or extra-stanky painting methods. So that takes out a lot of my enclosure-related options.
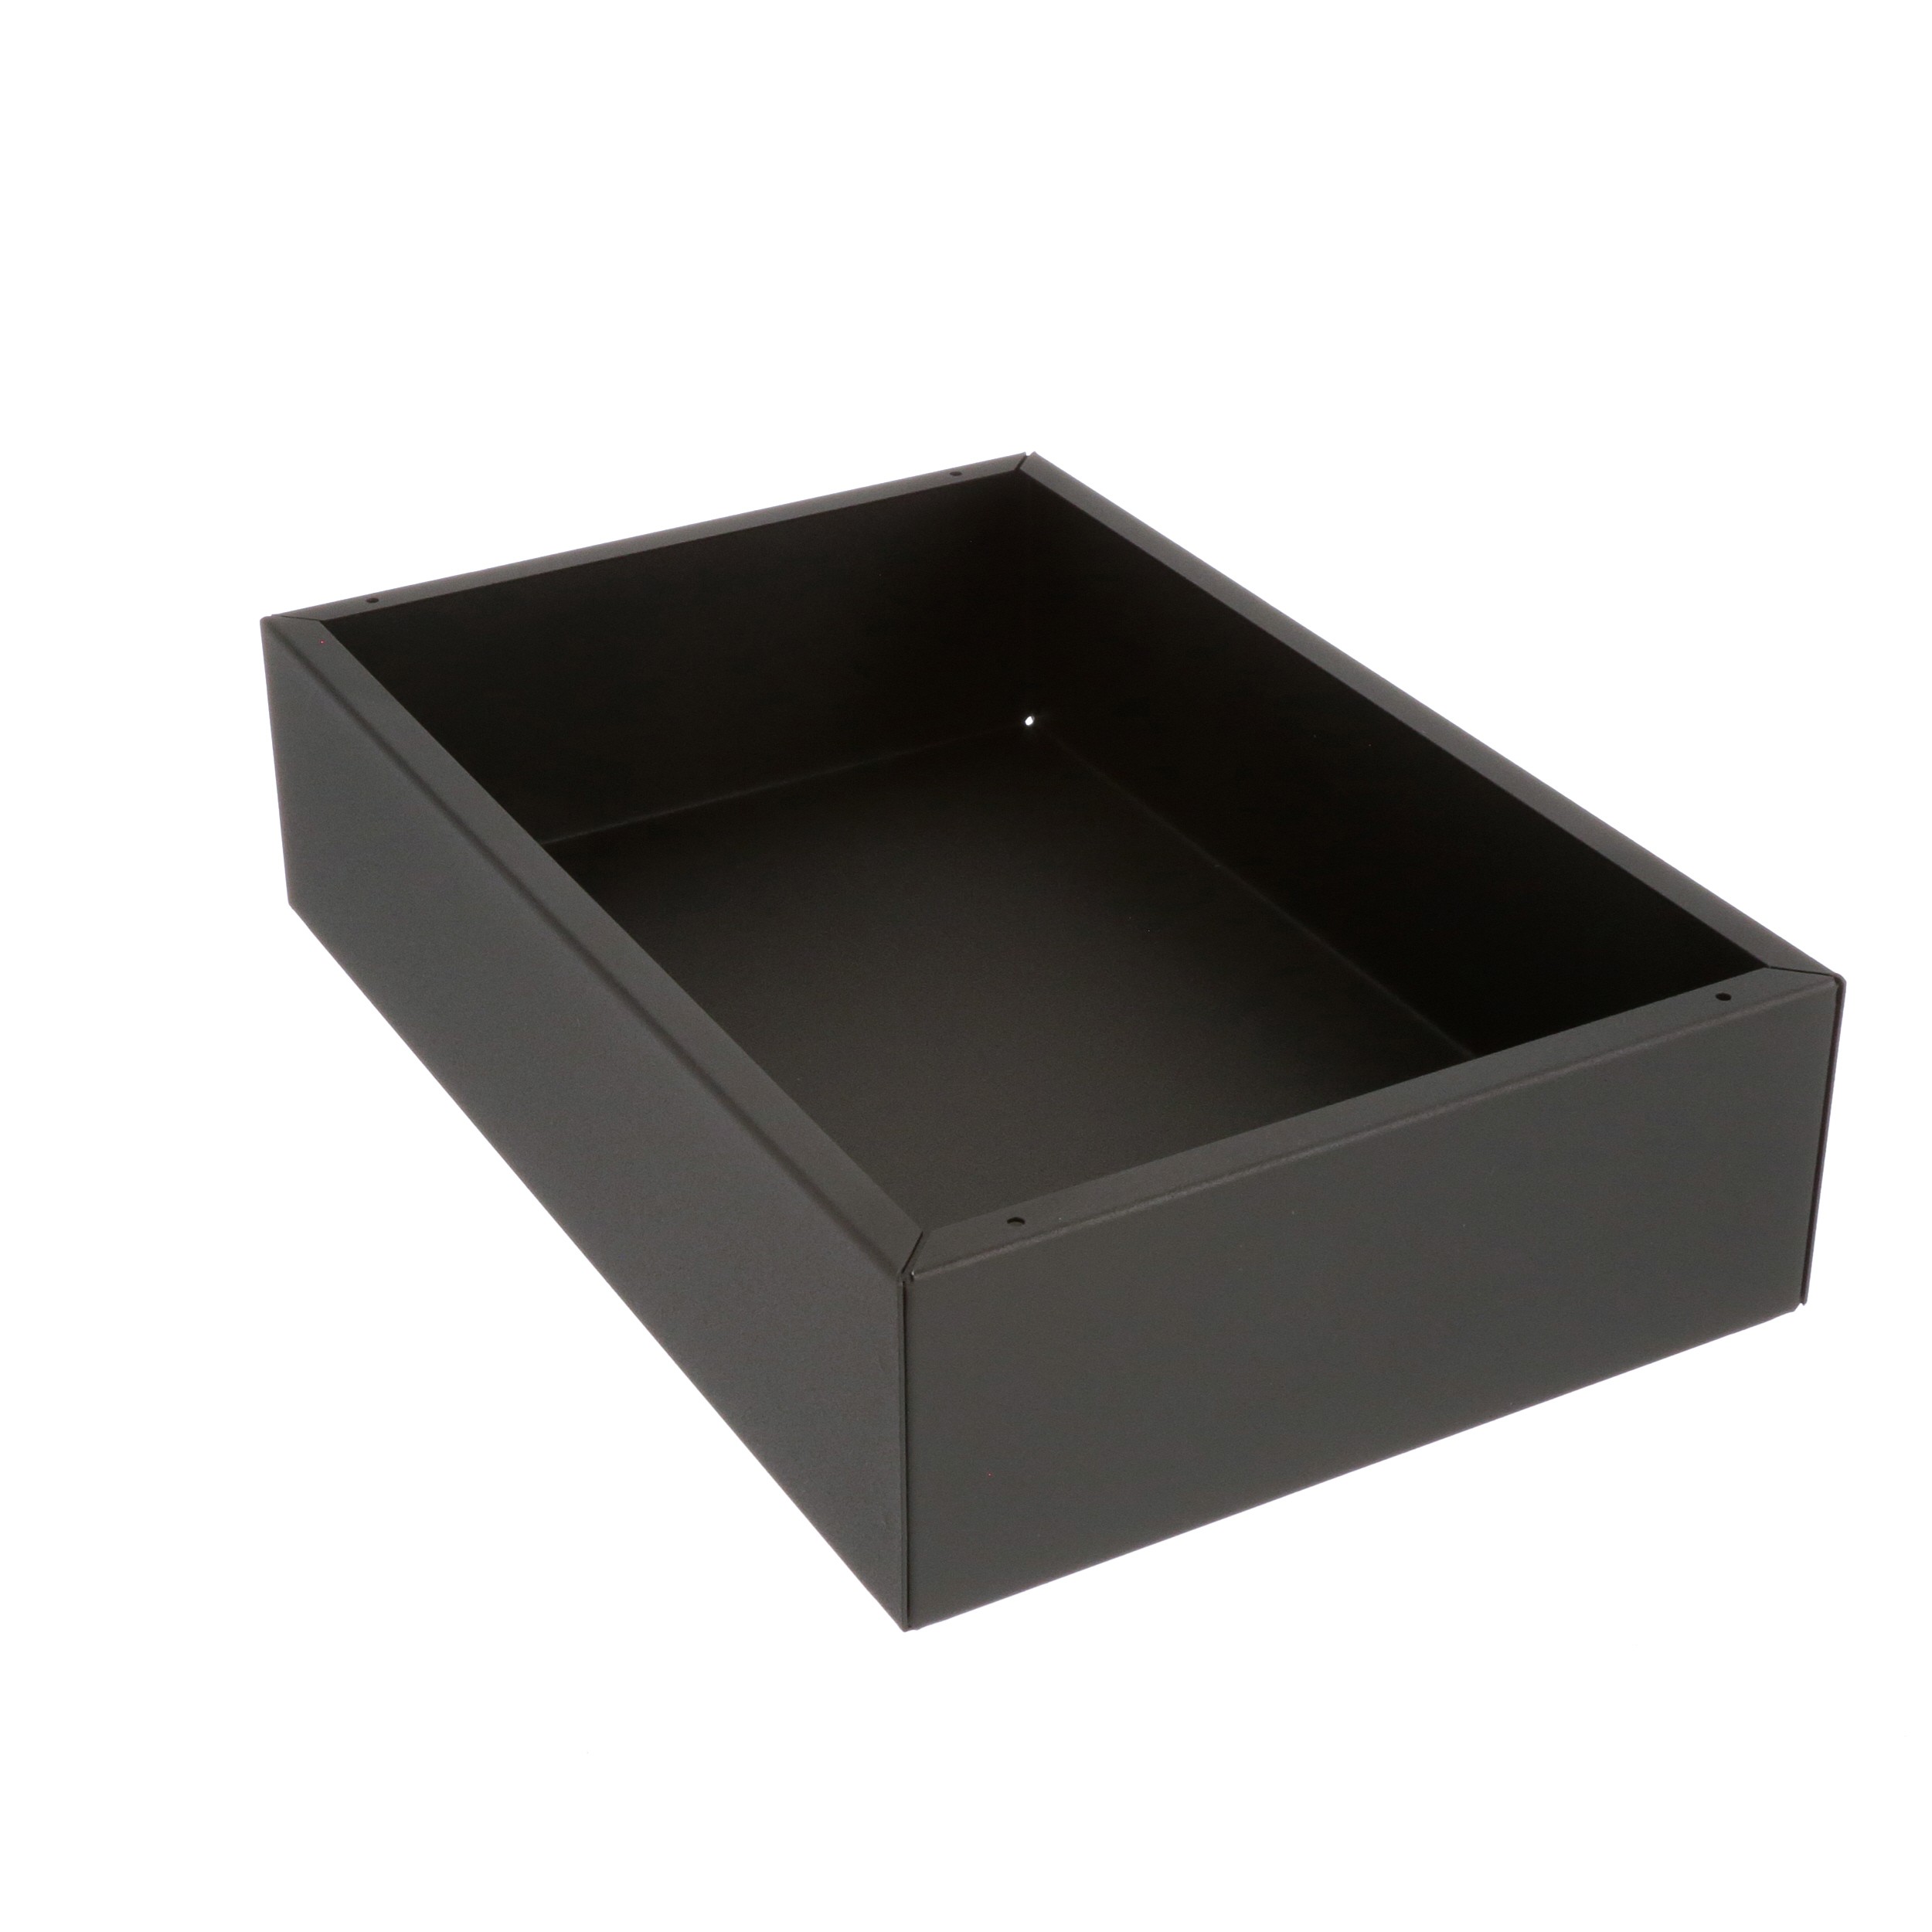
Luckily for me, Hammond's product line includes a 12x8x3" black powder-coated steel case that seemed extremely promising. I ordered one, along with its perfectly-fitting front panel, with the idea of machining either the case or the panel with cut-outs for the sensors and screen.
The opening on the front of the case ended up being an EXACT fit--down to the MILLIMETER--for the assembled panel. I mean this in a bad way--I could barely fit it inside! Don't skip your tolerances when reading those fancy diagrams, folks, lest you repeat this artist's near-mistake.
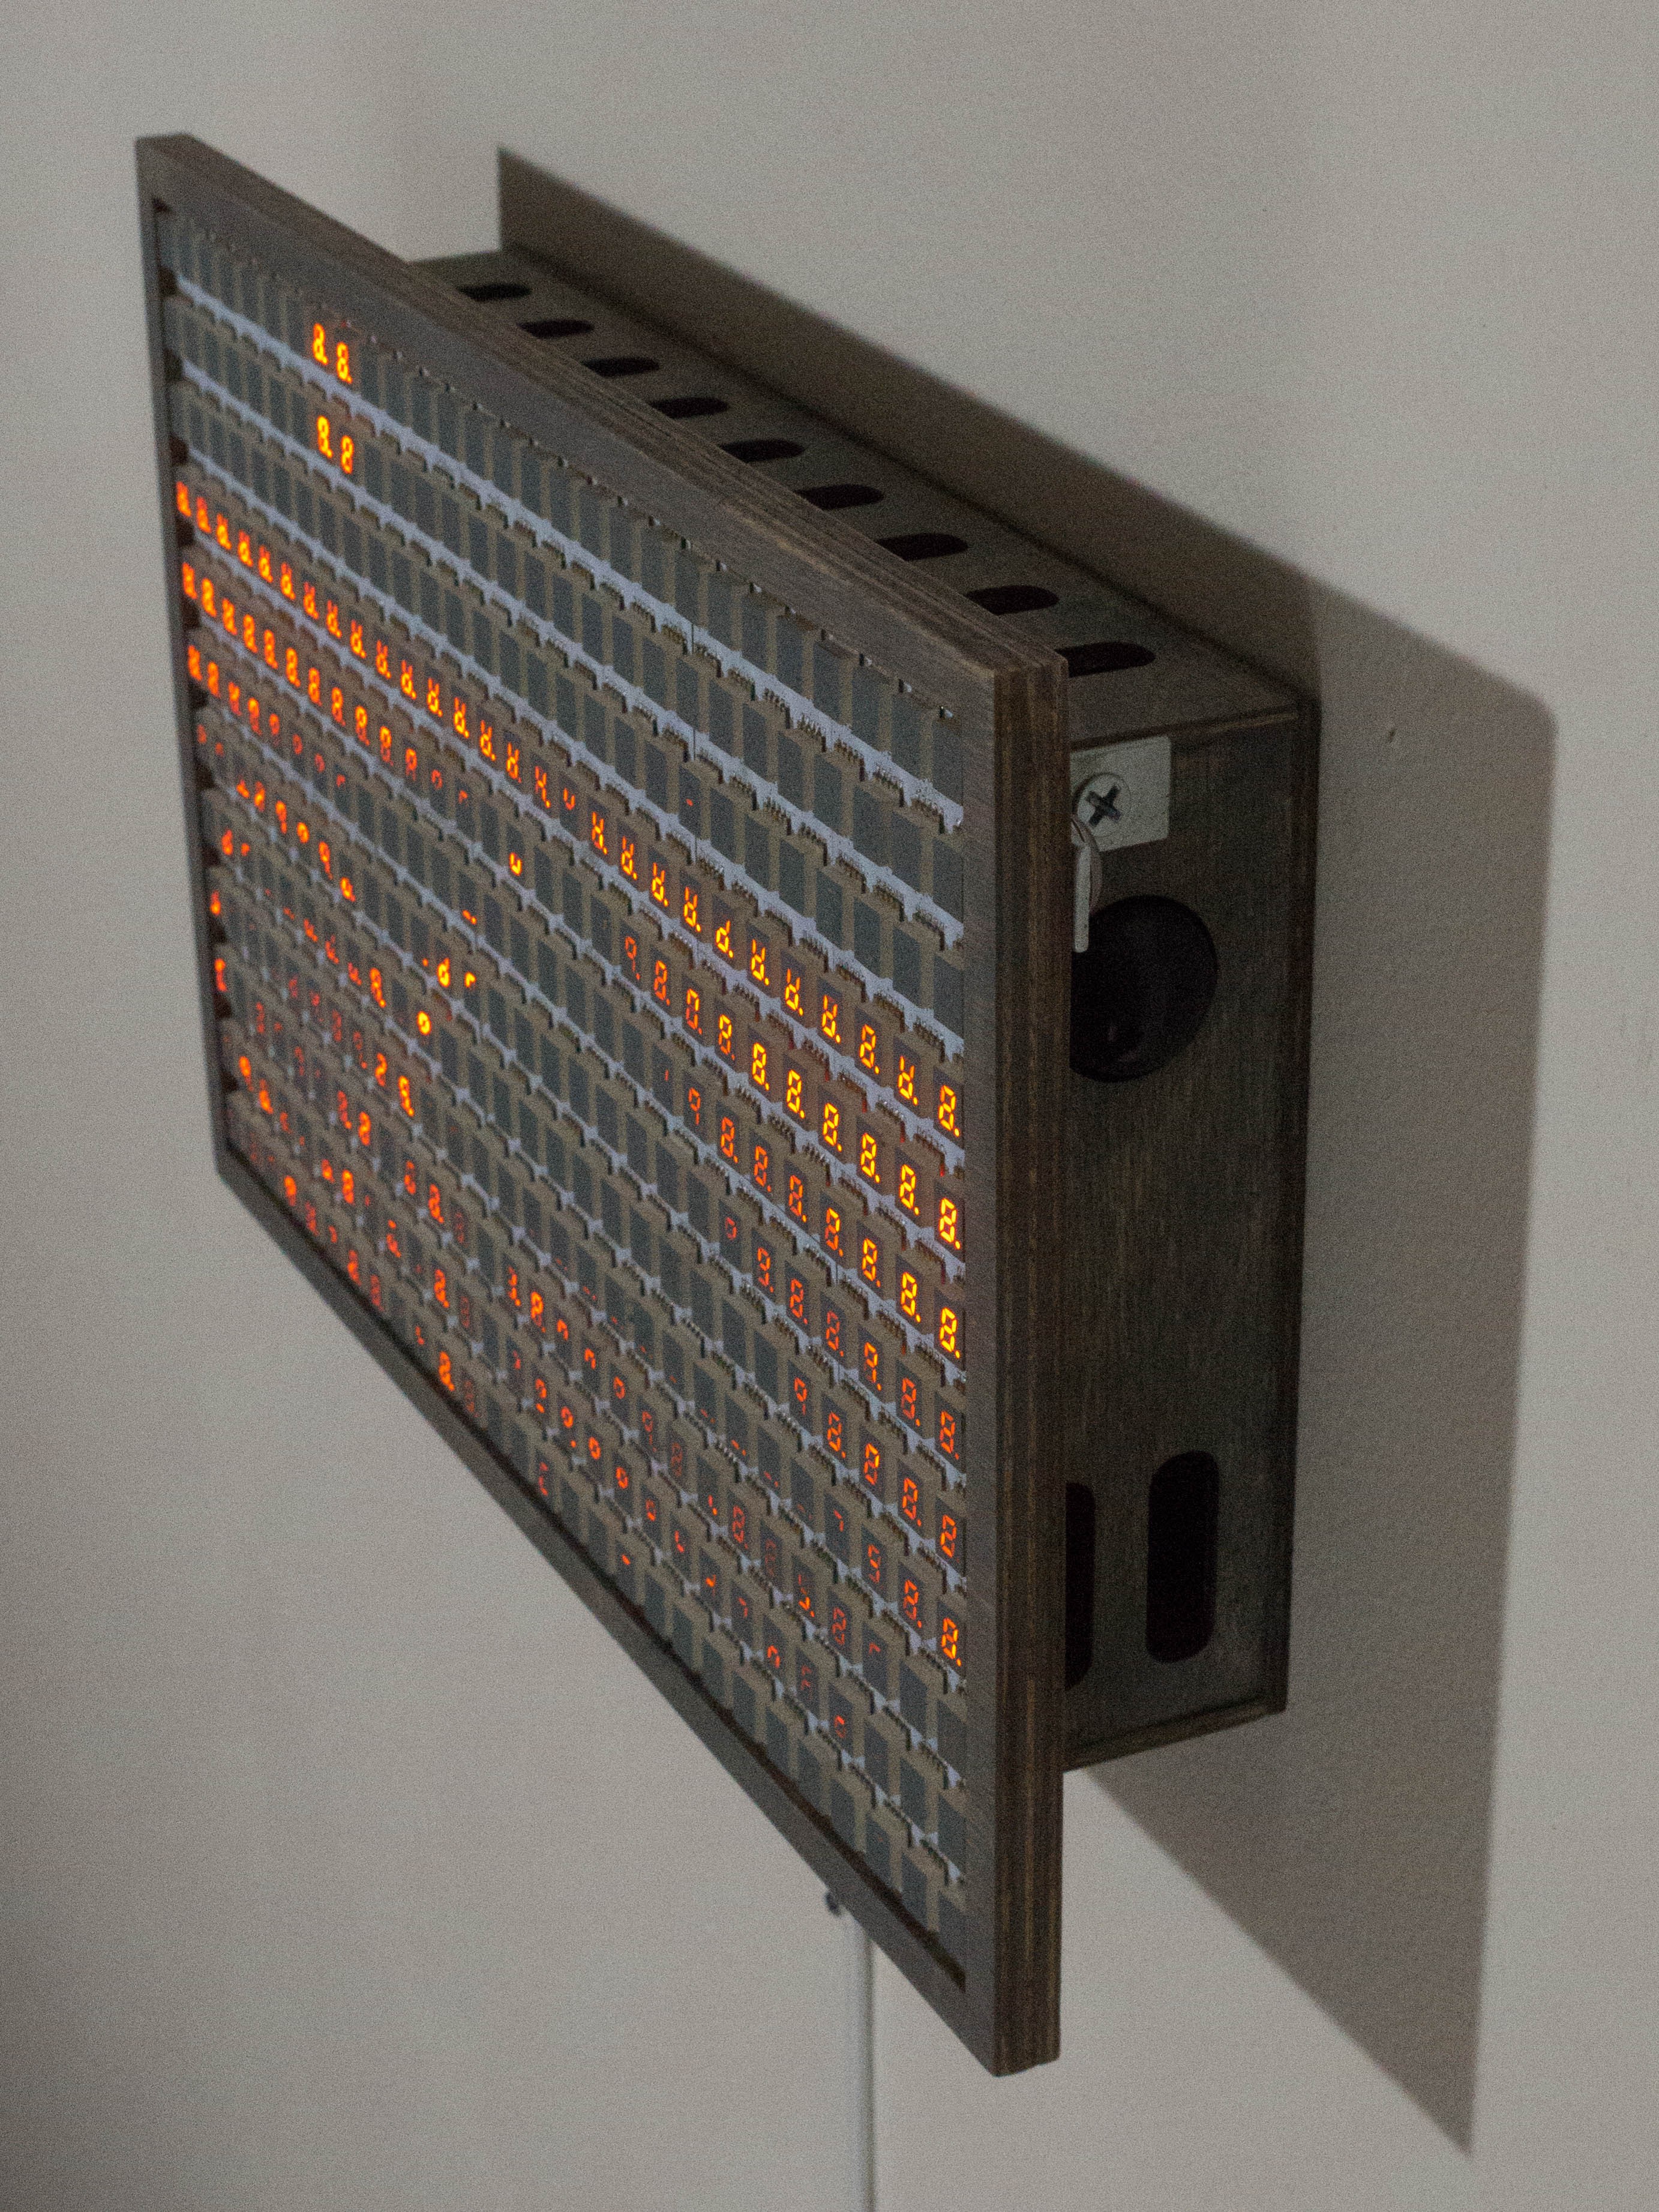
I ended up cajoling the panels to fit. I used a center punch and drill press (ok I do have one of those in the basement, heh heh) to get nice clean starts for each of the 12-24mm round cutouts required. Then I inished them with a step bit in a handheld drill. That plus some filing/reaming/judicious X-actoing let me clean up the holes well enough. Just one last piece of the puzzle--how to trim everything up?
Acrylic! I ordered three different degrees of smoked acrylic from good ol' Inventables and headed down to the (now back in commission) laser cutter at the DC Public Library. I cut a front panel, tapped the screw holes provided by Hammond, and cut out a few extra trim pieces from black acrylic. A small army of 50mm standoffs plus these acrylic trim pieces let me frame the display neatly inside the front of the enclosure, leaving plenty of room for the sensors and Pi, which I neatly adhered into the enclosure. The front smoked acrylic panel worked out very well. I didn't end up using the Hammond steel panel at all--guess it'll find its way into another project.
before:
after:
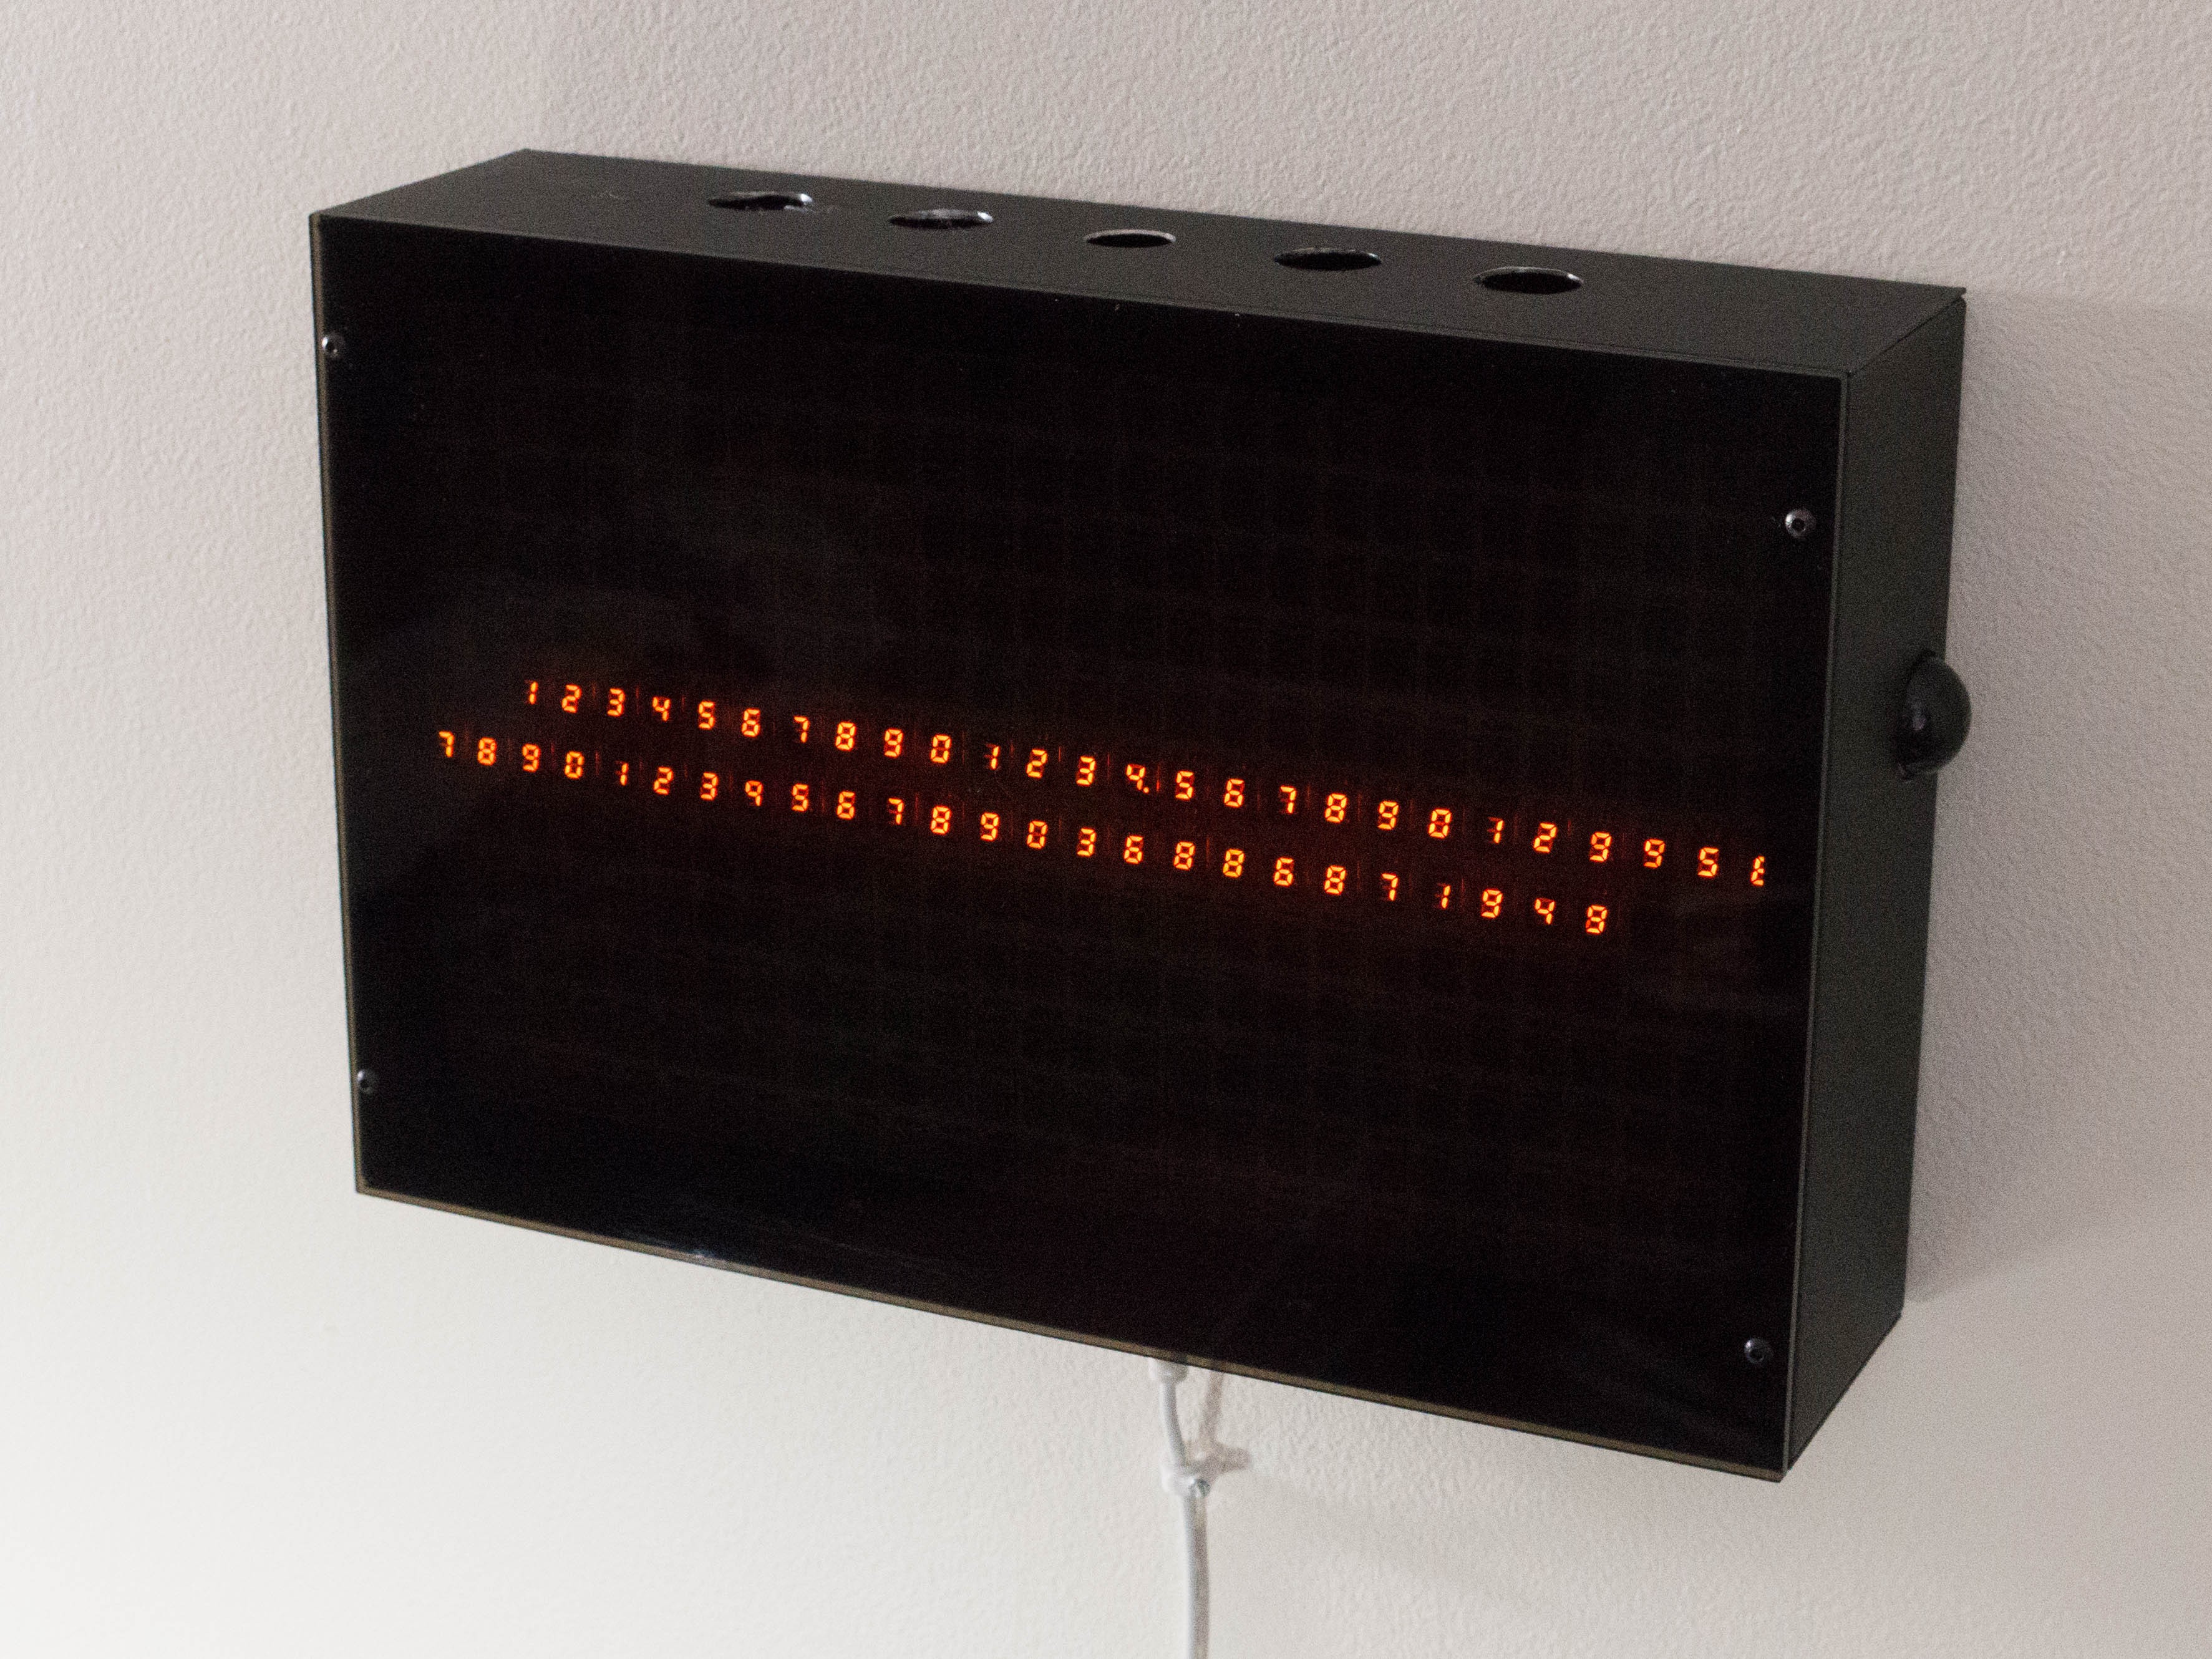
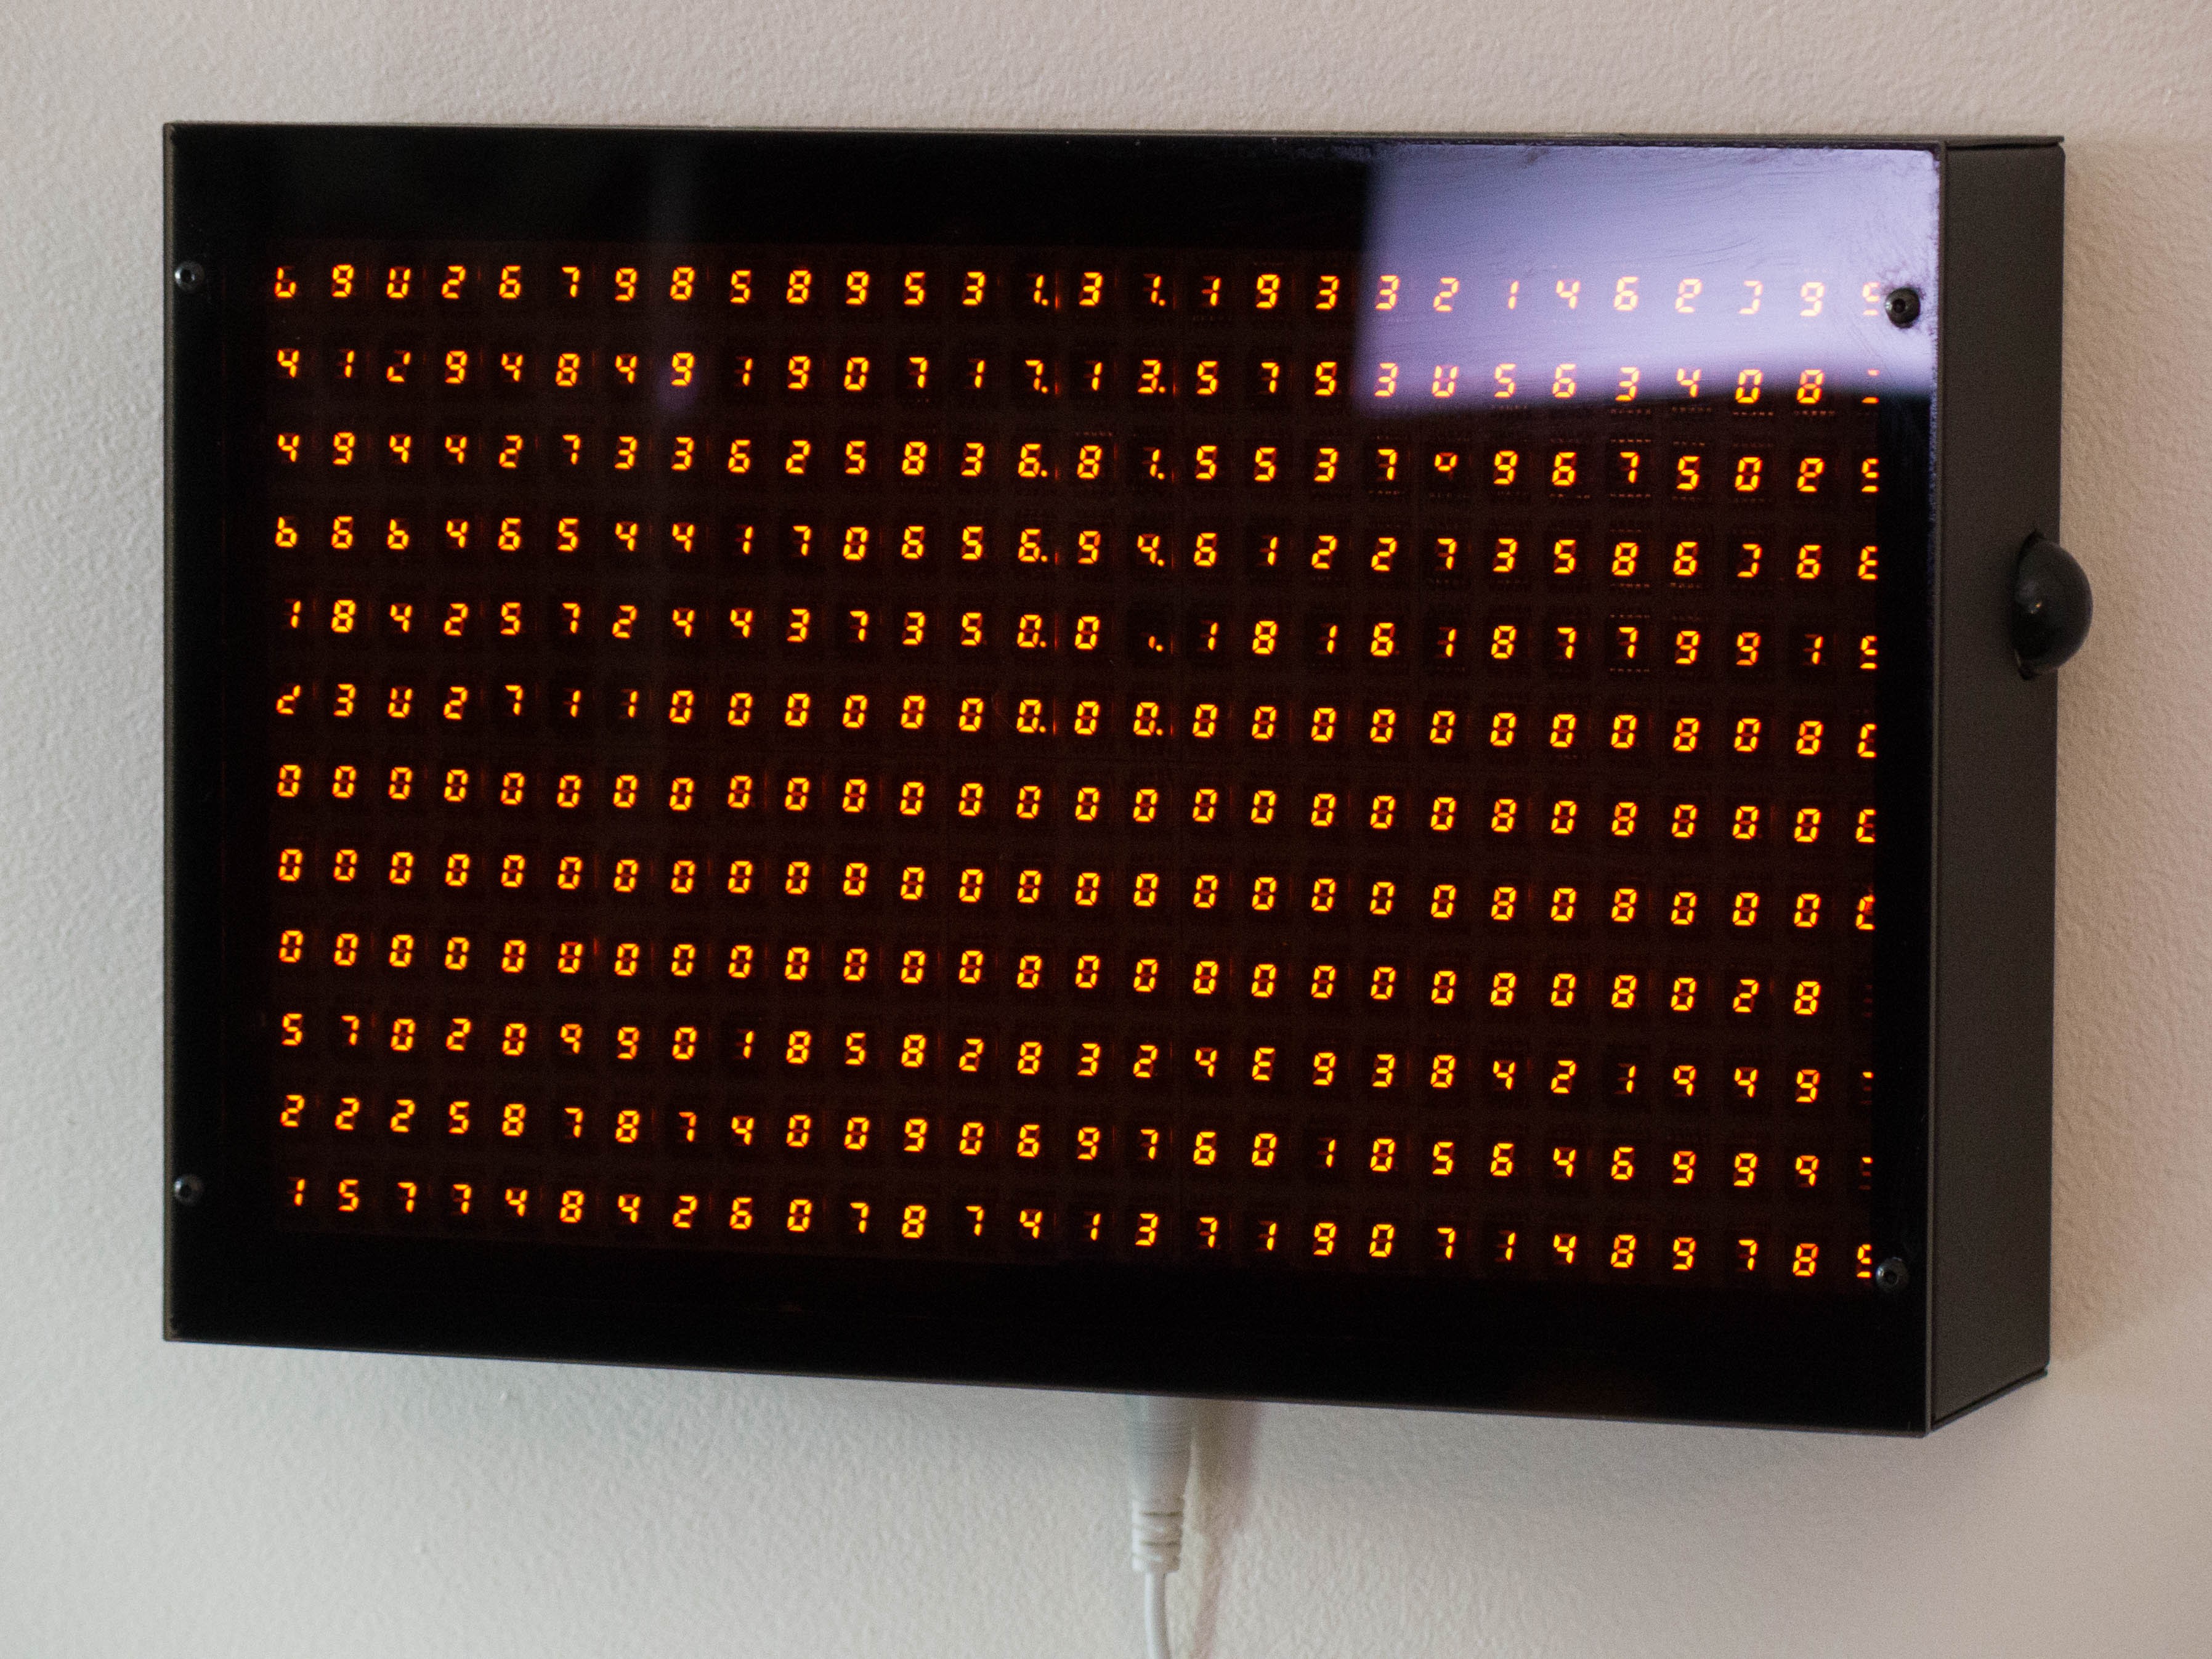
The only remaining wrinkle was figuring out how to photograph the piece with an extremely glossy front panel. Taking over the condo for a few hours, killing all the lights, and setting up at an oblique angle, I was able to get a few frames and videos.
And that's how this project ended up. Let me know if you have any questions or ideas. More of my work is at chriscombs.net, instagram, facebook. Thank you for checking out this build log!
Discussions
Become a Hackaday.io Member
Create an account to leave a comment. Already have an account? Log In.