 Ahron Wayne
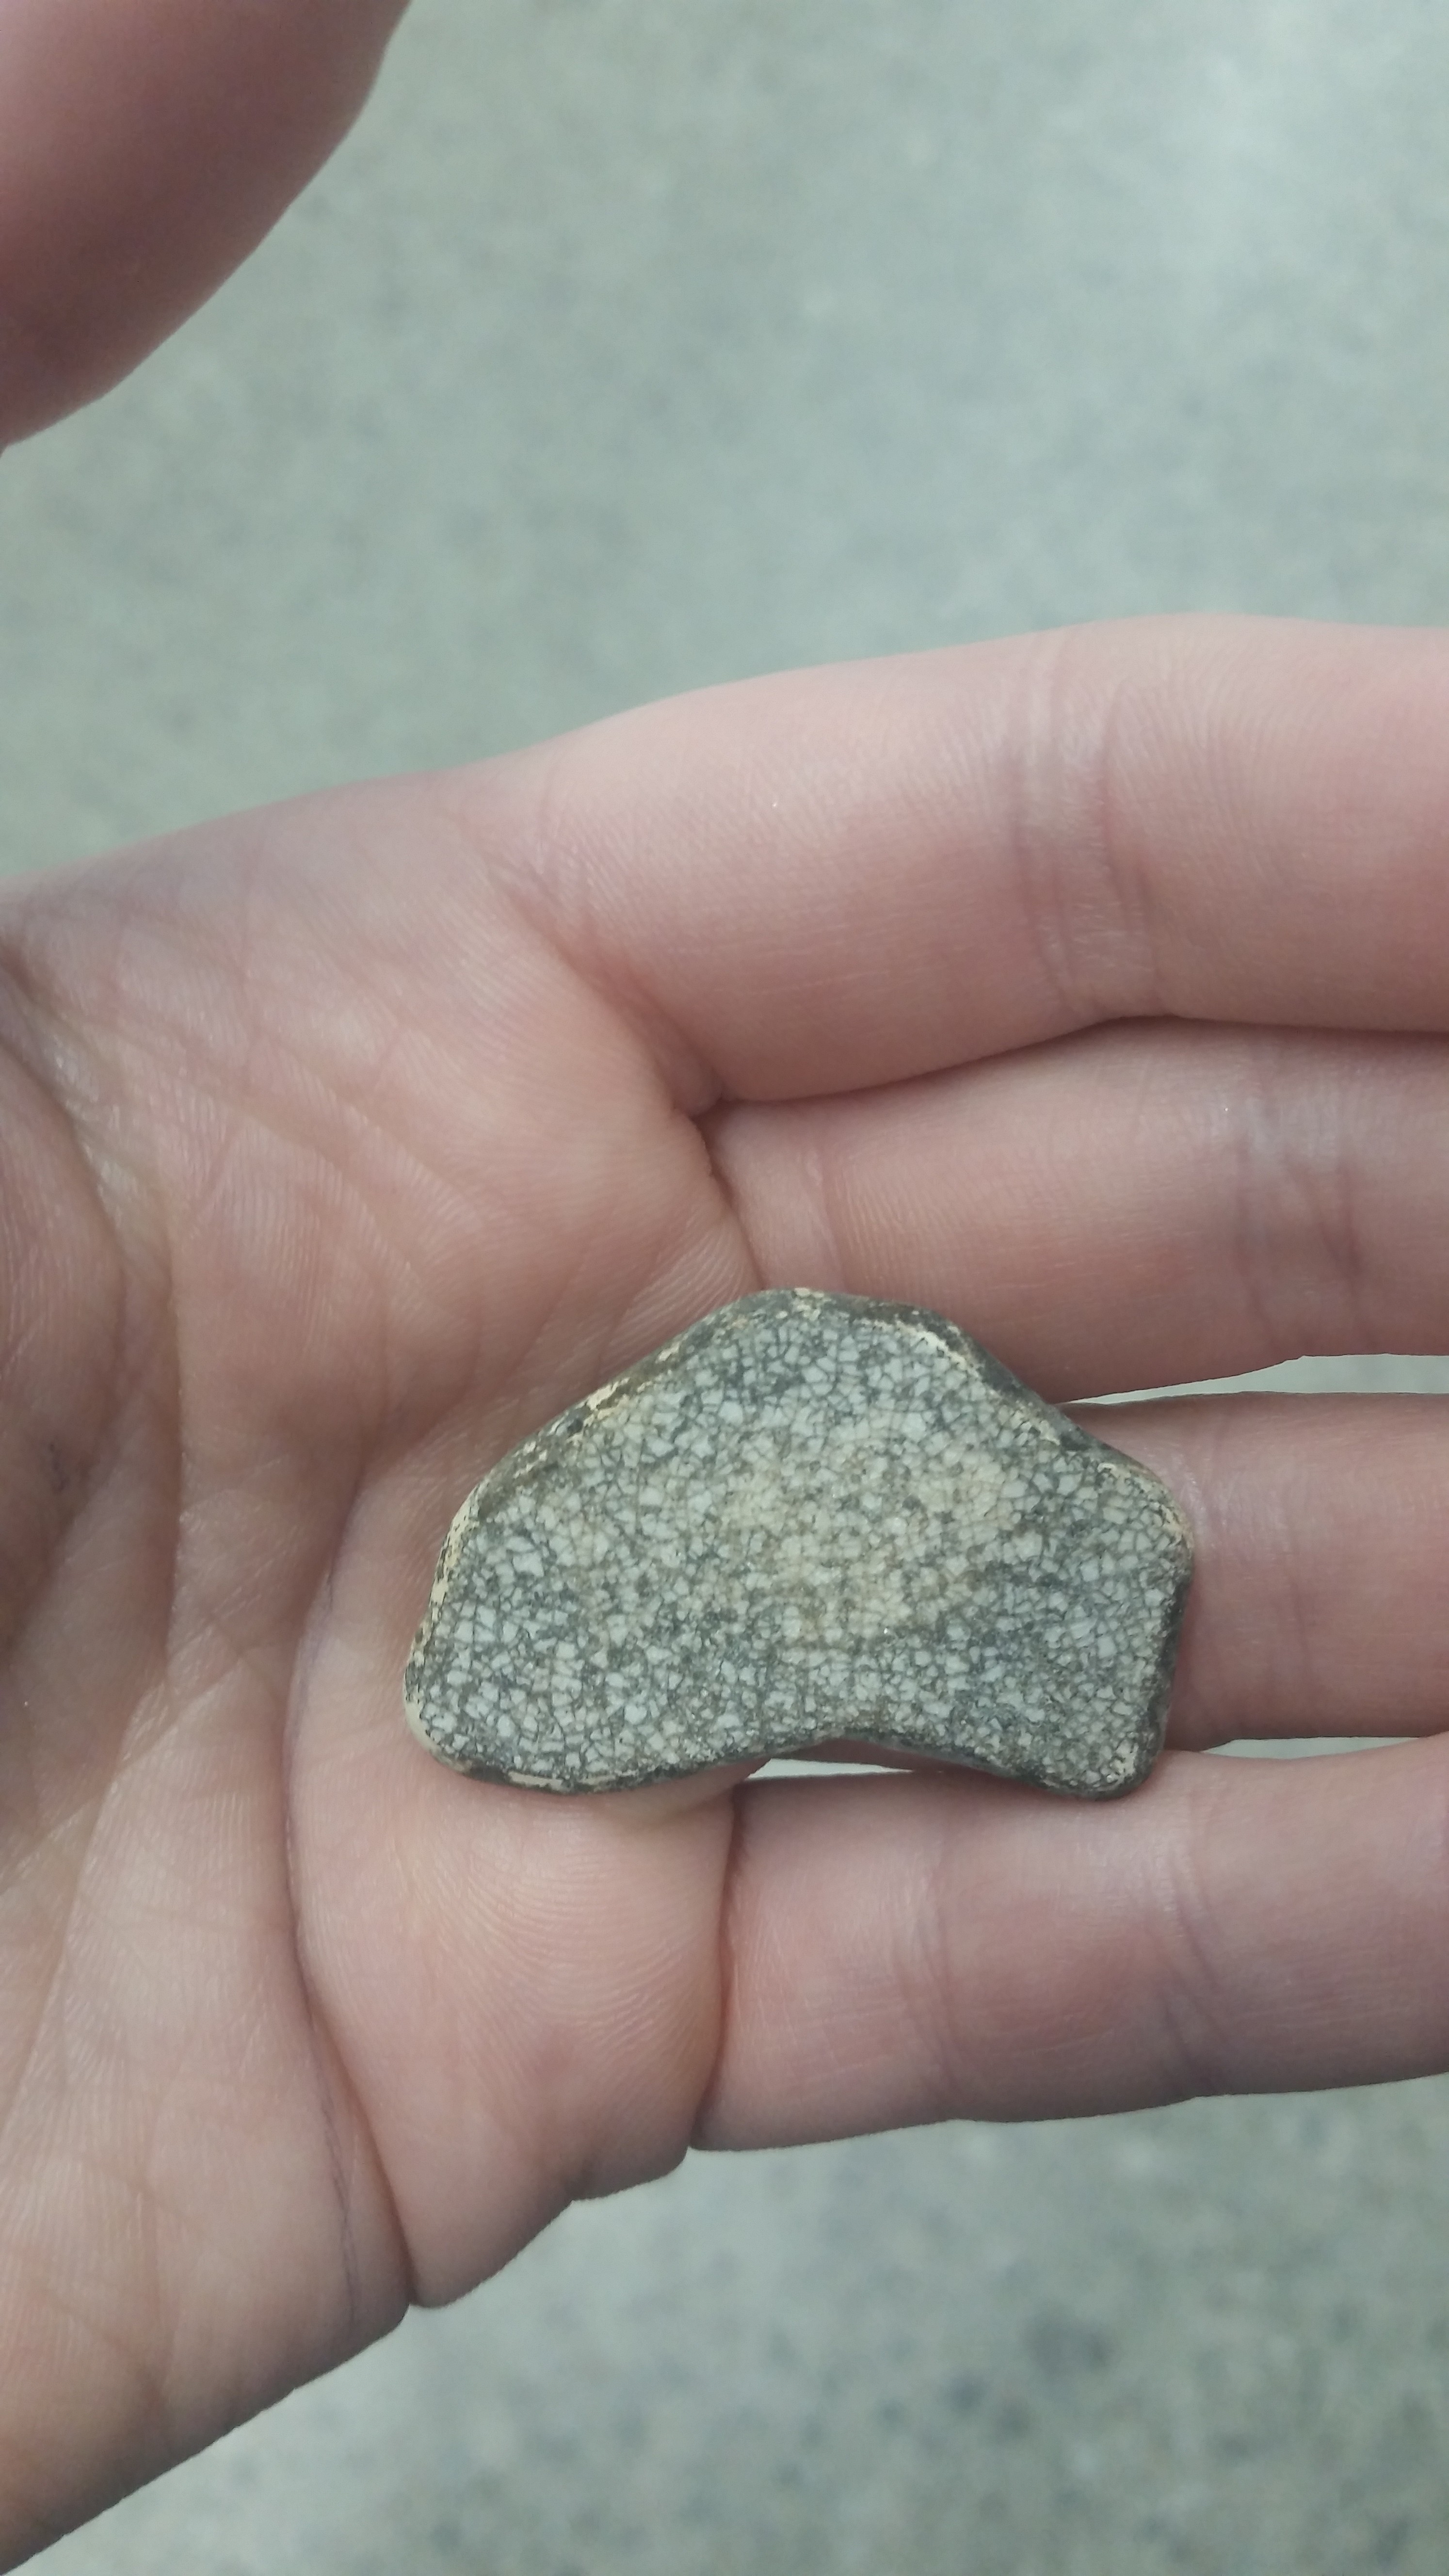
Emboldened by the success of the last rock, and driven by the potential for geological applications, of which there are many, I went and gathered some rocks from my house. Some of these are just random things picked up while others I borrowed from the resident ex-geologist. Being flat was the most important thing.
I also spent time calibrating my system, instituting crude-but-better speed controls (for instance, if moving only a few steps, not blasting it as fast as possible and causing vibrations). I also determined how many pixels displacement per step there were at different focus/magnification configurations, which would let me calculate percent overlap in the X and Y dimensions for each picture. I've been going with round step number up until now, but it's better to use round displacements instead.
Here's a rock:
And this is it scanned at "low-medium" resolution, or 1 pixel per step displacement, with just 10 percent overlap between the X and Y dimensions each time (just 9 pictures):
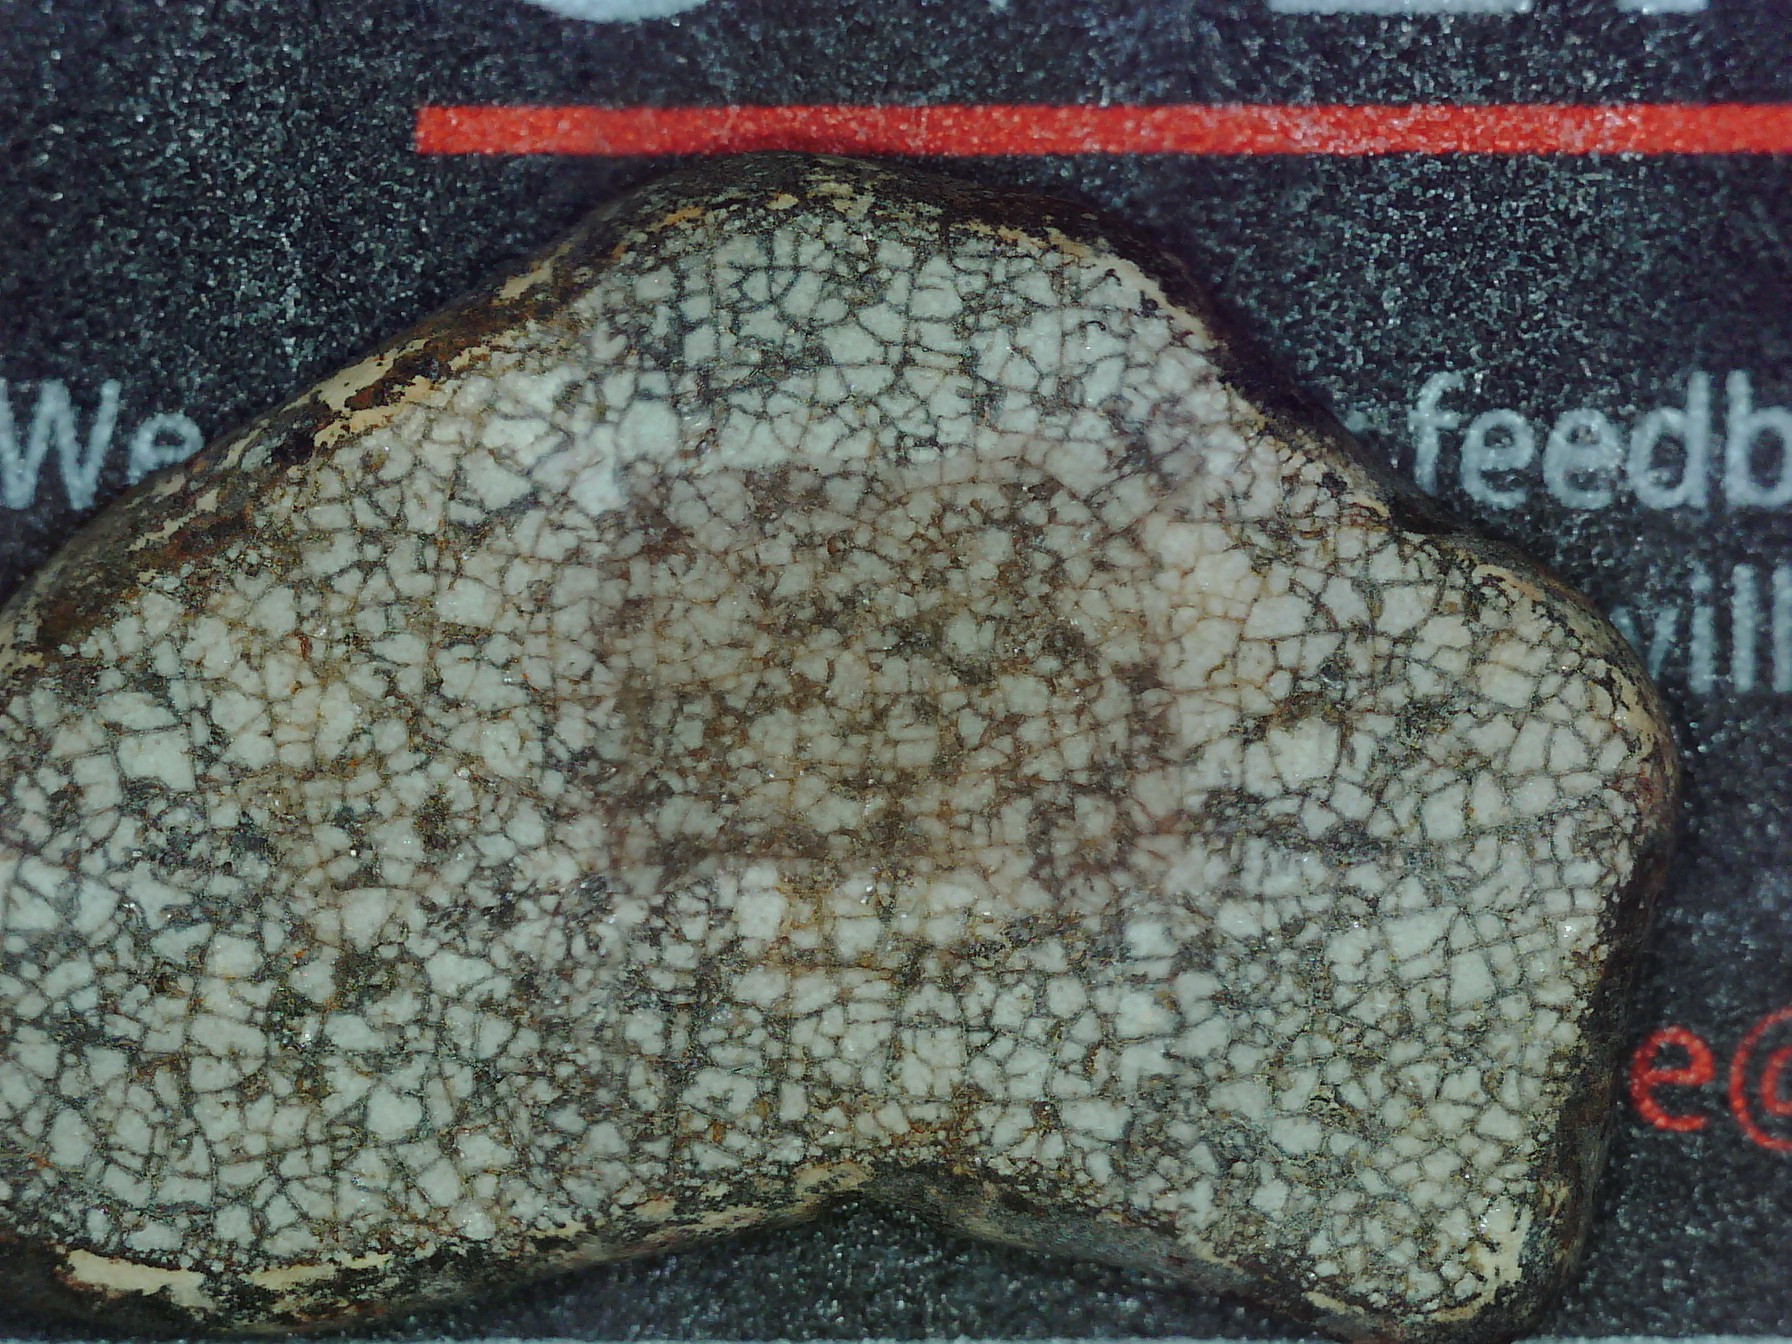
See that obvious squareish darker area? That's a downside of having very little overlap each time. An image halfway over the edge (and thus partially viewing the black build plate) will tend to have a higher exposure and the rock at the edges will appear brighter than it actually is. Using more overlap helps the stitcher build the colors into something more natural:
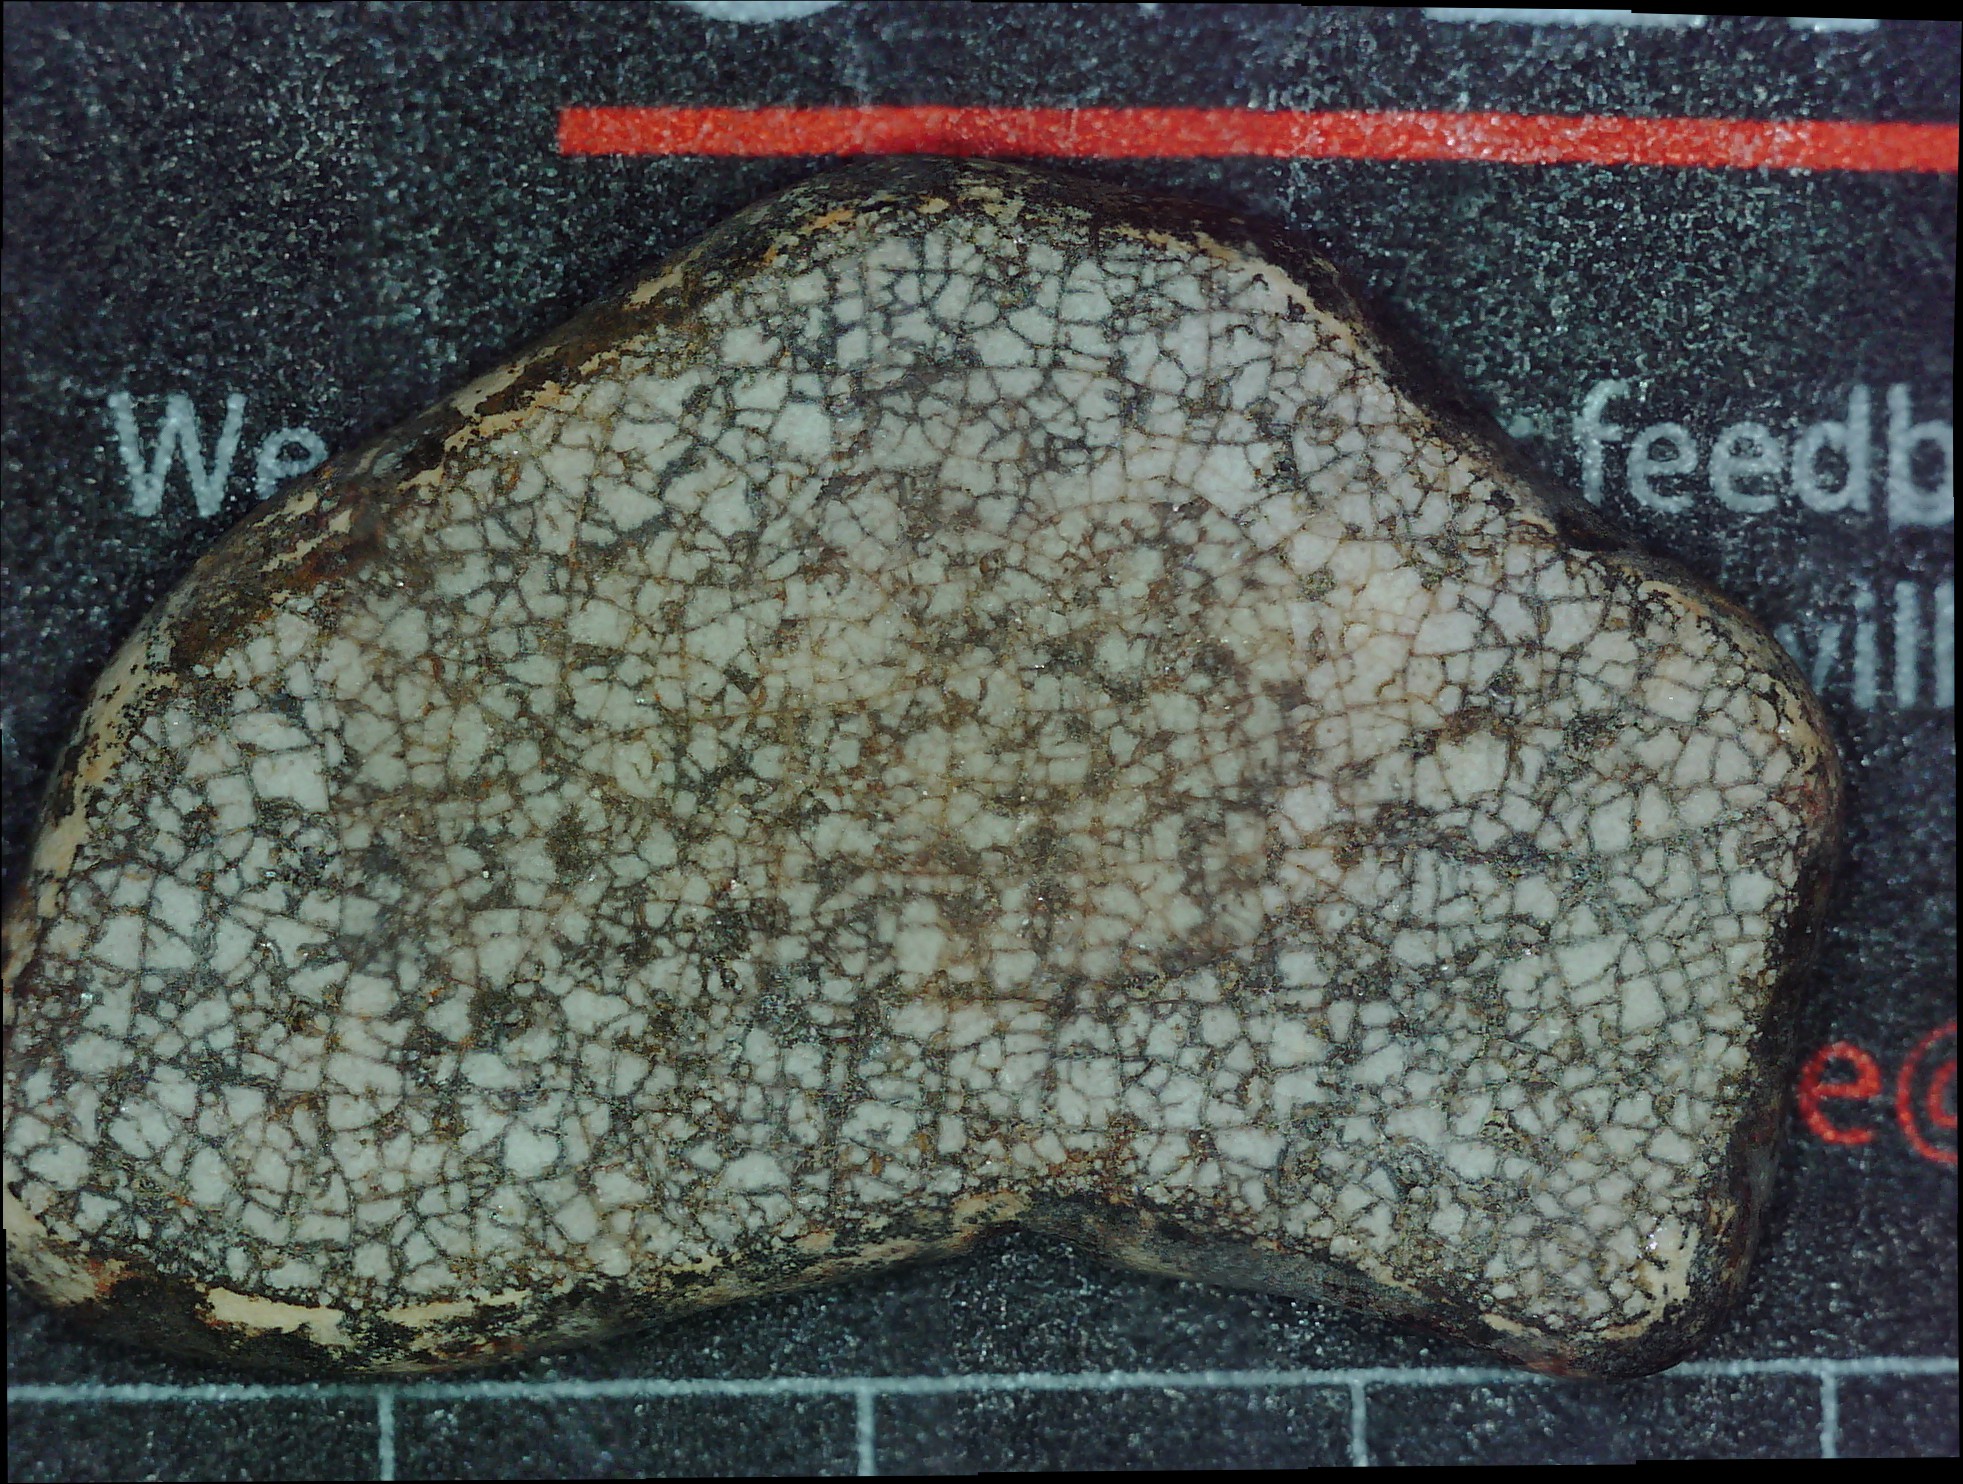
This is 50% overlap (25 pictures) and the dark spot is there but a less obvious. The obvious downside of increasing the overlap is the scan and stitch time, but another is that it can result in more feature blurring. That's because the stitcher is not perfect and every time two overlapping images are combined, some information is jumbled. It's not very obvious in this case, but if local shape veracity is more important than color, you should aim for as little overlap as possible.
25% overlap seems like a good compromise. Here's that with closer viewpoint so that you get so that it's 1.5 pixels/step:
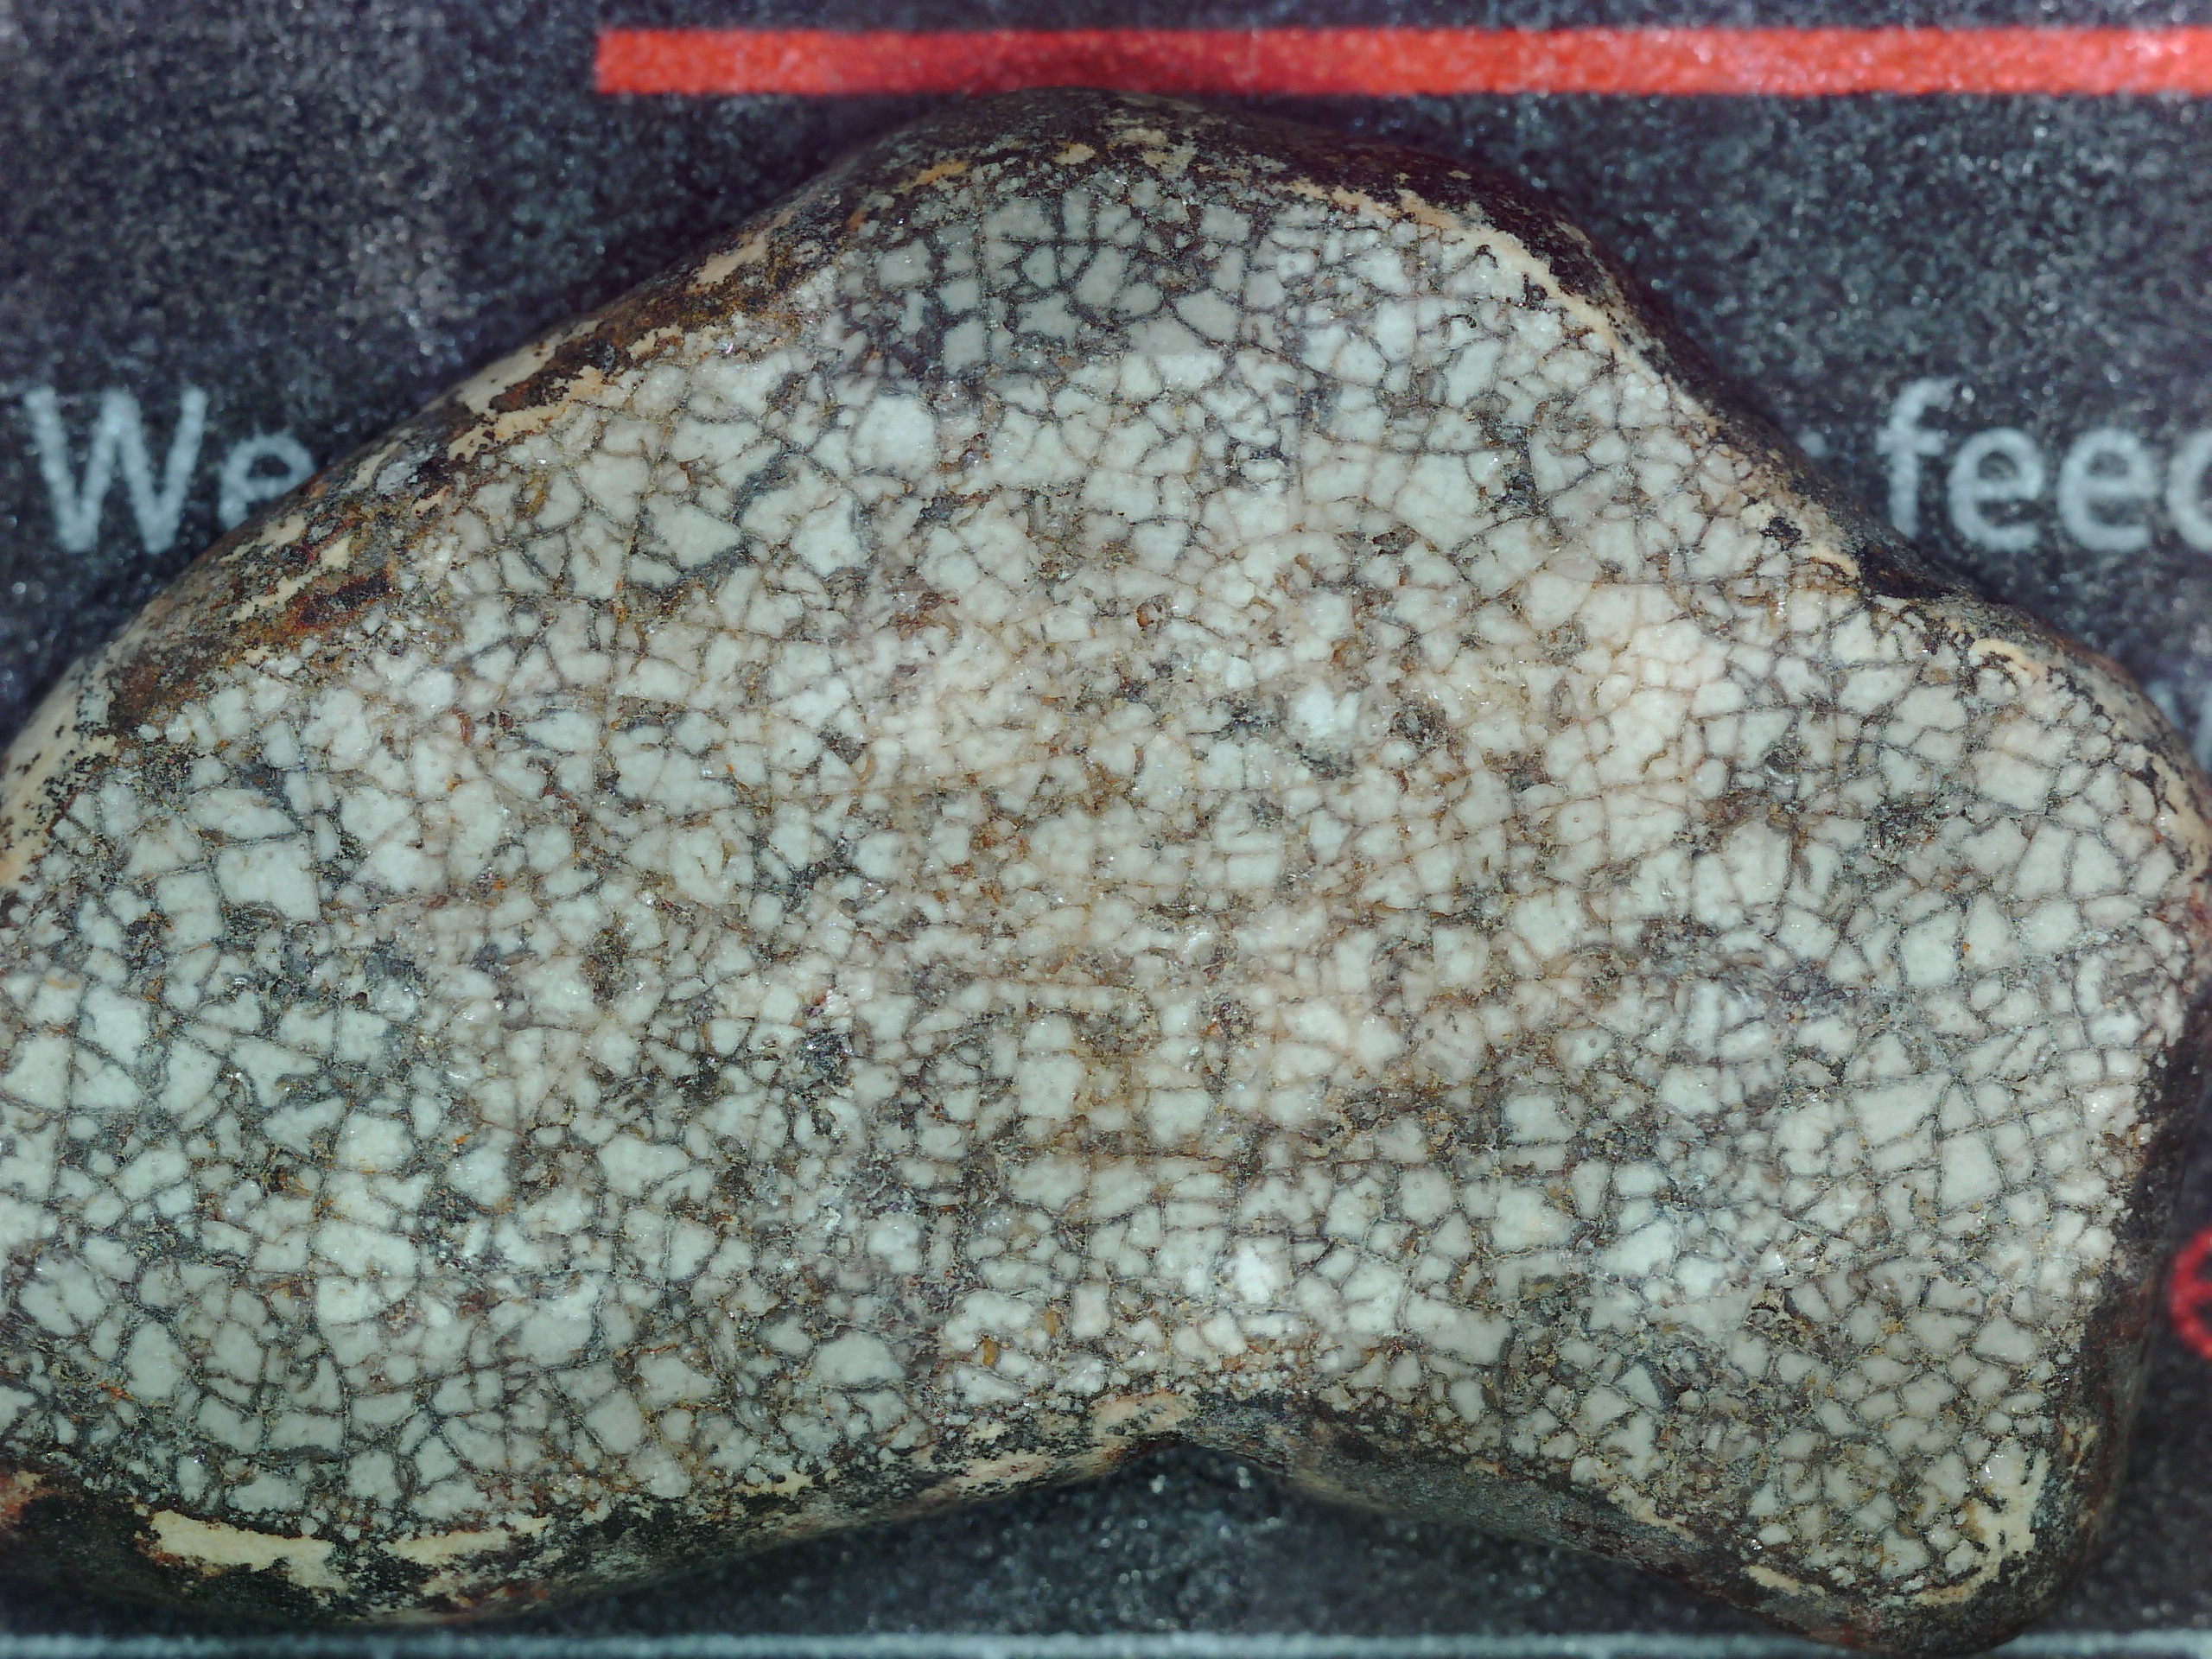
They're clearly the same rock, but with some differences, mostly in color. Overall, this picture appears more brightly colored, possibly because the light source is closer. There is also a bit less contrast between the dark and light veins. And there are areas of dramatic color differences, most notably in corners and bumps, like at the top --- I wonder if it has anything to do with the autoexposure being triggered by the red stripe?
And then we've got the really exciting one, high resolution 7.5 pixels/step and 725 pictures selected from 3 Z heights (compressed from 100 to 5 megabytes of course). The rock actually moved a bit between Z heights (vibrations) but it was all able to figured out mostly alright:
That's 4 hours of my time right there for you.
And just as a reminder that the above image is composed of ones like this:
Discussions
Become a Hackaday.io Member
Create an account to leave a comment. Already have an account? Log In.