 Ahron Wayne
Despite having the ability to theoretically, I've never done true Z stacking by combining images. The other uses of Z height change was to pick between focused images, not actually combine them. This works okay when the change in height is across different x/y regions, not when there are changes of height within a single image.
With the rest of the post keep in mind that the usb microscope outputs images at 480/640 pixel resolution. Stacking and then stitching is a whole other ballgame that I think is possible but is a bit more annoying with my current image processing pipeline.
Anyway, what is this thing?
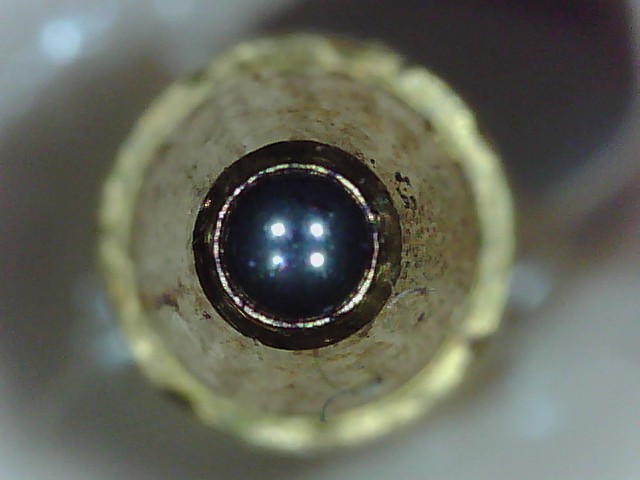
Here's a not so helpful hint:
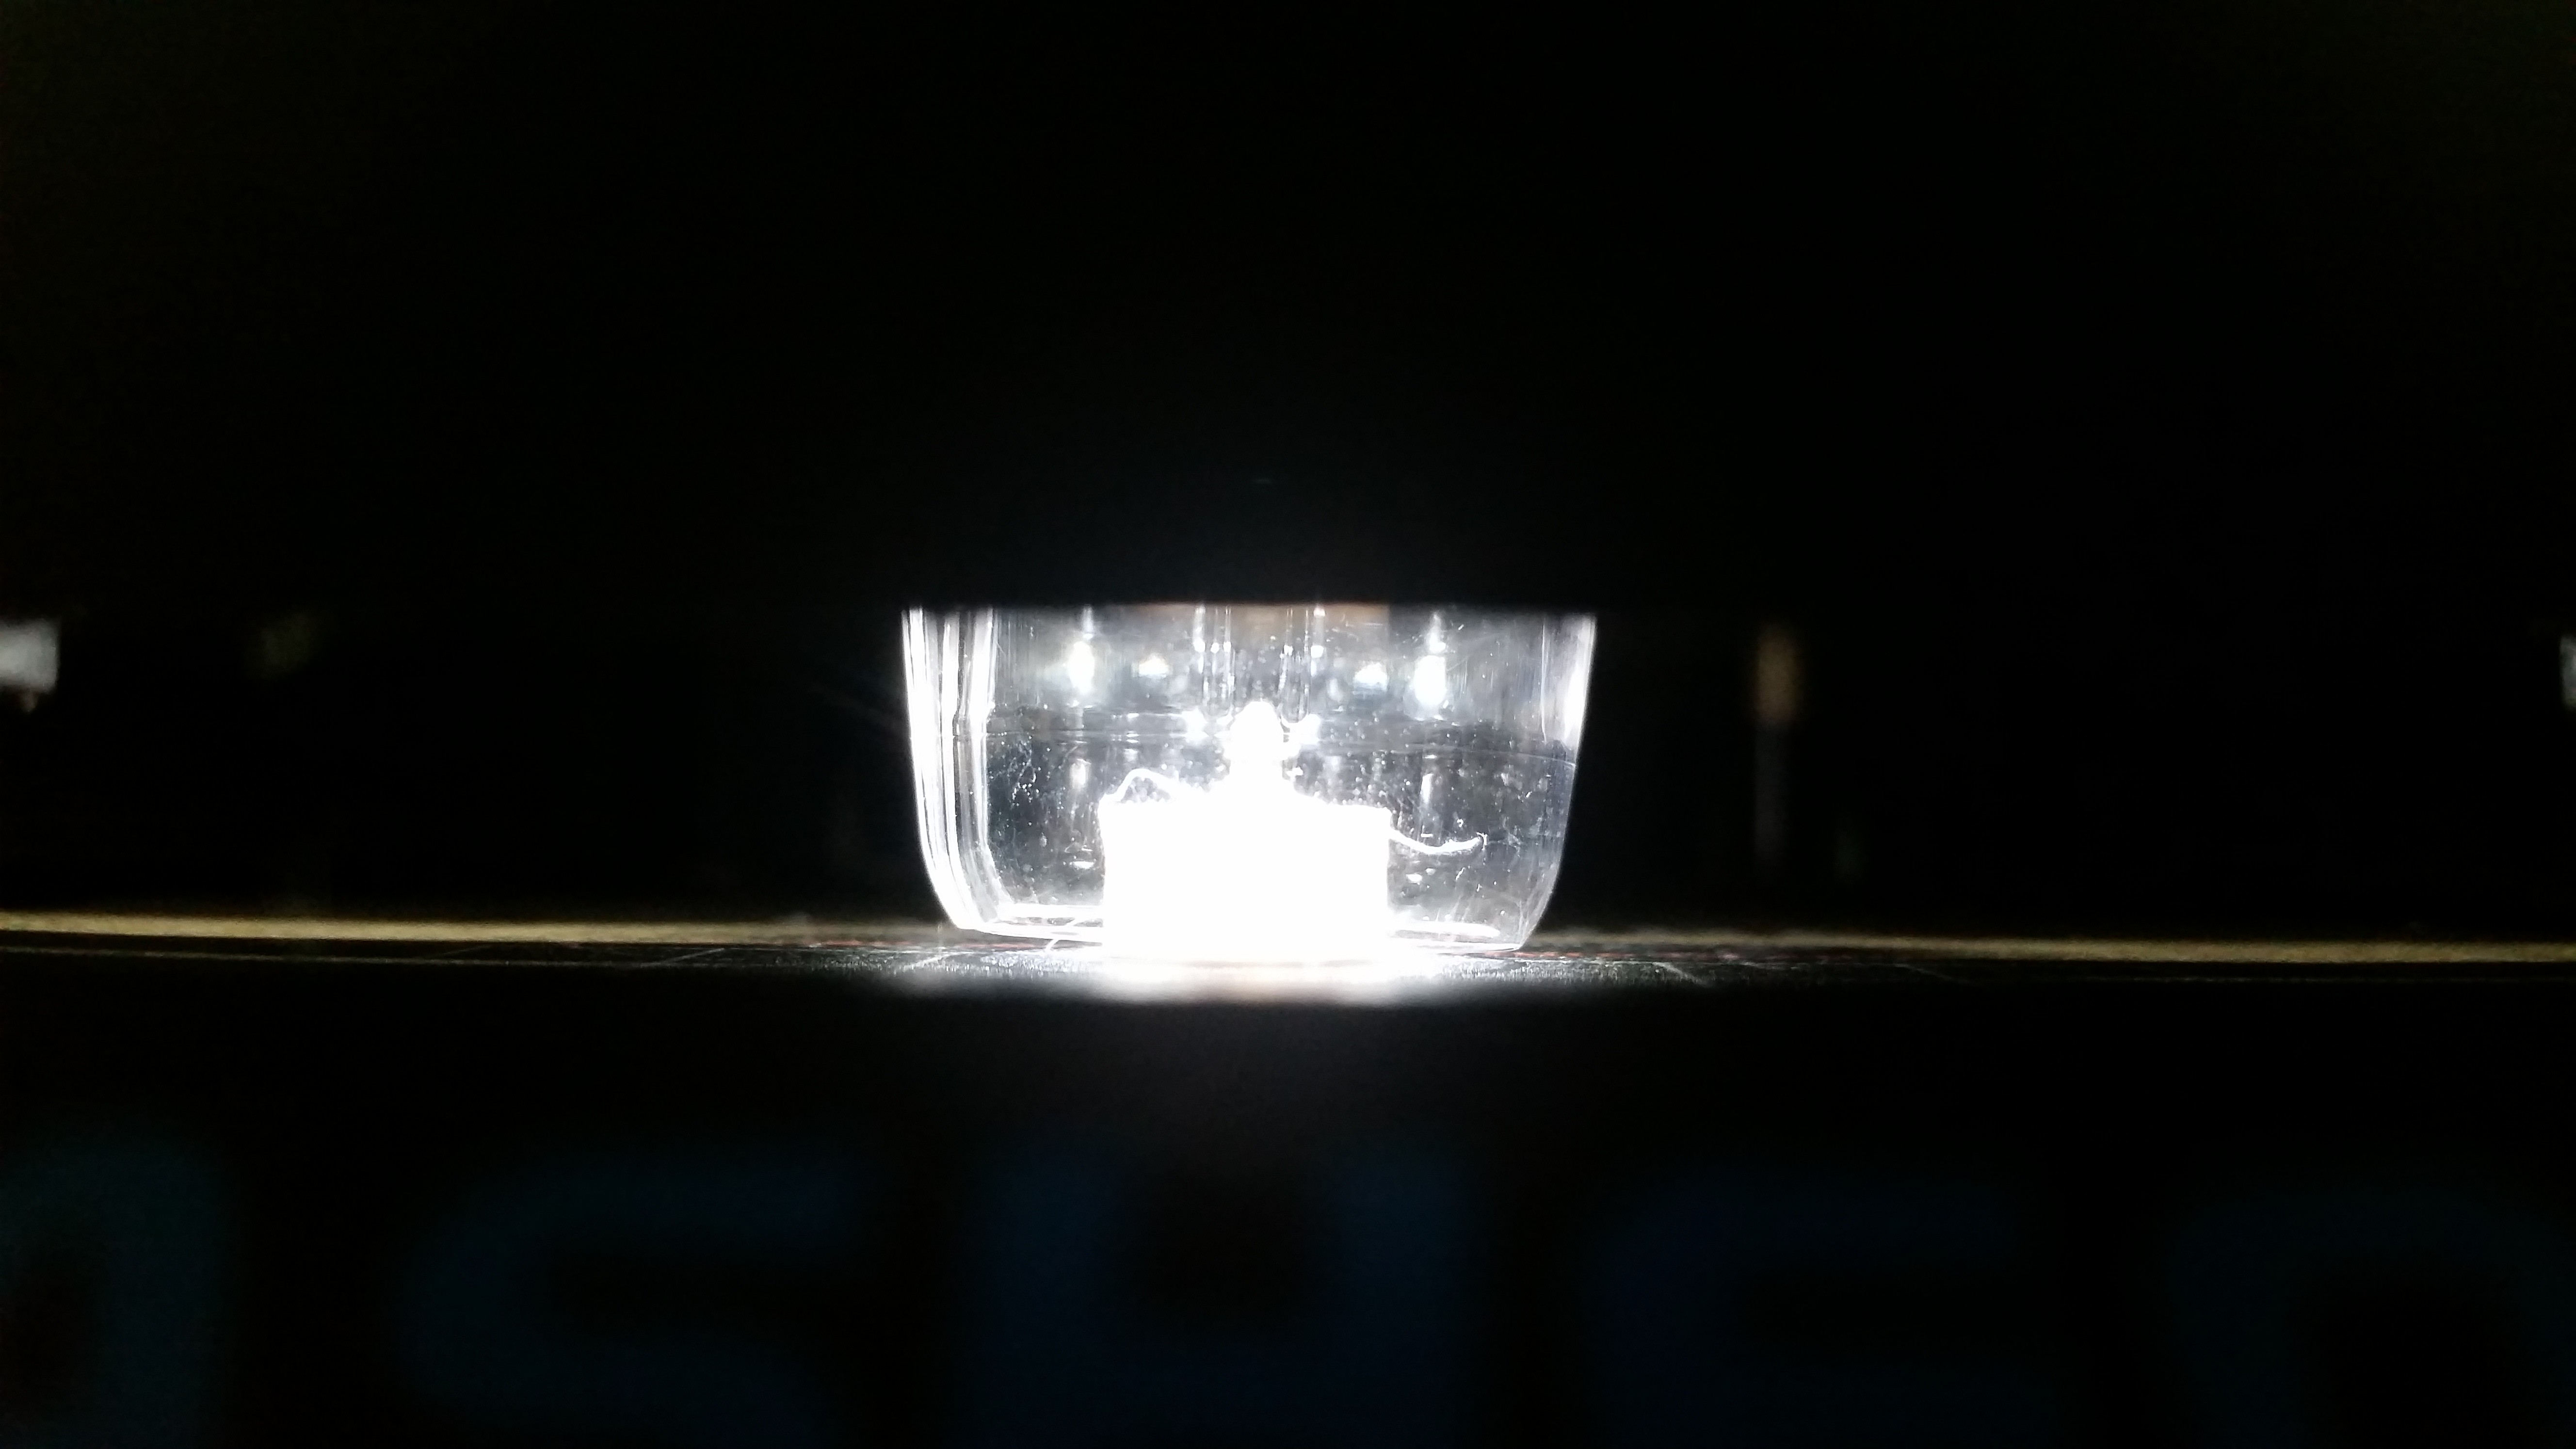
If you guessed "ballpoint pen tip", you'd be right! Except a pointy object facing straight up is the worst kind of thing to look at if you have a narrow depth of field. Clearly, there are parts of that image that are in focus, but it's a thin section. Enter moving the bed up 100 times in 50 microns increments:

(this sequence is compressed a bit to fit hackaday's 5 MB limit, but you get the idea).
One thing of note is the pattern of illumination, thanks to the scope's always-on LED array. This is also a regular artifact of 2D scanning, and needs to be addressed by, for instance, flooding the entire area with a huge amount of diffuse light. But gimme a break, I'm one person with like no budget.
Stacking was done using Picolay with no human input:
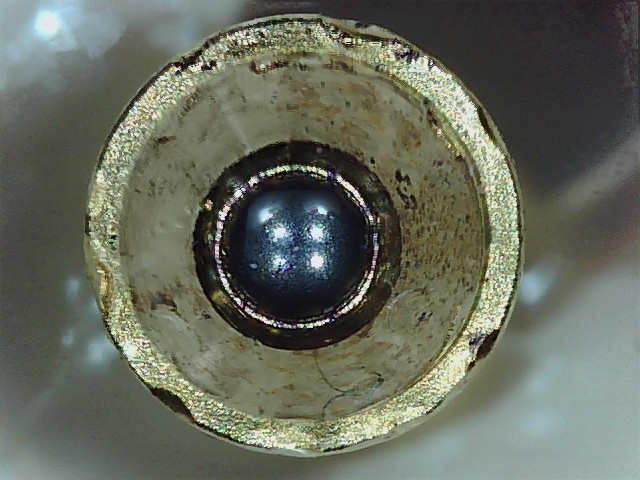
Hey, that's not too terrible! It does look kind of strange because, as intern's intern put it, the middle looks like a hole and a mountain at the same time. It's hard to tell what you're looking at. I'm not sure if any of the striations or blurring are caused by the images and illumination or the stacking process itself (whether they're fixable at the software or hardware level). but this is definitely a stacked image, with everything pretty much in focus.
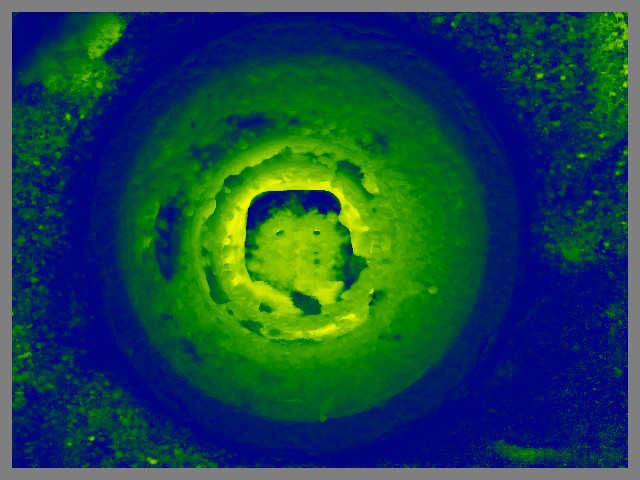
That's an auto-generated depth map, but I'm not really sure what it means.
Then, after adding a regulator to drop the voltage going into my rotary motor from 24 to 12 volts, because it was running super hot and I used hot glue to mount the pen tip, I tried looking it it from a couple of different angles. I used the rotary tool but didn't program a scan really, just tilted it a couple of times and then stacked again each time:
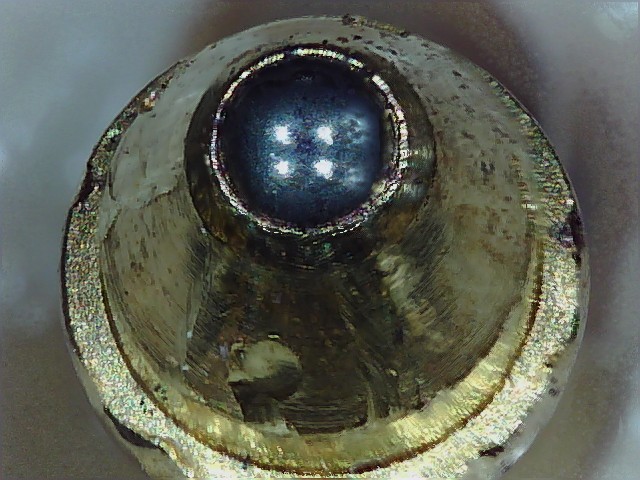
Now that's interesting! You can see much more detail, like those gouges on the metal.
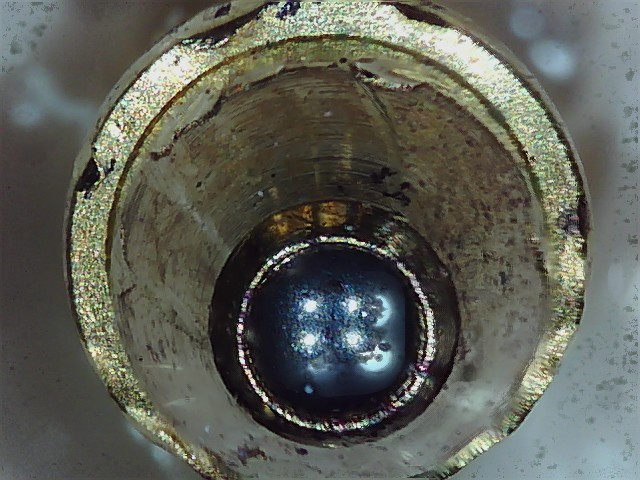
And the other side:
And, finally, a gif showing the stacking process, which I thought looked really cool:
Discussions
Become a Hackaday.io Member
Create an account to leave a comment. Already have an account? Log In.