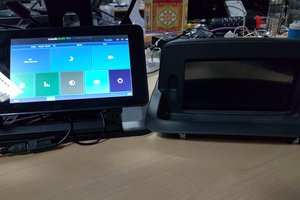
The_Mekon
Inputs:
micro-USB (Power 5V DC)- run from battery instead- USB-A Female (USB MIDI)
*Mono Jack Socket (line in)Stereo mini-jack- *Mono Jack Socket (Sustain pedal)
- *Mono Jack Socket (Soft pedal)
- *DIN MIDI in
Outputs:
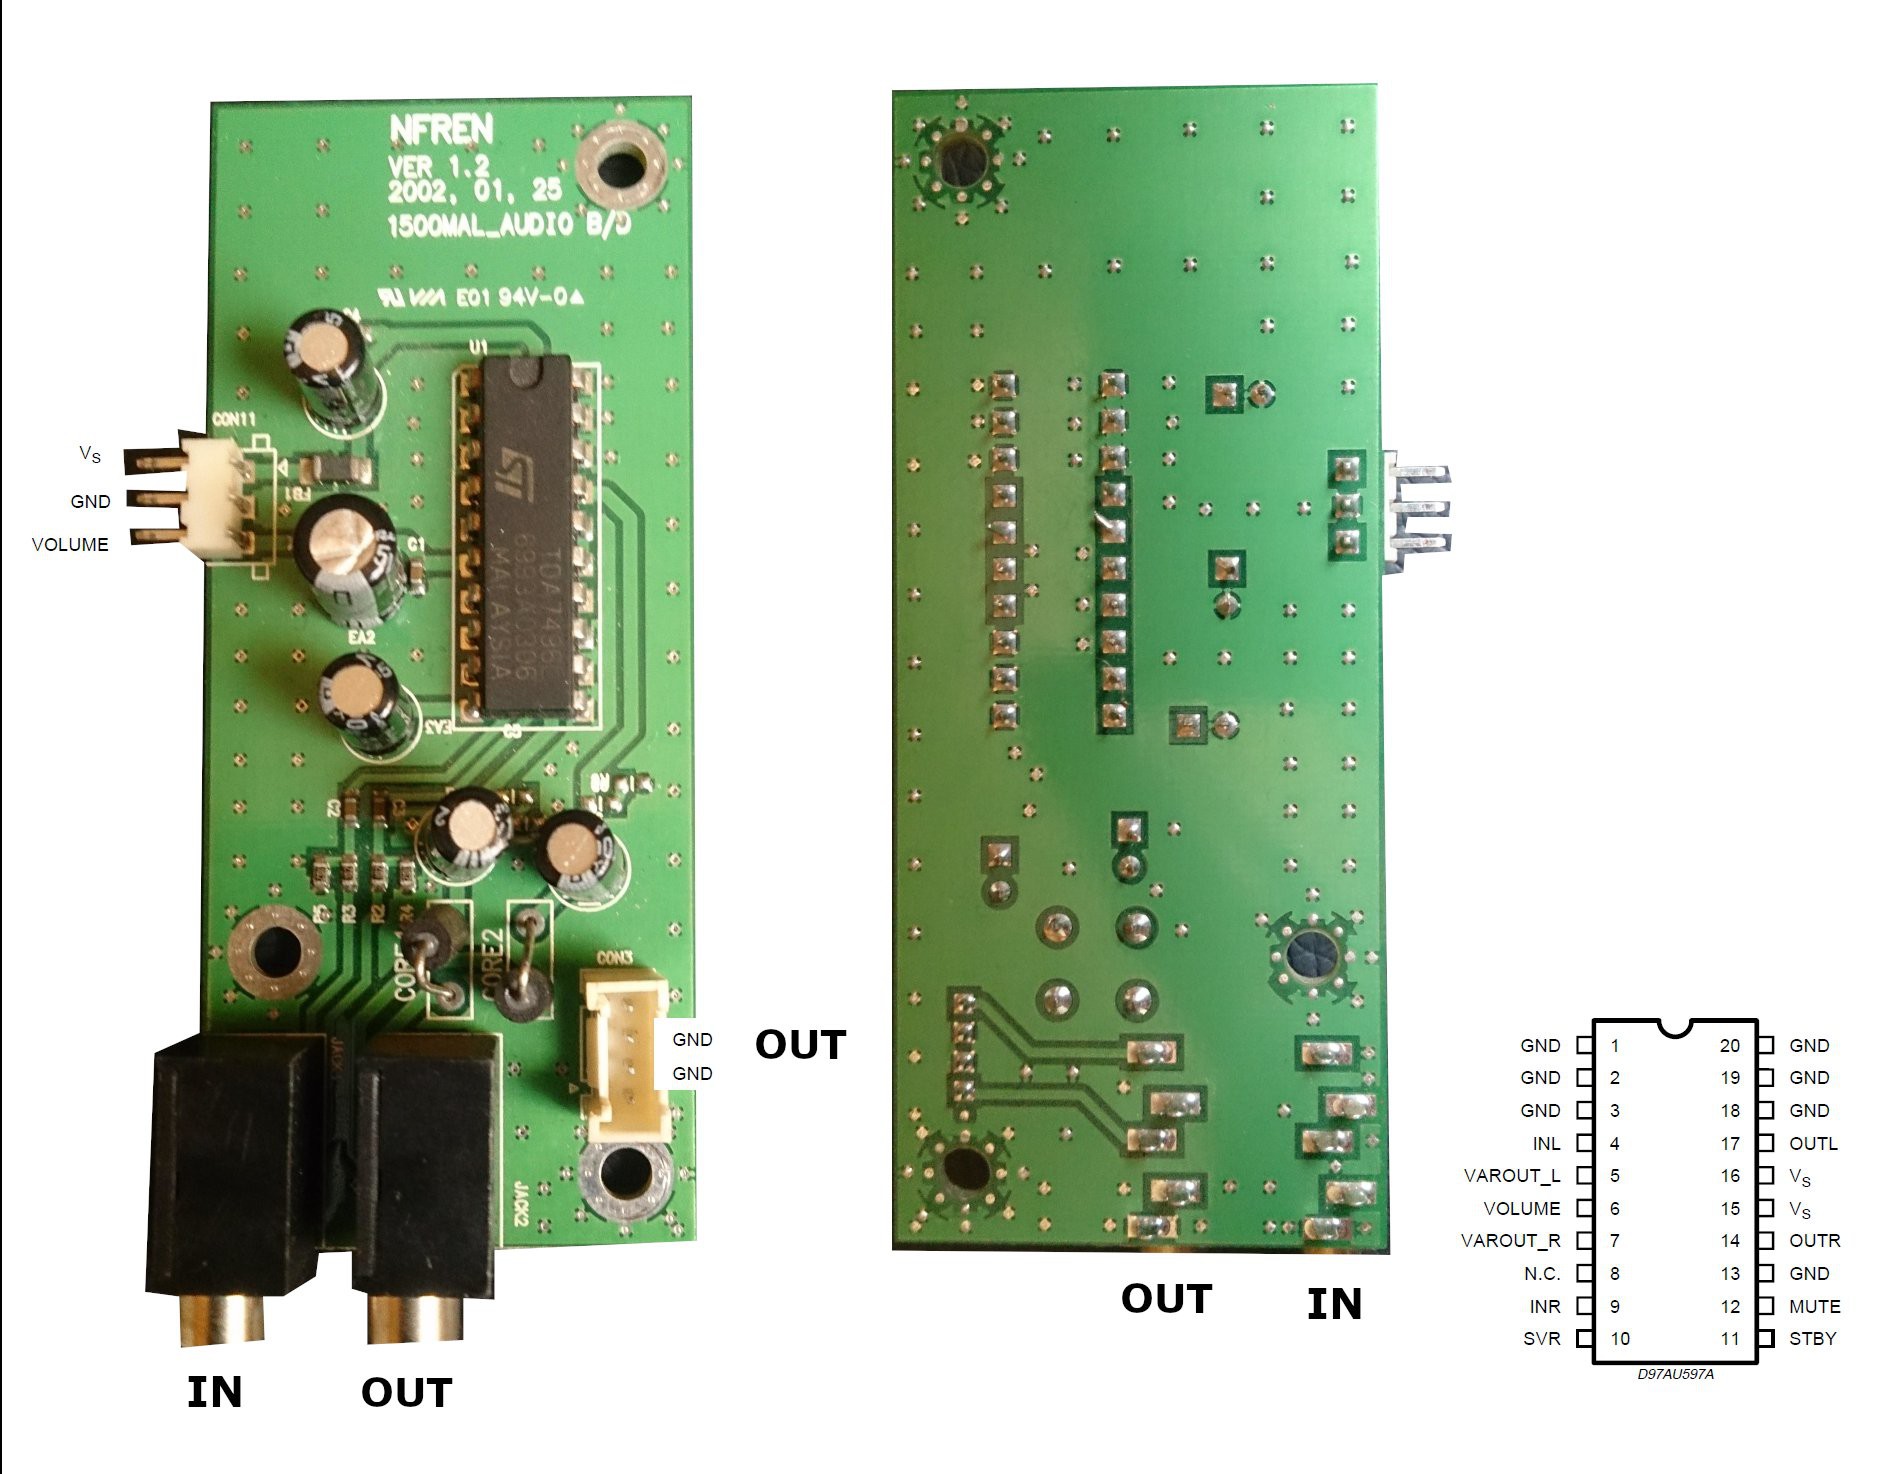
- Mono Jack Socket (at 'guitar level')
- Stereo 3.5mm Jack Socket (headphone)
- *DIN MINI out
- *DIN MINI thru
- *XLR (balanced output at microphone level?)
Controls:
Power offSeparate power stitches for pi and amplifierHeadphoneSpeaker Volume- * Instrument selector
- - other controls to be provided via smartphone webapp
Gubbins:
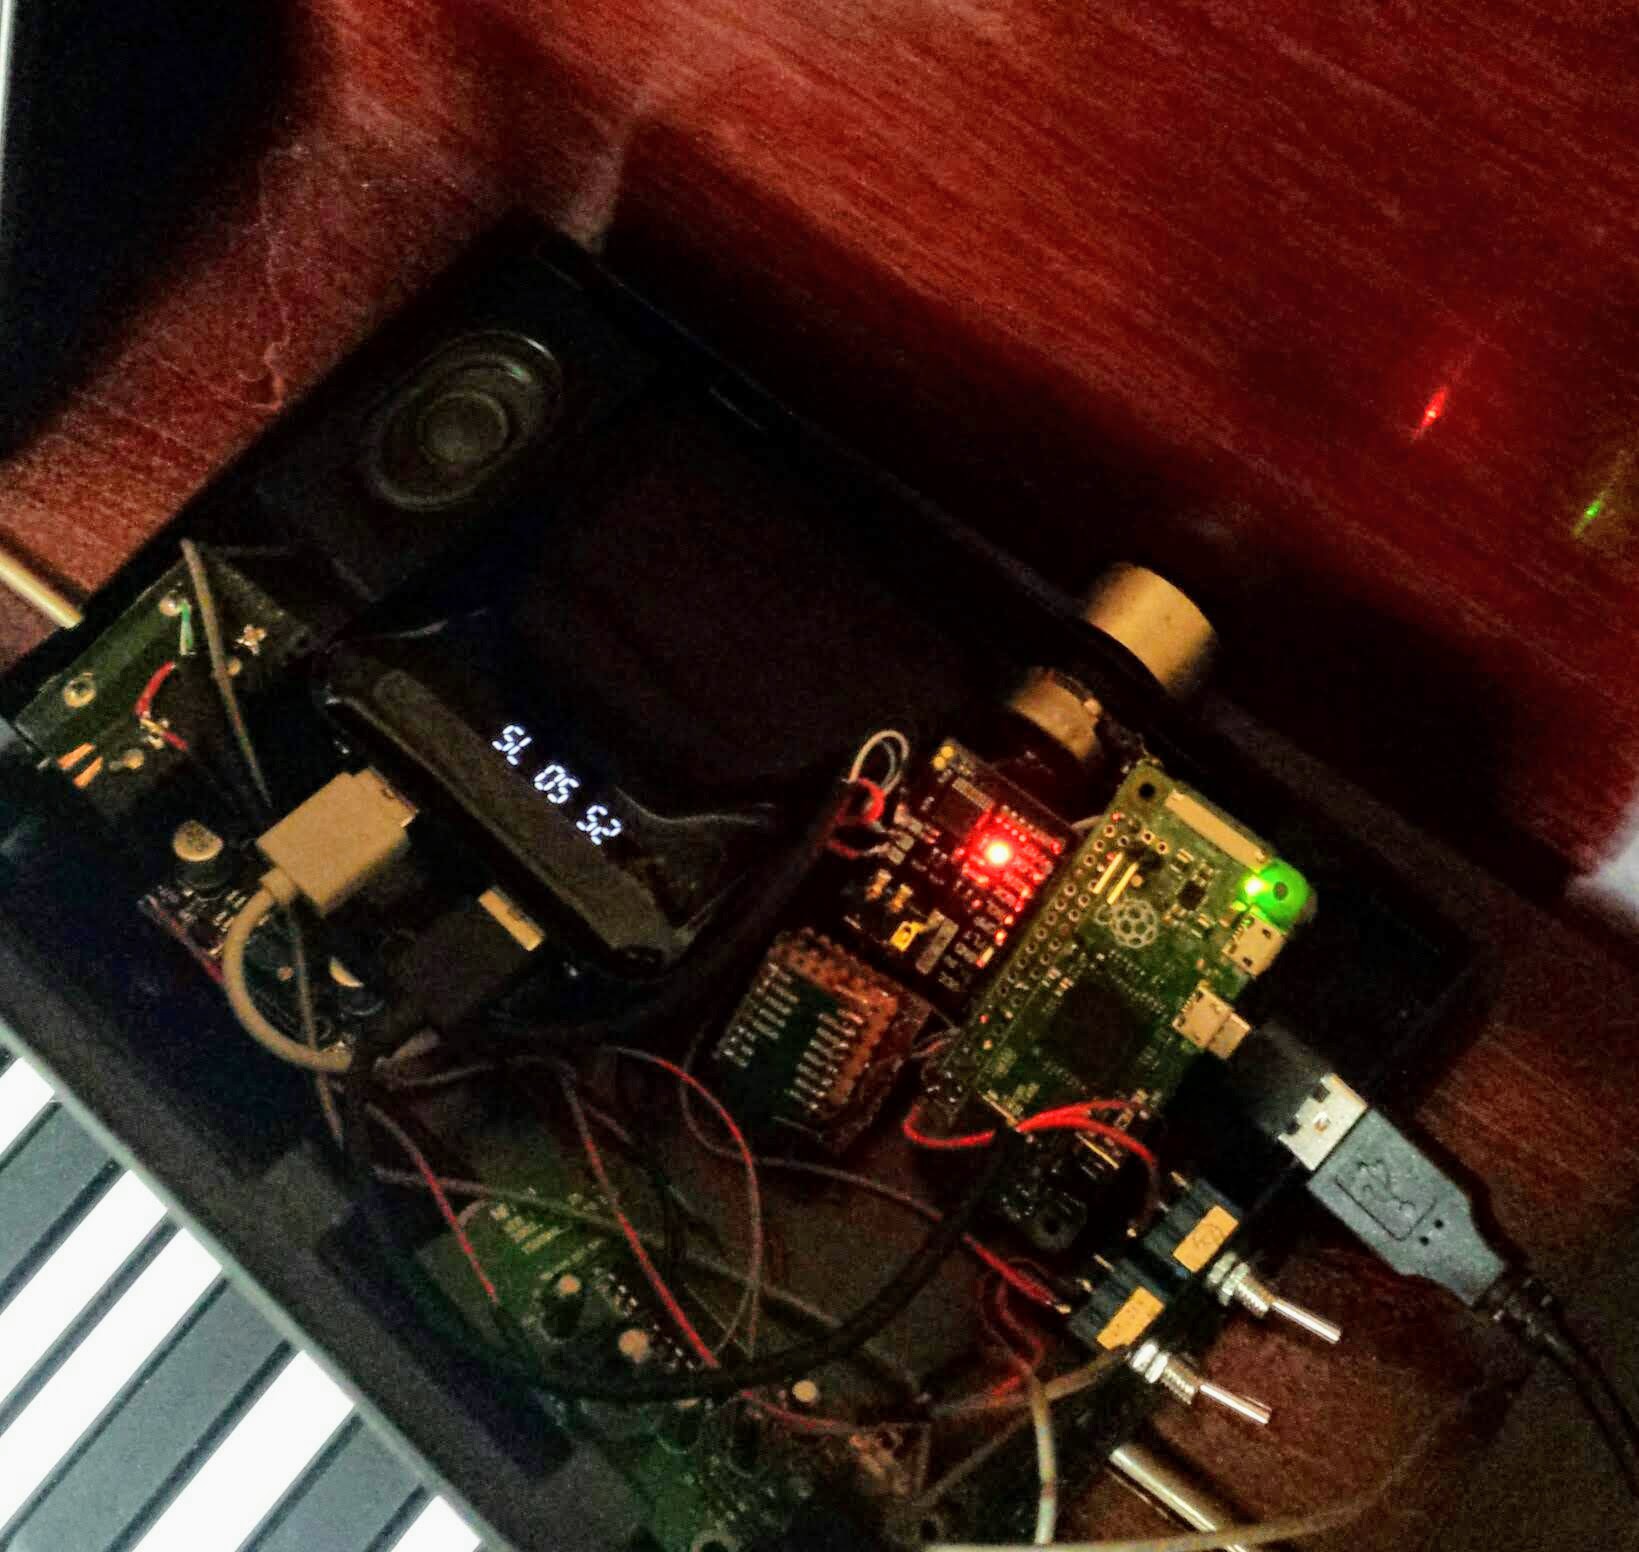
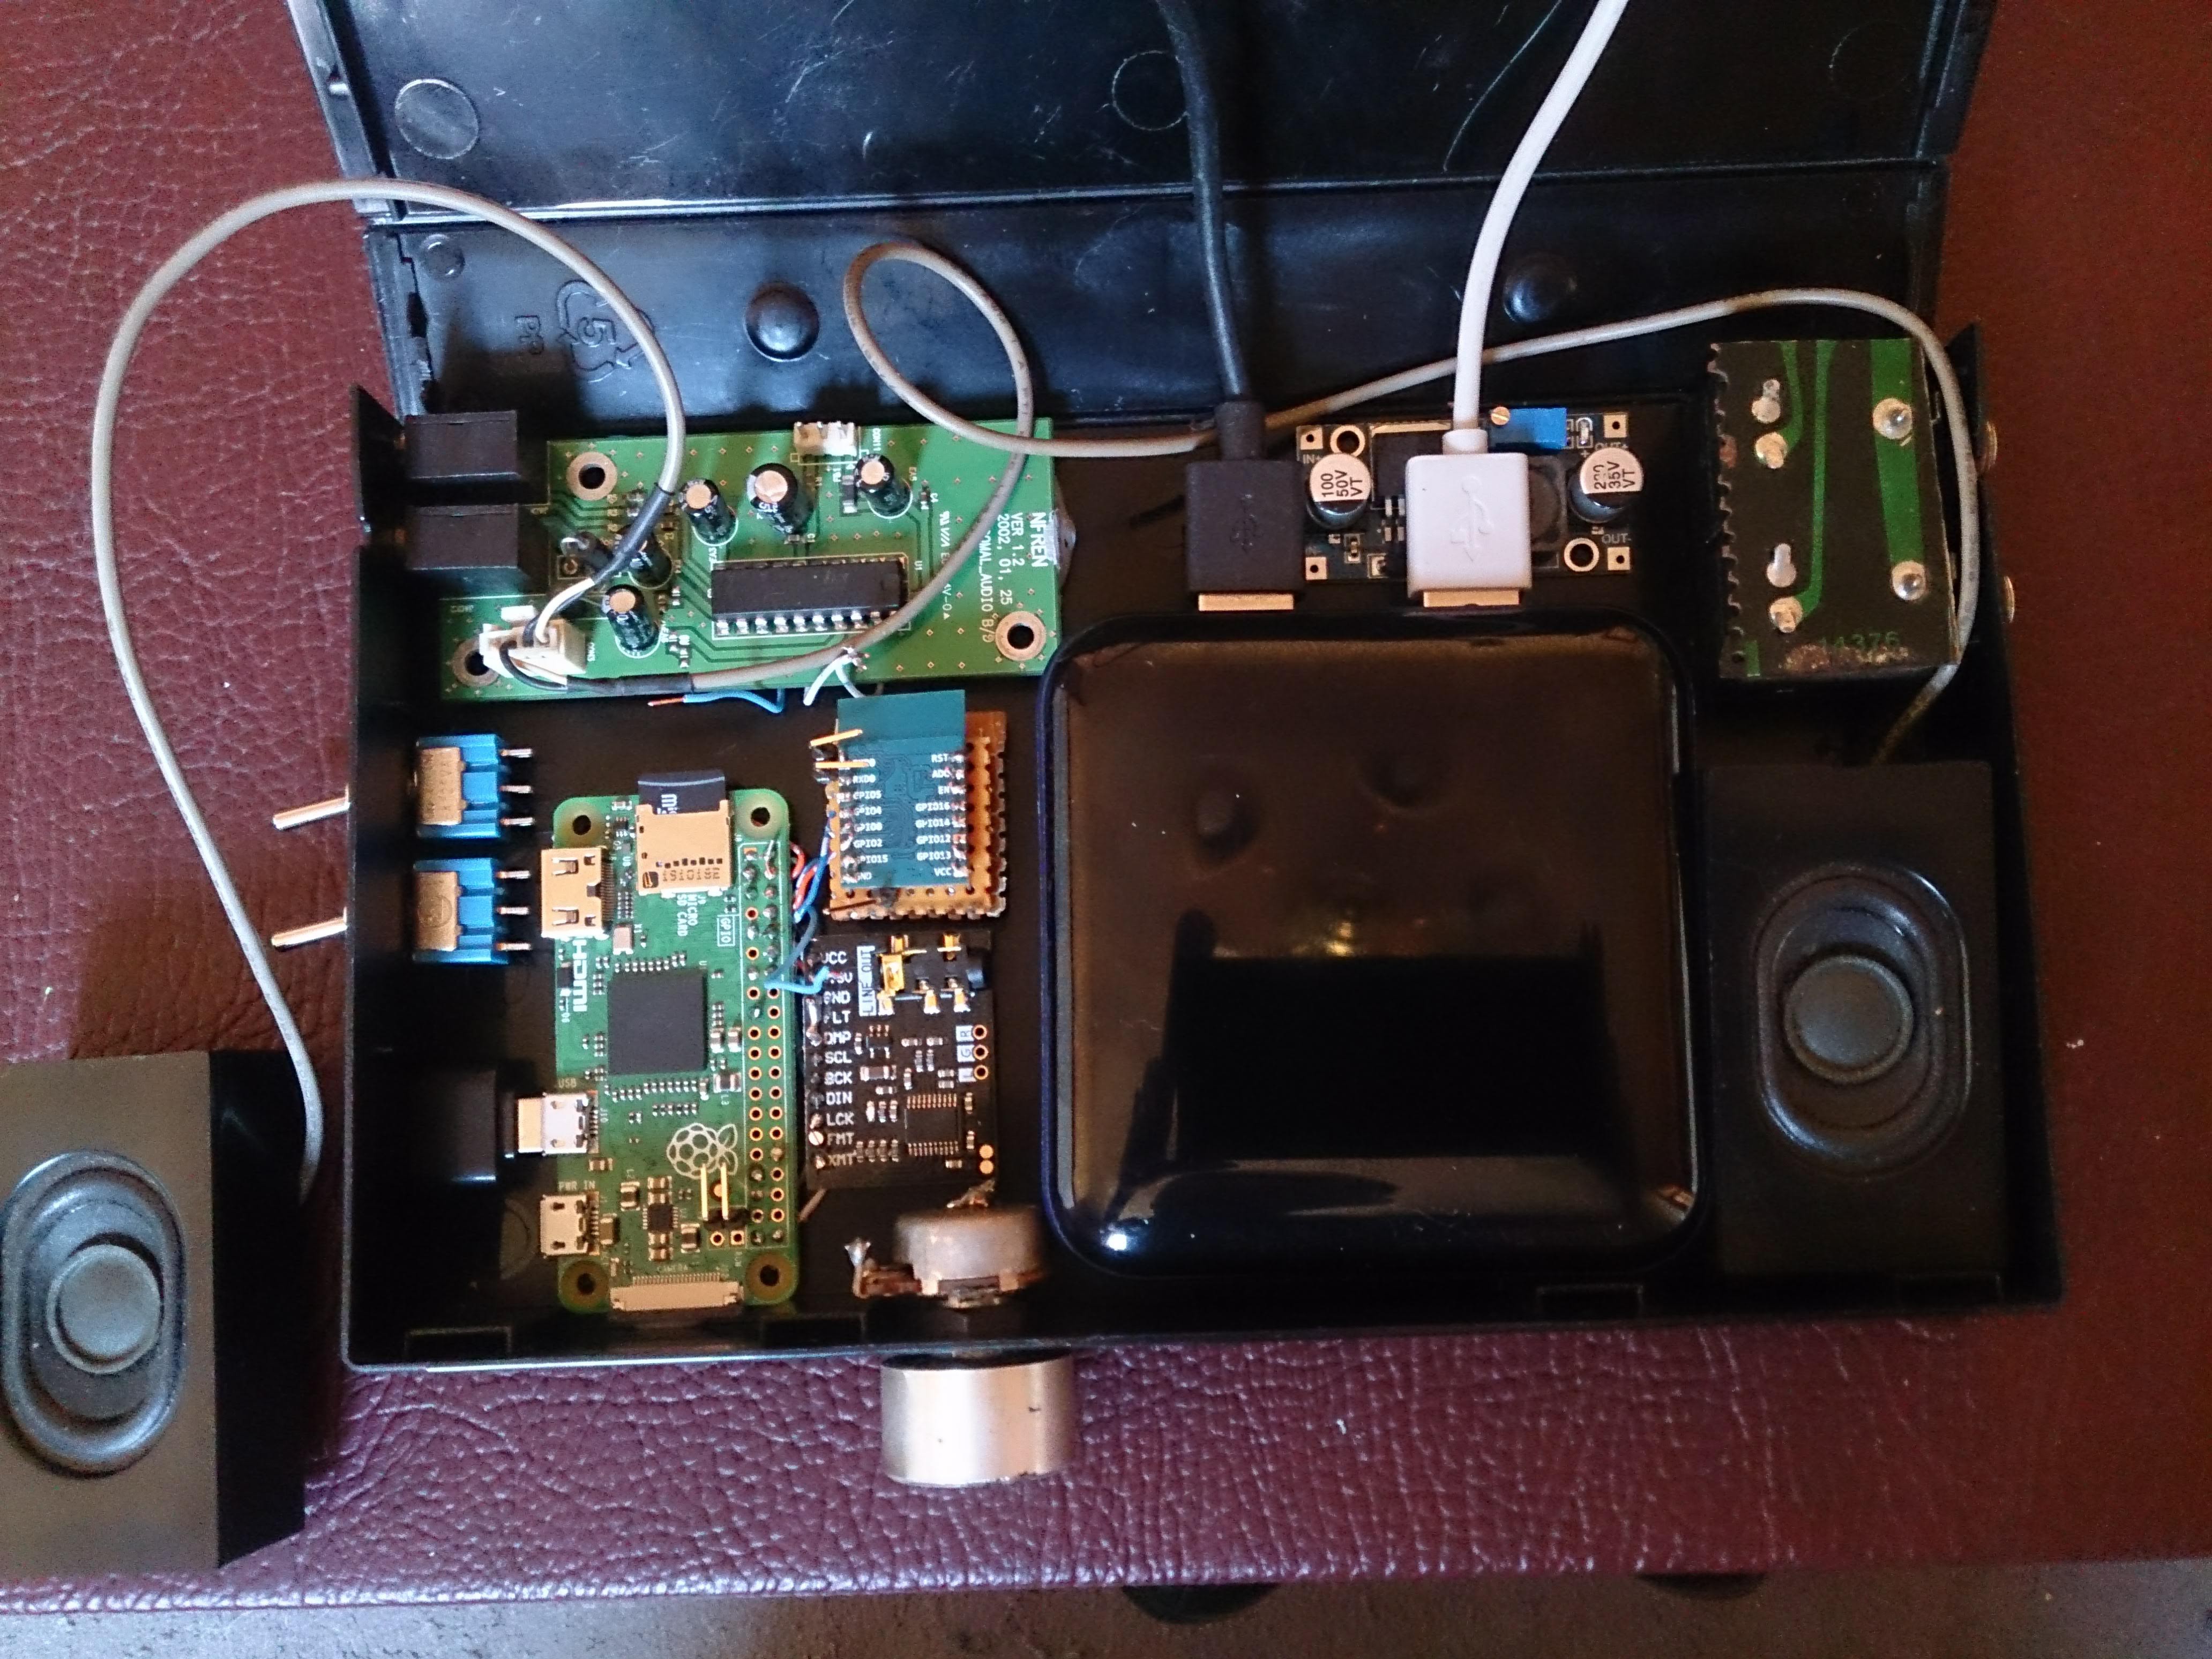
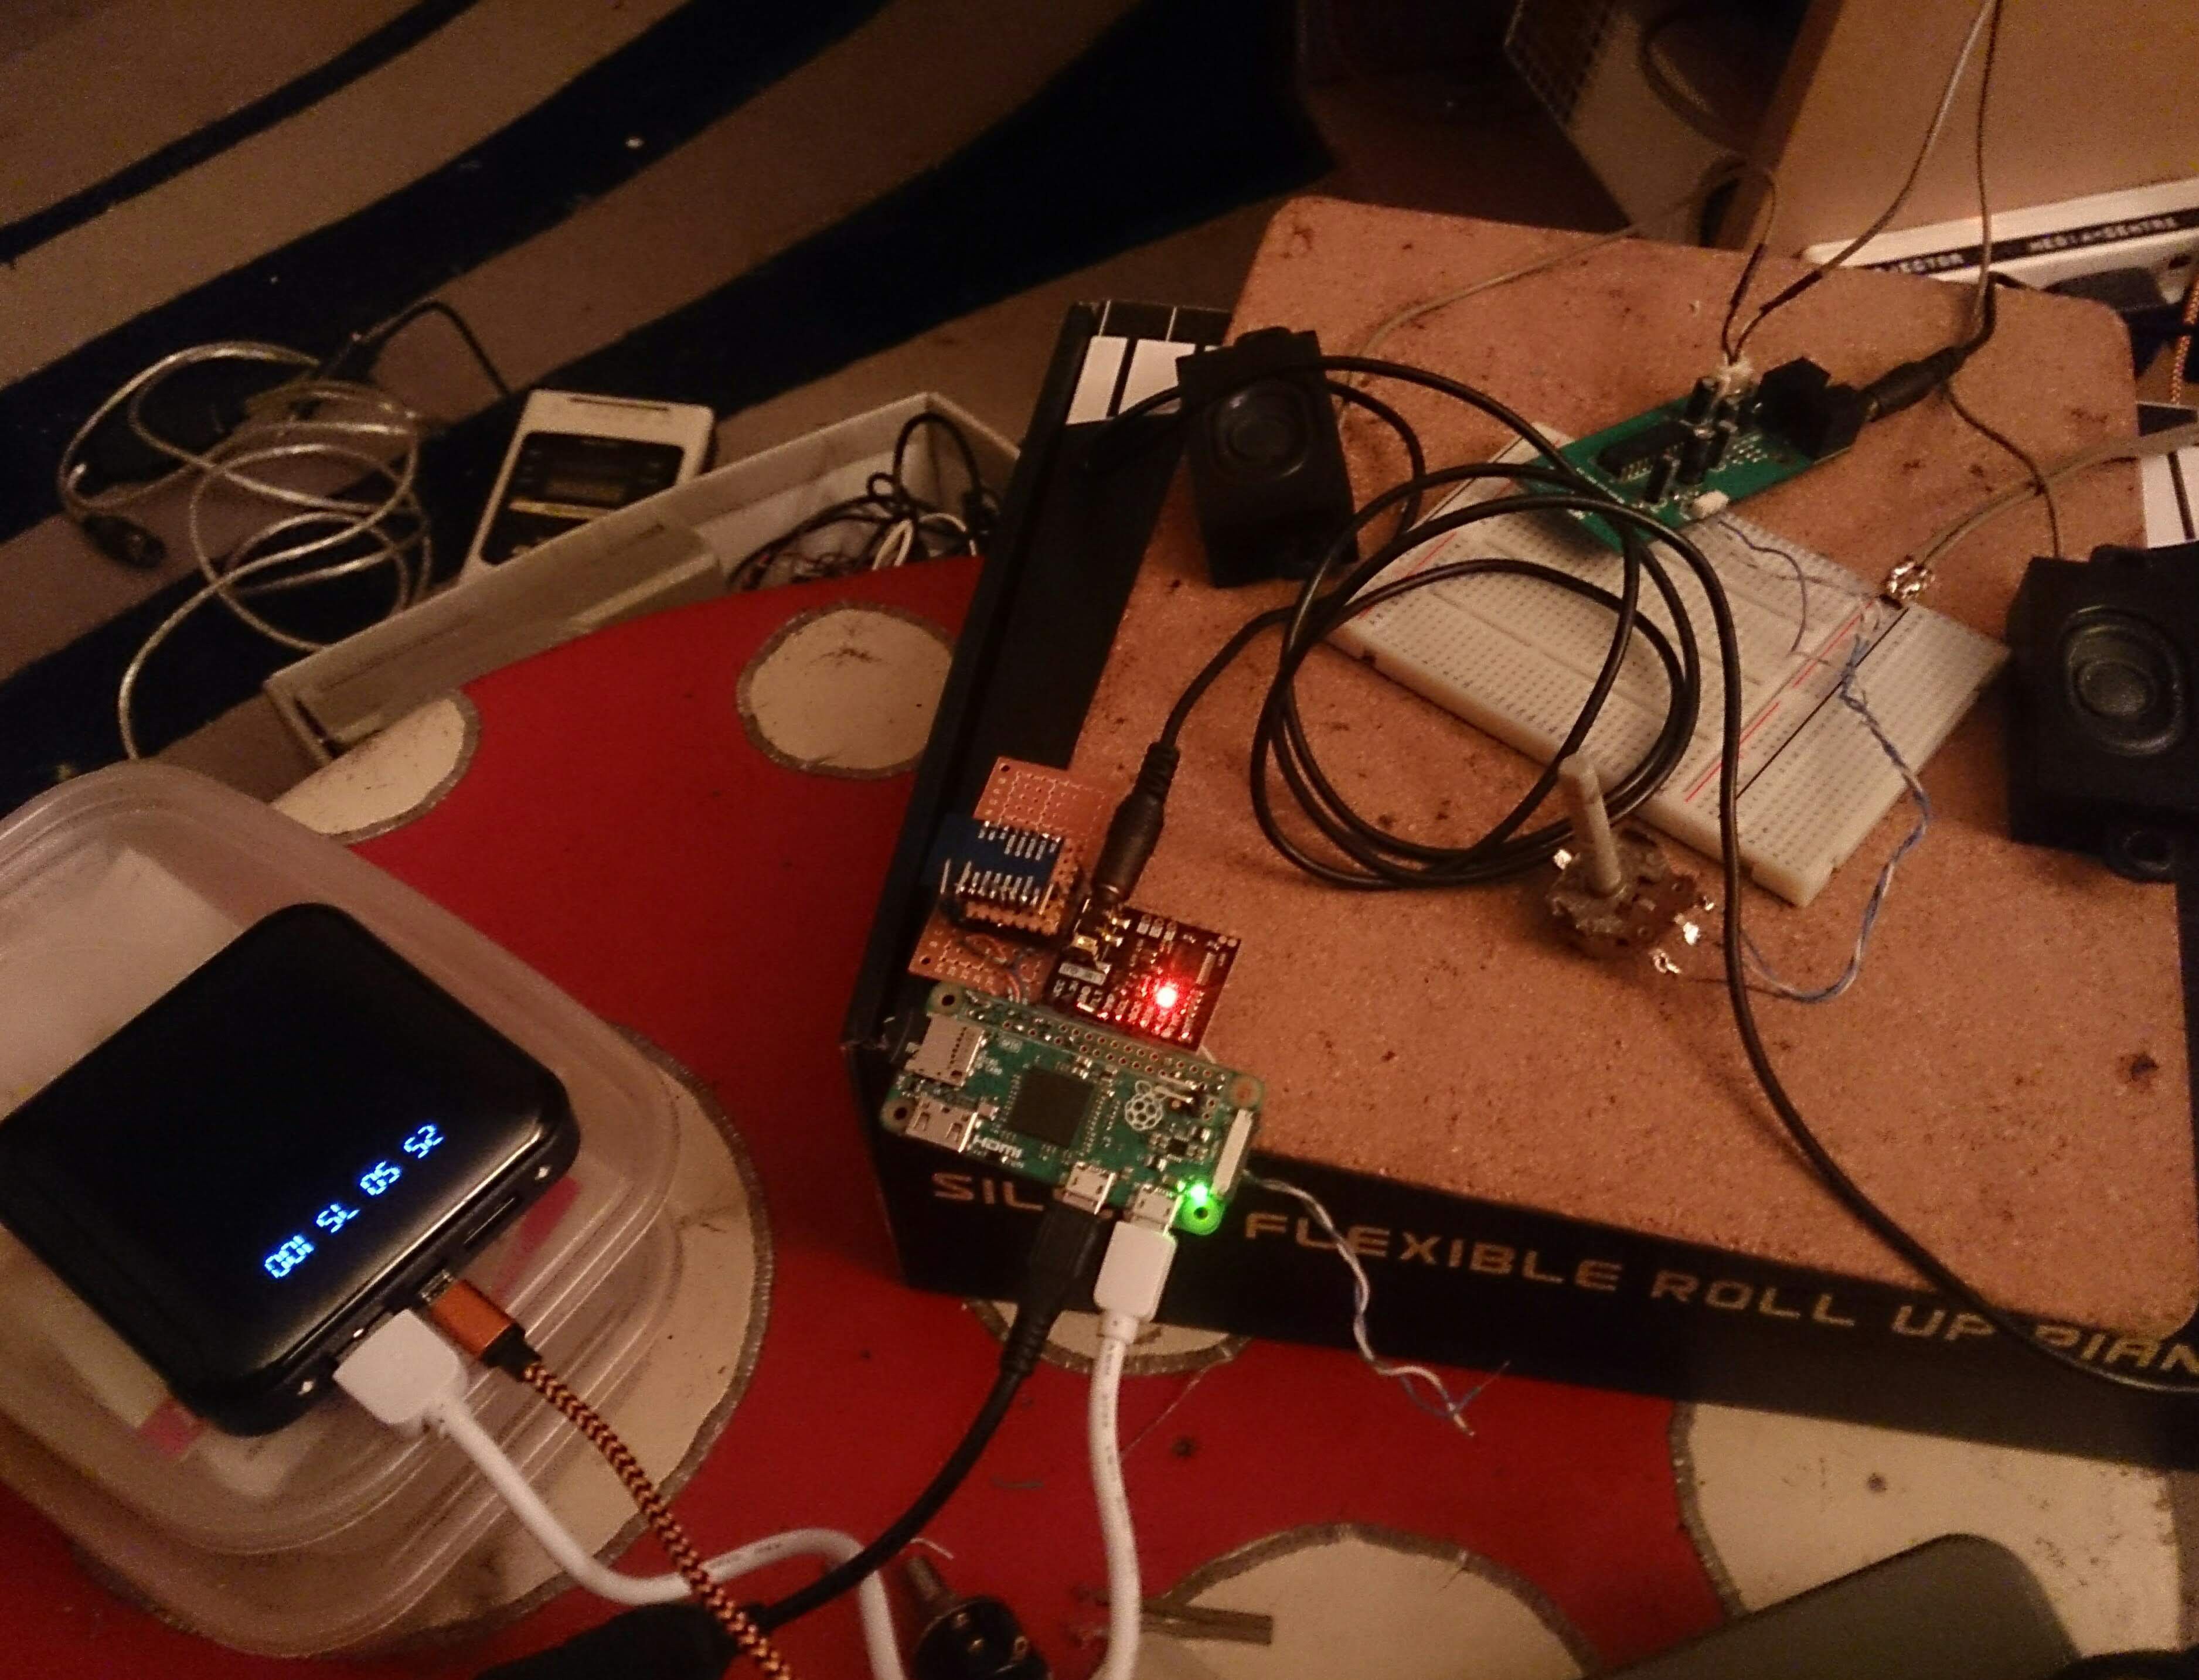
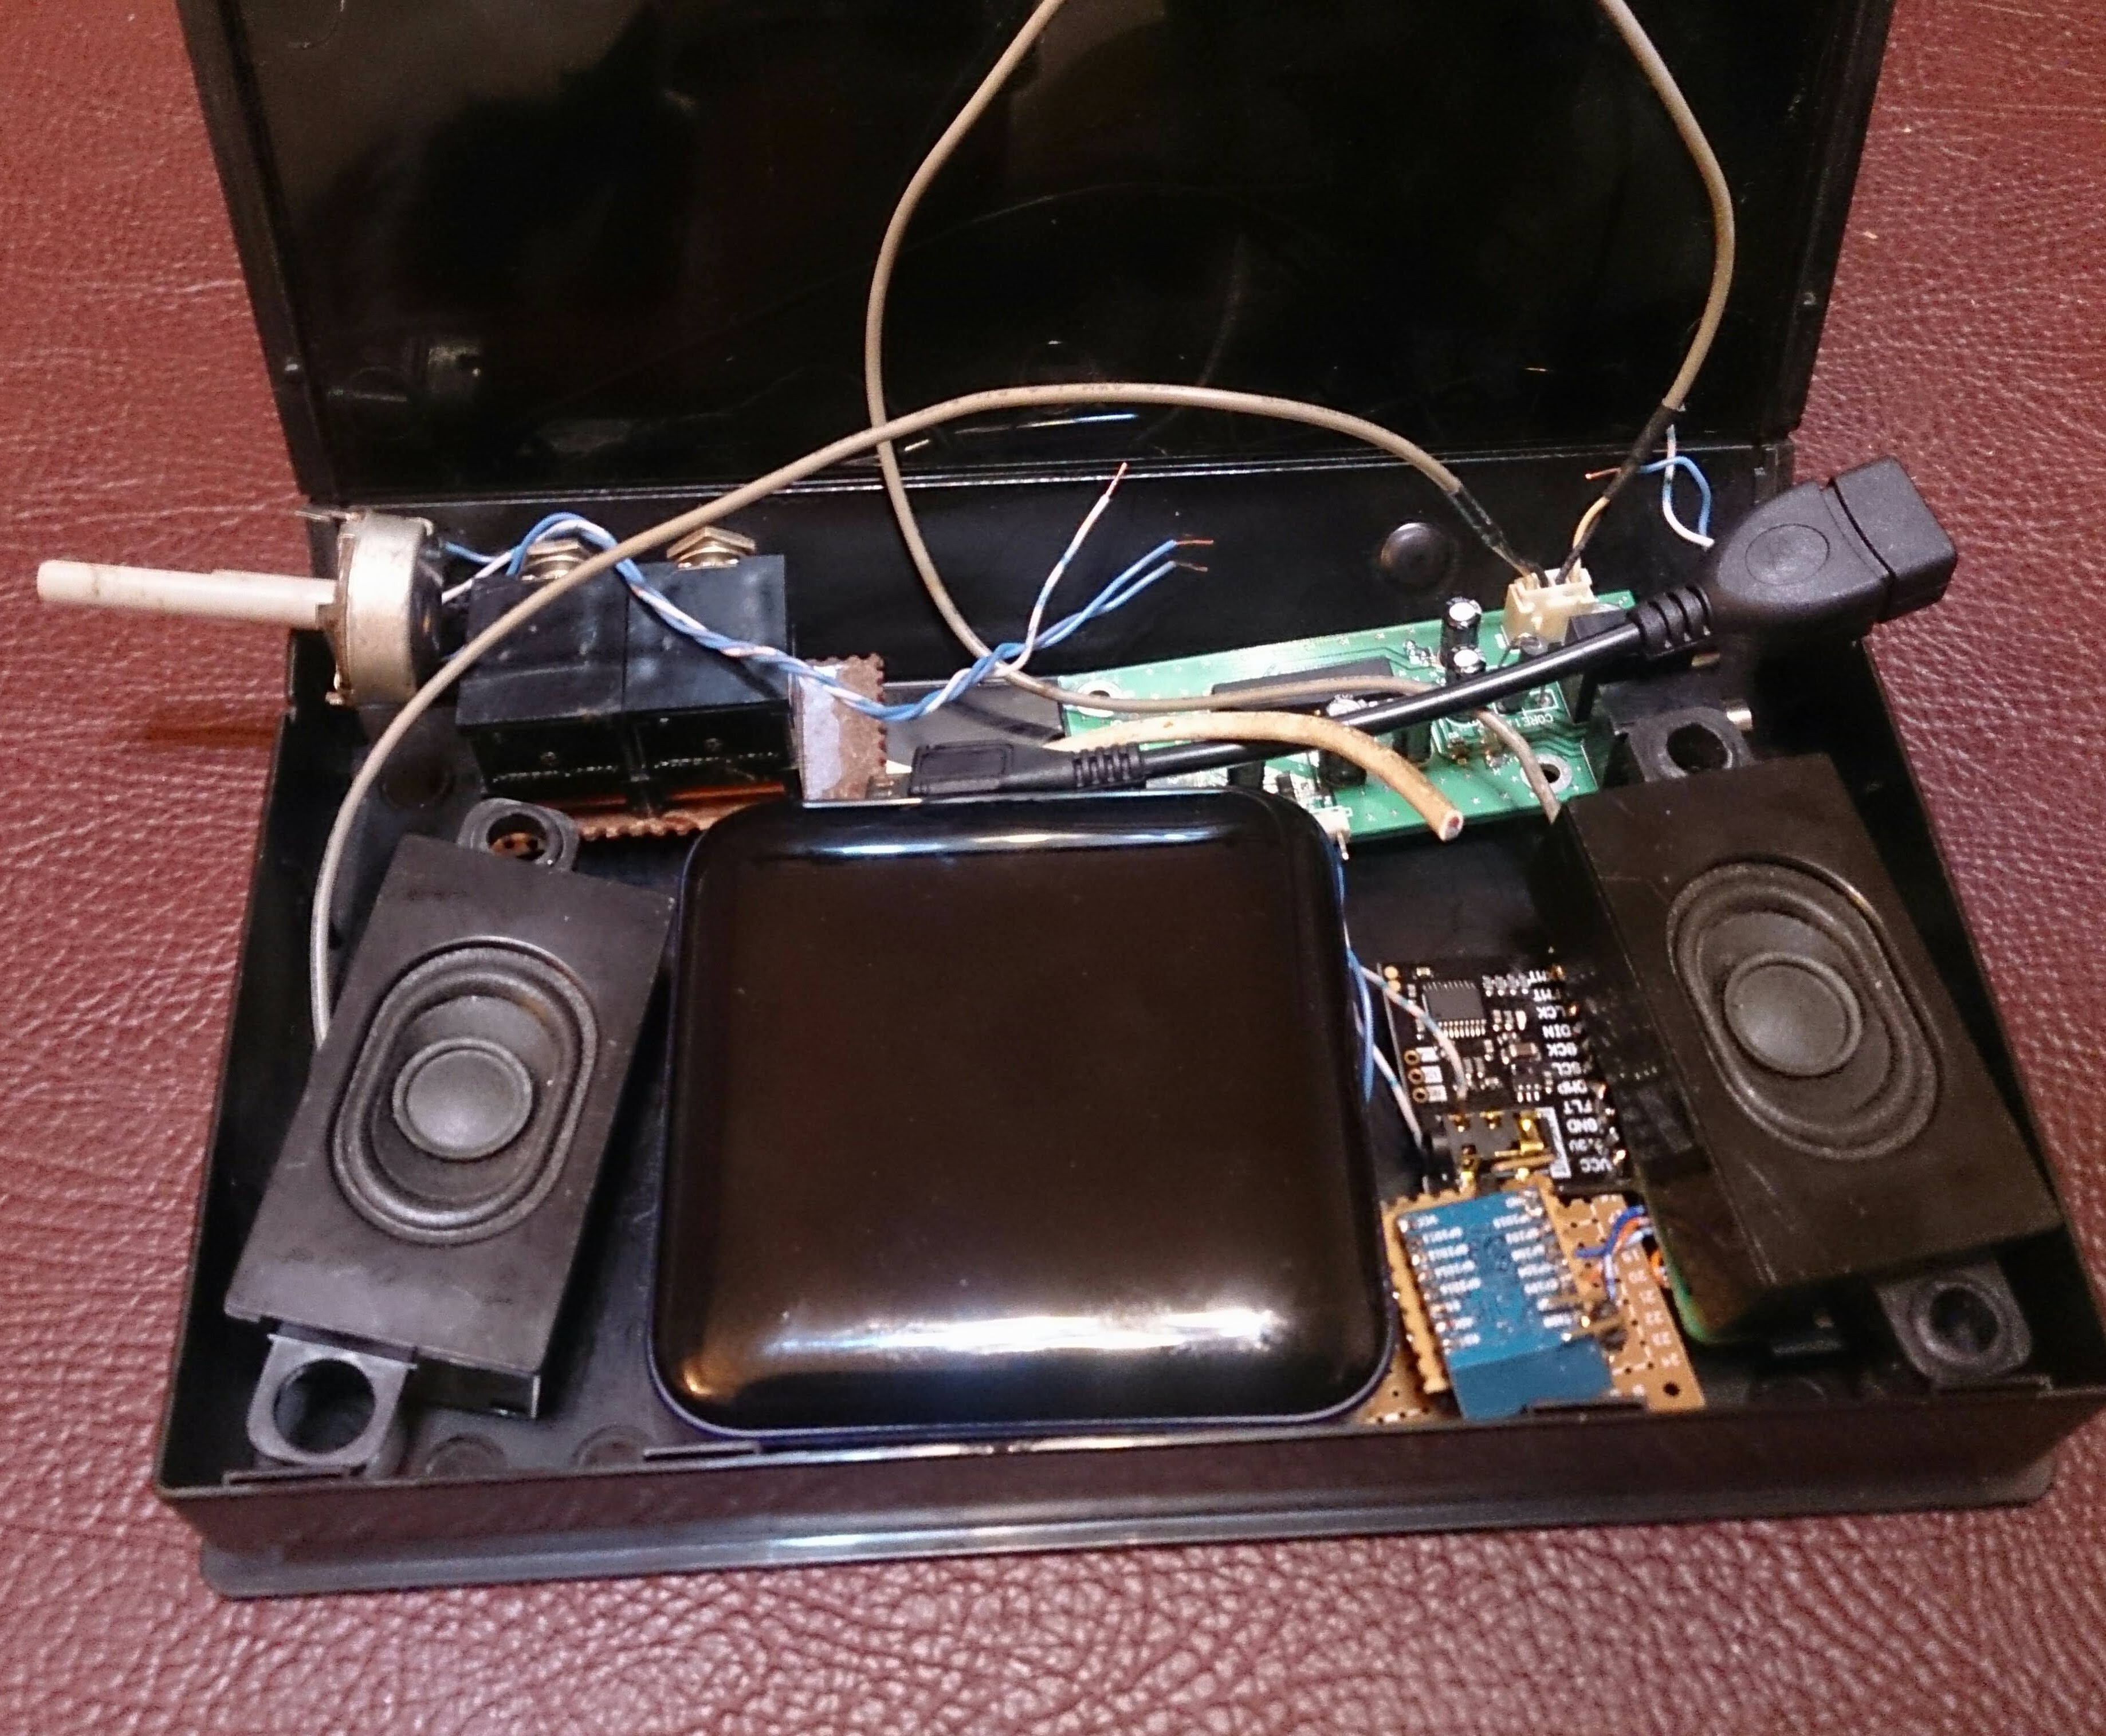
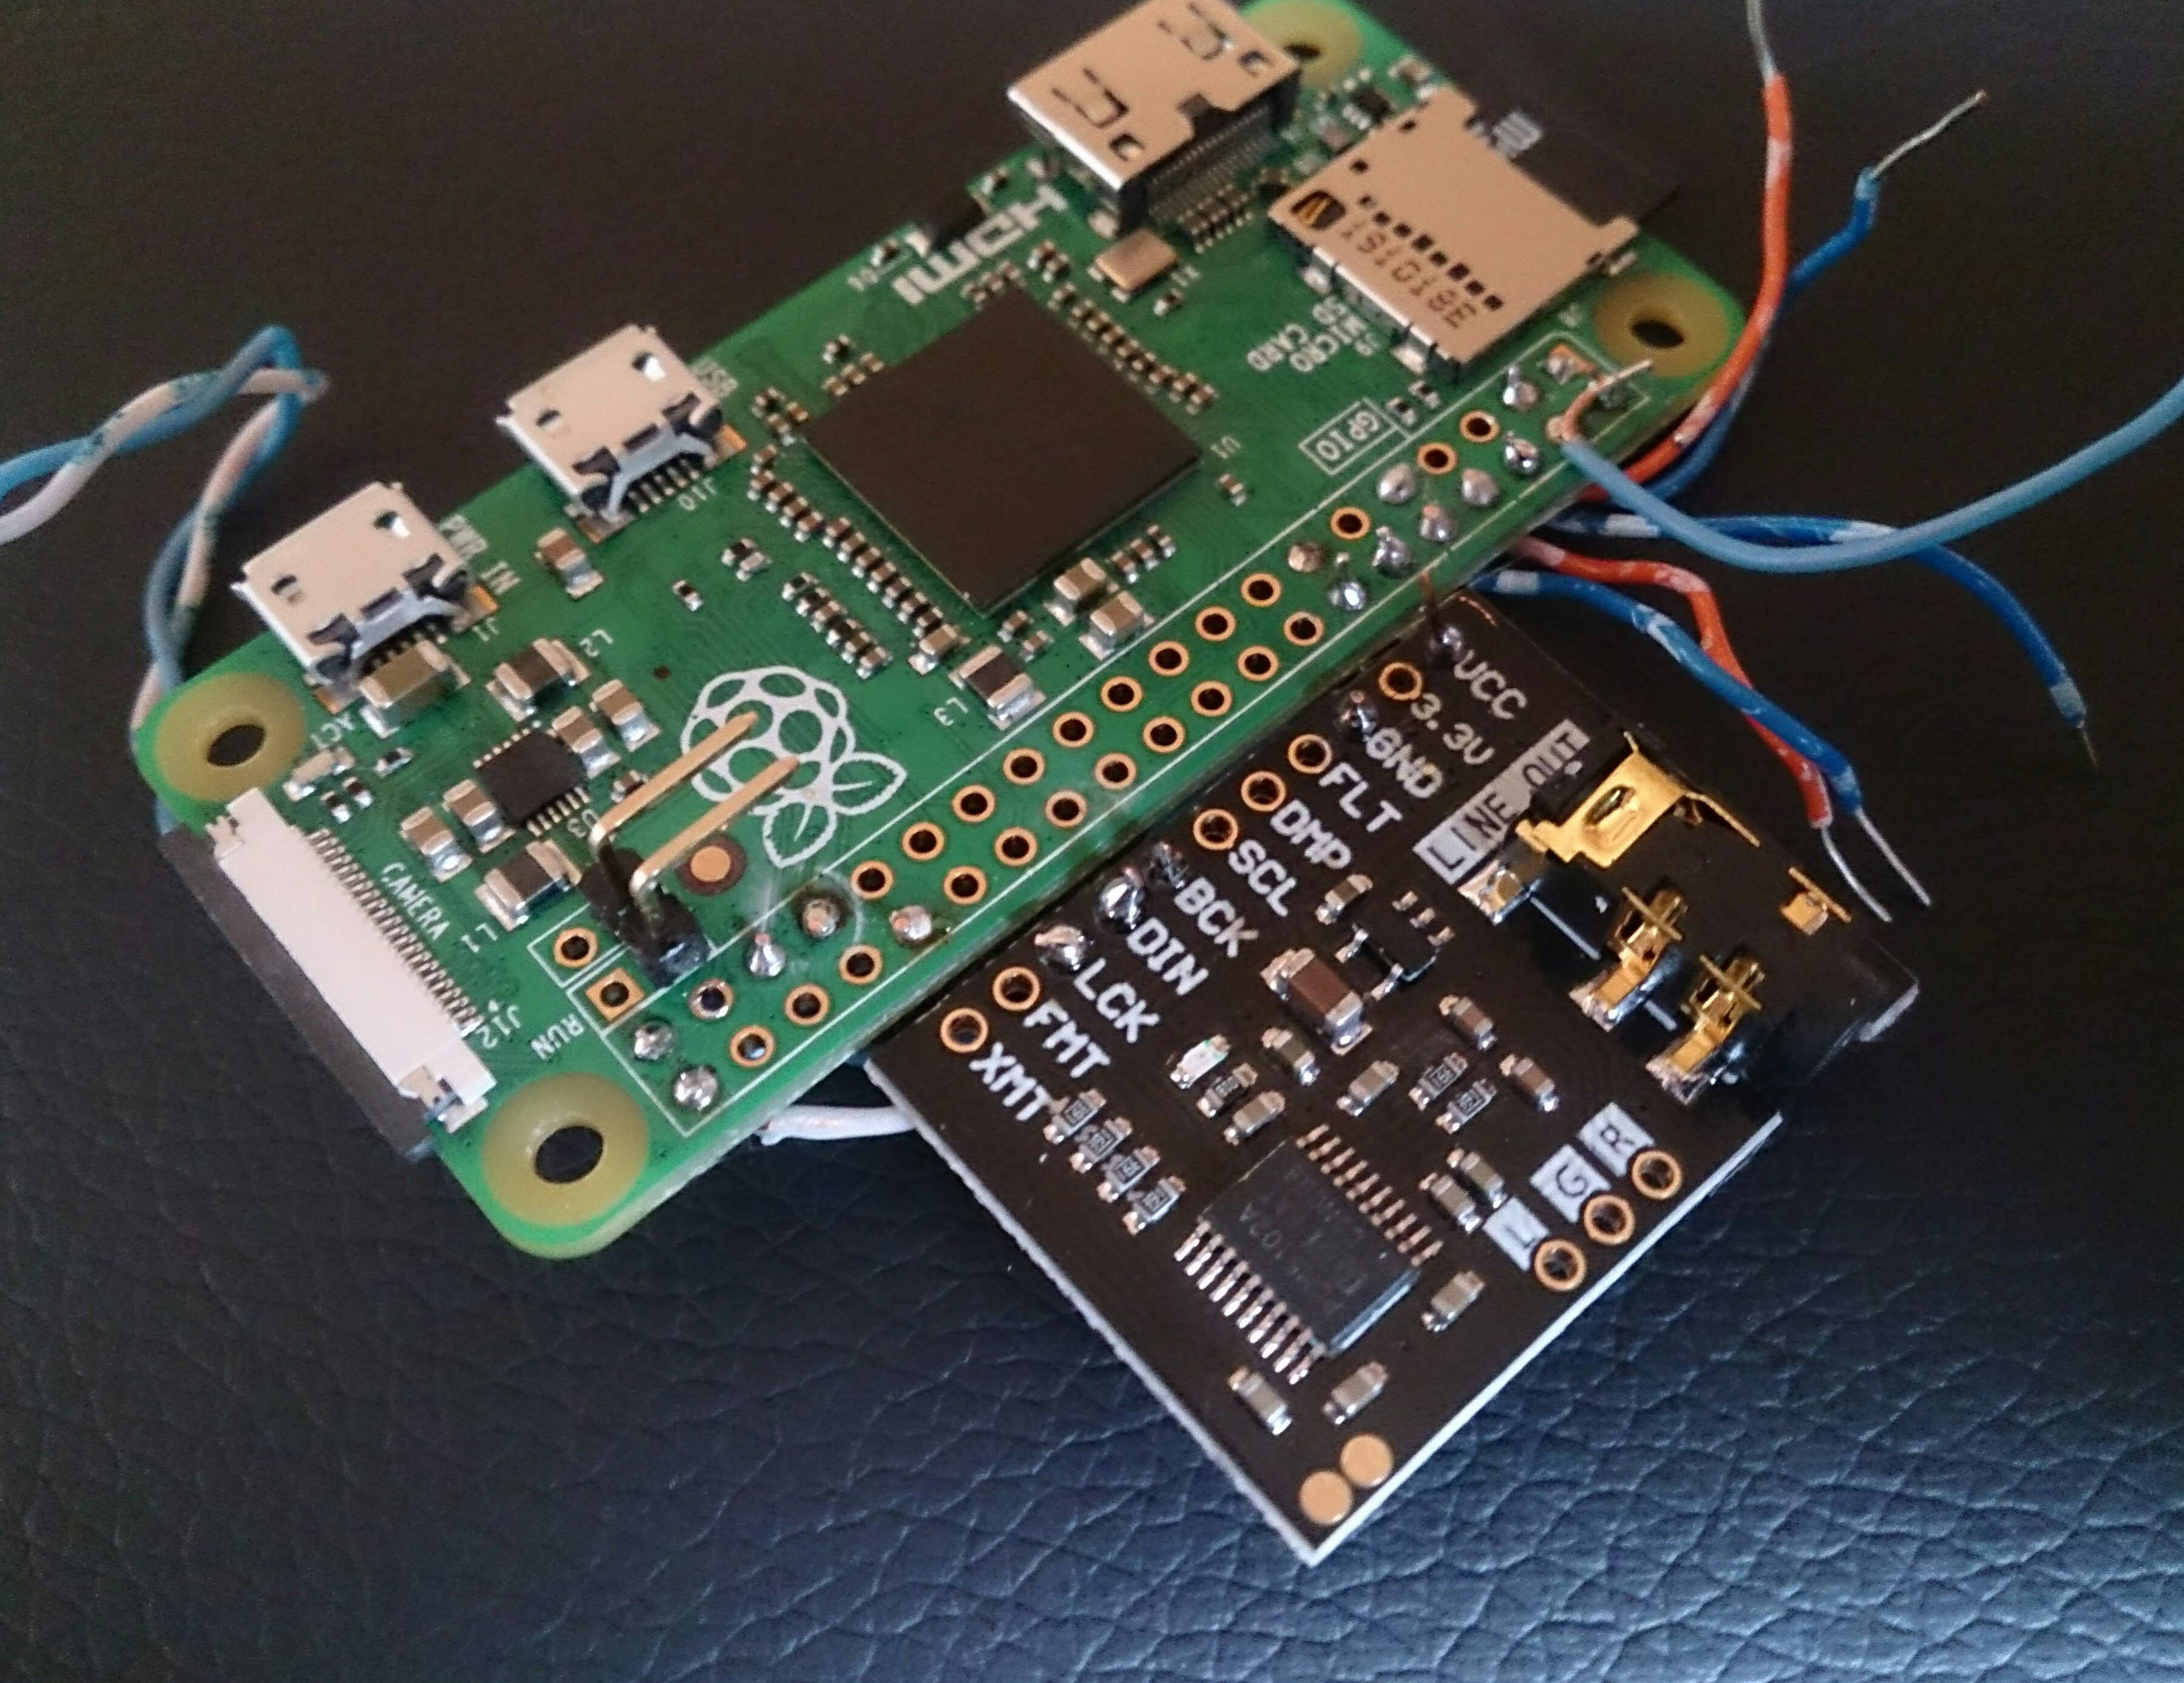
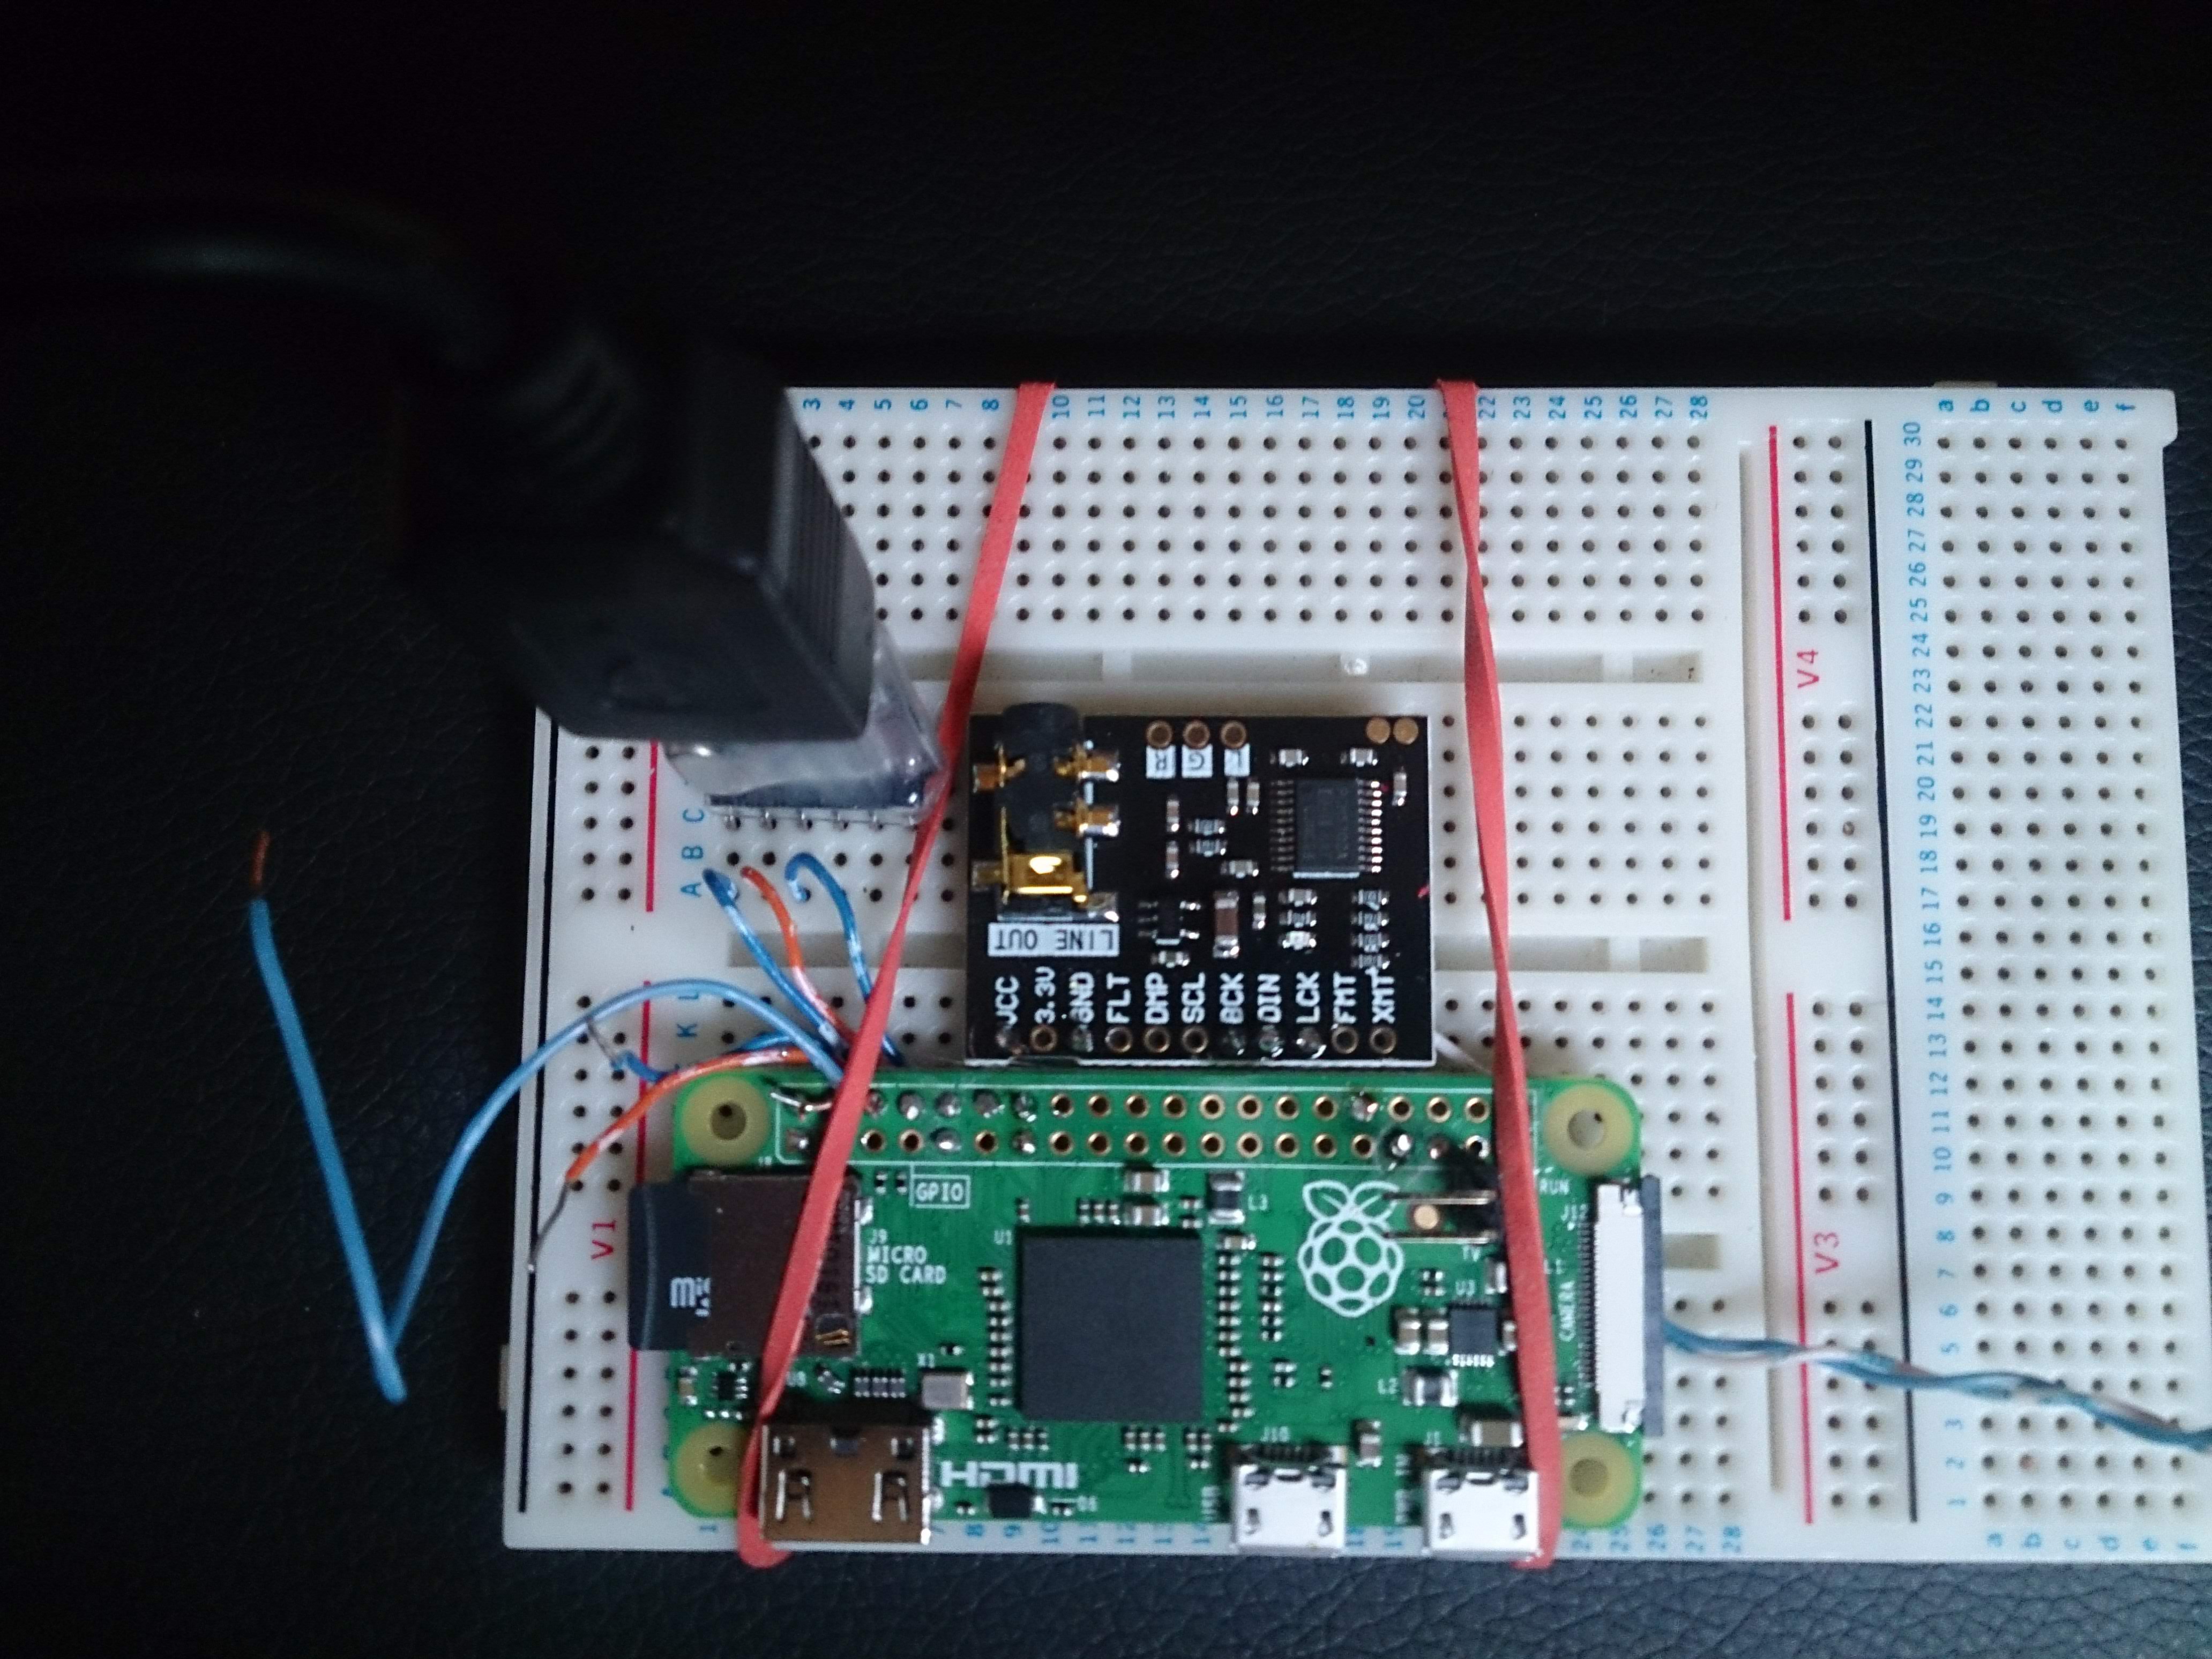
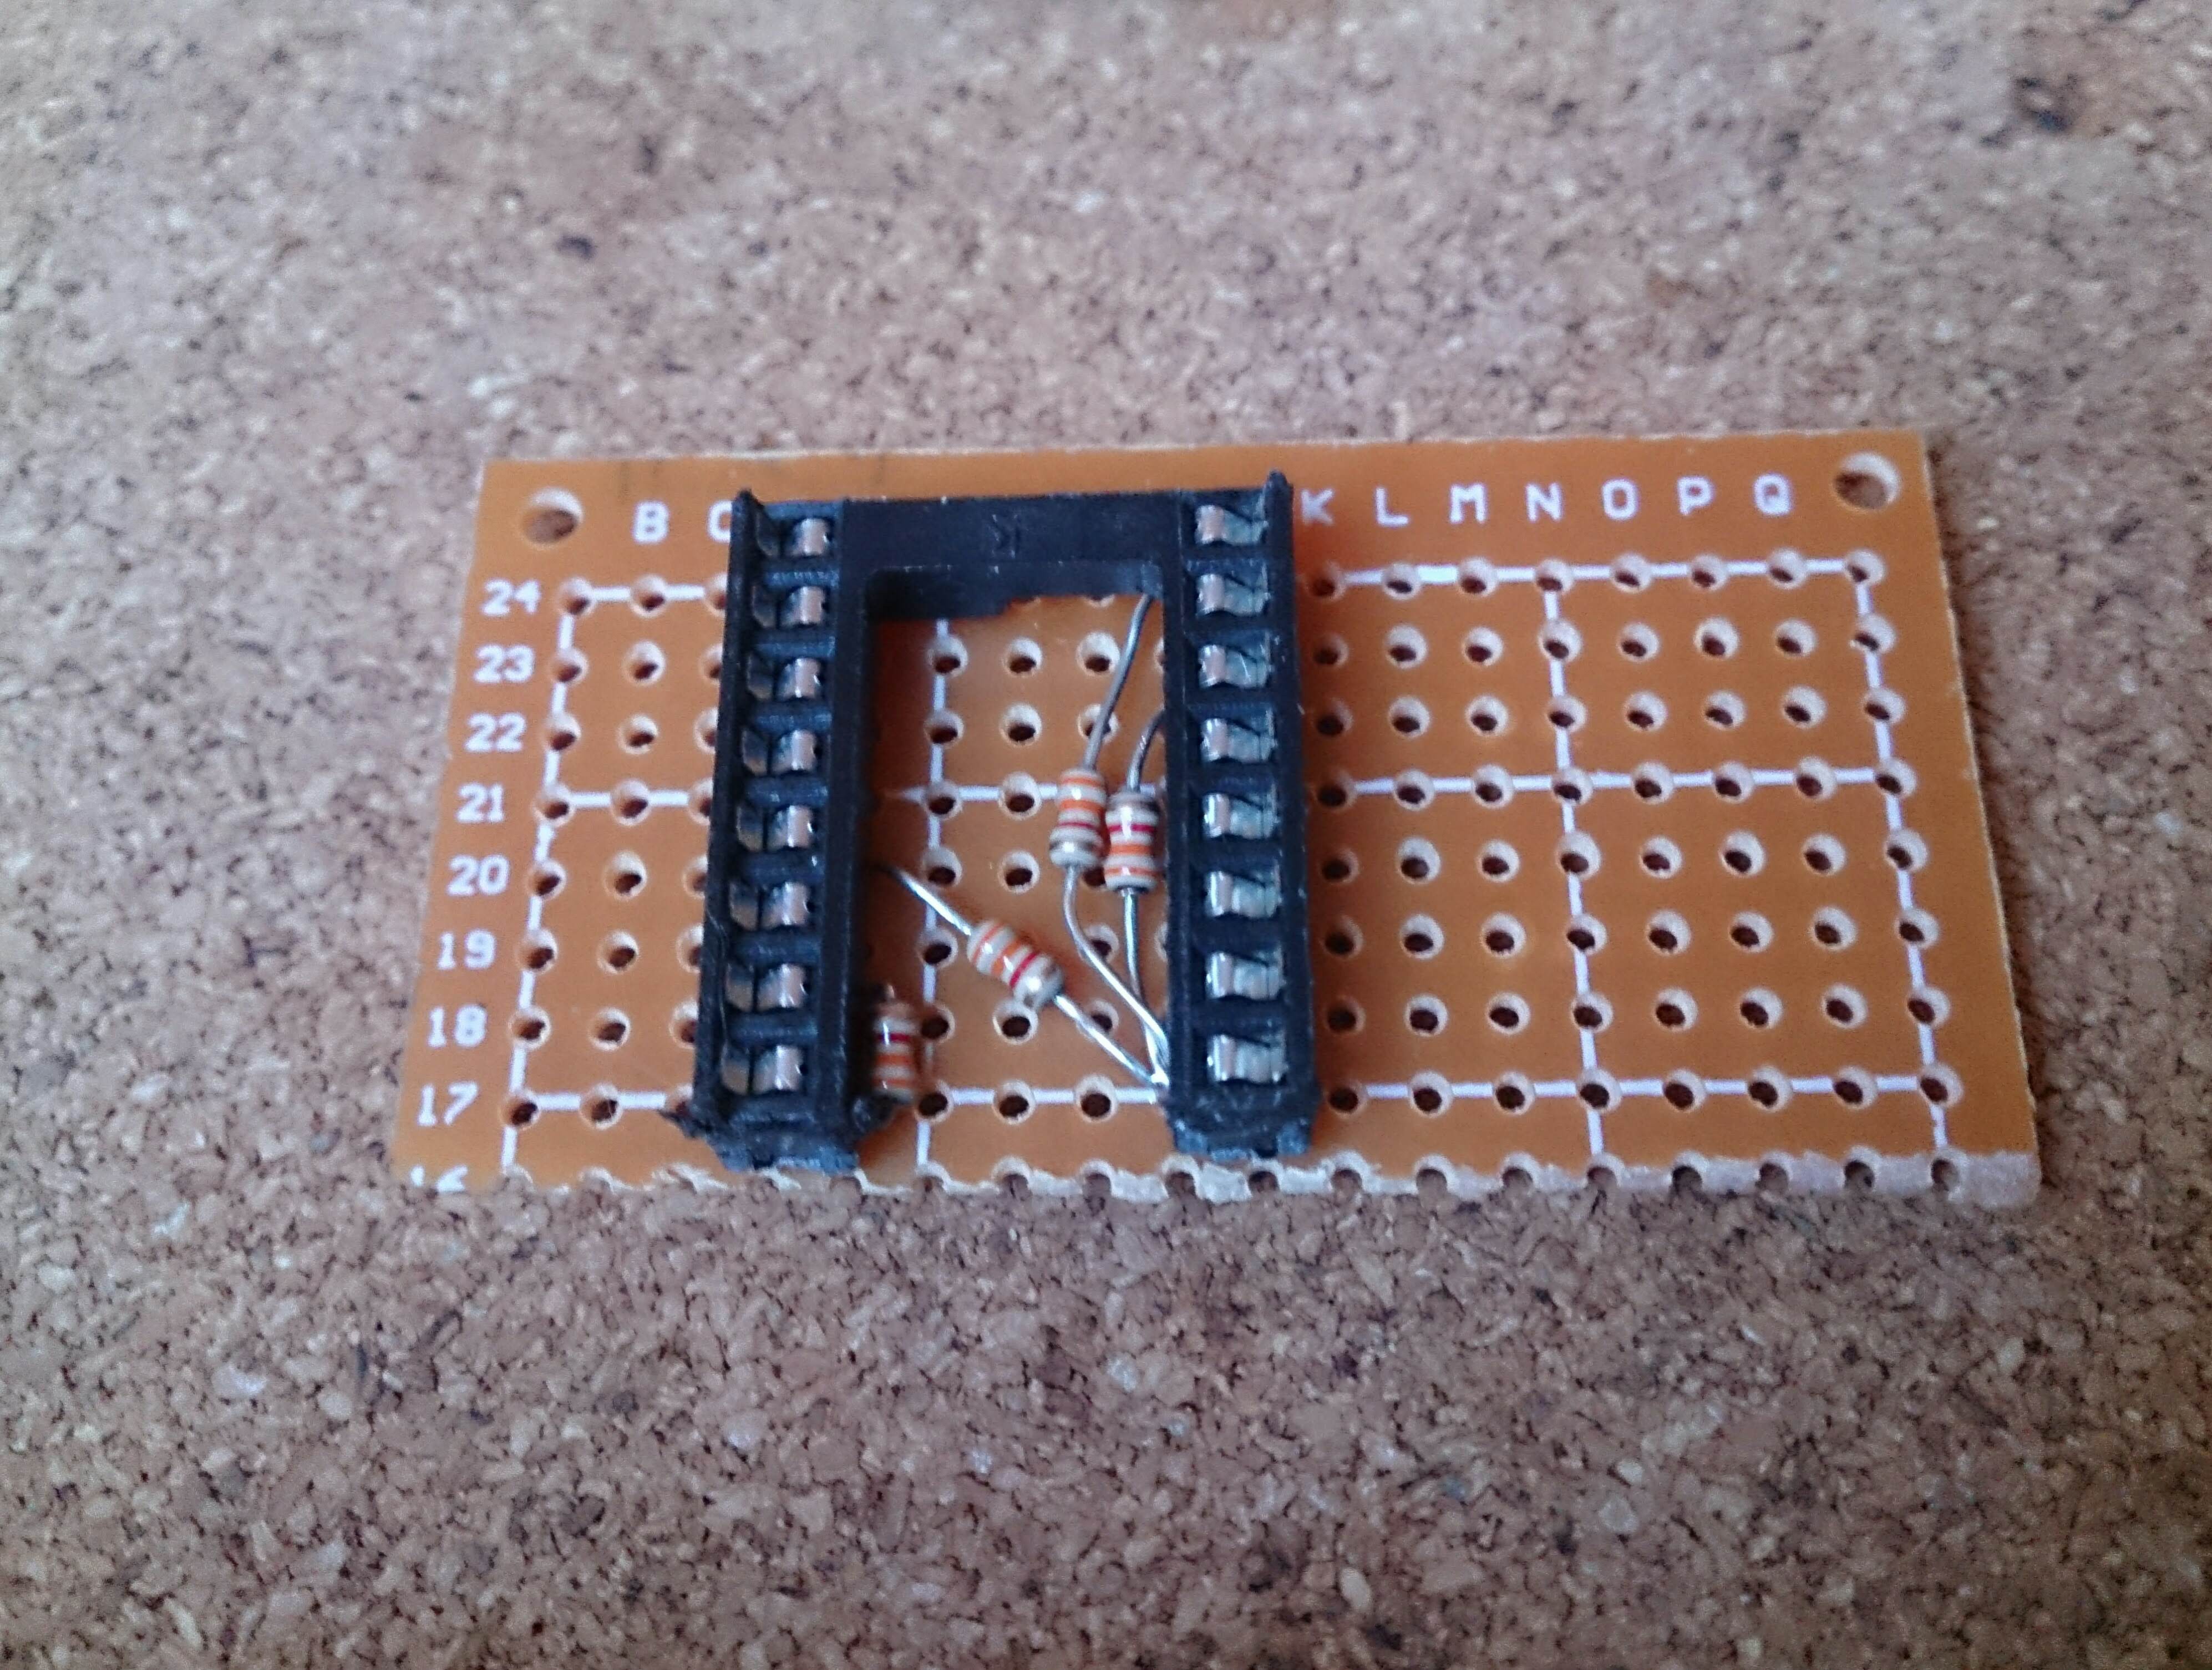
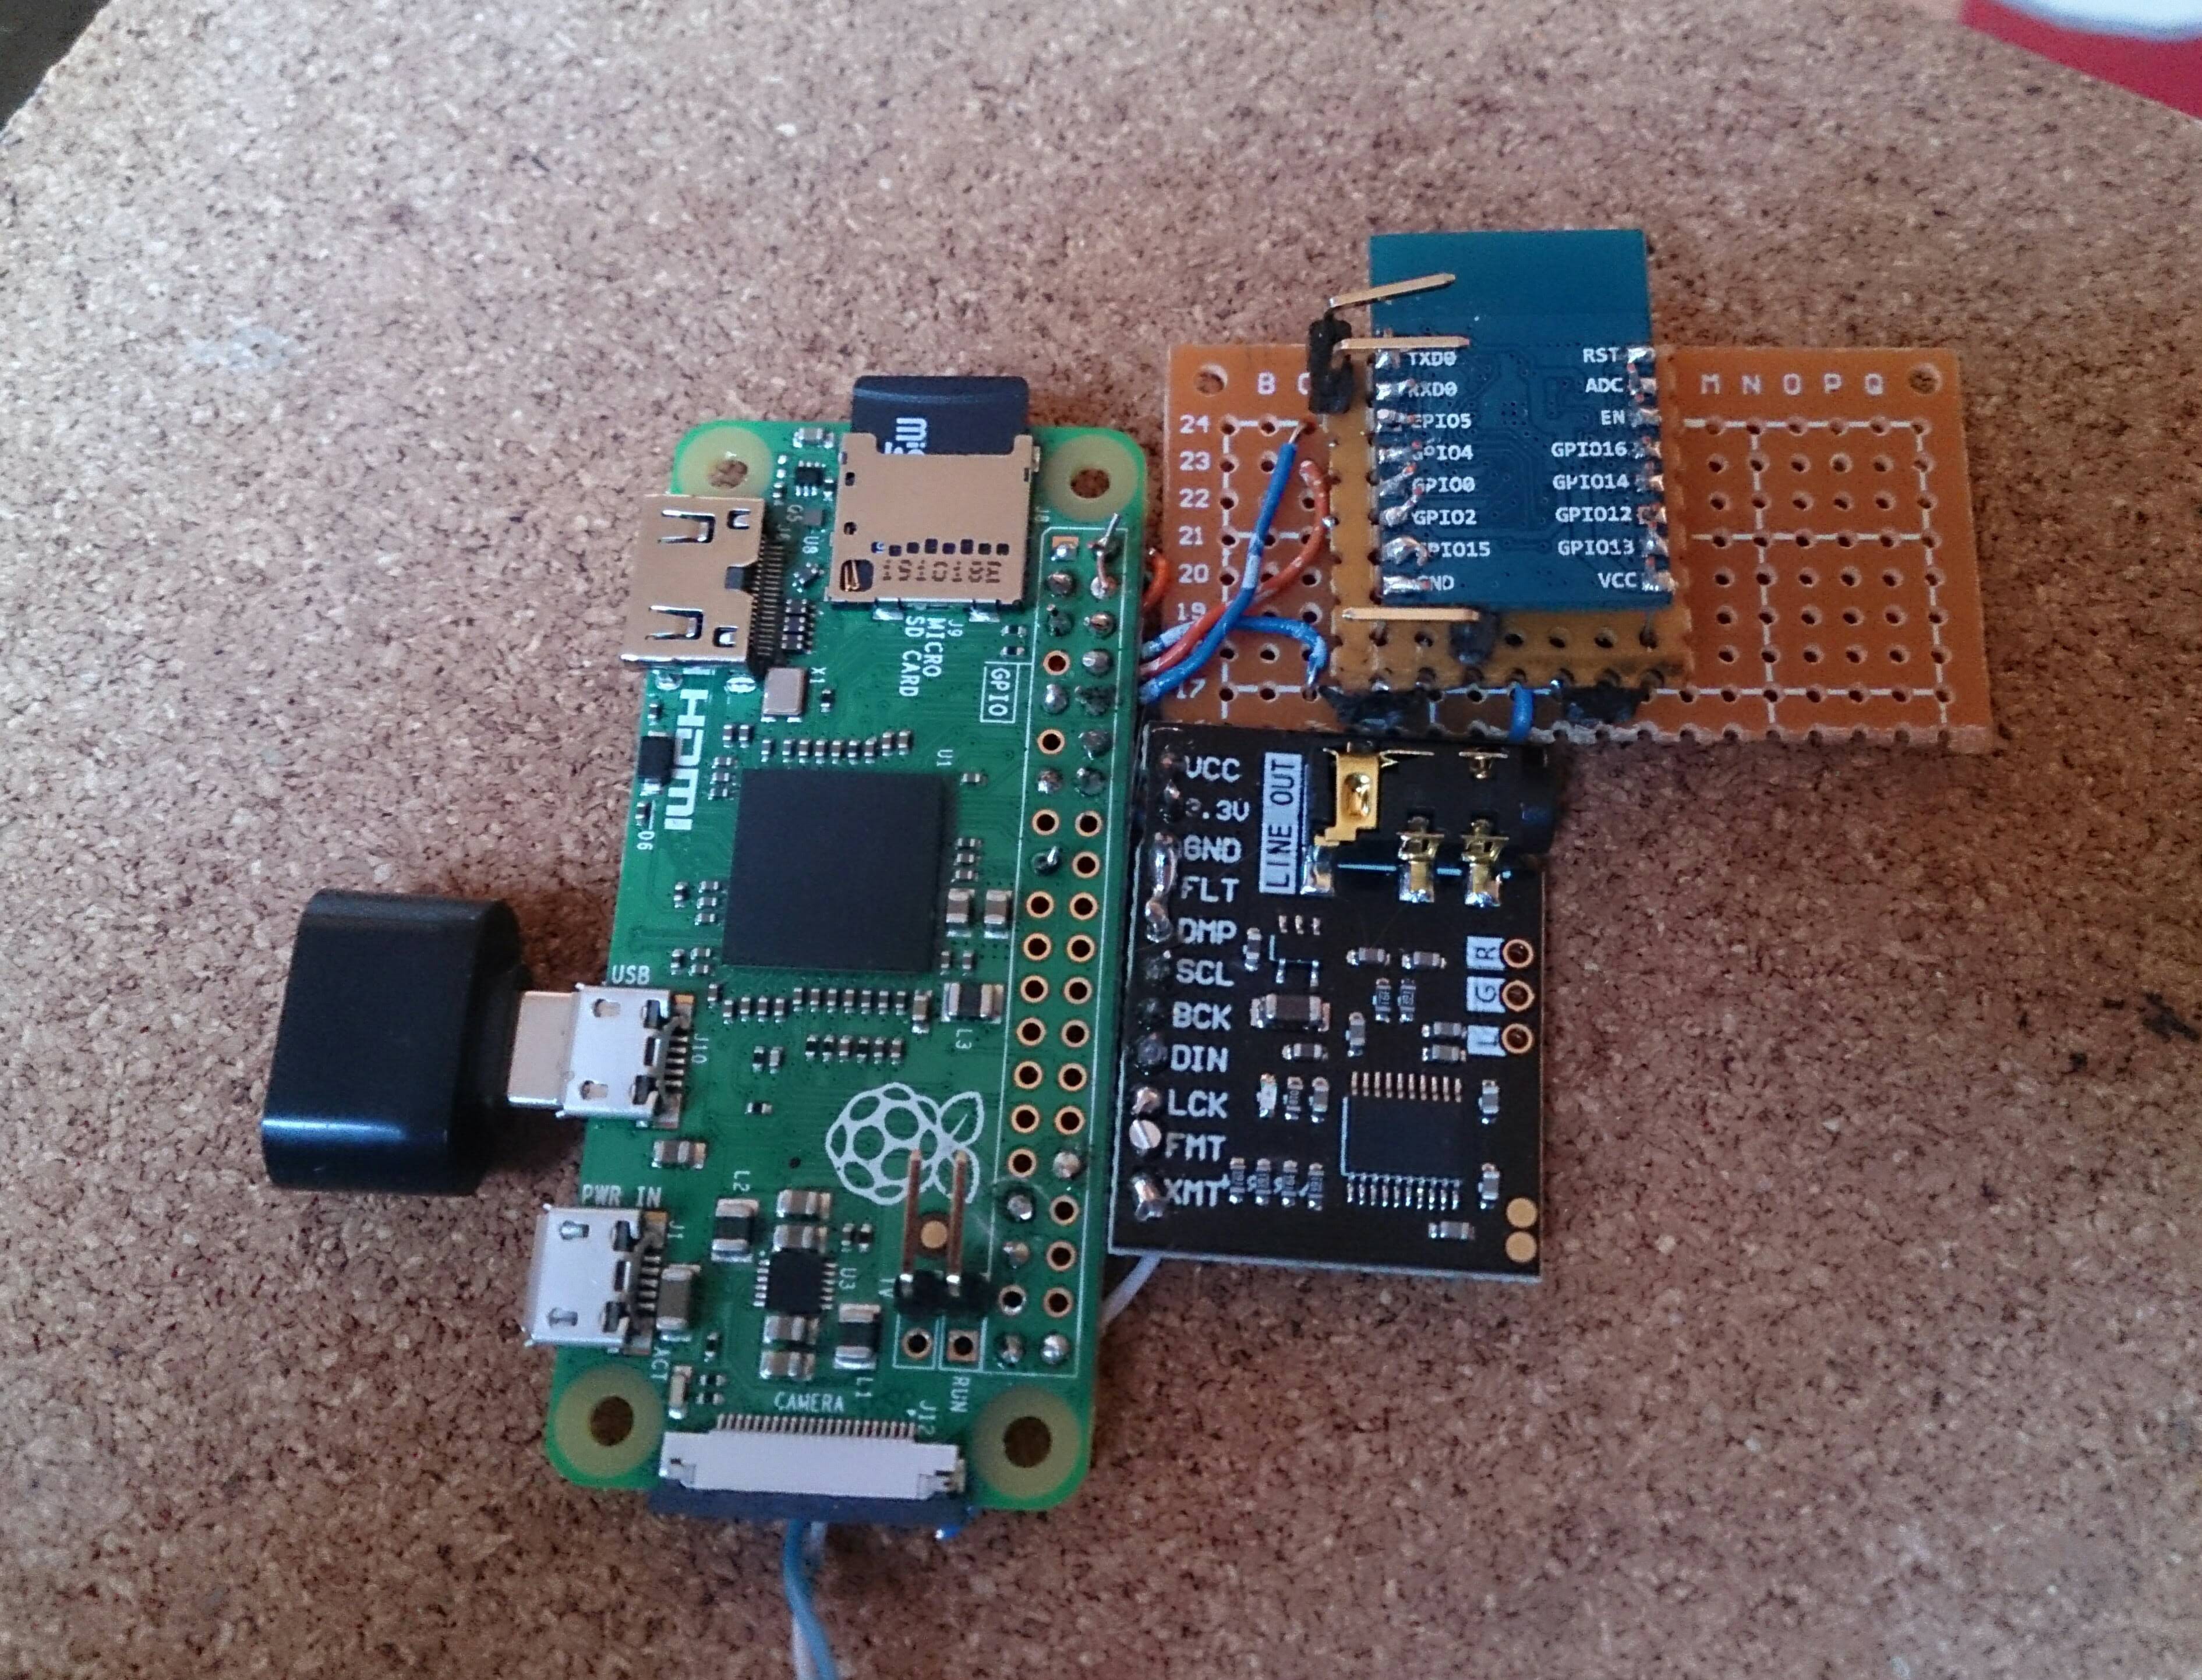
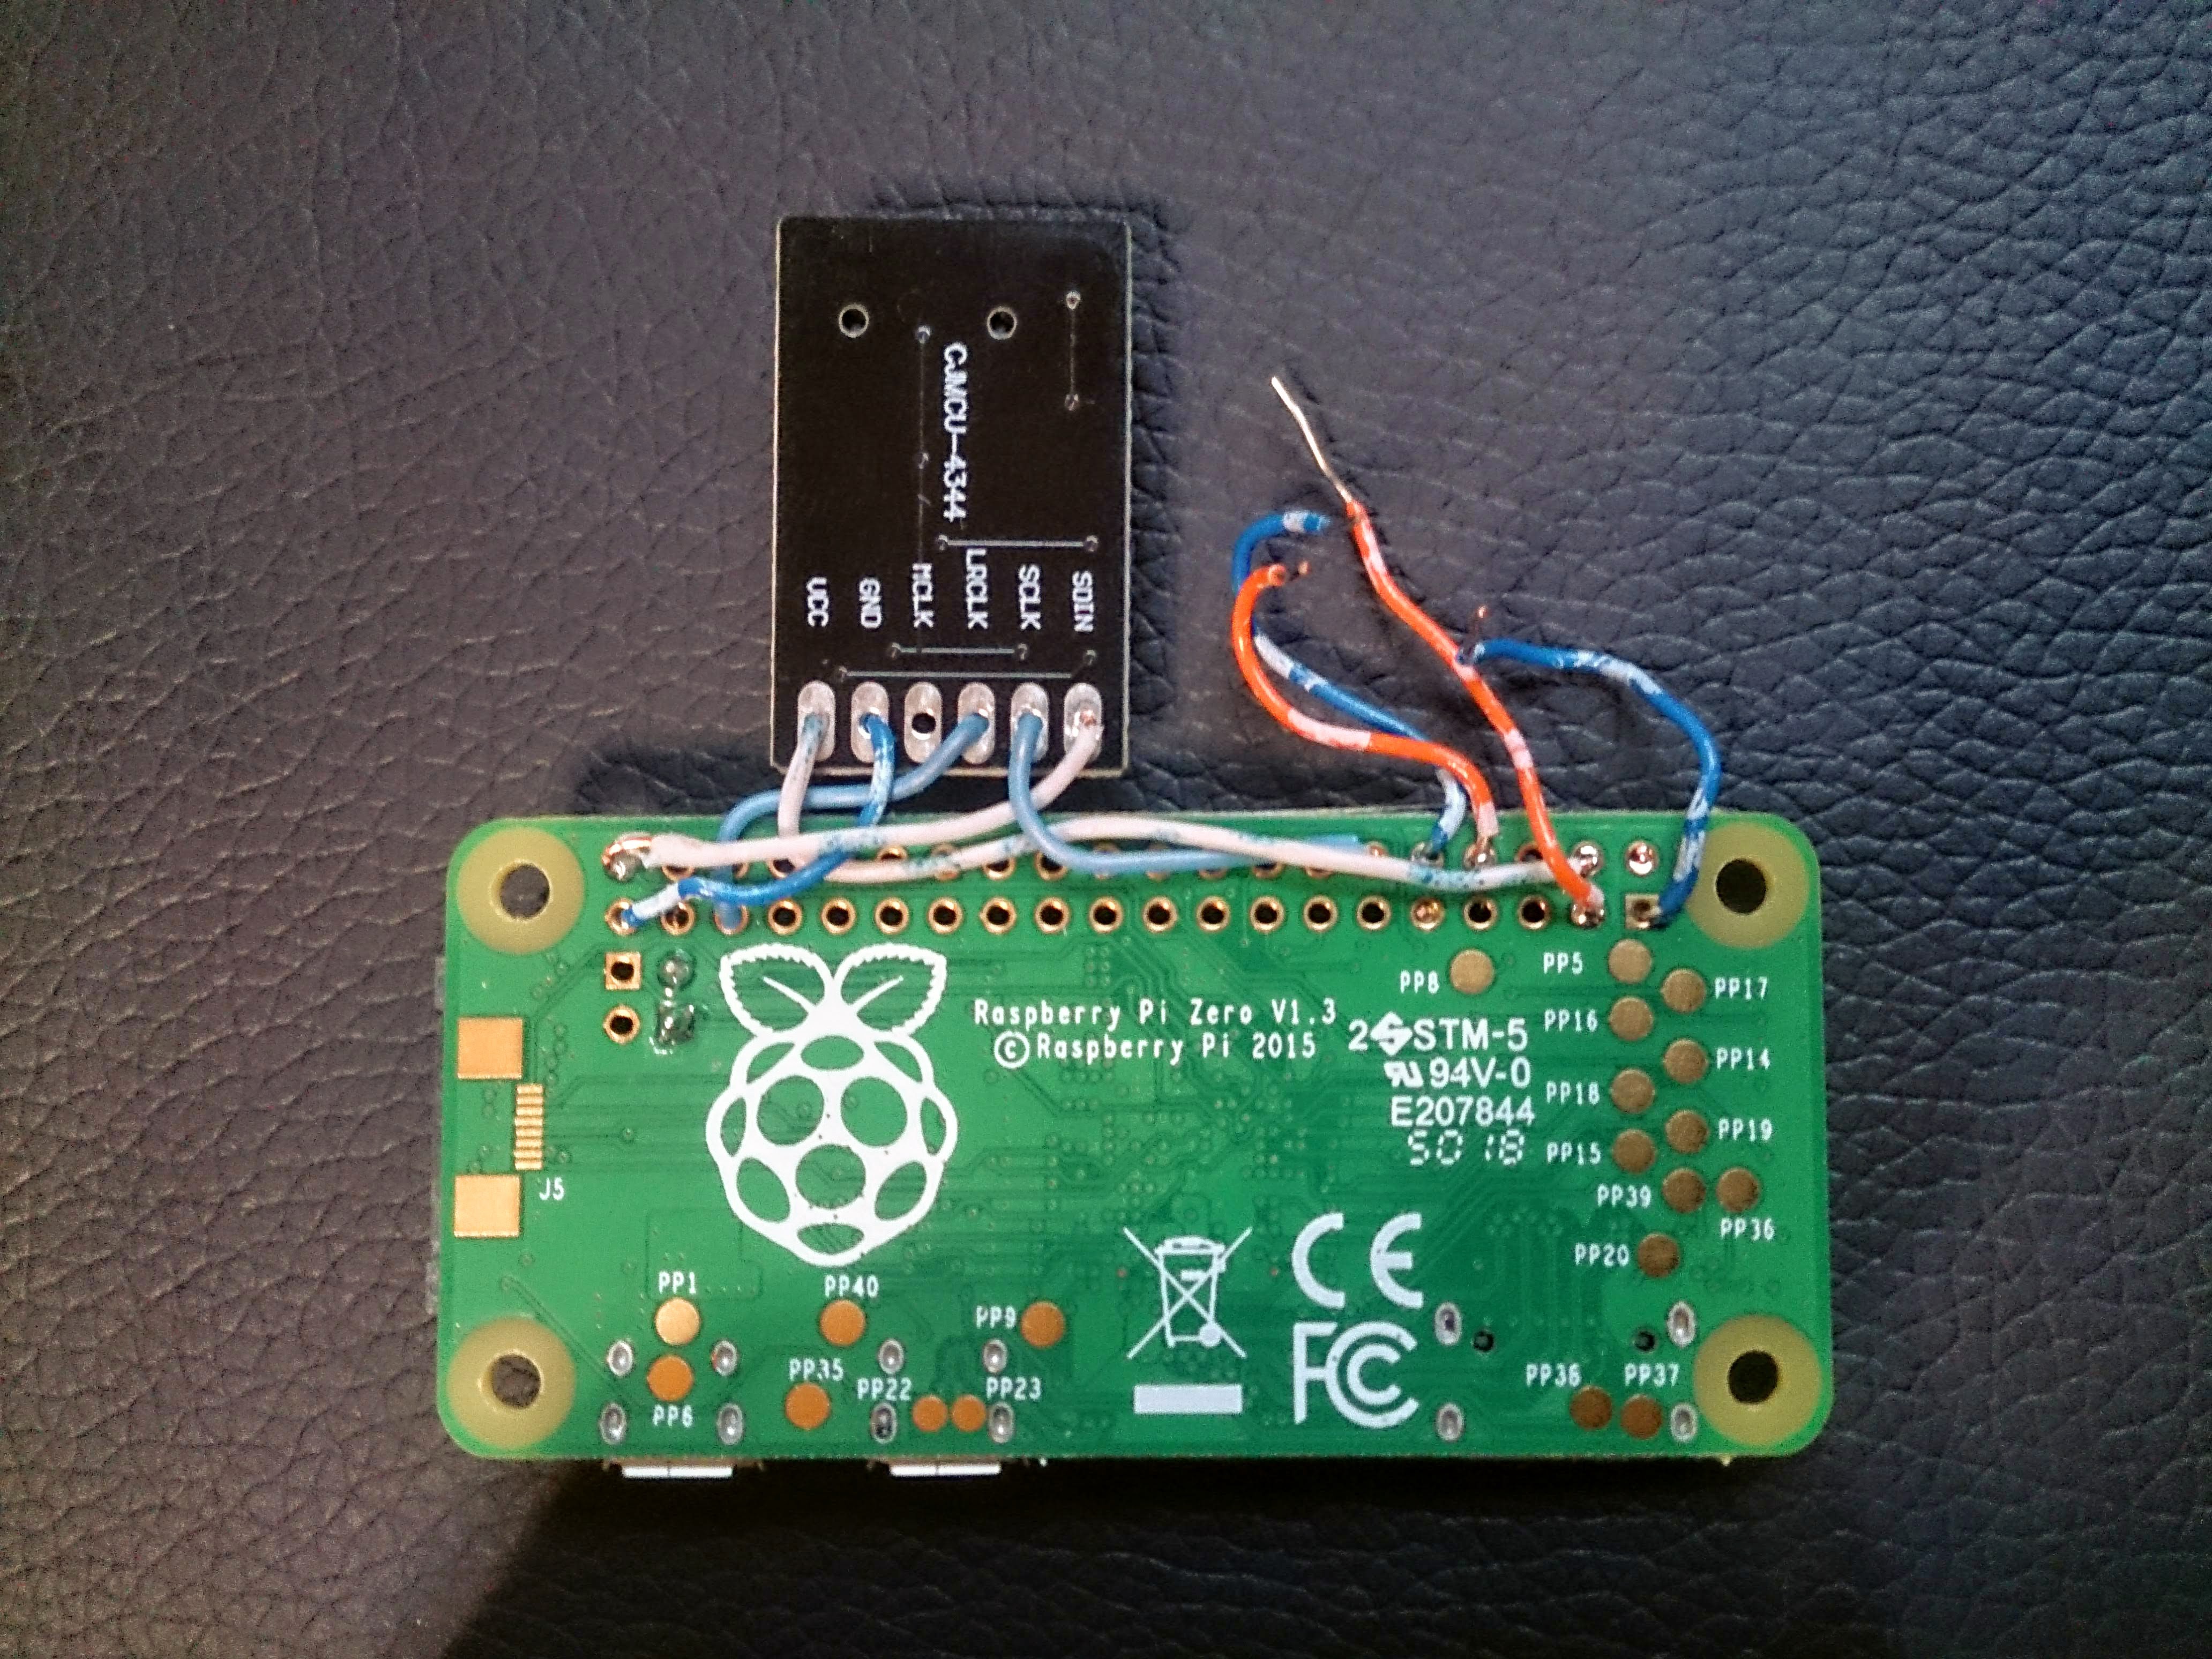
- Pi Zero
- ESP8266 module
- Loudspeaker
- Amplifier (of some sort)
- *Display (of some sort) - External Tablet app
- Box (of some sort) to mount the project in
- *VU meter(of some sort)
- *battery and charger hardware
Software:
Zythian? zynthian.org- fluidsynth? www.fluidsynth.org
- Homebrew web-based interface?
- Raspbian Buster Lite - Torrent - zip
* = optional / to be added at later stage
Resources:
- Soundfonts - https://www.mediafire.com/file/jgjzw33h621pgf1/ultimate_soundfont_pack.zip/file
- Platformio IDE for VSCode - https://platformio.org/install/ide?install=vscode
- Arduino code for ESP8266 webserver - https://github.com/esp8266/Arduino/blob/master/libraries/ESP8266WebServer/examples/HelloServer/HelloServer.ino
- Arduino code for ESP8266 OTA - https://github.com/esp8266/Arduino/blob/master/libraries/ArduinoOTA/examples/BasicOTA/BasicOTA.ino
References:
- Sound hardware, GPIO - https://www.tinkernut.com/2017/04/adding-audio-output-raspberry-pi-zero-tinkernut-workbench/
- Sound hardware, external DAC - https://discourse.zynthian.org/t/cheap-pcm5102a-board-working/2636
- MIDI software, fluidsynth - https://medium.com/@rreinold/how-to-use-a-raspberry-pi-3-to-turn-midi-piano-to-into-stand-alone-powered-piano-4aeb79e309ce
- Cheap PCM5102a board working - https://discourse.zynthian.org/t/cheap-pcm5102a-board-working/2636
- PCM5102a board - https://raspberrypi.stackexchange.com/questions/76188/how-to-make-pcm5102-dac-work-on-raspberry-pi-zerow
- FluidPi - https://github.com/MarquisdeGeek/FluidPi
- ESP8266 wifi - https://www.i-programmer.info/programming/hardware/10037-raspberry-pi-wifi-with-the-esp8266-.html
- Headless setup - https://learn.adafruit.com/raspberry-pi-zero-creation/overview
- Debian Lite - https://dev.to/vorillaz/headless-raspberry-pi-zero-w-setup-3llj
- Internet Access to Raspberry Pi Zero - https://www.instructables.com/id/How-to-give-an-internet-access-to-Raspberry-Pi-Zer/
- ESP-8266 OTA updates - https://www.penninkhof.com/2015/12/1610-over-the-air-esp8266-programming-using-platformio/
- Pi-Synth, overview of a similar project - https://gonzos.net/projects/pi-synth/
- Correct wiring for sound board - https://forum.volumio.org/dac-connections-pcm5102-t5115.html
- MIDI configuration - http://m635j520.blogspot.com/2017/01/using-raspberry-pi-as-midi-usb5-pin.html
 "Did you say cut the red wire?"

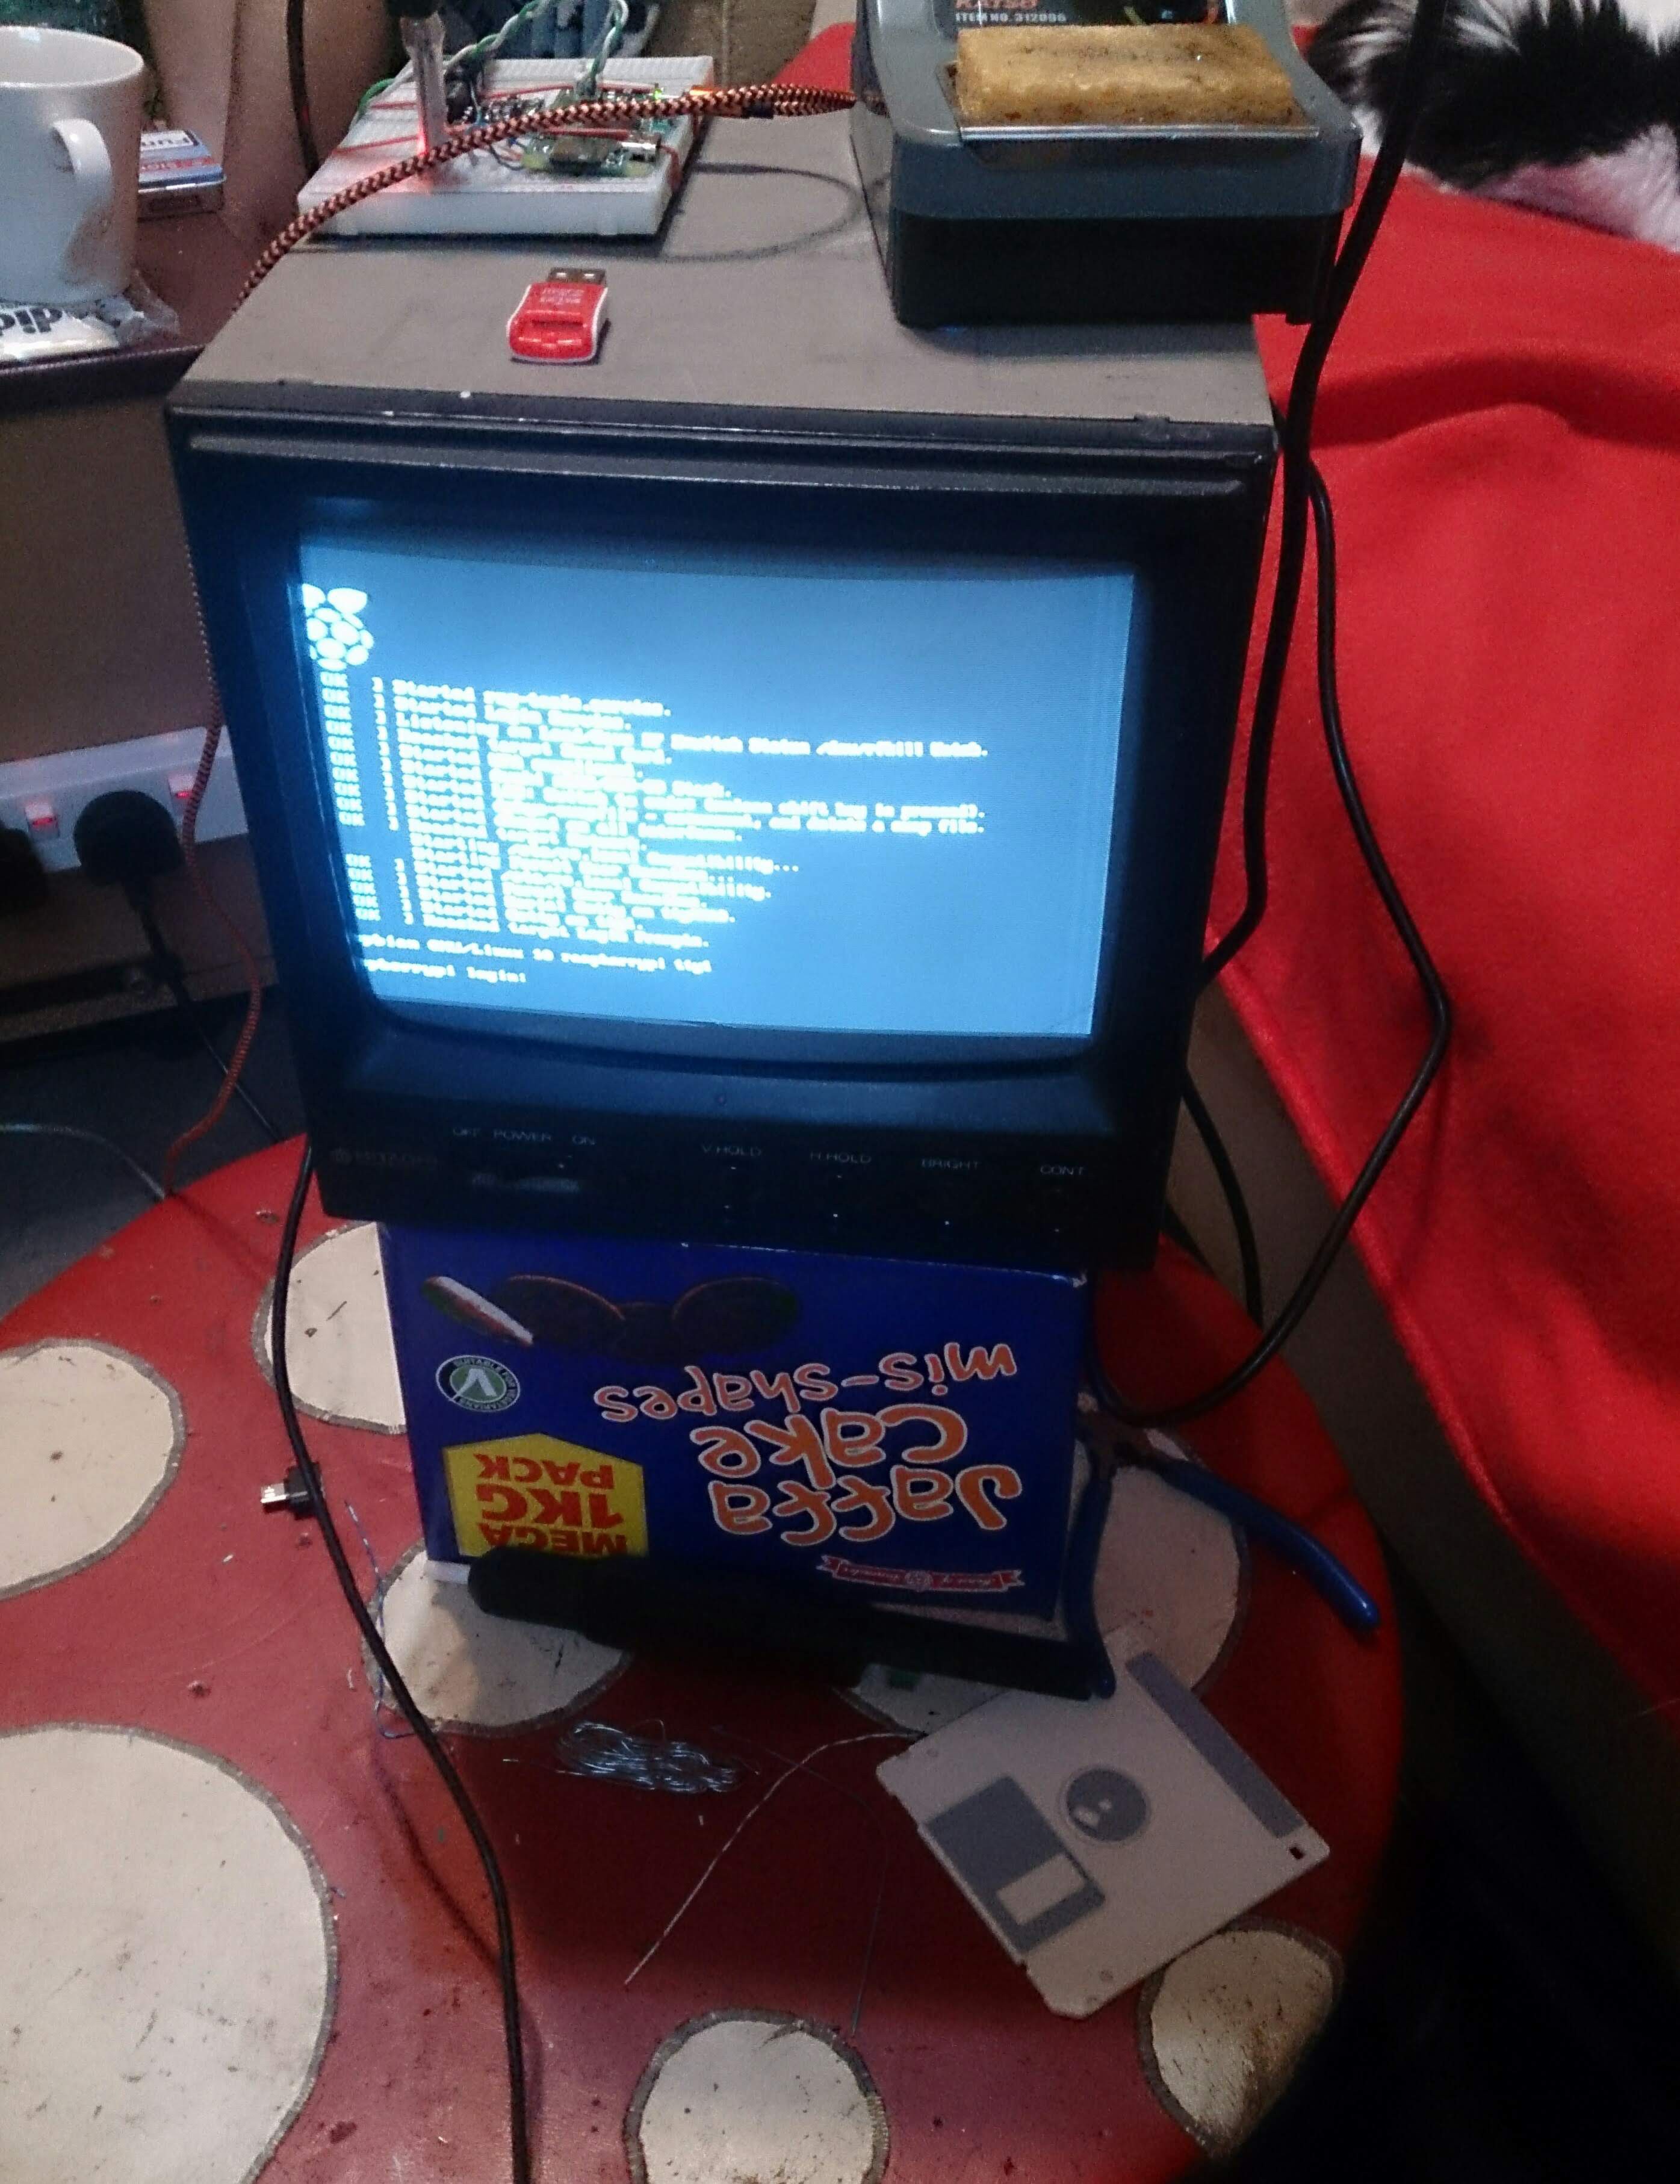 It boots!
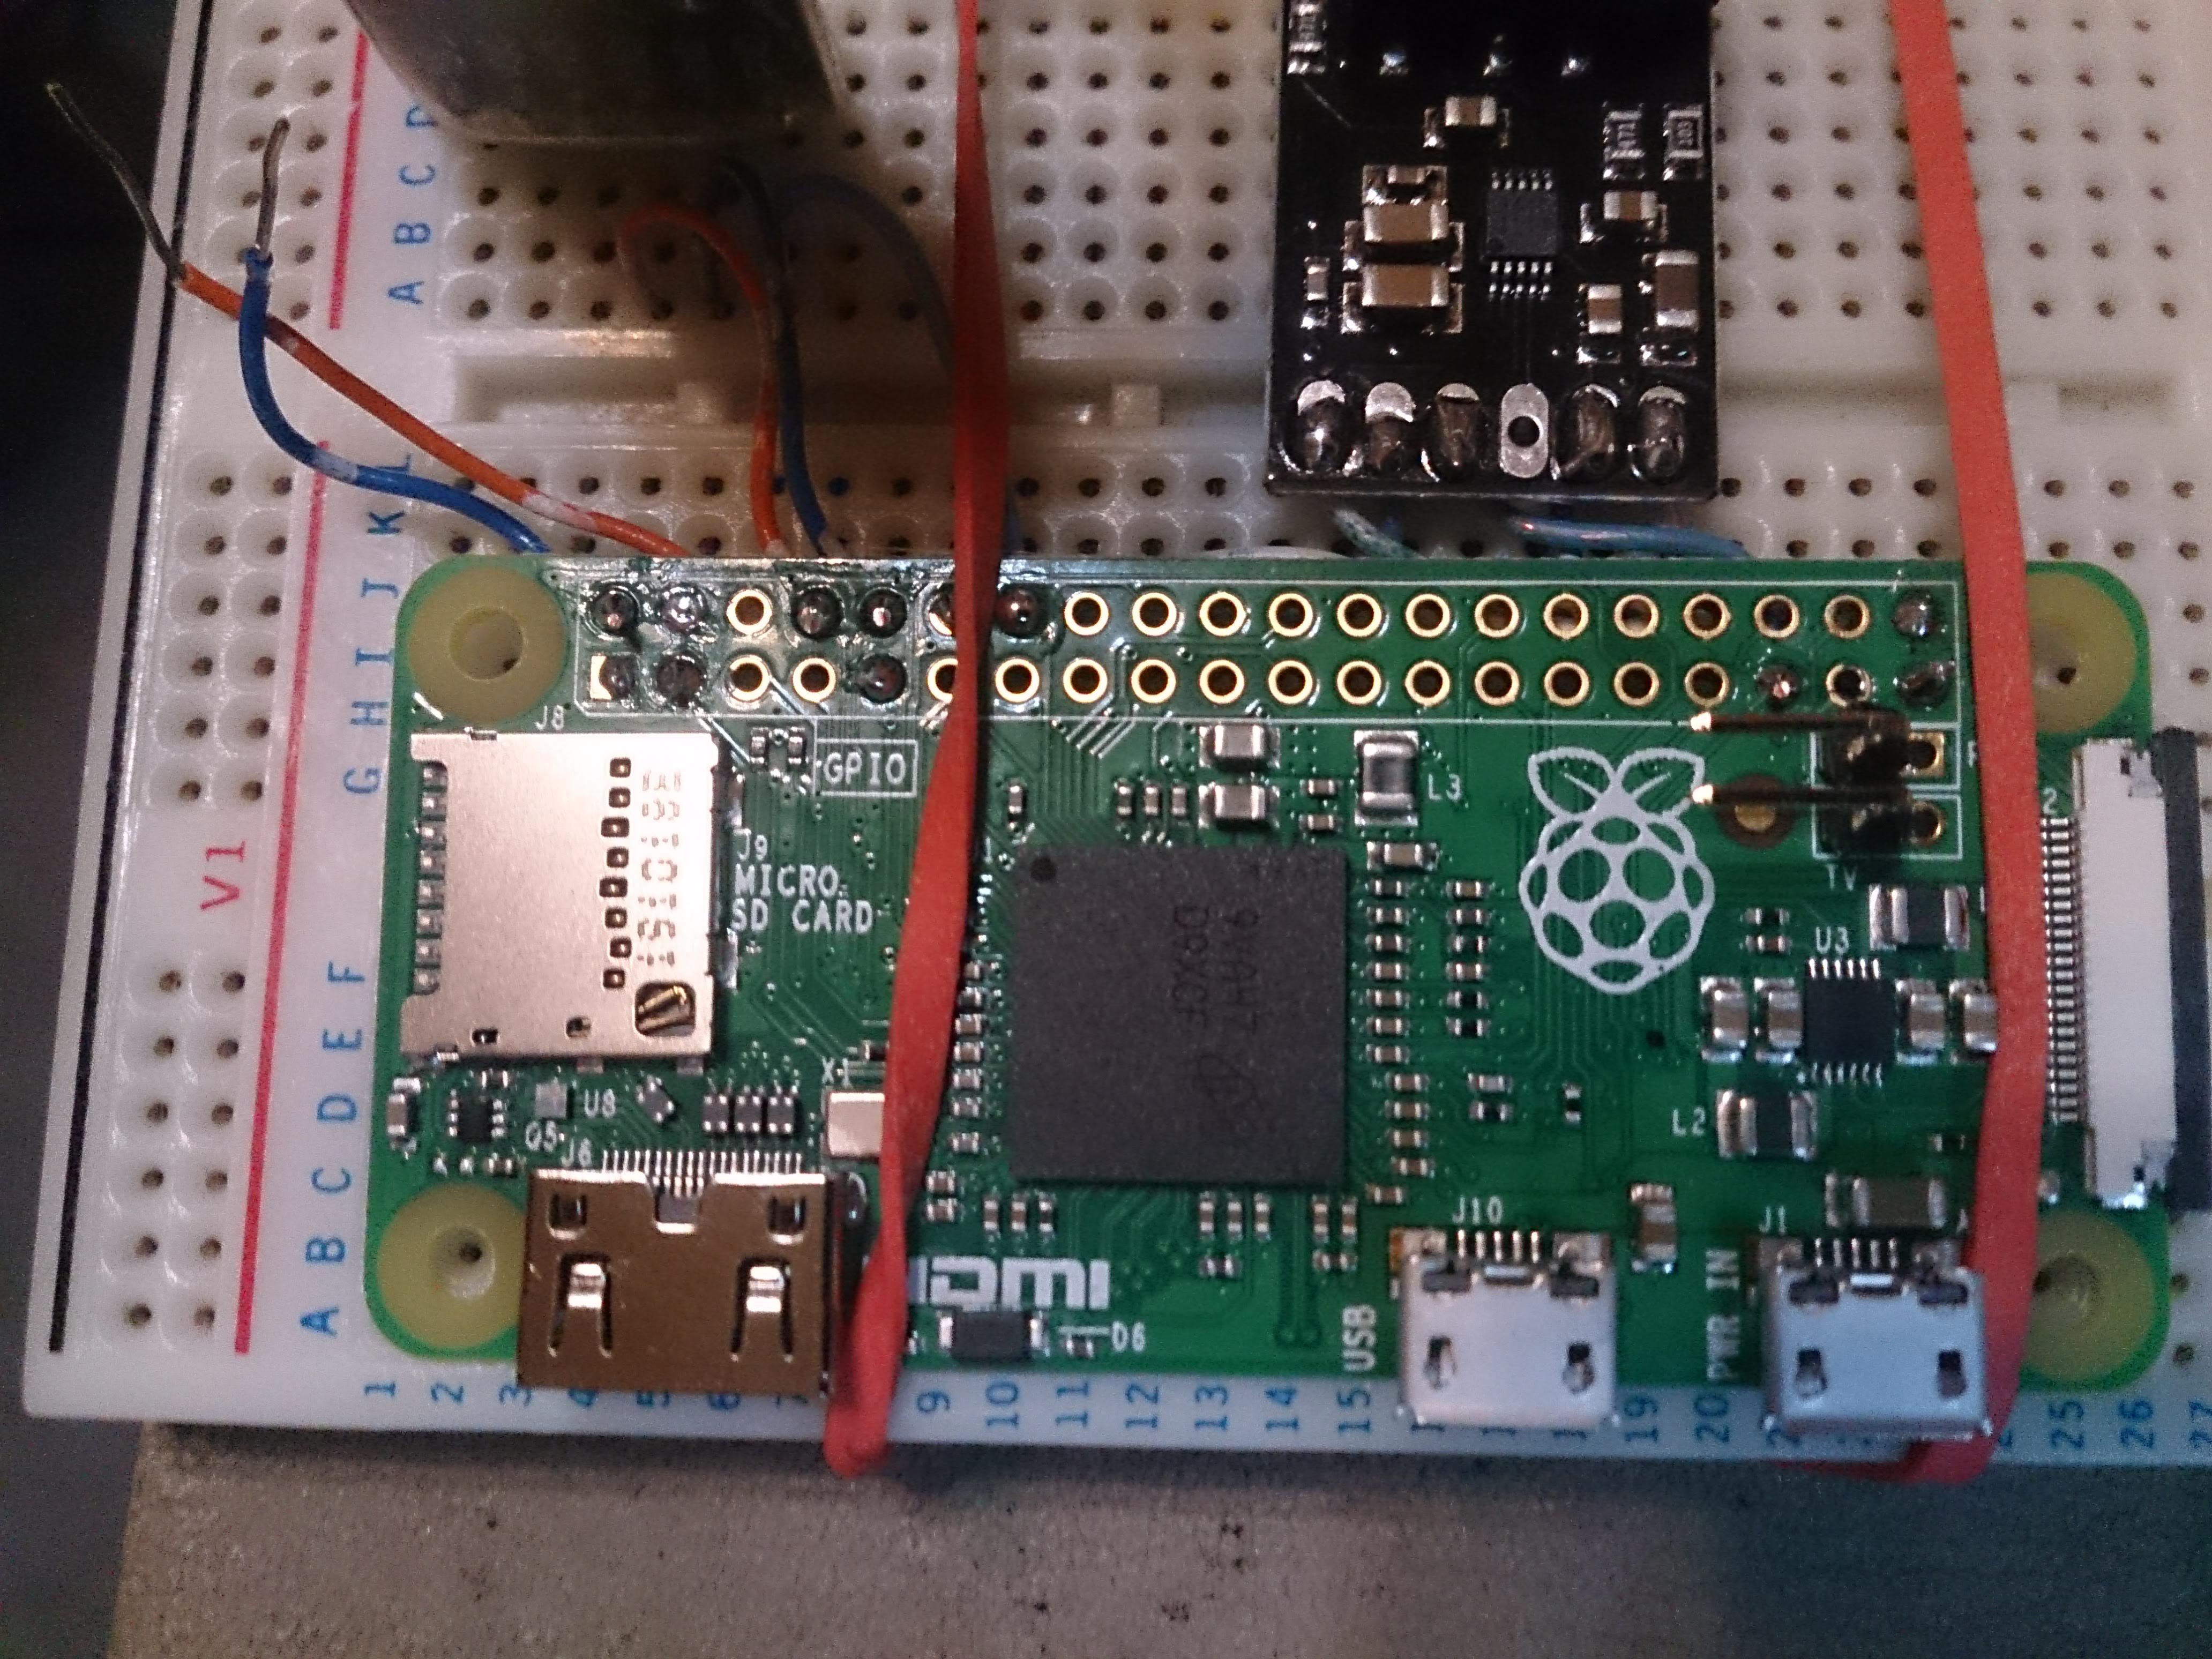
 Craig Hissett
 Jacob Daniels
 Bill Peterson