Open Source Hardware
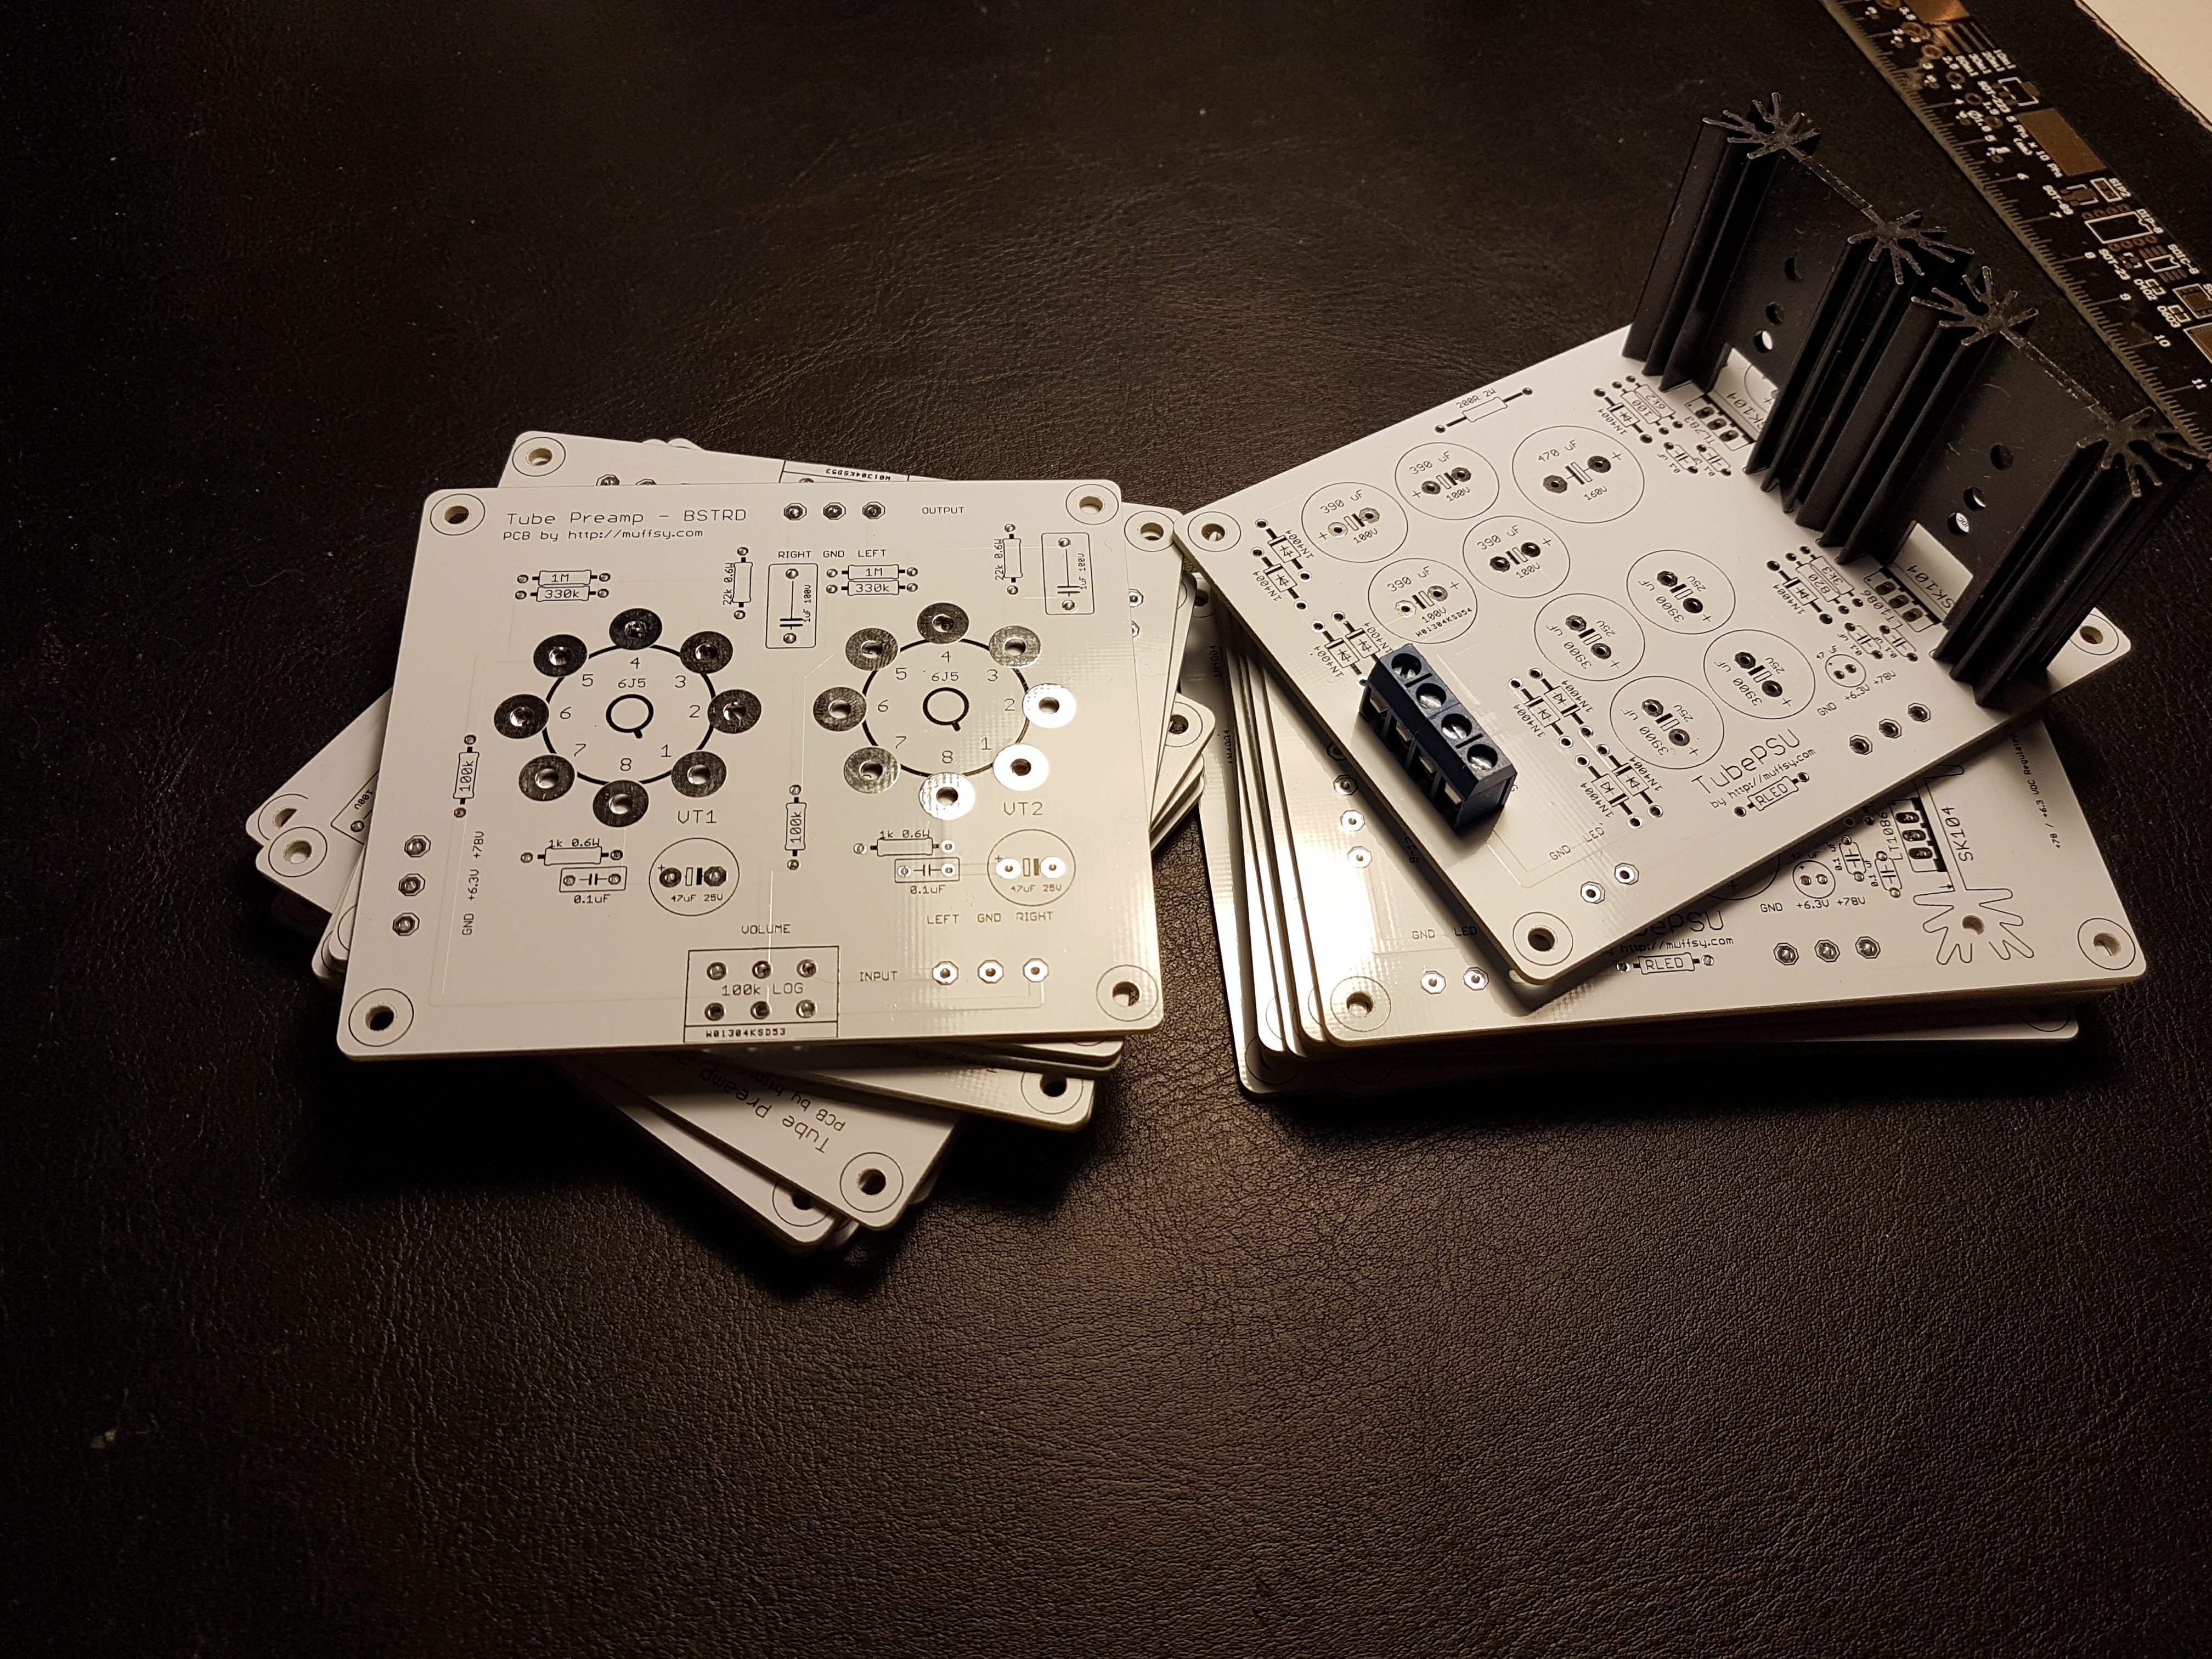
Eagle project files are available in the "Files" section of this project.
The Bill of Materials is maintained in this project log.
Background
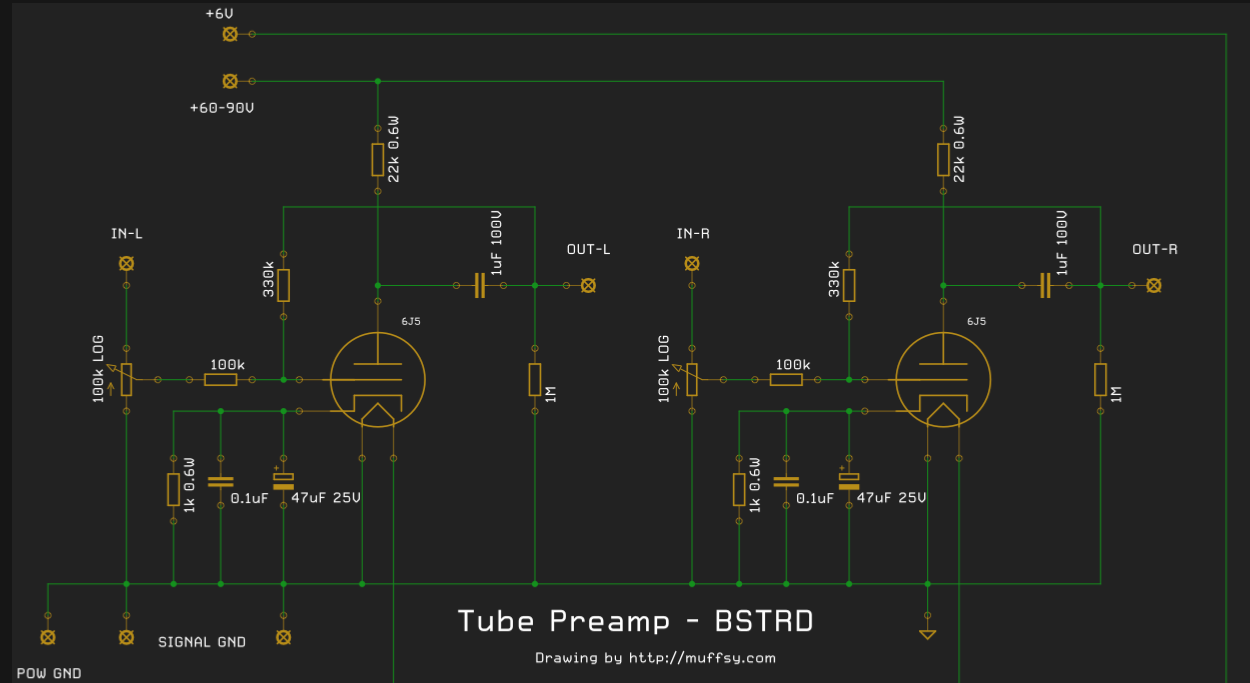
The original BASTARD circuit used no feedback at all, ran on very low voltage and the gain was controlled by the power voltage. Several people collaborated on the Danish forum HIFI4ALL, made measurements and came up with a modified version that has feedback, much lower distortion values, higher power voltage and a set gain of 2.2X: http://www.hifi4all.dk/forum/forum_posts.asp?TID=59789&KW=bastard
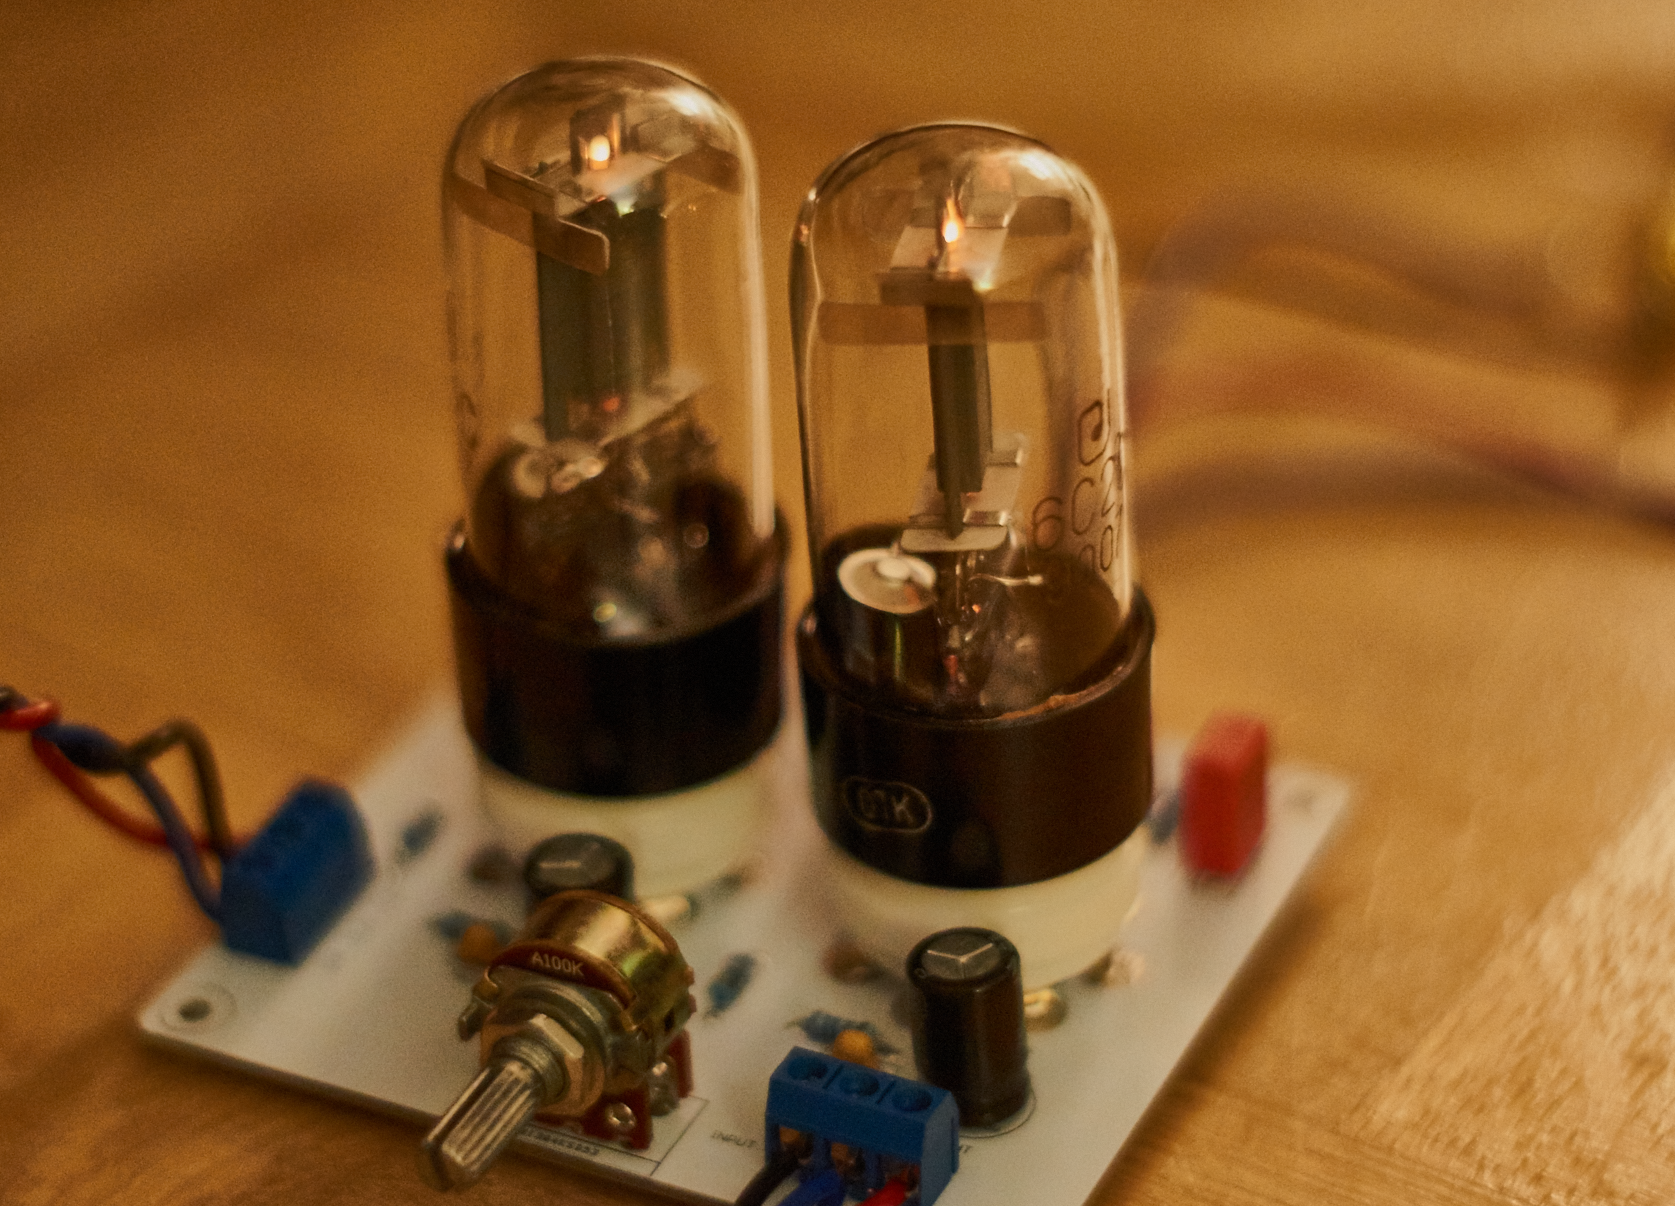
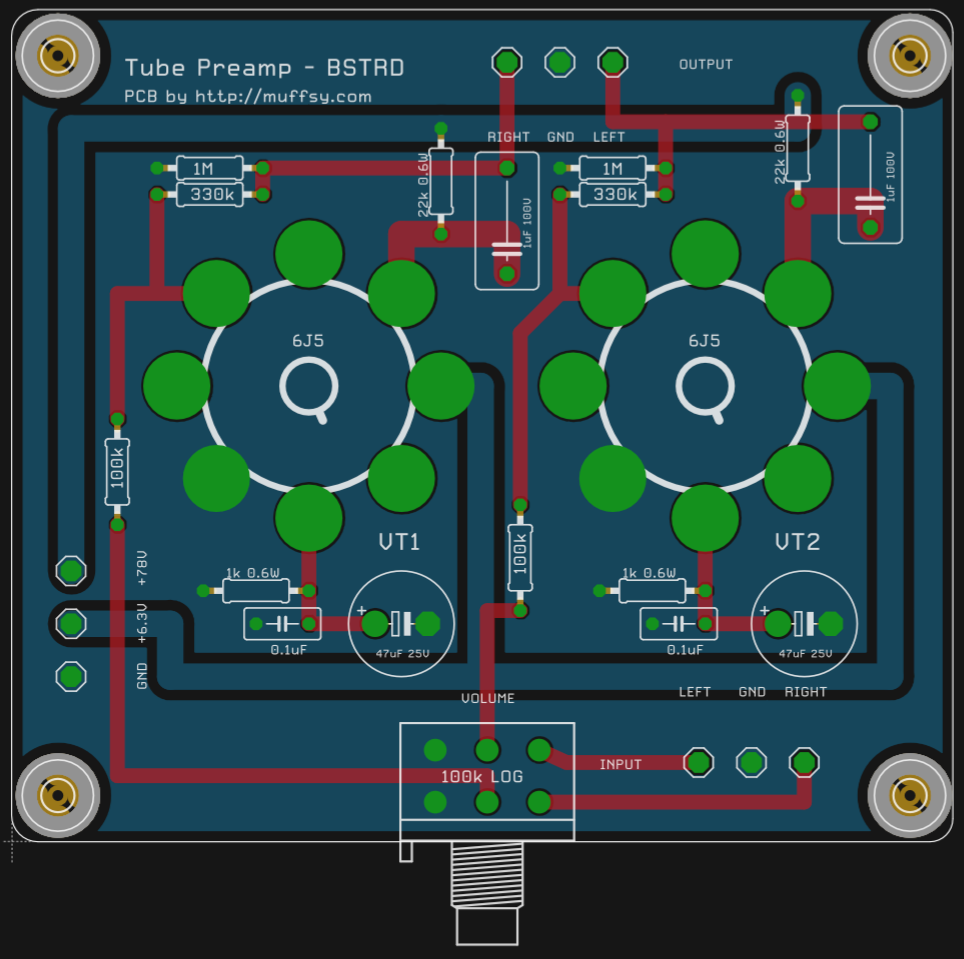
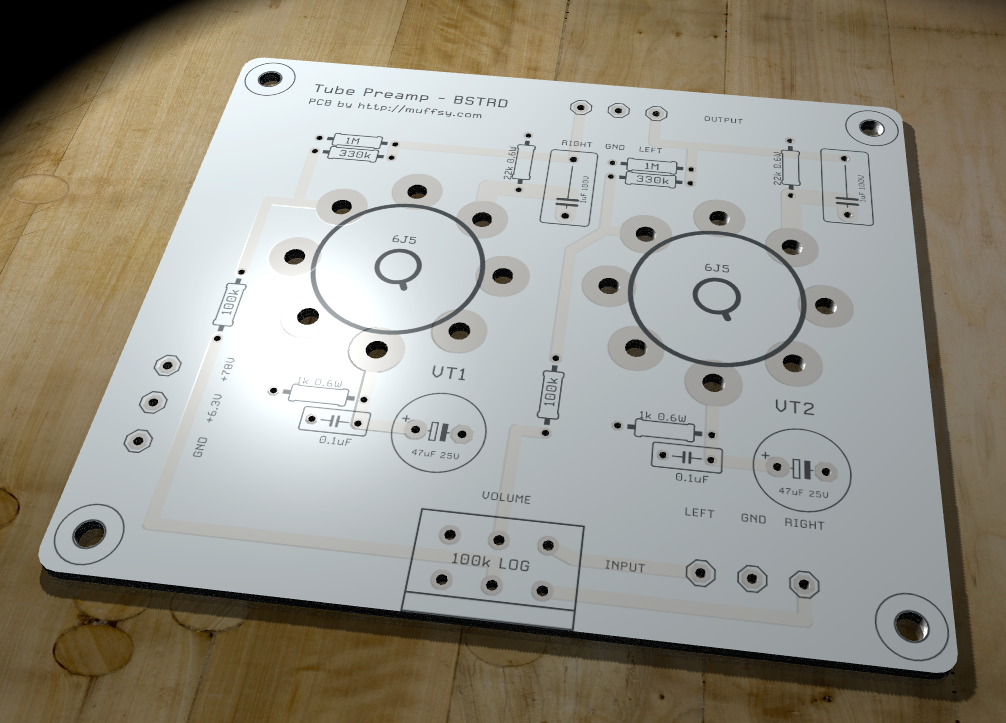
This preamp was called the Bastard because it was a three-part hybrid:
- A transistor phono stage
- A valve line stage
- An input selector with relays
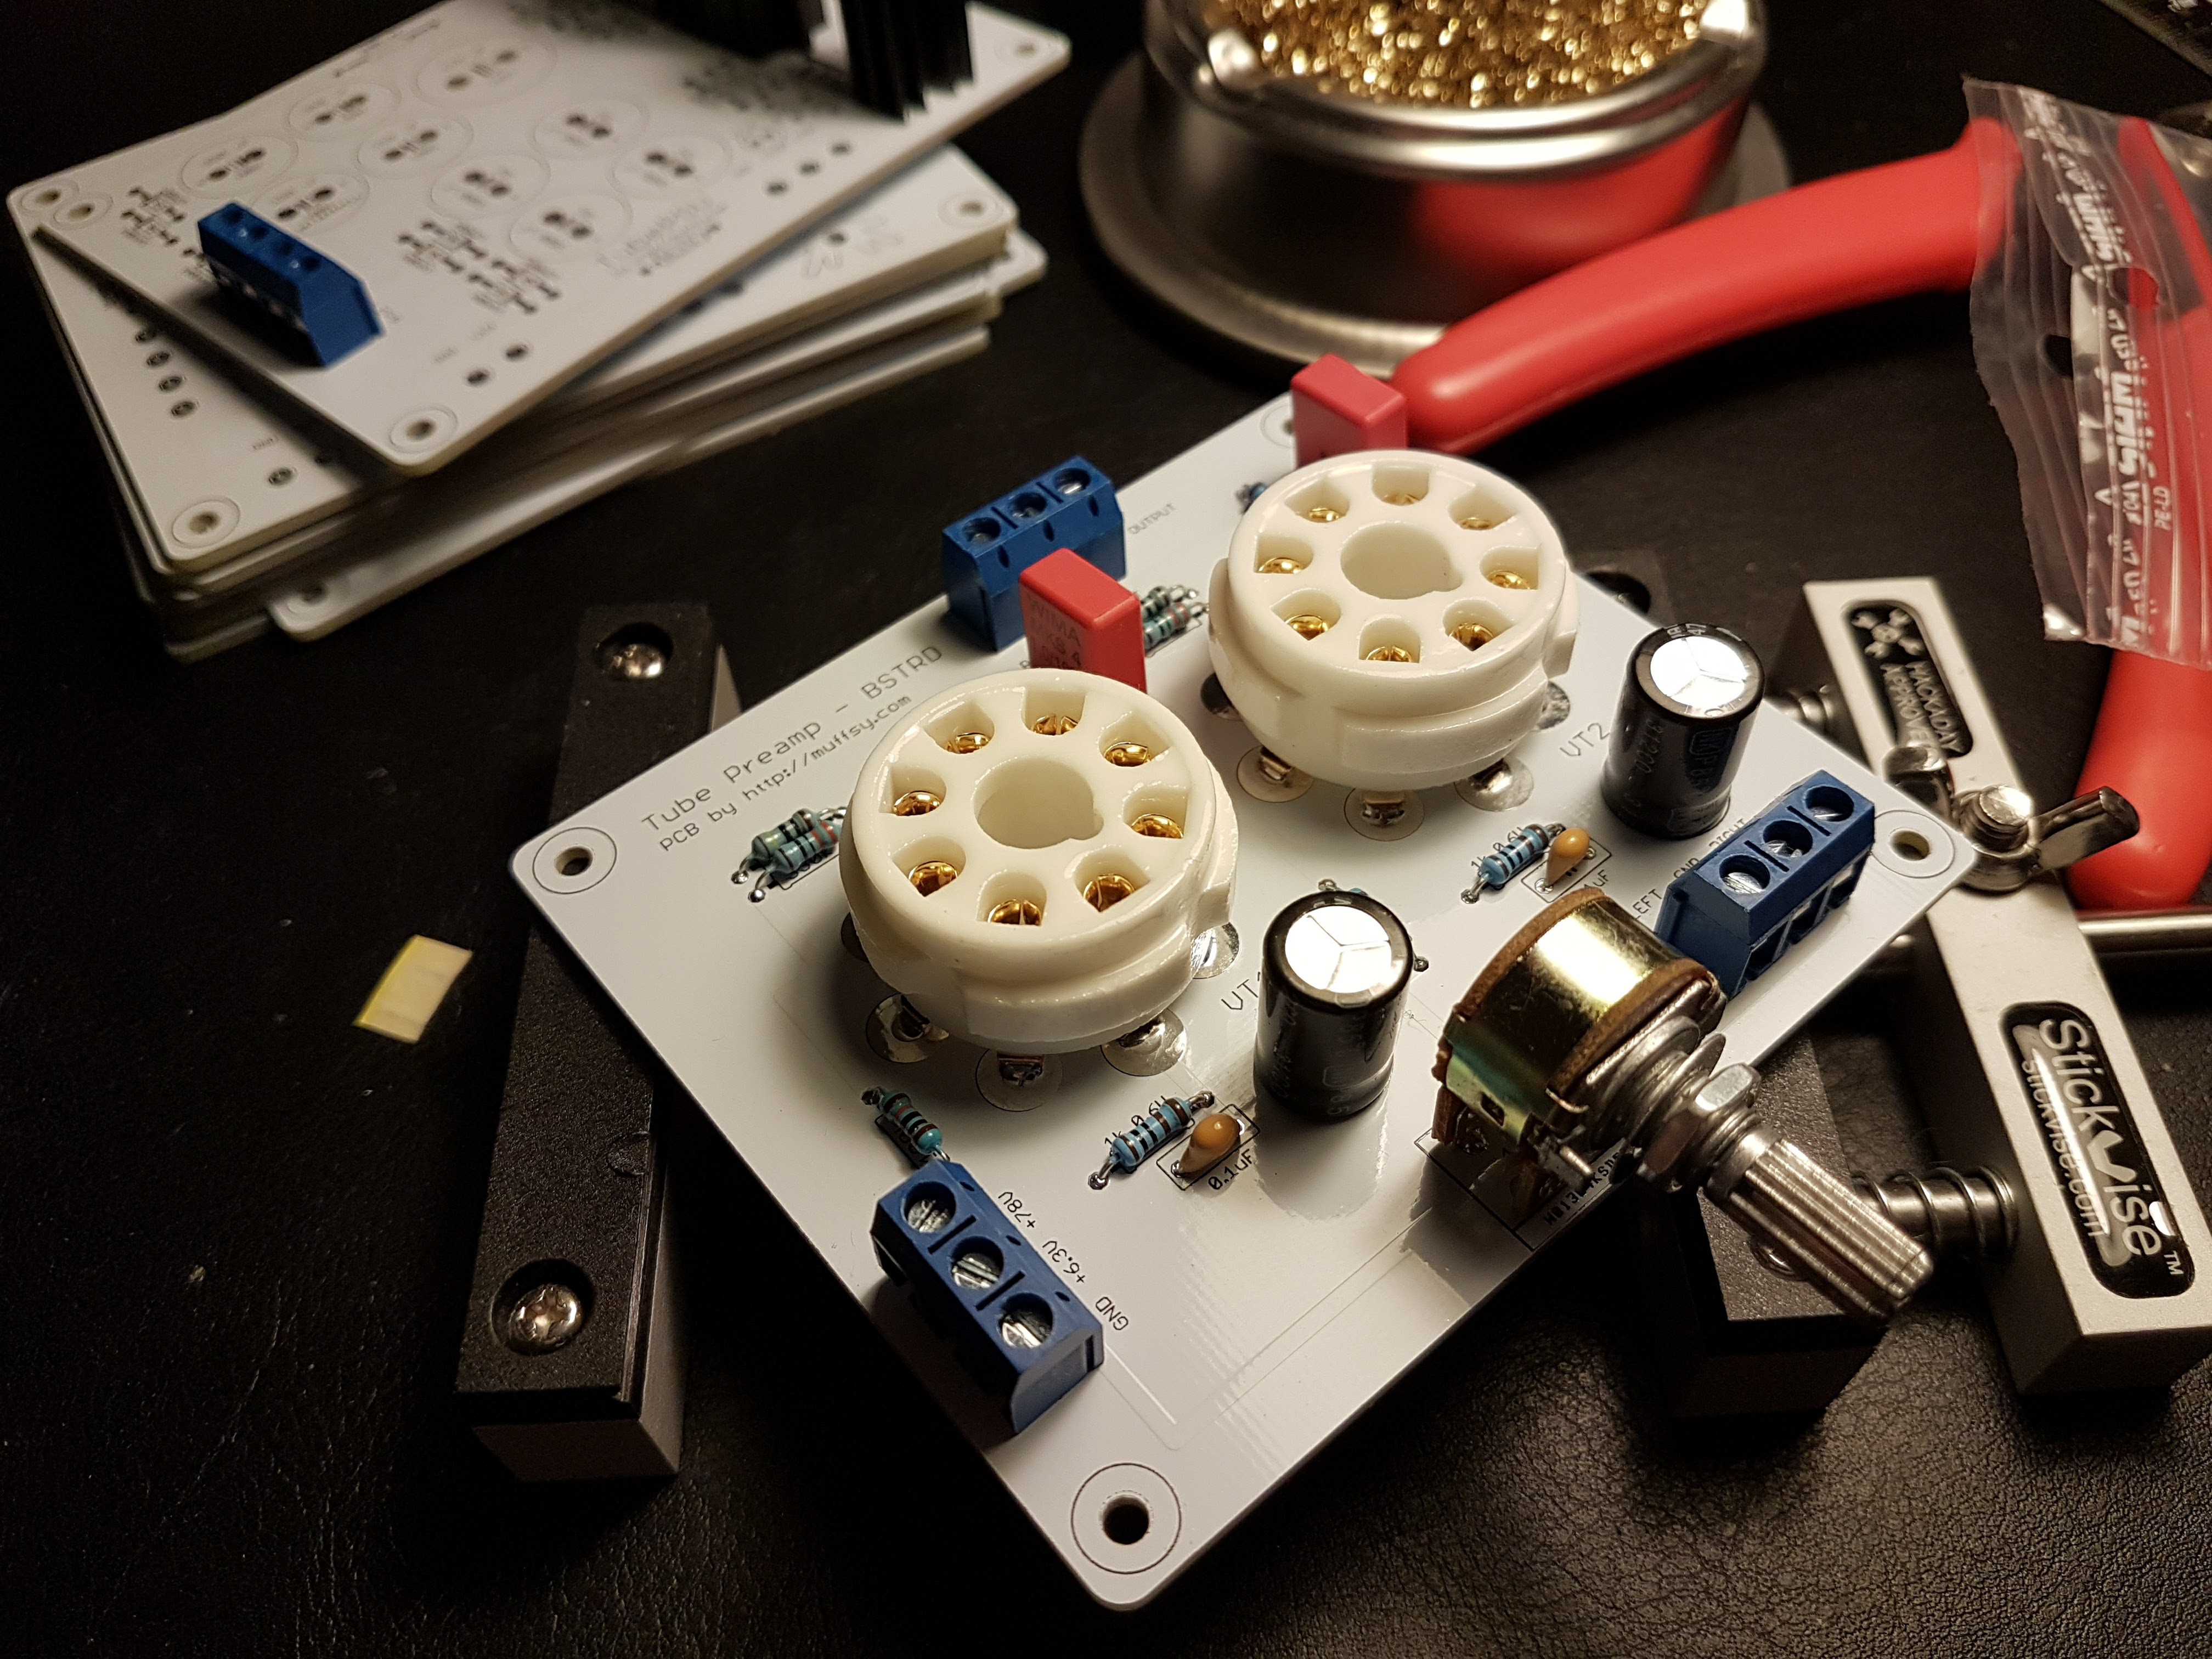
As this project uses only the line stage it's no longer technically a "bastard". I decided to call it the BSTRD as a nod to the original design.
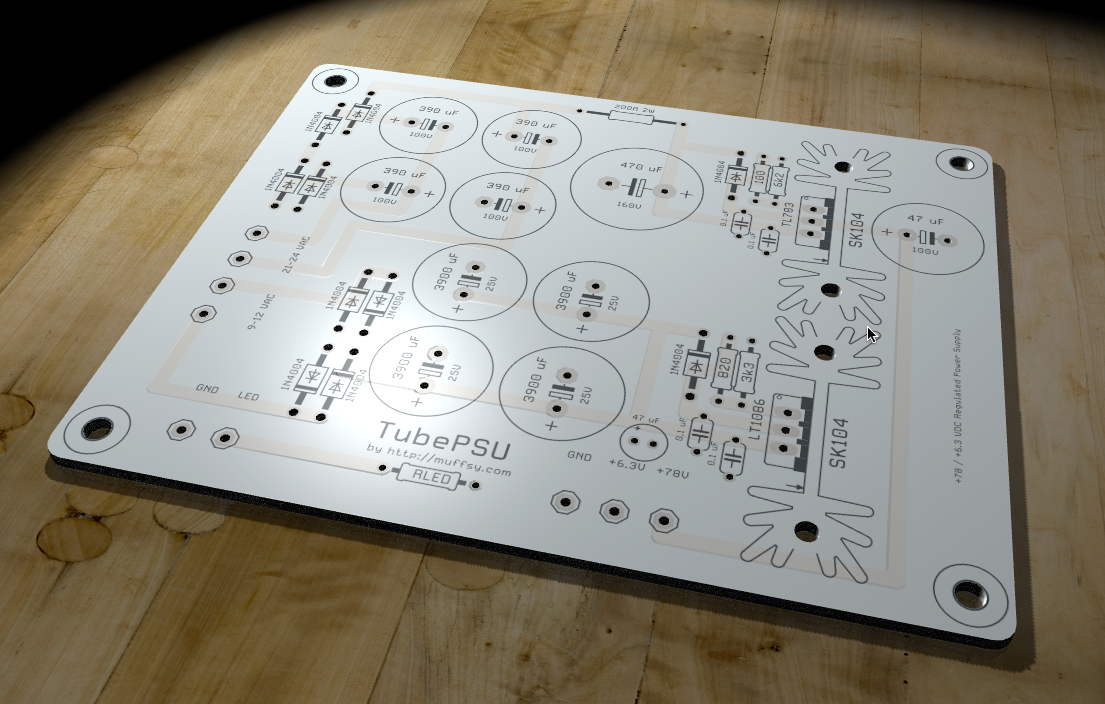
Vital specs
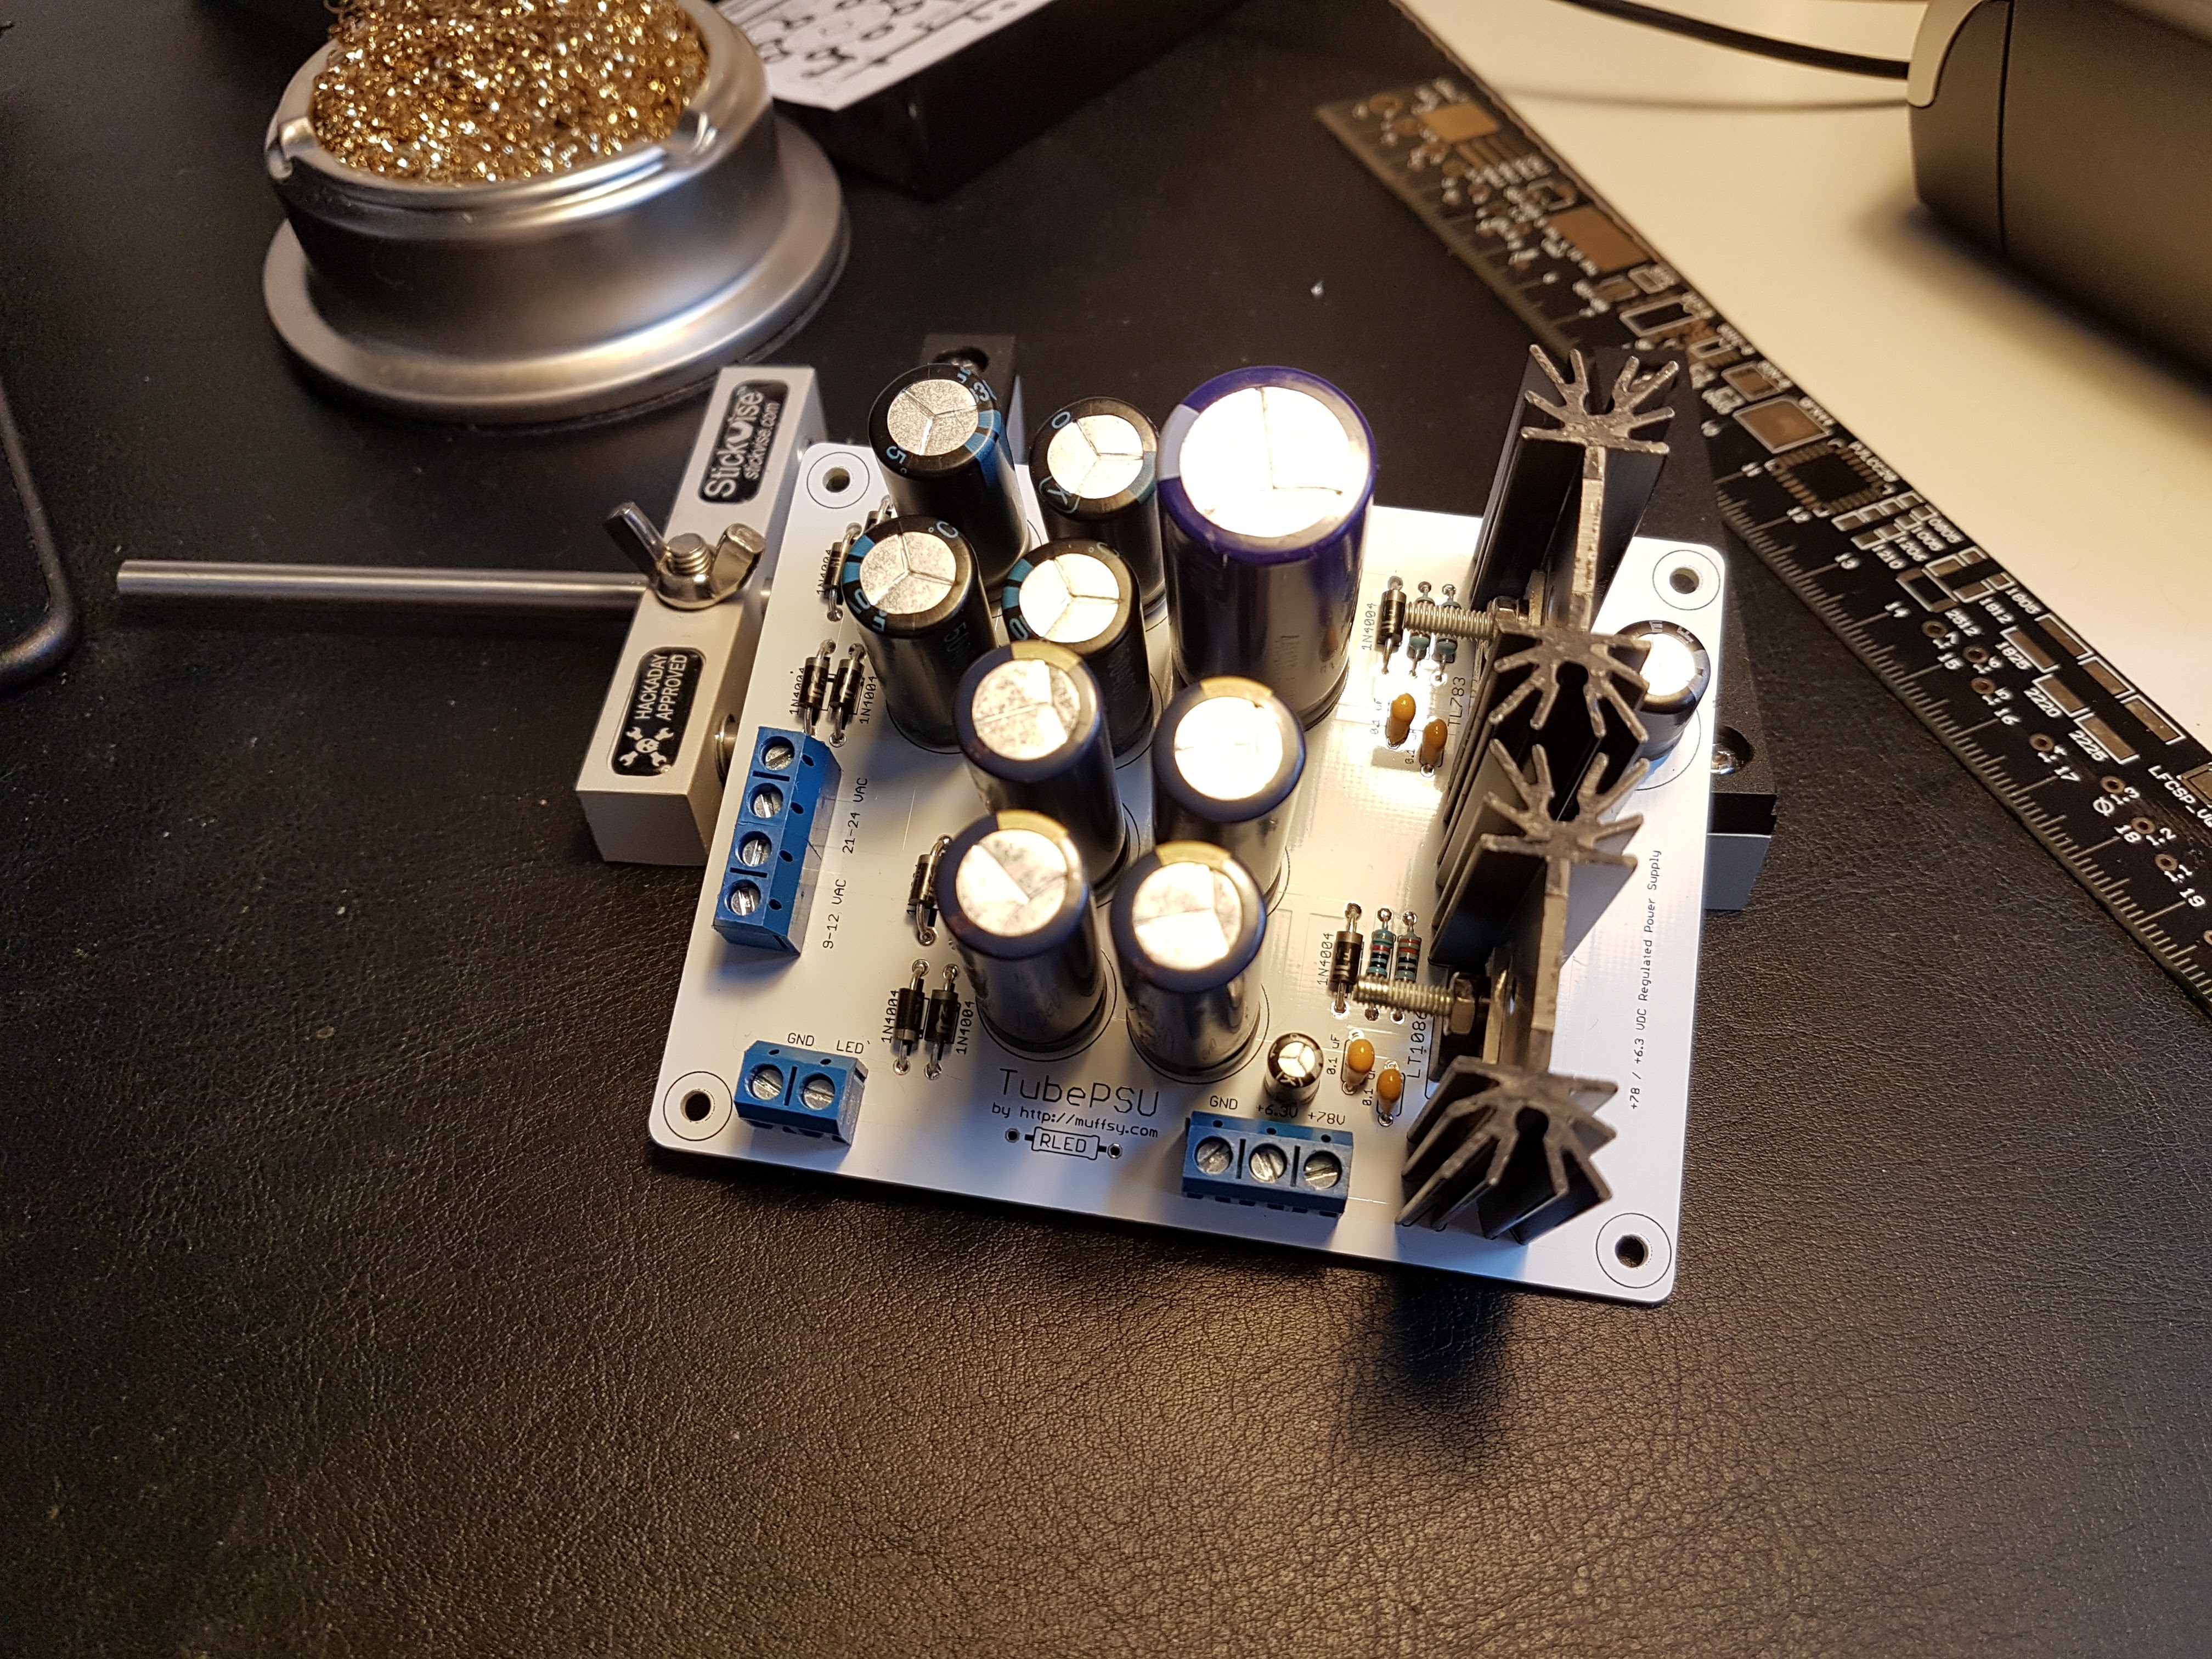
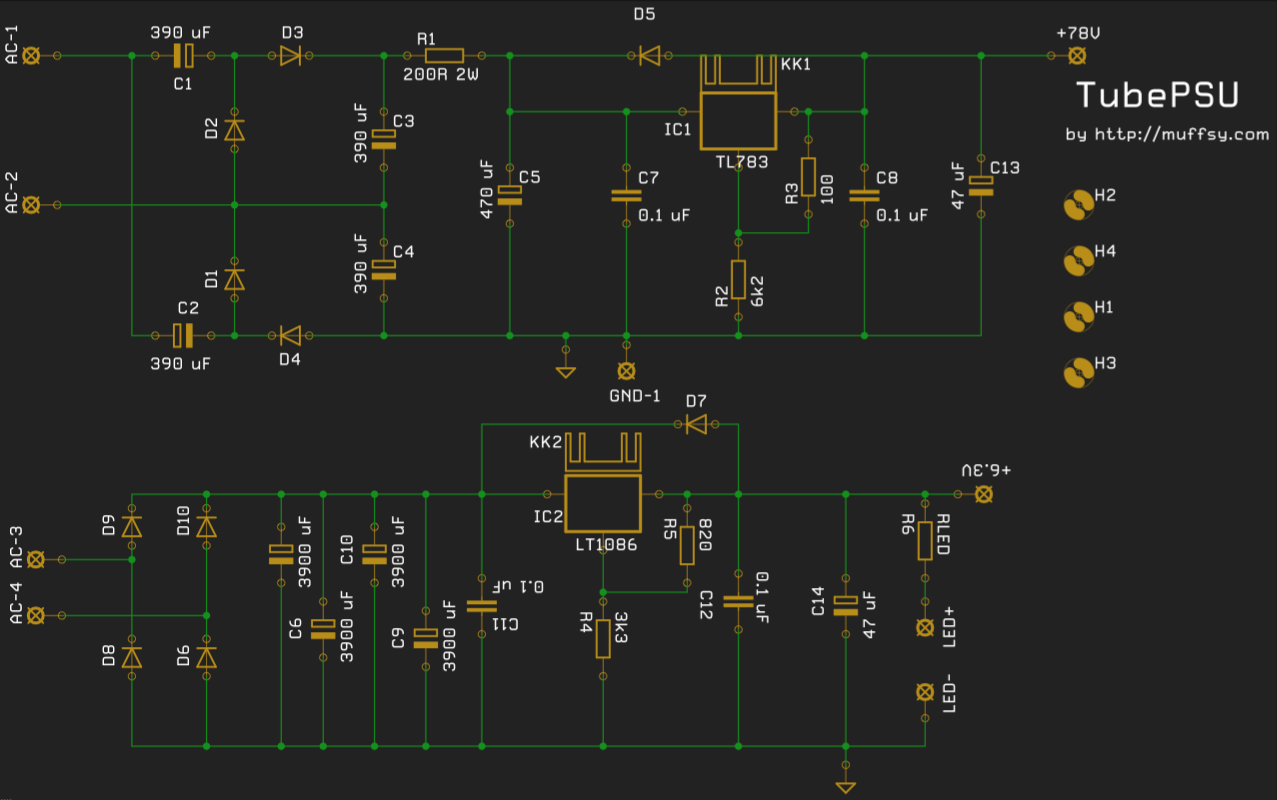
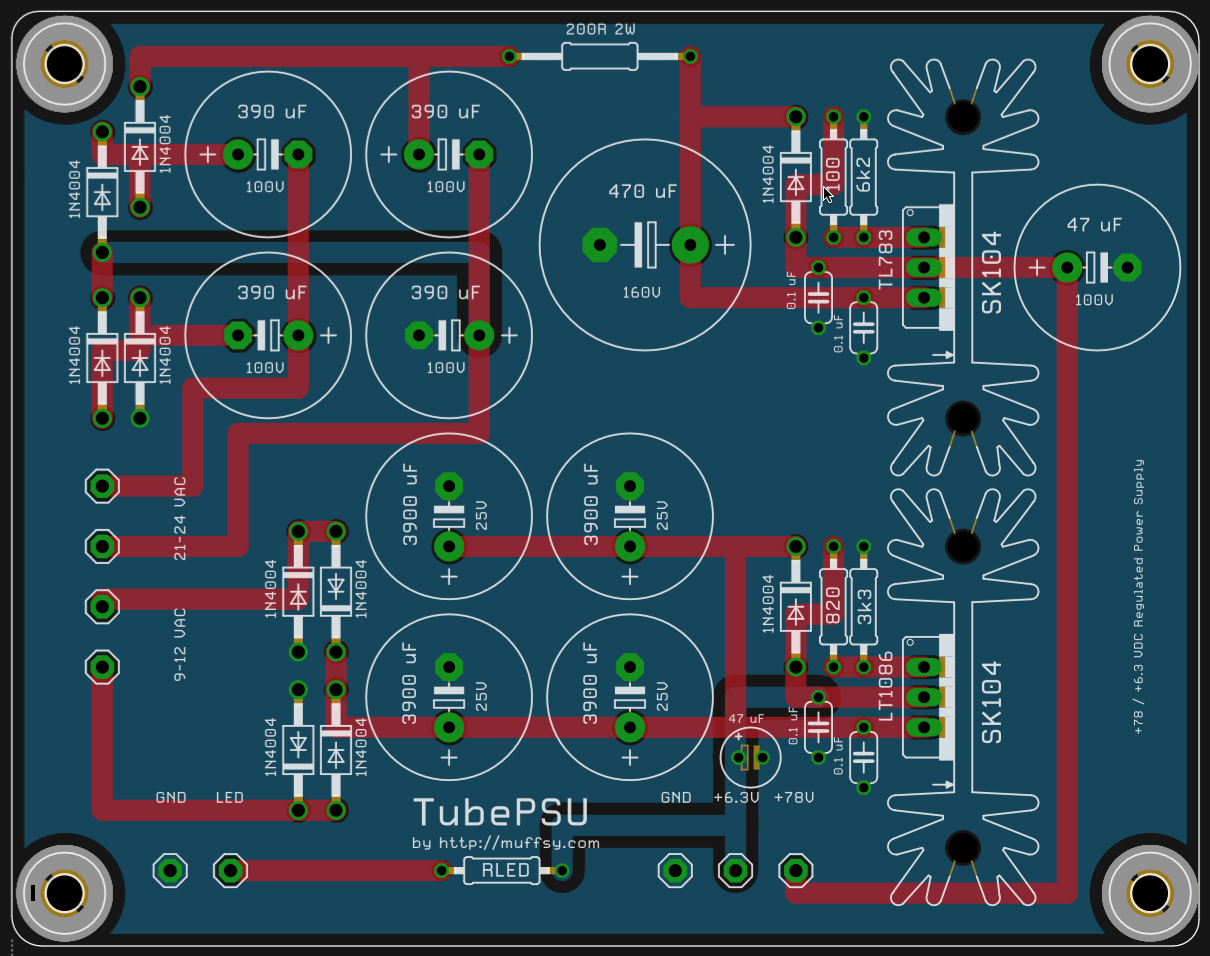
- Input voltages: ~80V DC/0.1A, 6V DC/1.5A (Power supply info here: https://hackaday.io/project/16944-the-muffsy-bstrd-valve-preamp/log/49425-power-supply-updated)
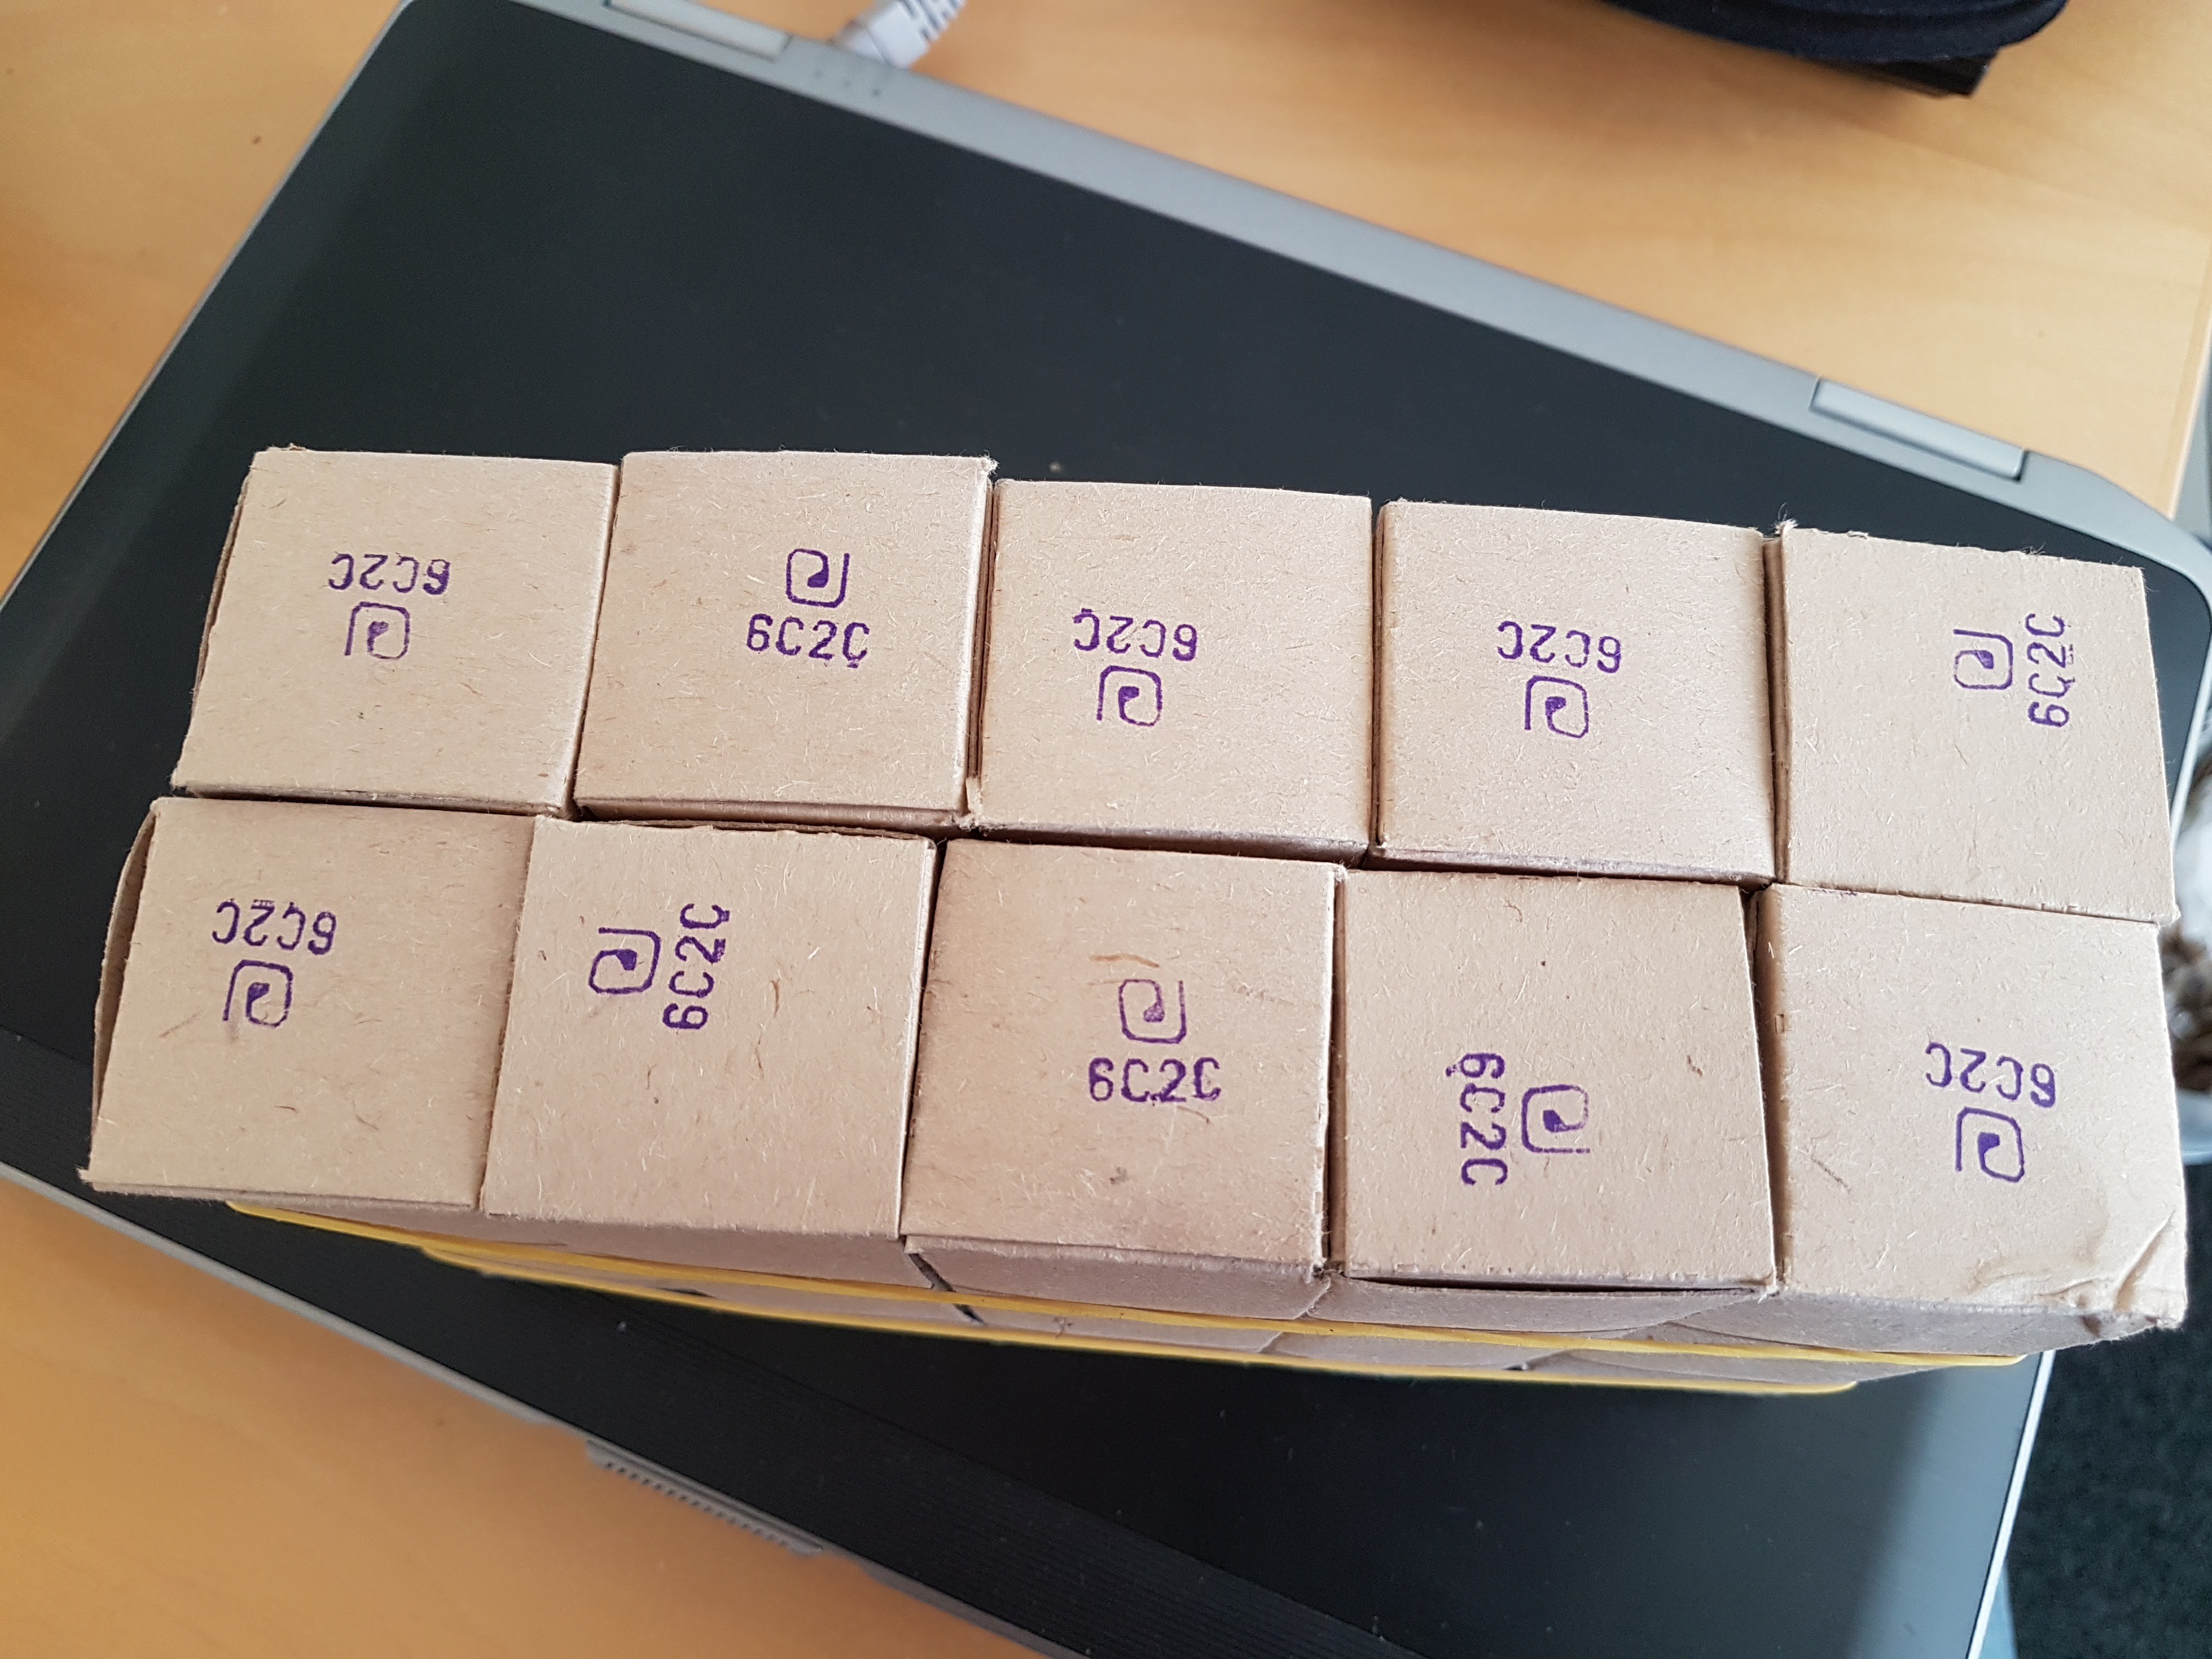
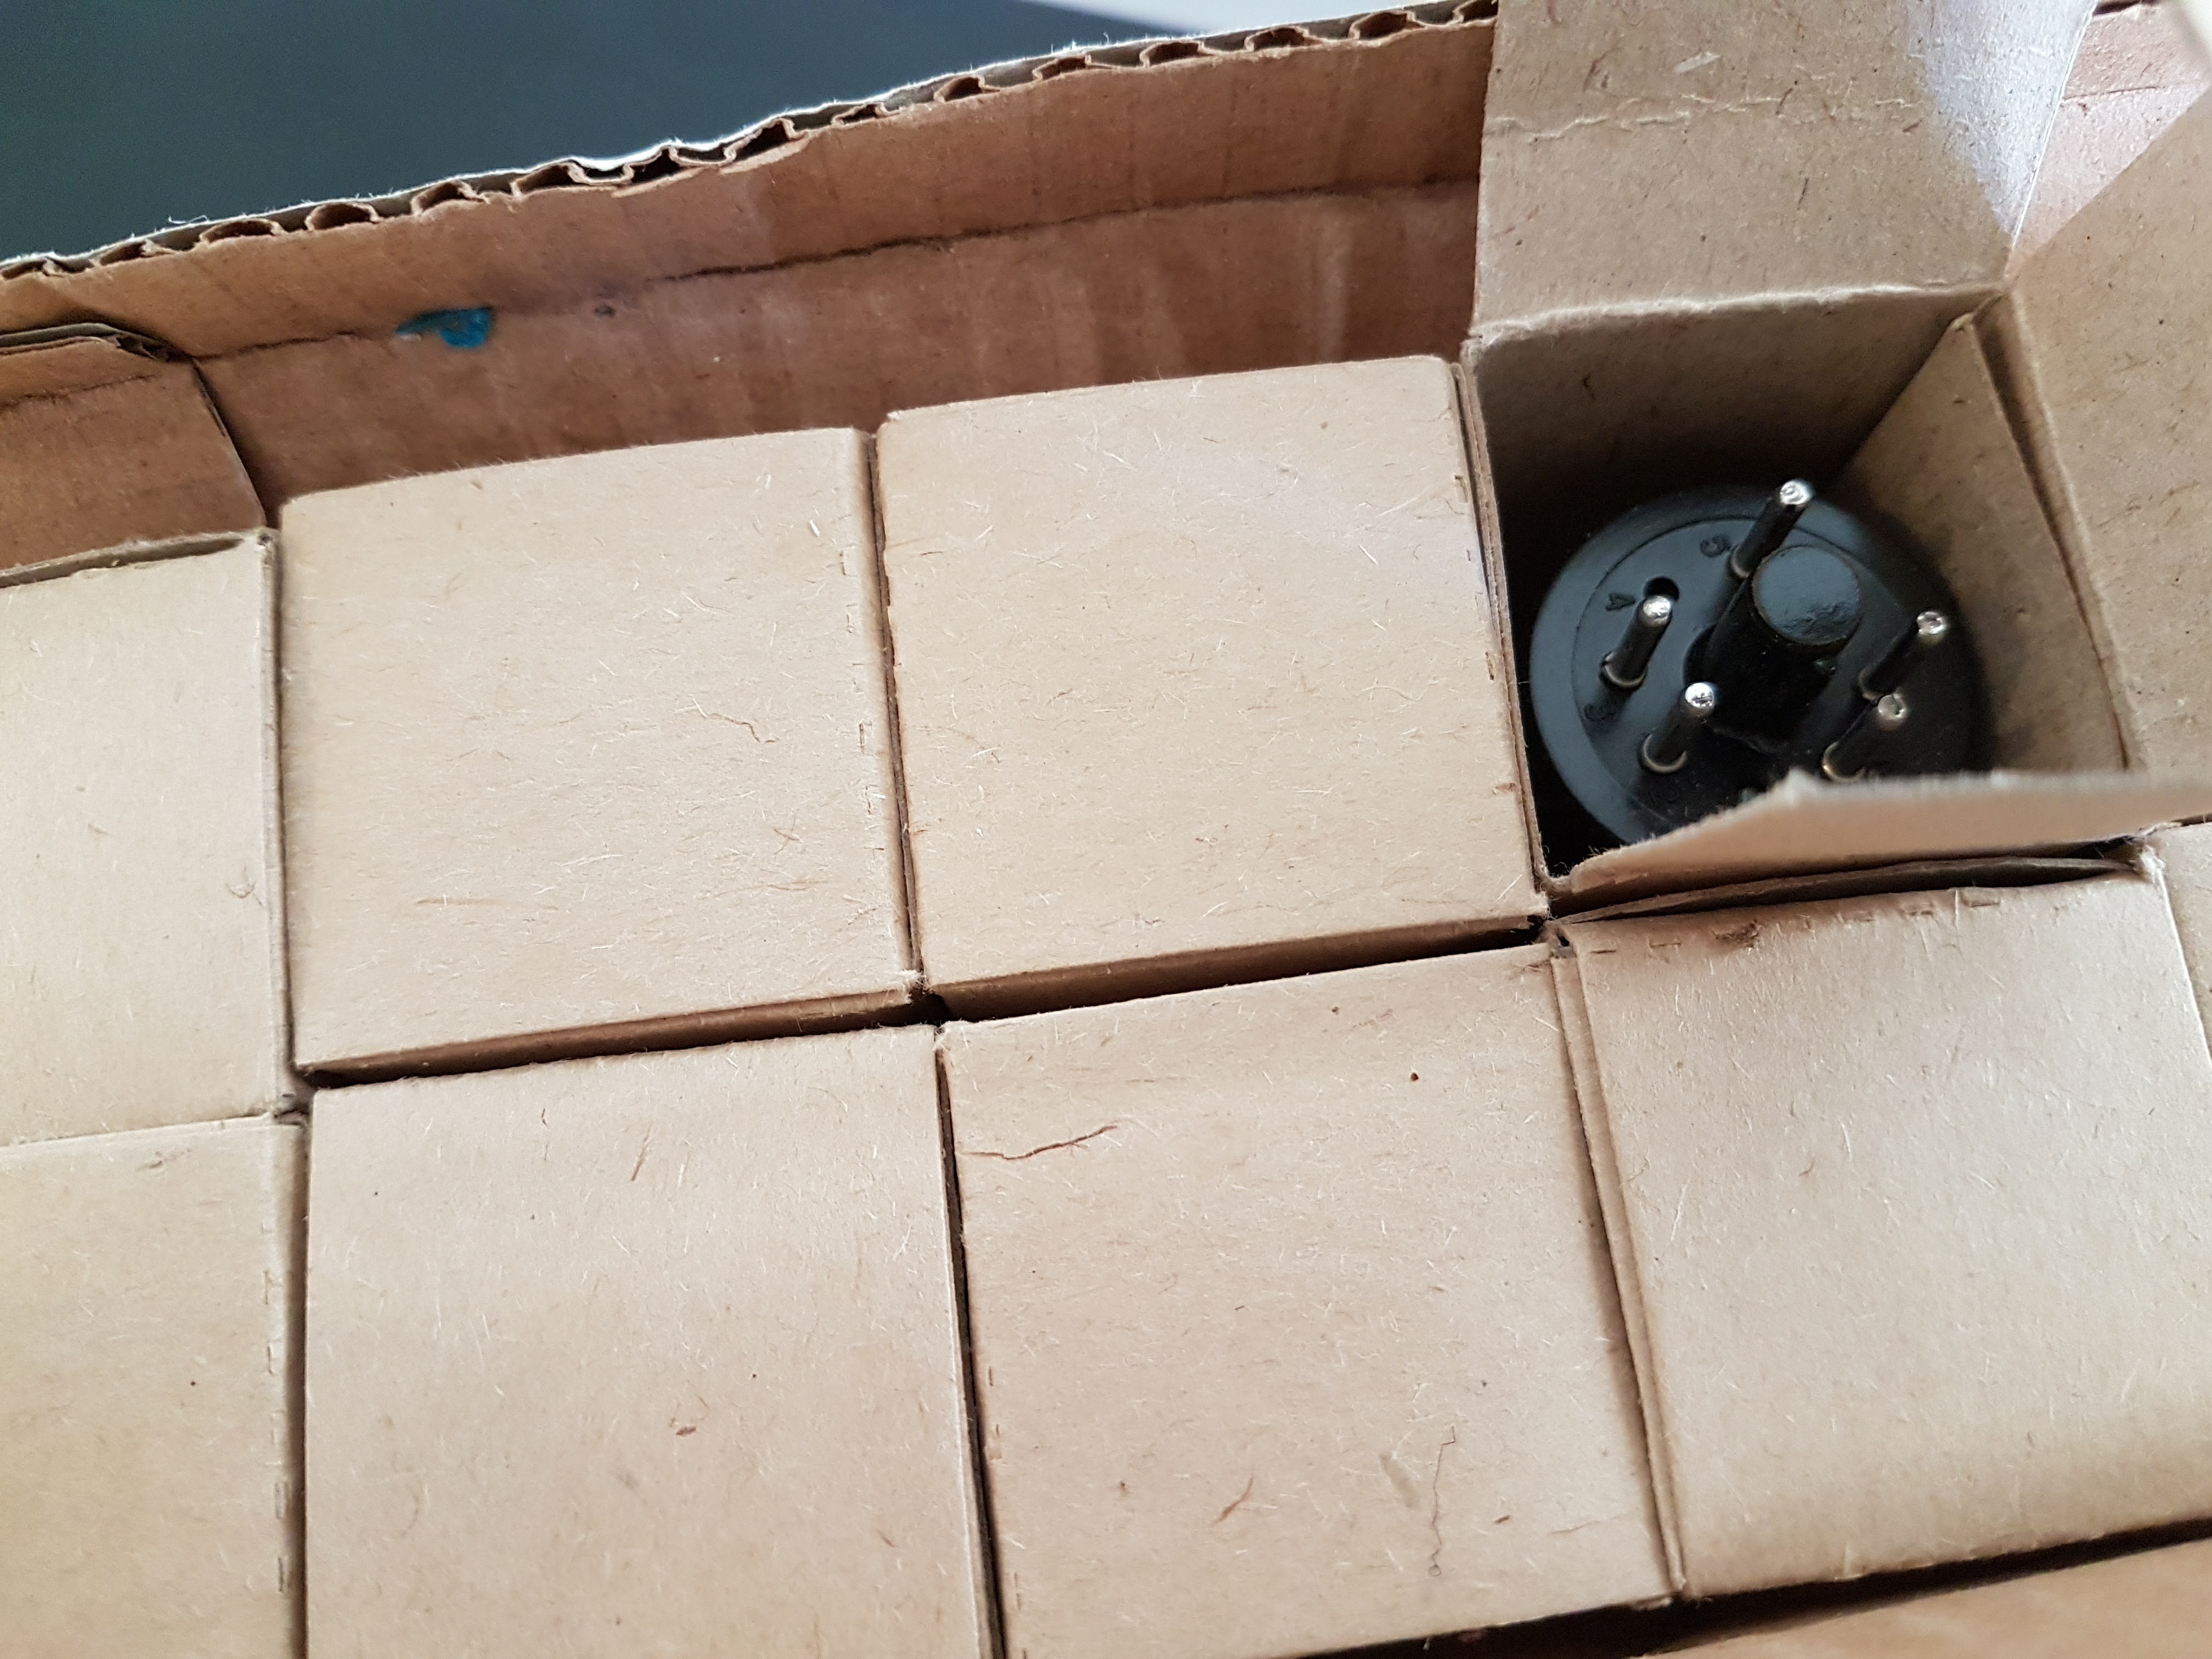
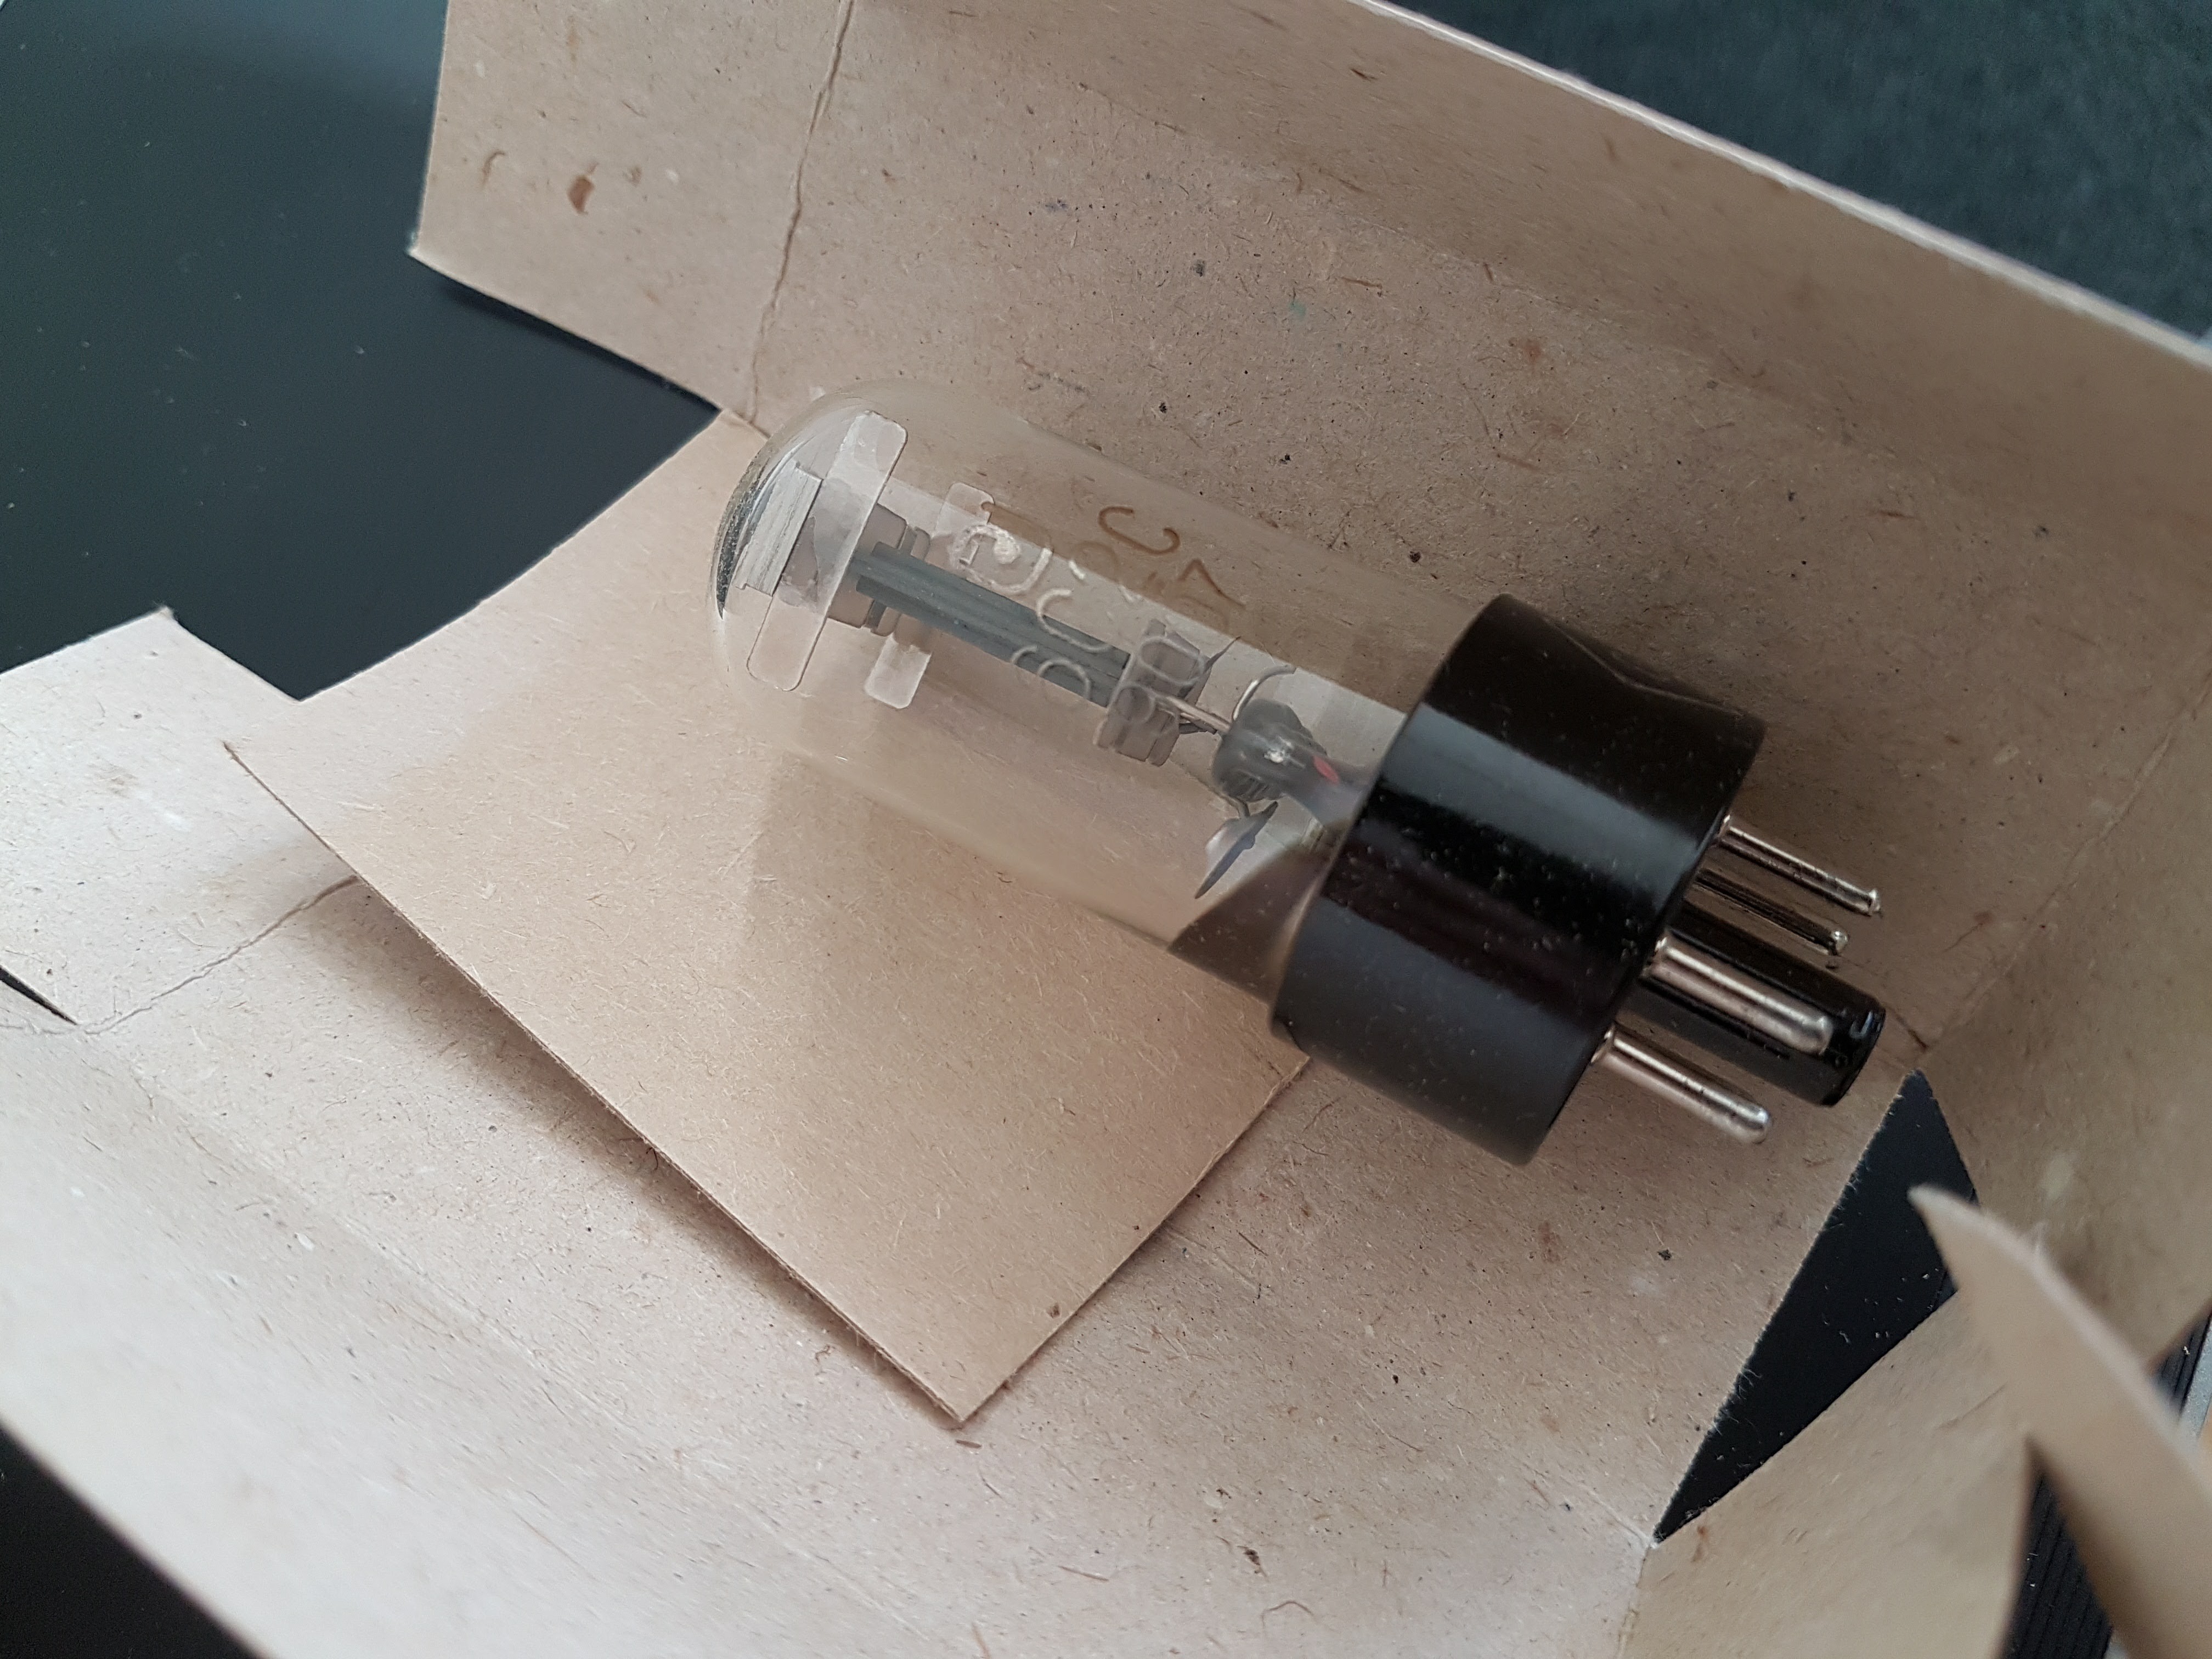
- Valves: 6J5 or equivalent
- Gain: 2.2X / 6.85 dB
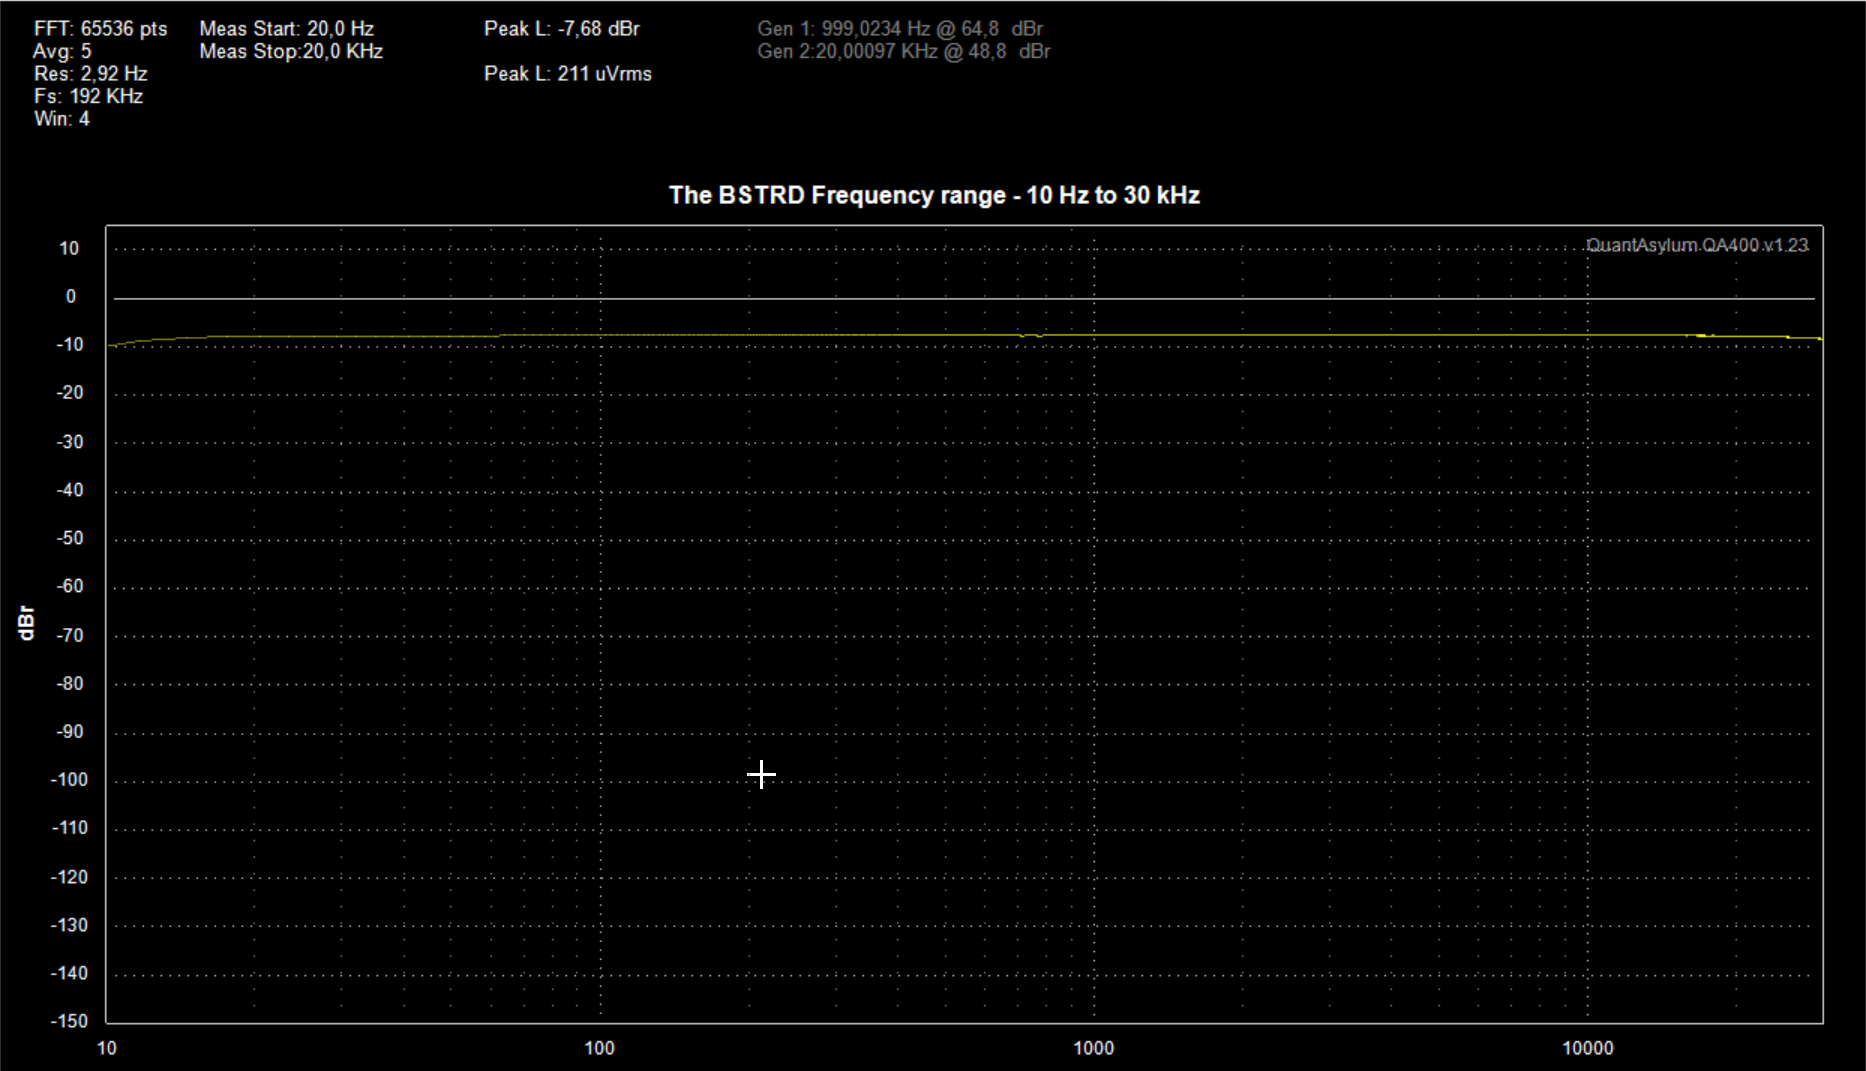
- Frequency range +0/-3 dB: 10 Hz to 30 kHz *)
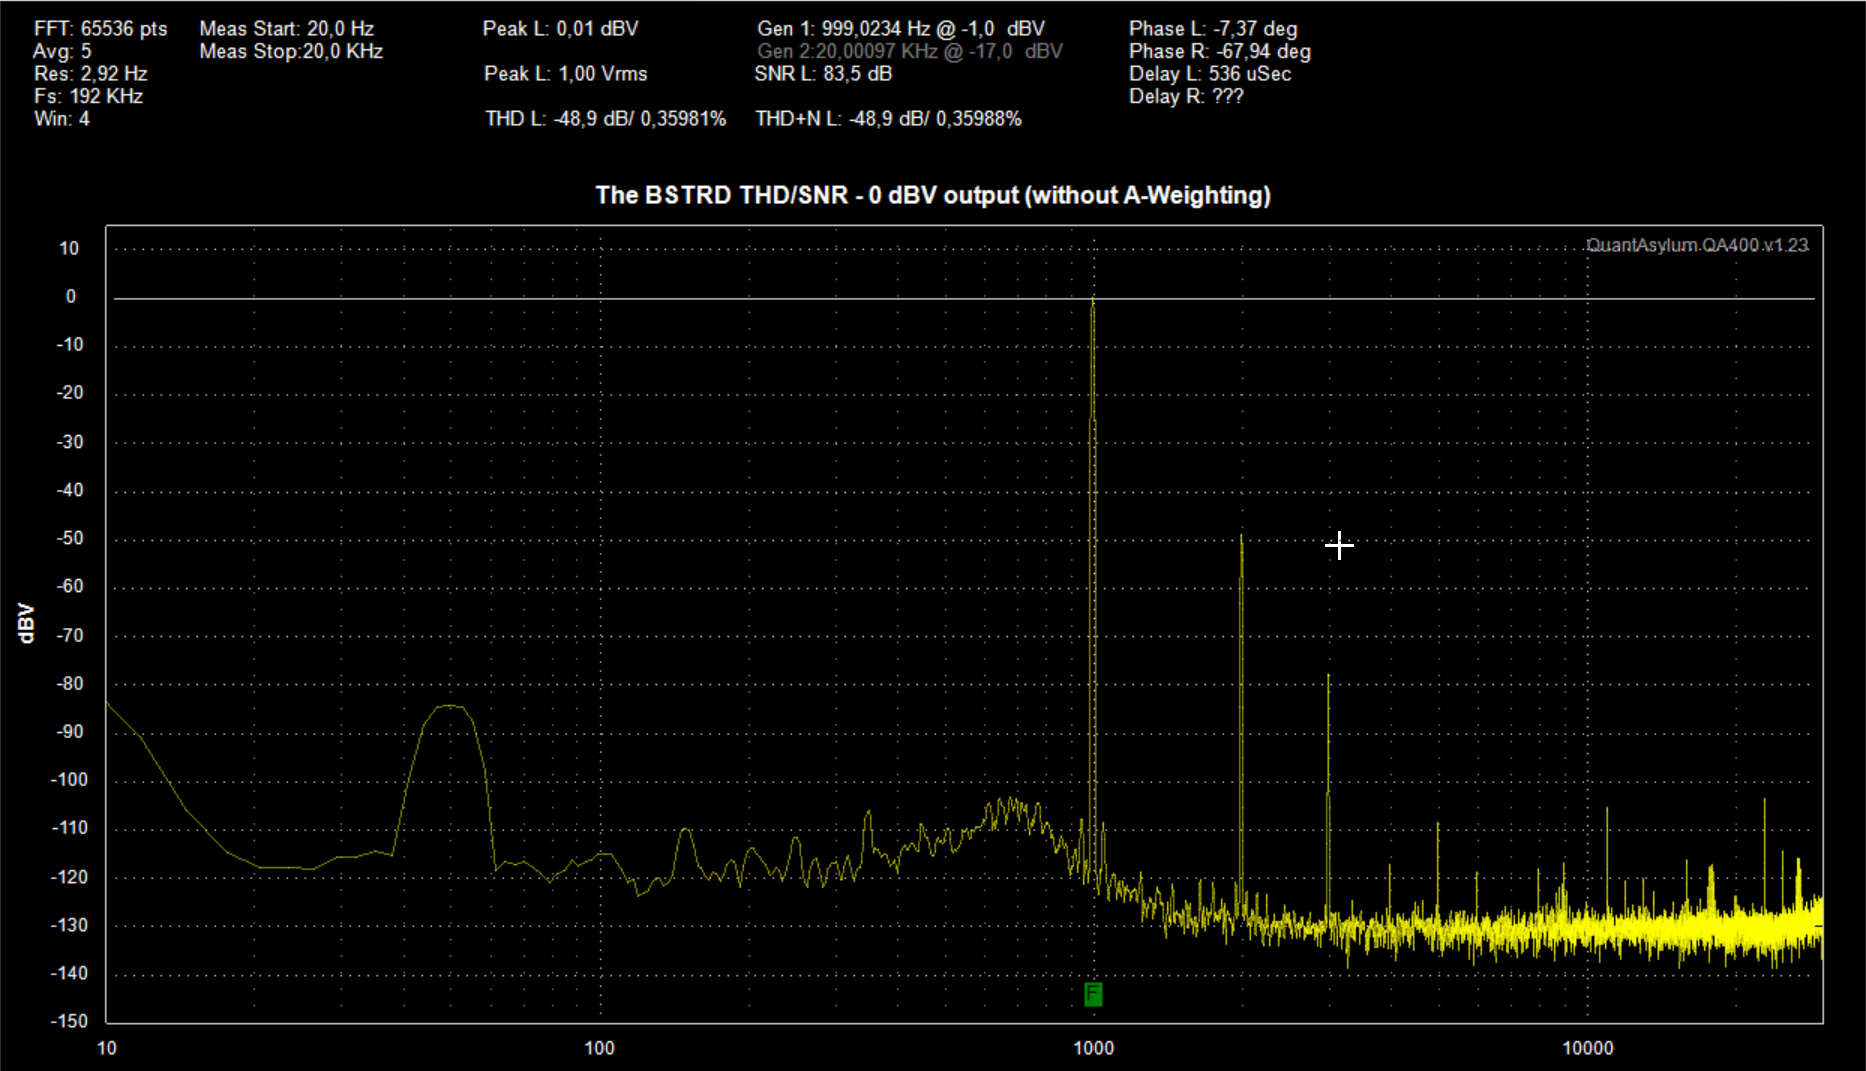
- THD at 1V out: 0.35% *)
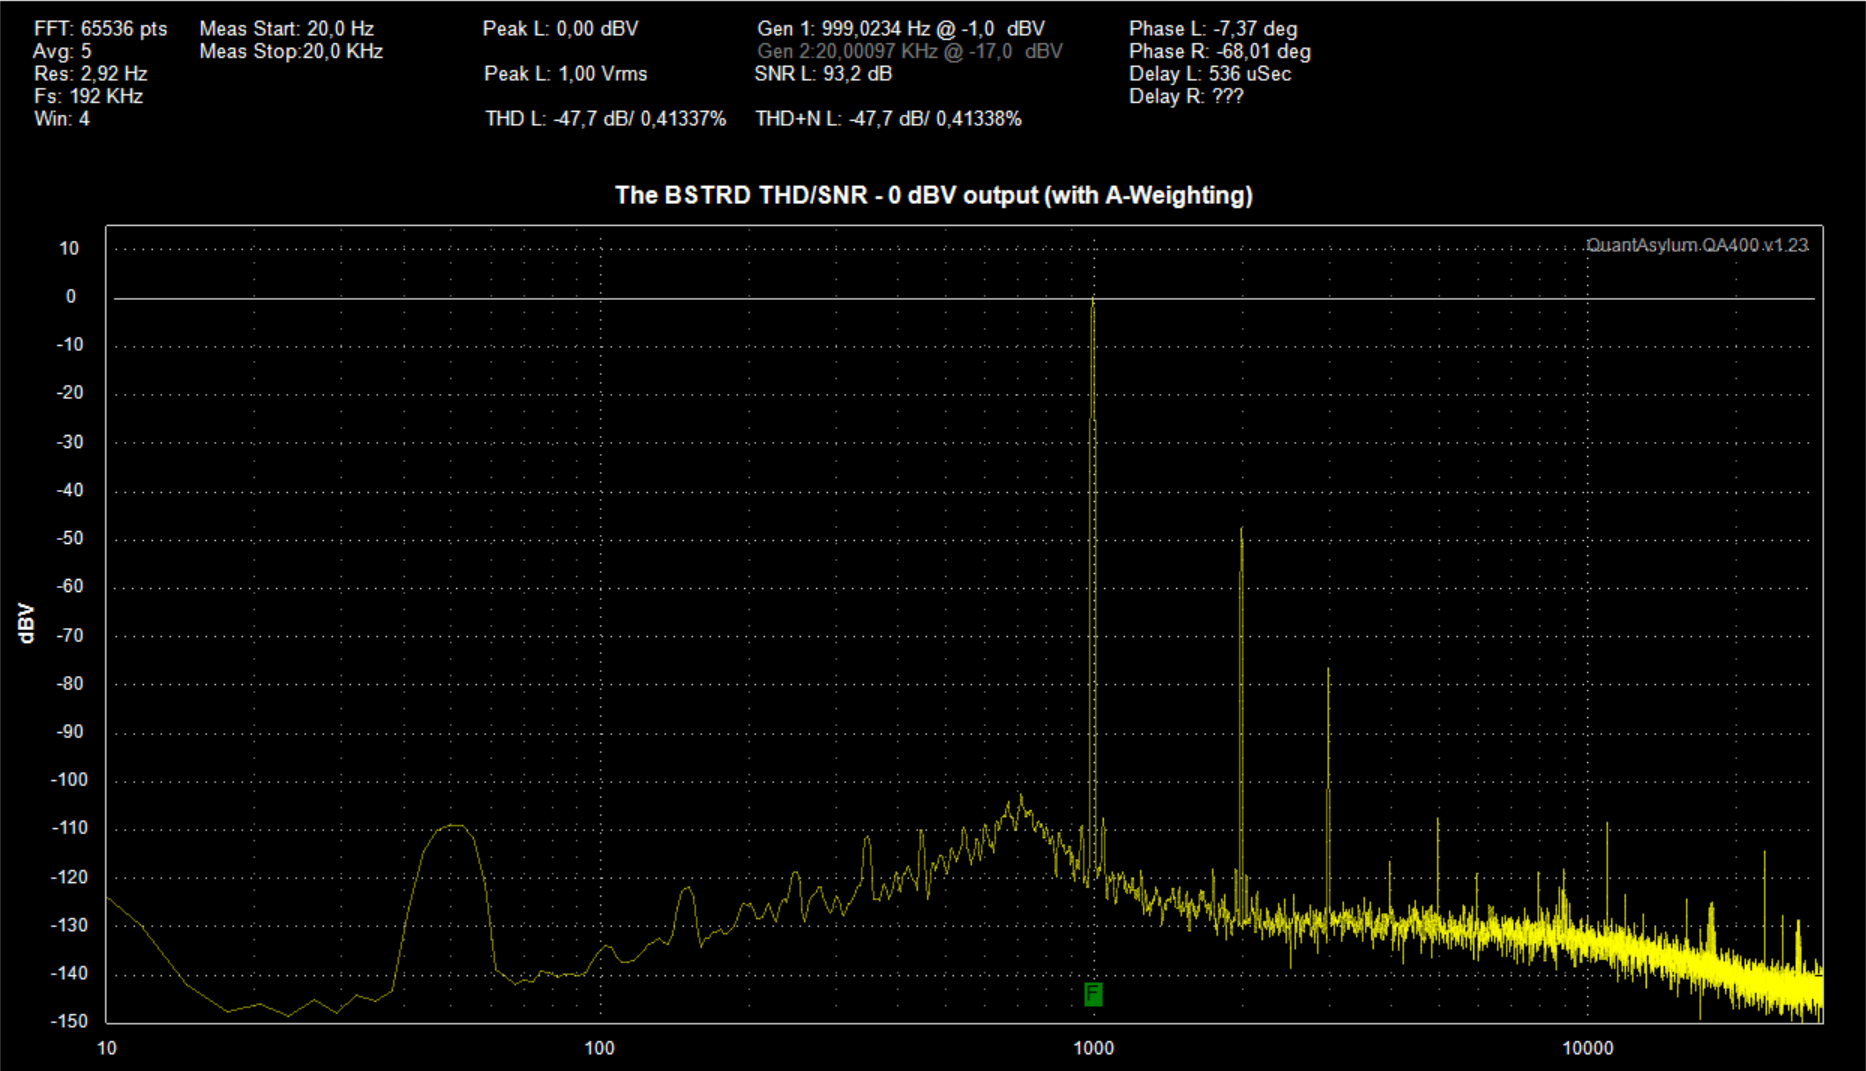
- SNR at 1V out: 93.2 dB (A-weighted), 83.5 dB (non A-weighted) *)
- Circuit clips at: 17V rms
*) Measured using Russian 6S2S tubes: https://hackaday.io/project/16944-the-muffsy-bstrd-valve-preamp/log/50558-the-bstrd-measurements


 Hamza Deniz Yılmaz
 Szoftveres
 alcor6502
Where can I buy a completed unit?