Close
0%
0%

“Rotating” Lighthouse Beacon

A realistic model of the beacon atop the Barnegat Lighthouse
built in hardware!

Similar projects worth following
This lighthouse beacon is the result of a passion project that started in middle school – I wanted to build a detailed model of the Barnegat Lighthouse in New Jersey, the site of many childhood memories. My scale model turned out quite well, but I was never satisfied with the PIC-based beacon kit I bought. I wanted the beam to rotate as it does in the real lighthouse. As I began studying electrical engineering, I realized I could build my own lighthouse beacon to look exactly as I wanted it! I decided to only use hardware to make the project challenging and interesting, and this model is the result.

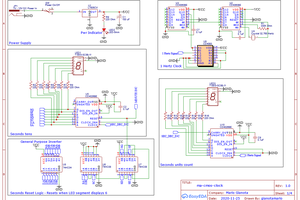
The operation of the circuit centers on a 555 timer-based clock signal. That clock signal drives two separate circuits, one analog and one digital, whose outputs work together to sequentially light up a ring of LEDs. On the analog side, the clock signal triggers a monostable 555 timer that generates a triangular pulse. On the digital side, the clock signal drives a 3-bit counter which in turn drives a 3-8 decoder. The outputs of the decoder control the gates of a series of transistors, passing the pulse generated in the analog circuit to the correct LED. The rotation effect is created because there are two instances of the analog and digital circuits, triggered by opposite clock edges, that control every other LED on the 16-LED beacon. As an LED driven by Circuit 1 fades out, the next LED, driven by Circuit 2, fades in.

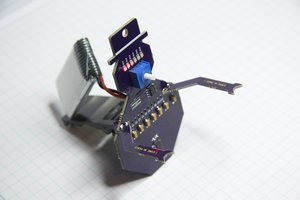
Extra features are a power-on reset for the counters, a timer for the beacon which can disable the light after a period of about 10 minutes, and a potentiometer to adjust the clock period so that each rotation takes exactly 10 seconds (like the real Barnegat Light). After building a breadboarded prototype I managed to pack all the components onto a tiny 4-layer PCB from OSH Park. A separate PCB holds the LEDs. The circuit is mounted in a temporary model for now, because eventually I want to build a much higher quality model of the lighthouse to hold this beacon. 

quicktime - 18.92 MB - 01/09/2022 at 23:11

Download

Adobe Portable Document Format - 440.22 kB - 12/15/2021 at 01:21

Preview
Download

  • Added a video

    Stephen Porter01/09/2022 at 23:13 0 comments

    Check out the video of a single "revolution" of the beacon. 

  • Two Years Later

    Stephen Porter12/15/2021 at 01:18 0 comments

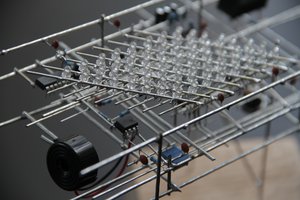
    This lighthouse has been running for 80% of the last two years. That's millions of cycles! I originally planned for its housing to be temporary, but I've come to like the skeletal structure and the spiral ribbon cable in the center. Perhaps one day I'll build a proper model. If I did another revision of the circuit there's a lot I would do differently because I've learned a lot since 2019. But it's neat to look back at this project to see where I started. 

View all 2 project logs

Enjoy this project?

Share

Discussions

Mike Szczys wrote 01/20/2020 at 20:42 point

I really like the way it looks before you put it into the model. The curl of the ribbon cable and the lines of the three support rods make for a nice art piece to put up on the mantle!

  Are you sure? yes | no

Stephen Porter wrote 01/22/2020 at 03:13 point

I like it, too! The ribbon cable reminds me of the spiral staircase inside the lighthouse. I'll build up another board to put into the scale model, or maybe do another revision to add features. The model pictured is going to stay on my desk, I think. 

  Are you sure? yes | no

Gerben wrote 01/18/2020 at 14:41 point

Nice idea to use a PCB for the leds.

For mine, I glued 12 large SMD leds around a wooden dowel rod, and then handsoldered wires to them. Which worked out pretty nice, though I'm not a big fan of the yellow phosphor showing.

  Are you sure? yes | no

Similar Projects

Does this project spark your interest?

Become a member to follow this project and never miss any updates