 kamalkedin123
Why I built Inverter at home?
It was night time, I was reading my course subjects for the preparation of Exam and suddenly the light went off. I called the substation and came to know that the supply of electricity will continue only after 5 days because of some serious problem in generation unit. It would hamper my study So, I decided to make Inverter by myself which can at least provide light for studying. Then I started collecting hardware components and begin making an Inverter. It took me a day to make an Inverter. However, I was happy because I could study more 4 days without supply of electricity from grid. Here’s procedure how made an Inverter at home.
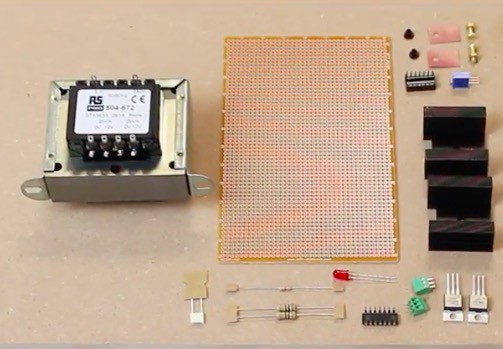
Step 1: Gathering additional components
After collecting important hardware components, I needed to soldered them in a PCB board. So, I bought necessary devices to assemble the device:
Soldering Iron
Soldering Wire
Heat Sink
PCB board
Connectors
14 pin IC Base
Connectors are used for proper plug and play connection between components. IC Base was necessary because direct soldering the IC on the PCB can damage the IC due to excessive heat.
Step 2: Mount the MOSFET transistor onto the Heatsink
Heatsink is necessary to extract the heat from the transistor to the environment so that the transistor won’t get damaged. Tighten the Transistor on the heat sink with nuts and bolt. After, fix it to the PCB board.

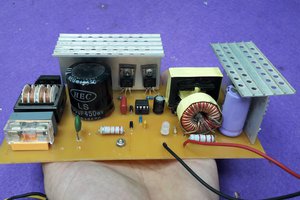
Step 3: Placing the components on the PCB
Insert the hardware components as shown in the figure below. Make sure you placed them correctly. Two tow green devices are connectors.
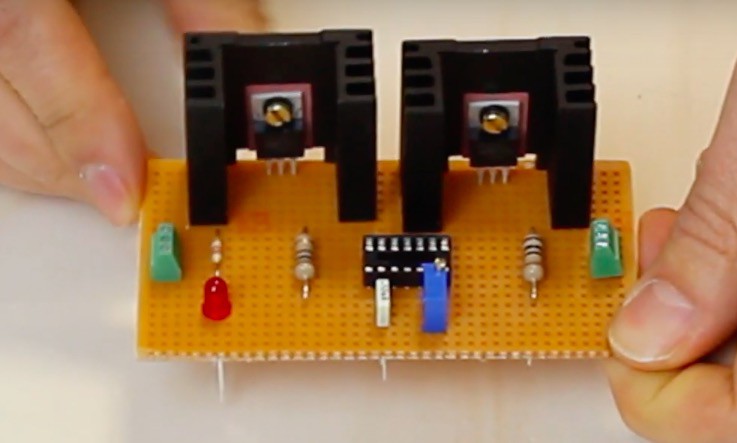
Step 4: Soldering the components to fix them on PCB Board

Step 5: Connecting each and every Component according to Circuit diagram shown below:
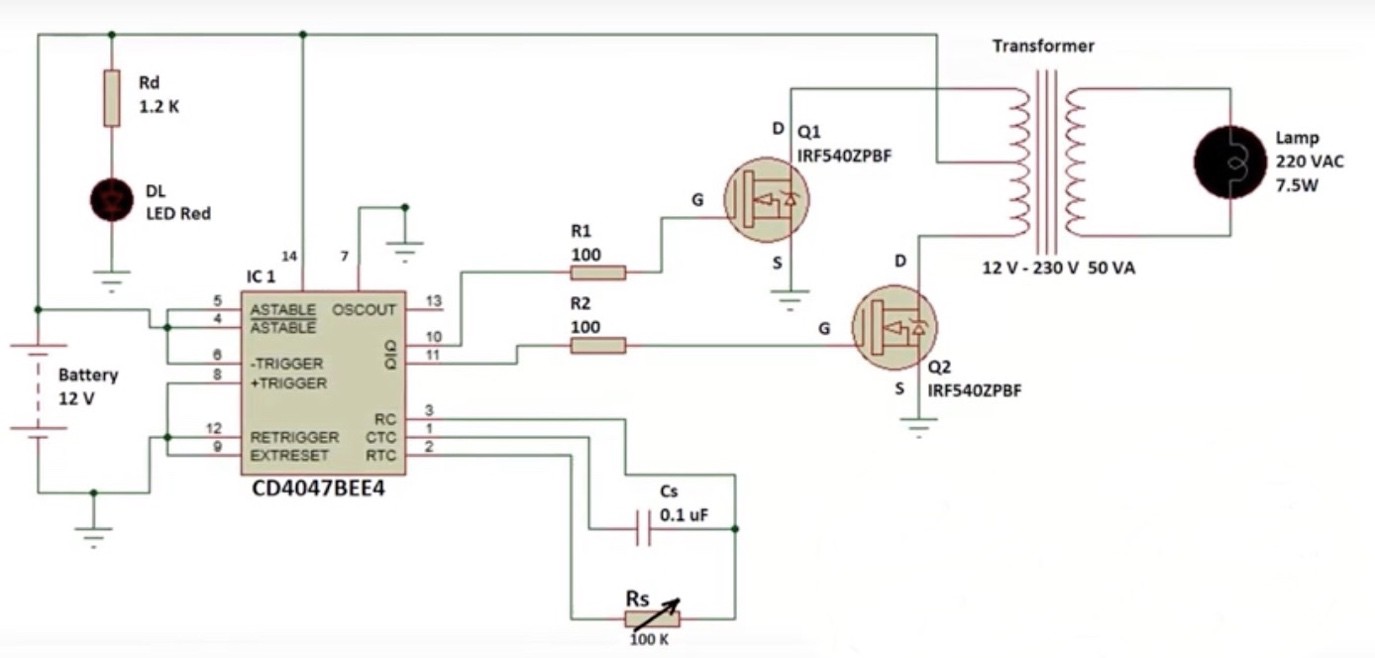
After soldering the pin of components on to the PCB, connect drain of both transistor to 12-volt pin of transformer and connect 0v to the positive of battery, 14th pin of IC as shown in the fig above.
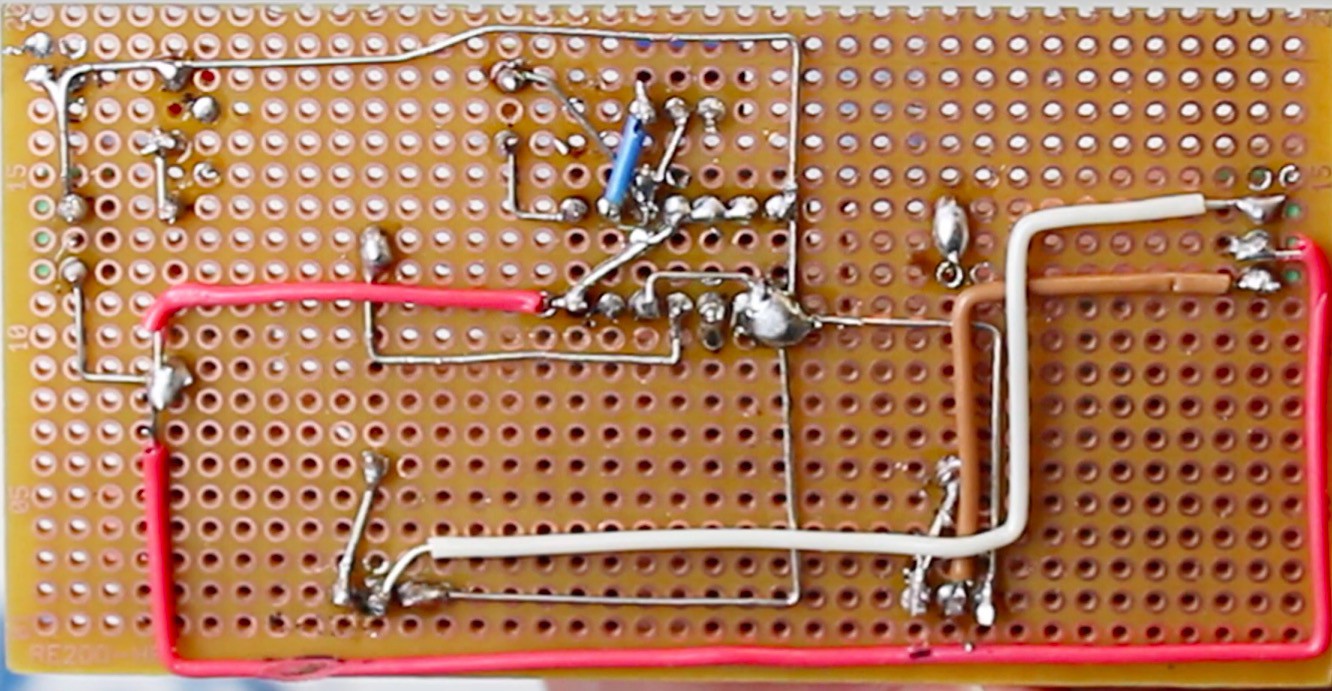
Make sure the connection is done according to the circuit above. The connection looks like the fig. below:
Testing and Conclusion:
We have successfully built home-made inverter. Connect 7.5W CFL to the output of the transformer. Never ever connect any inductor load to this inverter. Also, make sure that you won’t connect powerful device to the inverter. It’s a simple inverter for lighting purpose. Use 70AH battery which can provide lighting up to 24 hours with full charge of battery.
 Matt Kaiser
 Jithin Sanal
 youkito1991