 osgeld
Its been a crazy few days at work, but I have not been sitting my duff in regards to this project. Down side is I wont have it complete for the end of retrochallenge, but no biggie, I never do heh.
With the plastics cut and machined it is time to temporarily fasten them so I can see what changes need to be made to actually fit in the toaster. Starting with the base I haphazardly eyeballed where I needed to place screws to hold the 5 upright parts to the base. Larger panels got 4 screws, the smaller end parts got 3, once the base was drilled I transferred the holes to the appropriate parts and drilled a tad over 1 inch deep. 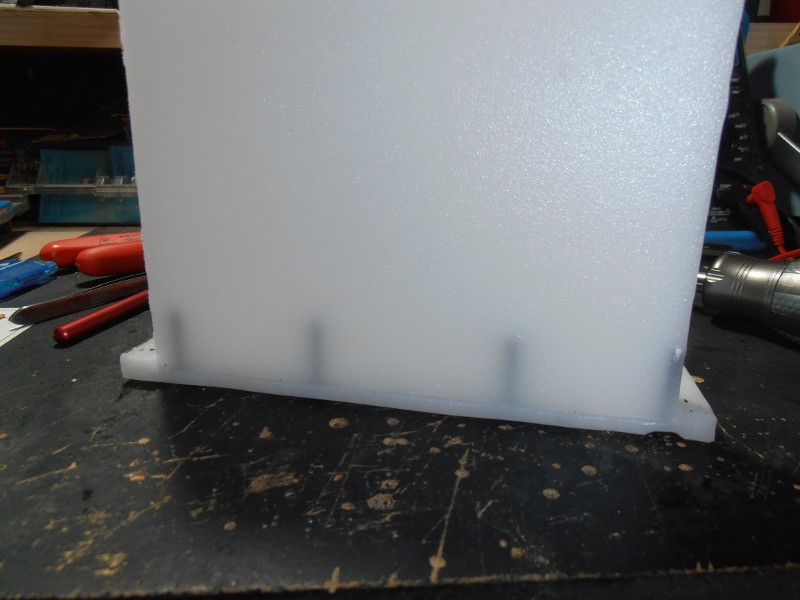
The screws that I am using are a "thread forming" type made specificly for soft materials like plastic, . I am using 1 inch for going though the base into the upright parts, and 1/2 inch for going into the ends of the side parts and cart slot holder.

I still have to square all the edges up, they are still ragged fresh from the saw, but with all the parts assembled I can test fit in the toaster. The fit is very good with a couple tiny notches to cut in order to clear a couple features of the shell.
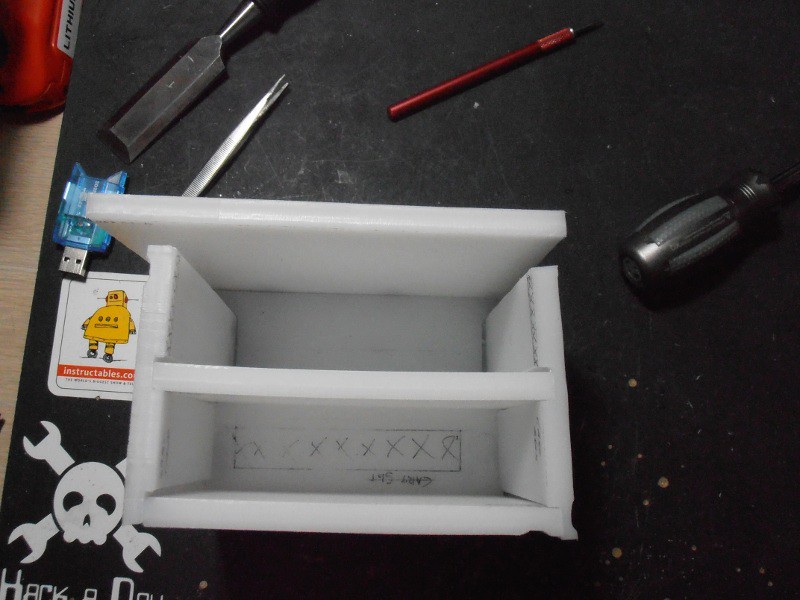
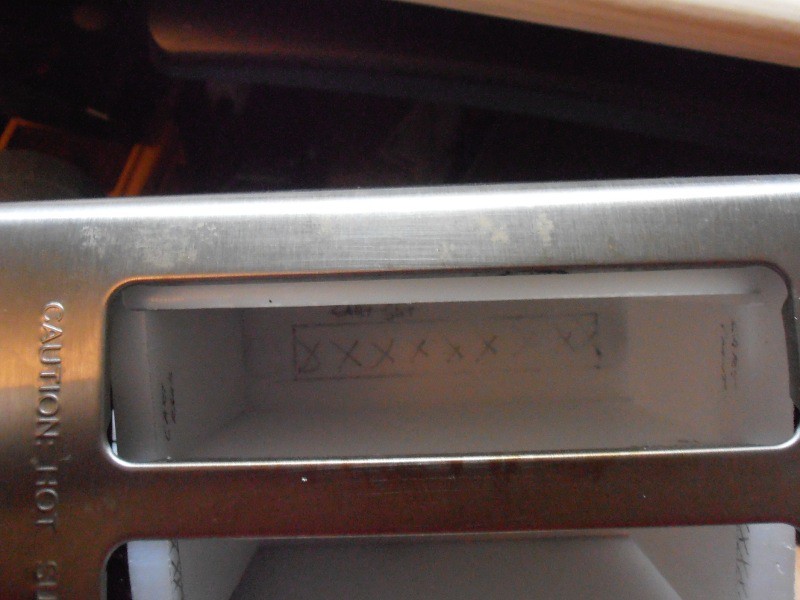
once I square up the edges for a better fit I can glue and screw almost all the parts together for good... I say almost cause I still need access to the cart slot to install it, then I may or may not glue that panel in place, it does have 8 steel screws in it lol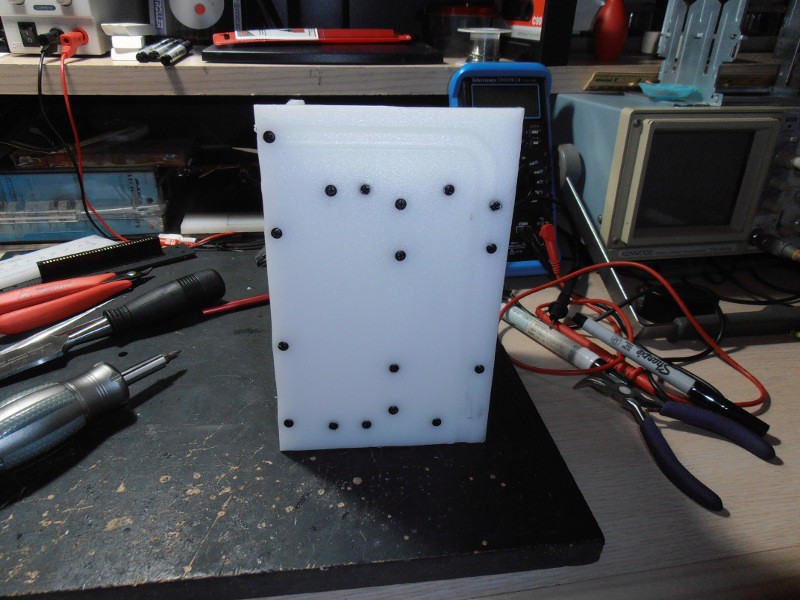
Discussions
Become a Hackaday.io Member
Create an account to leave a comment. Already have an account? Log In.