 Christopher Smith
Hey people – I’ve been playing with 3D printed lithophanes and making these awesome photos come to life. This tutorial will go over the steps I made to create the Picard animated GIF in the video using 3D printed frames - a 3D printed animated GIF if you will!
You will need: Nothing!
If you don't have a 3D printer you could always make these and get a 3D printing service such as 3D Hub or shapeways :)
You need a light source to shine behind the lithophanes but of course you could just use the sun ;)
The video is here but this tutorial and my blog post goes into a bit more detail.
I’ve also created an animated GIF using 3D printed Lithophanes of the classic captain picard face palm and I’ll show you how near the end of this tutorial. The video is here:
So the concept of lithophanes has been around for hundreds of years. They were originally made of thin porcelain and would involve etching or molding artwork onto the substrate and shining a light source behind to reveal the artwork. Thinner areas let more light through and thicker areas less so with some skill some quite detailed images could be represented.
Only in recent years we’ve seen them 3D printed and people have figured out lots of ways of making them.
You can now make them directly in Cura or use your favourite 3D modelling package but I’ve been using this online tool by Mark Durbin. It’s available at:
The tool lets you upload an image and it will directly process this into a STL file which you can download and print.
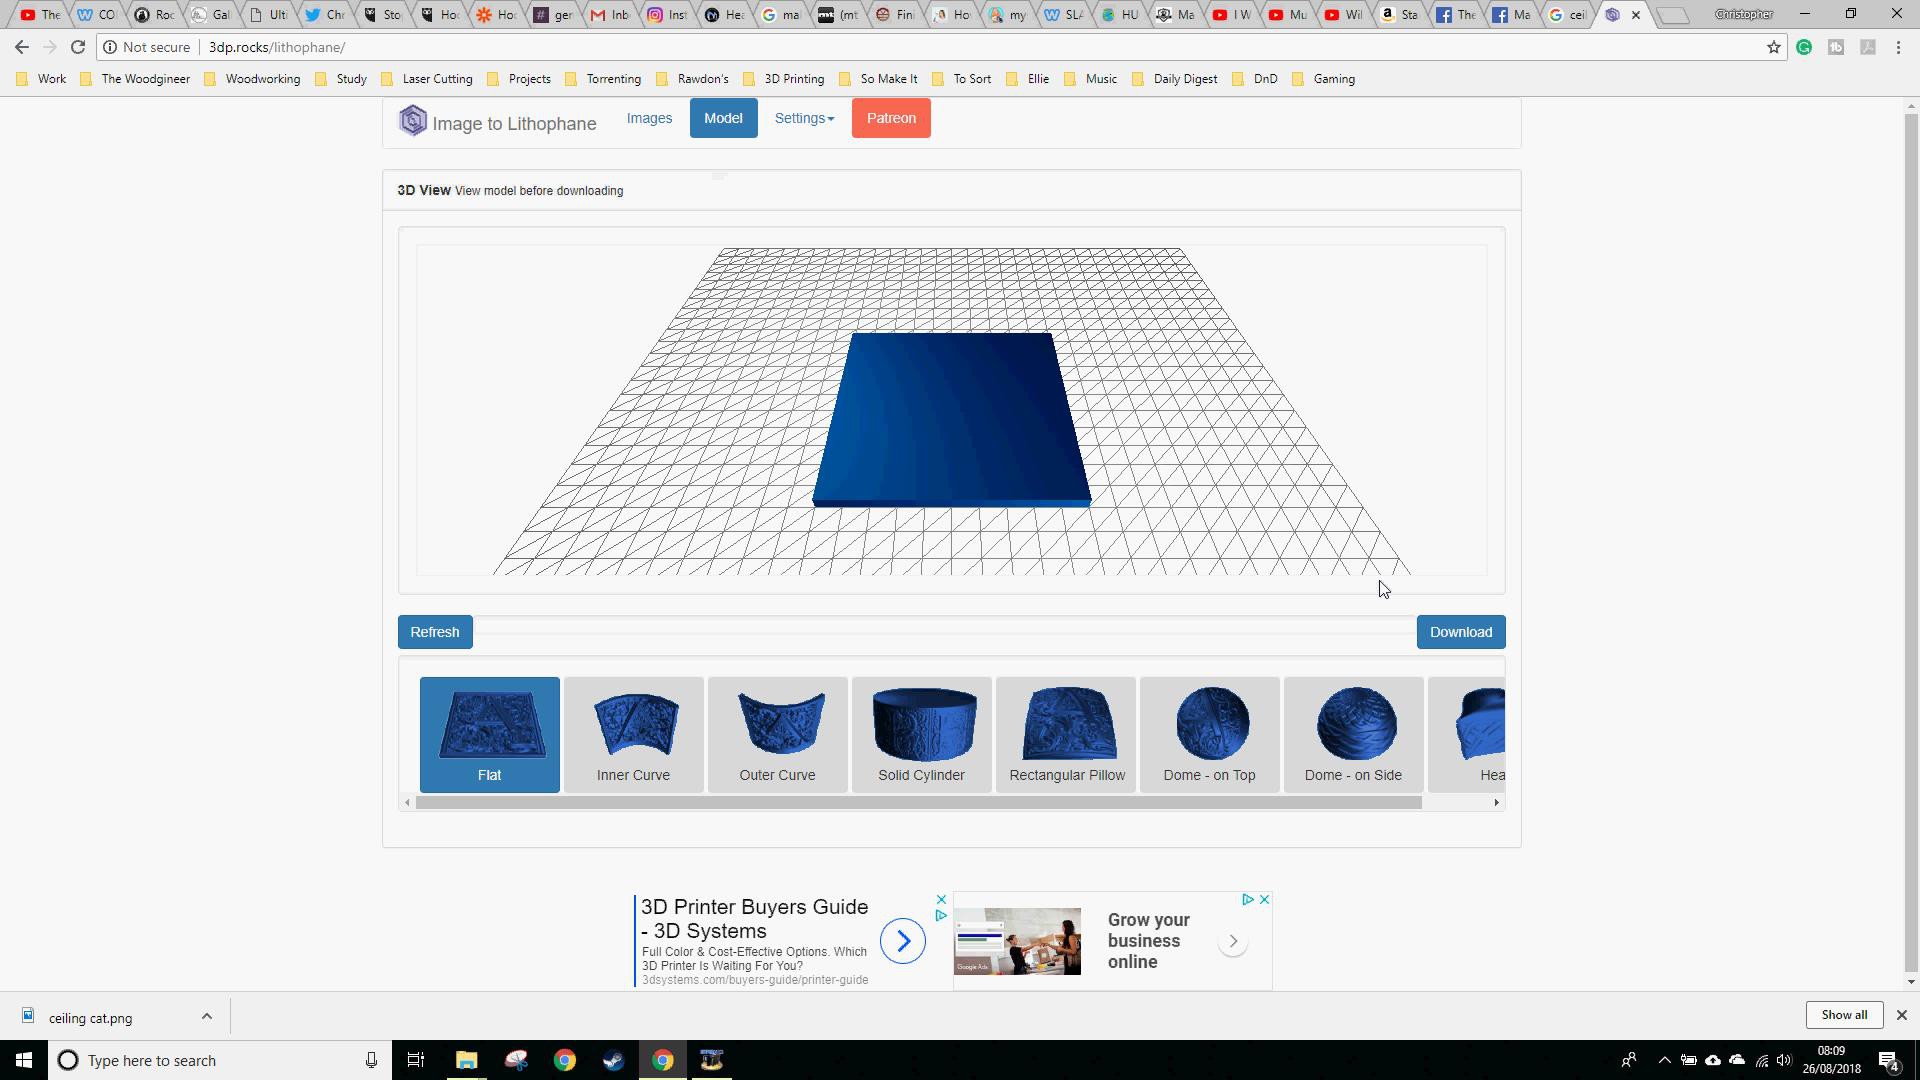
There are some basic controls for modifying the STL and choosing different shapes.
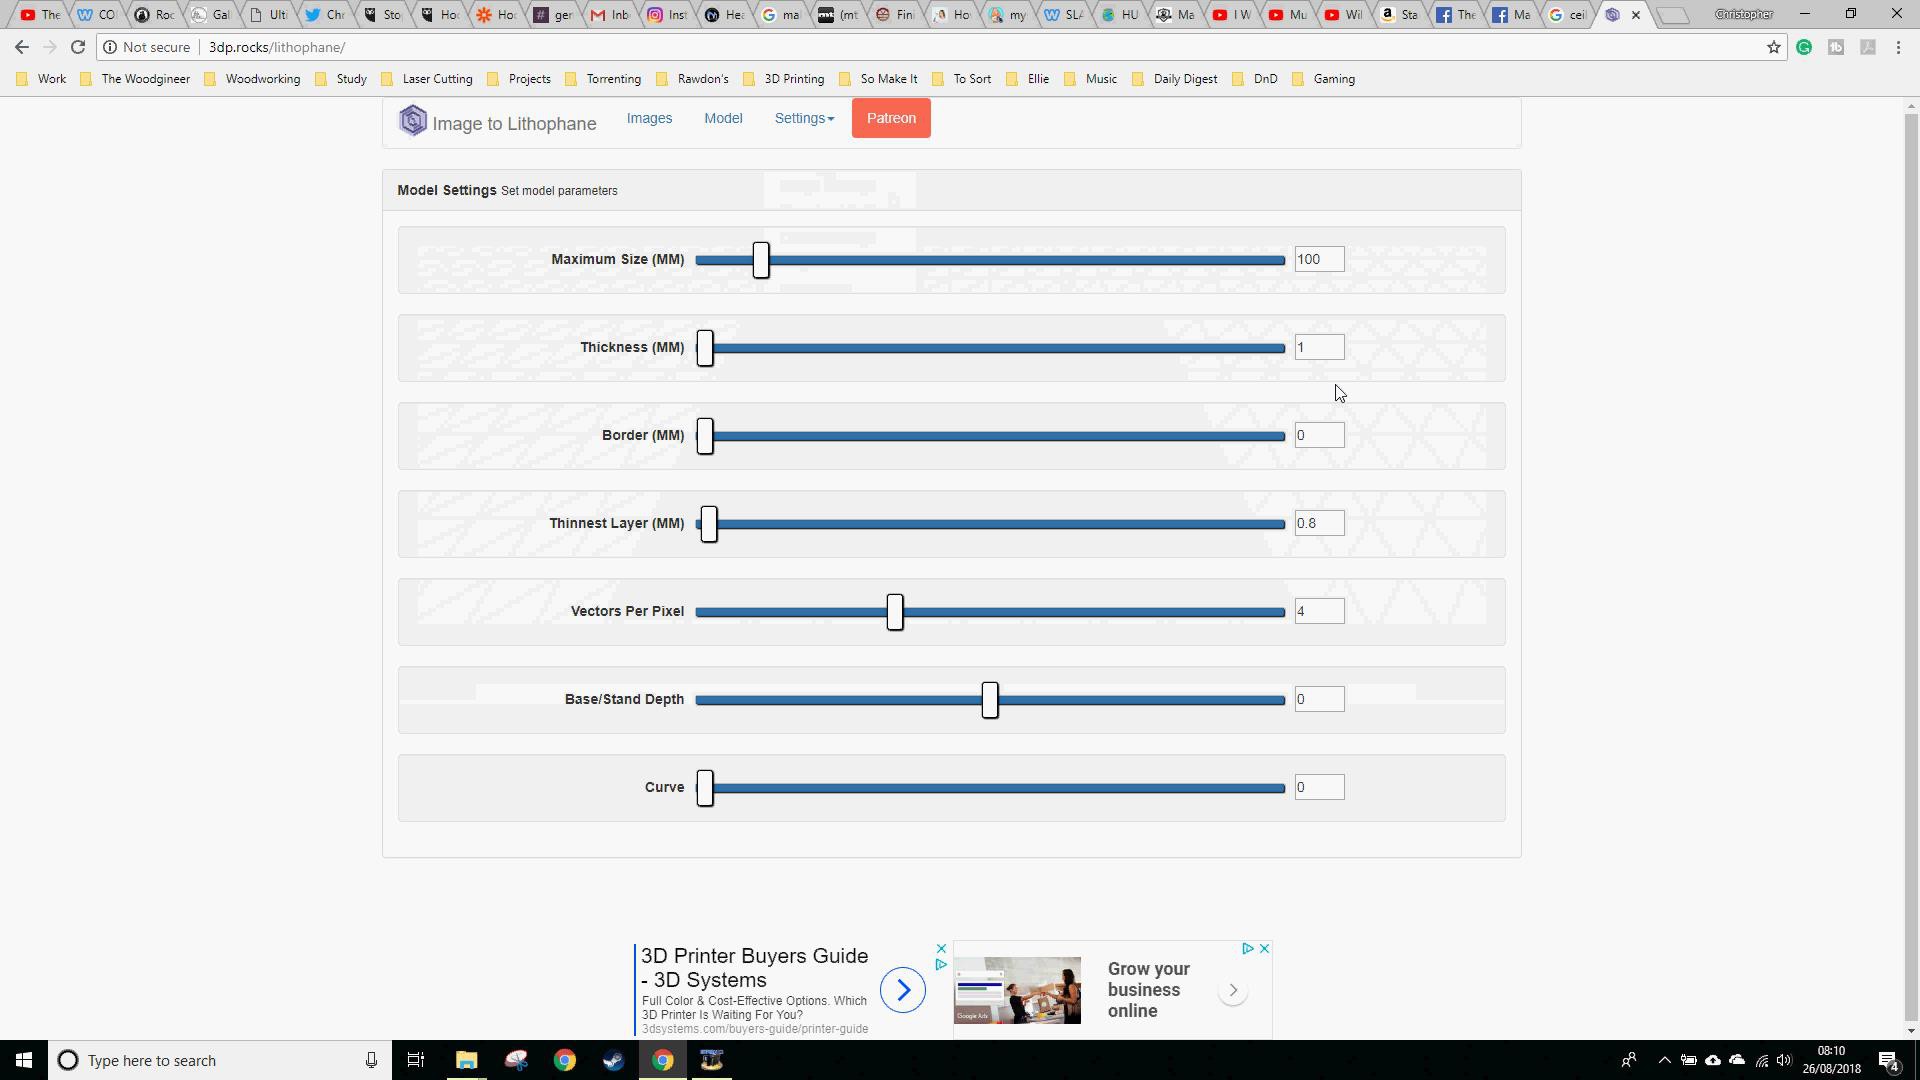
There’s the standard flat, curves both concave and convex, a solid cylinder, pillow shaped, dome shaped and even heart shaped.
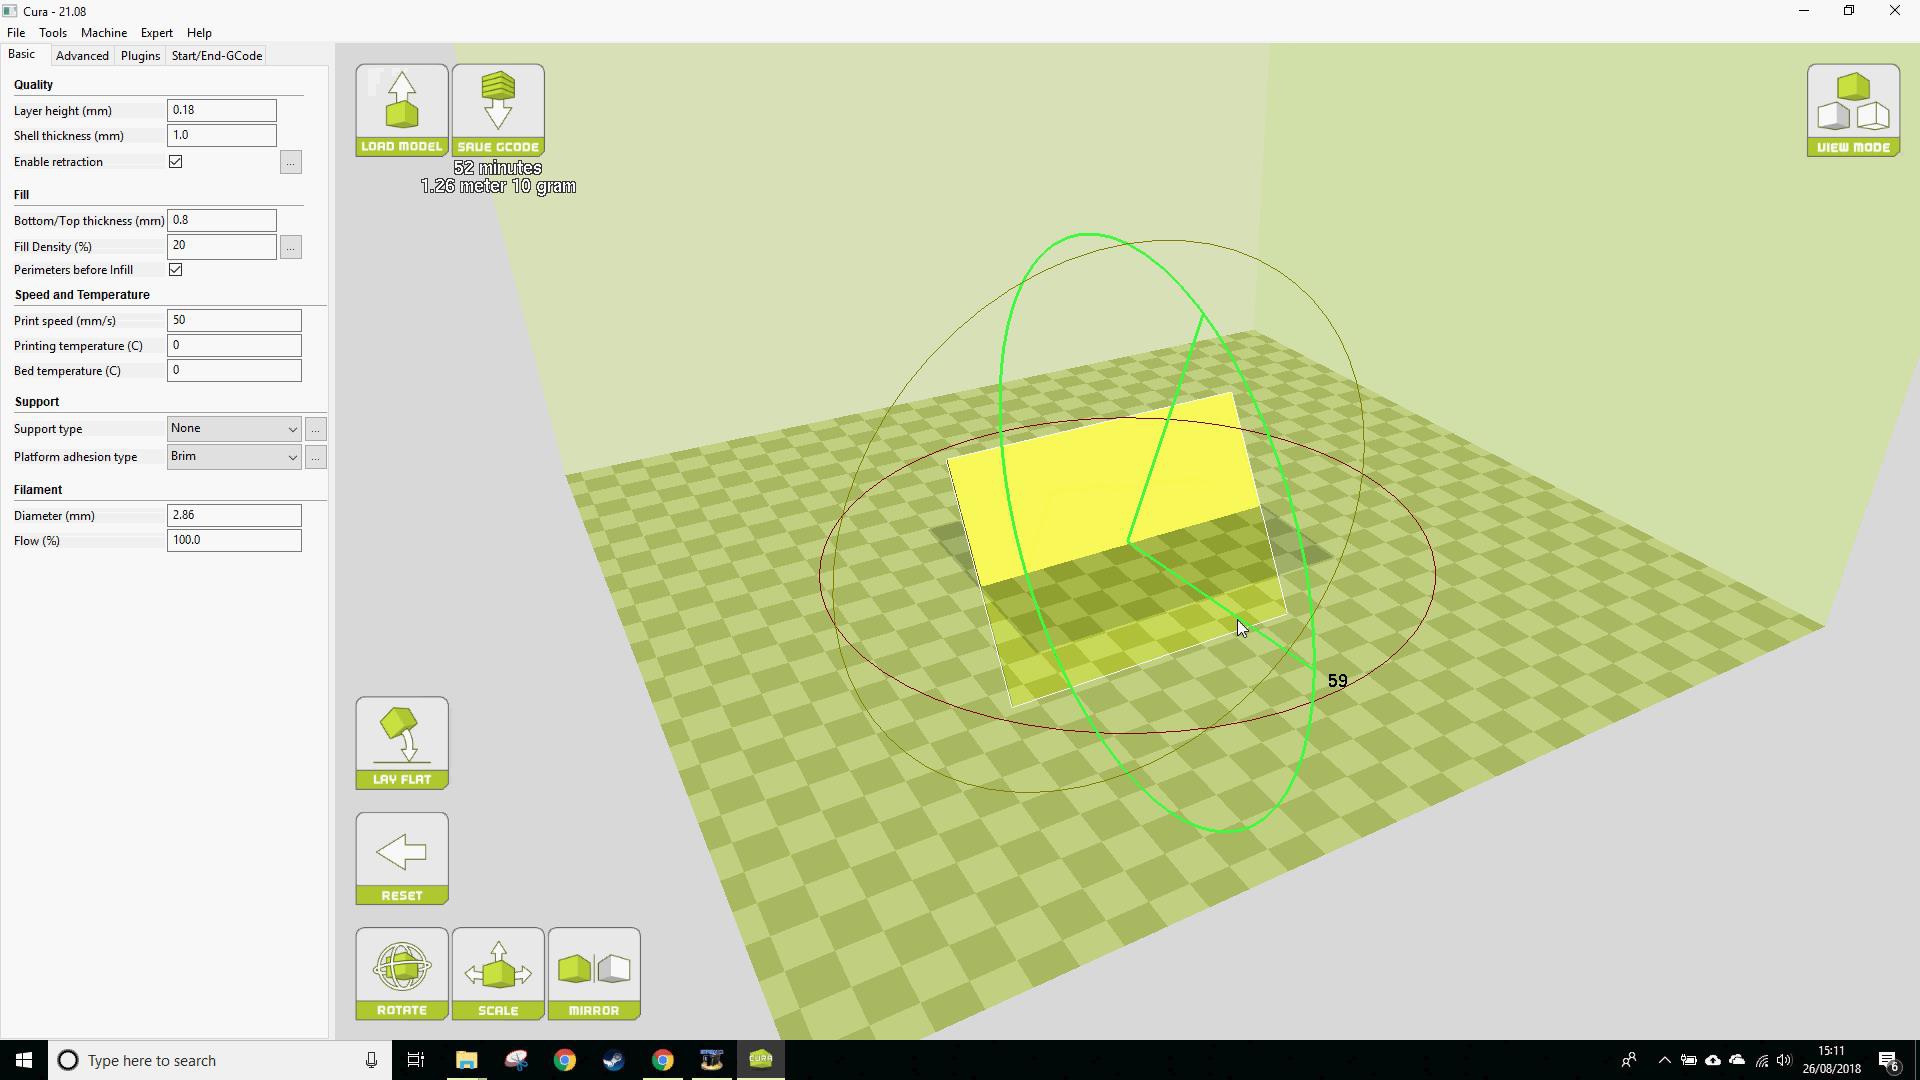
Printing them needs to be done vertically as the bottom layer squashing can distort and lesson the effect. So once you have your image turned into a model, you may need to rotate it.
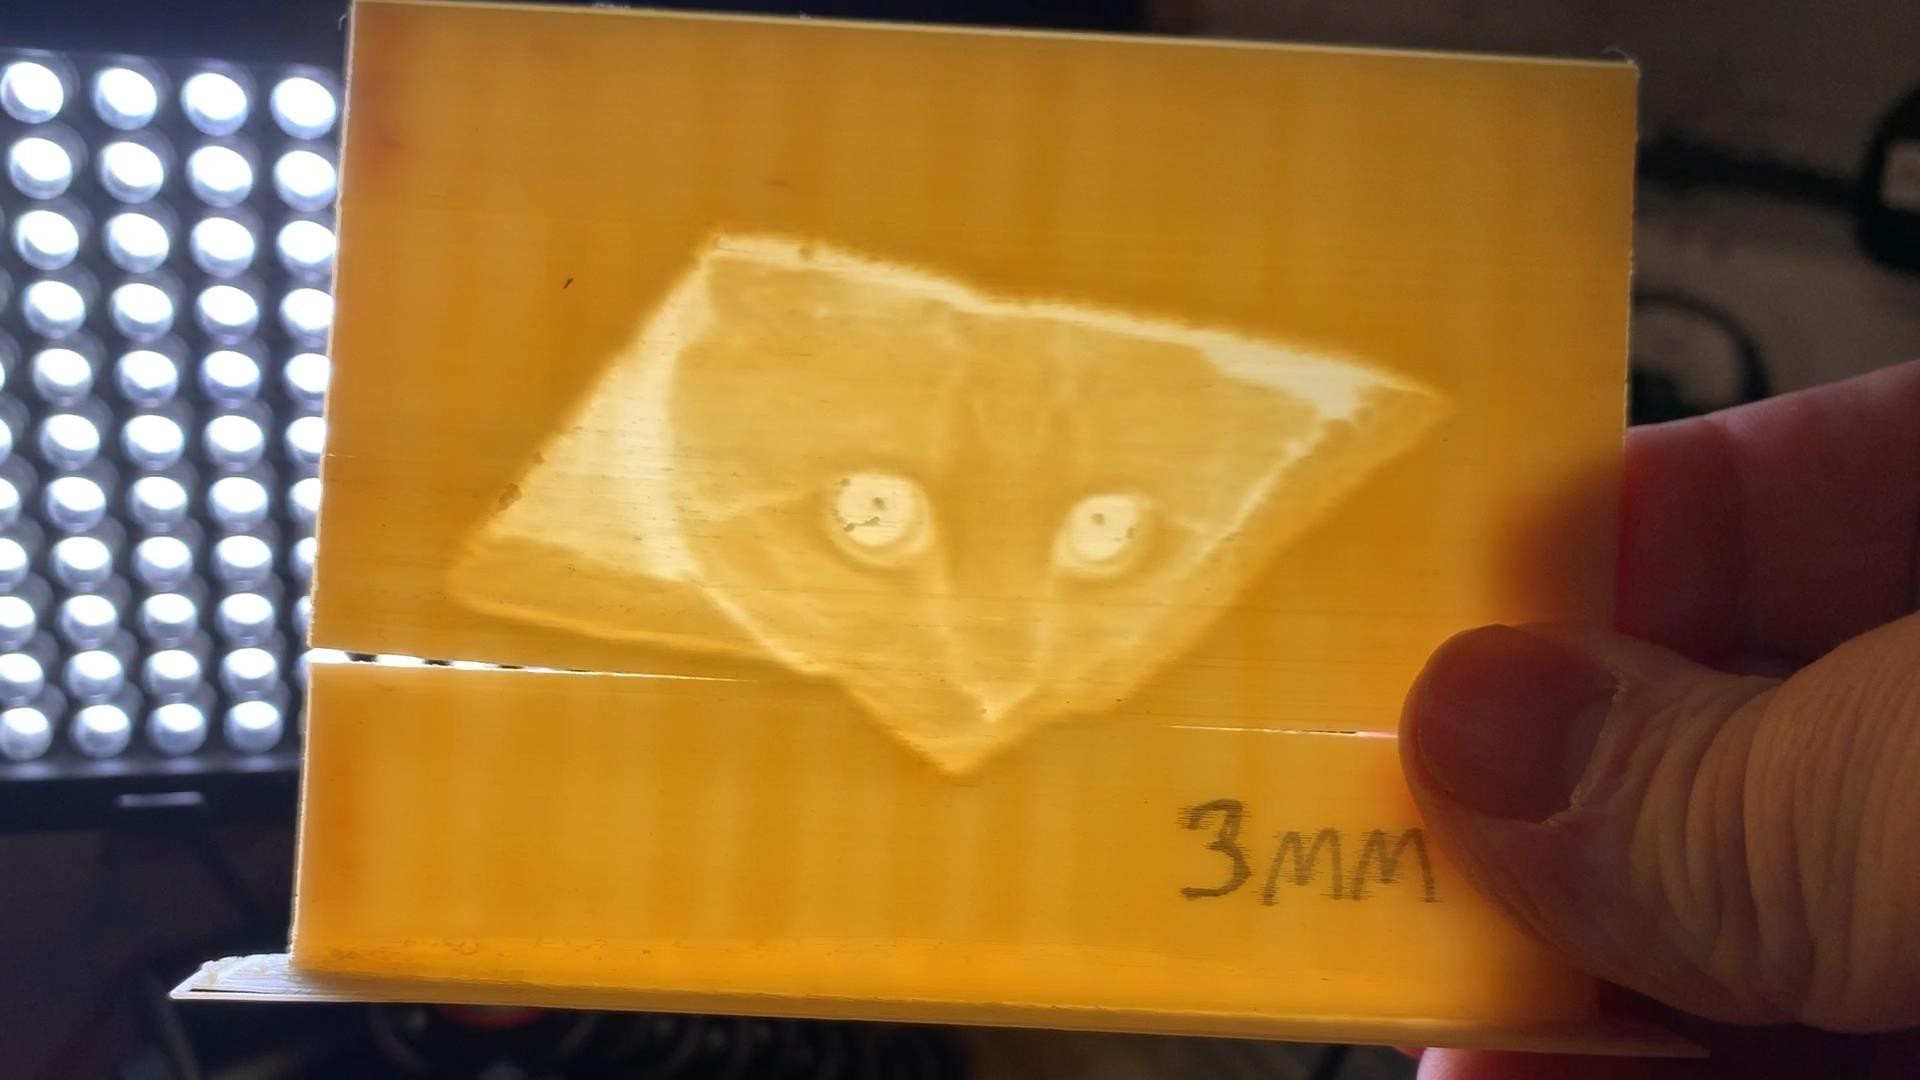
I’ve done a range of different thicknesses and found for normal ABS and PLA 3mm thick is optimal. Any less and you lose definition and anymore and light doesn’t get through the thicker parts.
Although I’m sure somebody has done it, I’ve not seen anybody do much with stop motion lithophanes yet.
Probably because there isn’t any logical reason to but hey, sometimes you just want to do stuff because you can.
And partly to celebrate the new Star Trek spin off Picard and partially because I needed something short to test I decided to use the classic Picard face palm meme!
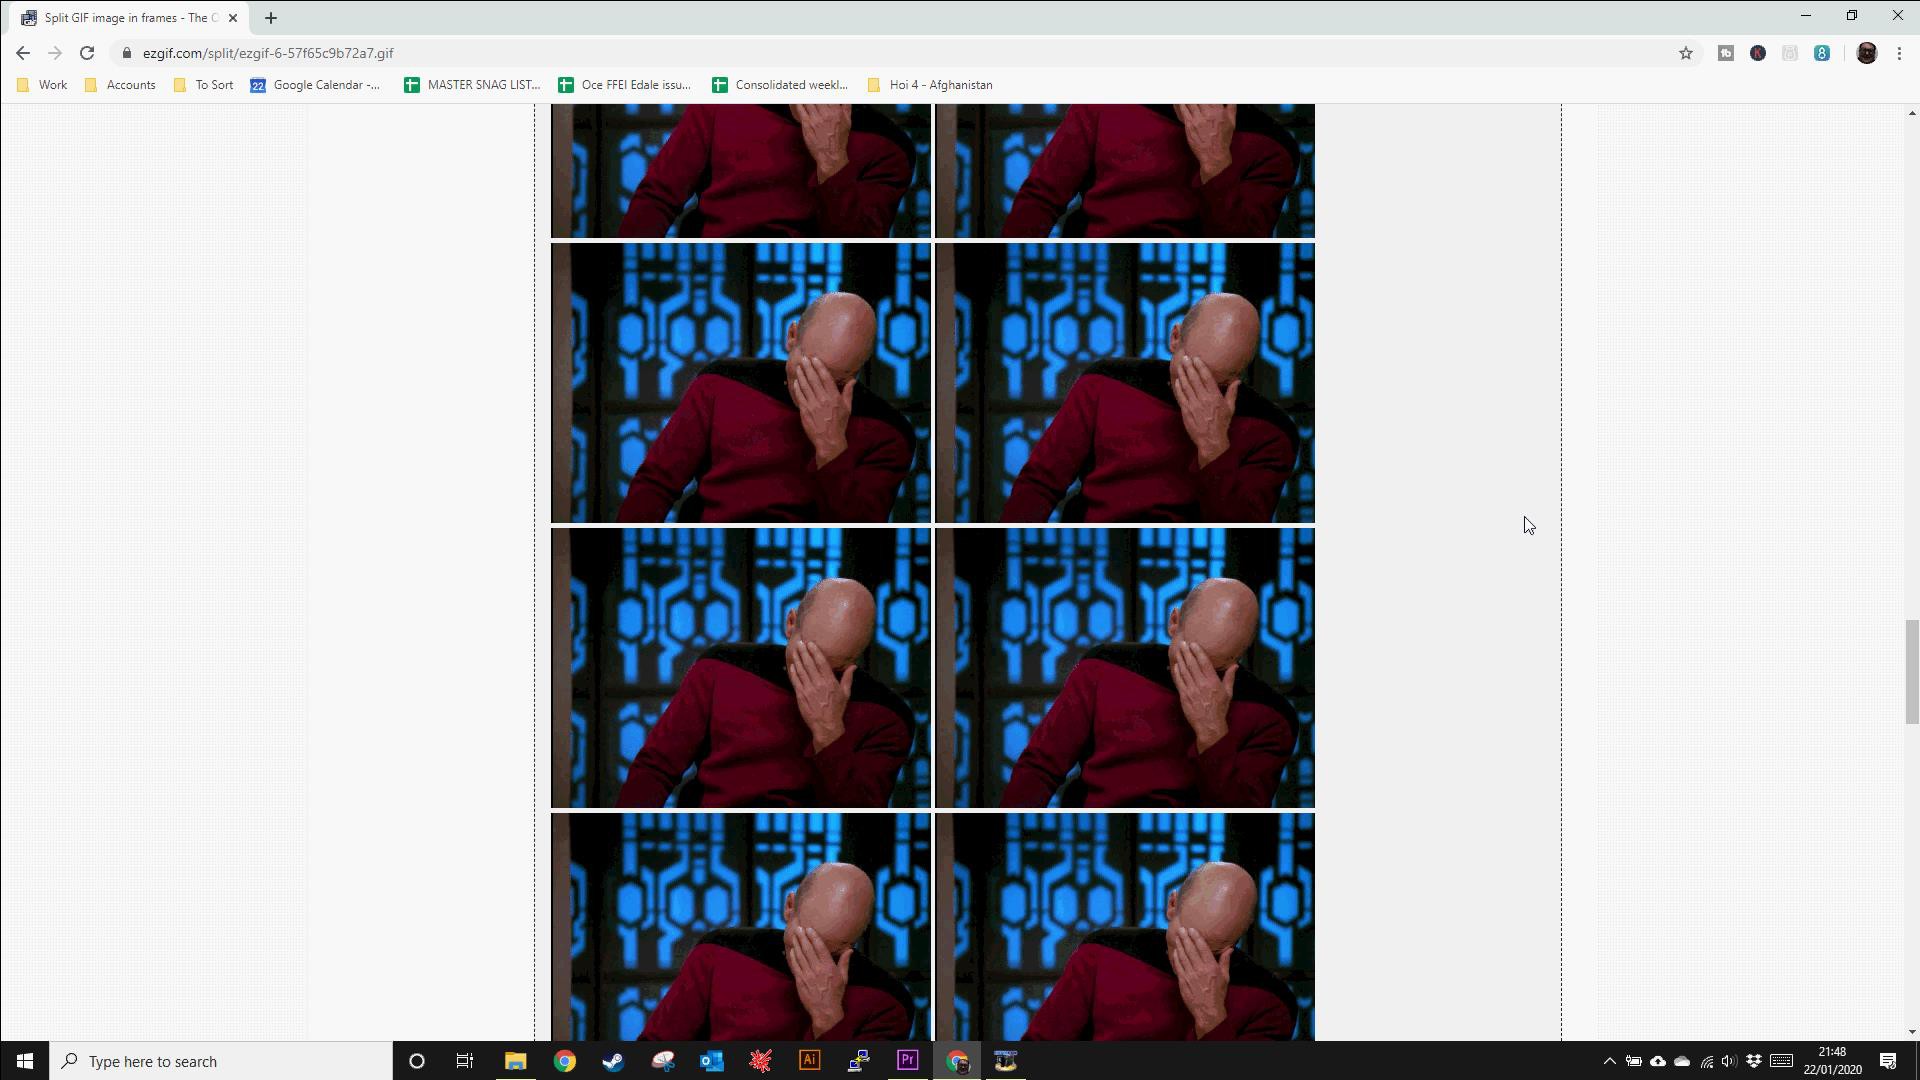
First I used this nifty online tool EasyGIF to break the meme into separate images.
There were about 39 in total but I only needed 27 of them to convey fully what’s going on.
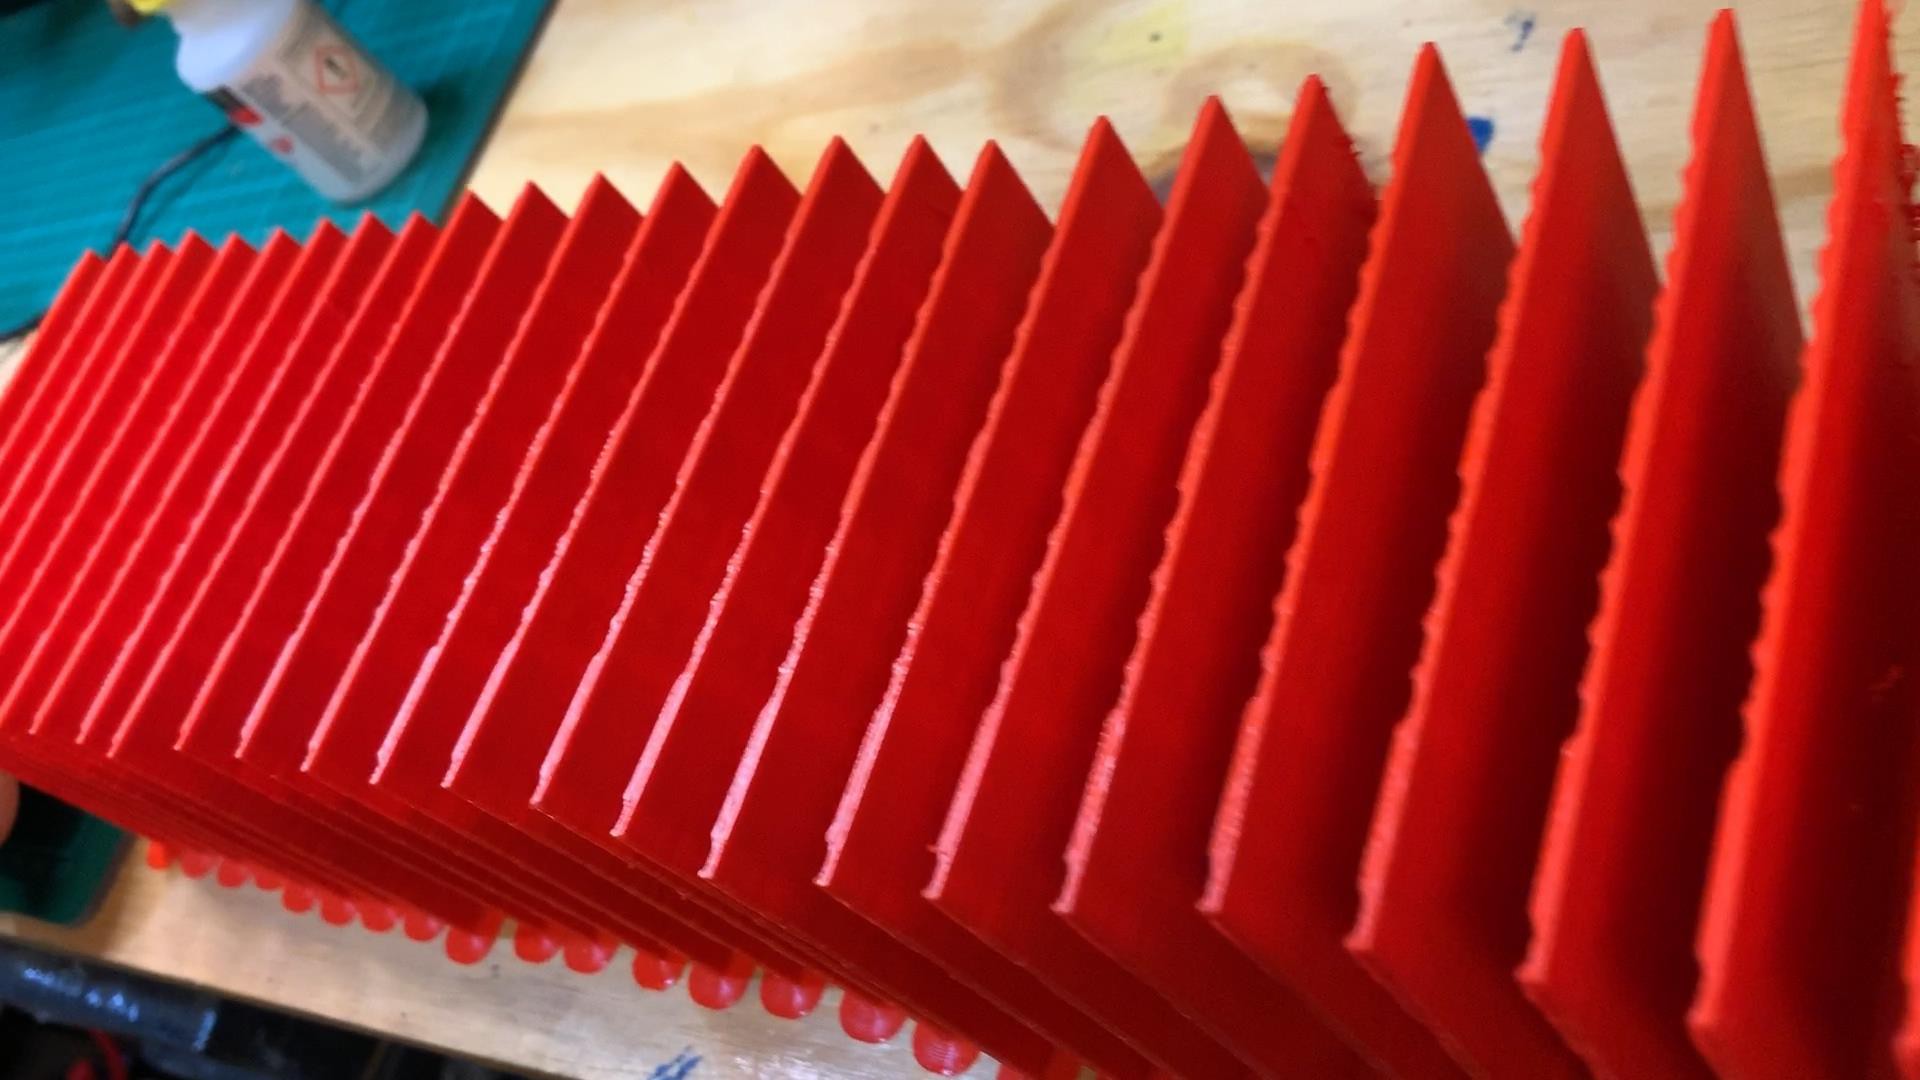
I then manually imported and made STLs for each image.
And of course 3D printed them.
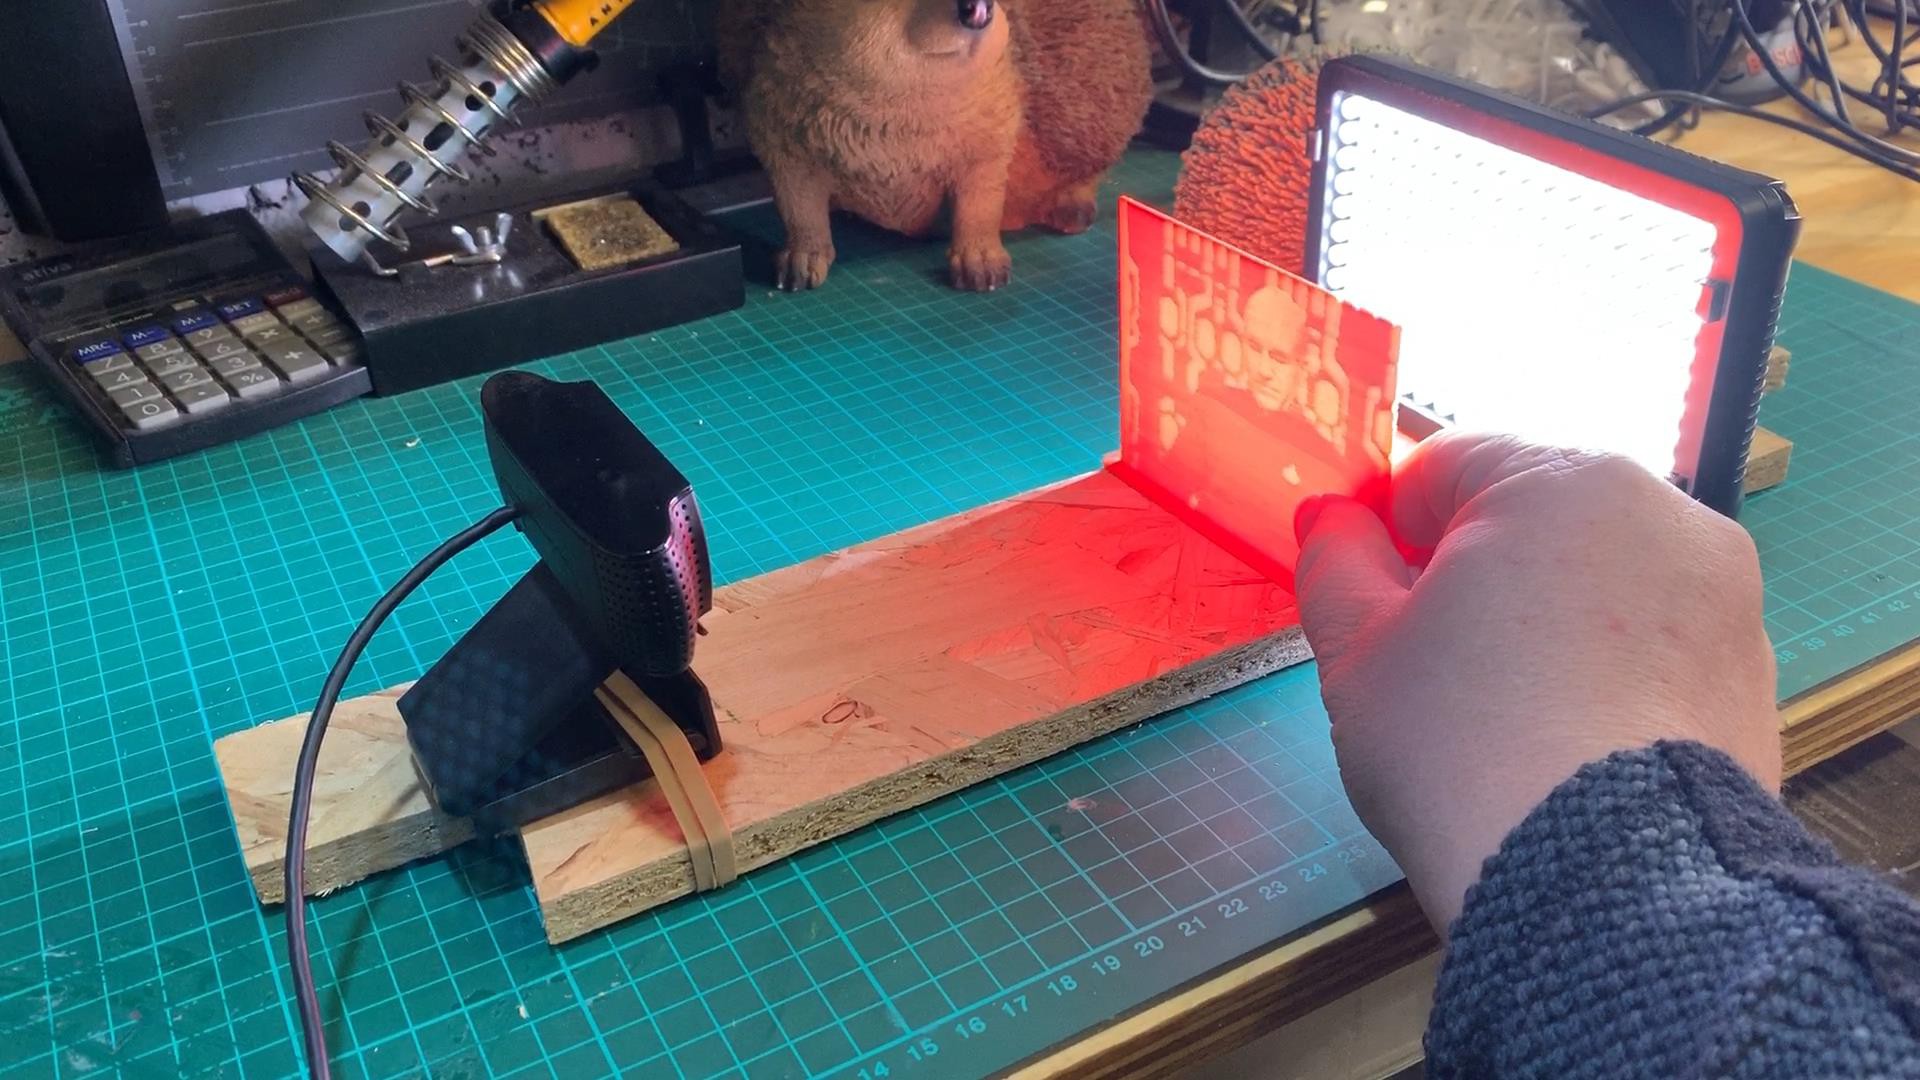
With all the Picard’s printed I needed some kind of jig so
they could all be placed in the same place relative to the camera and I could run a little stop motion magic.
I was going to 3D print something complicated but a scrap piece of wood will do fine for testing.
Camera mounted one end with an elastic band.
I’m using a c920 logitec web cam here as it’s a great little camera for being able to adjust settings.
Pop the light the other end and the frame goes in the middle.
A little bit of experimentation was needed to get the thing just right. It took a while to play with the settings to get things looking good.
Contrast needed go up a bit higher so we can make out the detail and of course I needed to adjust the focus.
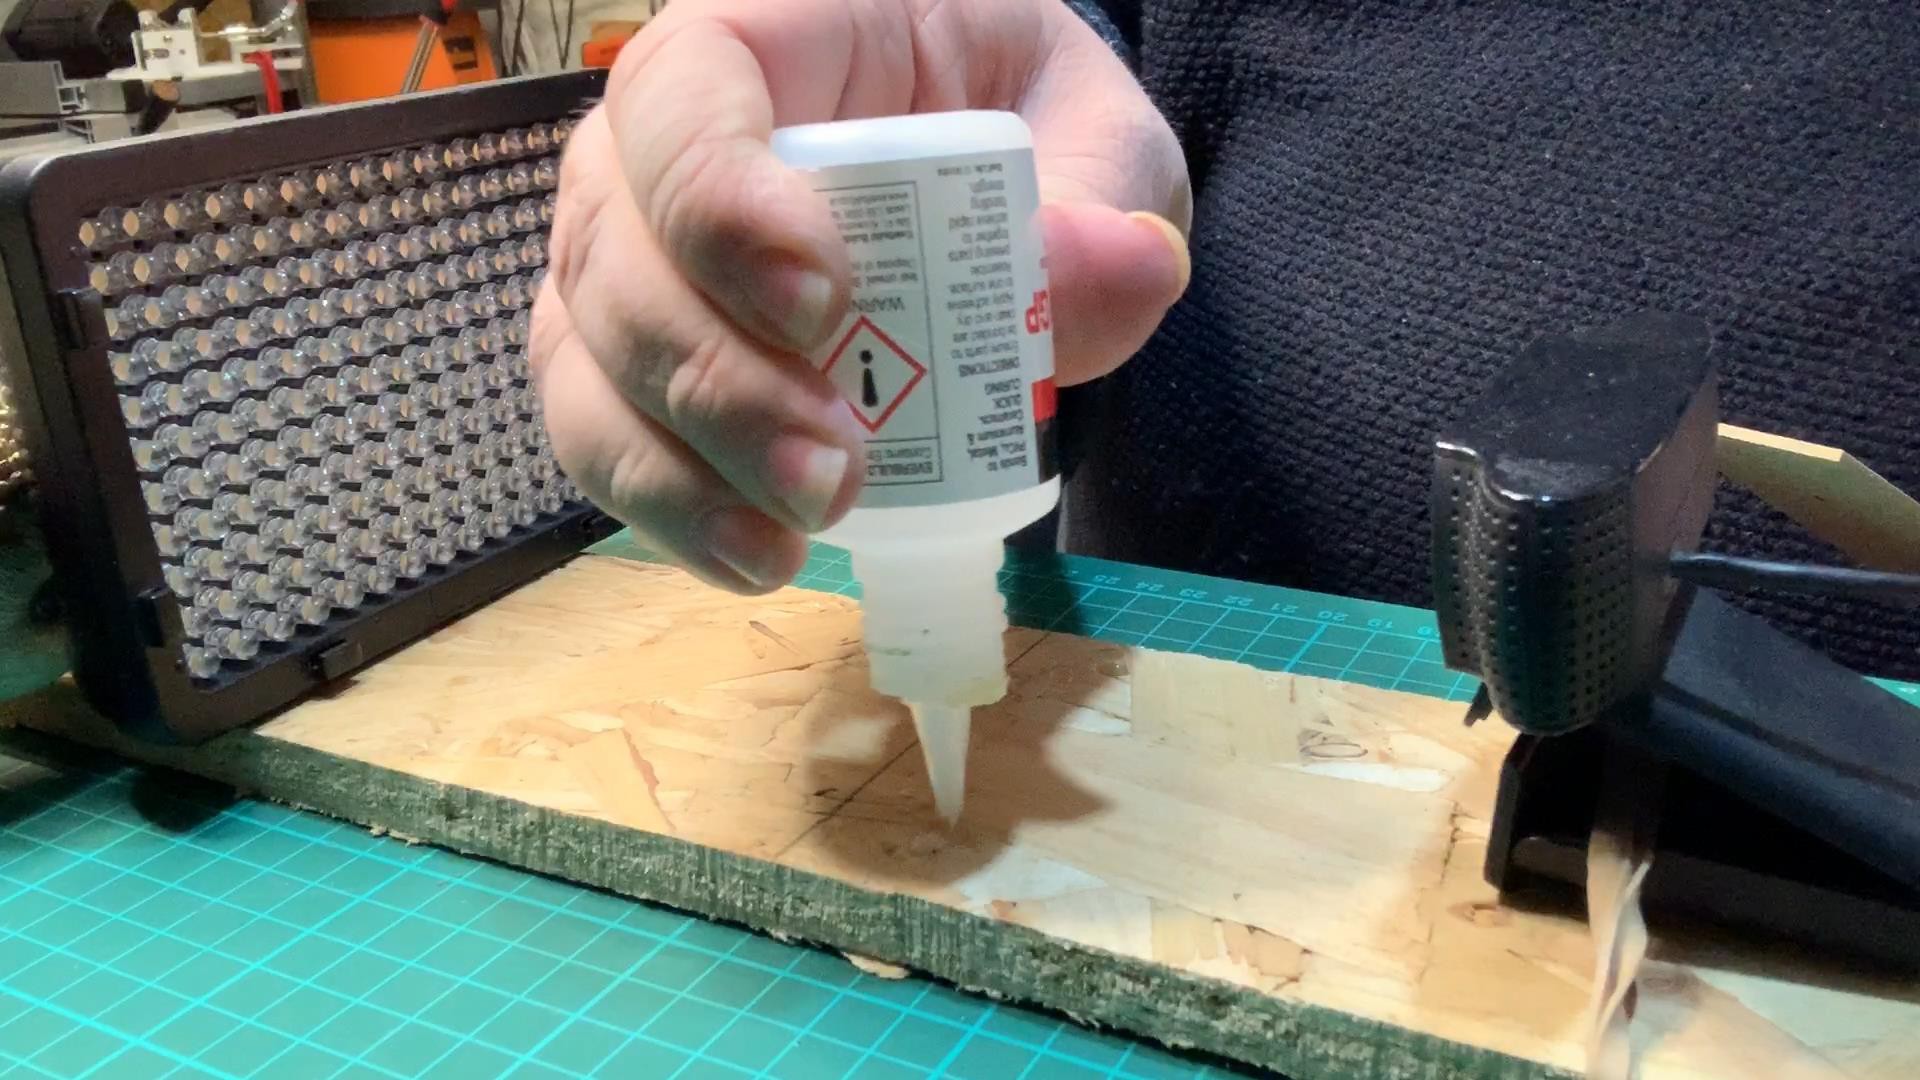
I put to make a mark on the wood where the base sits so I can make sure each one is in the same place.
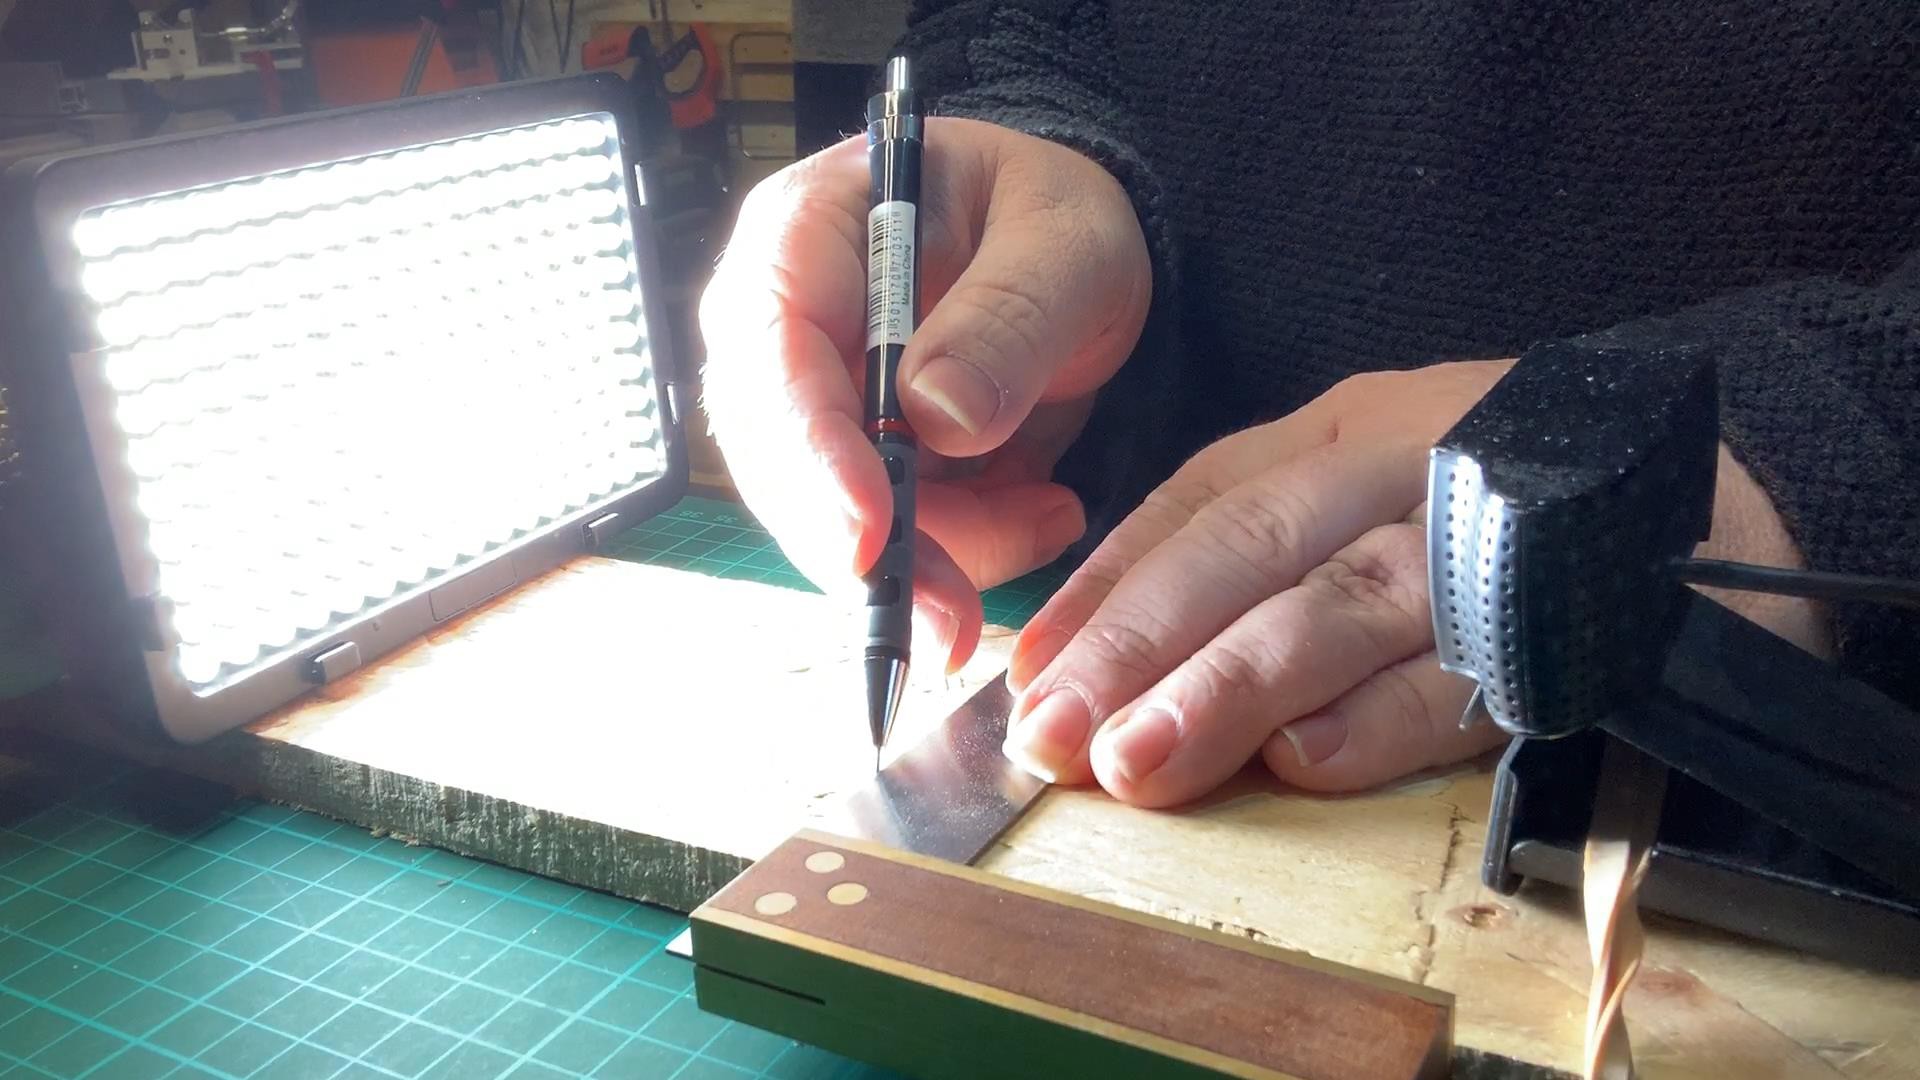
And to make extra sure I glued a little bit of wood onto the board so the frame can quickly push up against it.
I wasn’t too worried about it being slightly too left or right this can be fixed in the software later.
Now the fun job, lets take a photo of each of these 27 frames....
With the photos done I imported them into Adobe Premier. This is remarkably easy to do, just make sure your images have some kind of sensible number order as the filename.
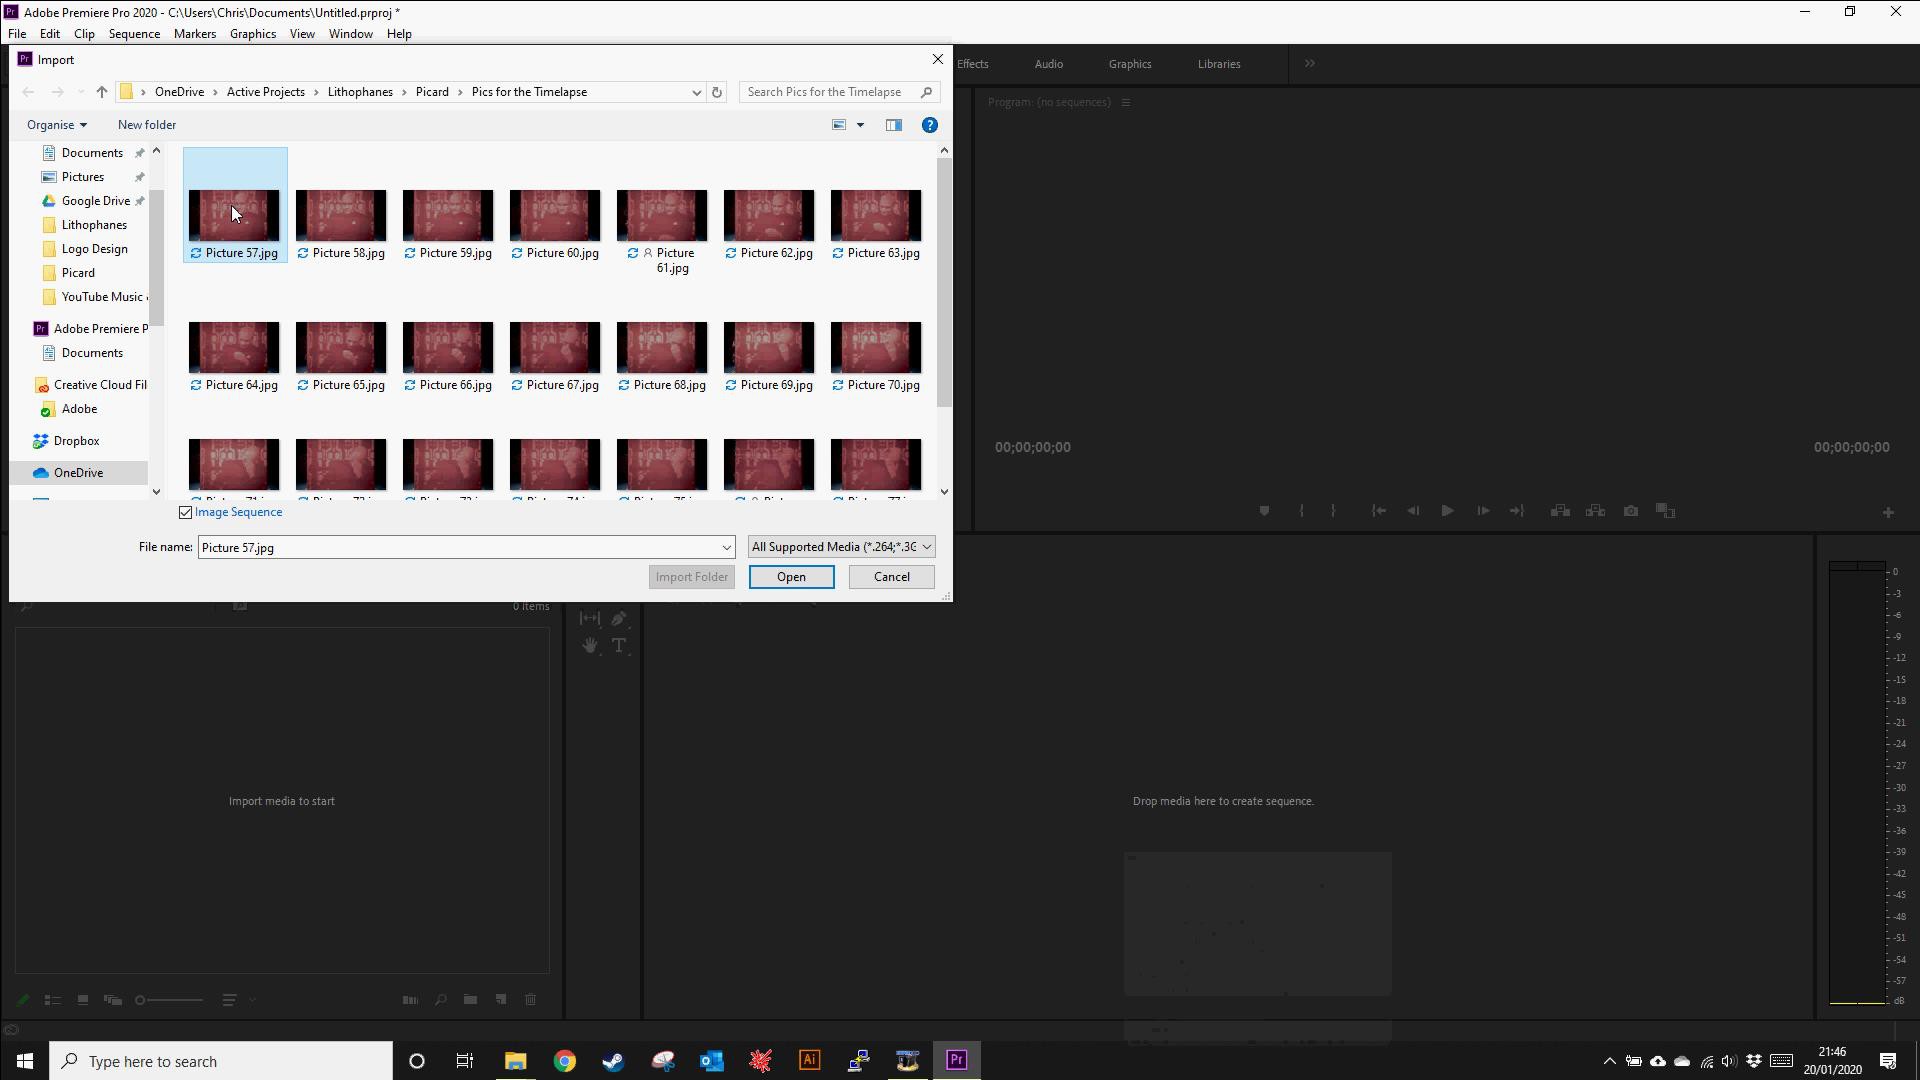
In Premier go to import, select the first image and tick the Image Sequence checkbox. This will import all those images as a sequence you can then use just like any video clip.
This sequence was 27 frames long so just over a second of footage. To complete the circle I rendered it as an animated gif and again this is really easy to do in the latest versions of Premier, just select the Animated GIF option as your export format.

And there we go, happy Picard day everybody!
I hope you enjoyed this tutorial or the video and I’d love to know what meme to do next. Maybe you can make one too?
Let me know if you do!
Oh and I’ve uploaded this to Giphy here:
So if you want to use it, feel free!
And again remember to check out the video if you haven't!
Taking all this Further...
OK so most of that was copied from my blog but I want to take this project a step further. I want to make a longer animation, possibly a short bit like the good old "Steamed hams" classic simpsons sketch but time and resources are the only thing holding me back.
I'd also like to try doing this as a Zoetrope on some kind of moving wheel, perhaps even head mounted! I wouldn't know where to start (other than getting a really strong hat of course)
Suggestions welcome!!!