0%
0%
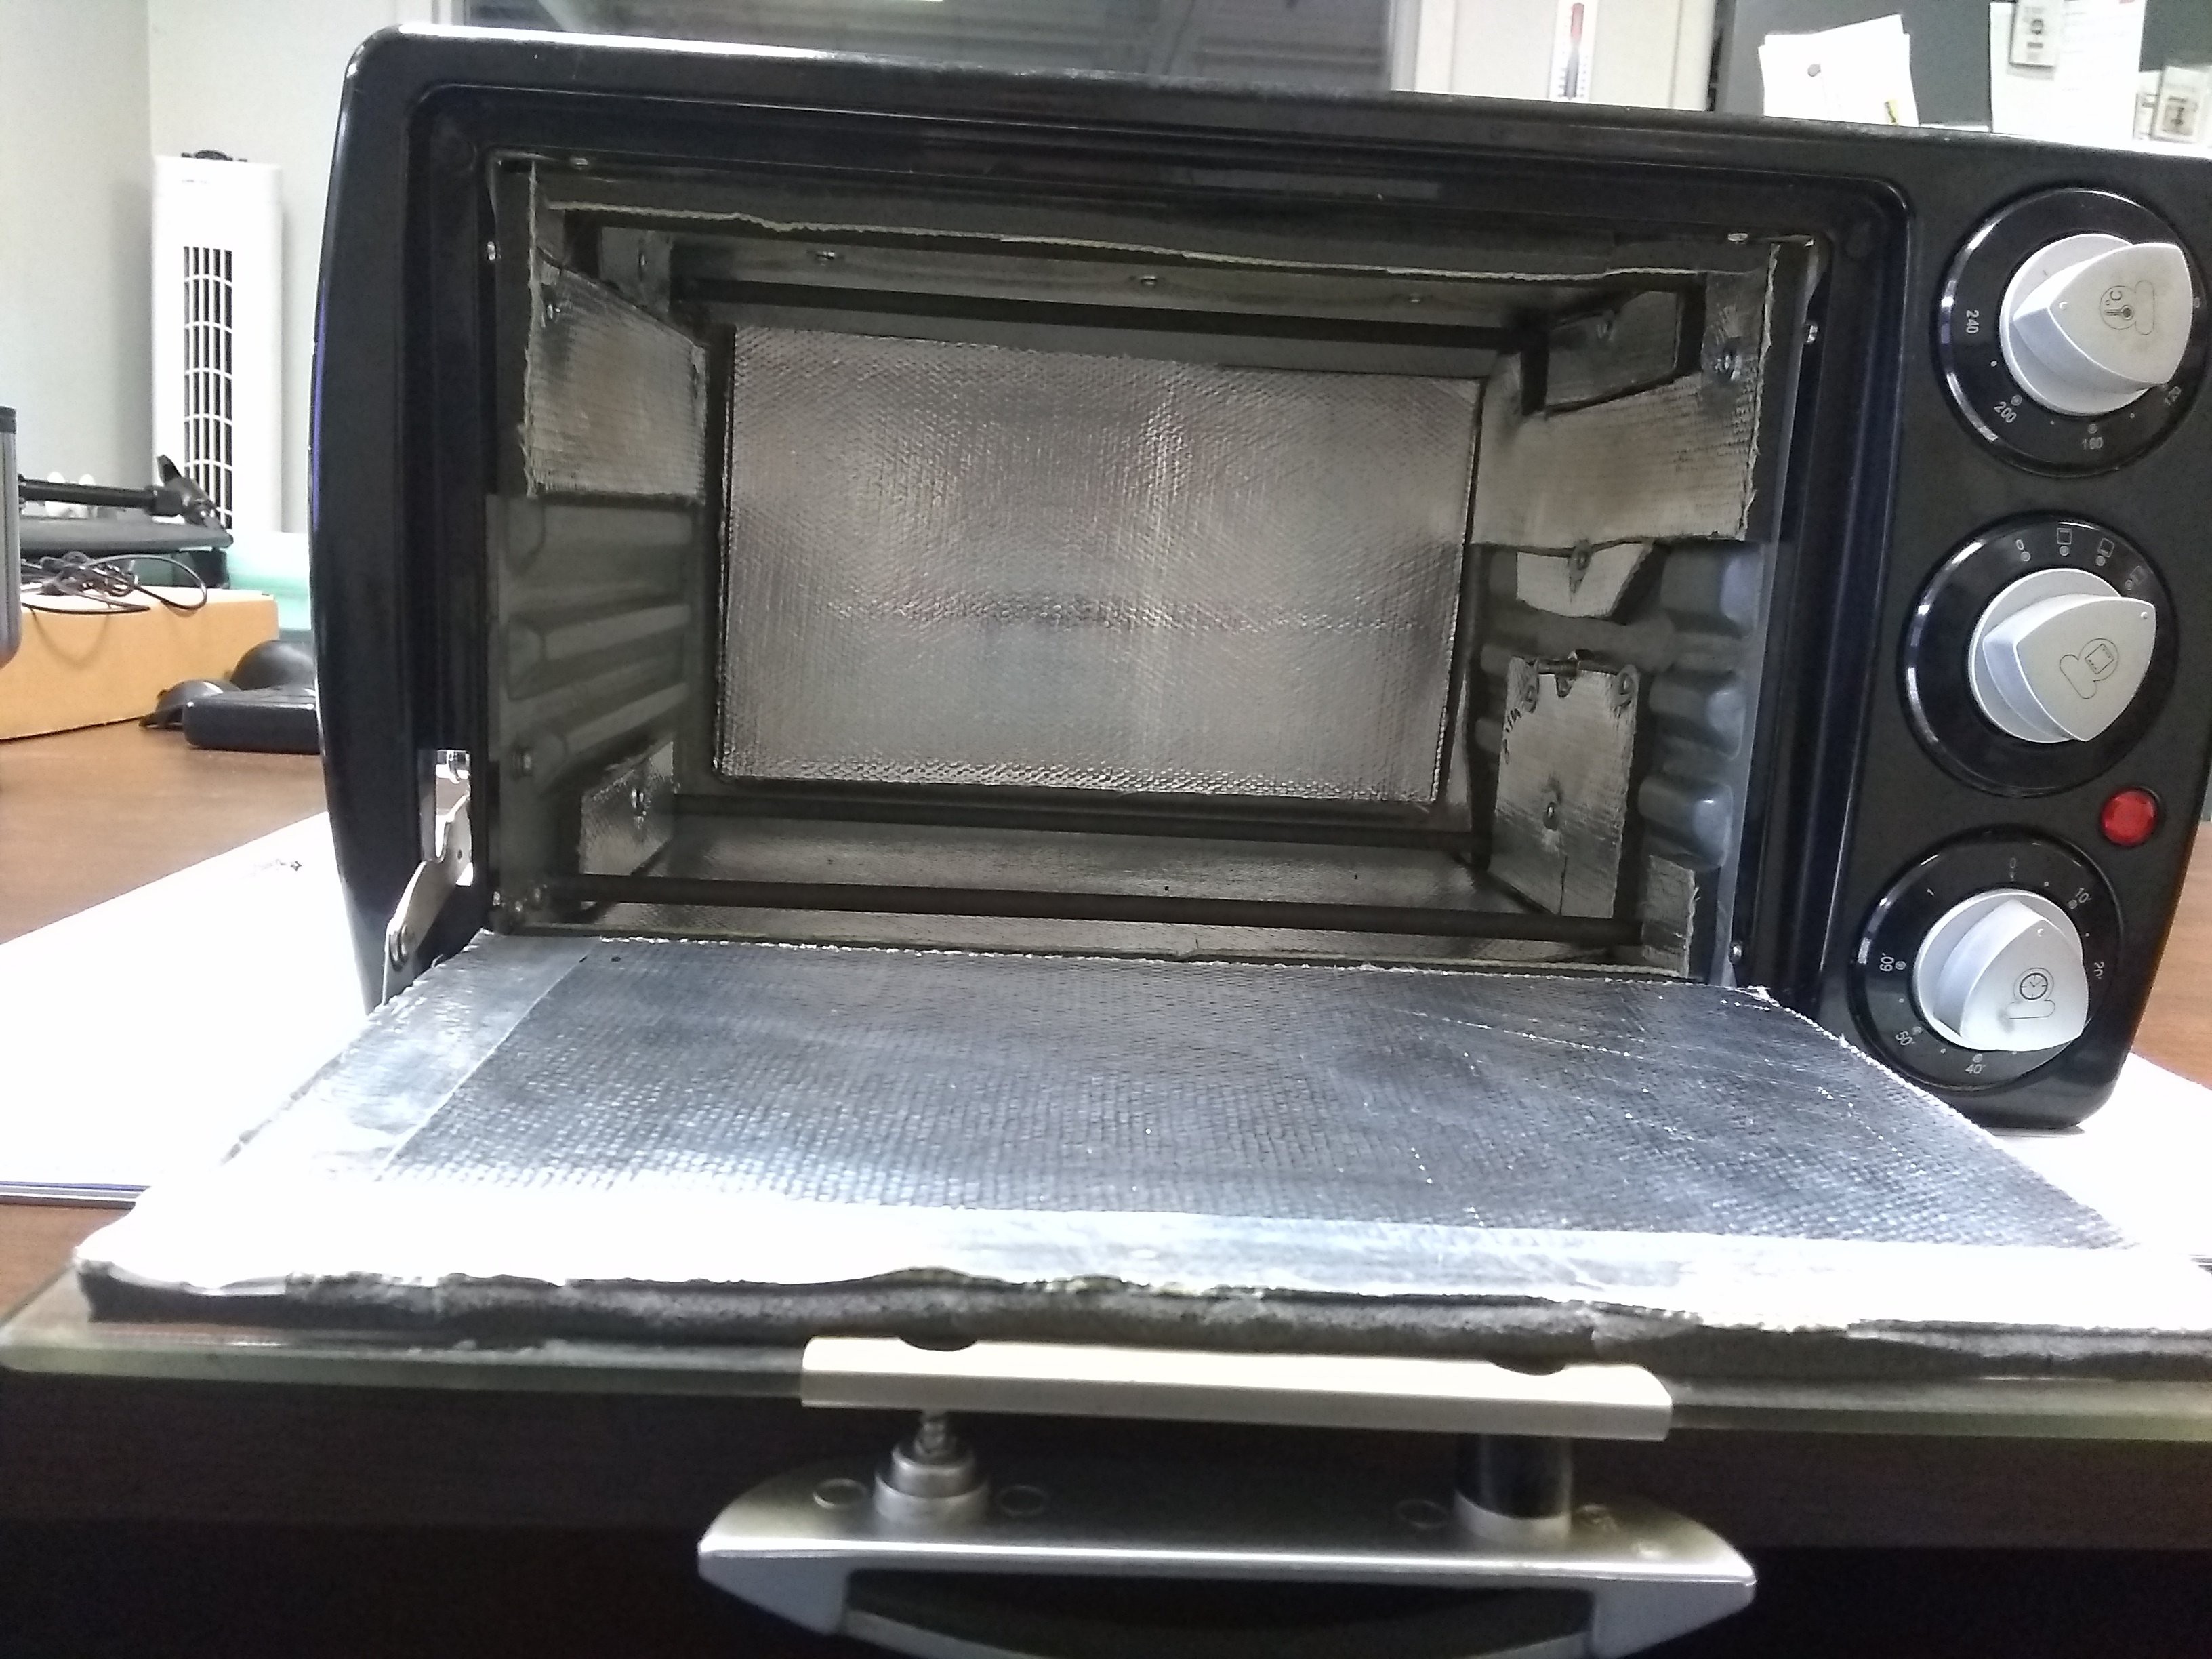
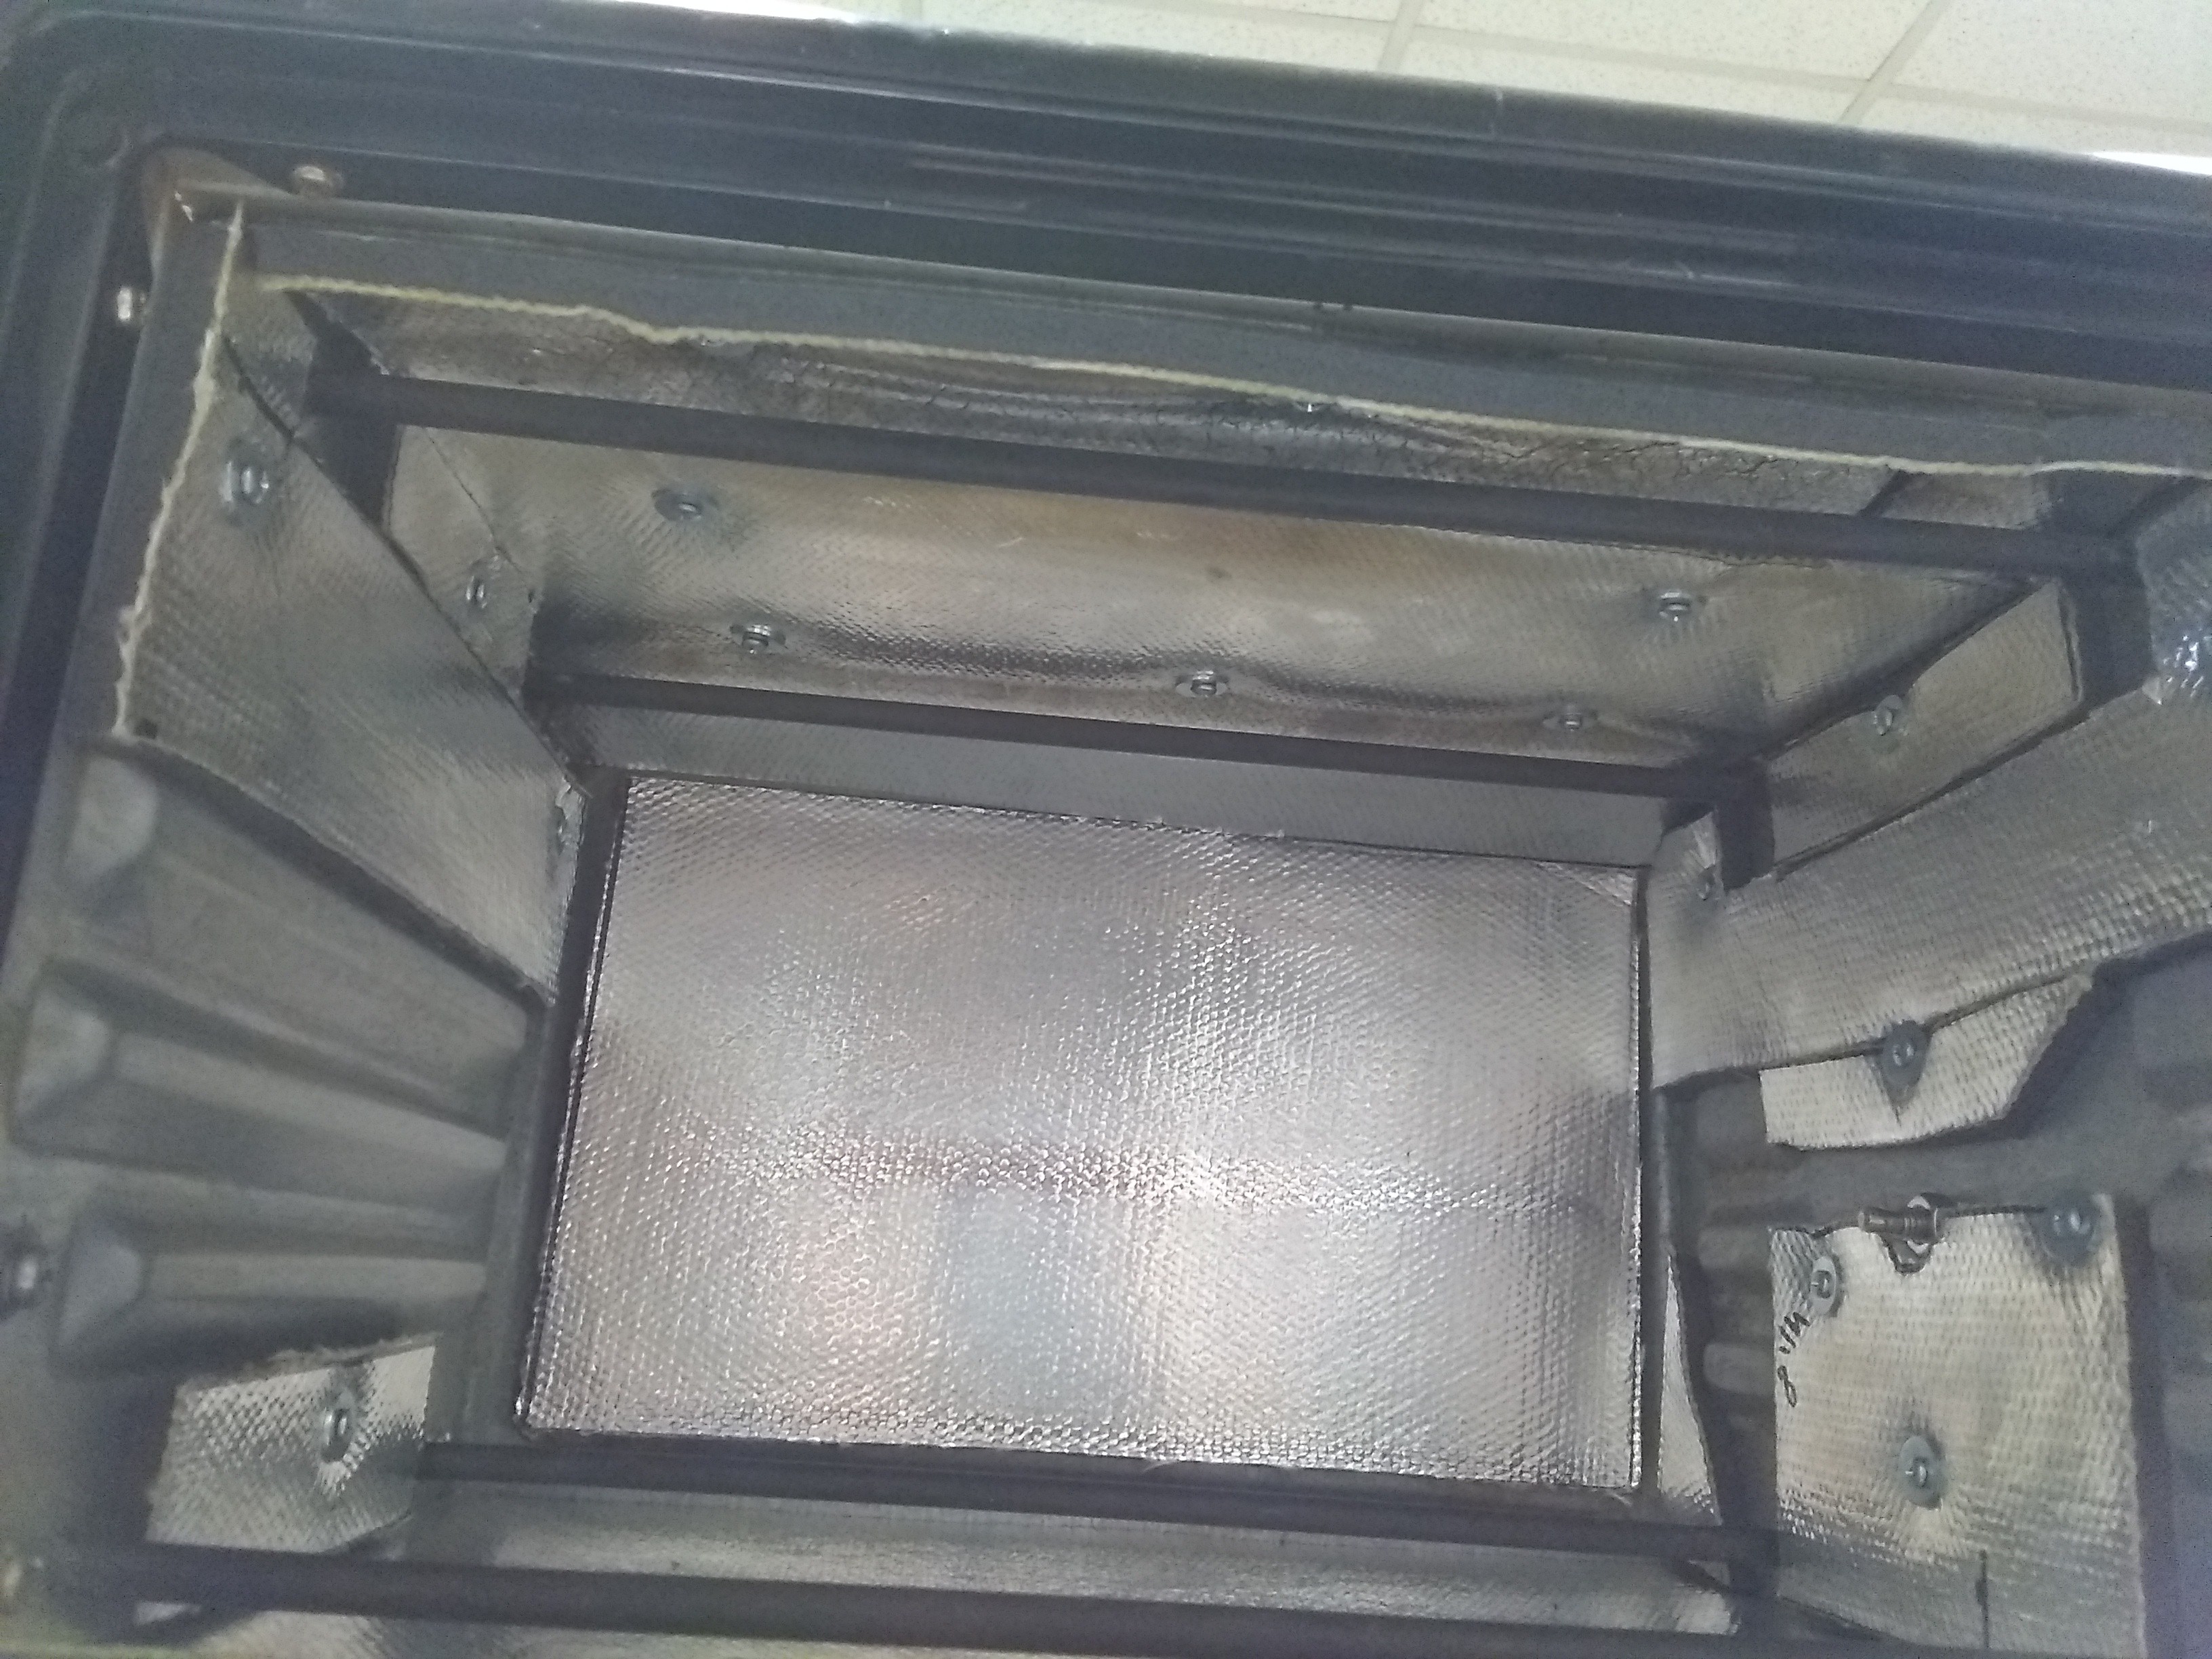
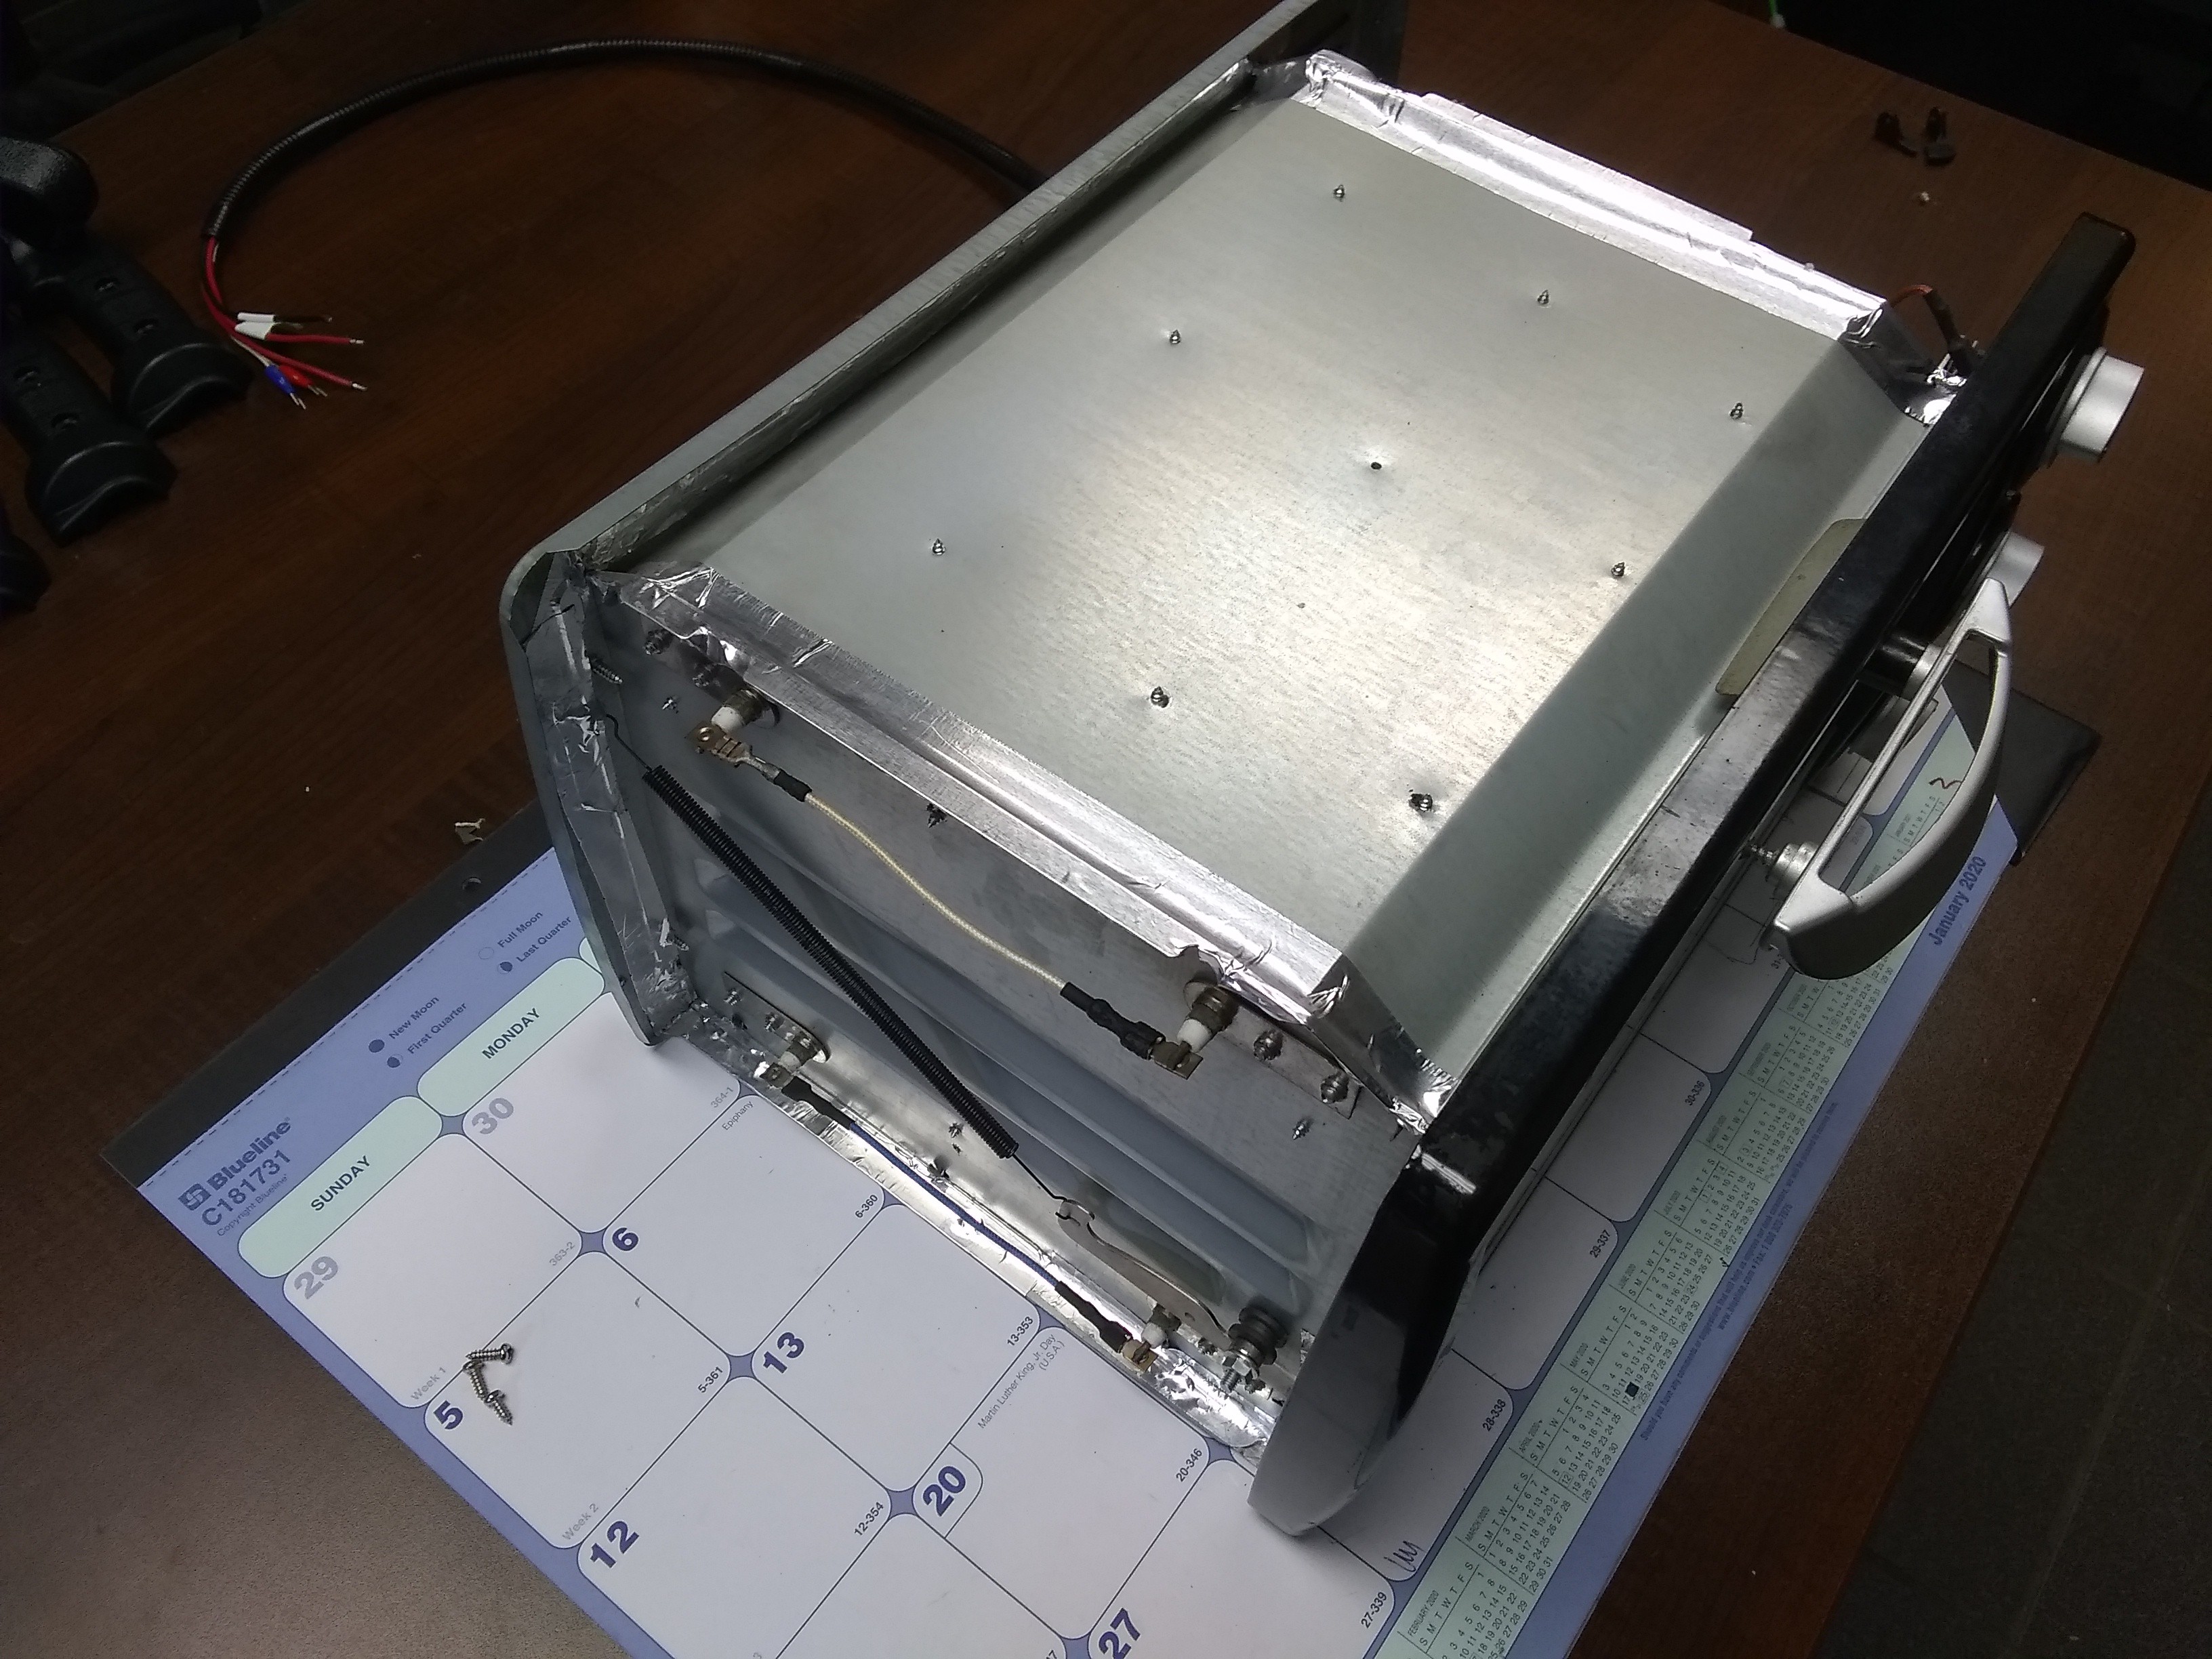
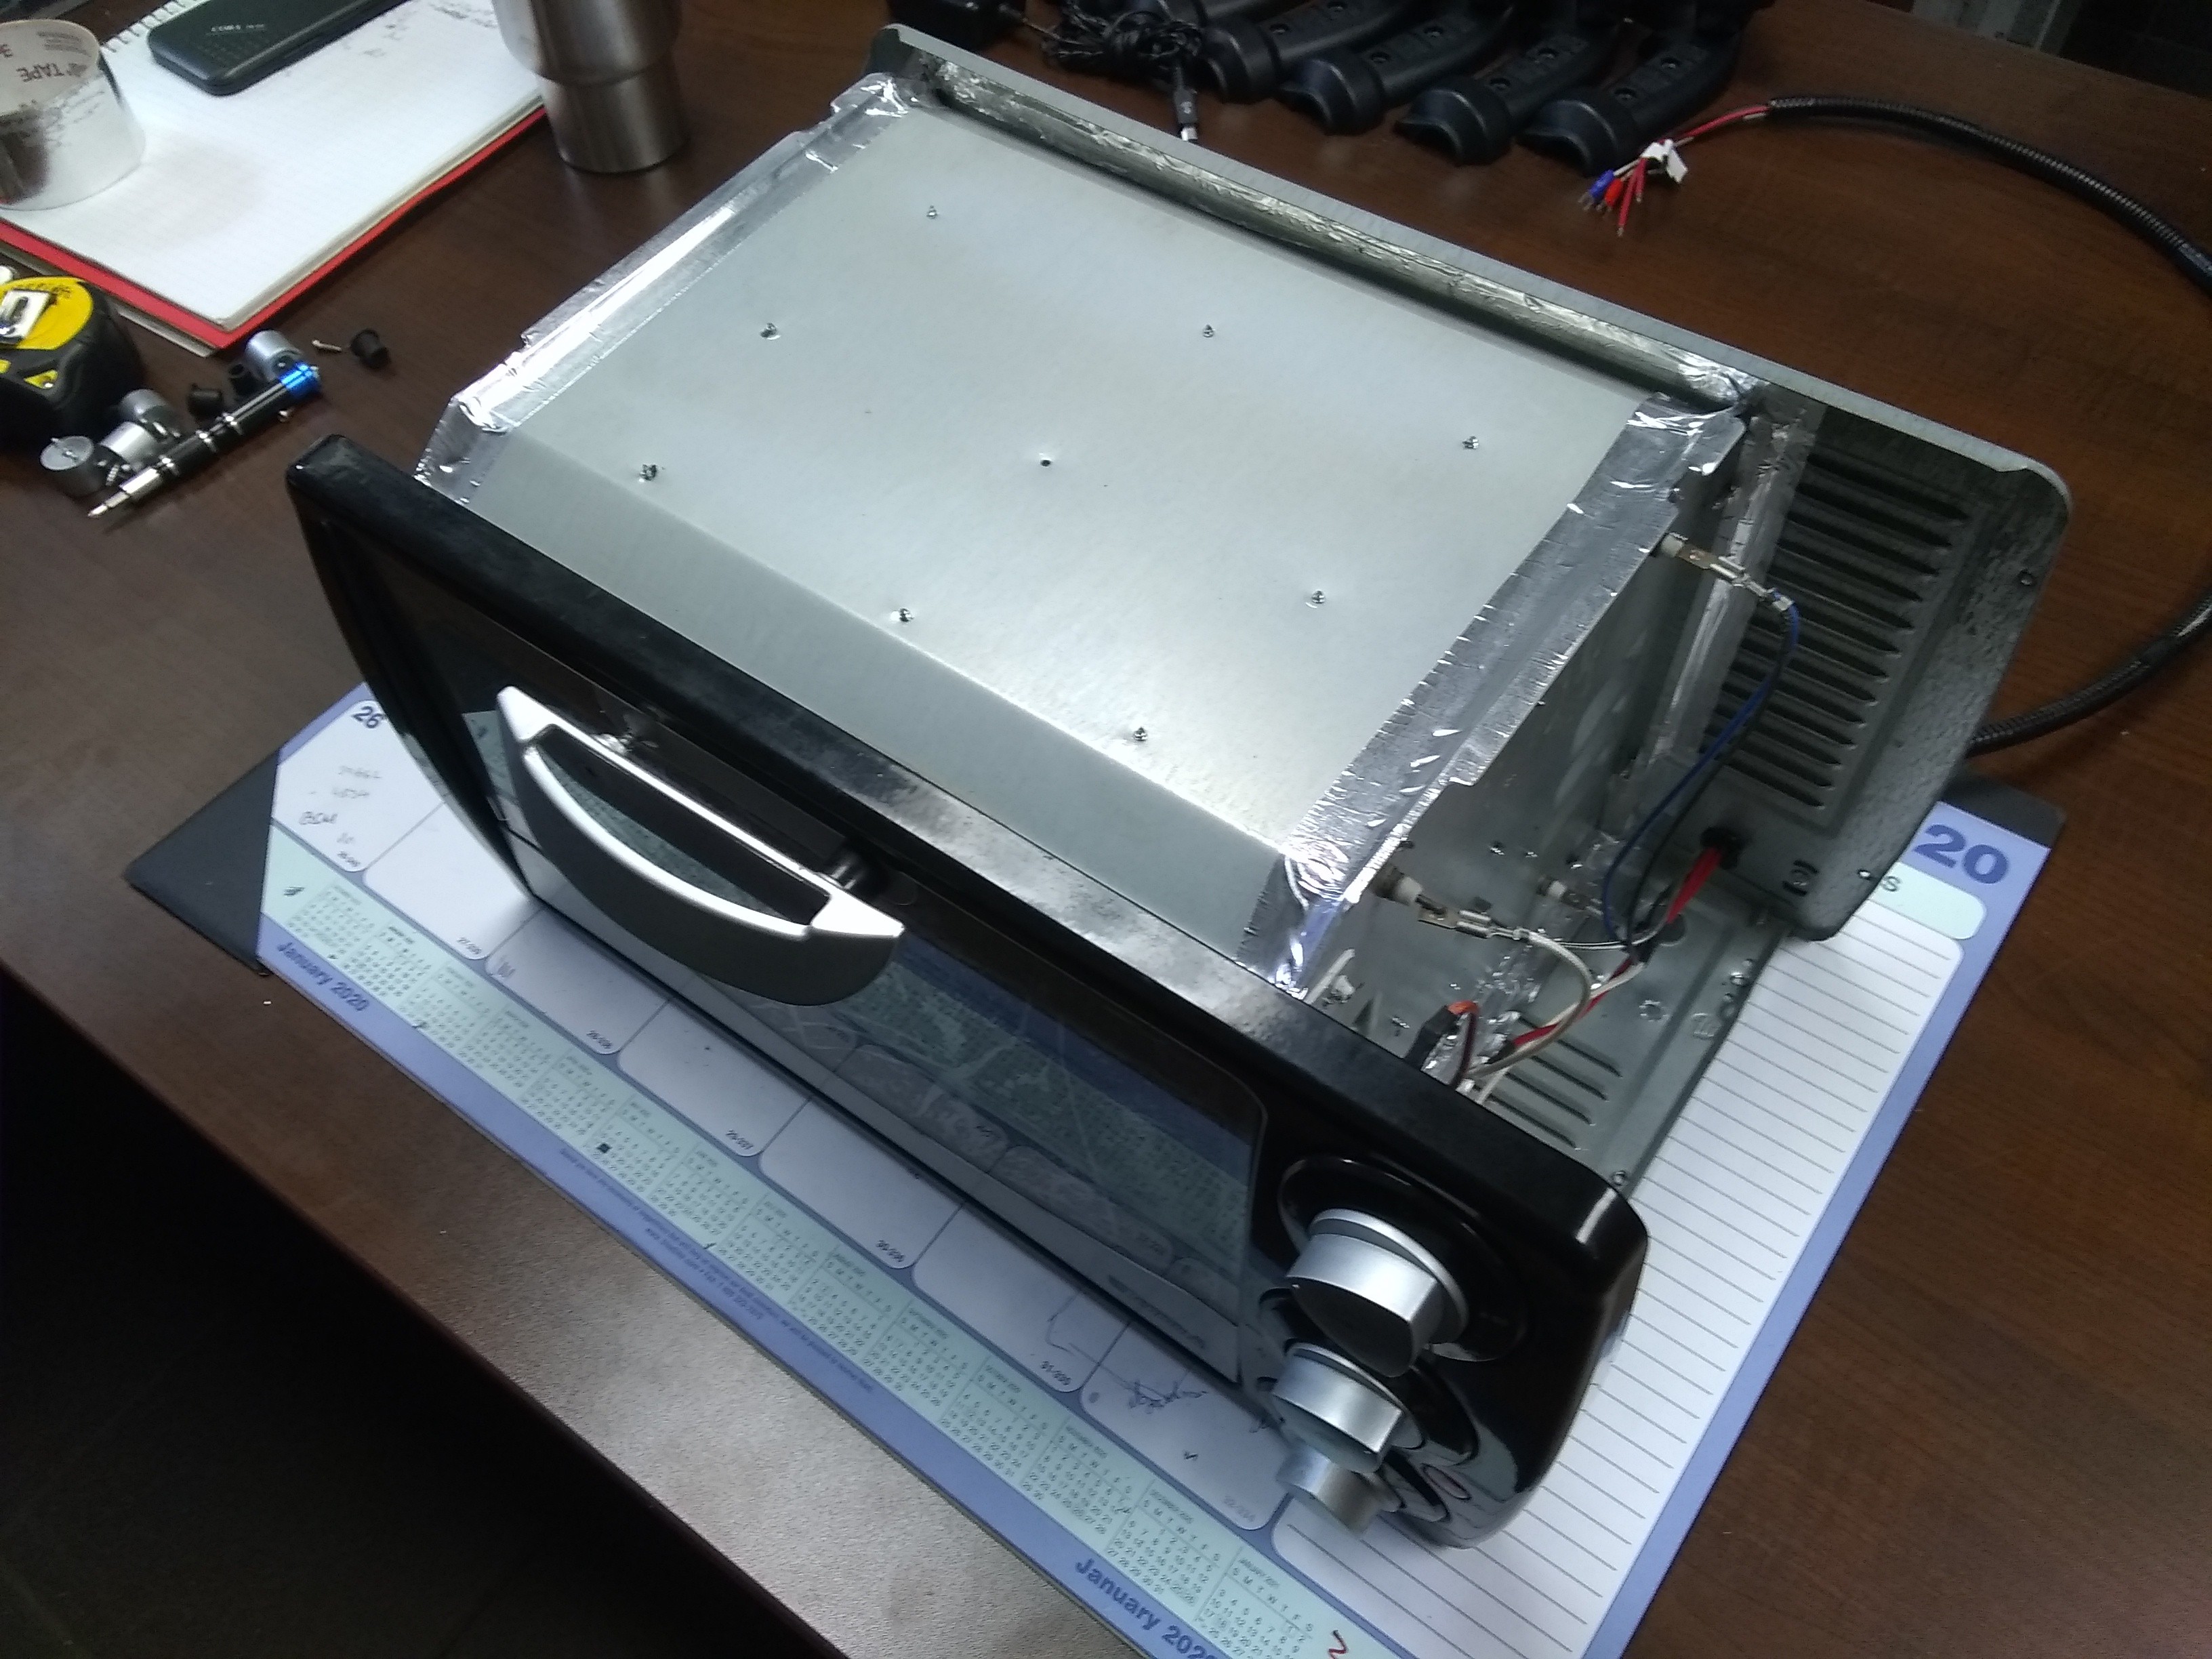
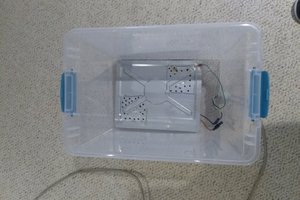
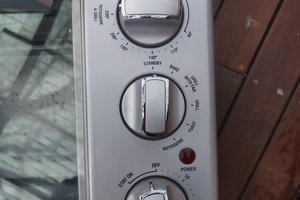
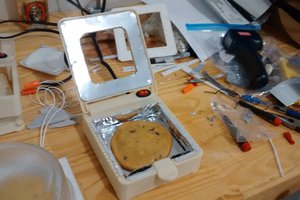
Grim's Toaster Reflow Oven
The old story of creating a reflow oven from a toaster oven.
 TheGrim
Become a Hackaday.io member
Already have an account? Log in.
Just one more thing
To make the experience fit your profile, pick a username and tell us what interests you.
Pick an awesome username
hackaday.io/
Your profile's URL: hackaday.io/username. Max 25 alphanumeric characters.
Pick a few interests
Projects that share your interests
People that share your interests

 Chaz
Chaz
 Hunter Scott
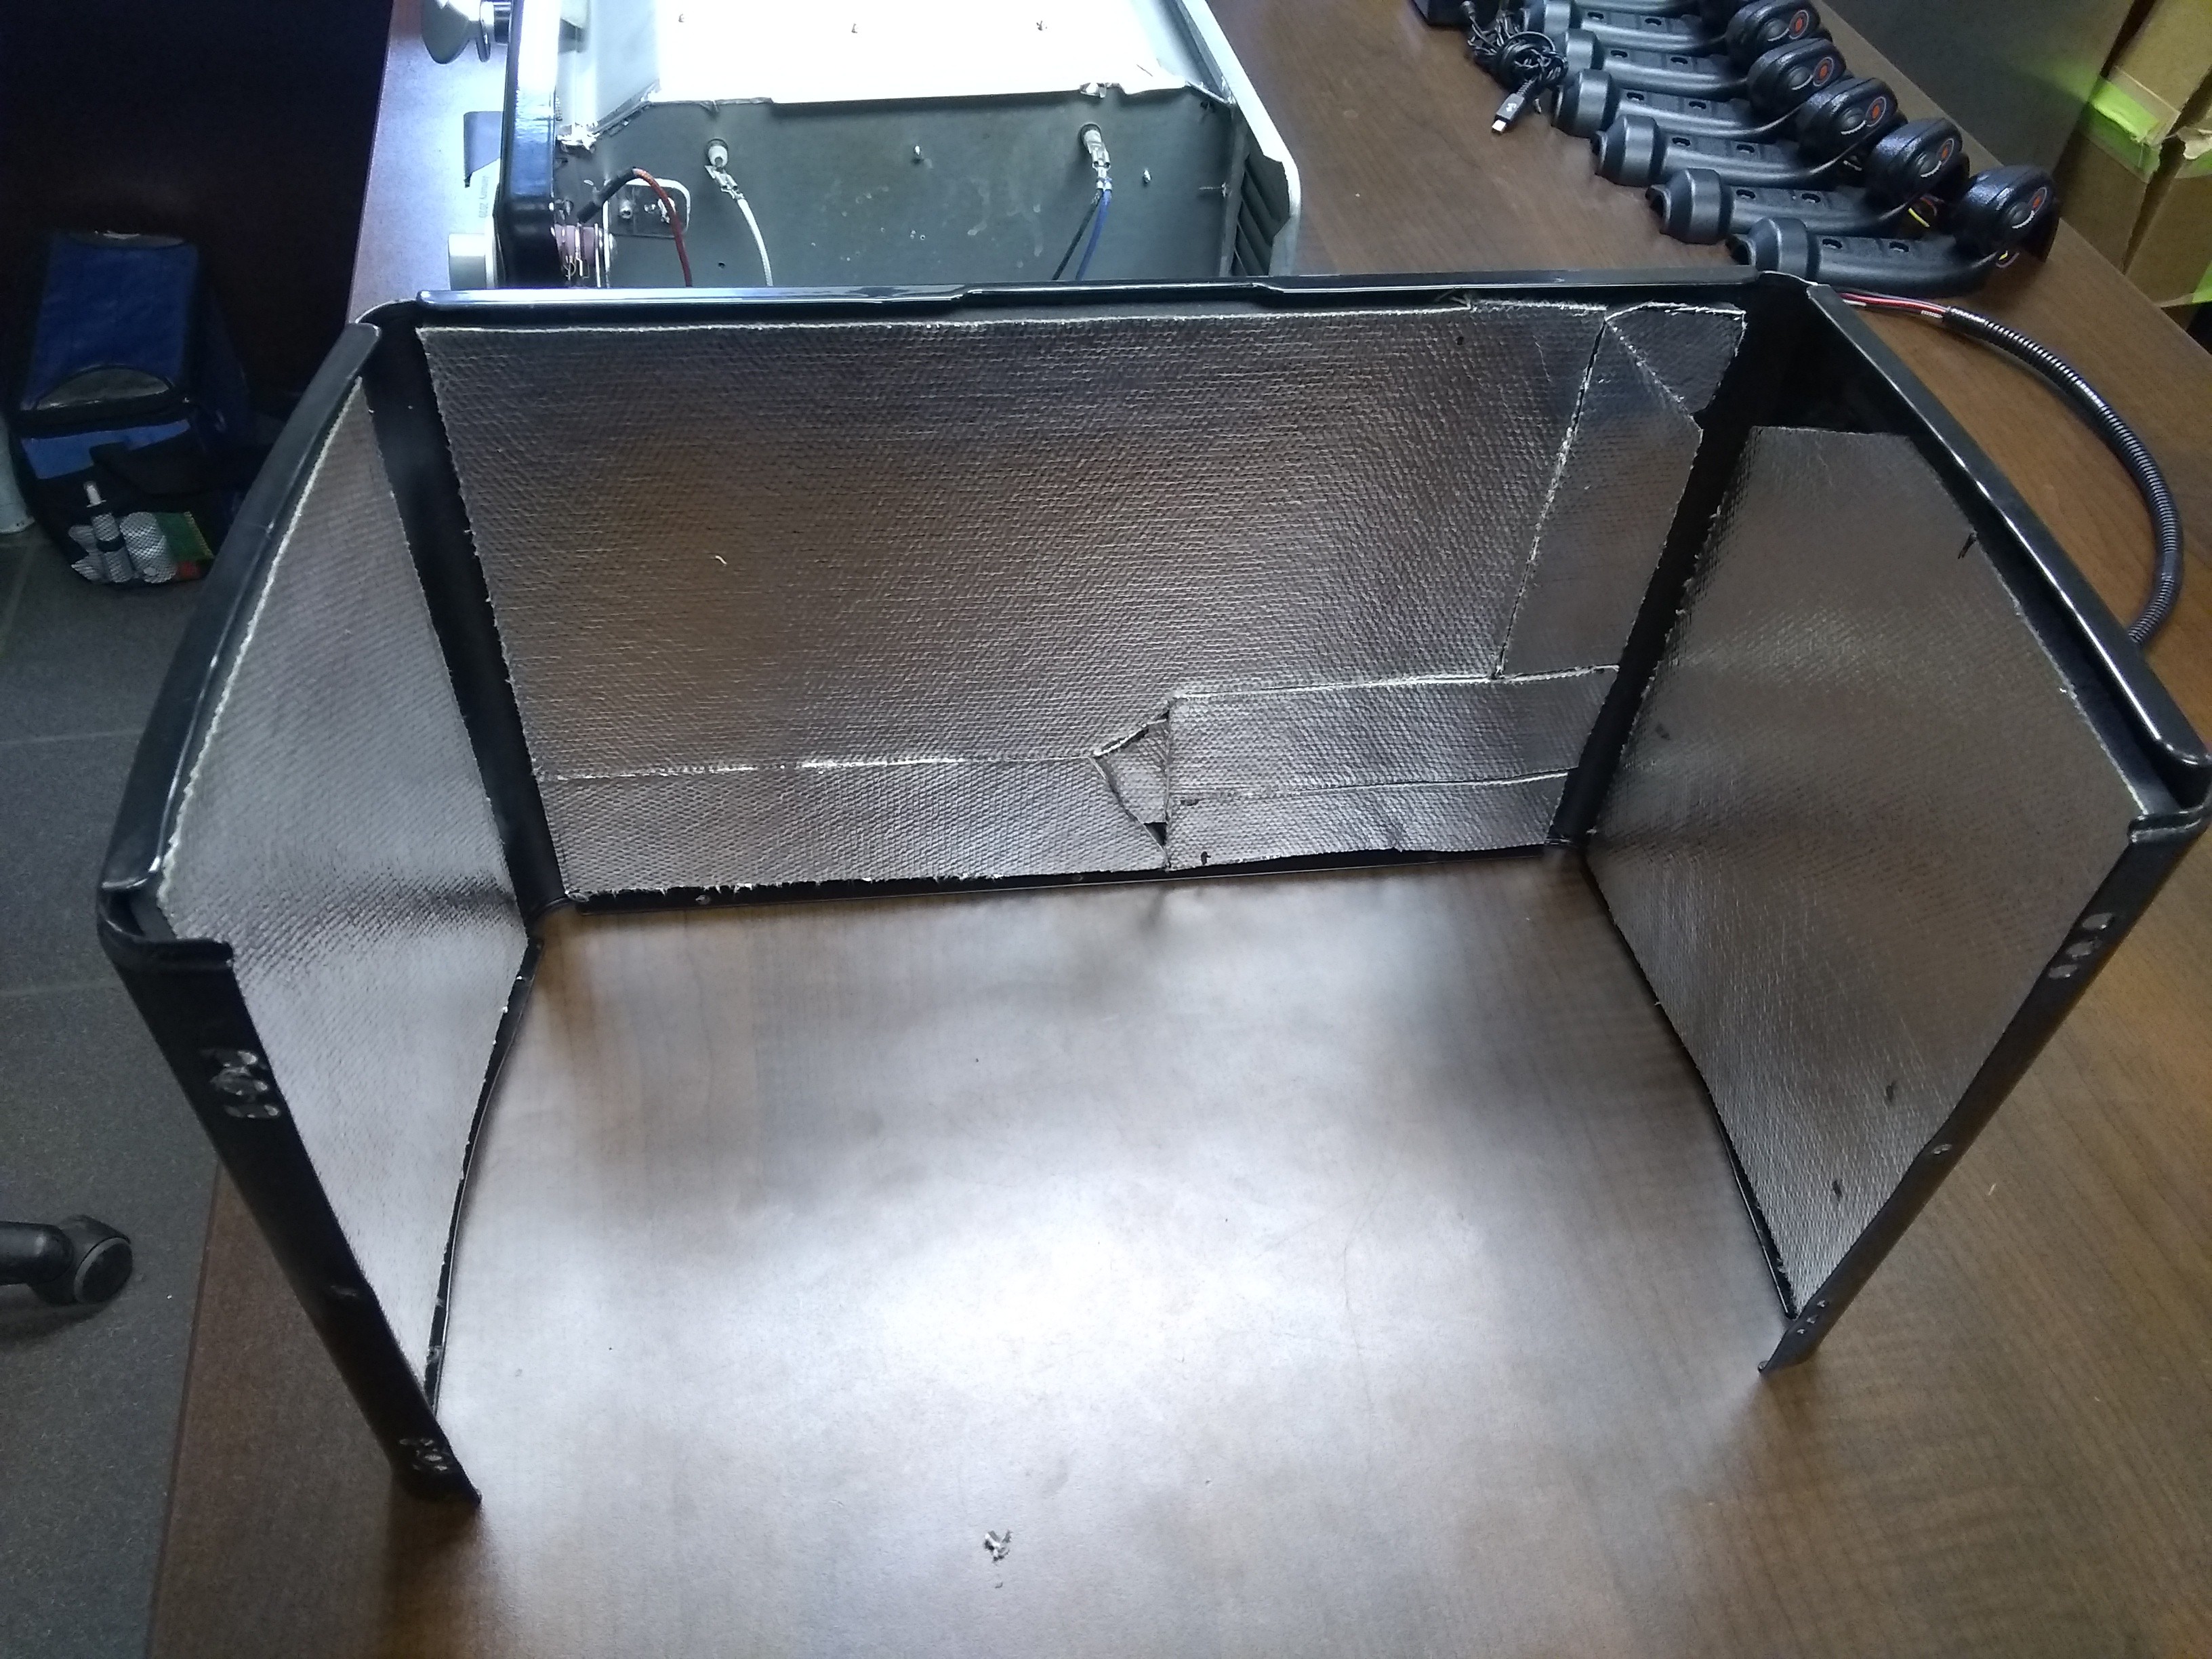
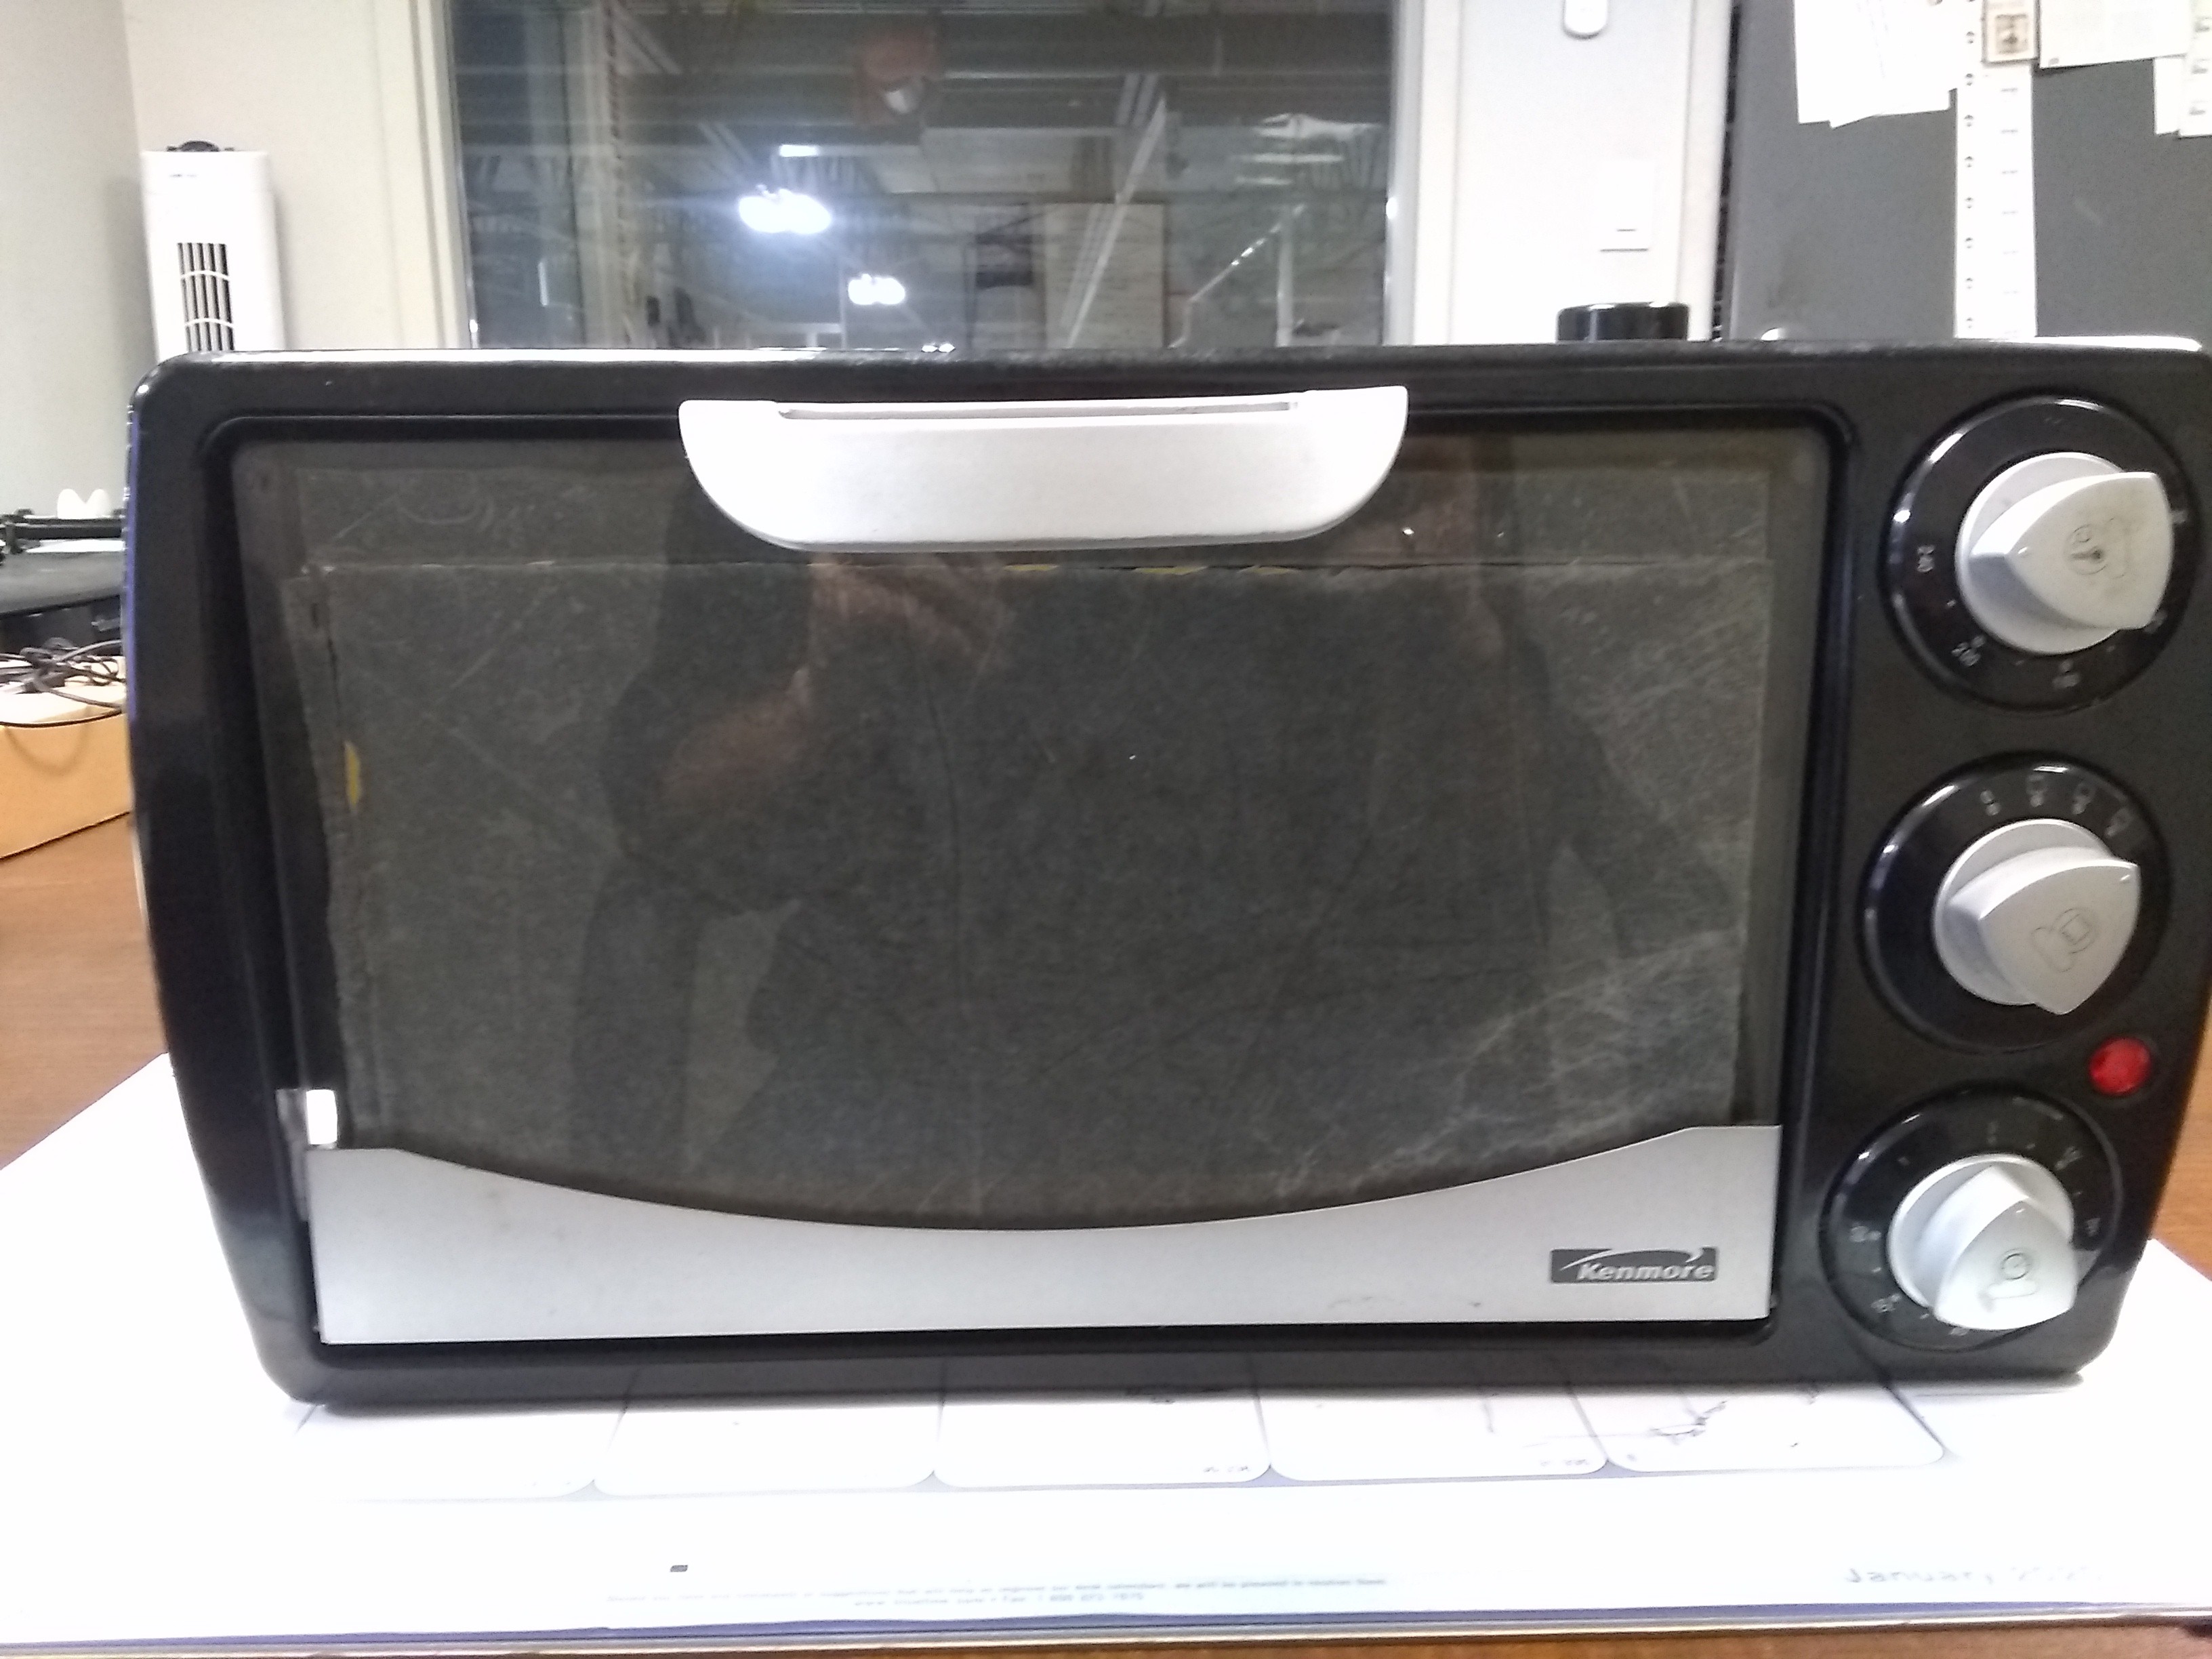
Re: the door insulation, I've seen builds where there's a small slot cut in the insulation to create a viewport for monitoring progress.
As for the insulation, did it help the heat-up time? And what was the material you used?