 Oliver
How I Connected The iPhone To Mac OS X Mojave, While Running As A Virtualbox Guest
I recently discovered that I was unable to connect my iPhone to my Mac OS X(10.14 Mojave update) through the use of a USB connection. I took to the internet with my end goal being to find a solution that allowed me to connect an iPhone to a Windows system via USB, and then redirect that USB connection to my Mac OS X.
After a lot of time spent researching across the web, I was fortunate enough to stumble upon recommendations for the USB Network Gate by Eltima.
To my excitement, I found several reviews from people who used the Eltima USB Network Gate. The users stated that they were easily able to connect their iPhones to a Windows host over the network, and then to an instance of Mac OS X running on a remote Mac Workstation.
Being unable to find anything in regards to how Eltima’s USB Network Gate worked with VirtualBox, specifically, I decided to find out for myself.
Here’s How I Connected My iPhone To My Mac Os X Using USB Network Gate By Eltima.
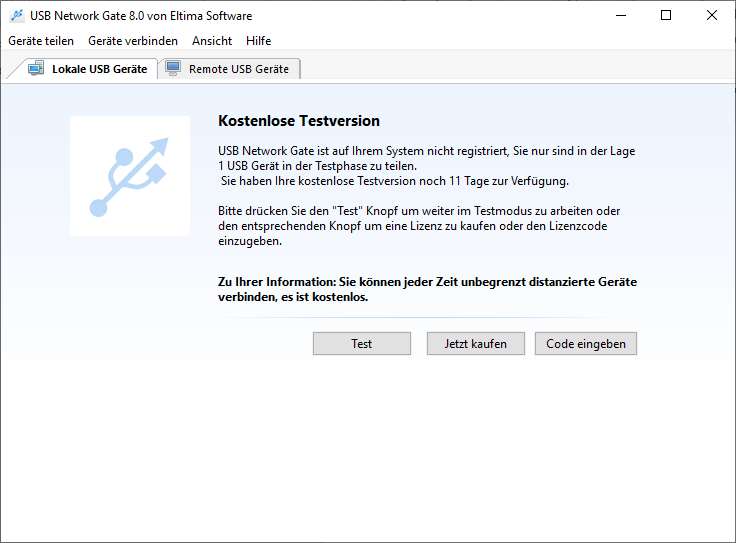
I downloaded USB Network Gate for Windows and installed it on the Windows host, where my Mac OS X Guest operating system was running on VirtualBox Machine.
I then downloaded the Mac version of USB Network Gate and installed it on the Mac OS X Guest system.
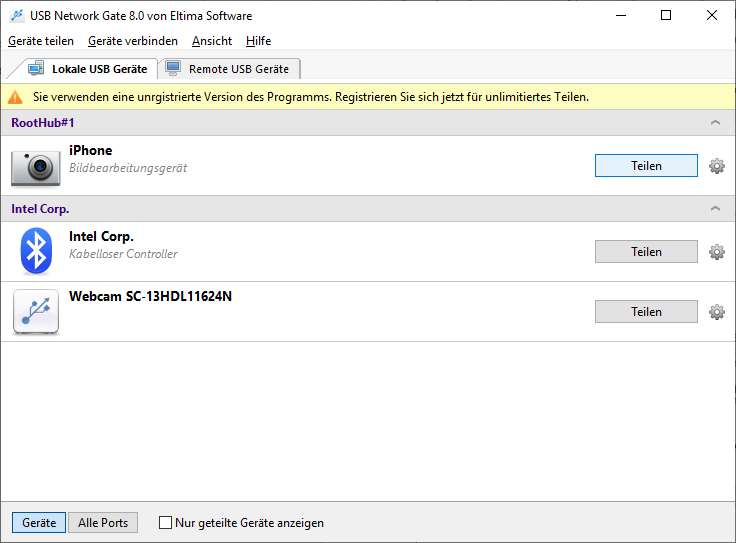
I started USB Network Gate, connected the iPhone to the Windows host once it had appeared in the list of available devices, and then selected the “share” option to allow my remote system to connect the new device to my Windows system.
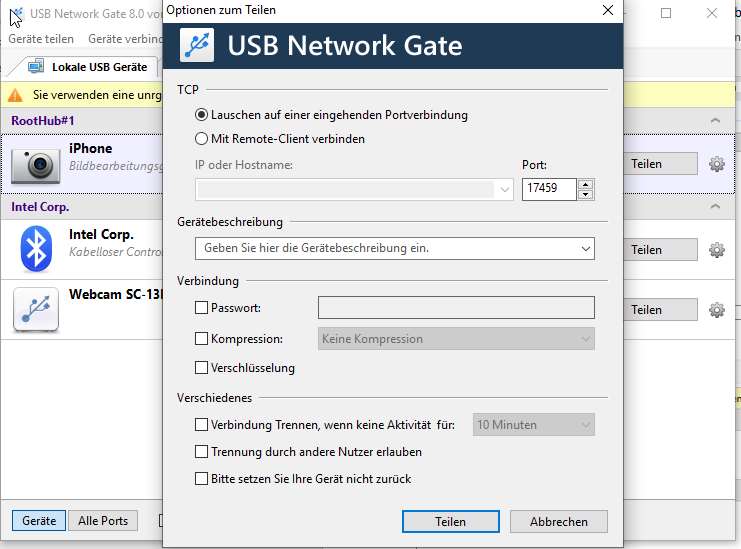
After clicking on the “Settings” button, a configuration dialog box opened. From there, I specified whether or not the local site is running, while a “listen server” tries to initiate a connection to the remote USB Network Gate server.
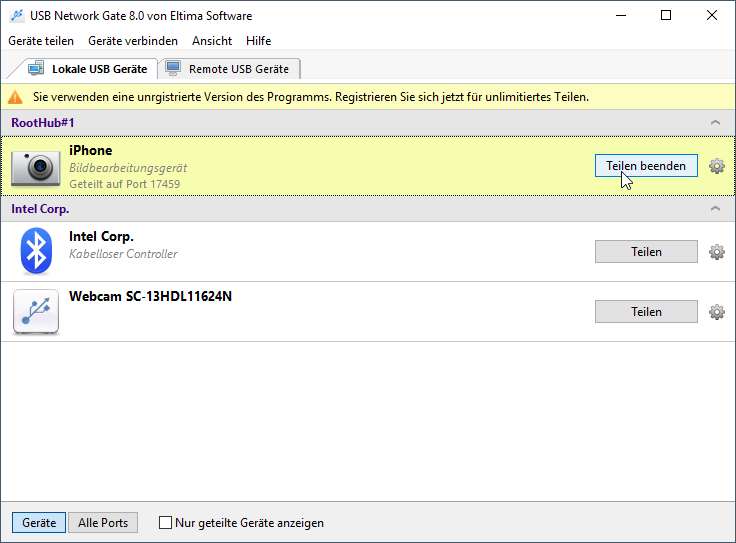
Once sharing is initiated, the device should show as a “shared device”. Now the network port, used for incoming connections, should be displayed.
I started my Mac OS X, making sure it was set to run as a VirtualBox guest on the same Machine.
Installing USB Network Gate on Mac OS X requires administrative rights, so I input my credentials when prompted.
Once administrative privileges were granted, everything worked effortlessly and without any problems!

After USB Network Gate was started in my virtual Mac OS X installation, I switched to the tab that listed “remote devices”.
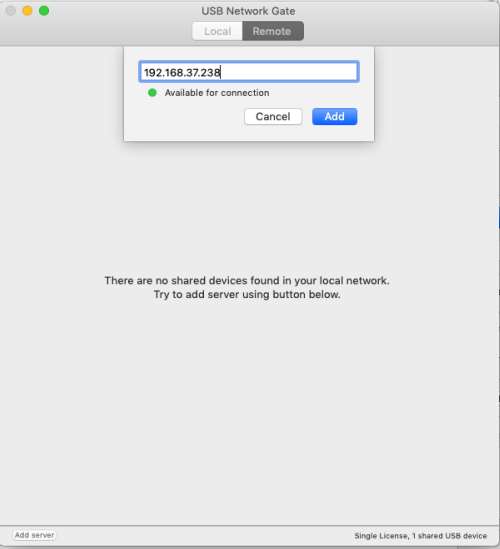
On the bottom right of the window was the “Add Server” button, and I clicked it to continue.
When prompted, I entered the IP address of the desired Windows host.
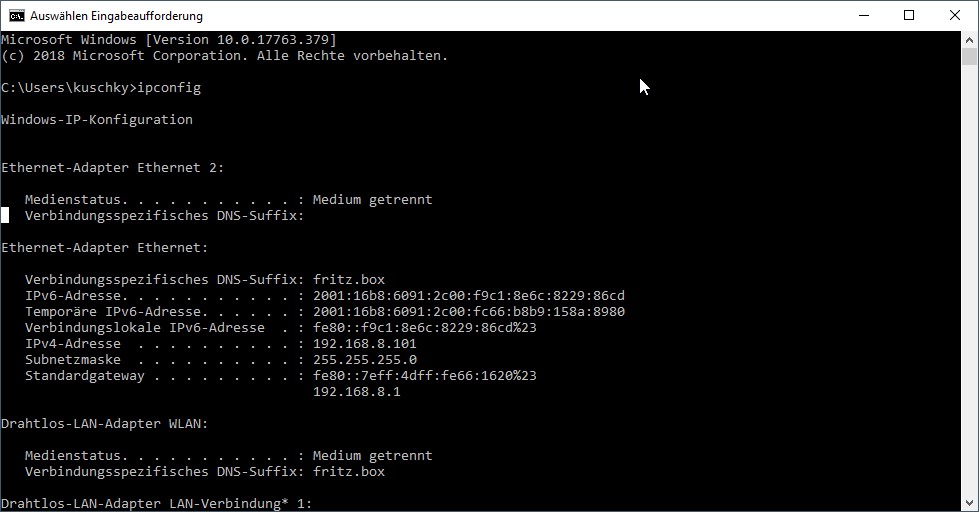
You can find the IP address by opening a command prompt in Windows 10 and entering the following text: “ipconfig”.
Click the “Add” option to add the Windows host (which is displayed here in the Windows host system) to the list of available remote USB Network Gate servers.
Click “Connect,” and the iPhone will now be available on the Mac OS X installation of USB Network Gate.

The main reason I had in seeking out a method that would allow me to connect an iPhone via USB Network Gate to a Mac OS X running in a Virtual Machine, was that I needed a development system that would allow me to debug an IOS application running on an iPhone.
Eltima’s Network Gate did precisely what I wanted while being extremely easy to use. I recommend Network Gate to anyone else in a similar situation.
Another noteworthy feature from Eltima is: not only do they provide a 14-Day Free Trial- but Network Gate allows users to connect from as many remote clients as they need.
USB Network Gate runs on both Windows and Mac OS X. The initial installation is free and, as you can see, takes only a few easy steps to set up.
 Robert
 Talla Brian Monde
My simulator doesn’t load the iOS, the screen gets black I don't know what's the problem. hydroseedingprosri.com