 engineerkid1
Step 1: Getting the Supplies
I would recommend you to buy the components from UTSource.net . They provide high quality components at affordable rates. They also provide PCB Services for PCB's from single layer to 16 layers. And all these things will be delivered at your doorstep on time. So do check them out.
Things we need to make this project -
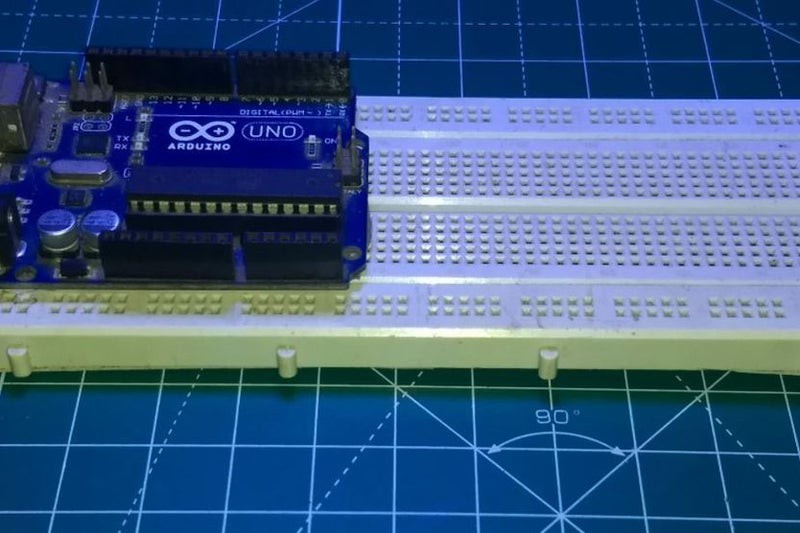
1. Arduino Uno
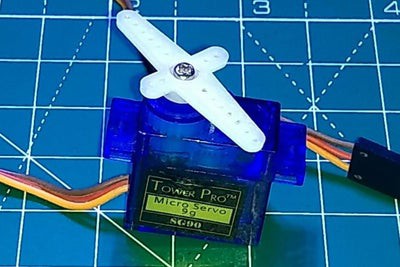
2. Servo Motors x 2
3. Connecting Wires
4. Double Sided Tape
5. Popsicle Stick (or mechanix game part)
Step 2: Connecting Everything Together
I haven't included a circuit diagram here because the connections are very easy to understand.
Connect the VCC (red) and GND (brown) wires of both the servos to the 5V and GND pin of the Arduino.
Now connect the signal pin(yellow) of the first servo to digital pin 9 and the signal pin of second servo to digital pin 10.
Servo 1 >> Arduino
VCC >> 5 V
GND >> GND
SIG >> D9
Servo 2 >> Arduino
VCC >> 5 V
GND >> GND
SIG >> D10
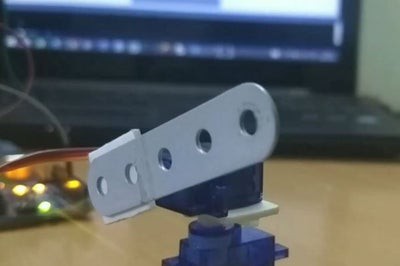
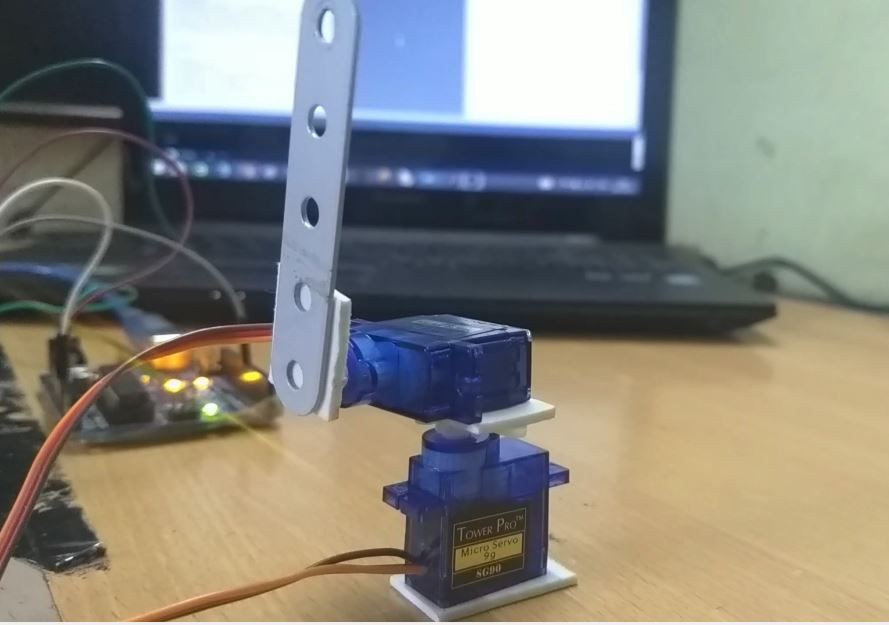
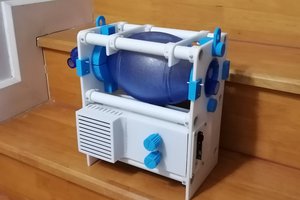
Now place one servo on the top of the other and fix them using some double sided tape or hot glue.
Refer to the image above.
Now attach a small Popsicle stick / a mechanix game part to the shaft of the upper motor to see the movements properly.
Step 3: The Processing Code
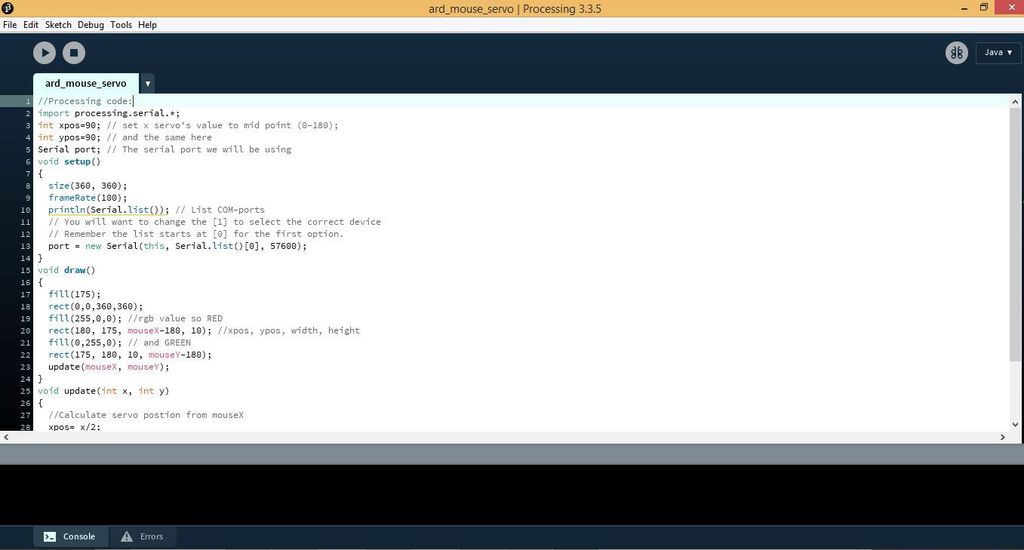
Install the Processing Software by clicking HERE.
Now paste the code given below to the IDE.
//Processing code:
import processing.serial.*;
int xpos=90; // set x servo's value to mid point (0-180);
int ypos=90; // and the same here
Serial port; // The serial port we will be using
void setup()
{
  size(360, 360);
  frameRate(100);
  println(Serial.list()); // List COM-ports
  // You will want to change the [1] to select the correct device
  // Remember the list starts at [0] for the first option.
  port = new Serial(this, Serial.list()[0], 57600);
}
void draw()
{
  fill(175);
  rect(0,0,360,360);
  fill(255,0,0); //rgb value so RED
  rect(180, 175, mouseX-180, 10); //xpos, ypos, width, height
  fill(0,255,0); // and GREEN
  rect(175, 180, 10, mouseY-180);
  update(mouseX, mouseY);
}
void update(int x, int y)
{
  //Calculate servo postion from mouseX
  xpos= x/2;
  ypos = y/2;
  //Output the servo position ( from 0 to 180)
  port.write(xpos+"x");
  port.write(ypos+"y");
}
Step 4: The Arduino Code
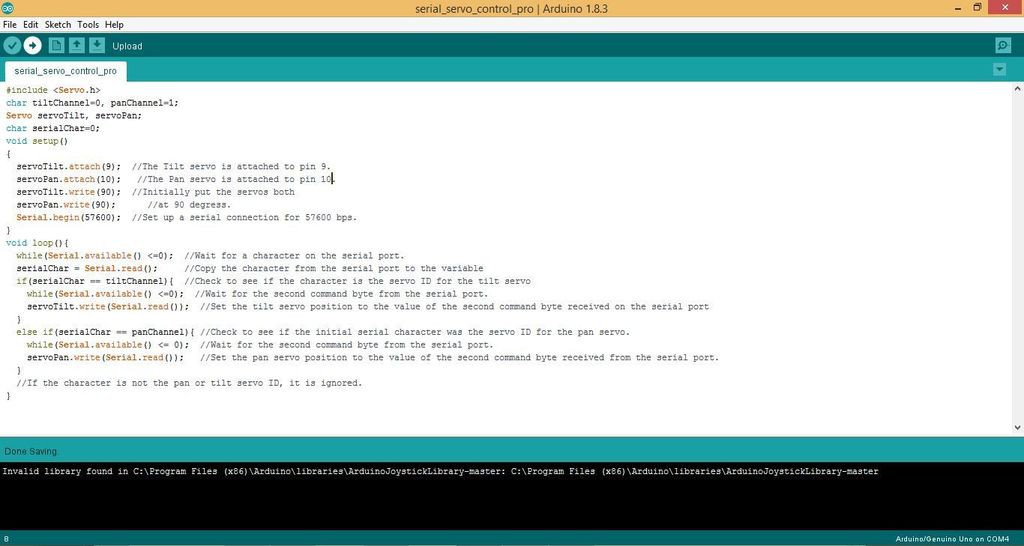
Now copy the Arduino code given below and paste it in your Arduino sketch. Compile and upload the code to your Arduino Board.
#include
char tiltChannel=0, panChannel=1;
Servo servoTilt, servoPan;
char serialChar=0;
void setup()
{
  servoTilt.attach(9);  //The Tilt servo is attached to pin 9.
  servoPan.attach(10);   //The Pan servo is attached to pin 10.
  servoTilt.write(90);  //Initially put the servos both
  servoPan.write(90);      //at 90 degress.
  Serial.begin(57600);  //Set up a serial connection for 57600 bps.
}
void loop(){
  while(Serial.available() <=0);  //Wait for a character on the serial port.
  serialChar = Serial.read();     //Copy the character from the serial port to the variable
  if(serialChar == tiltChannel){  //Check to see if the character is the servo ID for the tilt servo
    while(Serial.available() <=0);  //Wait for the second command byte from the serial port.
    servoTilt.write(Serial.read());  //Set the tilt servo position to the value of the second command byte received on the serial port
  }
  else if(serialChar == panChannel){ //Check to see if the initial serial character was the servo ID for the pan servo.
    while(Serial.available() <= 0);  //Wait for the second command byte from the serial port.
    servoPan.write(Serial.read());   //Set the pan servo position to the value of the second command byte received from the serial port.
  }
  //If the character is not the pan or tilt servo ID, it is ignored.
}
Now go back to processing IDE and click on the run button.
A small screen with two lines (red and green) will appear as you move your cursor over that screen.
This will send values to the Arduino Board and will rotate the servo's according to the mouse's movements.
 ProgressTH
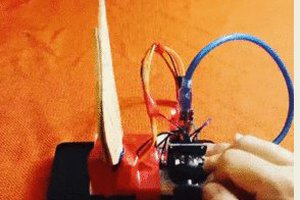
 fullyanalog-programmer
 Robotic Arm&Hand
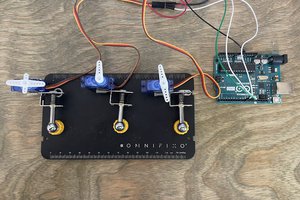
 Smalls