 danjovic
I have this nice foot controller for PC game port acquired by a bargain at a recycle facility.
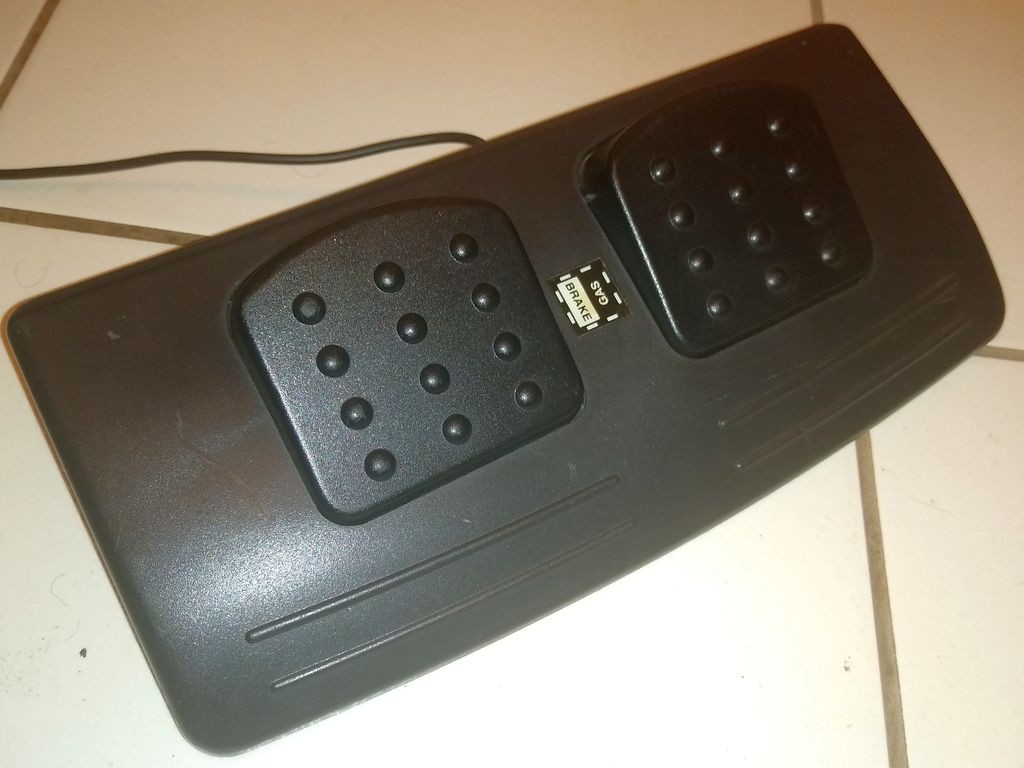
It is composed of a single axis that can be used either as a Gas/Brake for a racing game or as a Left/Right rudder control.
The selection of either mode is done by a switch at the side of the base. When in Car (Pedal) positon the potentiometer is attached to the Y1 axis of the joystick port. On the other hand while in Flight (Rudder) mode the pot is attached to the X2 axis.

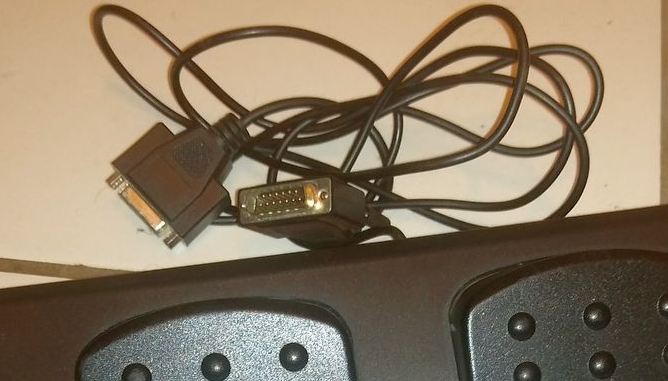
The cable of this foot controller have a a pass-through connector that is specially intended to work in Flight mode to provide Rudder axis to an ordinary Joystick.
I have used a foot pedal for FPS games in a former project ( #F.P.S: Foot Presto Switch ) and decided to write a firmware and it worked great.
The second release for this project is then a Foot Keyboard, this time with 2 keys. It uses the same schematic as the base PC joystick (it can be simplified though)
In this firmware we use the Keyboard object (instead of Gameport).
void setup() {
....
  Keyboard.begin();
.....
}
And the main loop simply reads the X1 axis (mode switch should be CAR) to check if either one of the pedals is pushed and keep a keyboard key code active until the pedal is released.
When no pedal is pushed (or if both are) then the firmware call the method ReleaseAll( ) to tell the PC that no key is active anymore.
Using the Arduino Micro the range of the Axes for a 100k potentiometer shall be within the range 0..400 approximately.
The thresholds of 100 and 300 are thus the end of the first quarter and the beginning of the third quarter of the reading value.
Such thresholds provided a comfortable use. I can left my feet rest on the top of the pedals without unintended triggering, but the thresholds can me modified to be closer to the middle of the scale (200) and then provide more sensibility.
And last but not least the code is mapping the keys R and V but that of course can be modified in the code or reconfigured in the game.
void loop() {
  // Update Analog Axes
  sampleAnalogAxes();

  if (a1Y < 100) { // Brake presse
    Keyboard.press(KEY_V);
  } else if (a1Y > 300) { // Gas pressed
    Keyboard.press(KEY_R);
  } else {
    Keyboard.releaseAll();
  }

  // Simple debounce
  delay(10);
}
The circuit can be tested using an online keyboard test utility.

Source code is available on Github.
Discussions
Become a Hackaday.io Member
Create an account to leave a comment. Already have an account? Log In.