Two years ago I was diagnosed with Hydrocephalus, but the doctors couldn't explain why. They recommended to wait and see if the mystery give us some clues. It was impossible to take a treatment decision. My ventricles were dangerously dilated and we only could wait for more information about the disease.
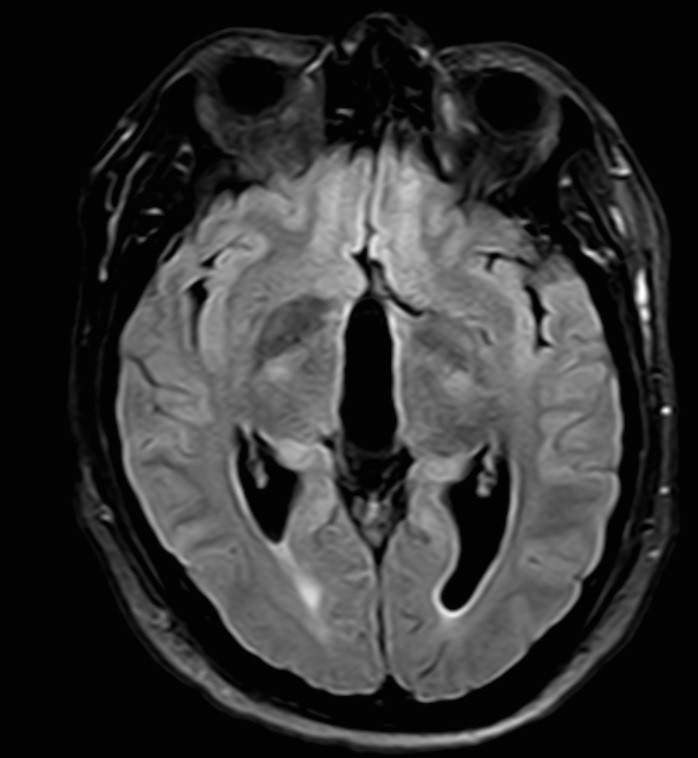
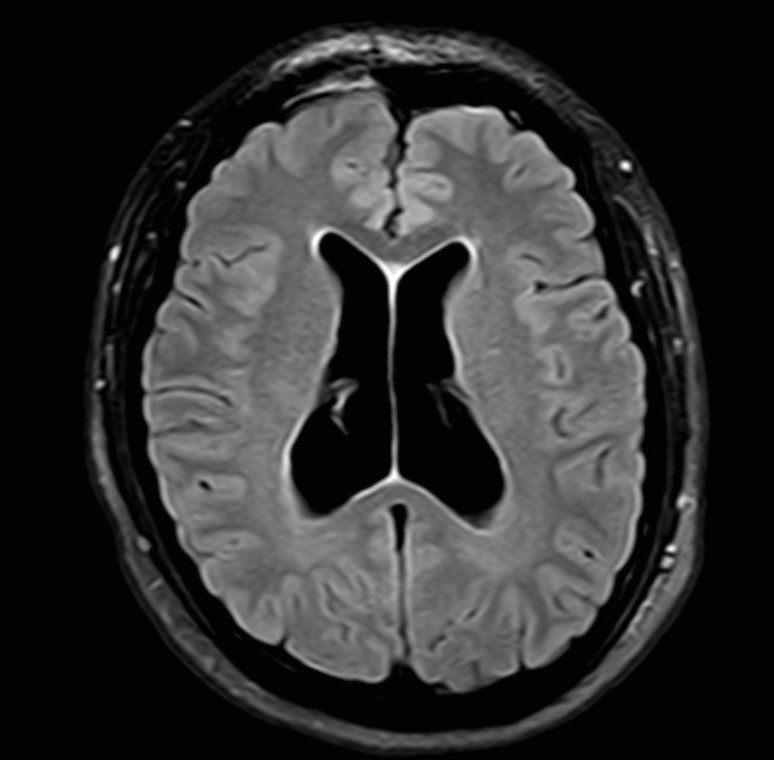
Meanwhile I was living with constant headaches, fatigue and sometimes visual problems. However a few months ago in the new MRI a small Tumor appeared in my tectal plate. Doctors think that it is a Glioma but is not confirmed yet. But something was sure, it blocks the sylvian aqueduct and doesn't allow cerebrospinal fluid to flow between the third ventricle to the fourth ventricle. This is the culprit of my hydrocephalus. That 9mm white mass right in the center.
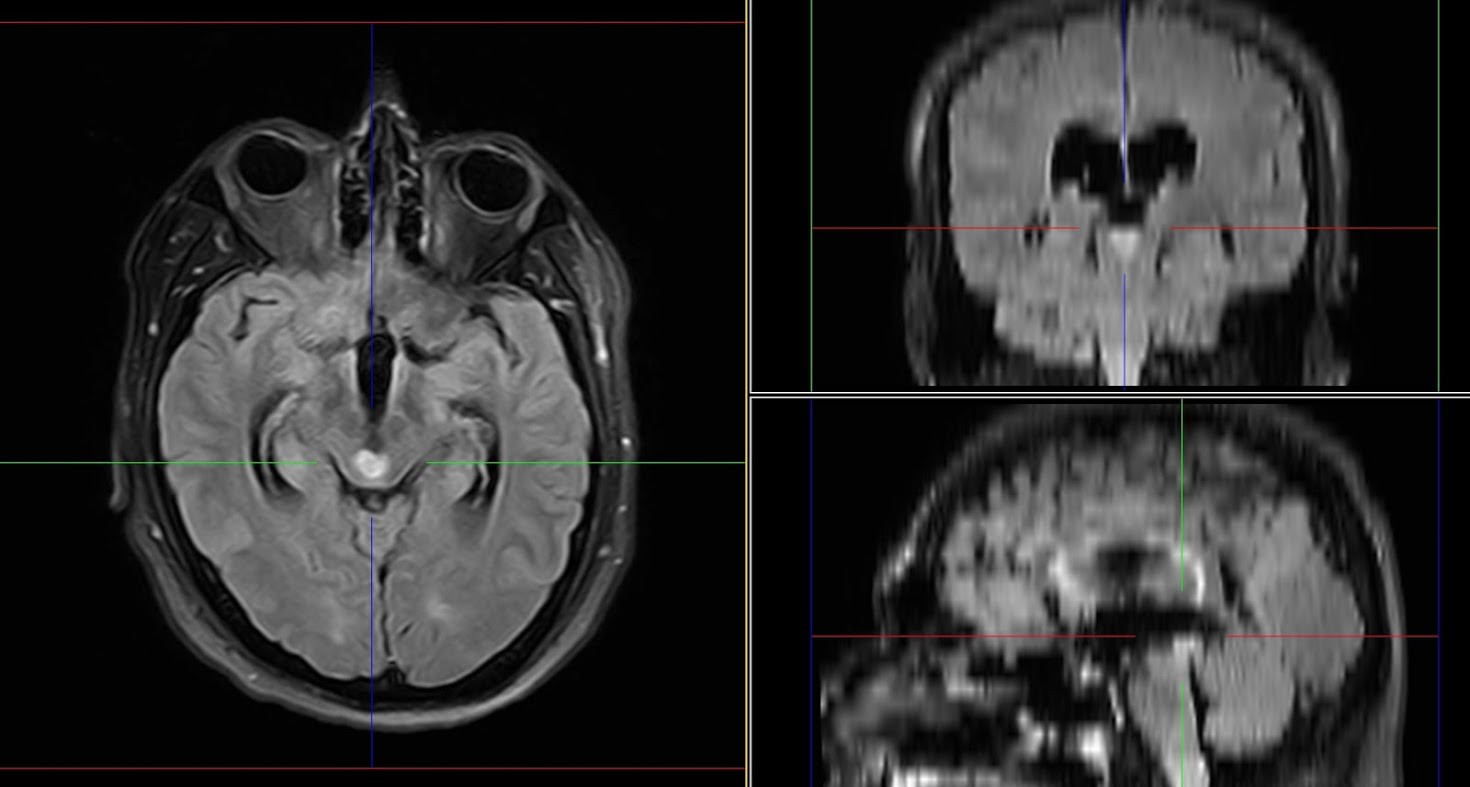
And here is another one in a lower point, so you can see the aqueduct clearly. Yes it's that little hole on the center of my brain.
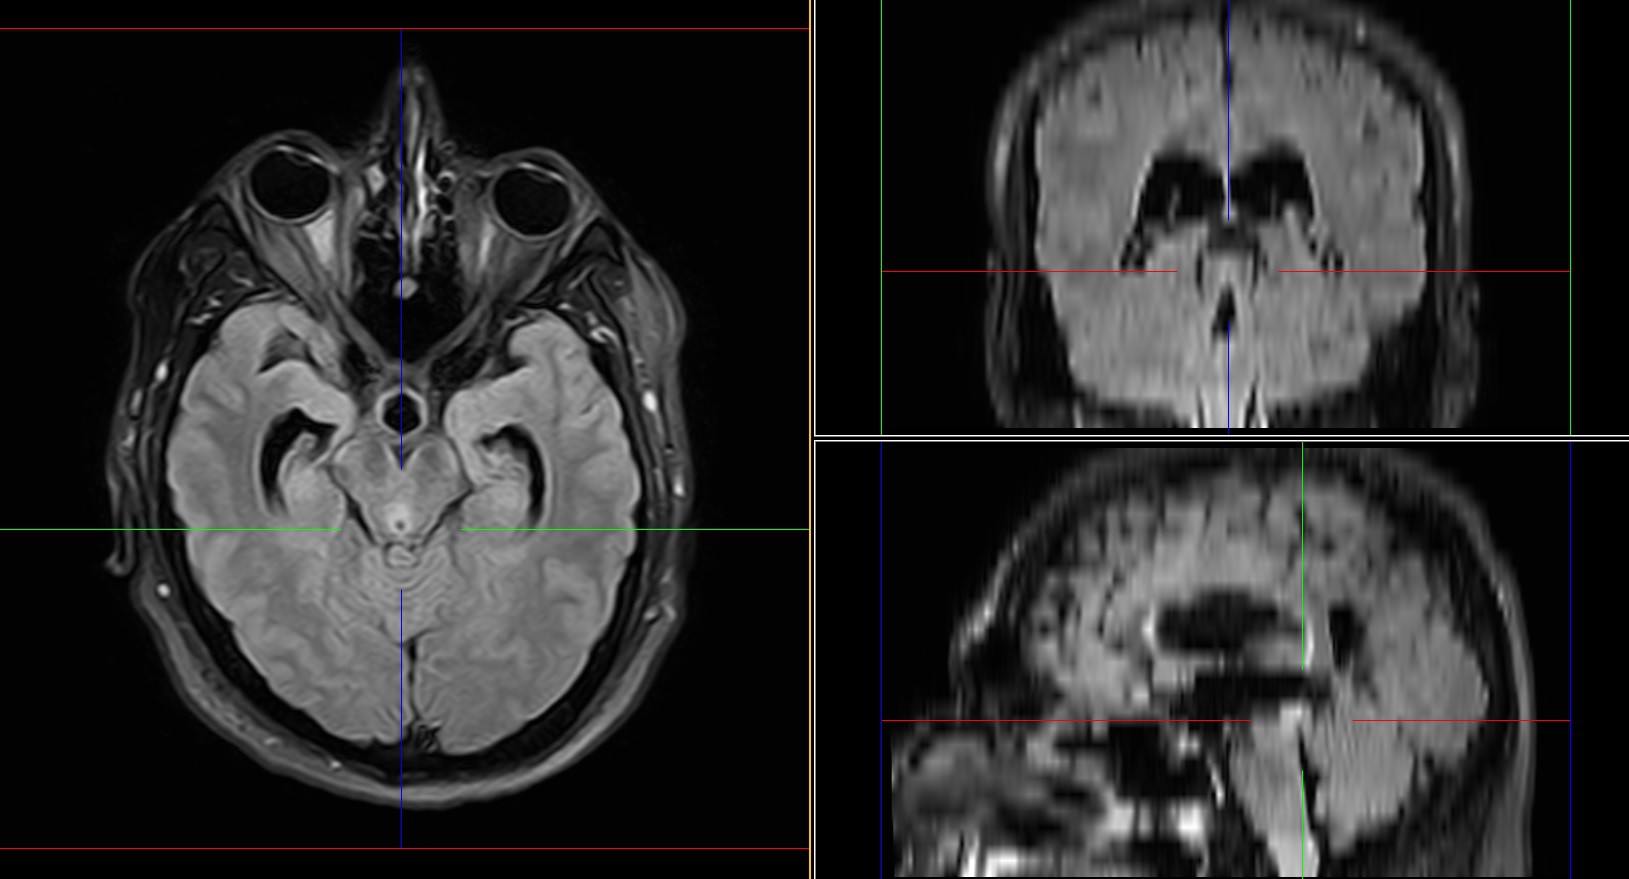
For the curious ones these are how it looks from other angles. (The ones that are blurry on previous images)
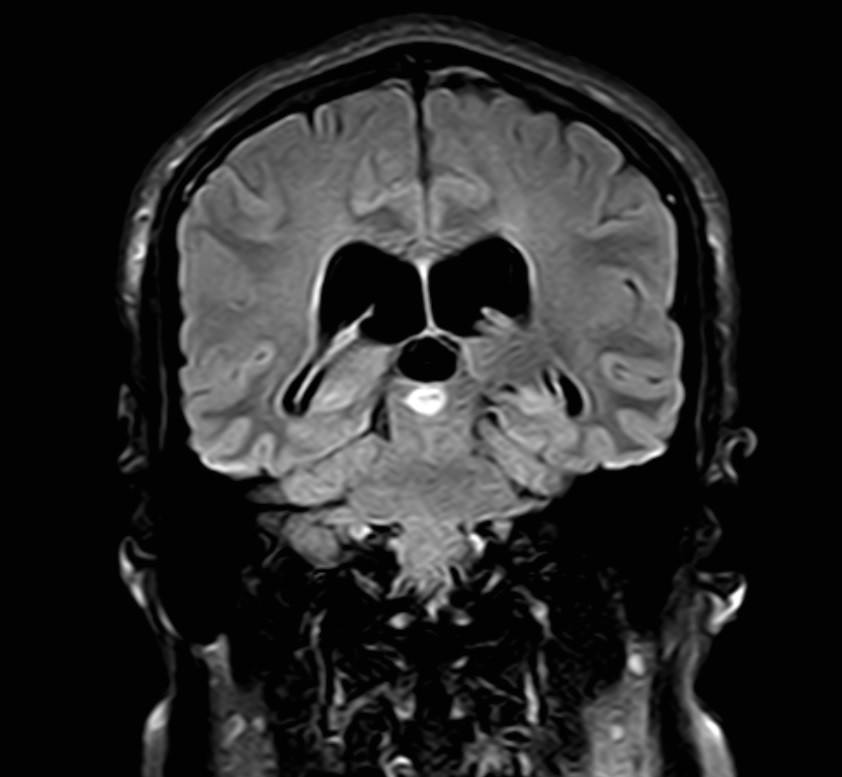
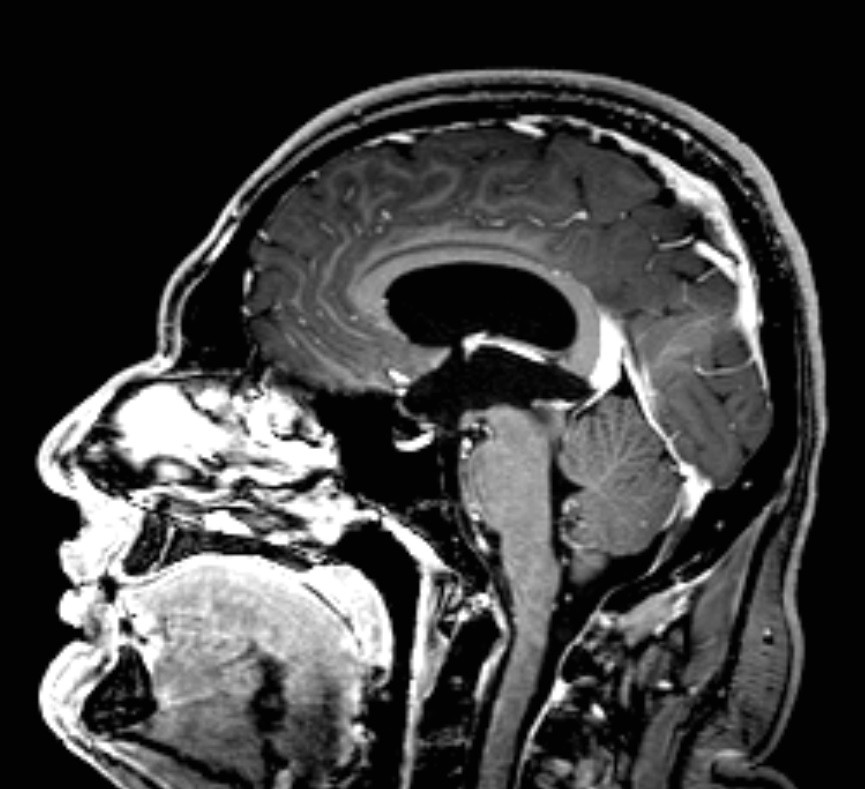
As you could imagine this Tumor can't be removed easily, surgically is to dangerous. All vital functions are only a few millimeters away from this mass. Other approaches can be used like Radiosurgery, but a biopsy is required first and is as also too dangerous to perform. I can end disabled or death.
So the Neuro Surgeon told me that the best thing we could do was treat the Hydrocephalus with a ventriculoperitoneal shunt and hope that the Tumor never grows and we are forced to deal with it. And we just do that. On March 28 2020 I got my VP shunt, the surgery was successful and now I am recovering at home.
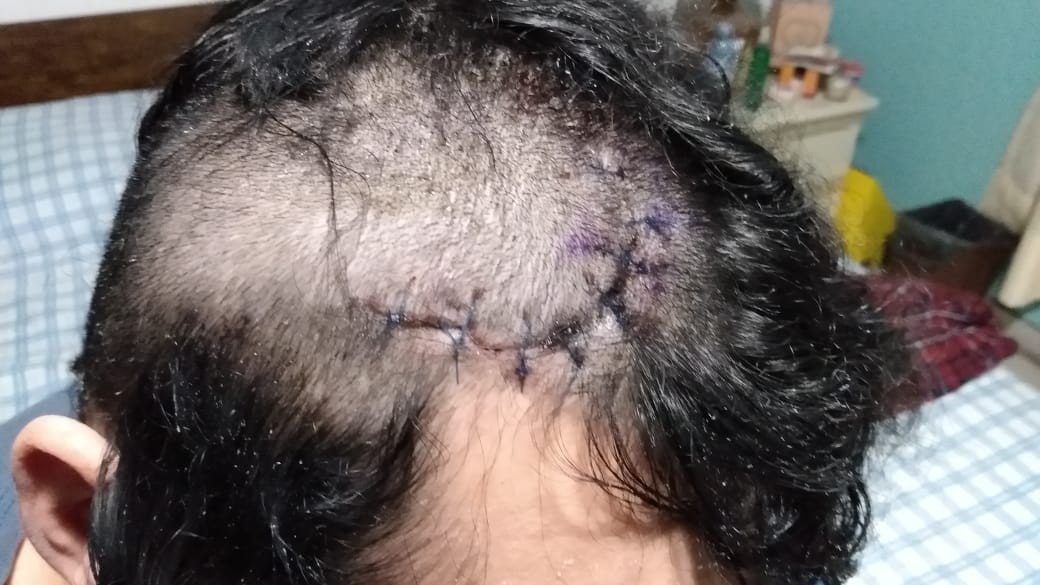
As you can see I also got a "nice" haircut. But while I wait my hair to grow back I decided to make something special for the people that helped me go through this. It was hard, the surgery was expensive and I don't have medical insurance. But luckily with some help I was able to afford it.
My family and friends also helped me with the emotional support I needed. As an introvert it is hard to me to say "Thank you" in a deeper way. So I used my abilities to materialize this feeling in a PCB Badge.
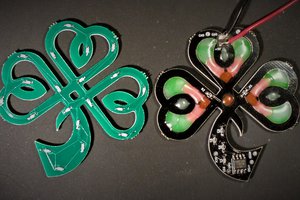
This is how I come up with Brainy, the final result after some days dealing with the PCB in Eagle and mixing up some vector images in Inkscape.
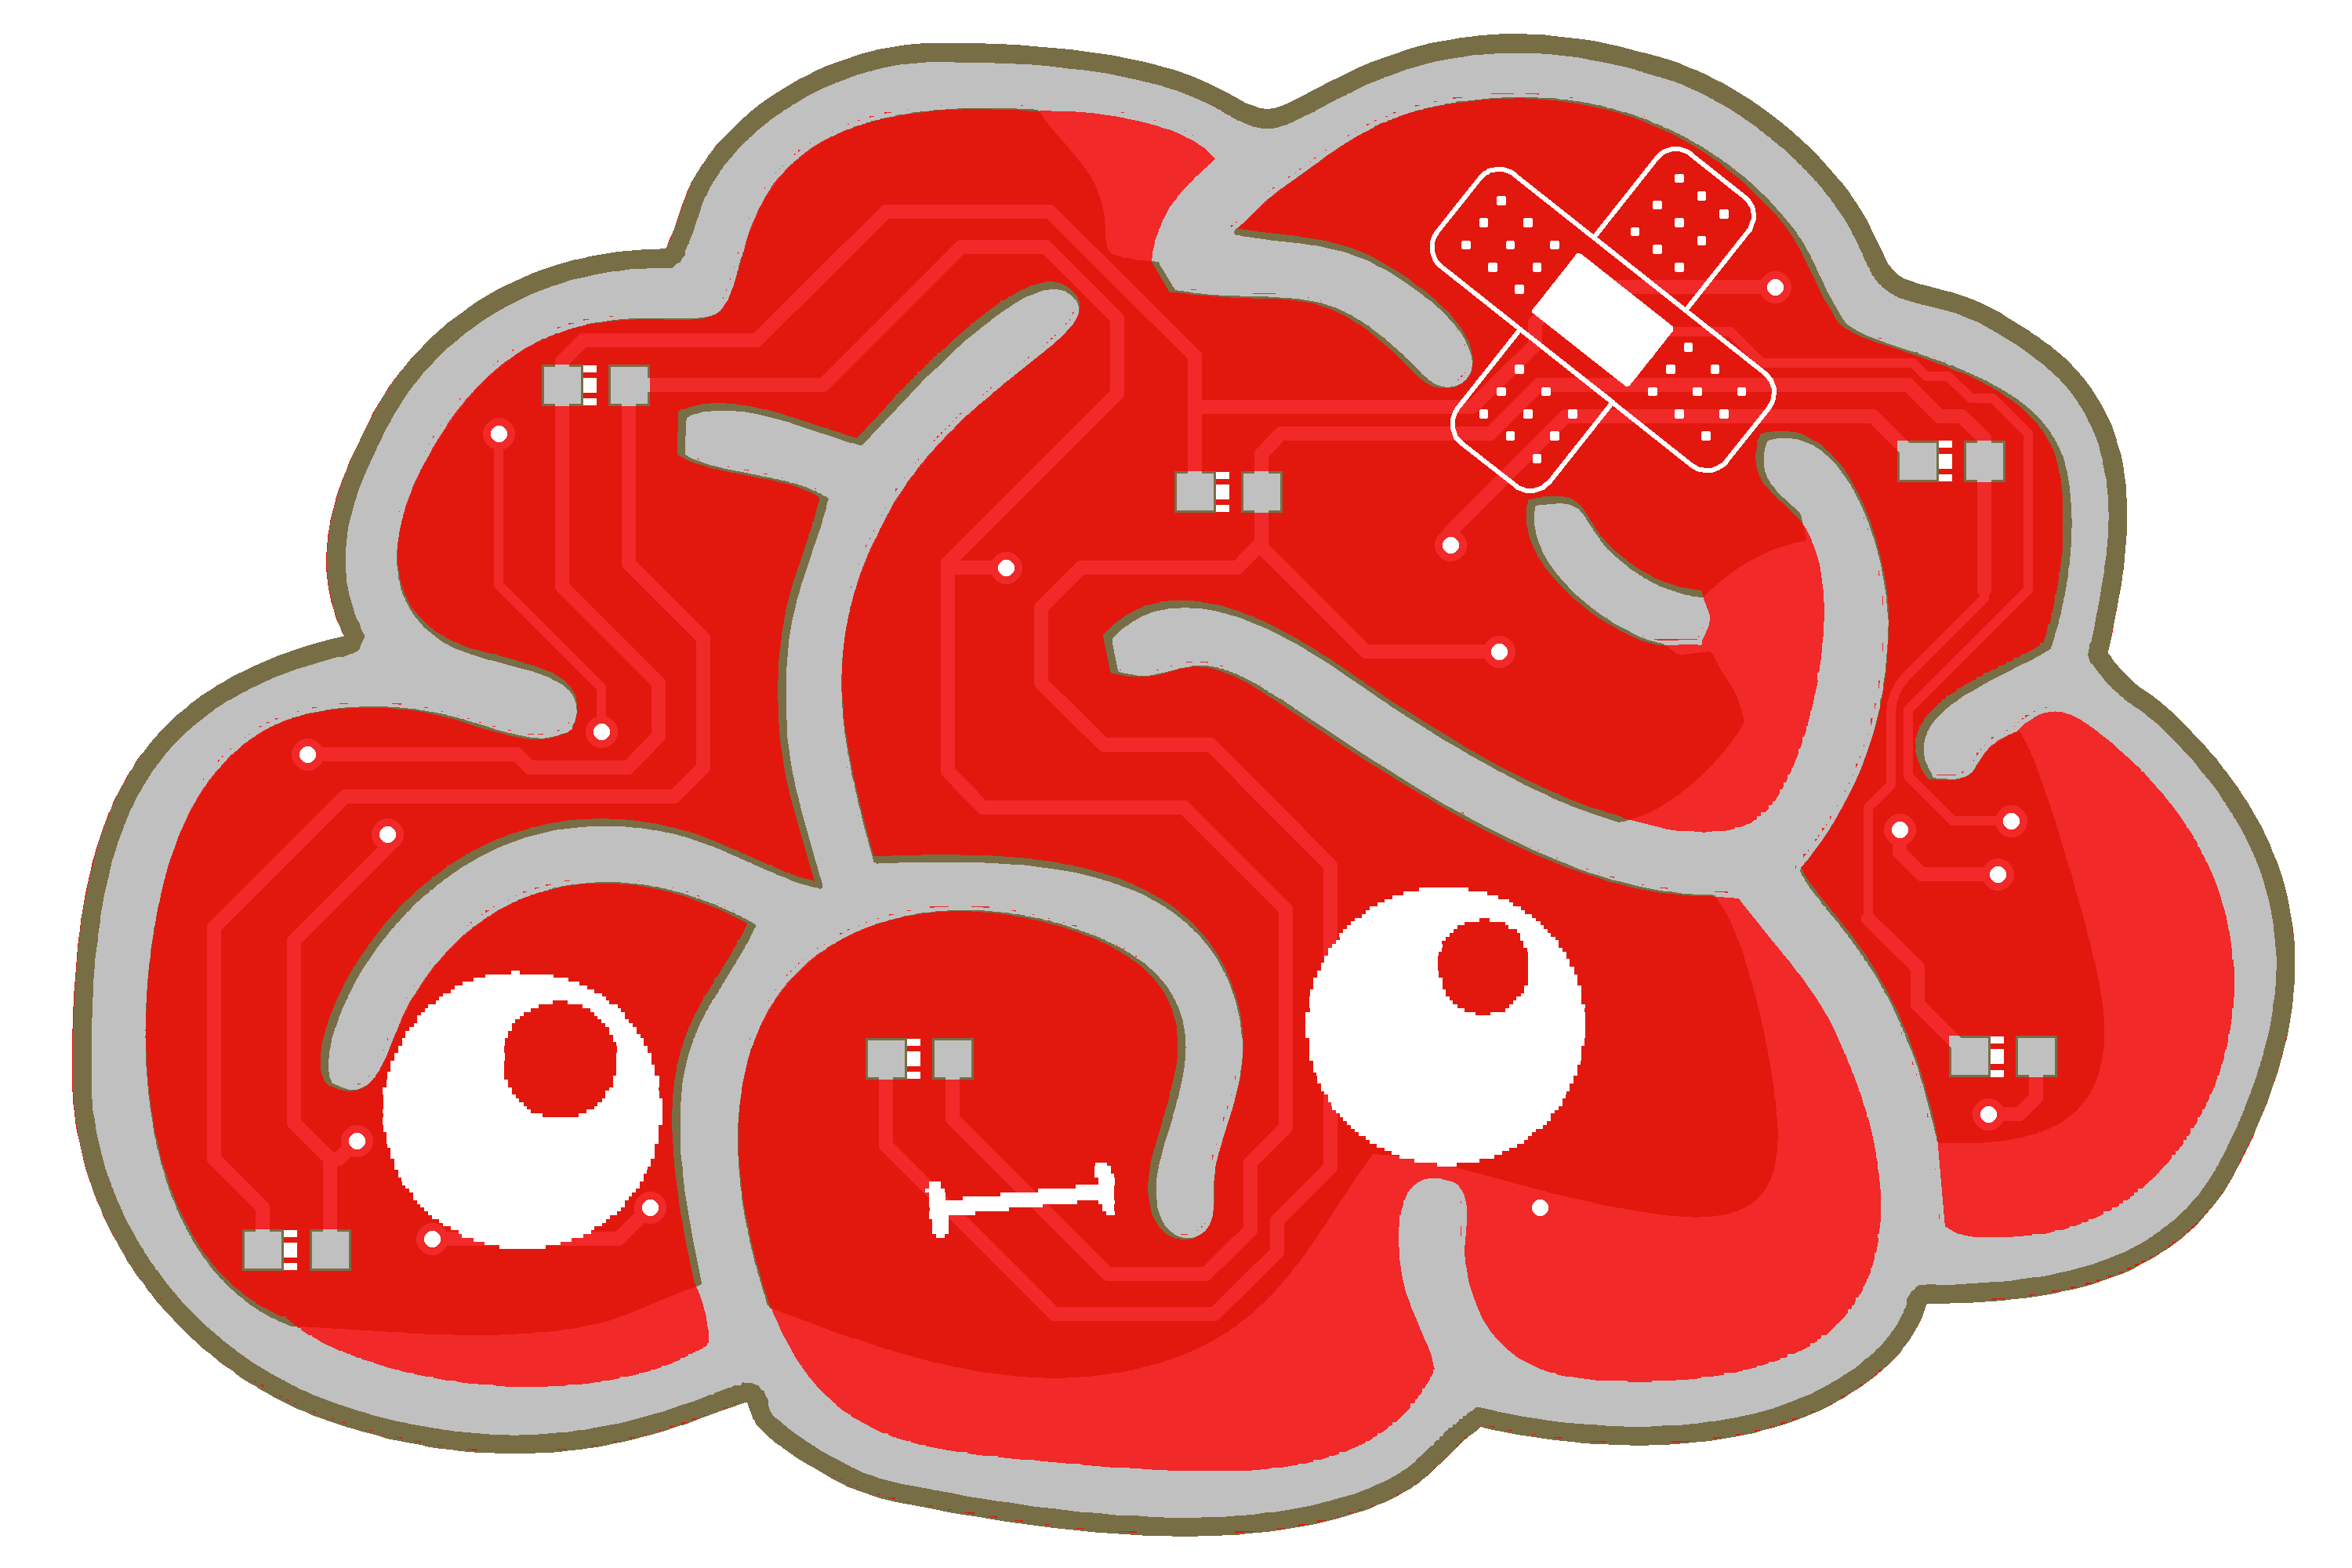
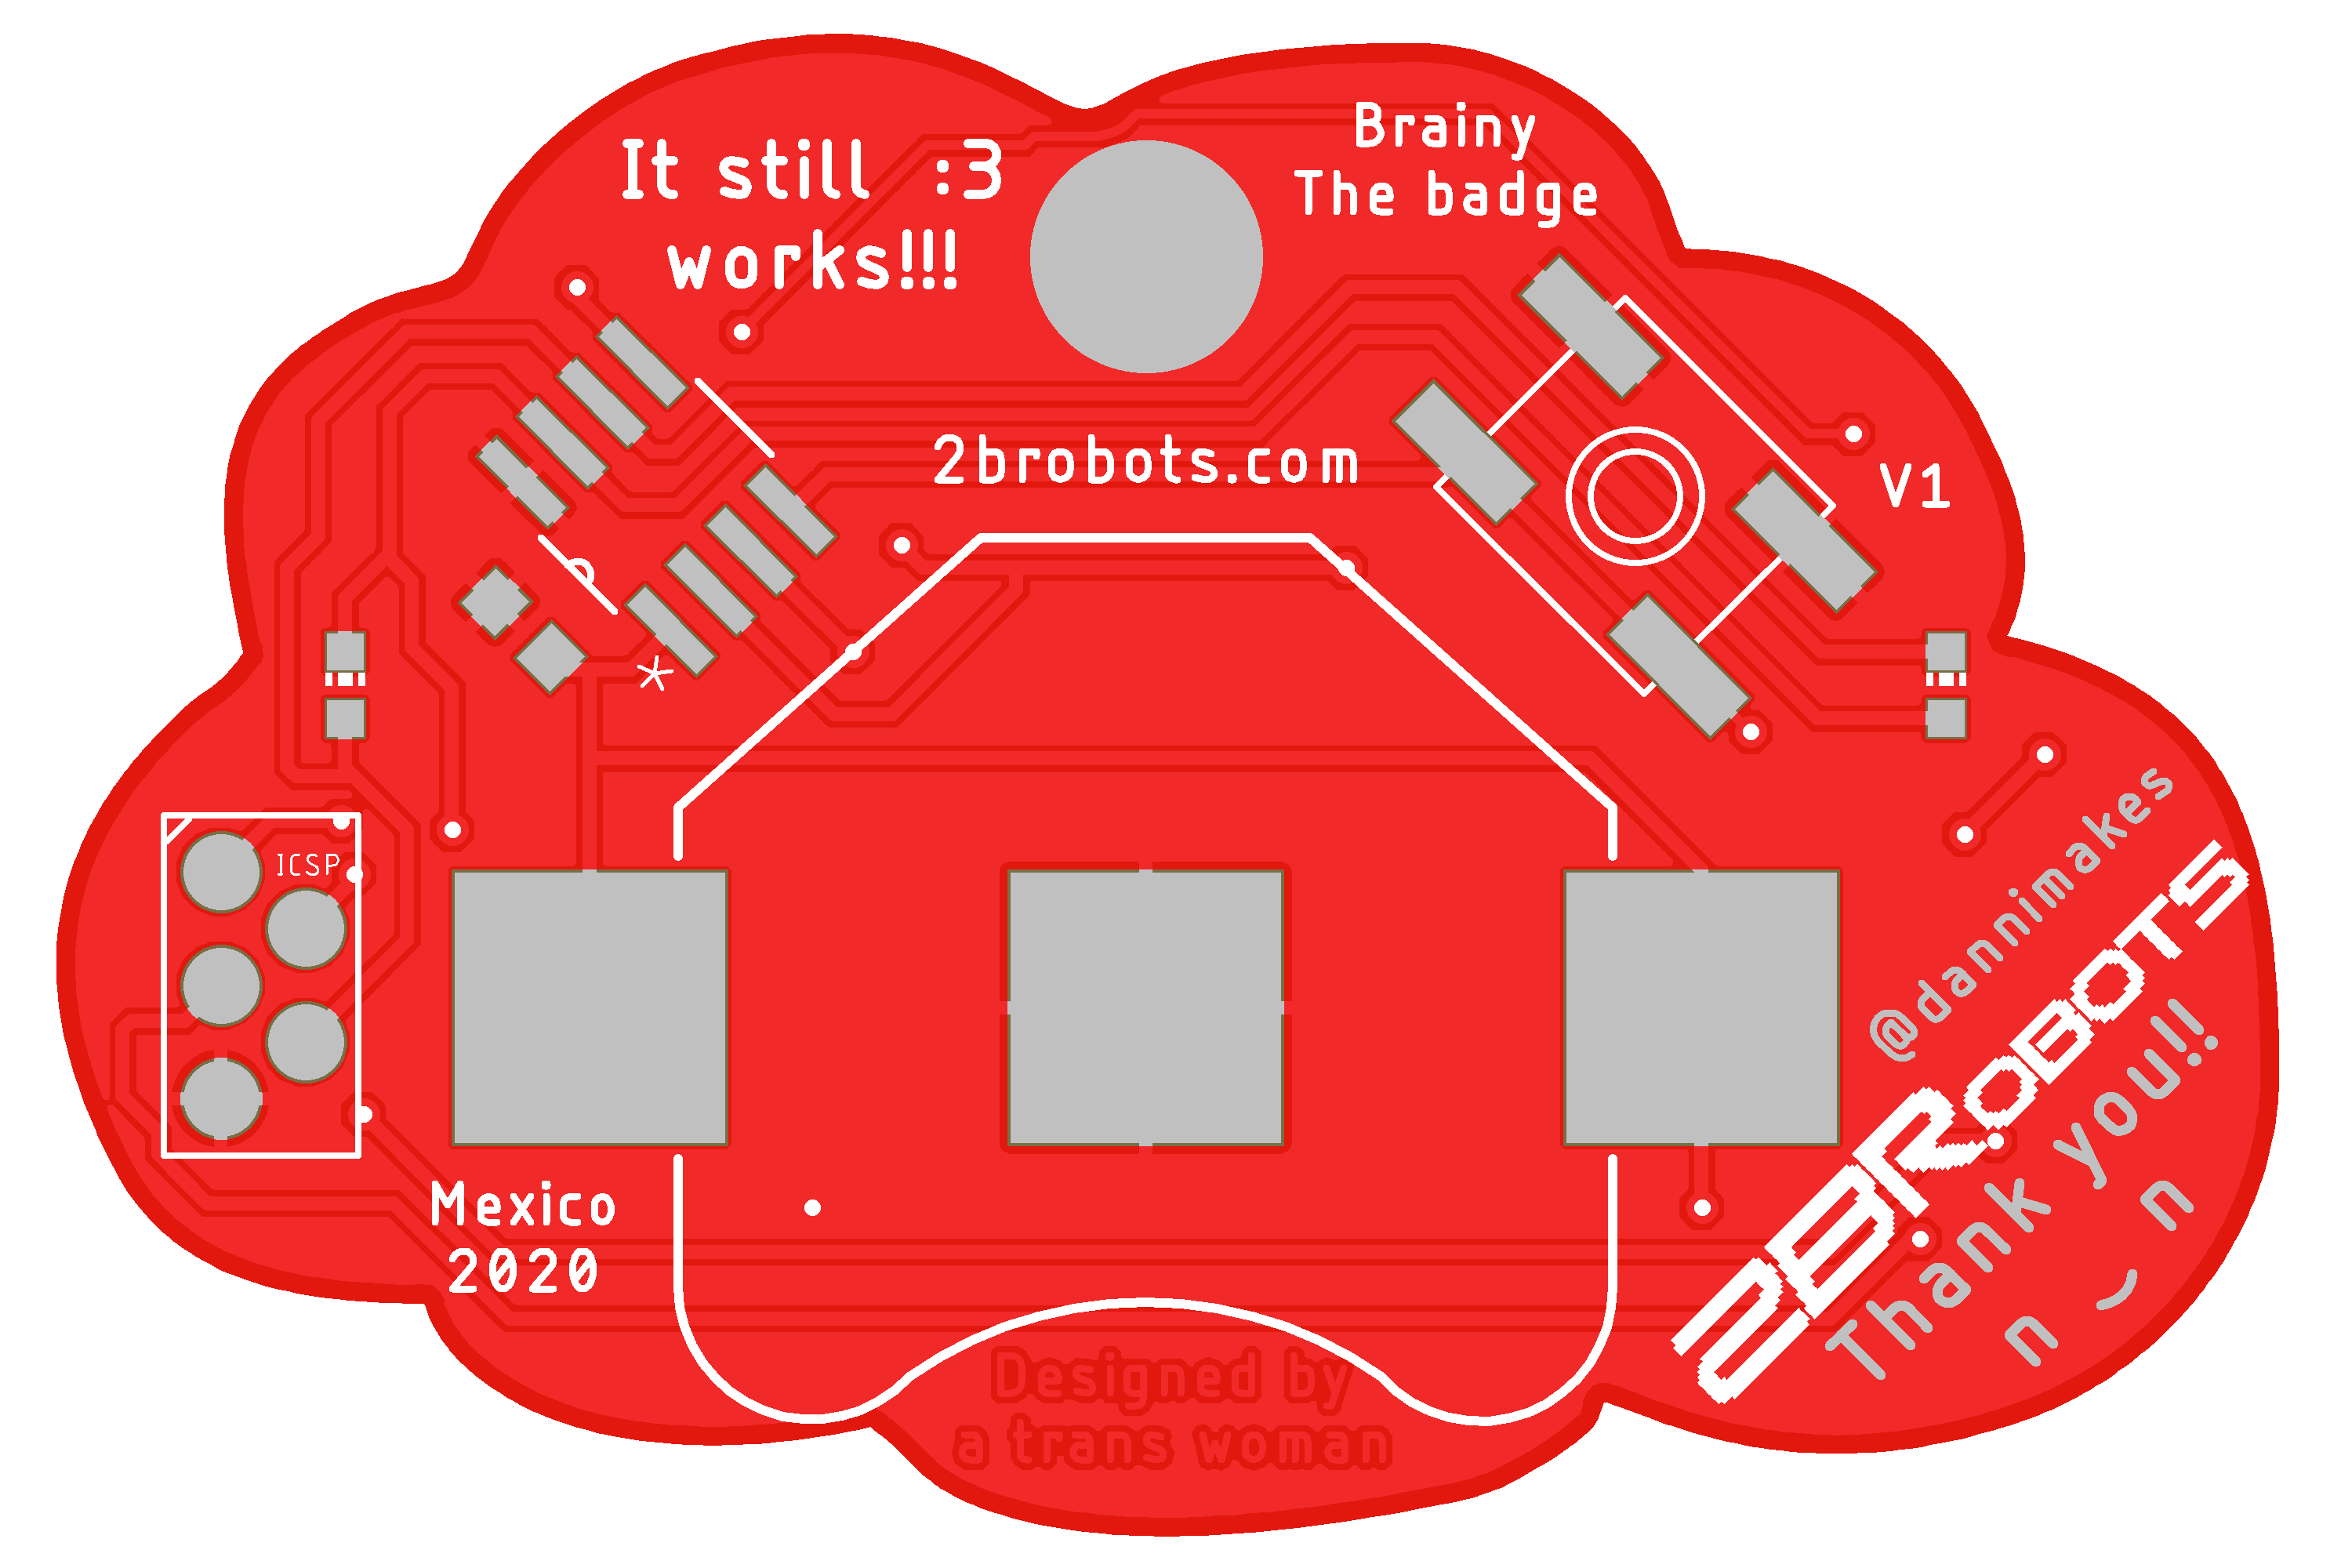 I am going to ship this badge to all the people that helped me with this surgery, but also I will sell it soon to raise a permanent fund for medical expenses related to my brain. I will need it, MRI's are expensive and there is a high possibility of the shunt fail or any other complication.
I hope you can help me purchasing one, you will end up with a kawaii Brainy Badge like this one n.n
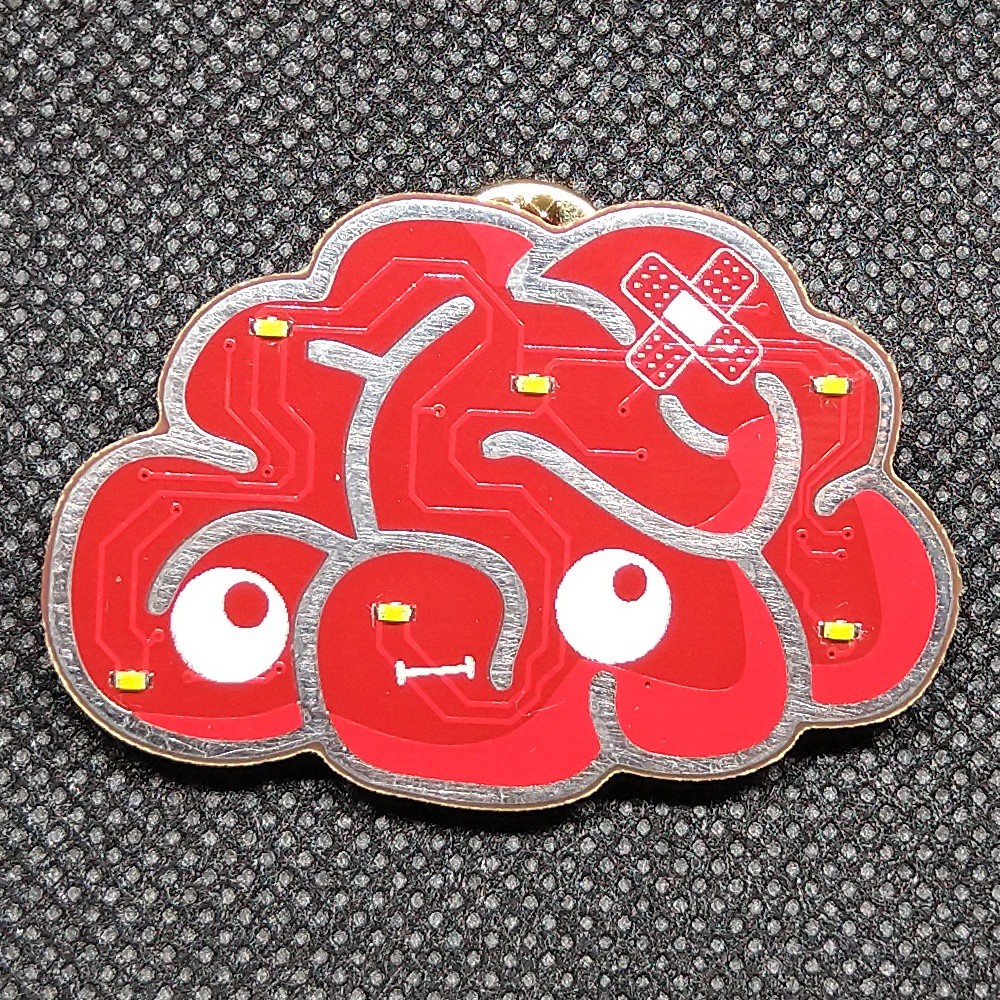
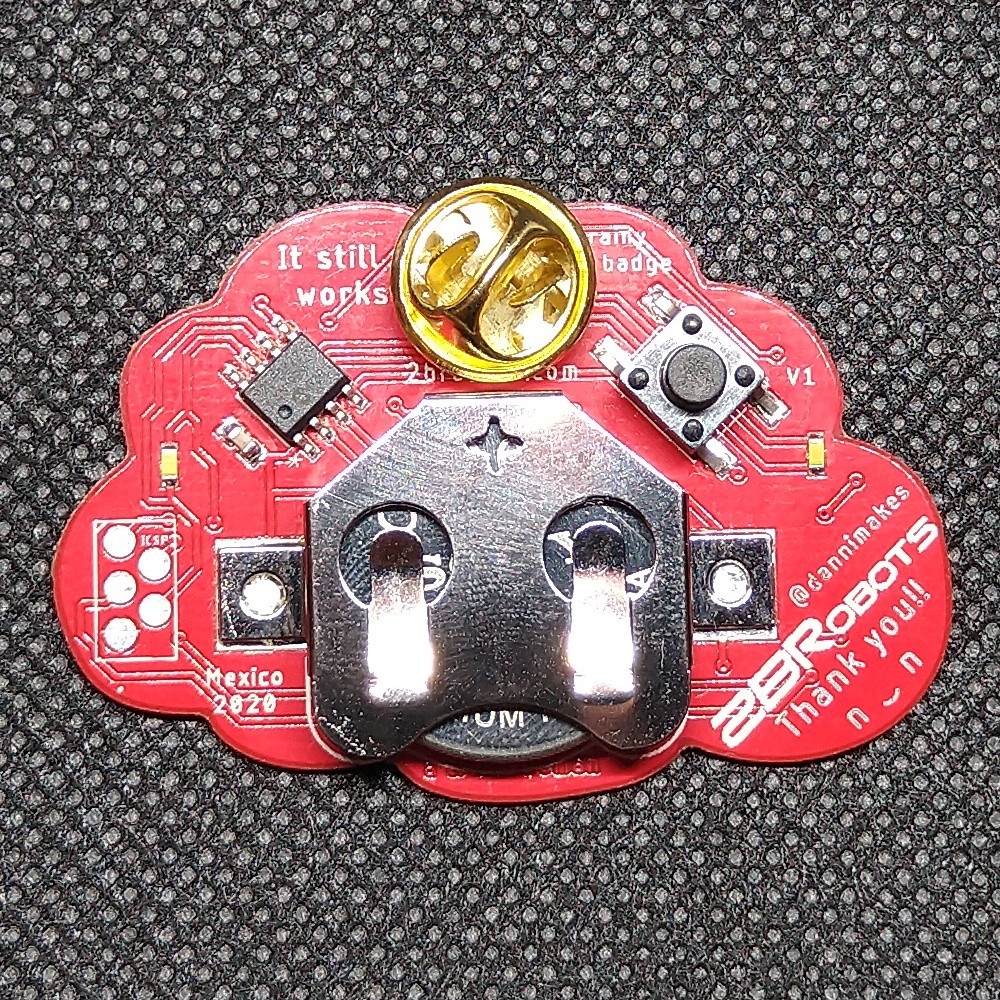
Also all the design files and firmware is available if you wish to do your own or tinker with it. Here is the badge in action:
Thank you!
 Danny FR
 Jayken
 Andrey Kalmatskiy
 Zapp
Zapp