 Bharbour
Over the weekend, I installed the illuminator on my microscope. This scope is a pretty old Bausch Lomb scope that only had a provision for one of those round "flashlight" style lights in the mounting bracket. The first version of my illuminator needed a flat surface to screw to, so I made the bracket shown here:
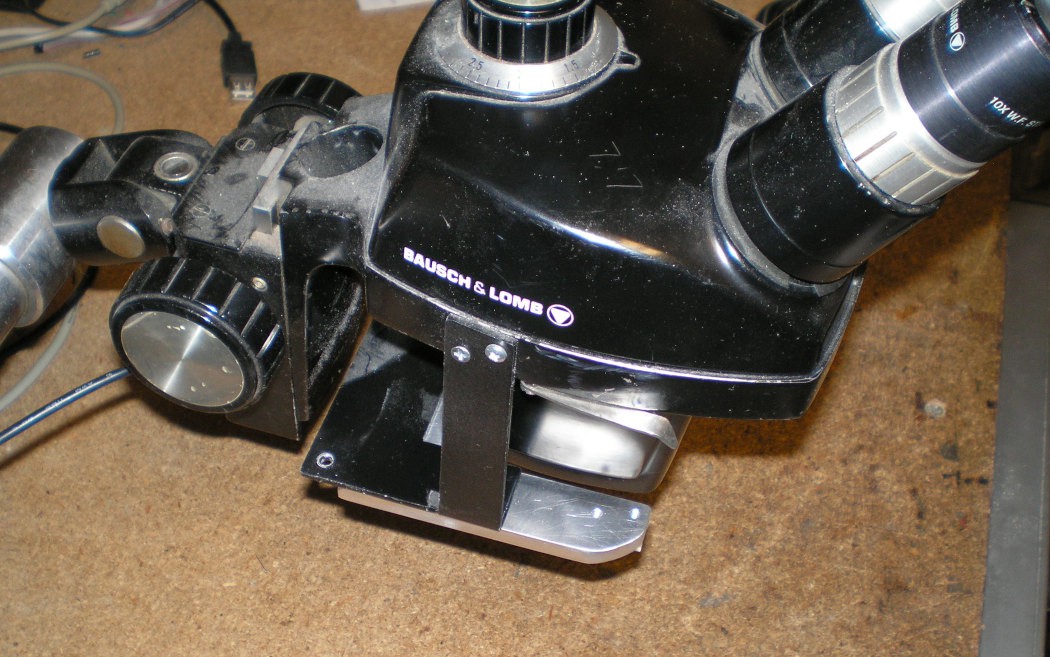
A "leg" on either side of the scope is attached to the mount frame for the scope by a pair of machine screws, in holes that I drilled and tapped. From the dust, it is obvious that this bracket was made and installed a long time ago (2013). Two of the mounting holes in the original plate were used to attach the aluminum heat sink on the new illuminator to the bracket. The first version of the illuminator only had LEDs as far forward as the edge of the bracket, resulting in some shadows in the image.
The new illuminator has a pair of LEDs out to the end of the aluminum heatsink, resulting in much better illumination at the "lower" edge of the image.
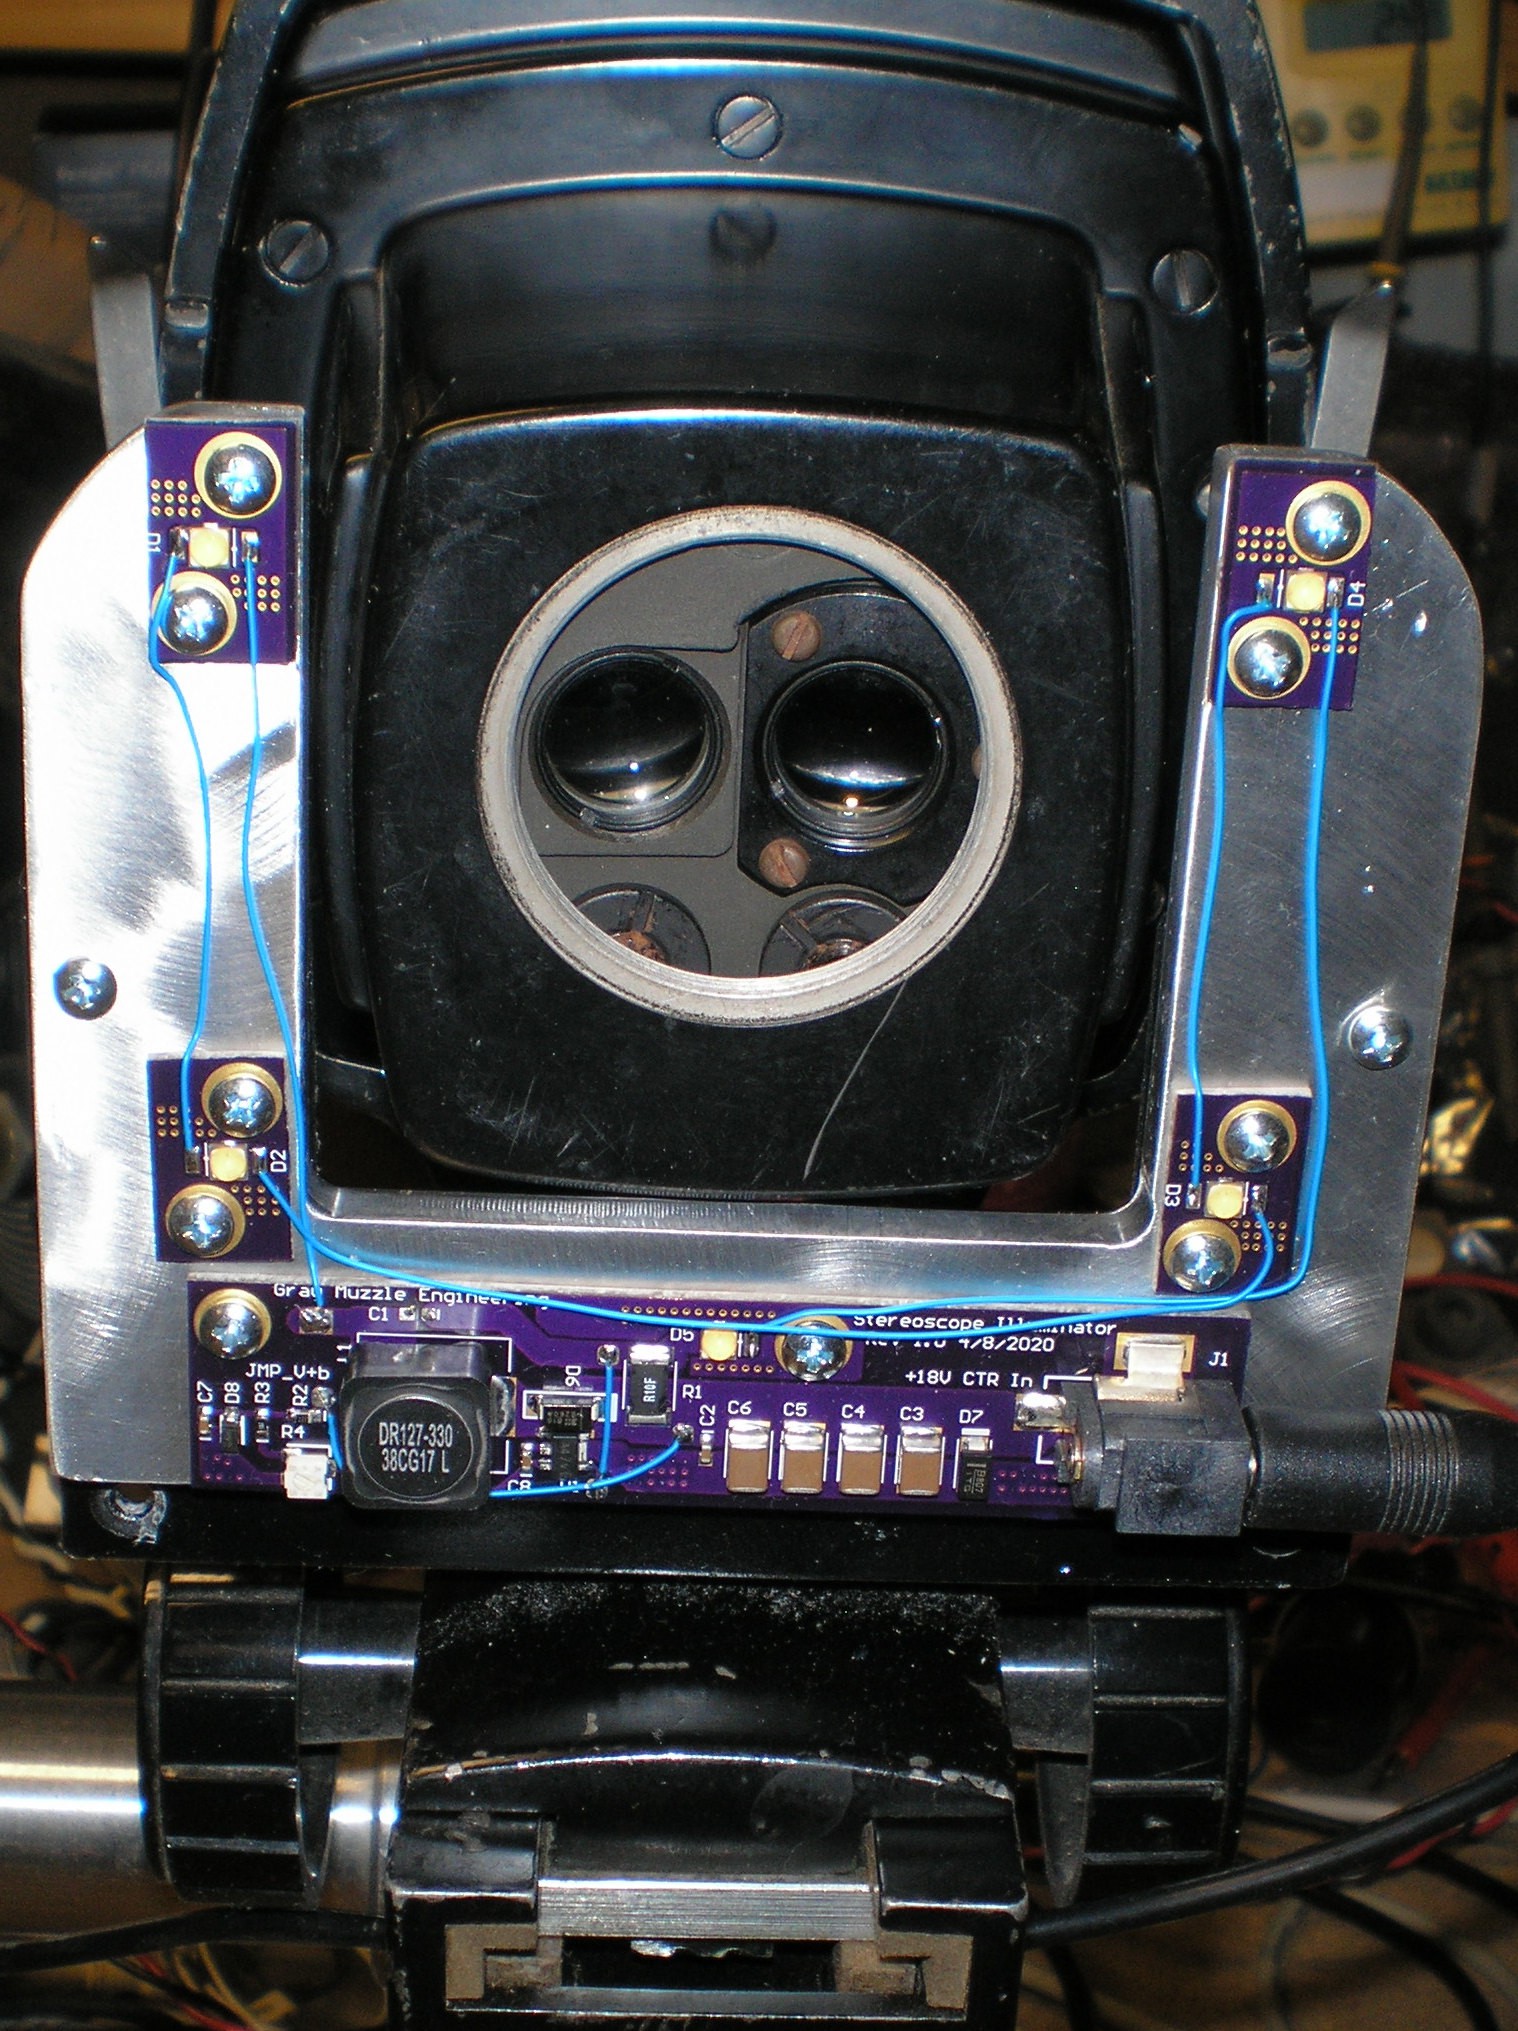
Now, the light is very even from top to bottom and side to side. 3000K LEDs were used for this illuminator, while the previous one used 4000K or higher. The colors are a closer to natural now. The light output from this illuminator is overkill. I used LEDs that were left over from my other illuminator project #LED Microscope Illuminator which needed to operate from 6" to 12" ranges, and only had 2 LEDs. Nothing suceeds like Excess!
5/20/2020 After using this illuminator for building a number of boards, I really like it. The 3000K LEDs make the colors a lot more natural and better distribution of the light is easier on my eyes. This is definitely a win.
Discussions
Become a Hackaday.io Member
Create an account to leave a comment. Already have an account? Log In.