 atltvhead
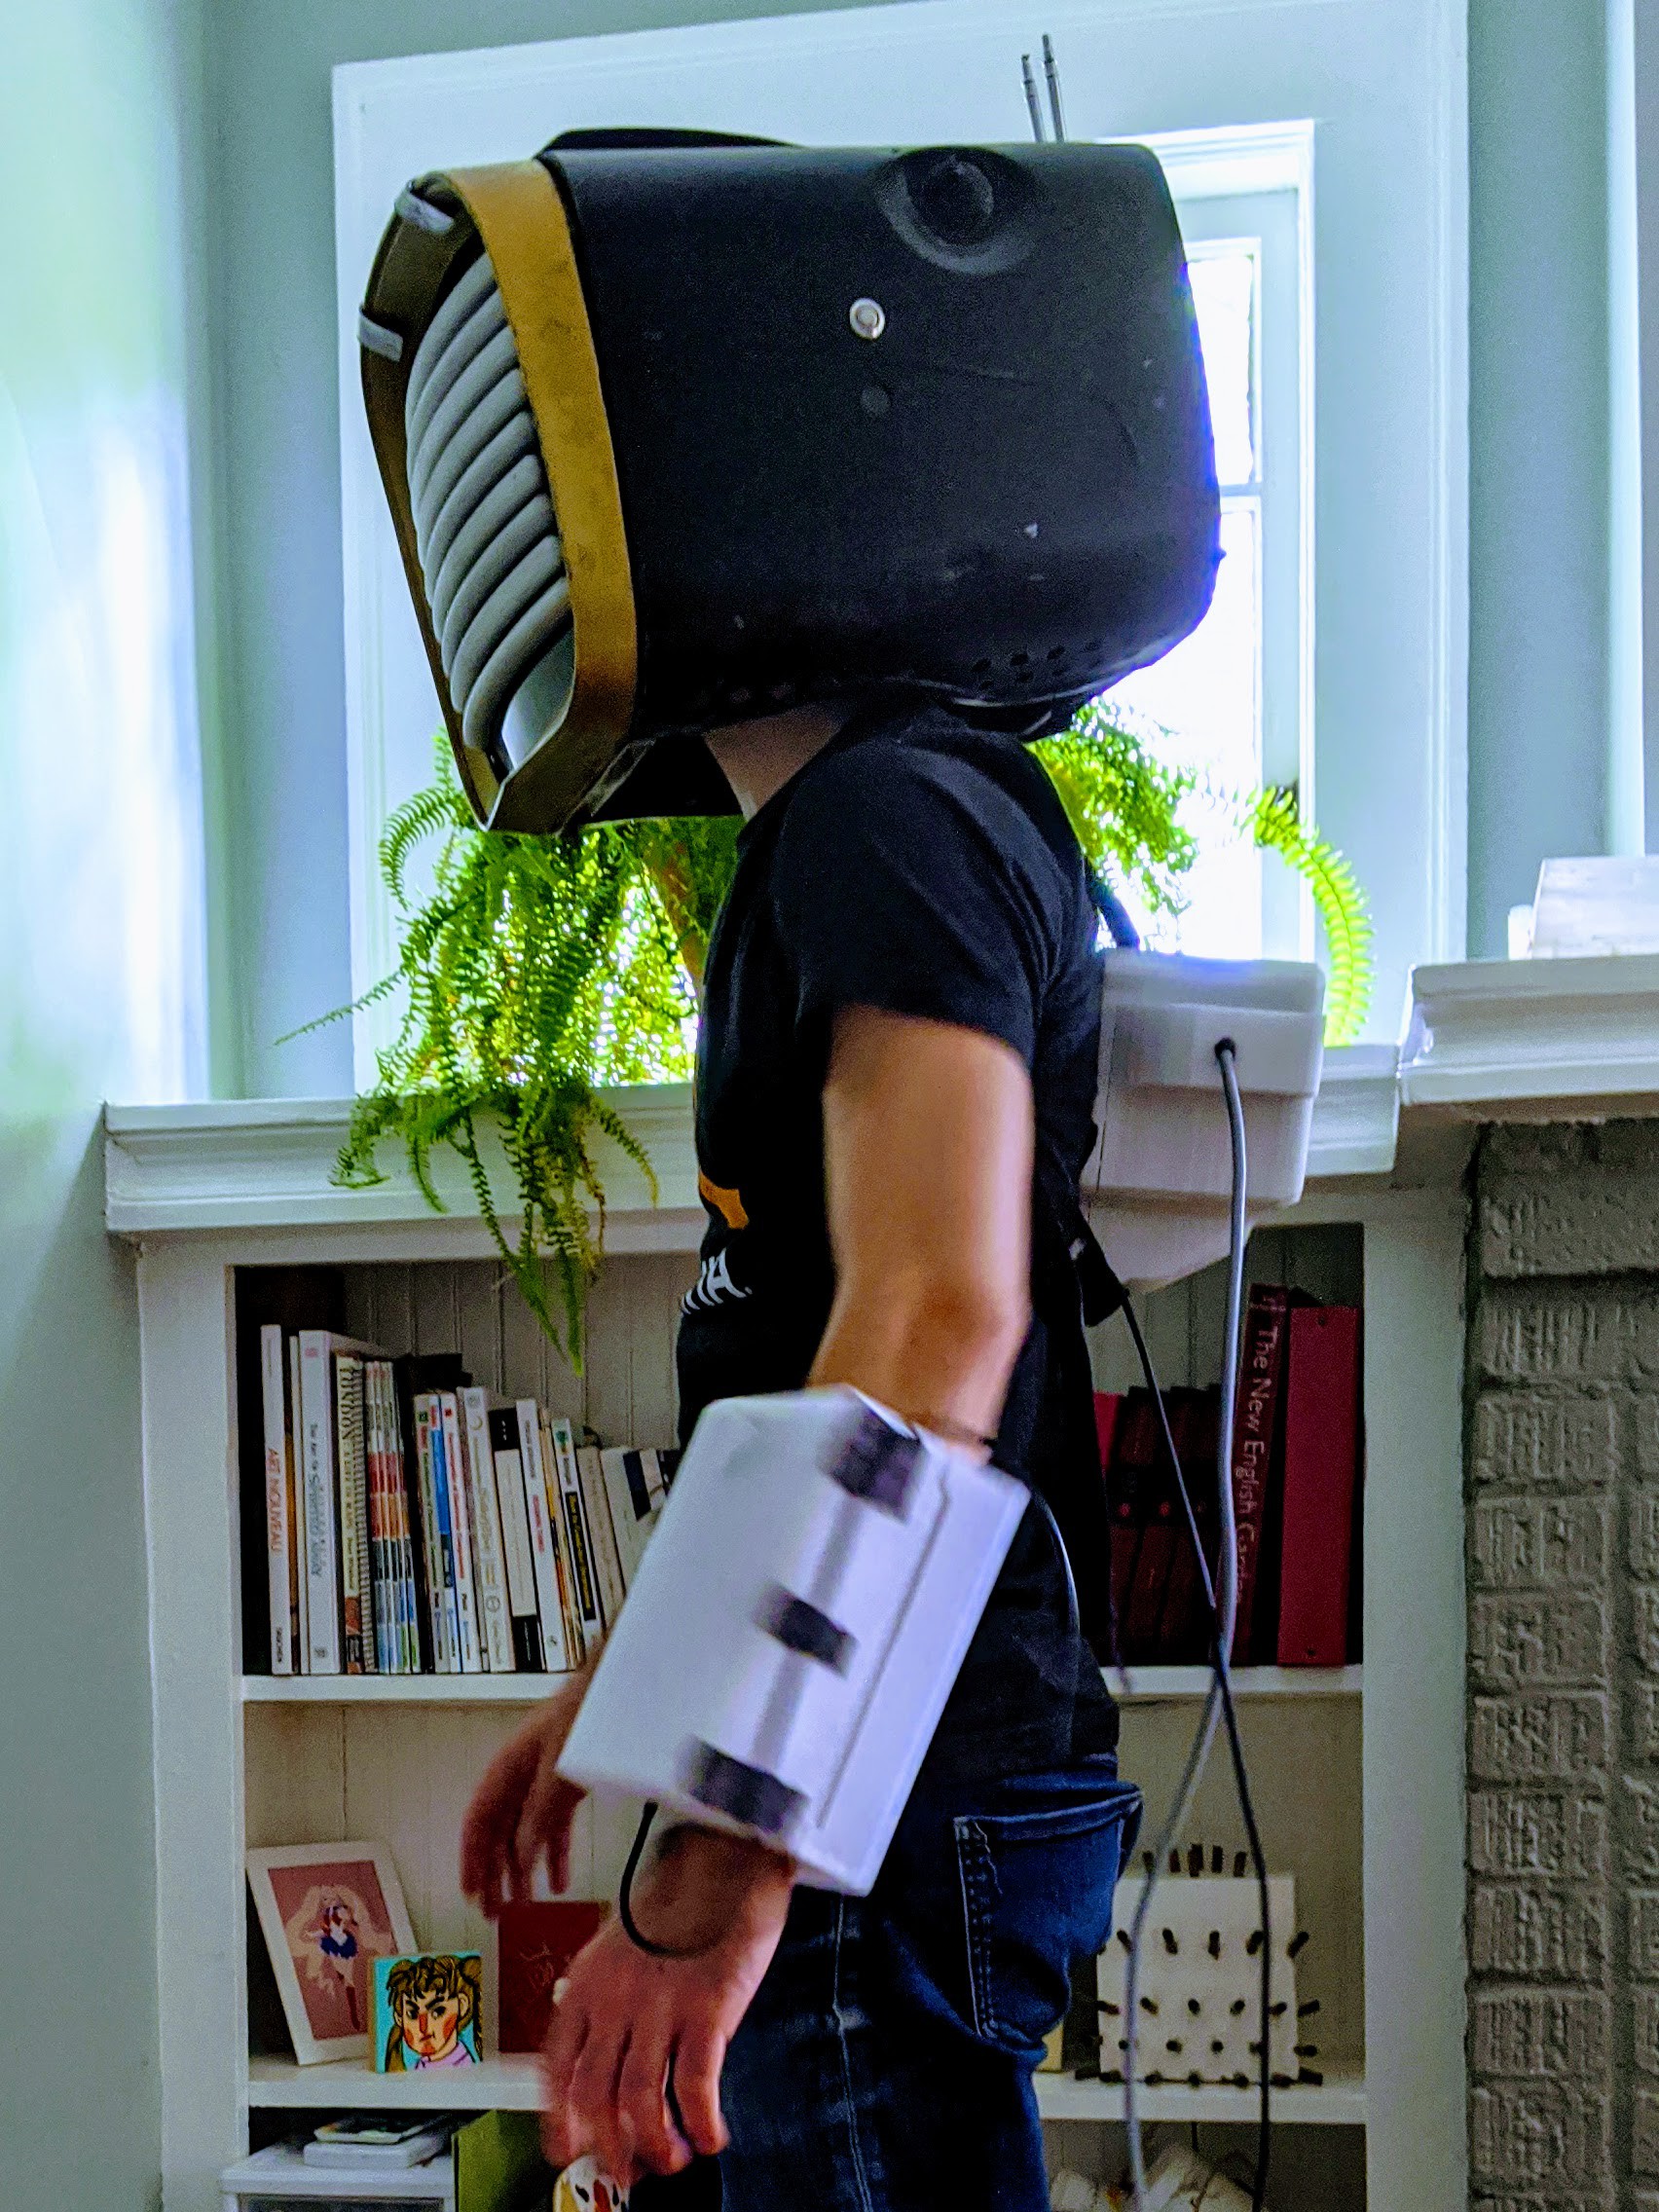
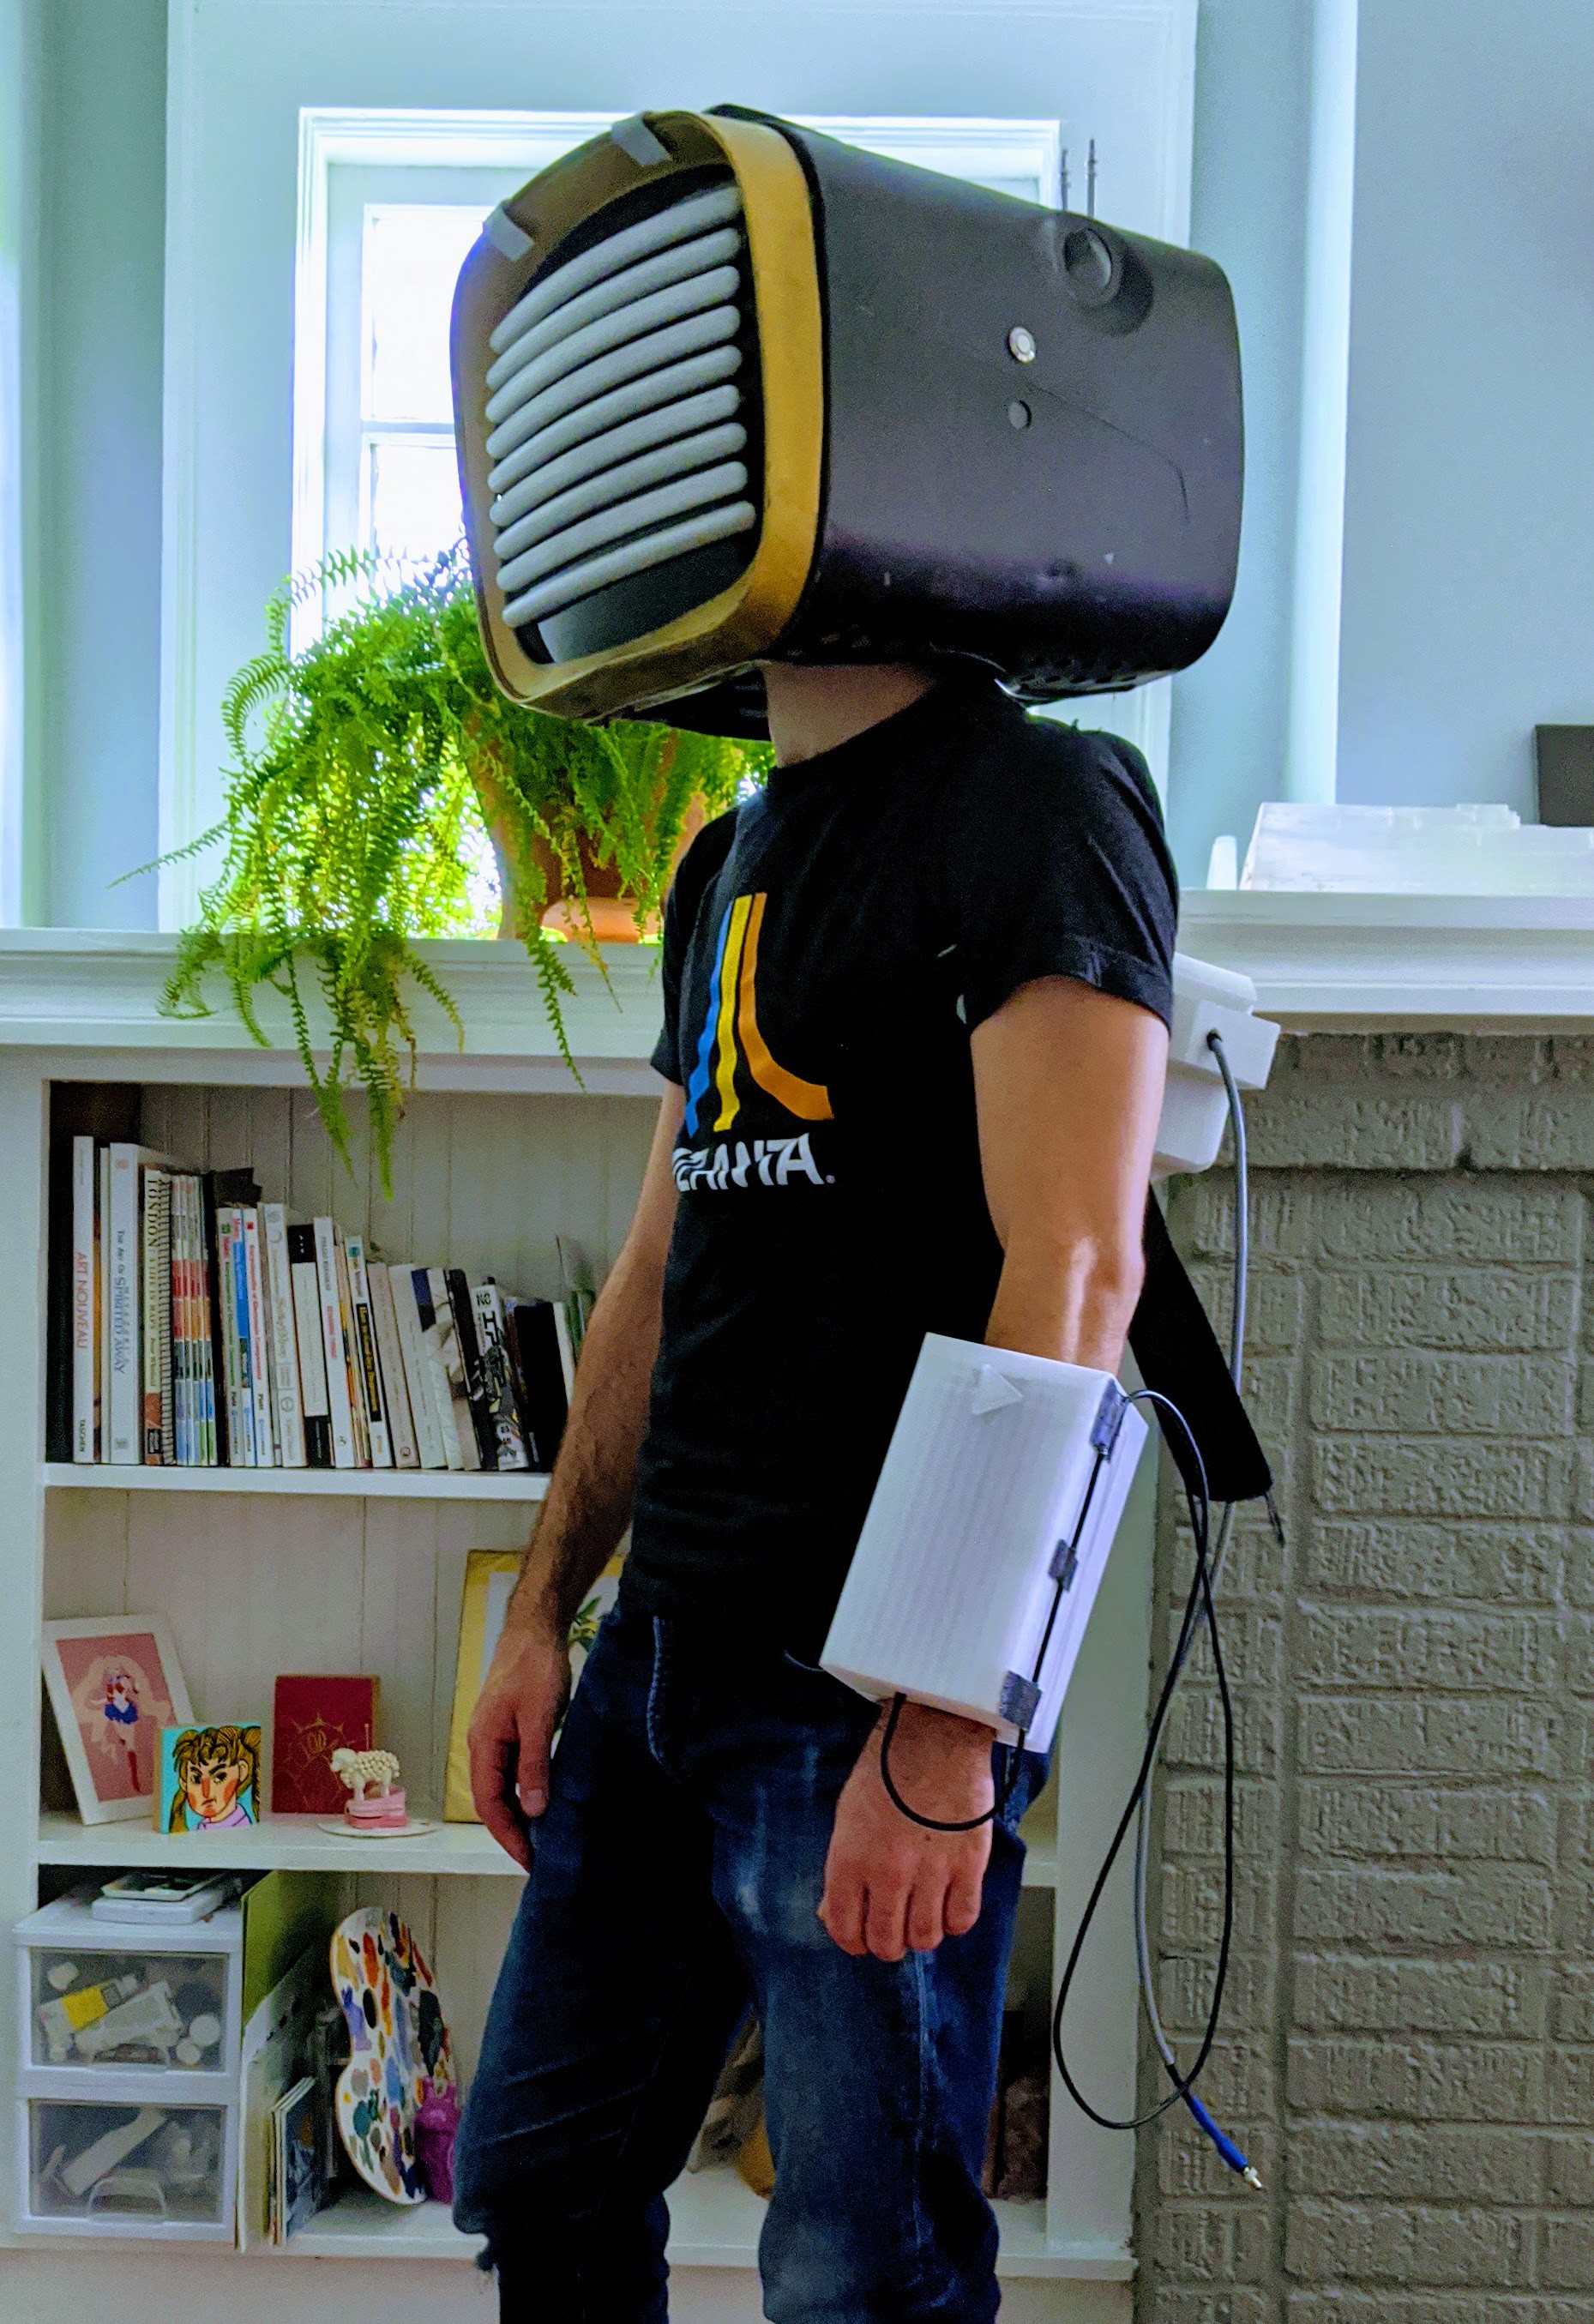
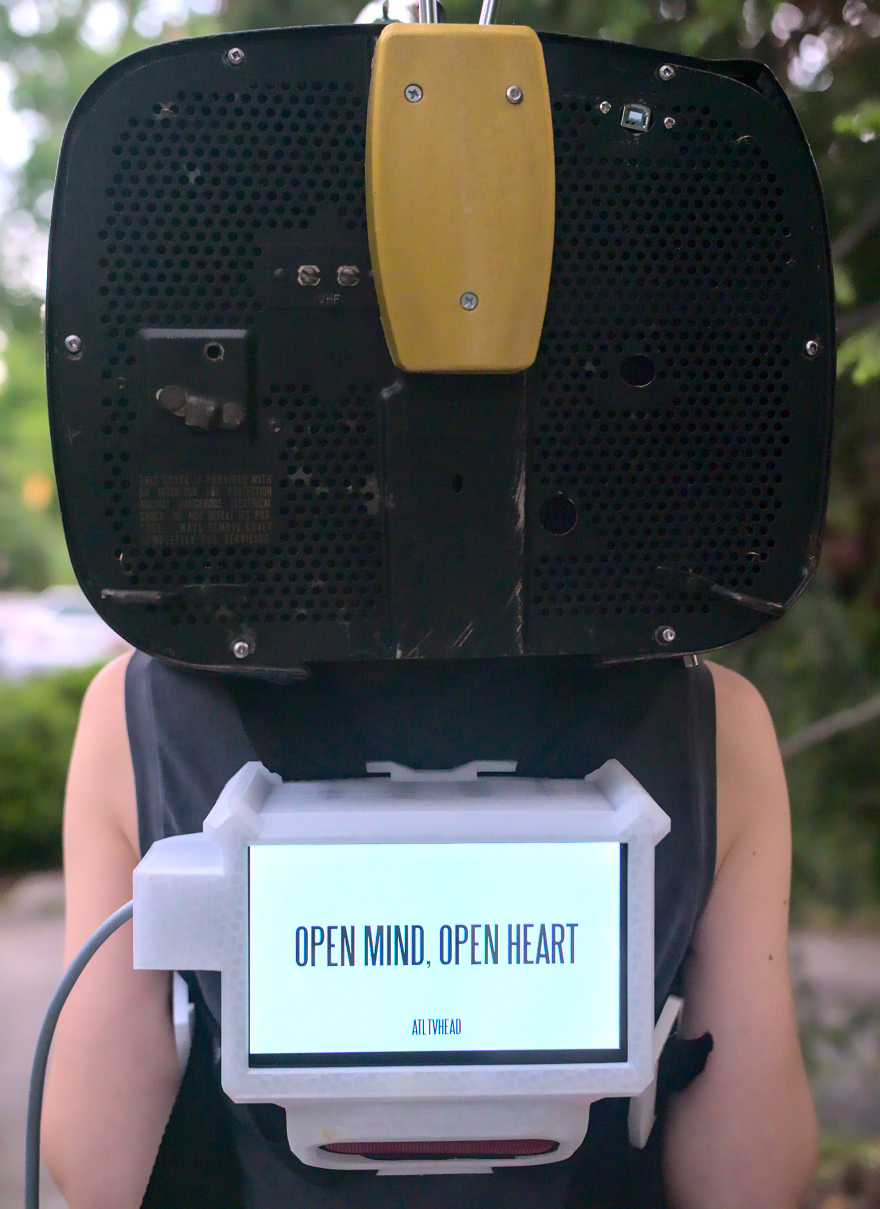
Build goals for this Backpack:
1) Display a positive message on the pack, artfully
2) Have online connectivity for Twitch interfacing and message database interfacing
3) Contain speaker for music
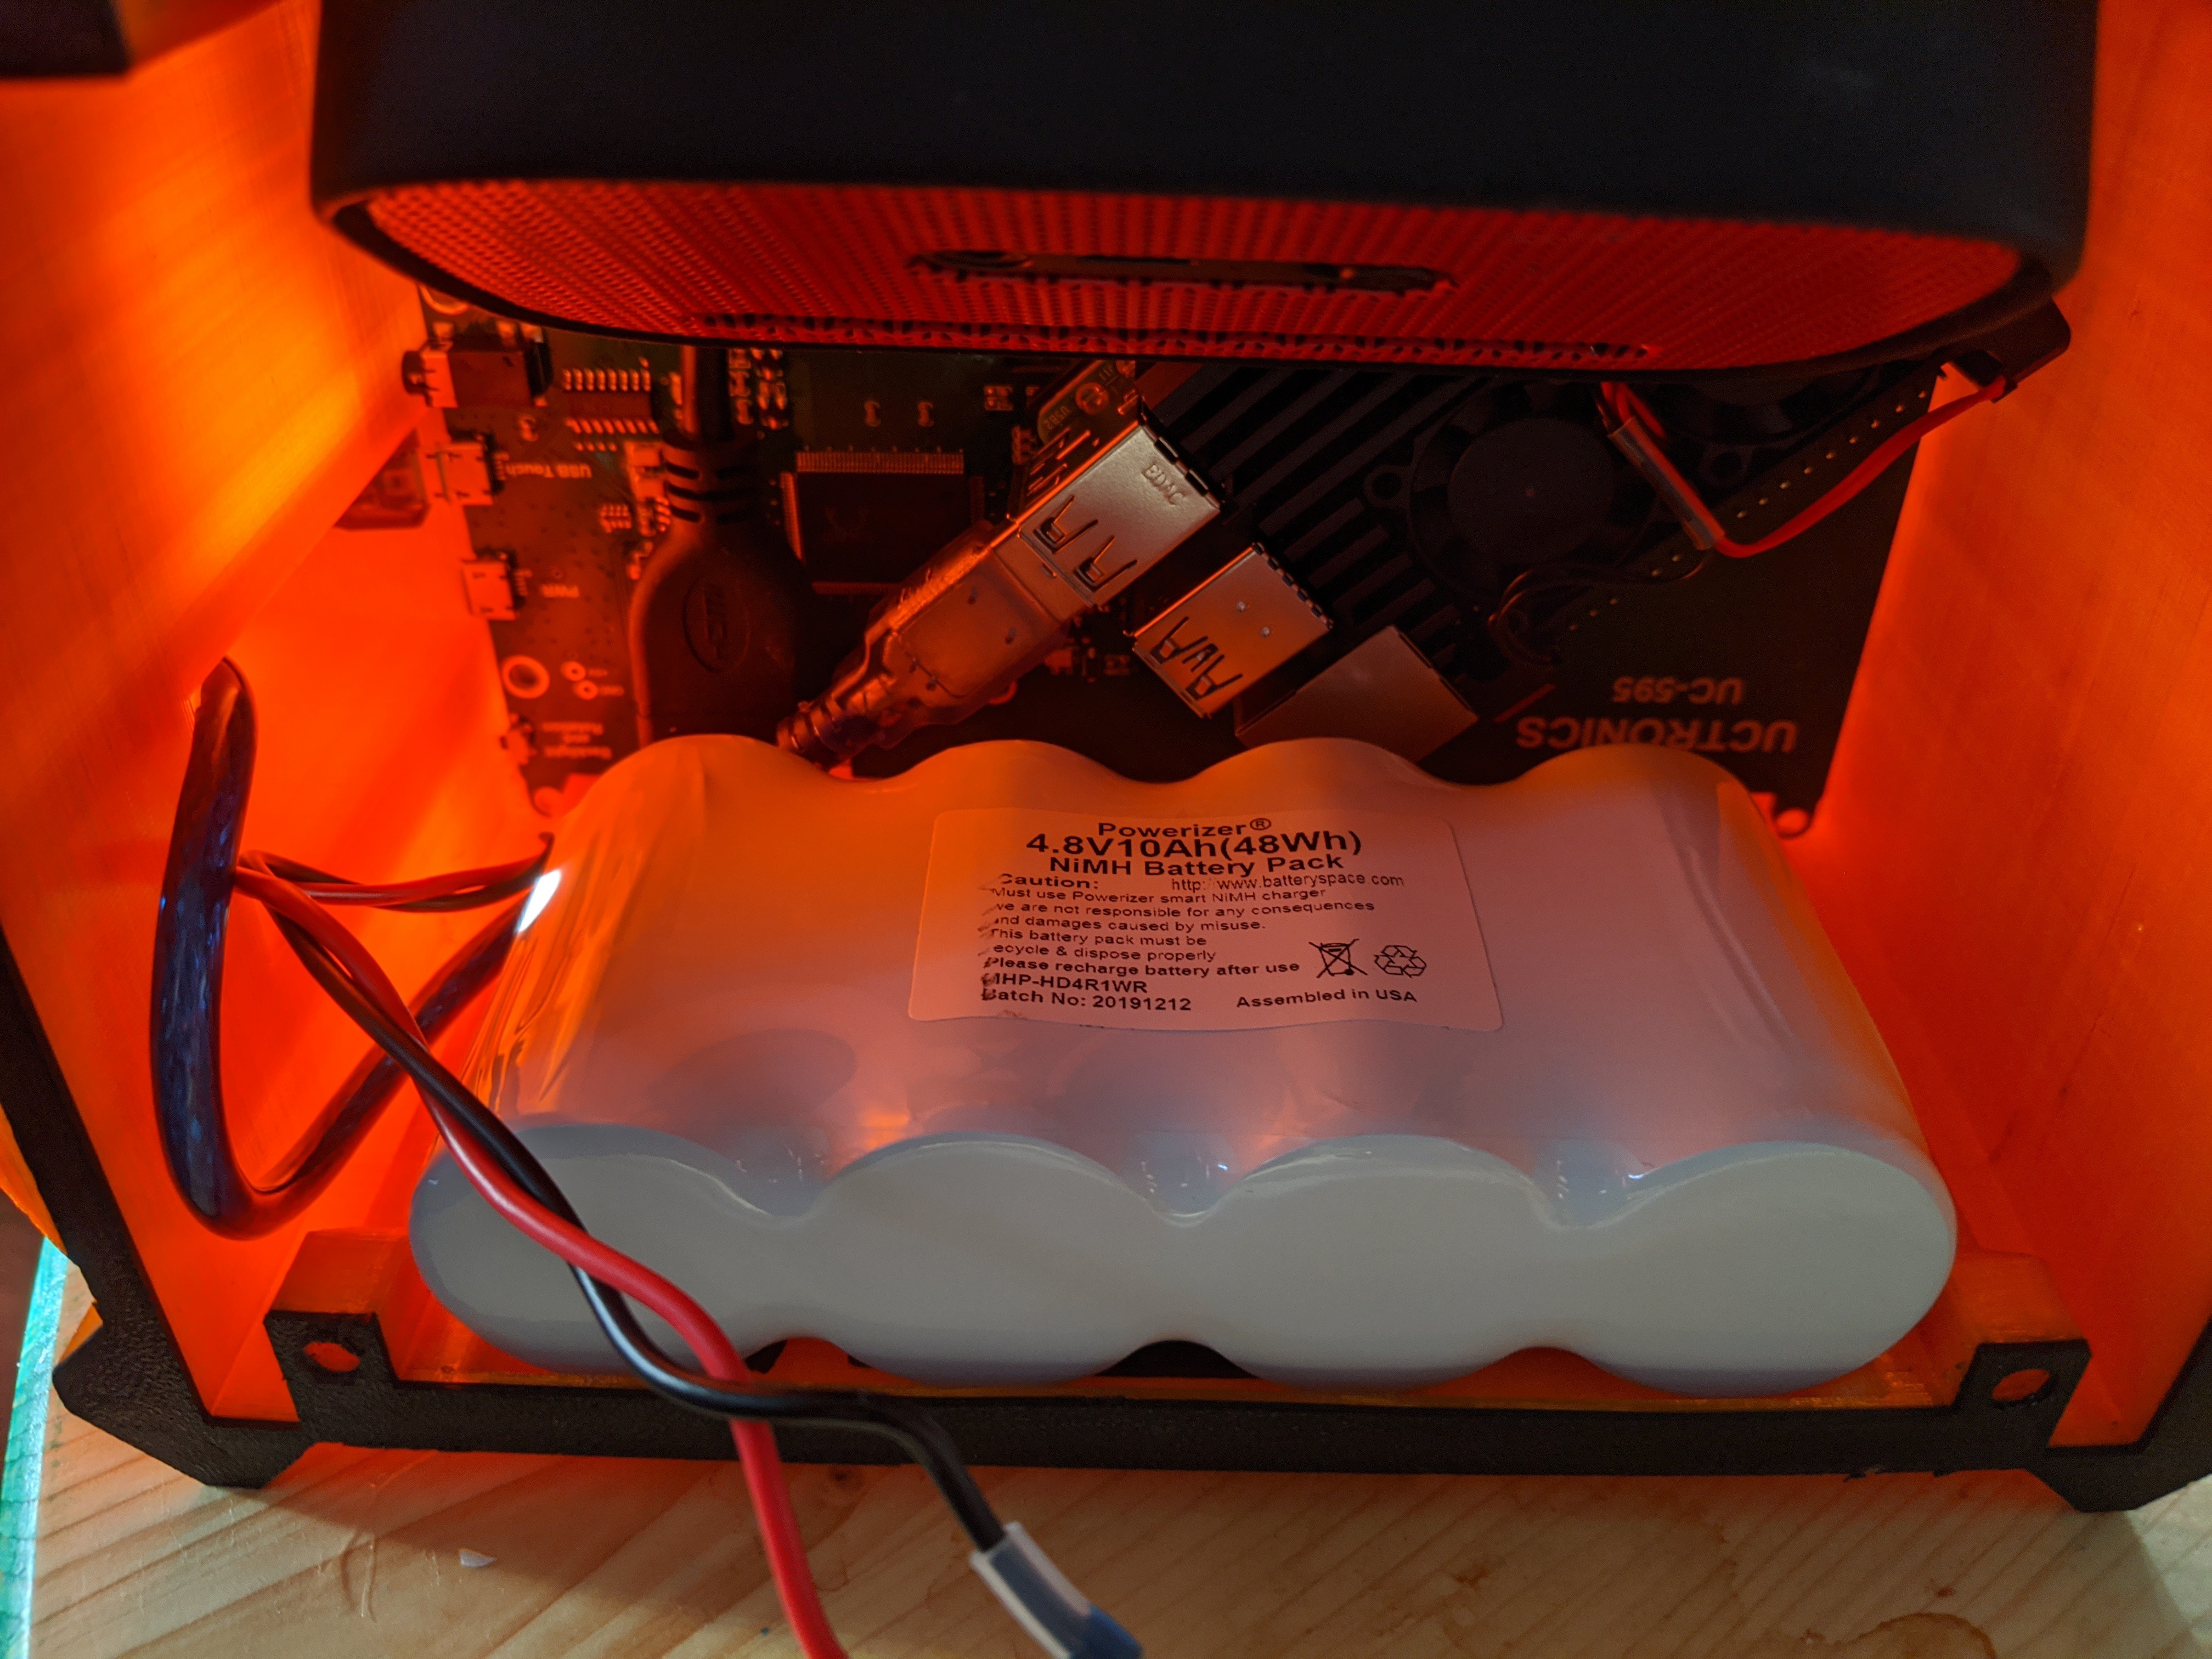
4) Battery Power must supply the pack and have a line out for external devices
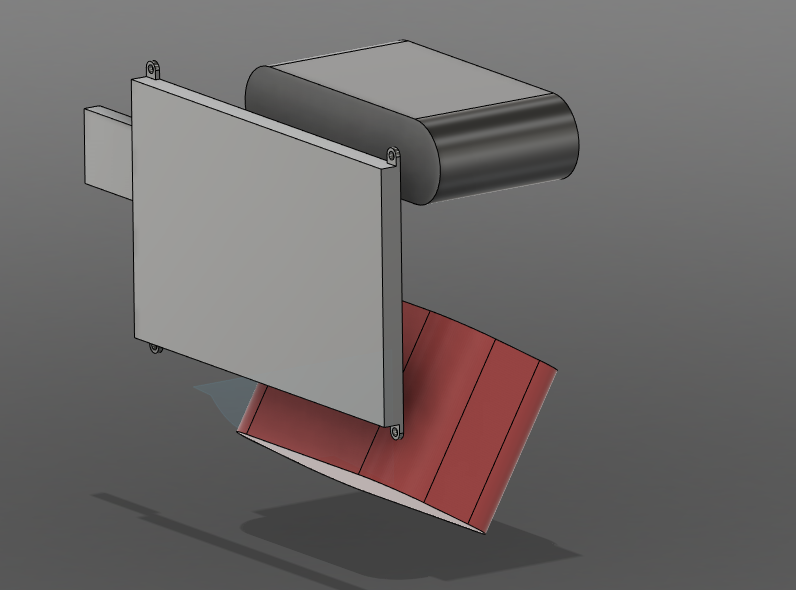
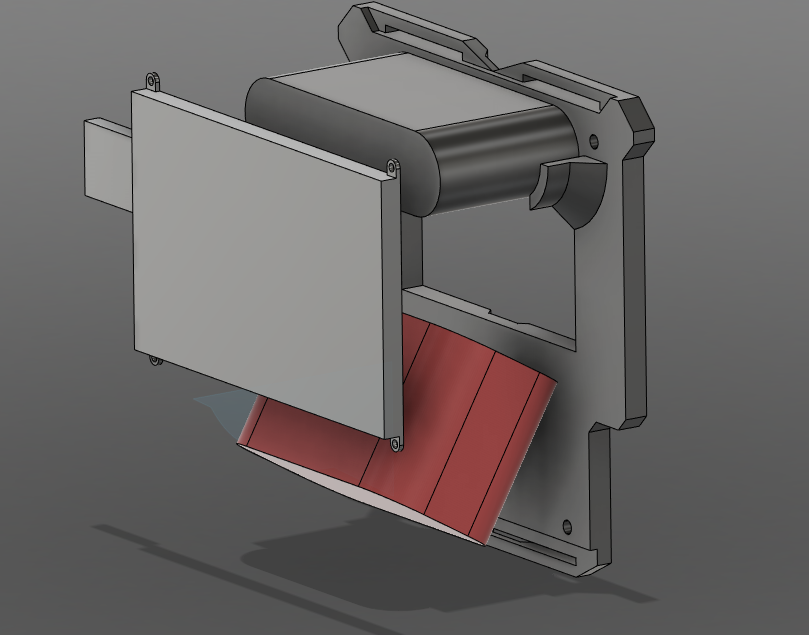
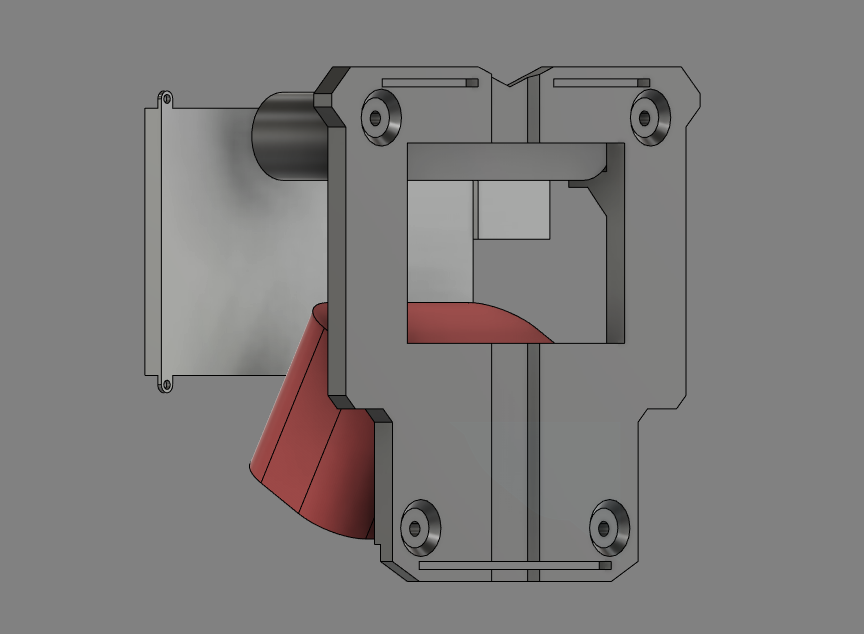
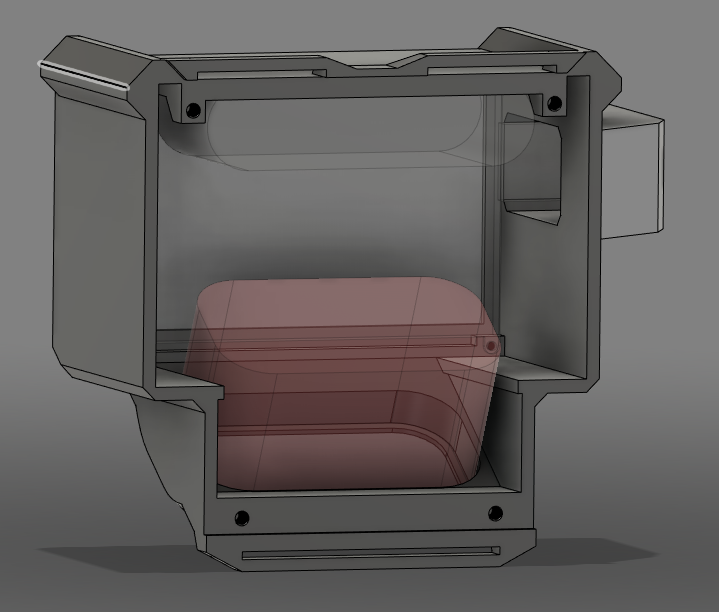
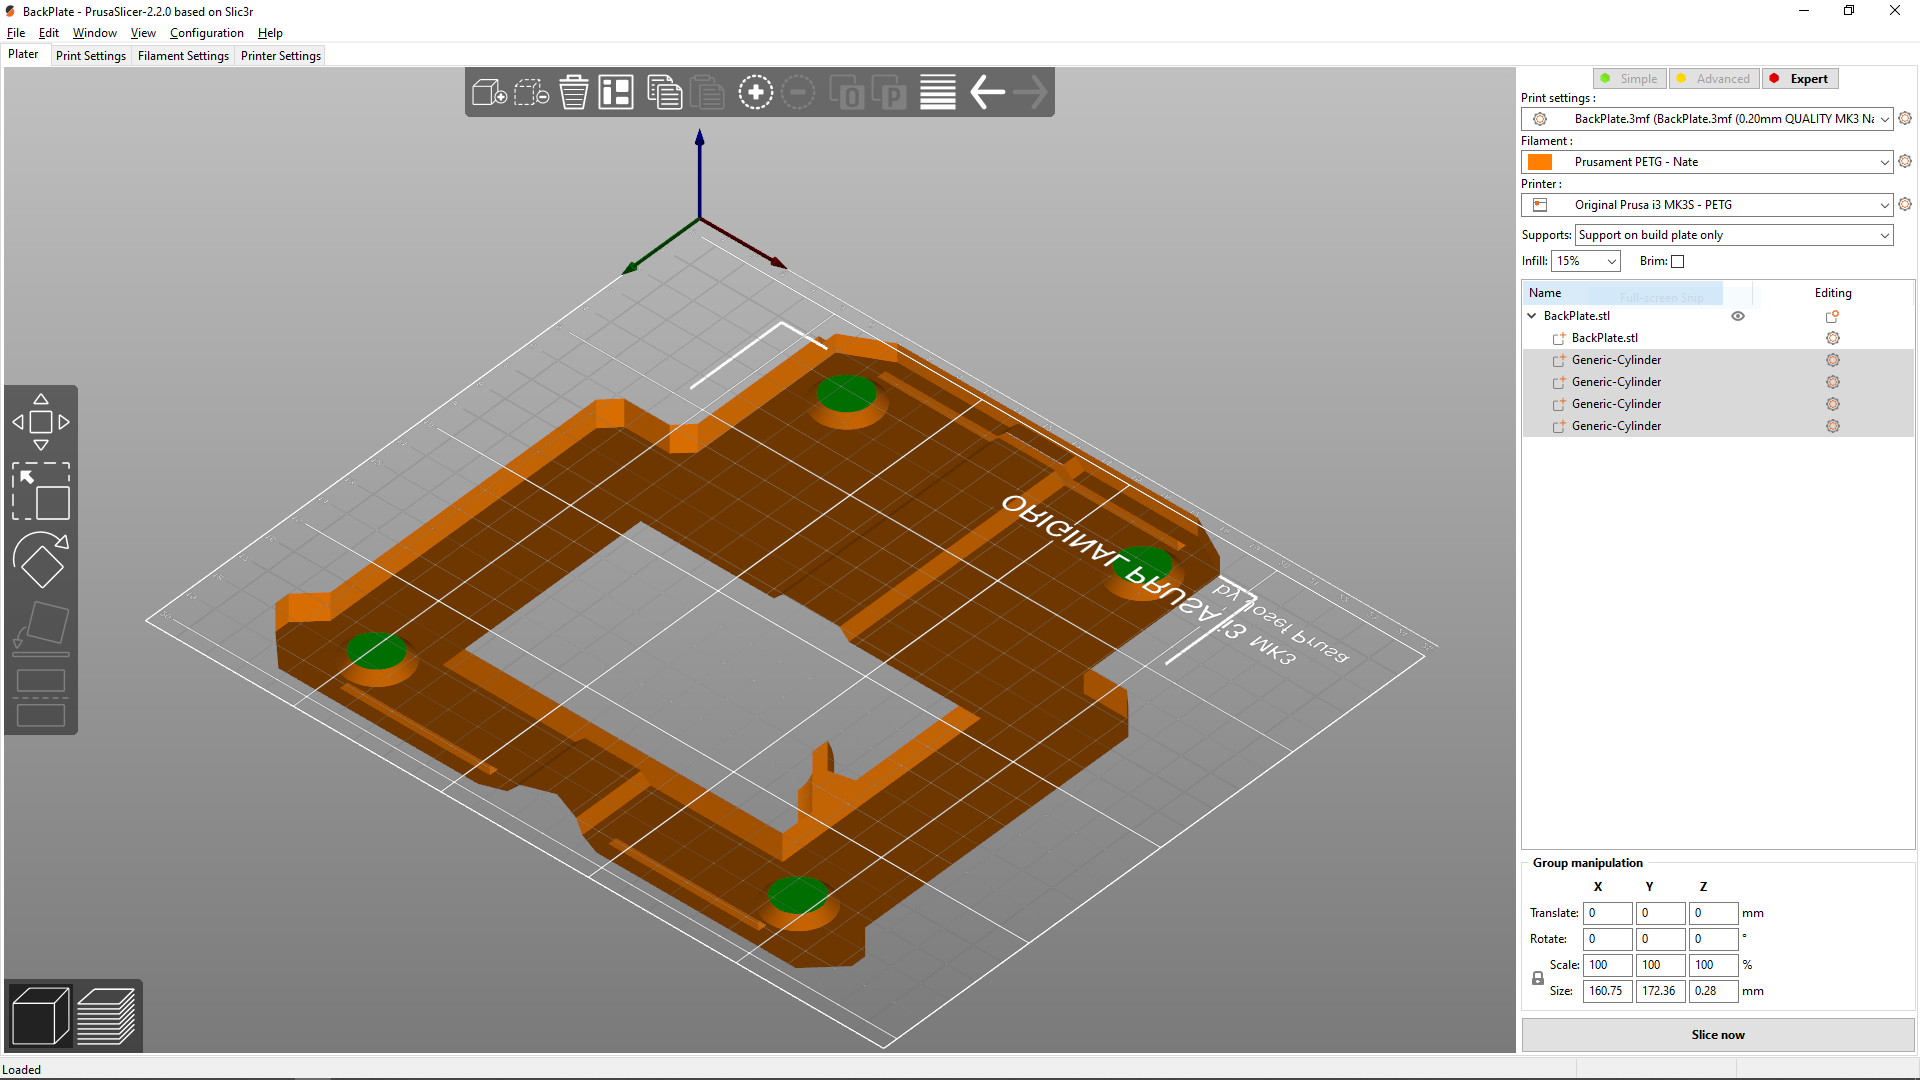
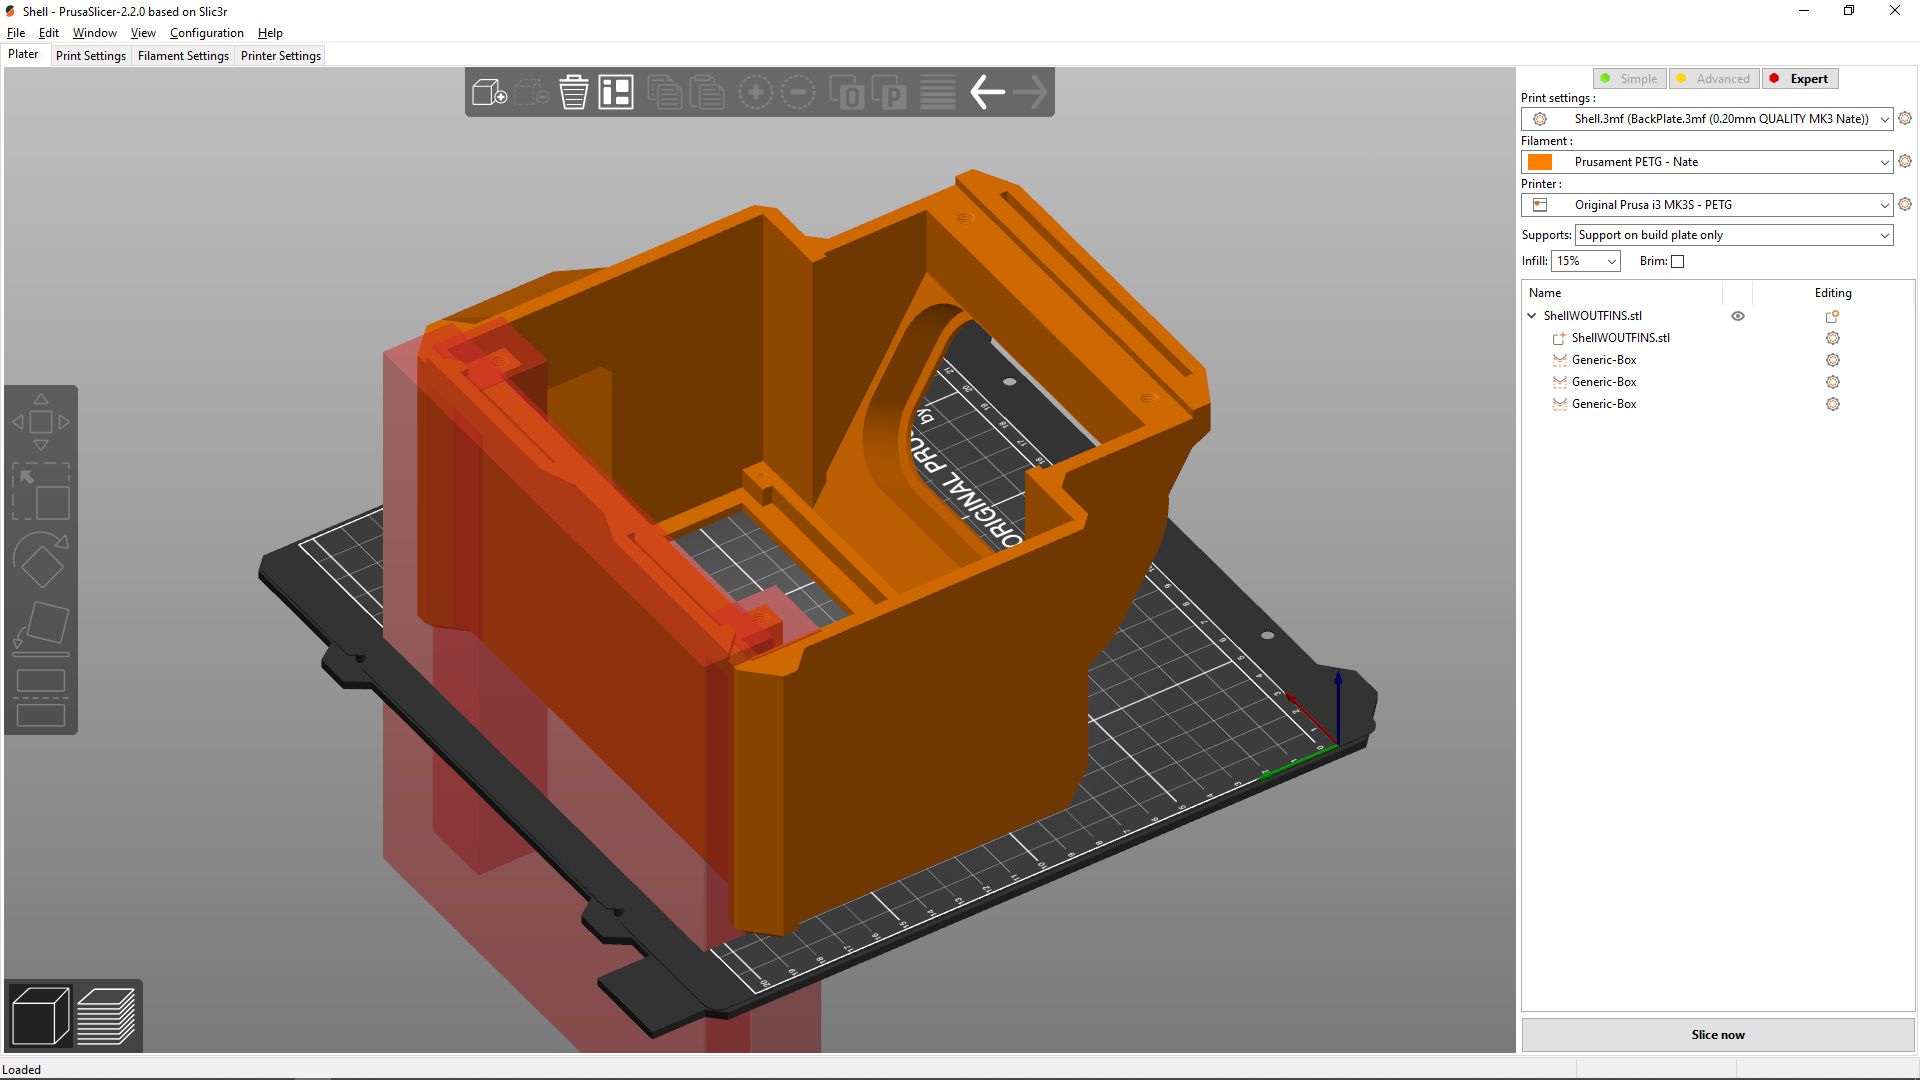
5) Must be a 3D printable housing that fits an 8x8x8 volume
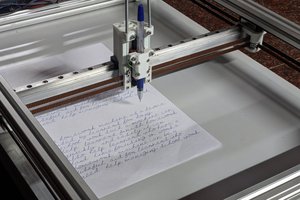
6) Allow anyone to submit a positive message they wish to share with others
7) Eventually Use text filtering and basic sentiment analysis using NLP for further positivity determinations
8) Components sourced from around my home
9) Cyberpunk chunky aesthetic to the pack
10) expandable for future work
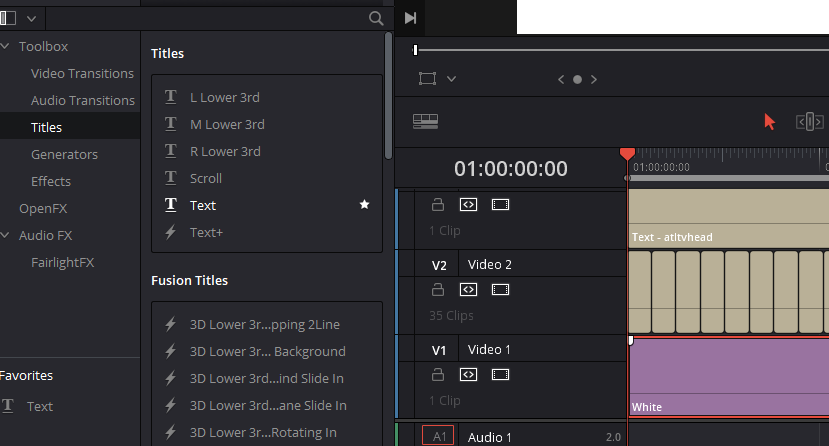
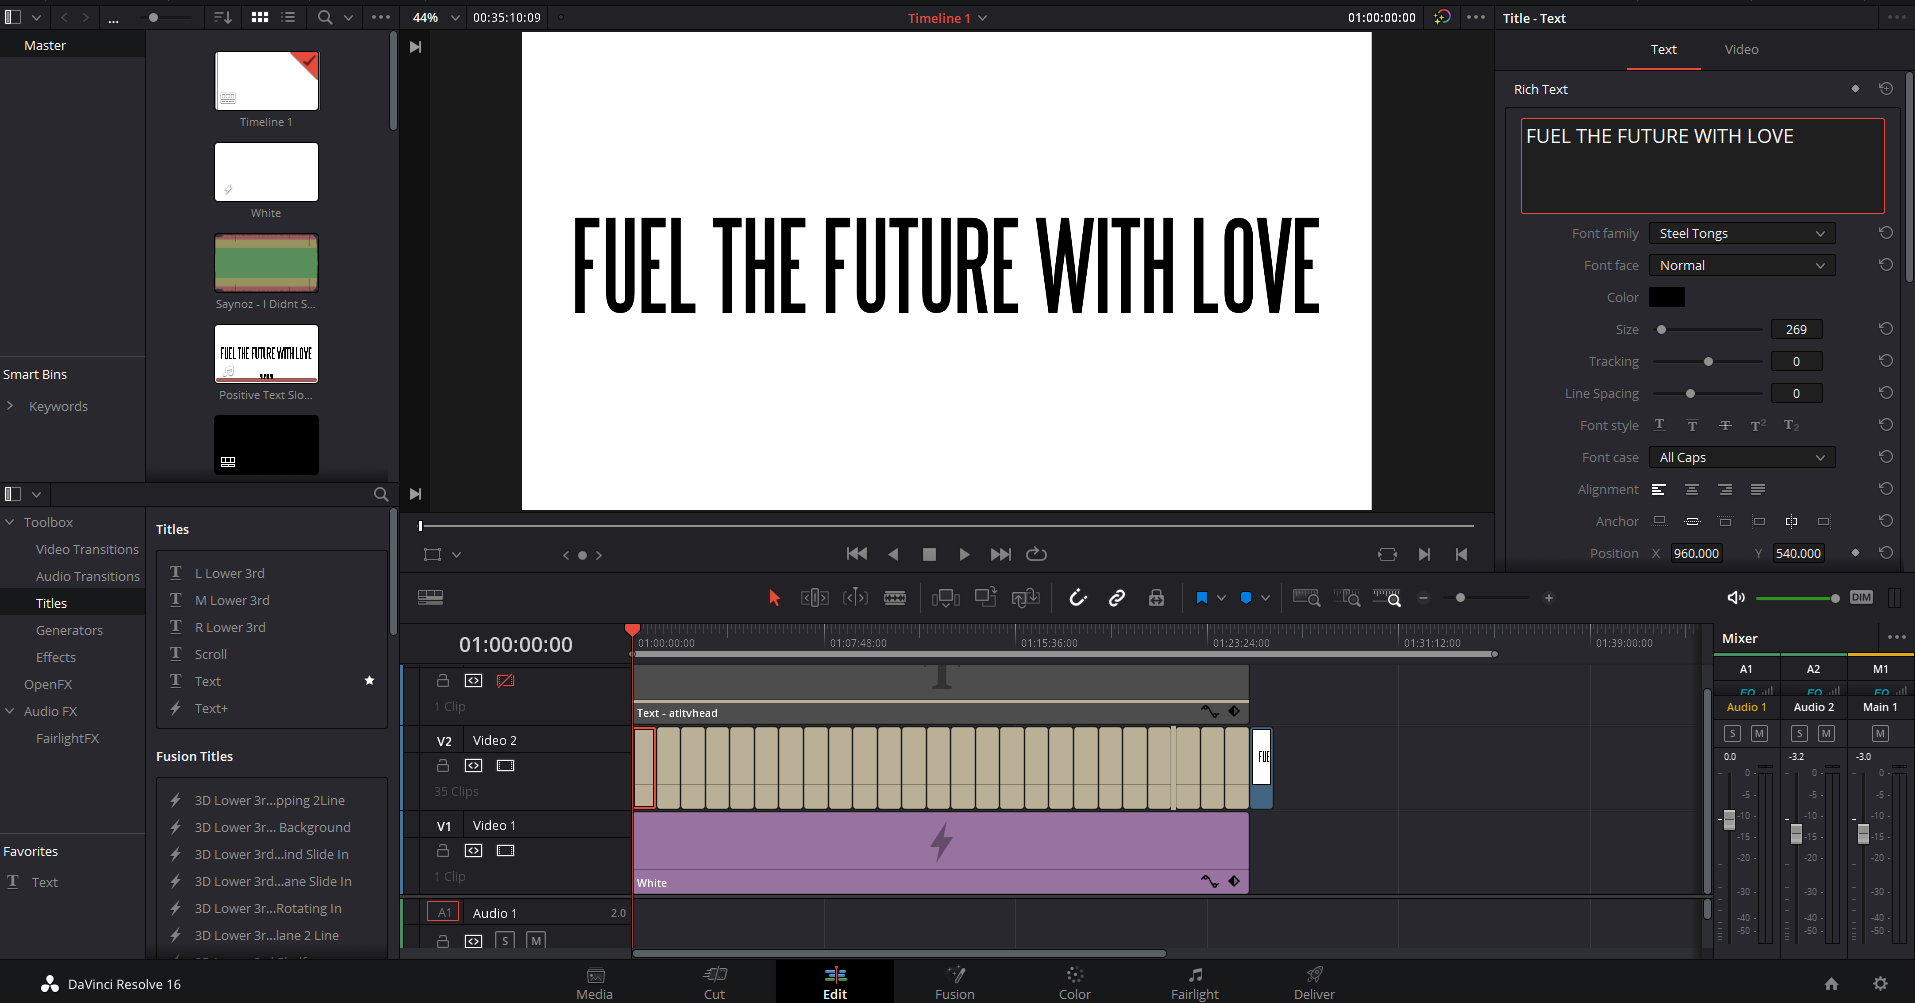 Add more titles for each of your positive messages. Then render the entire video as an mp4
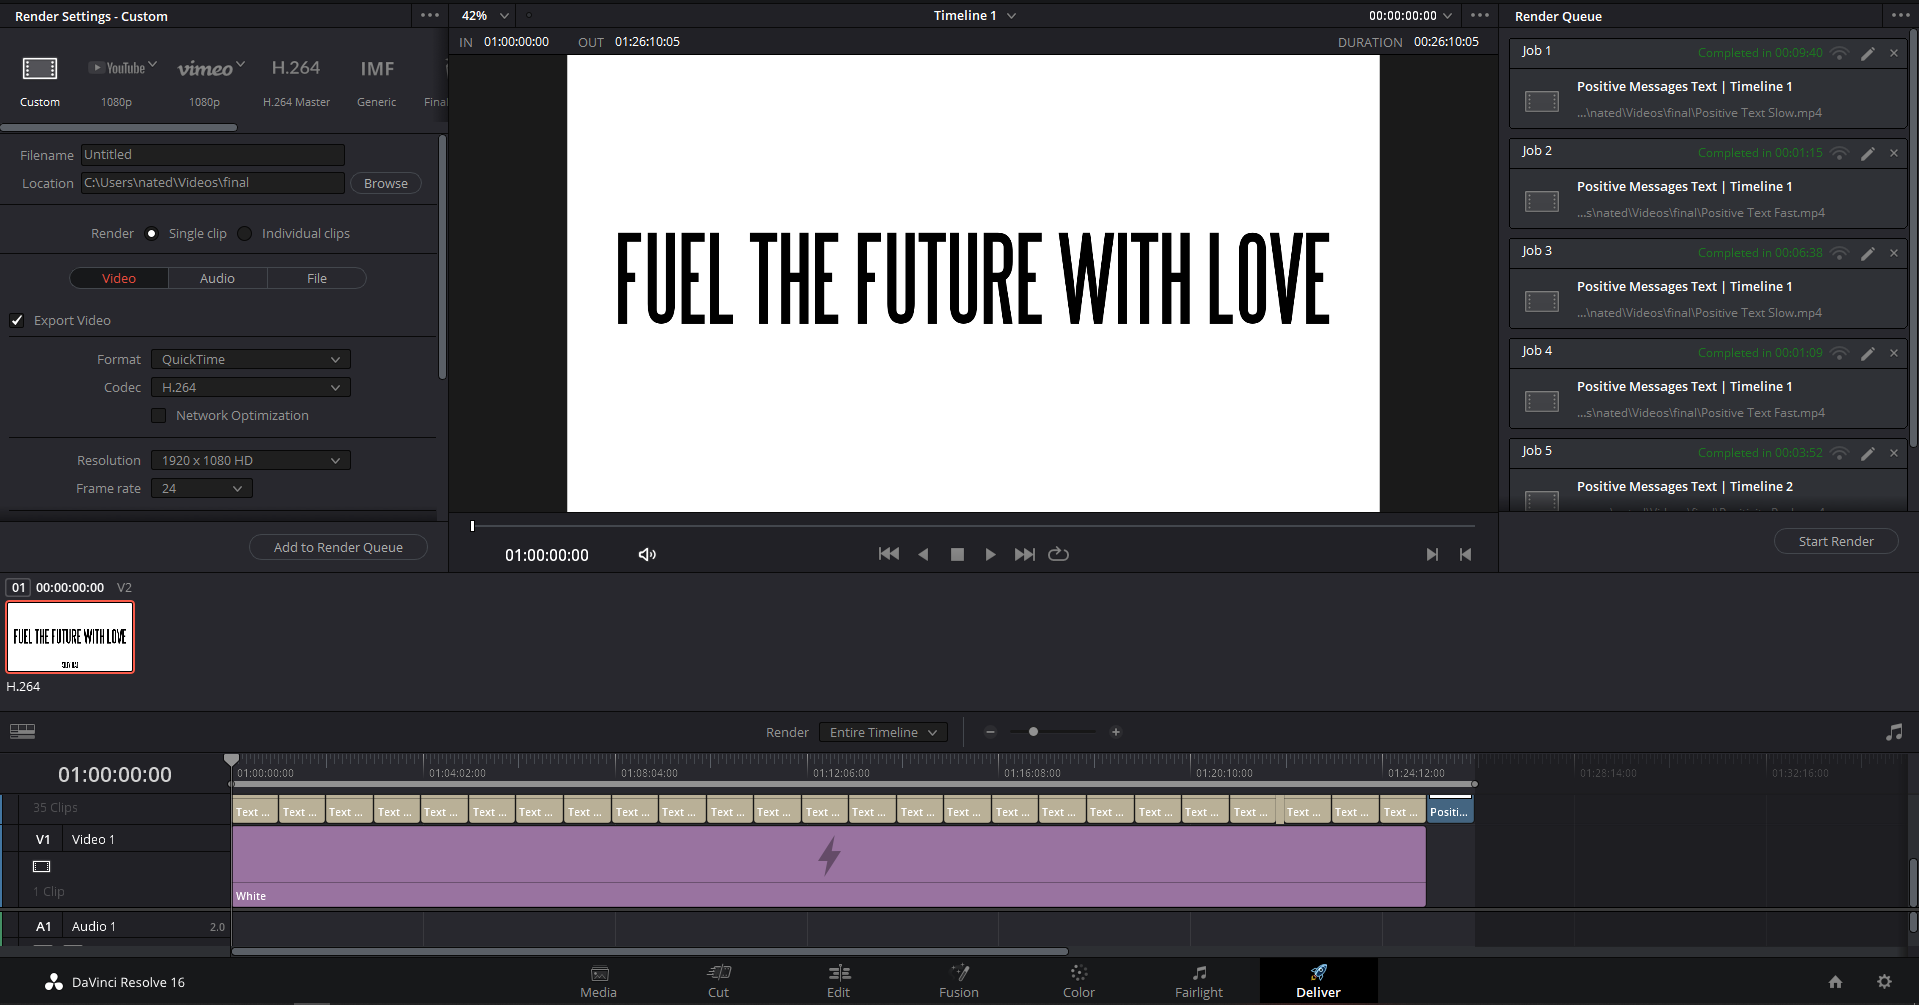

 Steven Hickson
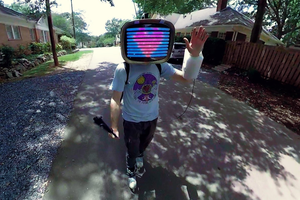
 Devadath P R
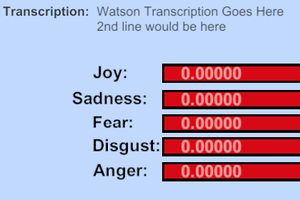
 Jerry Isdale
This makes me happy