Close
0%
0%

SolidCore CoreXY 3D Printer

Modular and Scalable CoreXY 3D Printer

Public Chat
Similar projects worth following
While the SolidCore design is still a work in progress it’s slowly but surely materializing. For now we decided to go with a simple but functional design but still have many plans that will later be adapted for additional tools and configurations. We recently moved the z-axis motors to the bottom of the printer and are setup to either use three independent driven z-axis motors or a single driven motor with the belt path connecting to three z-axis lead screws.

SolidCore CoreXY

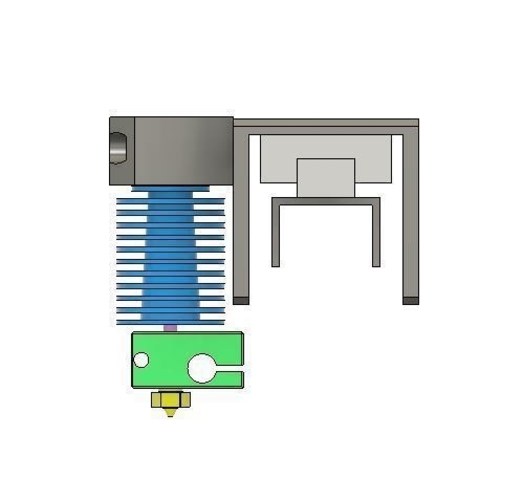
CAD Design In Fusion 360

All Metal Parts

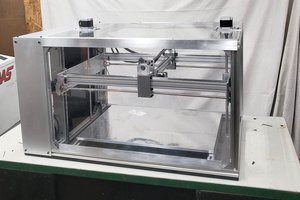
Our long term goal is to is to build a modular platform, not just a printer. Think of it as an ecosystem of parts that can be arranged in different configurations and adapted for unique applications.
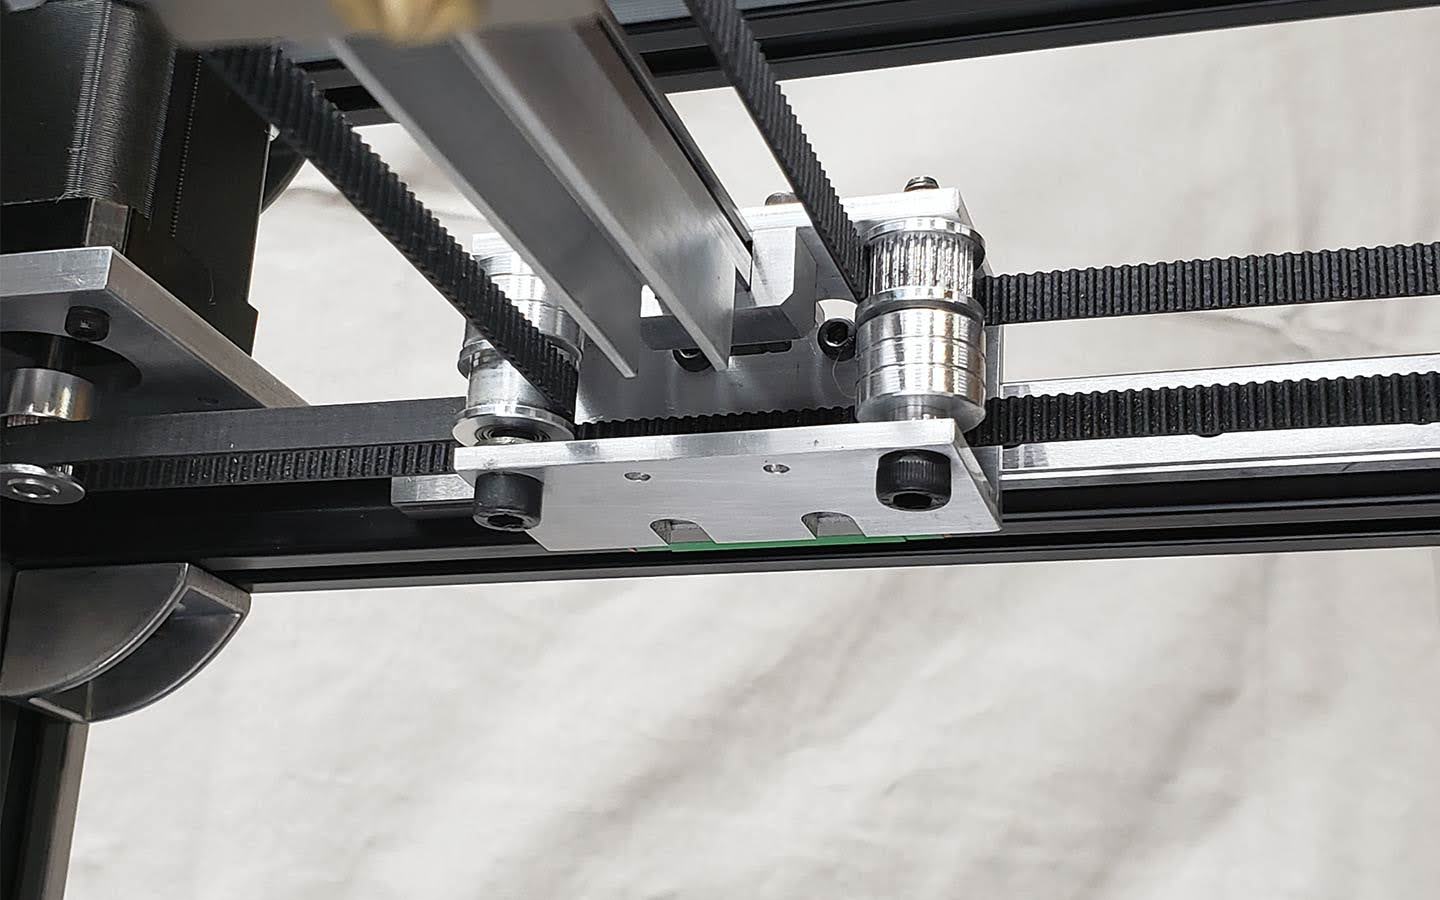
CoreXY Kinematics

CoreXY Diagram
CoreXY Diagram

The corexy parallel kinematics mean’s that the motors are the largest source of inertia within the system, are stationary. This means rapid acceleration because the two stepper motors provide a means of moving both axes independently or simultaneously. The major benefit of the design is that the motors remain in a static position
.
SolidCore CoreXY Mechanical Arrangement
Mechanical Arrangement

Z-Axis
CoreXY Z-Axis

Triple Z-Axis / Belted Z

Triple Z-Axis-Belted Z
Triple Z-Axis / Belted Z
TripleZ-Motors
TripleZ-Motors

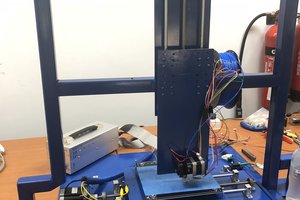
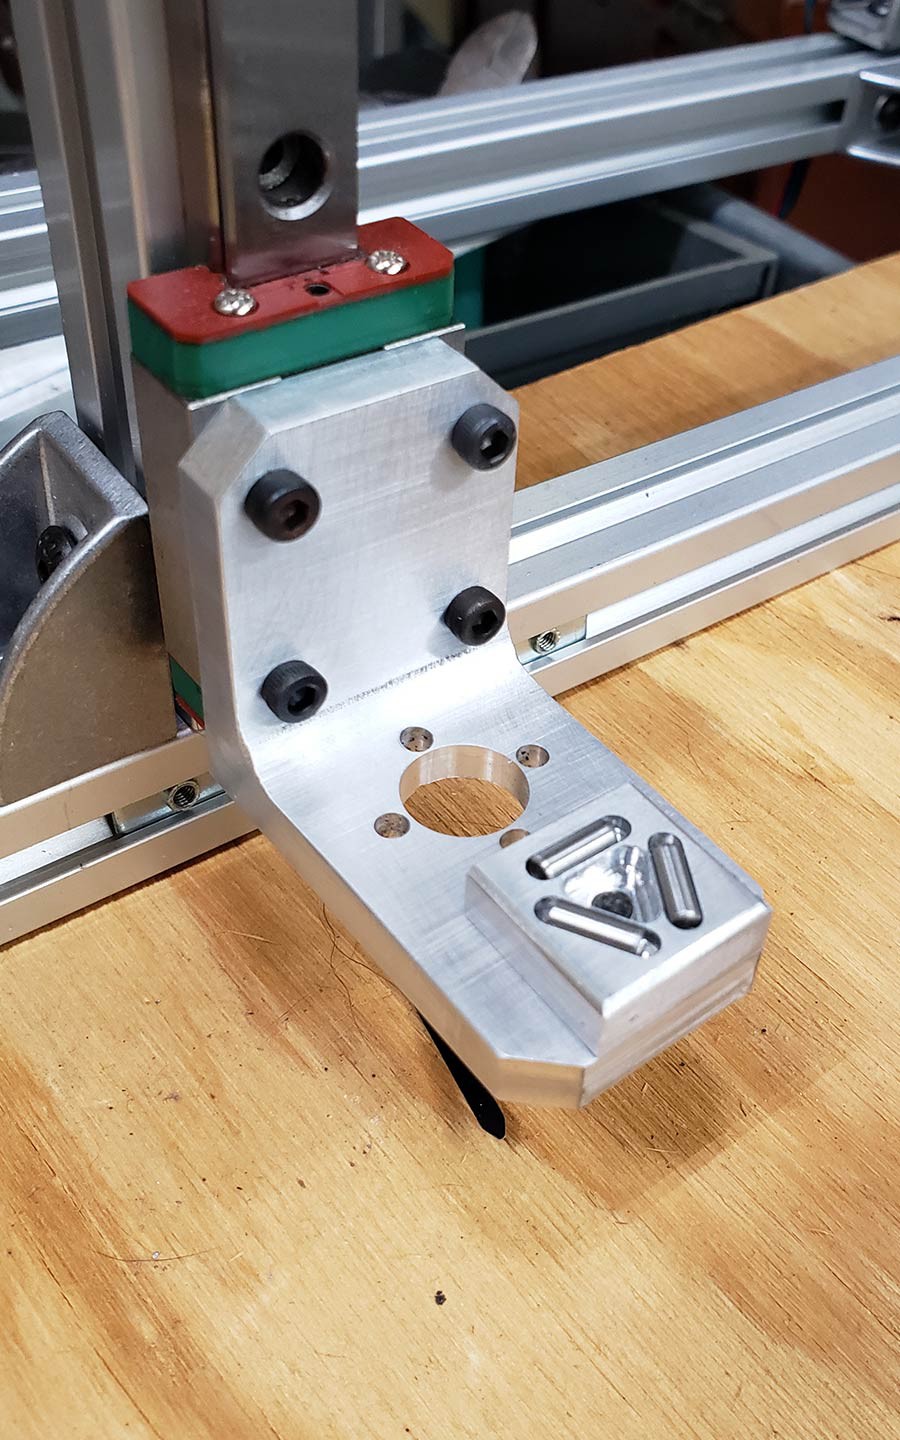
We’re planning to use a 3 independent z-axis setup on the SolidCore 3D Printer. I’m not an engineer but I think that the belt and pulley ratio gives the steppers more torque and increases resolution. The belt to lead screw arrangement also minimizes and vibrations that might be transferred from the motors to the z-axis. Each lead screw will be constrained by an MGN12 linear rail. With the Duet Wifi we can drive 3 steppers and run an auto bed leveling routine using a proximity sensor or probe.

Single Z-Motor vs Triple Z-Motor

Single Z-Motor vs Triple Z-Motor

The typical core-xy 3d printer parts arrangement has a single NEMA 17 stepper motor with the belt routing to all two or three lead screws which move together in sync. Originally we were working on a design that used this single z-axis motor configuration. But after having trouble sourcing the belt that was the perfect length I decided to just go with three stepper motors similar to the HeVort printer or Jubilee tool changing core xy platform.

Duet 3 Mainboard H6C - RepRap Firmware

Duet 3 Mainboard H6C - RepRap Firmware

RepRap Firmware: Independent Z Motors

Many 3d printer users frown upon the idea of multiple steppers for independent z motors due to syncing issues. But with a good electronics setup like the 32 bit Duet board and the RepRap Firmware keeping the three lead screws in sync should be fie. When powered up stepper motors tend to jump to the four steps that match the phase current. Some will jump forwards or backward after a number of power cycles.
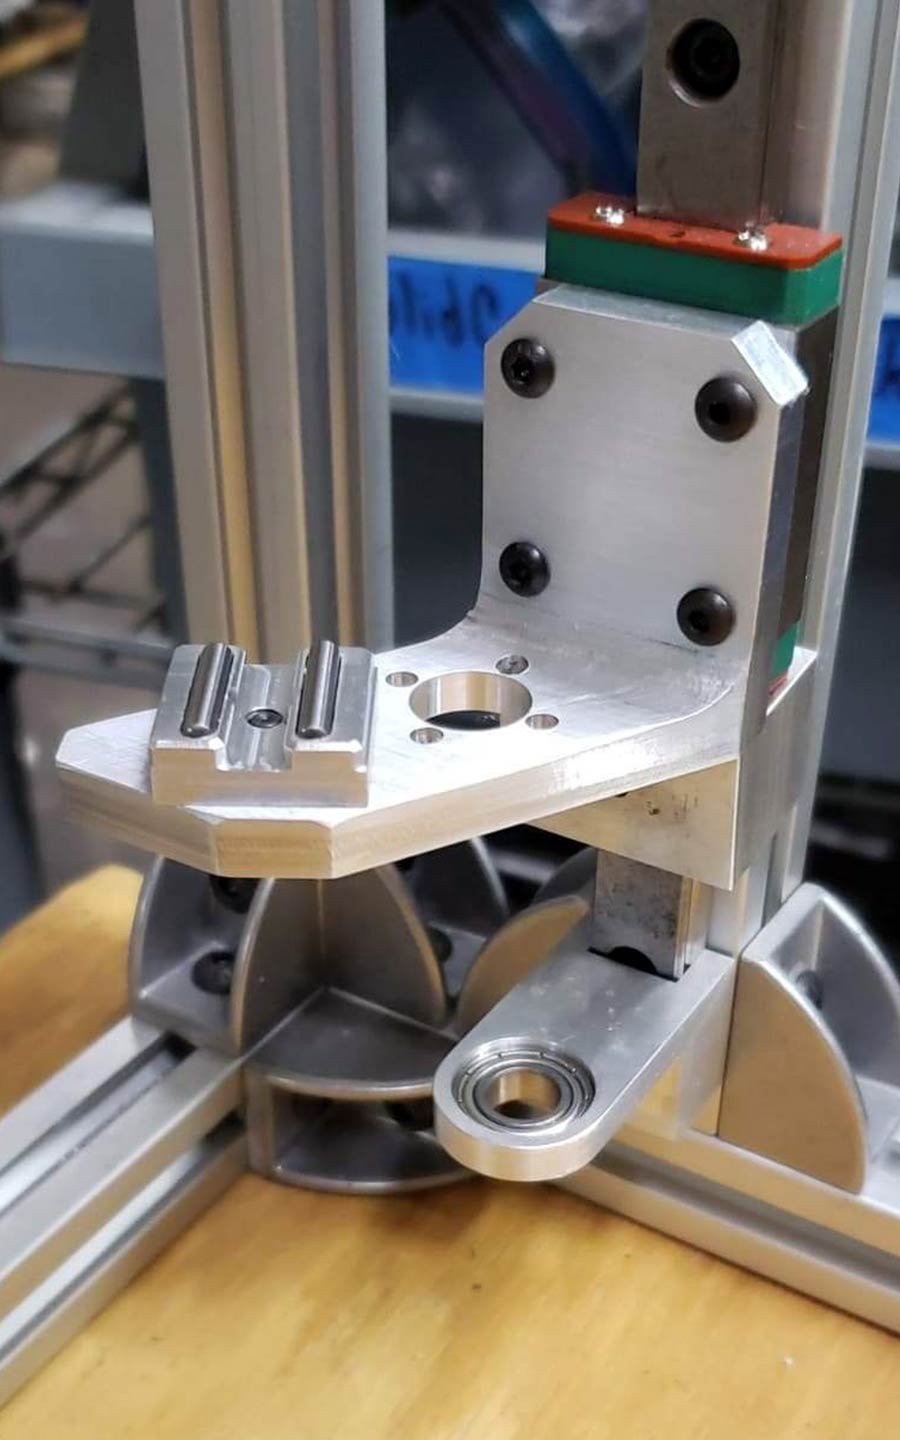
CoreXY Idler Mount

SolidCore CoreXY Documentation

3D Distributed Documentation 

step - 12.00 MB - 06/06/2022 at 08:35

Download

SolidCore CoreXY Printer Updates 10-25-21.pdf

SolidCore CoreXY Project Updates 10-25-21

Adobe Portable Document Format - 3.65 MB - 11/28/2021 at 07:46

Preview
Download

  • 1 × Frame 2020 Aluminum Extrusions

  • XY-Idler Pulley Mounting Brackets

    Shane Hooper06/06/2022 at 08:41 0 comments

    GT2 Belt Pulley Idler Mounts

  • Kinematic Bed Setup

    Shane Hooper01/23/2022 at 19:27 0 comments

    SolidCore Kinematic Bed Setup

  • Kinematic Bed Mounting

    Shane Hooper10/06/2021 at 04:45 0 comments

    SolidCore Kinematic Bed Design

    We recently started working on the SolidCore printer‘s bed leveling and mounting system. The z-axis uses a 3-point kinematic bed mounting with magnetic pivot spheres on each mount This properly constrains the bed at 3 points of contact. The pivot balls attach to the bed mounts and keep position by the weight of the bed. The steel pivot balls will slide along the dowel pins as the bed expands from heating up. 

    3-Point Bed Leveling

    Three point bed leveling uses three independently driven lead screws to level the bed and compensate for an uneven build plate. The Z-axis lead screws are used as the 3 points that make up a triangle, defining one plane. 

    Three Points Make A Plane

    The advantage of a kinematic bed mount is that the defined plane of the bed, a kinematic mount, is that the aluminum plate can properly expand without bending the plate.

    Z-Brackets

  • Carriage Design

    Shane Hooper02/18/2021 at 23:58 0 comments

    Carriage Design

    I've been working out the geometry for a modular y-carriage design for the SolidCore printer. I prefer to have the hotend and sensor interchangeable. Here's some different models I'm working on.

    • Independent hotend/probe mount.
    • Combined hotend/probe mount.

    The carriage and gantry are designed to be light weight and strong. We currently use c-shaped aluminum stock because it reduces machining time. The reduced machining time and minimized waste helps but it’s a compromise. Thats going to change soon. We’ll probably make some changes such as reorienting the the y-axis linear rail into a vertical position similar to the RailCore but the current horizontal version will be easier to adapt an E3D Toolchanger. 

    Carriage Assembly Mounted to MGN12 Linear Rail


    Balancing the pull to the center of carriage instead above it or below seems to be more rigid and minimize deflection. The belts are somewhat within the same plane of the three linear rails to avoid rocking cantilever loads that other designs may have with the belts up high or down low.


    Belt Anchor And Tensioner

    The new carriage design has M2 tapped holes to mount the y-axis endstop switch and act as a self locking post. For now the motor mount plate has slots to tension the belts.  

View all 4 project logs

  • 1
    X-Axis Linear Rails Install & Alignment
  • 2
    X-Carriage Assembly
  • 3
    Y-Carriage Assembly

View all 5 instructions

Enjoy this project?

Share

Discussions

Similar Projects

Does this project spark your interest?

Become a member to follow this project and never miss any updates