0%
0%
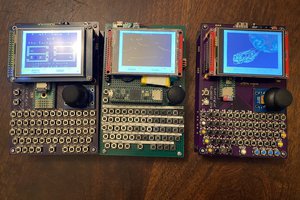
PZ1 6502 laptop
I am building a laptop with a W65C02, lots of memory, SID-sound, decent graphics and a filesystem.
Become a Hackaday.io member
Already have an account? Log in.
Just one more thing
To make the experience fit your profile, pick a username and tell us what interests you.
Pick an awesome username
hackaday.io/
Your profile's URL: hackaday.io/username. Max 25 alphanumeric characters.
Pick a few interests
Projects that share your interests
People that share your interests


 Jorj Bauer
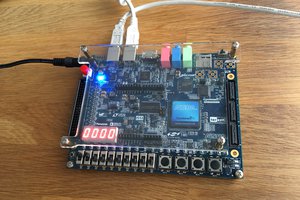
 ErwinM
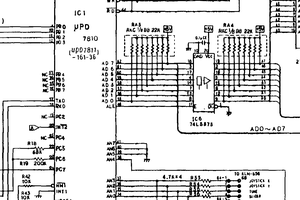
 mateusz.kolanski
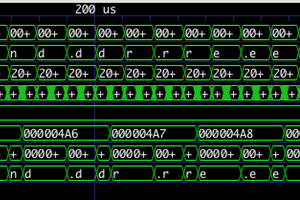
Building a laptop with a W65C02 processor, ample memory, SID sound, decent graphics, and a filesystem entails designing or obtaining suitable components. Integrate static RAM for memory, SID chip emulator for audio, and graphics processor or software-based rendering. Implement a filesystem compatible with chosen storage media like SD cards. Design peripheral interfaces for input/output devices. Consider power management for portability. Choose or develop an operating system like Contiki OS. Test extensively for reliability. Document progress and seek support from retro computing communities. For more details visit https://reminiapkking.com/remini-mod-apk-for-android/