 FiveseveN
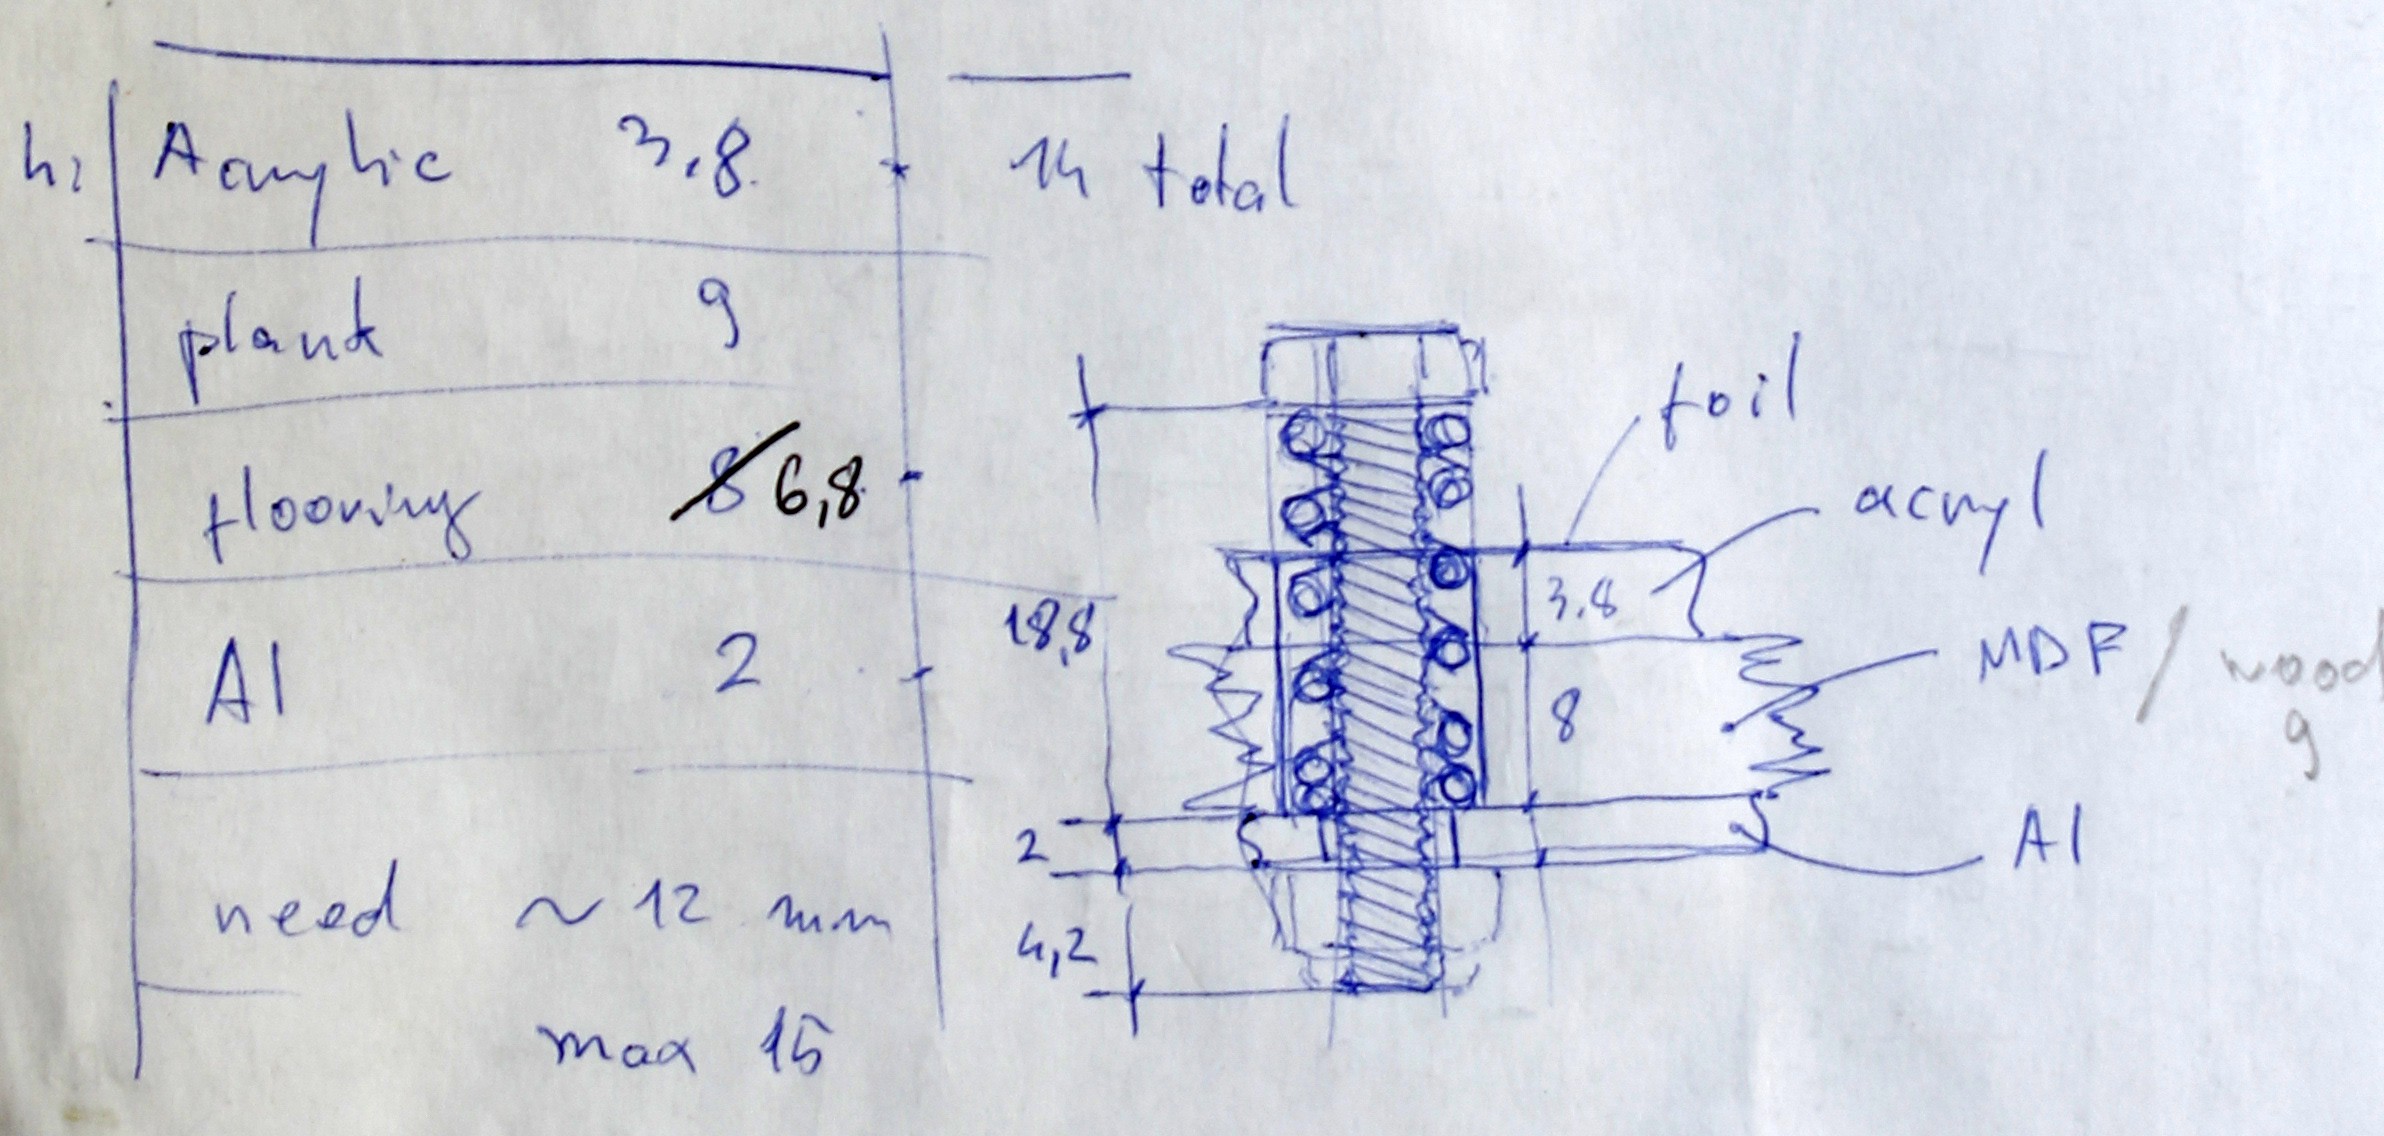
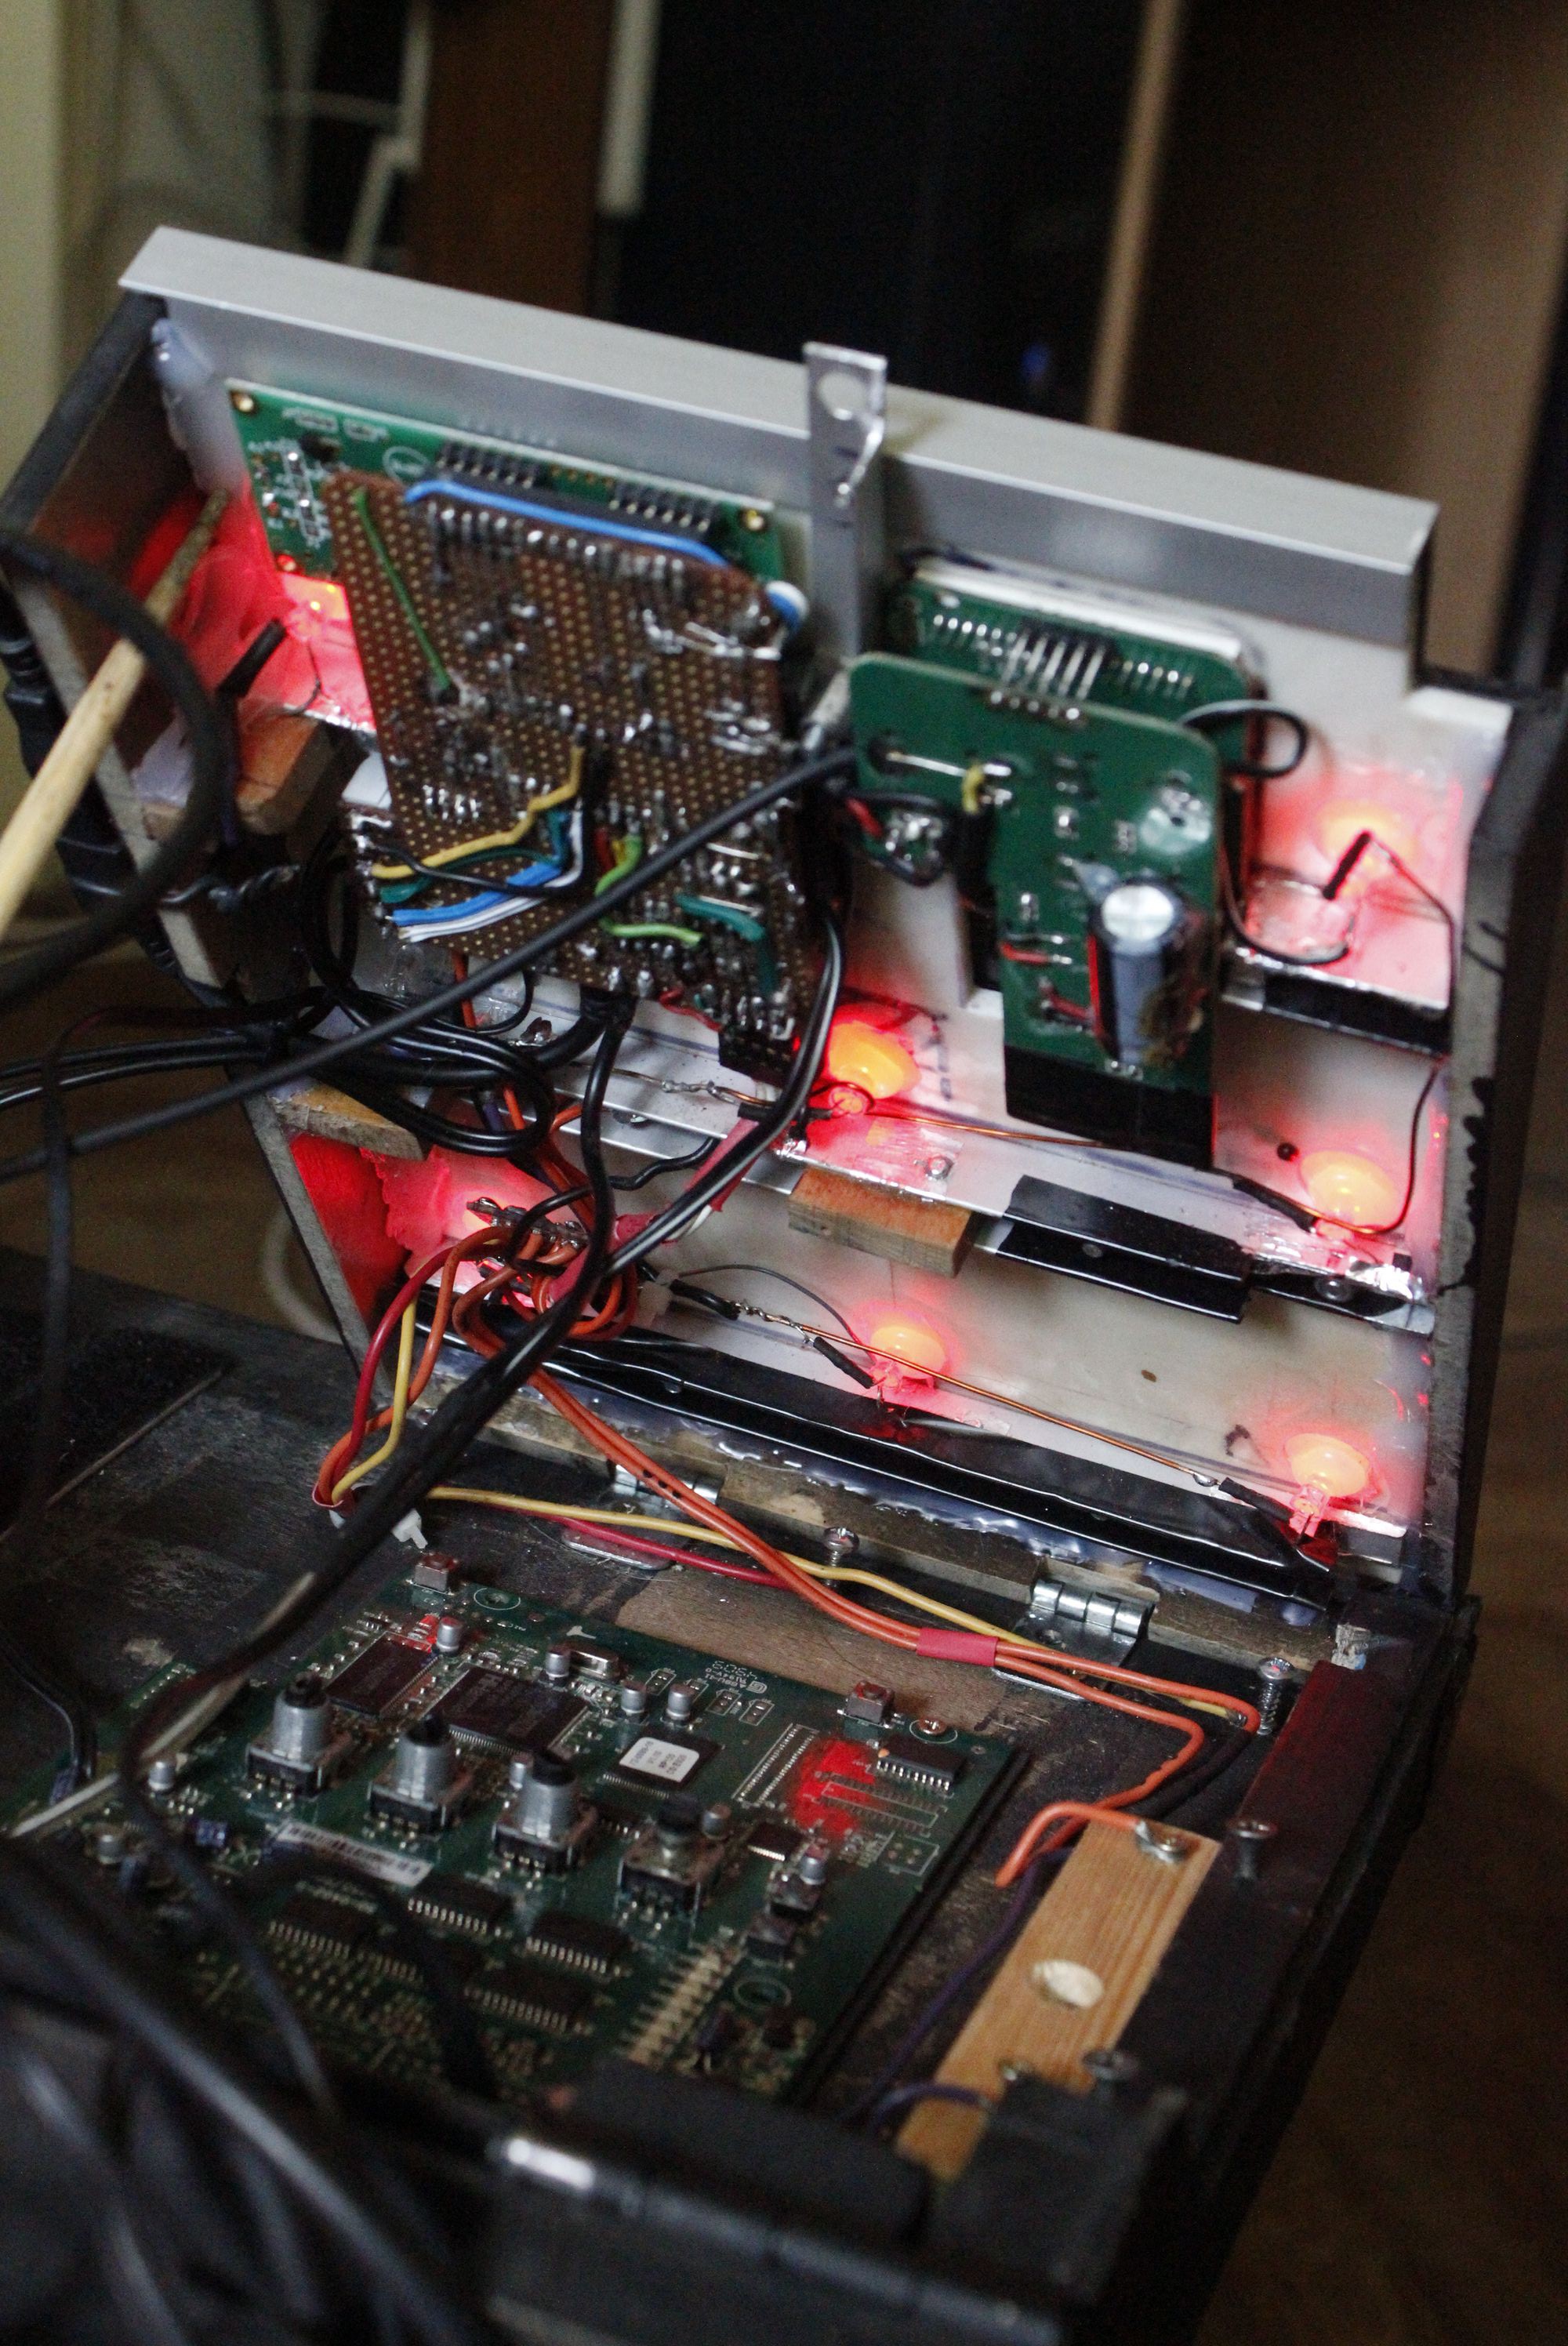
The brains of this operation reside in this slightly wedge-shaped enclosure I built from acrylic (covered with auto window tint), MDF, some unidentified white plastic sheet, two hinges and a bit of aluminium:
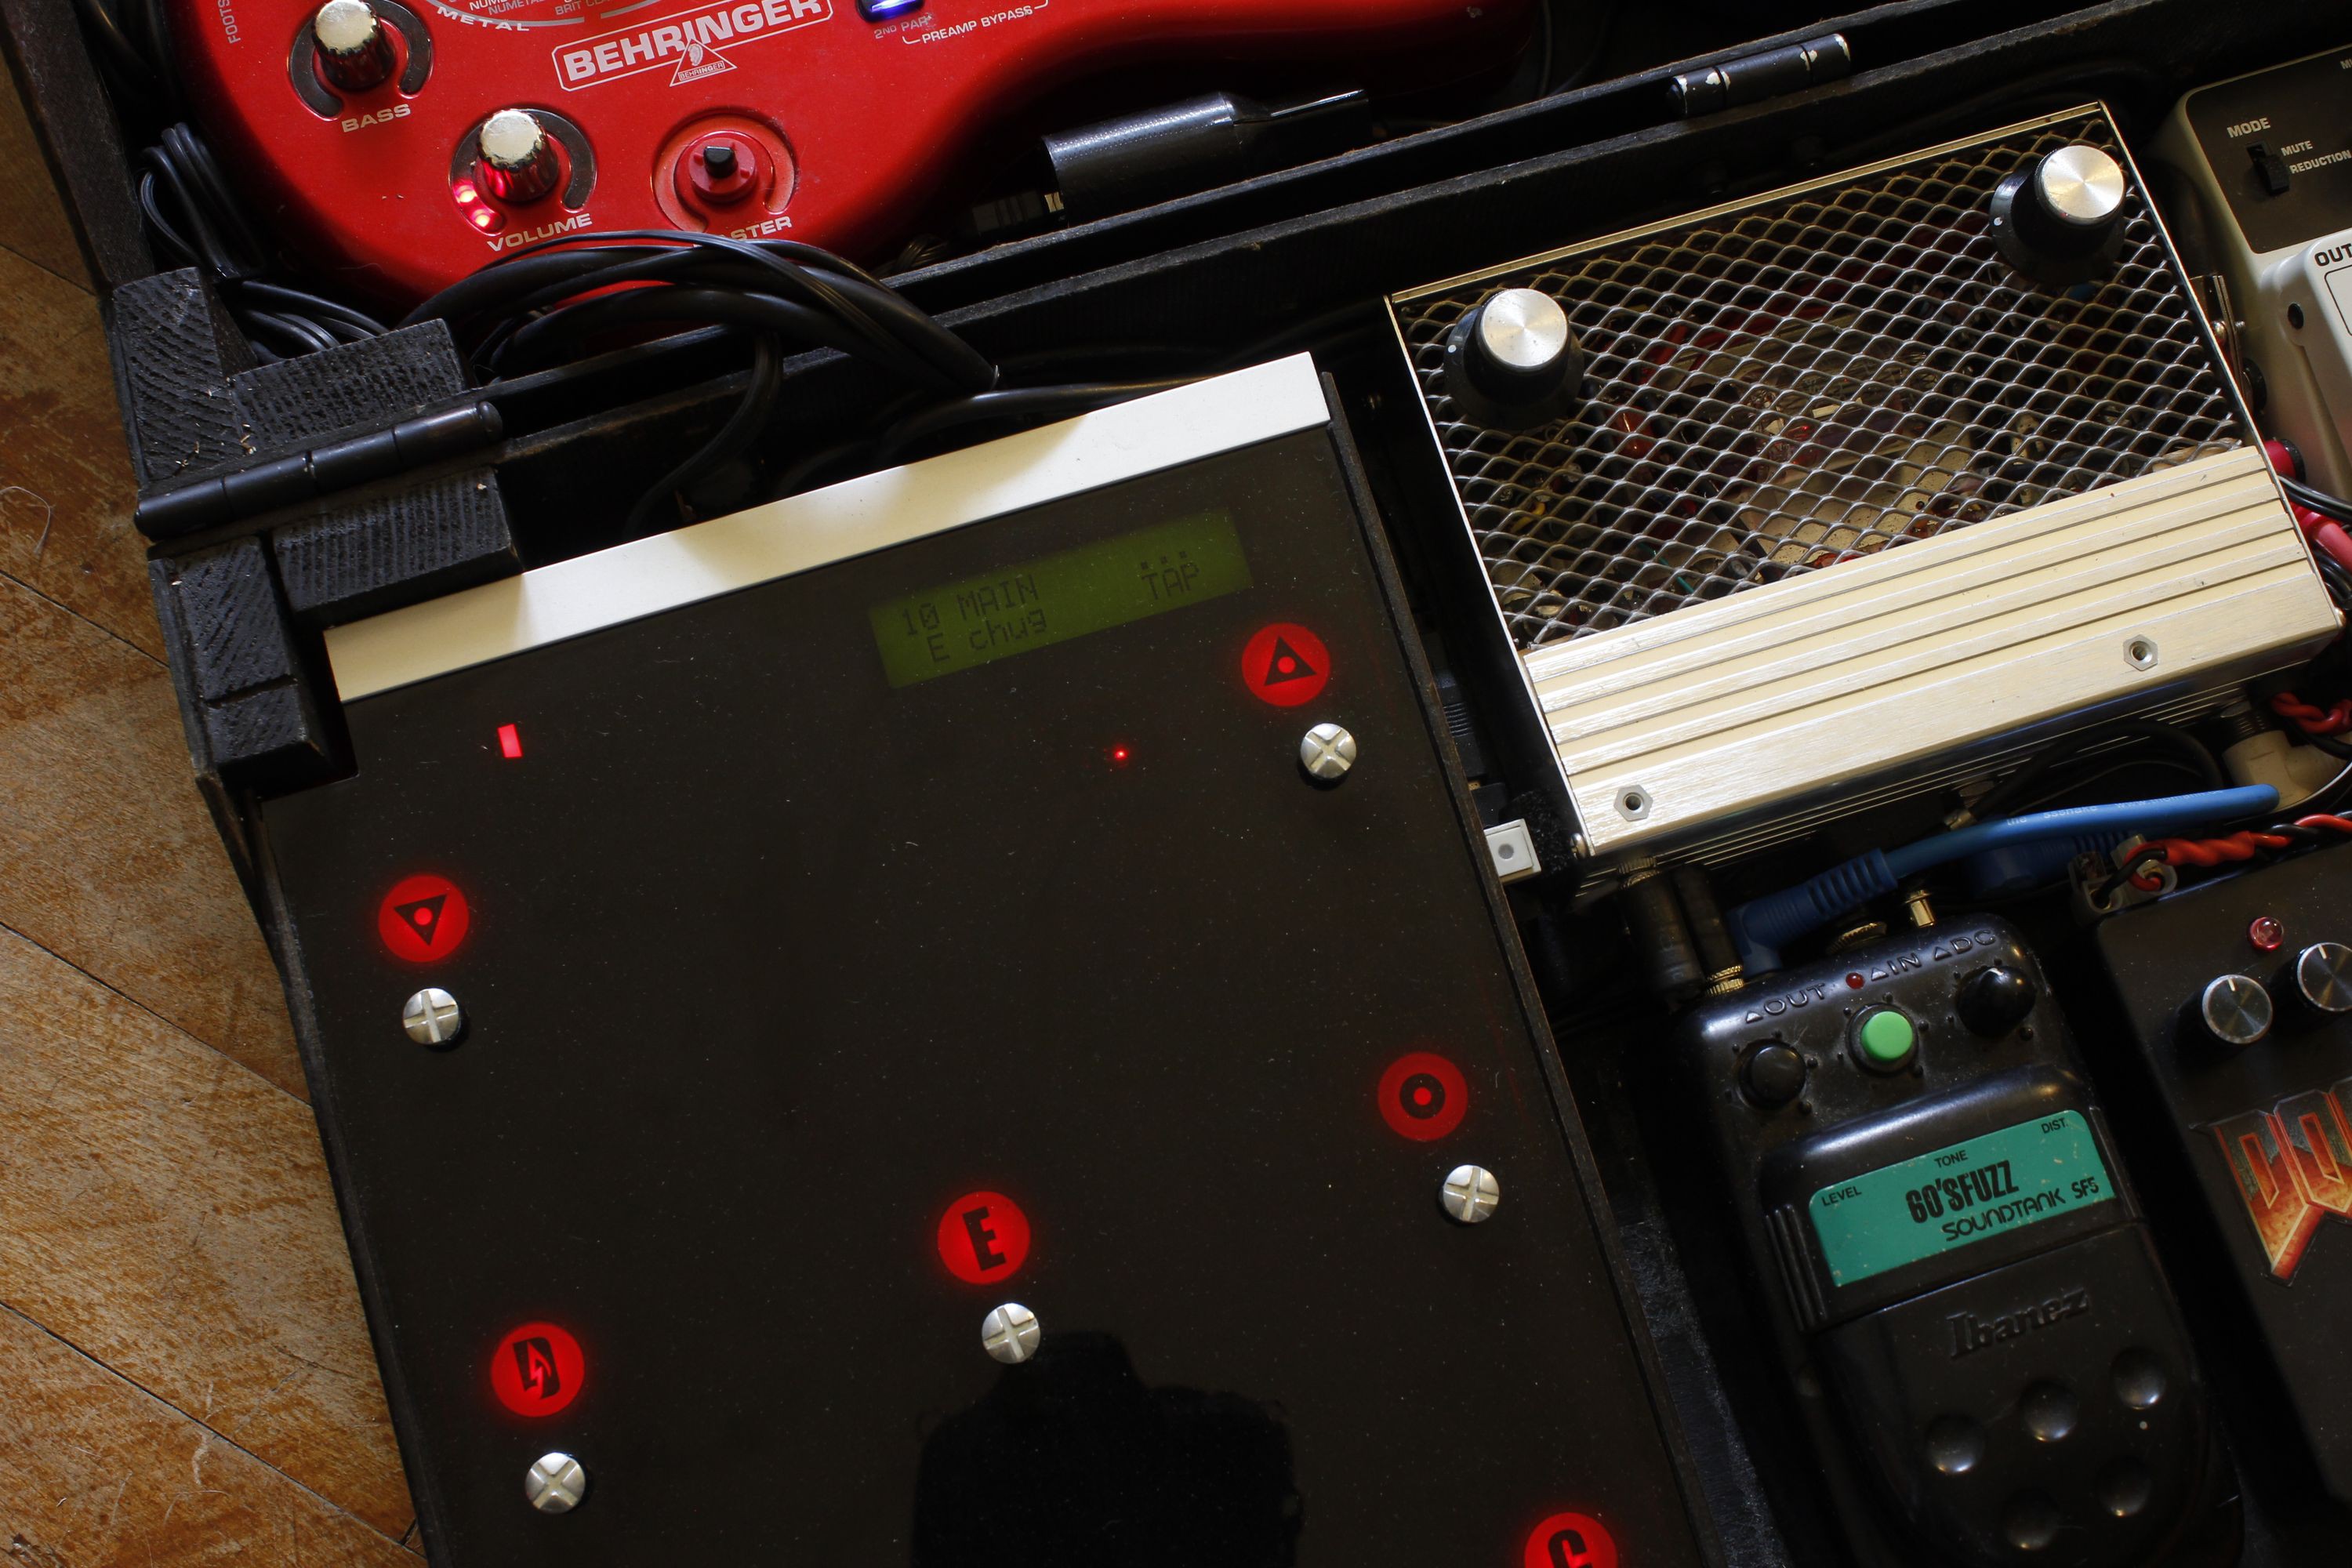
I also made the footswitches out of nuts and bolts and springs, since even the cheapest momentary stomp switch is about $2, and that multiplied by nine does not equal zero budget.
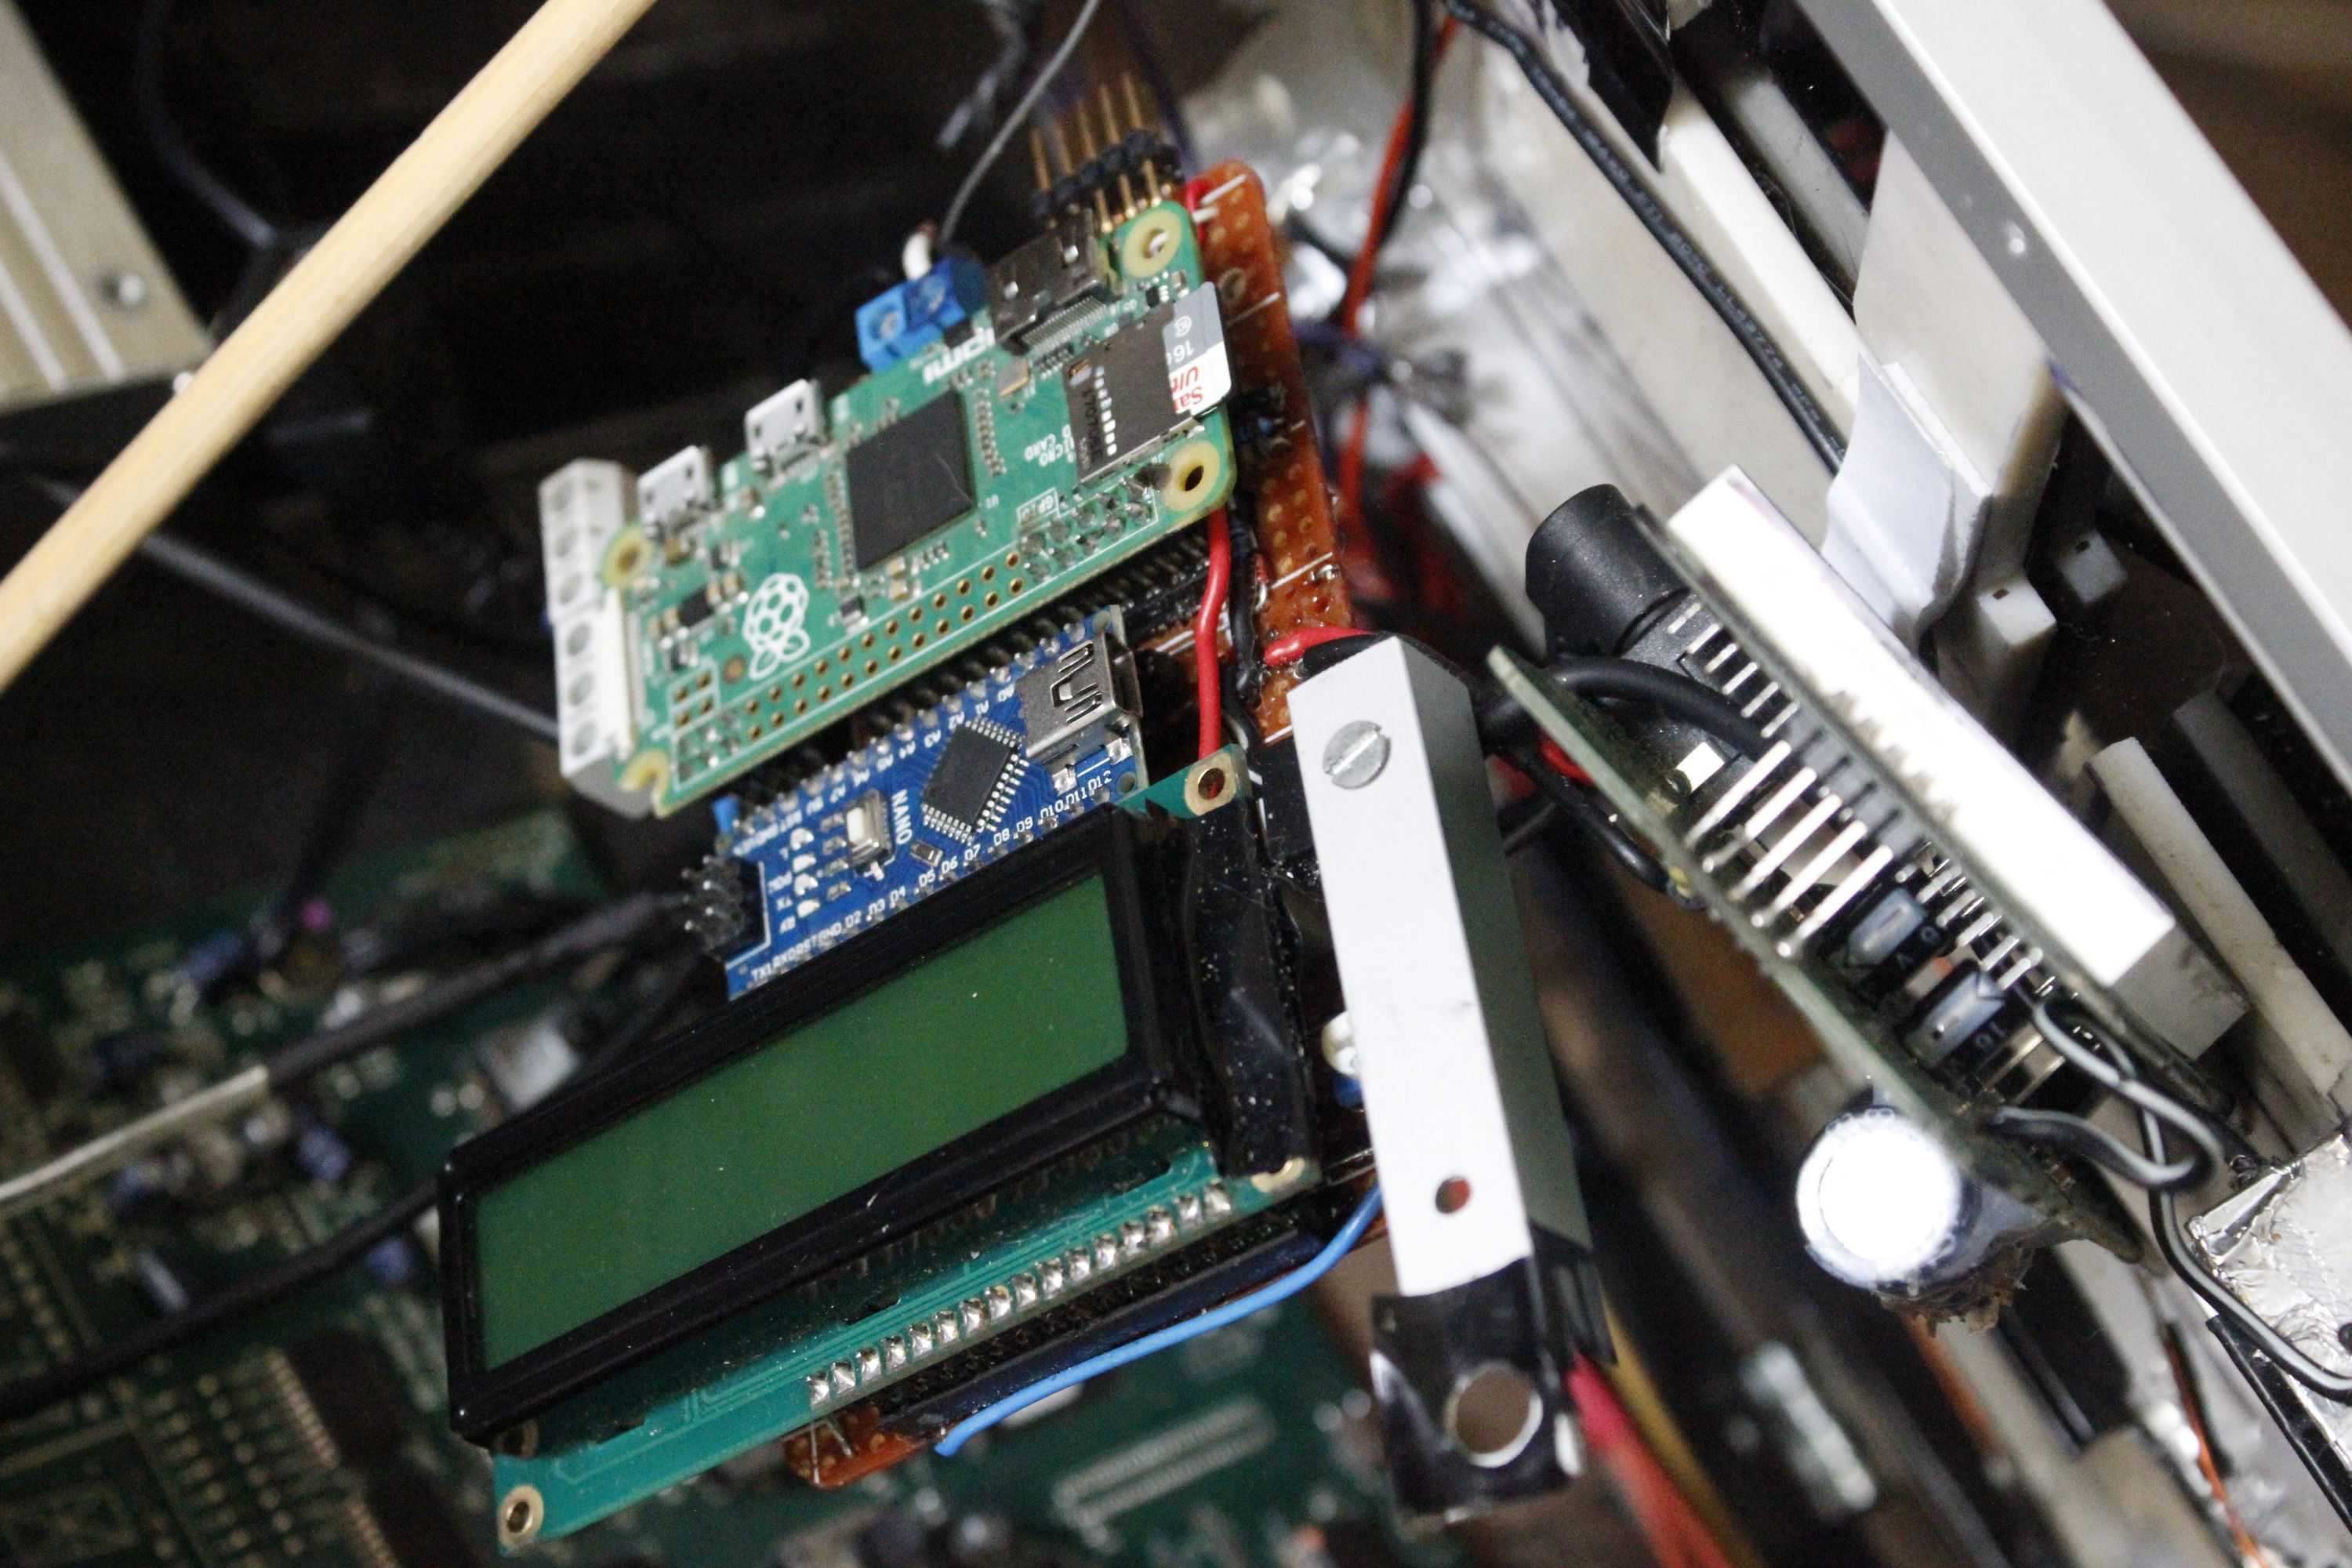
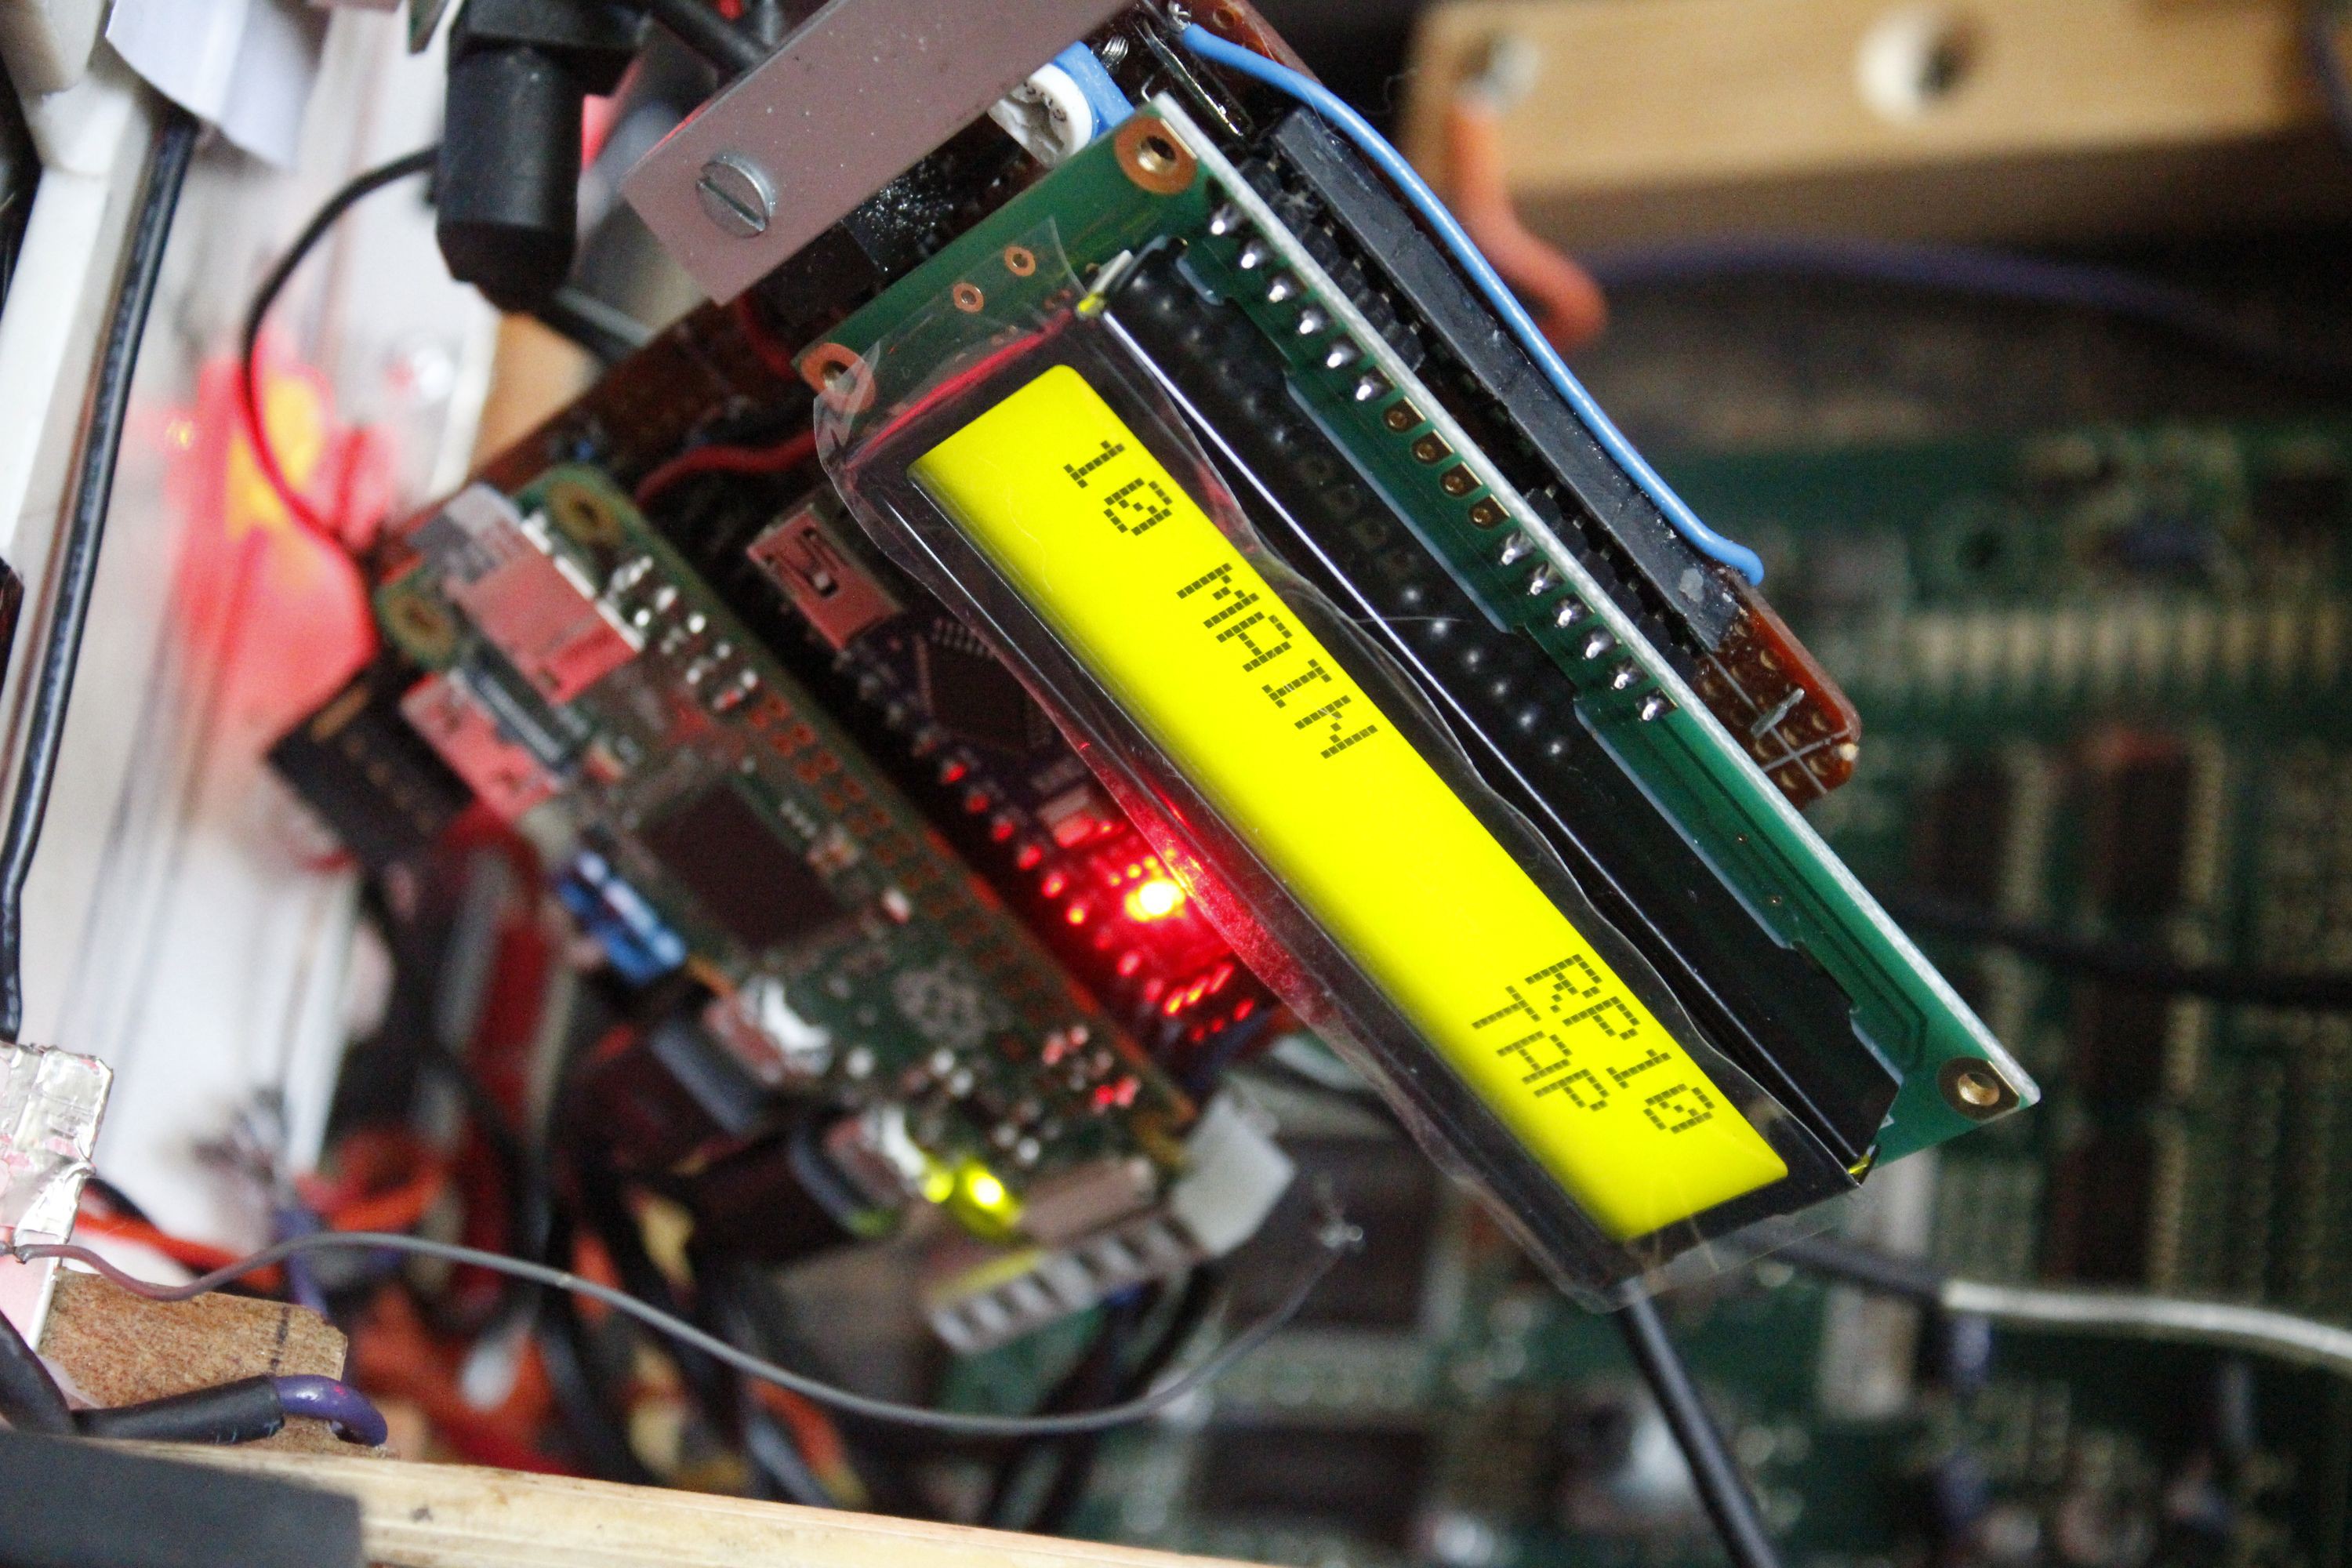
The main board just haphazardly holds the LCD, Arduino and Raspberry Pi together, along with a 5 V regulator. This assembly is joined by the guts of a guitar tuner with a nice big display.
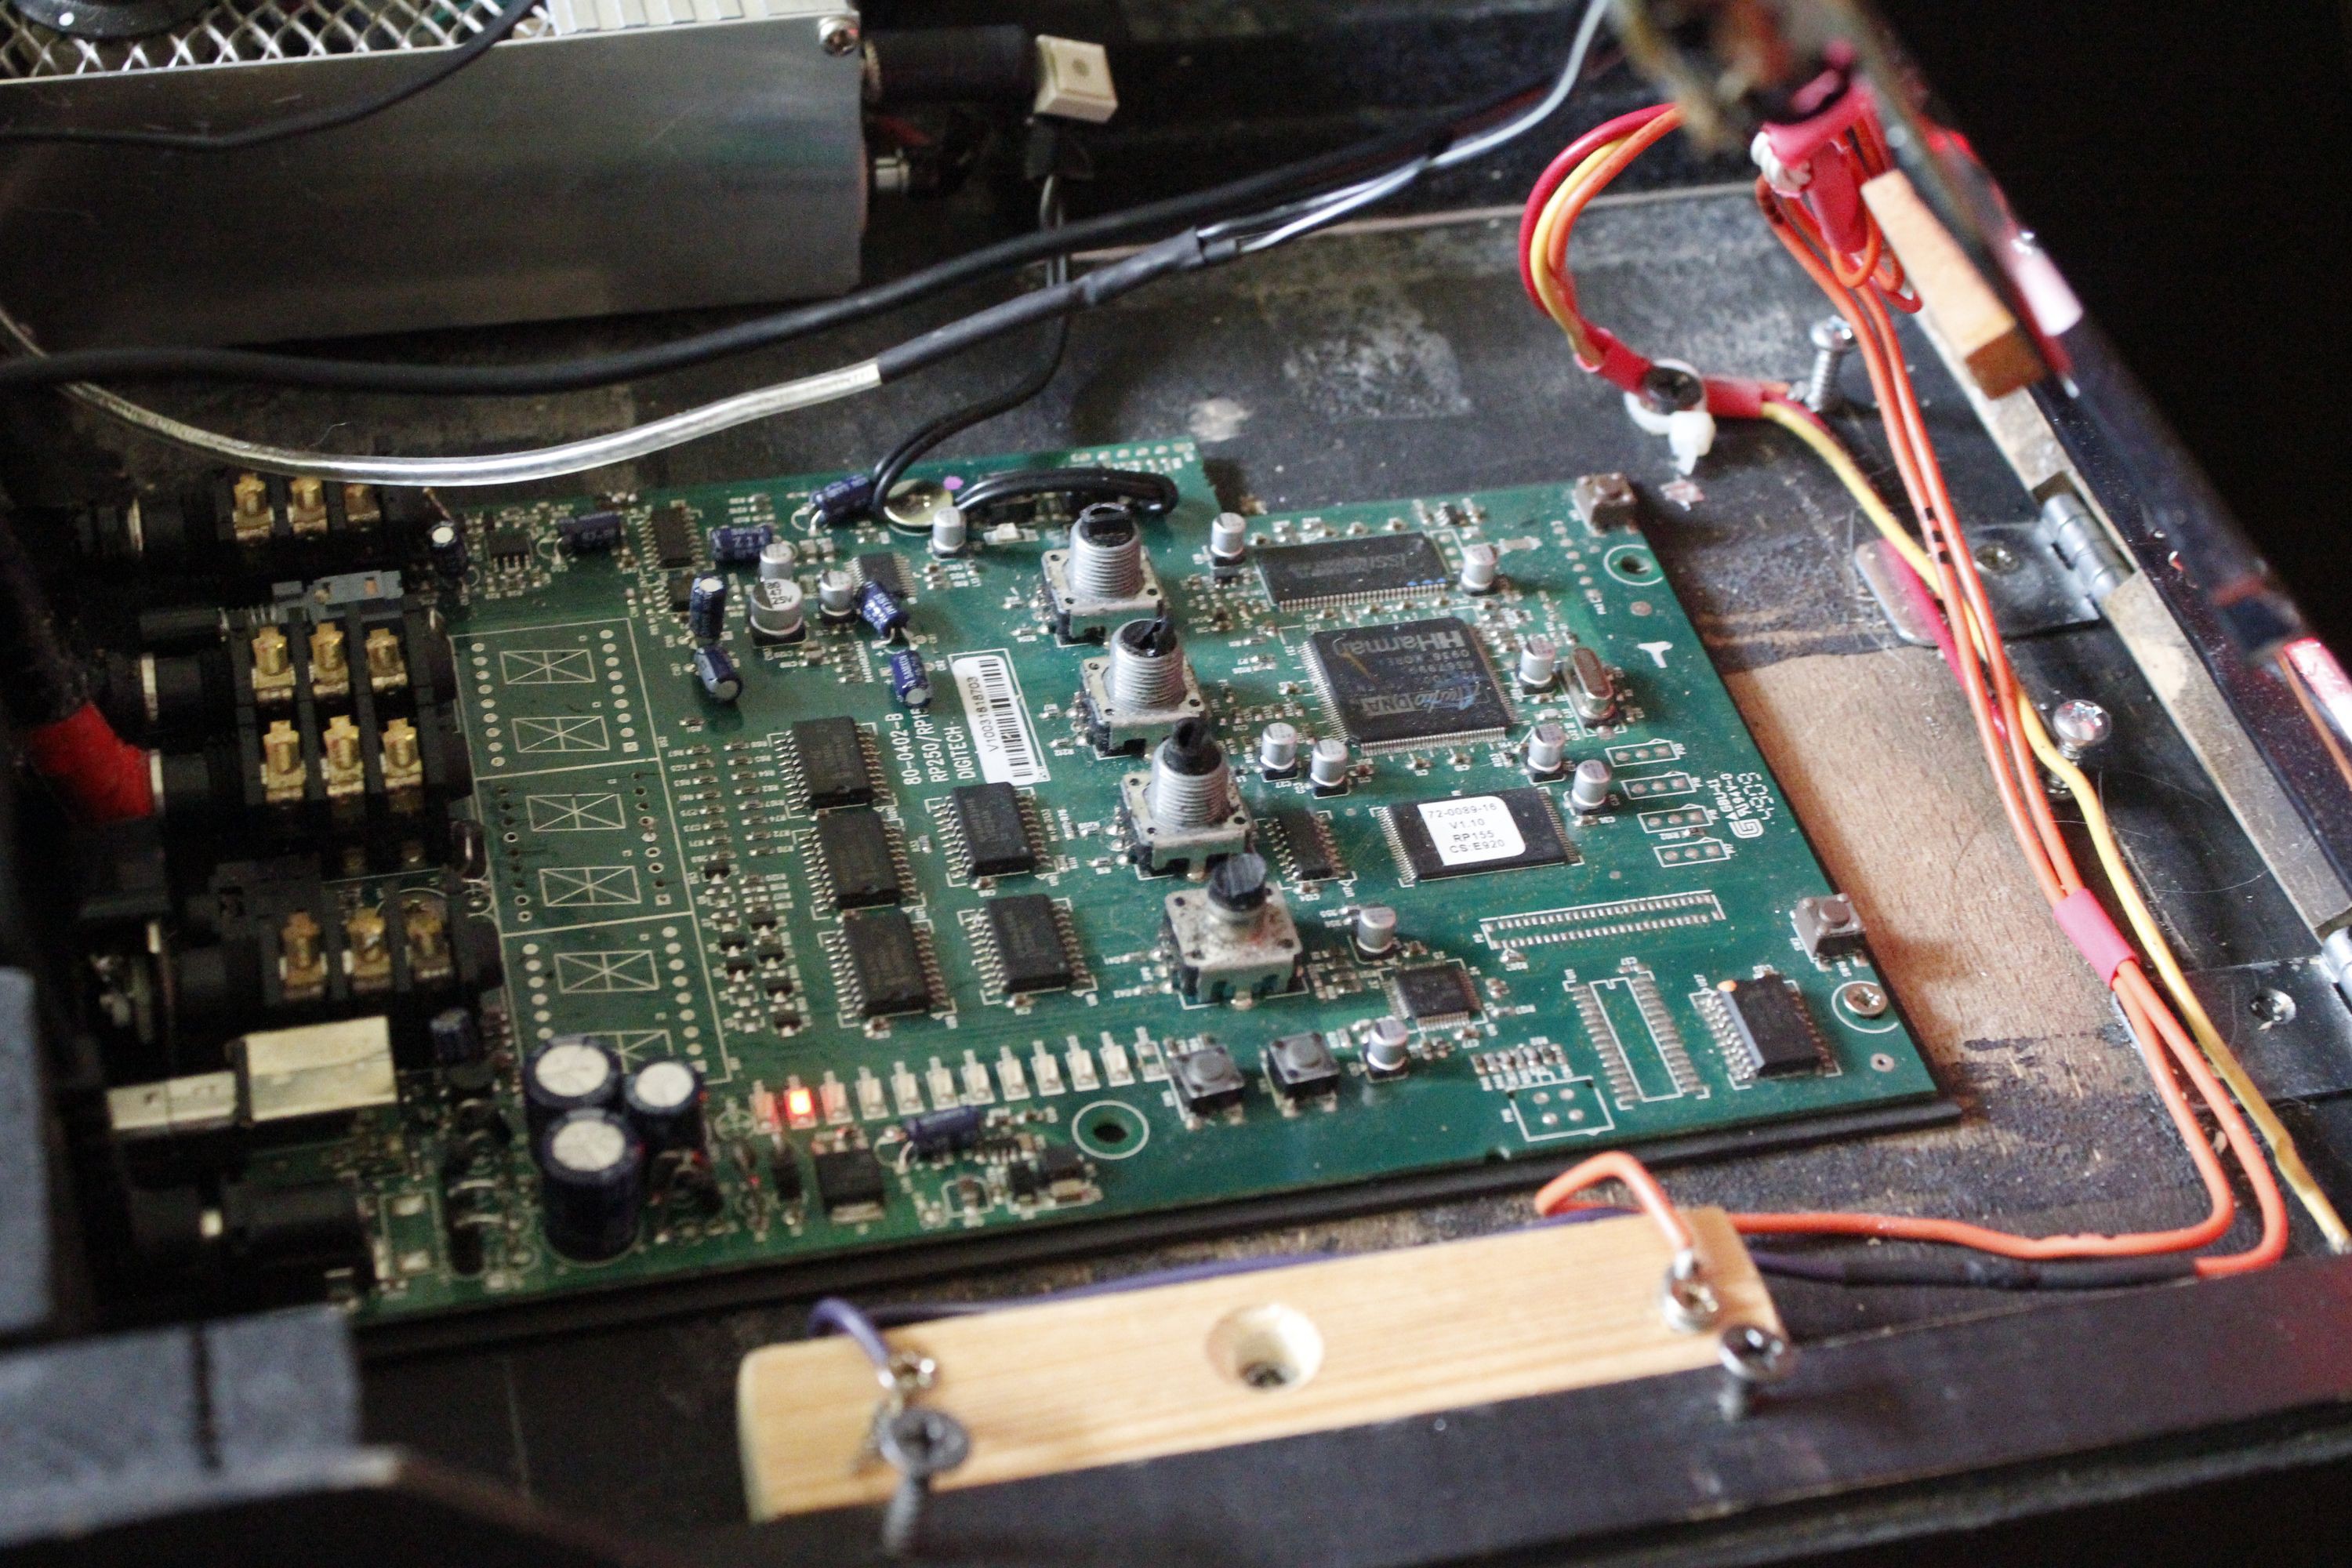
The RP155 board is screwed directly to the particle board base of the pedalboard. Why is it missing the two‑digit display? Because I unsuccessfully tried to move it and made a mess of the pads and traces.
Interface
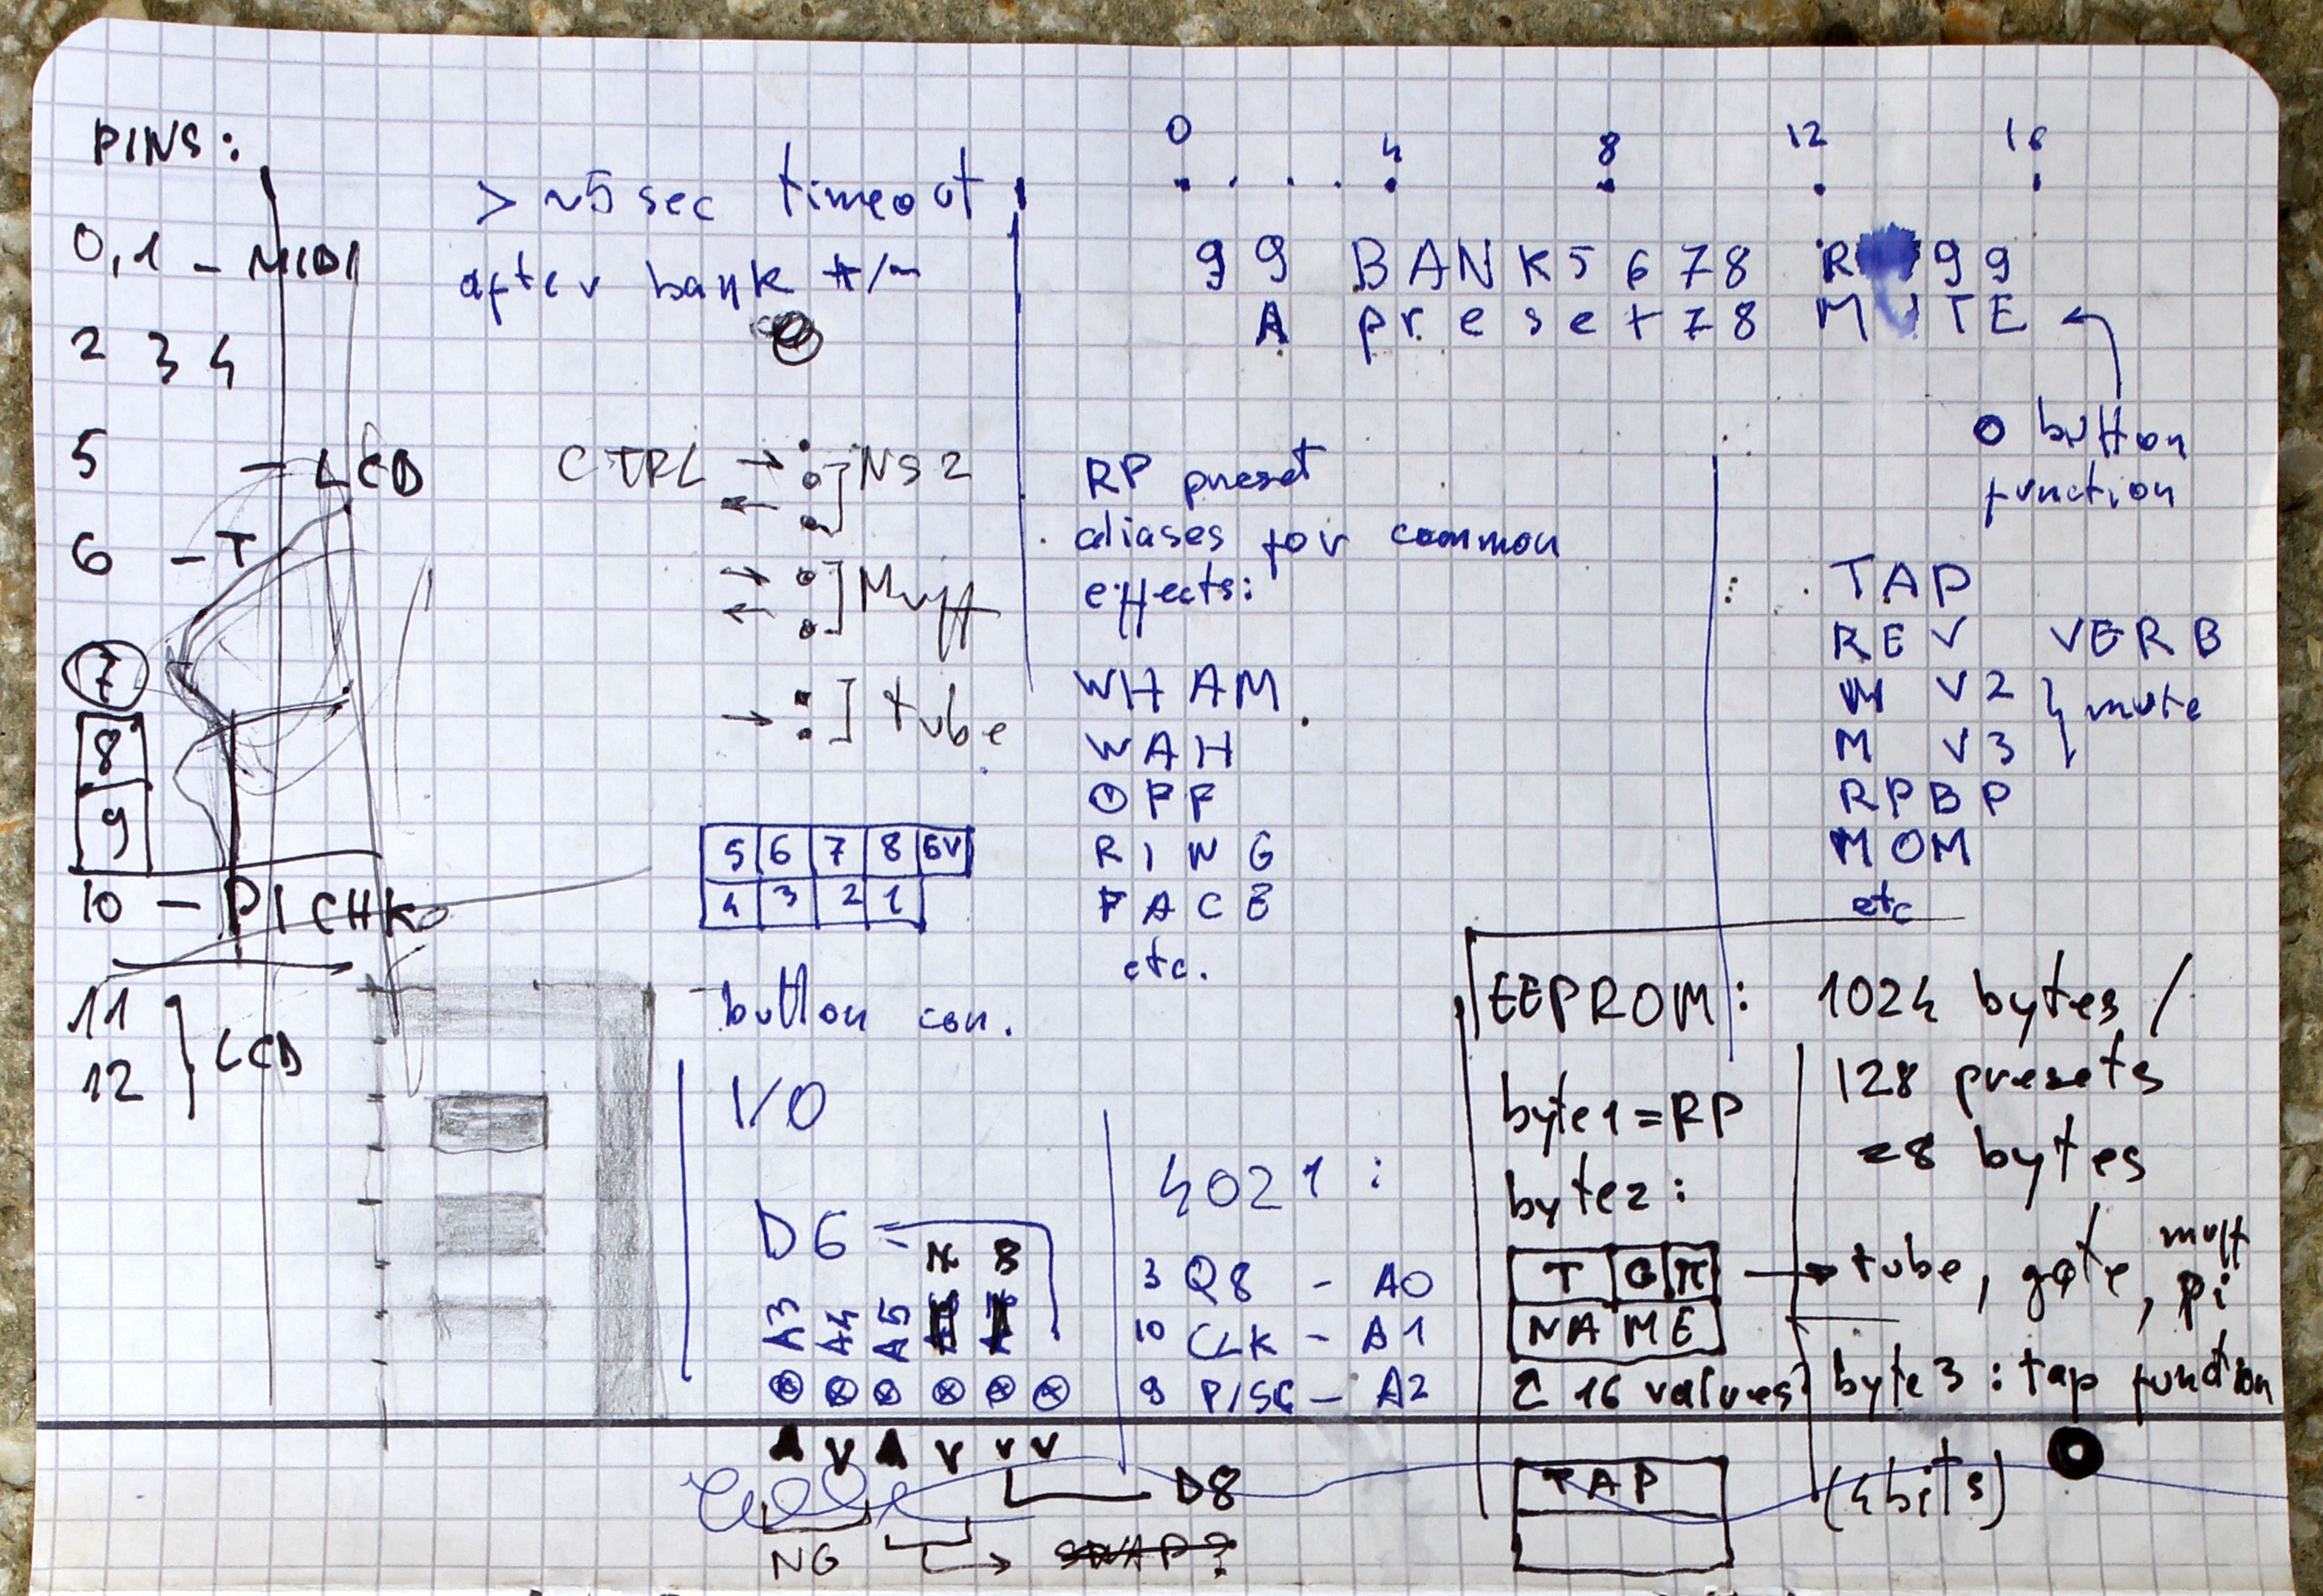
Half a sheet of A4 showing the extent of my planning:
The V-amps have presets in sets of five (A through E) organized in 25 banks and the controller mimics this layout:
- buttons ˄
and ˅ increment and
decrement the current bank
- buttons A,
B, C,
D and
E recall
the corresponding preset
- button
○ or •
or just * is for an
assignable special function on each preset:
- TAP : Tap tempo for time-based effects
- VERB: Toggle reverb on/off
- MUTE: Toggle mute for both V-amps (set to tuner mode)
- M V3: Mute V-amp 3
- M V2: Mute V-amp 2
- FX : Toggle V-amp effects on/off
- Rpbp: Toggle RP155 effects on/off
- DET: Toggle V-amp ‘drive’ mode
Since this function, the preset name and the state of the analog pedals need to be set and saved, a configuration mode was needed and it is accessed by pressing the ˄ and * buttons simultaneously:
Here’s what the buttons do in edit mode:
˄ / ˅
= scroll preset name
D / *
= scroll RP preset
A = cycle Tube Boomer
mode
C = cycle * mode
E = save and exit edit mode
B = exit without saving
The state of the other controllable pedals (NR300 and SF5) is automatically read and stored when saving.
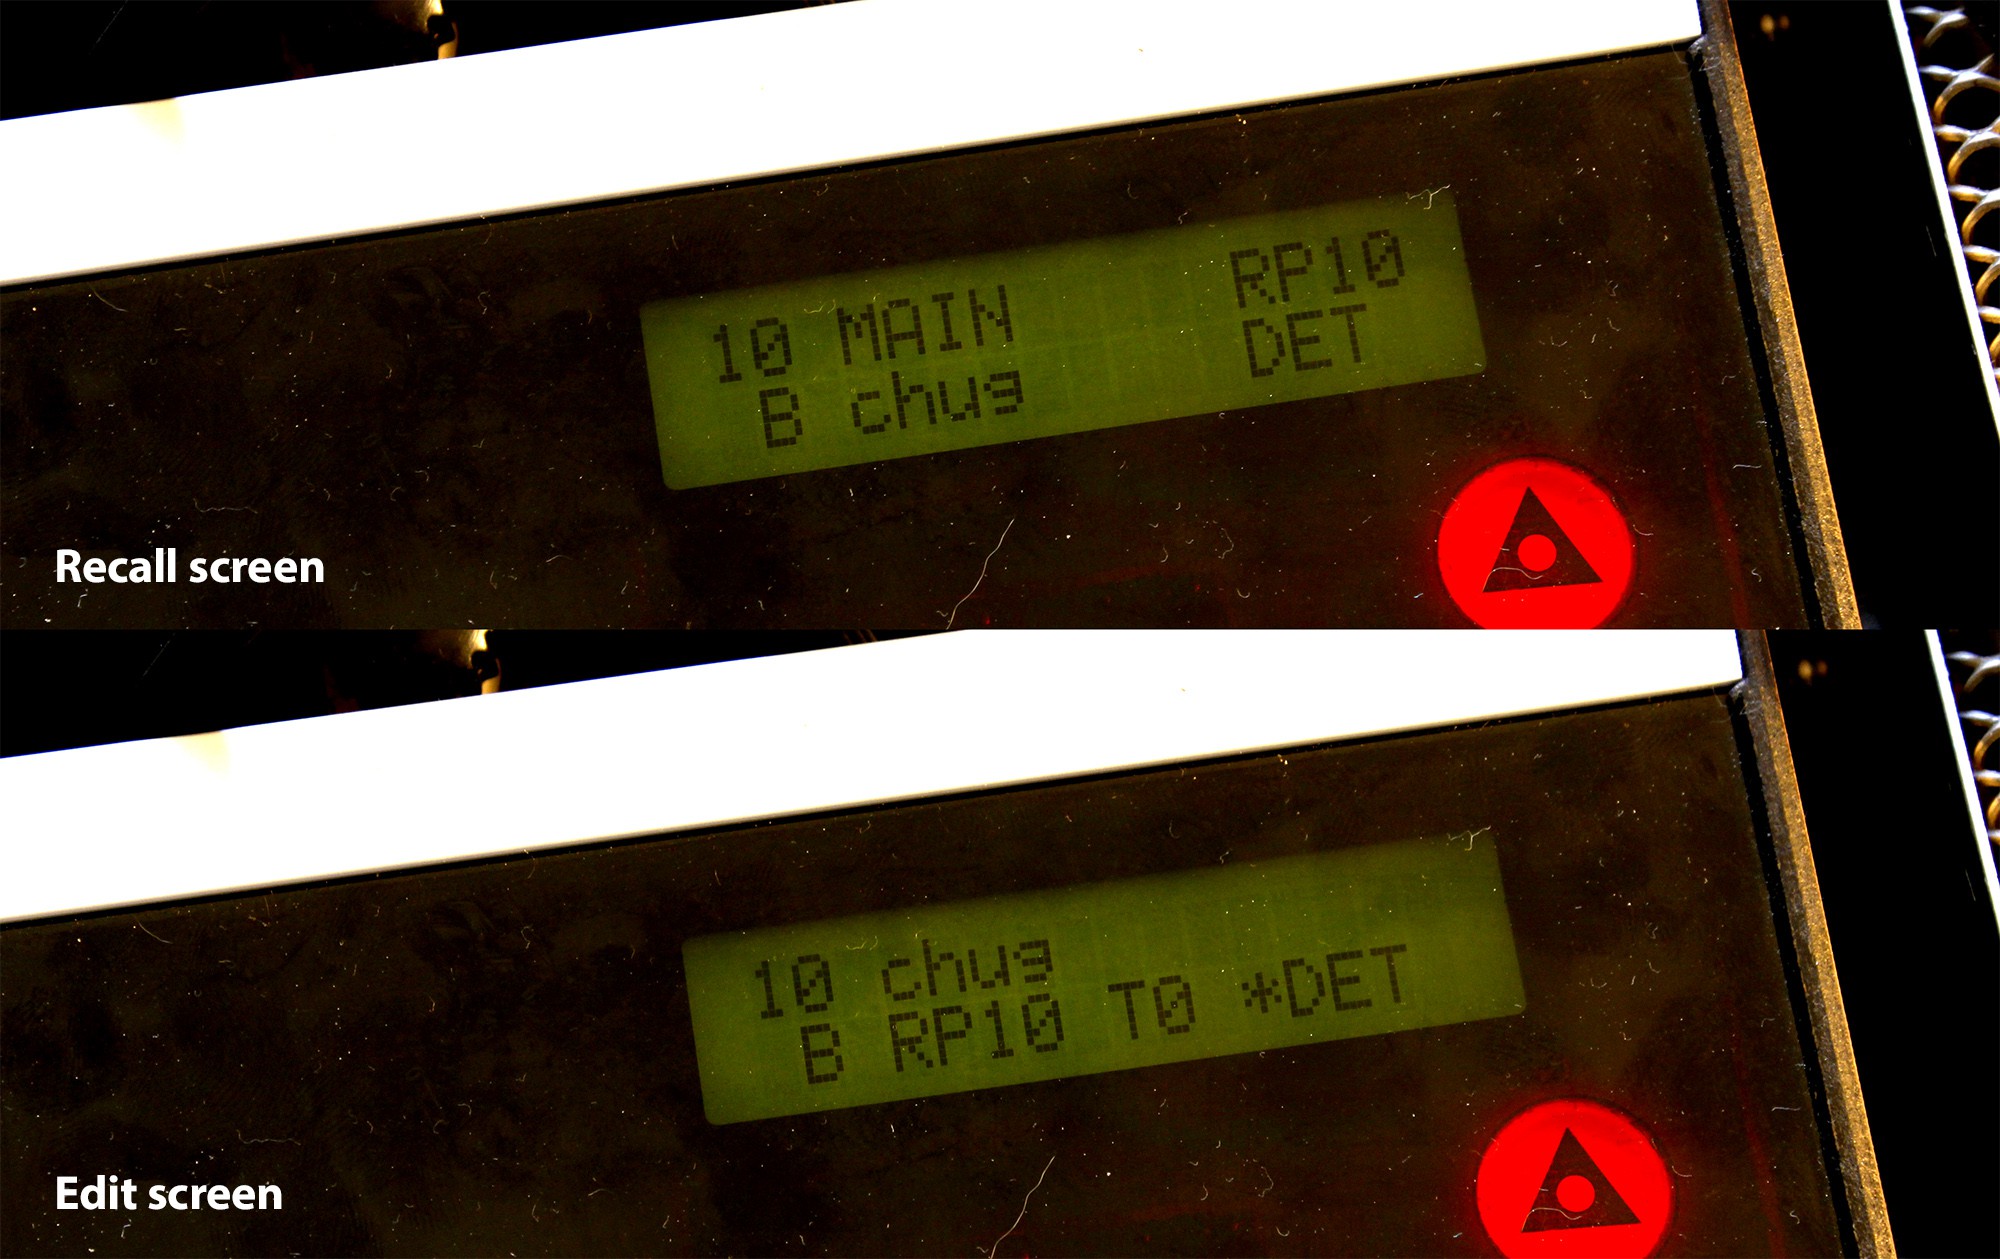
And here’s the breakdown of the display:
Main screen
NN BBBBBBBB RRRR
 A PPPPPPPP MMMM
Edit screen
NN PPPPPPPP
 A RRRR TT *MMMM
N =
Bank number
B = Bank name
R = RP preset number (shows ‘…’ while the Pi is
booting)
A = Preset index
(A/B/C/D/E)
P = Preset name
M = * mode
T = Tube Boomer mode
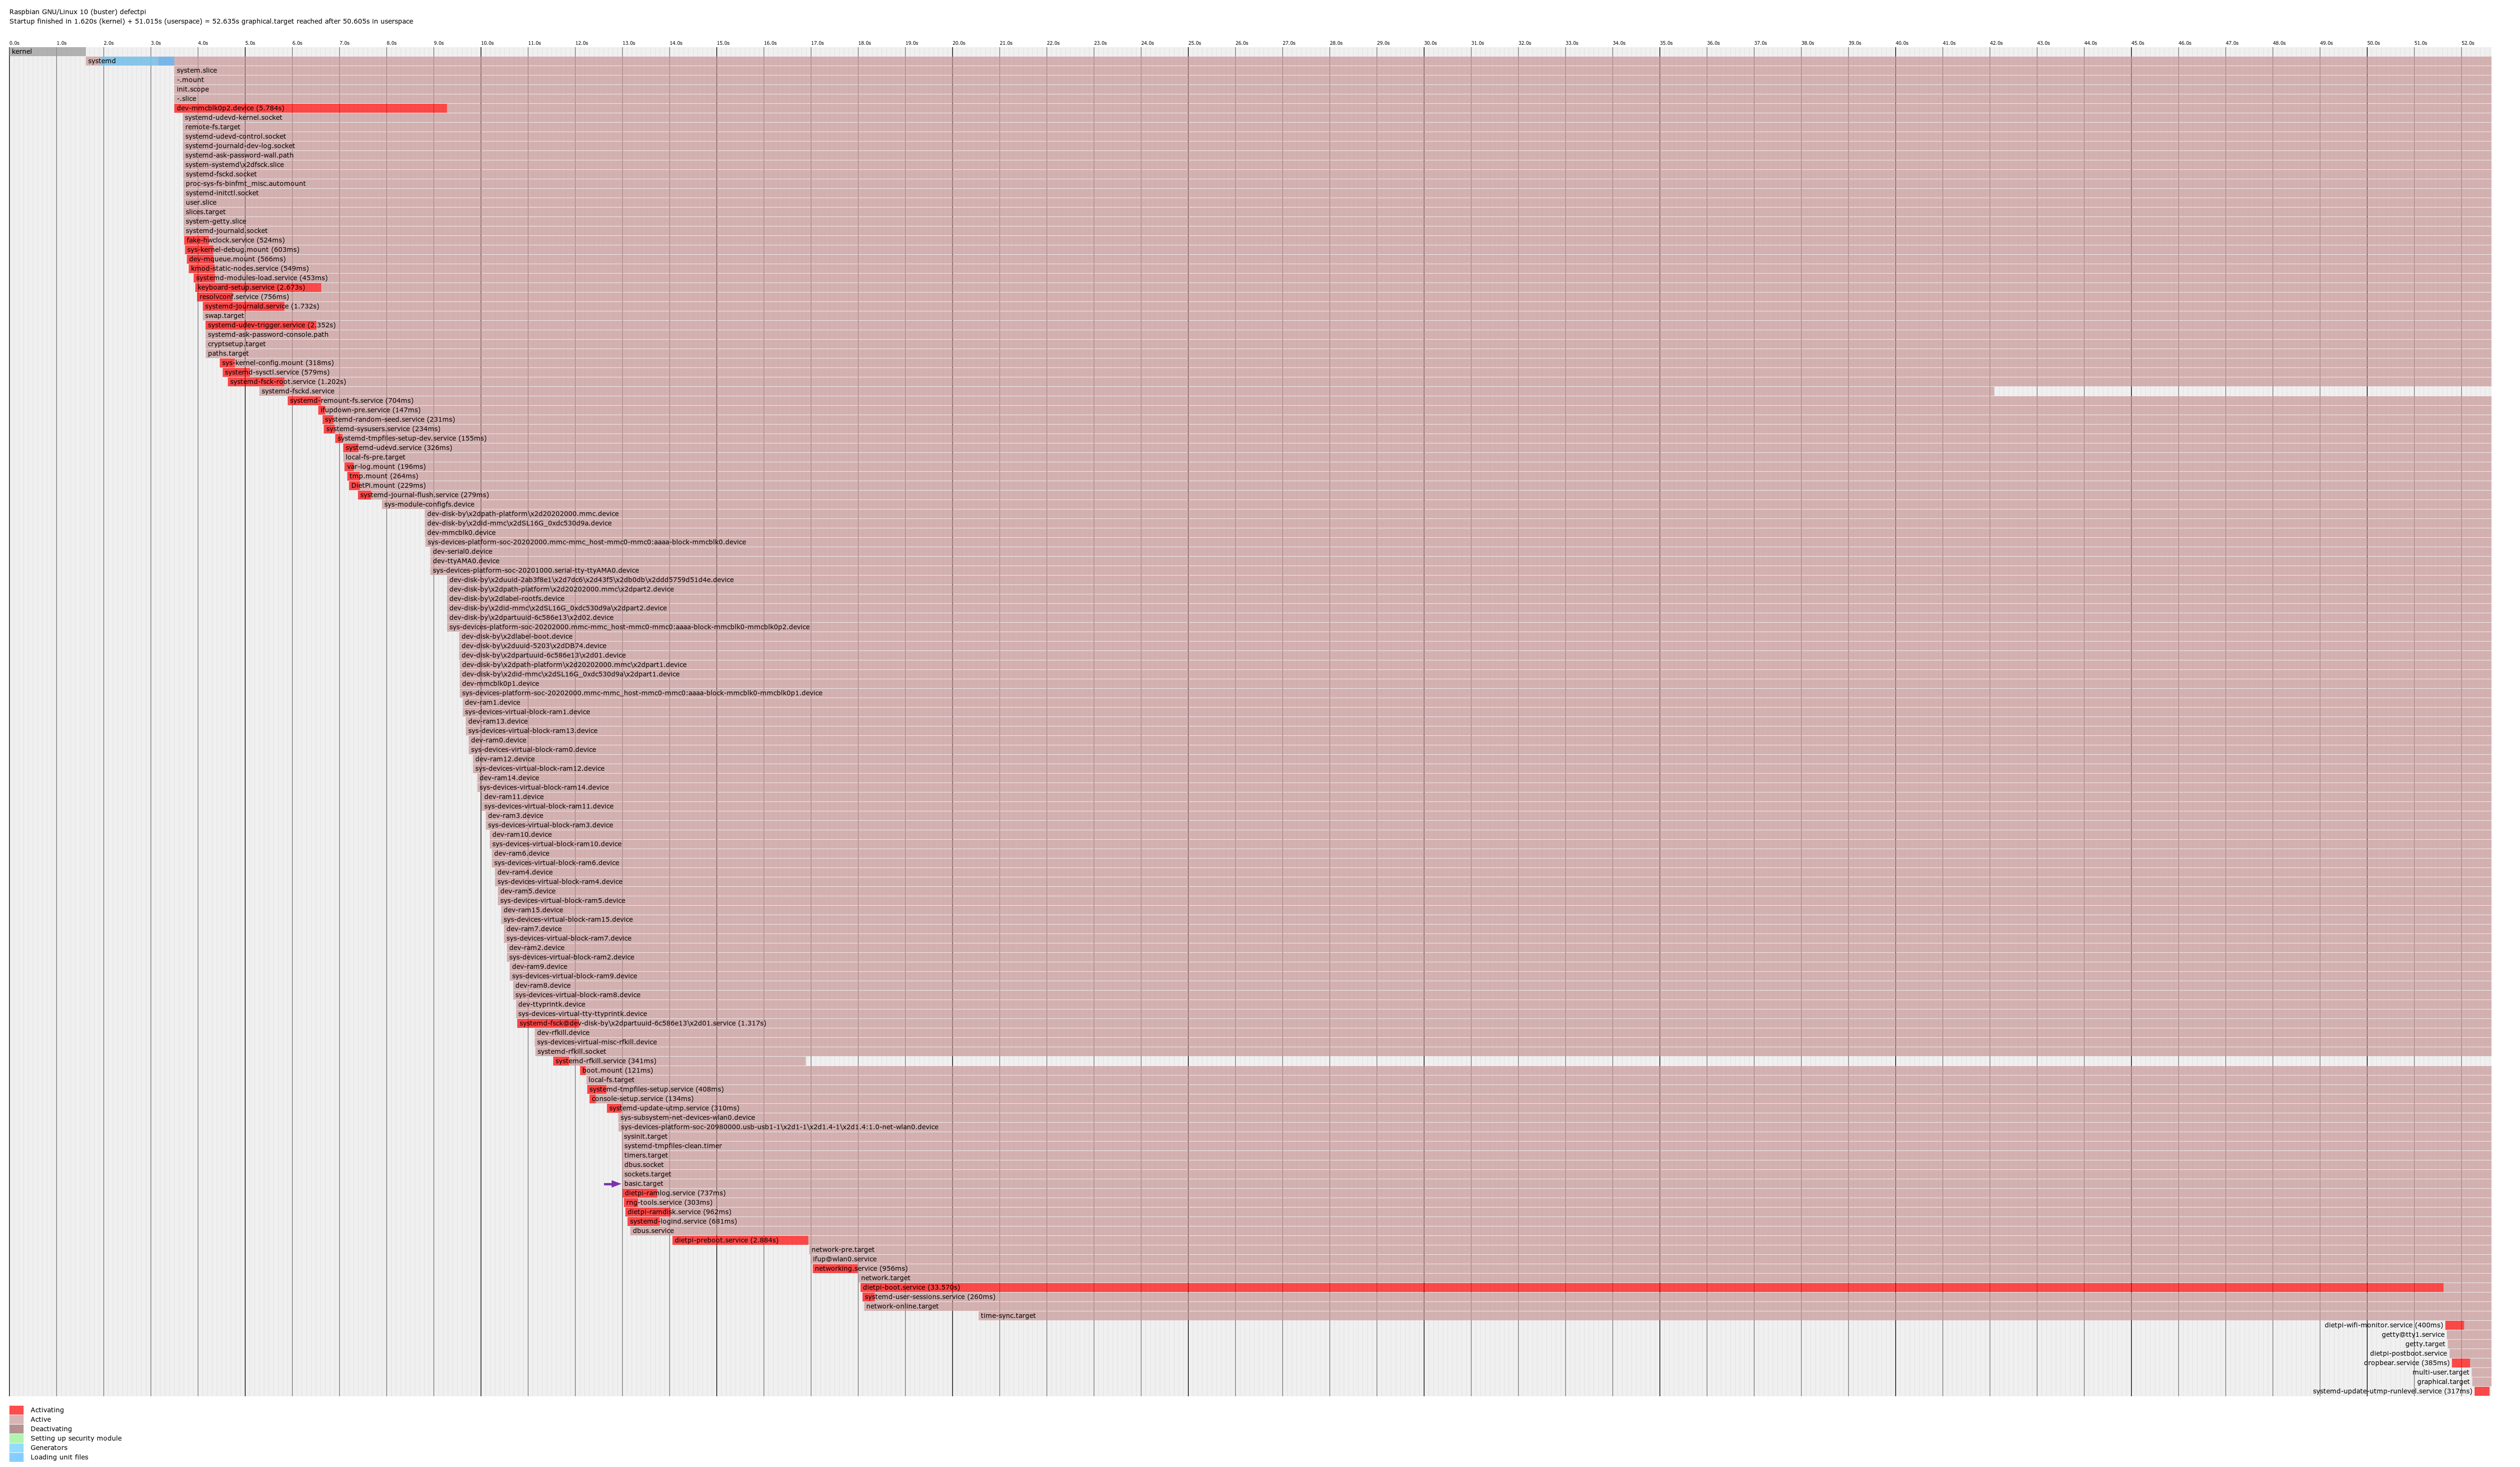
The Raspberry Pi is essentially being used as a MIDI to USB bridge: all it does is read a MIDI input via ttyMIDI and pass it on to the RP155 USB MIDI port through an ALSA connection. It also sets a pin high to signal when it’s booted and ready. Why not do everything in the Pi? Because it takes a while to boot. By using DietPi and optimizing it to the best of my knowledge (which is not much, as this was my first project involving a Pi), I got it down to about 13 seconds. Which is less than what it takes for the 12AX7 in the Tube Boomer to heat up. The V-amps themselves take about 5 seconds to boot up, so I could probably make it work, but I’m more comfortable with the Arduino and I don’t mind the modularity.
Discussions
Become a Hackaday.io Member
Create an account to leave a comment. Already have an account? Log In.