 FiveseveN
So I did something silly: a couple of hours into configuring patches for the pedalboard I remembered I don’t actually like the sound of tubes and that an eight-button interface is fine for casually tweaking a preset but not much fun when you have to set 125 in one sitting. Sure, I don’t need a hundred presets and I was mostly done already but the idea had already taken over—I would use an ESP32 so I can configure everything with a web interface. And while at it, I also managed to squeeze in one more guitar processor instead of things I didn’t use.
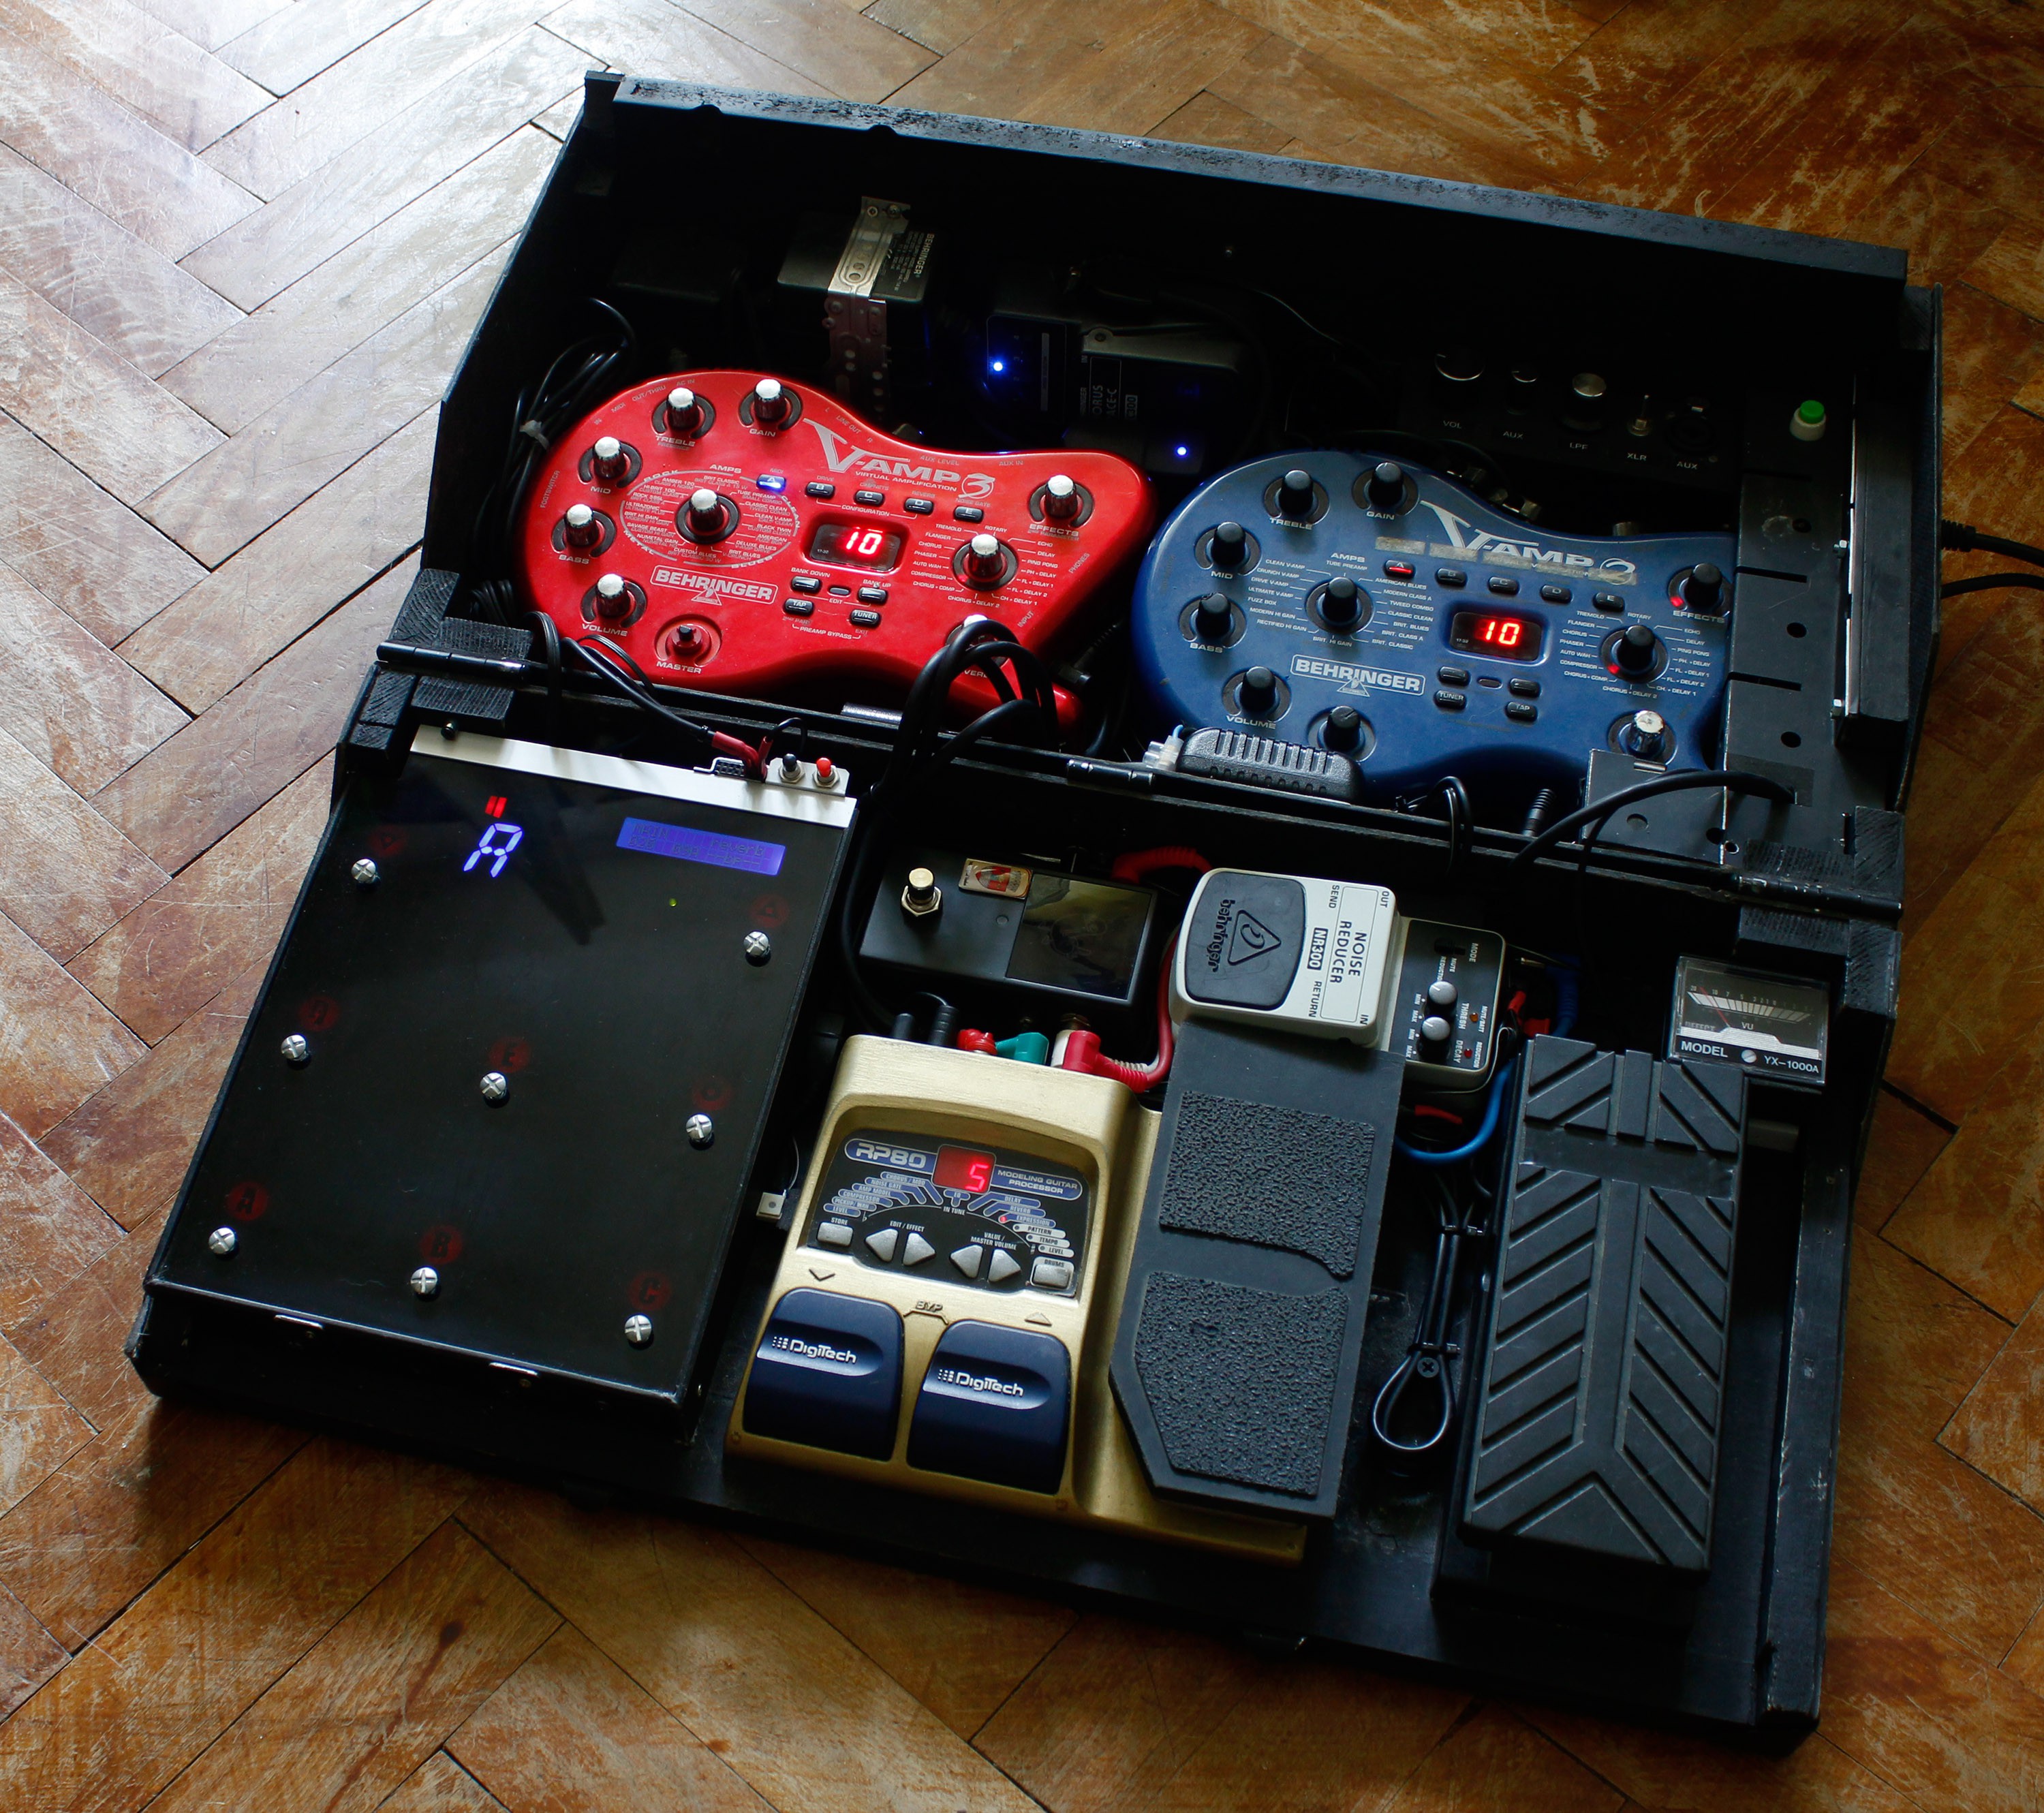
The RP80 took over the RP155’s job as pre-distortion effect provider, while the RP155 with its more extensive reverb and delay options has become the purveyor of “wet” effects.
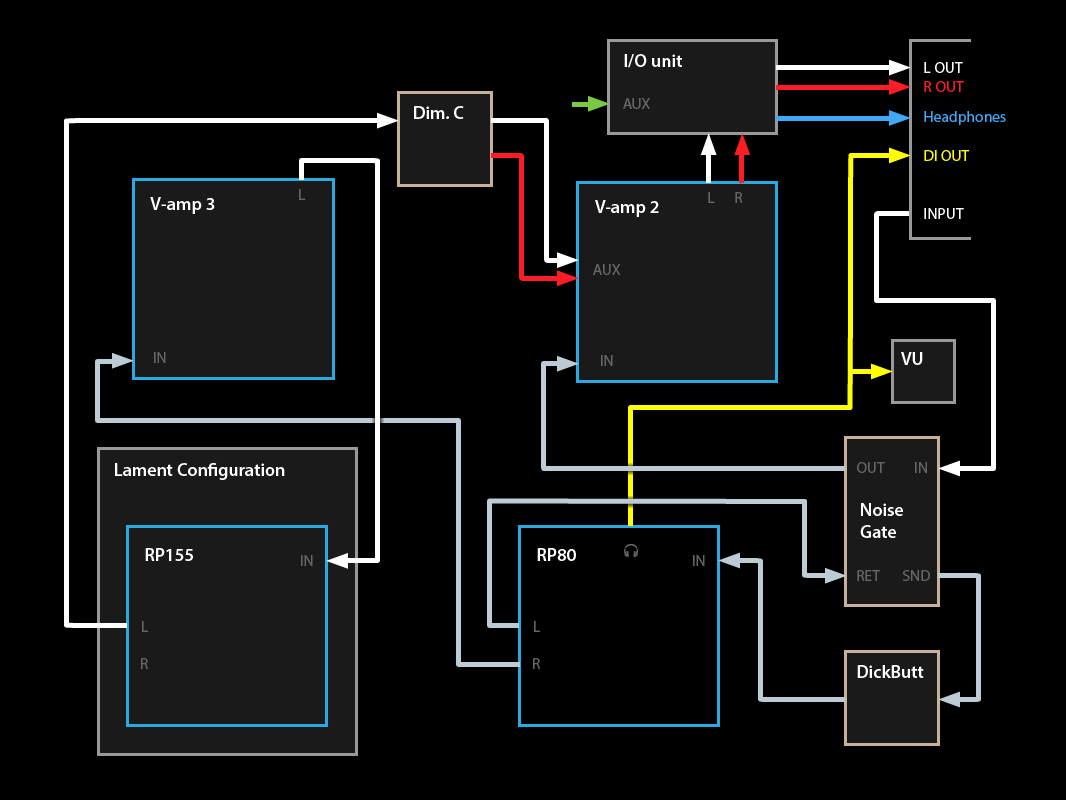
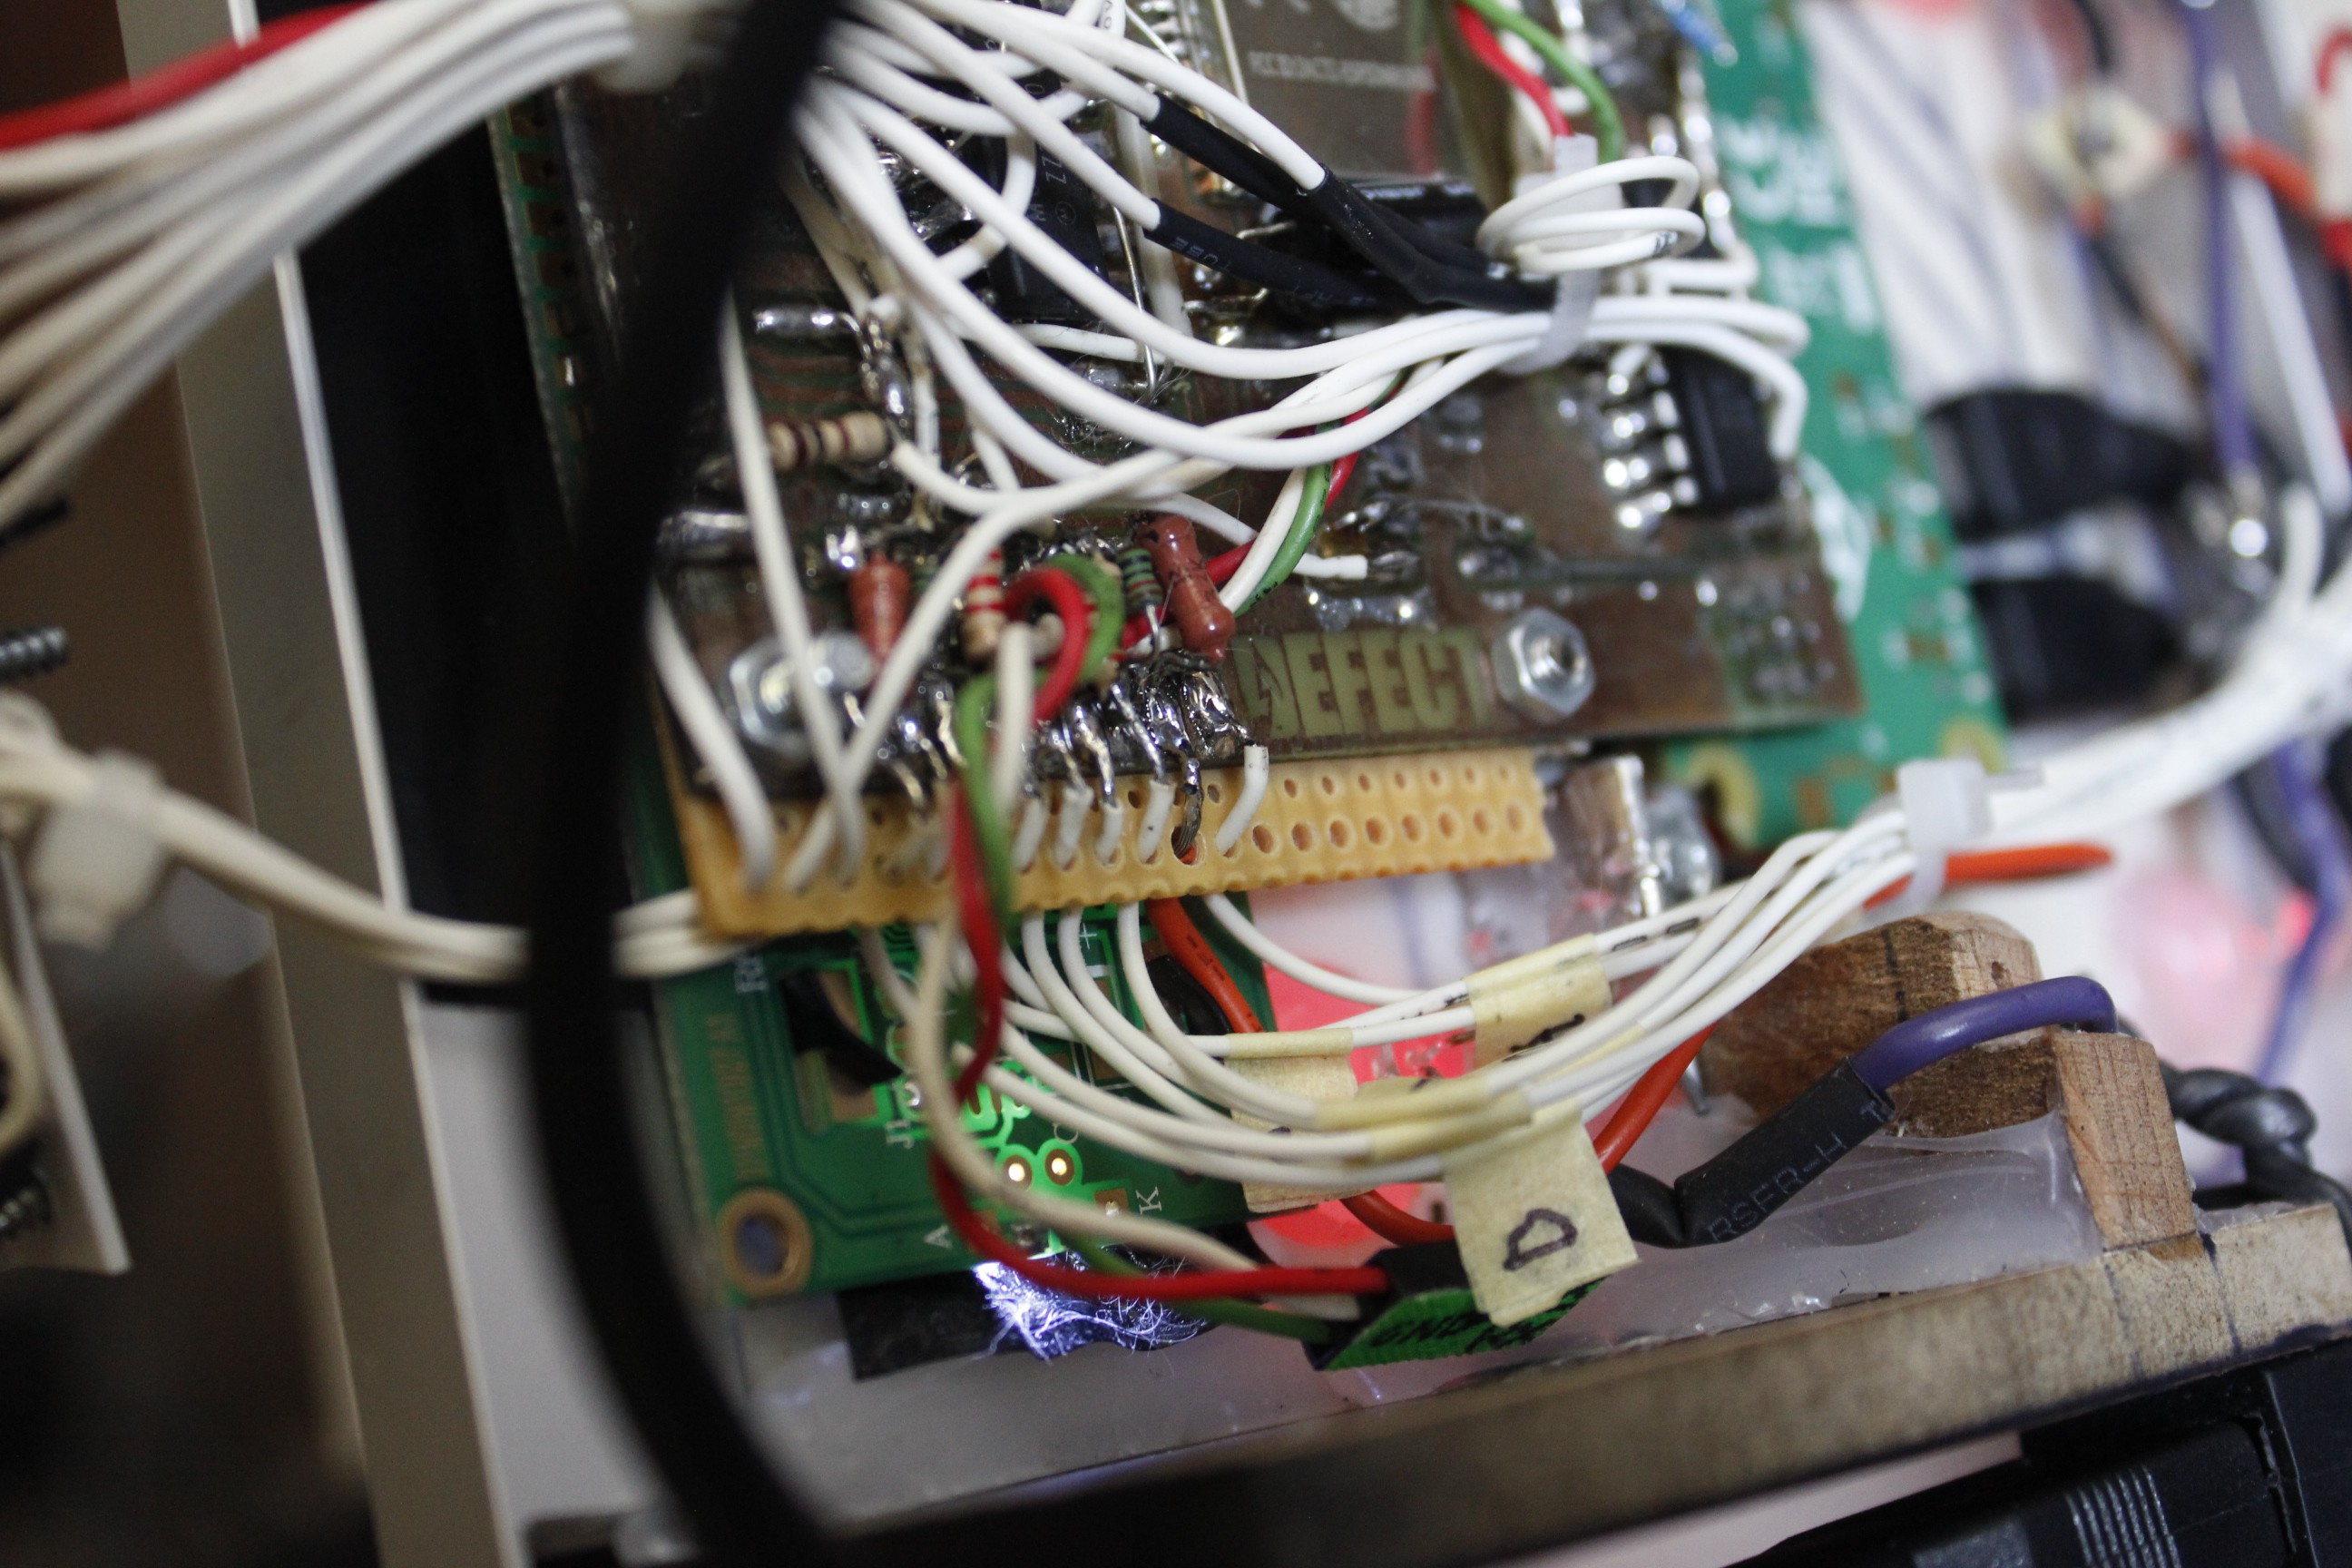
Does your head hurt too?
Lament Configuration V2
I had bought a couple of ESP32 modules for a future venture and since I had no previous experience with the platform I figured this could be a good learning opportunity. And not to have things too easy I also made it my first KiCad project.
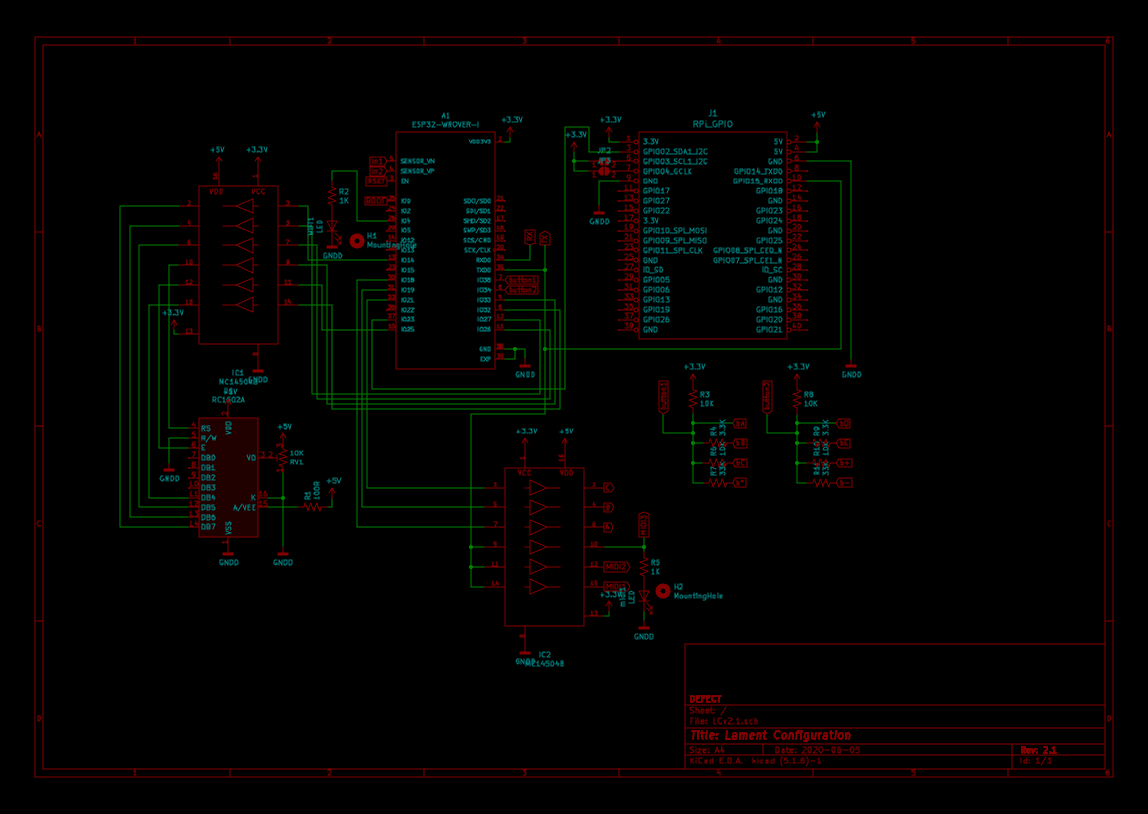
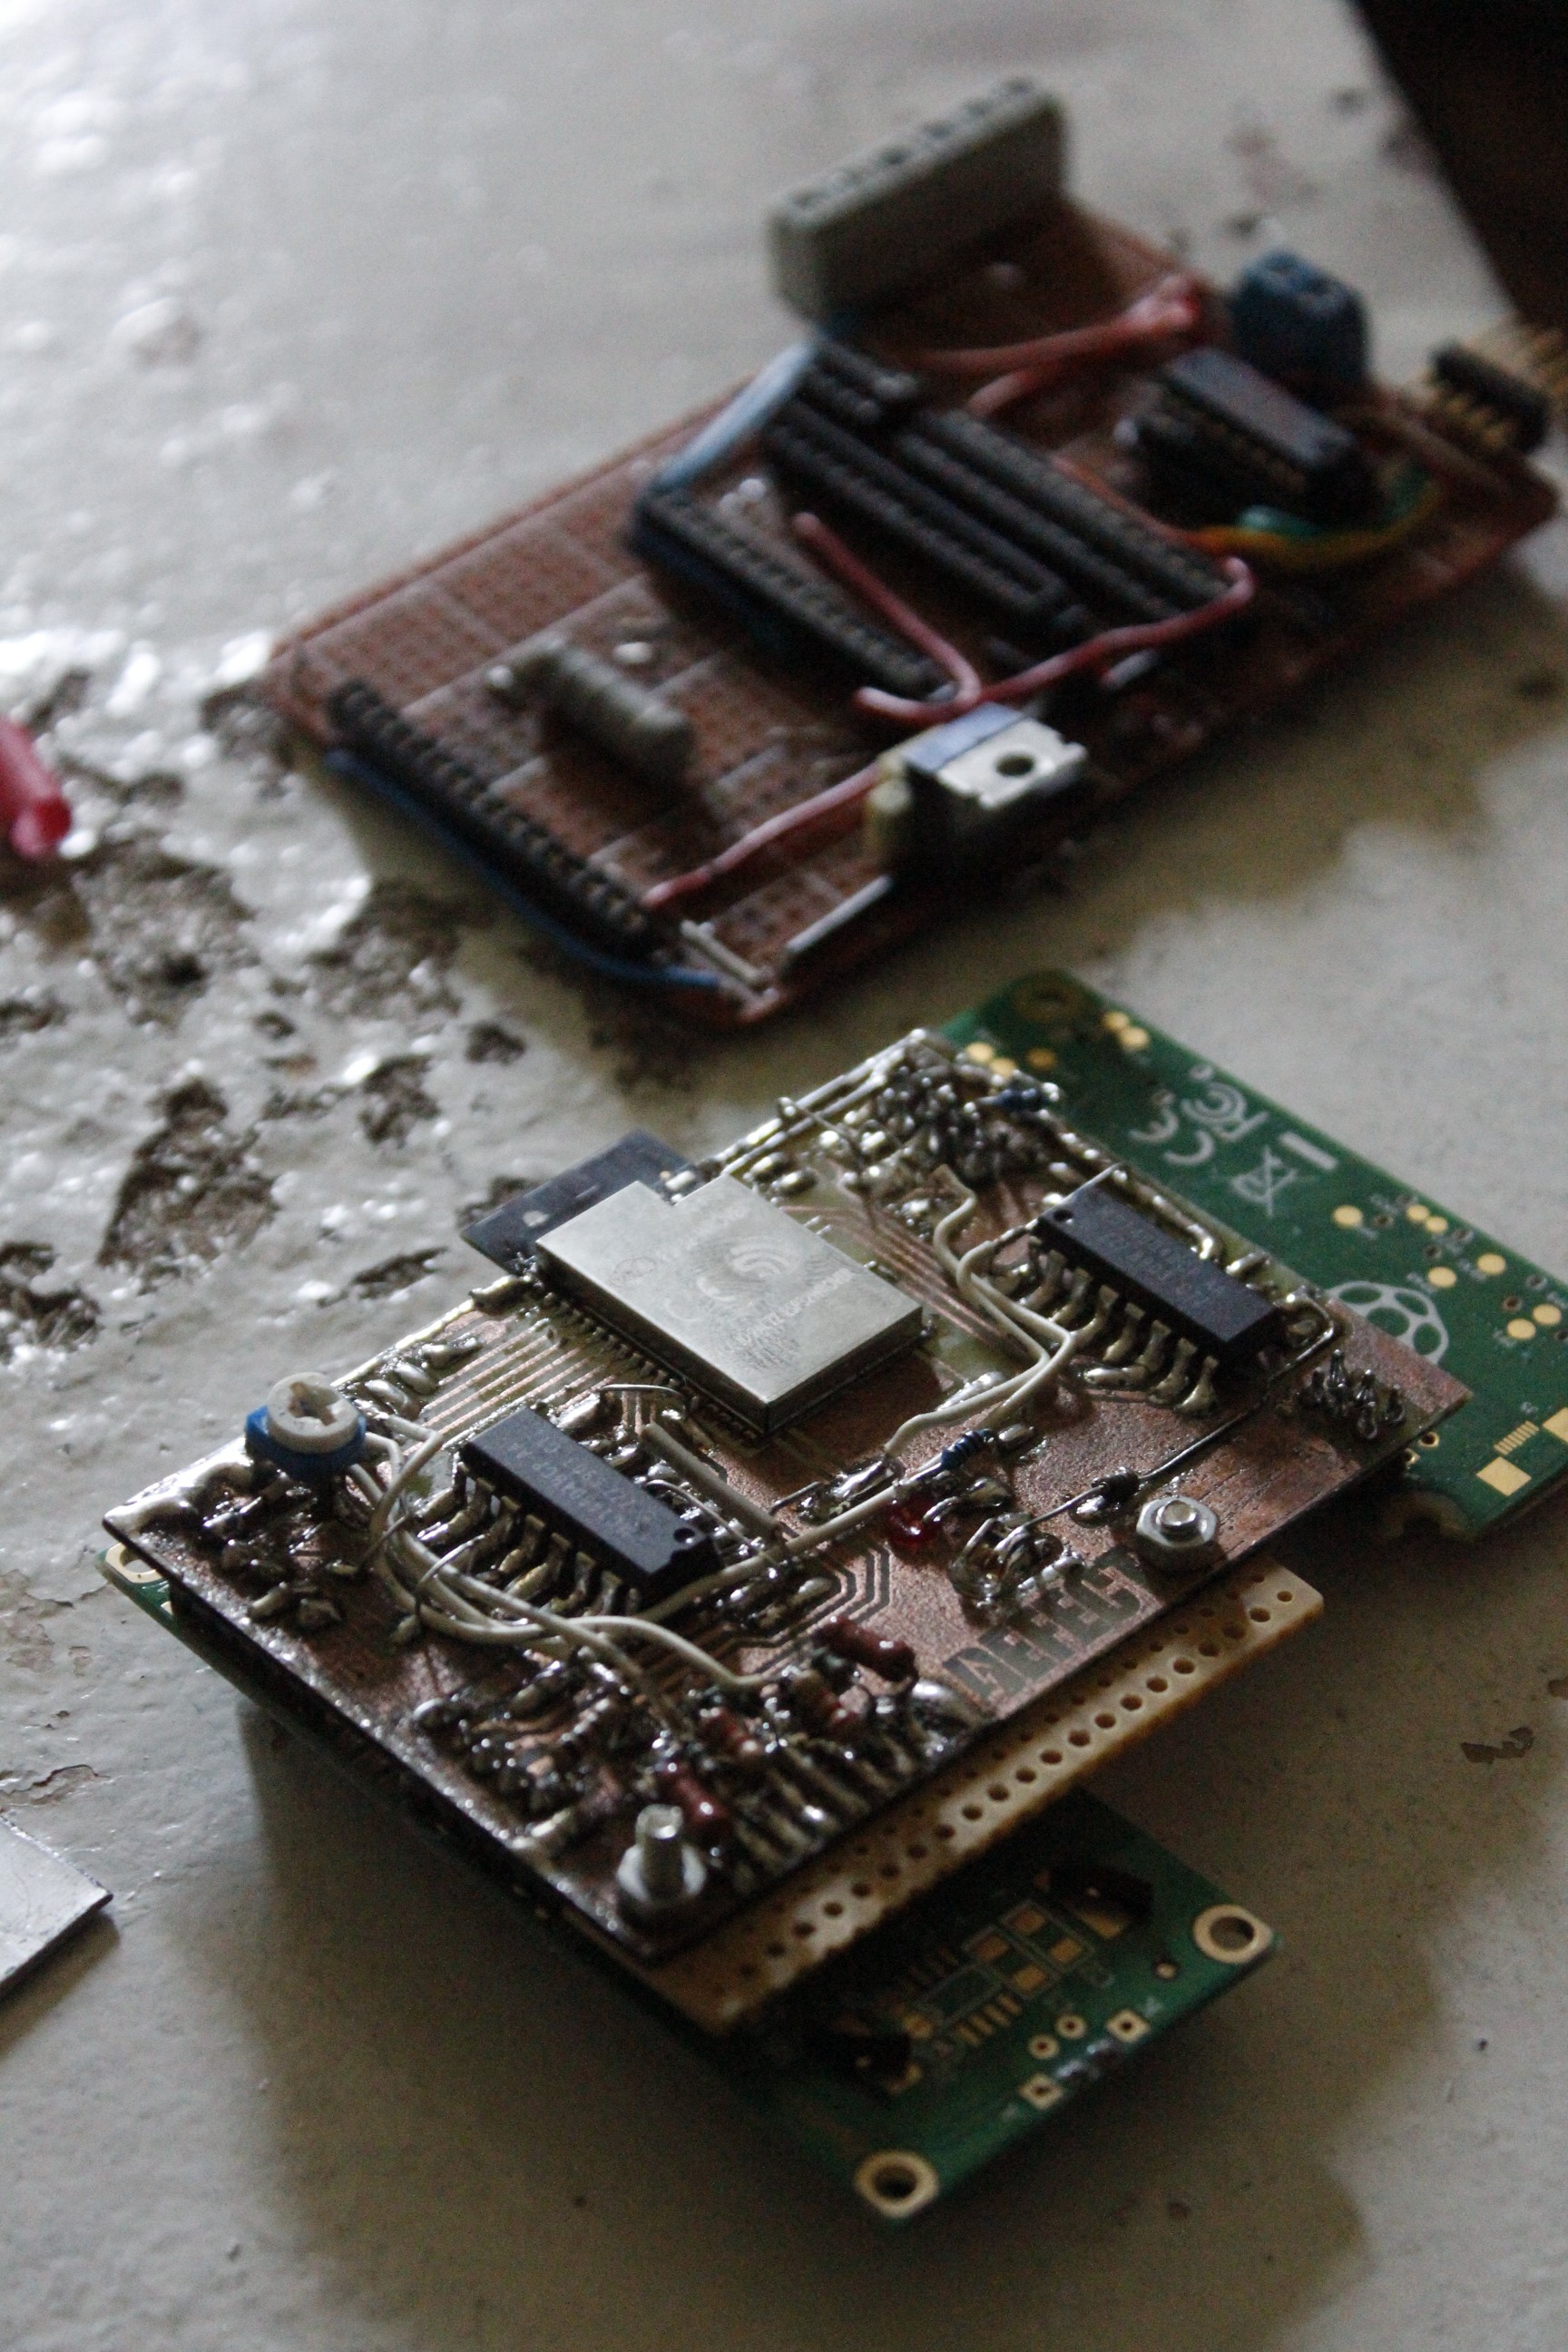
The ugly formatting and abundance of jumper wires are due to lazyness though, not my lack of experience with KiCad. Same reason I “surface mounted” the THT components: I loathe drilling tiny holes.
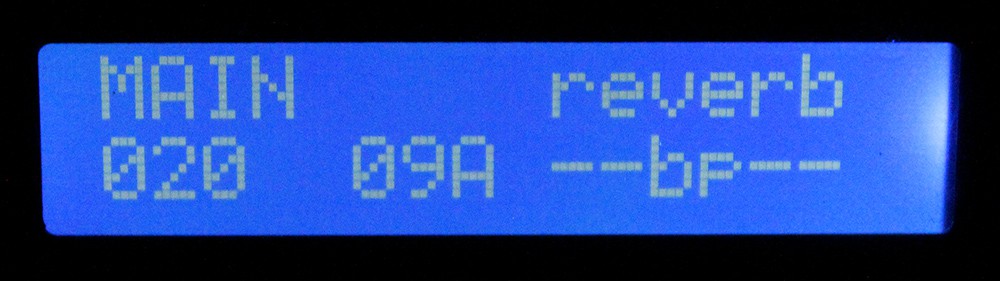
I did finally buy a white-on-blue LCD that better fits the overall color scheme, so I guess the zero in “Zero Budget” has become about $10. Removing redundant information from the display allowed me to include a label for the ○ (function) button as well.
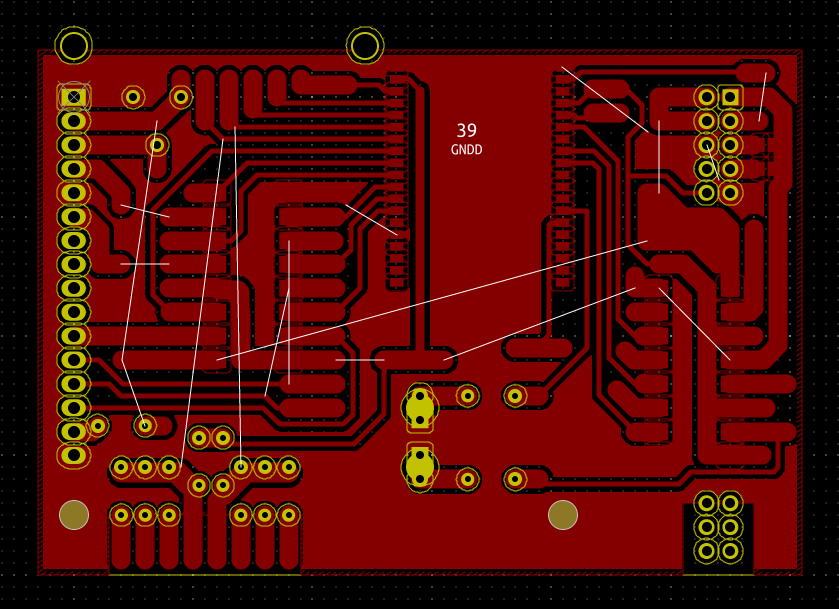
Of course the one time I didn’t use IC sockets I got a dead channel in the level shifter talking to the LCD. So I connected the input straight to the 3.3 V output and it works just fine, indicating I didn’t need that shifter anyway. The PCB transfer didn’t come out great but it’s still better than protoboard.
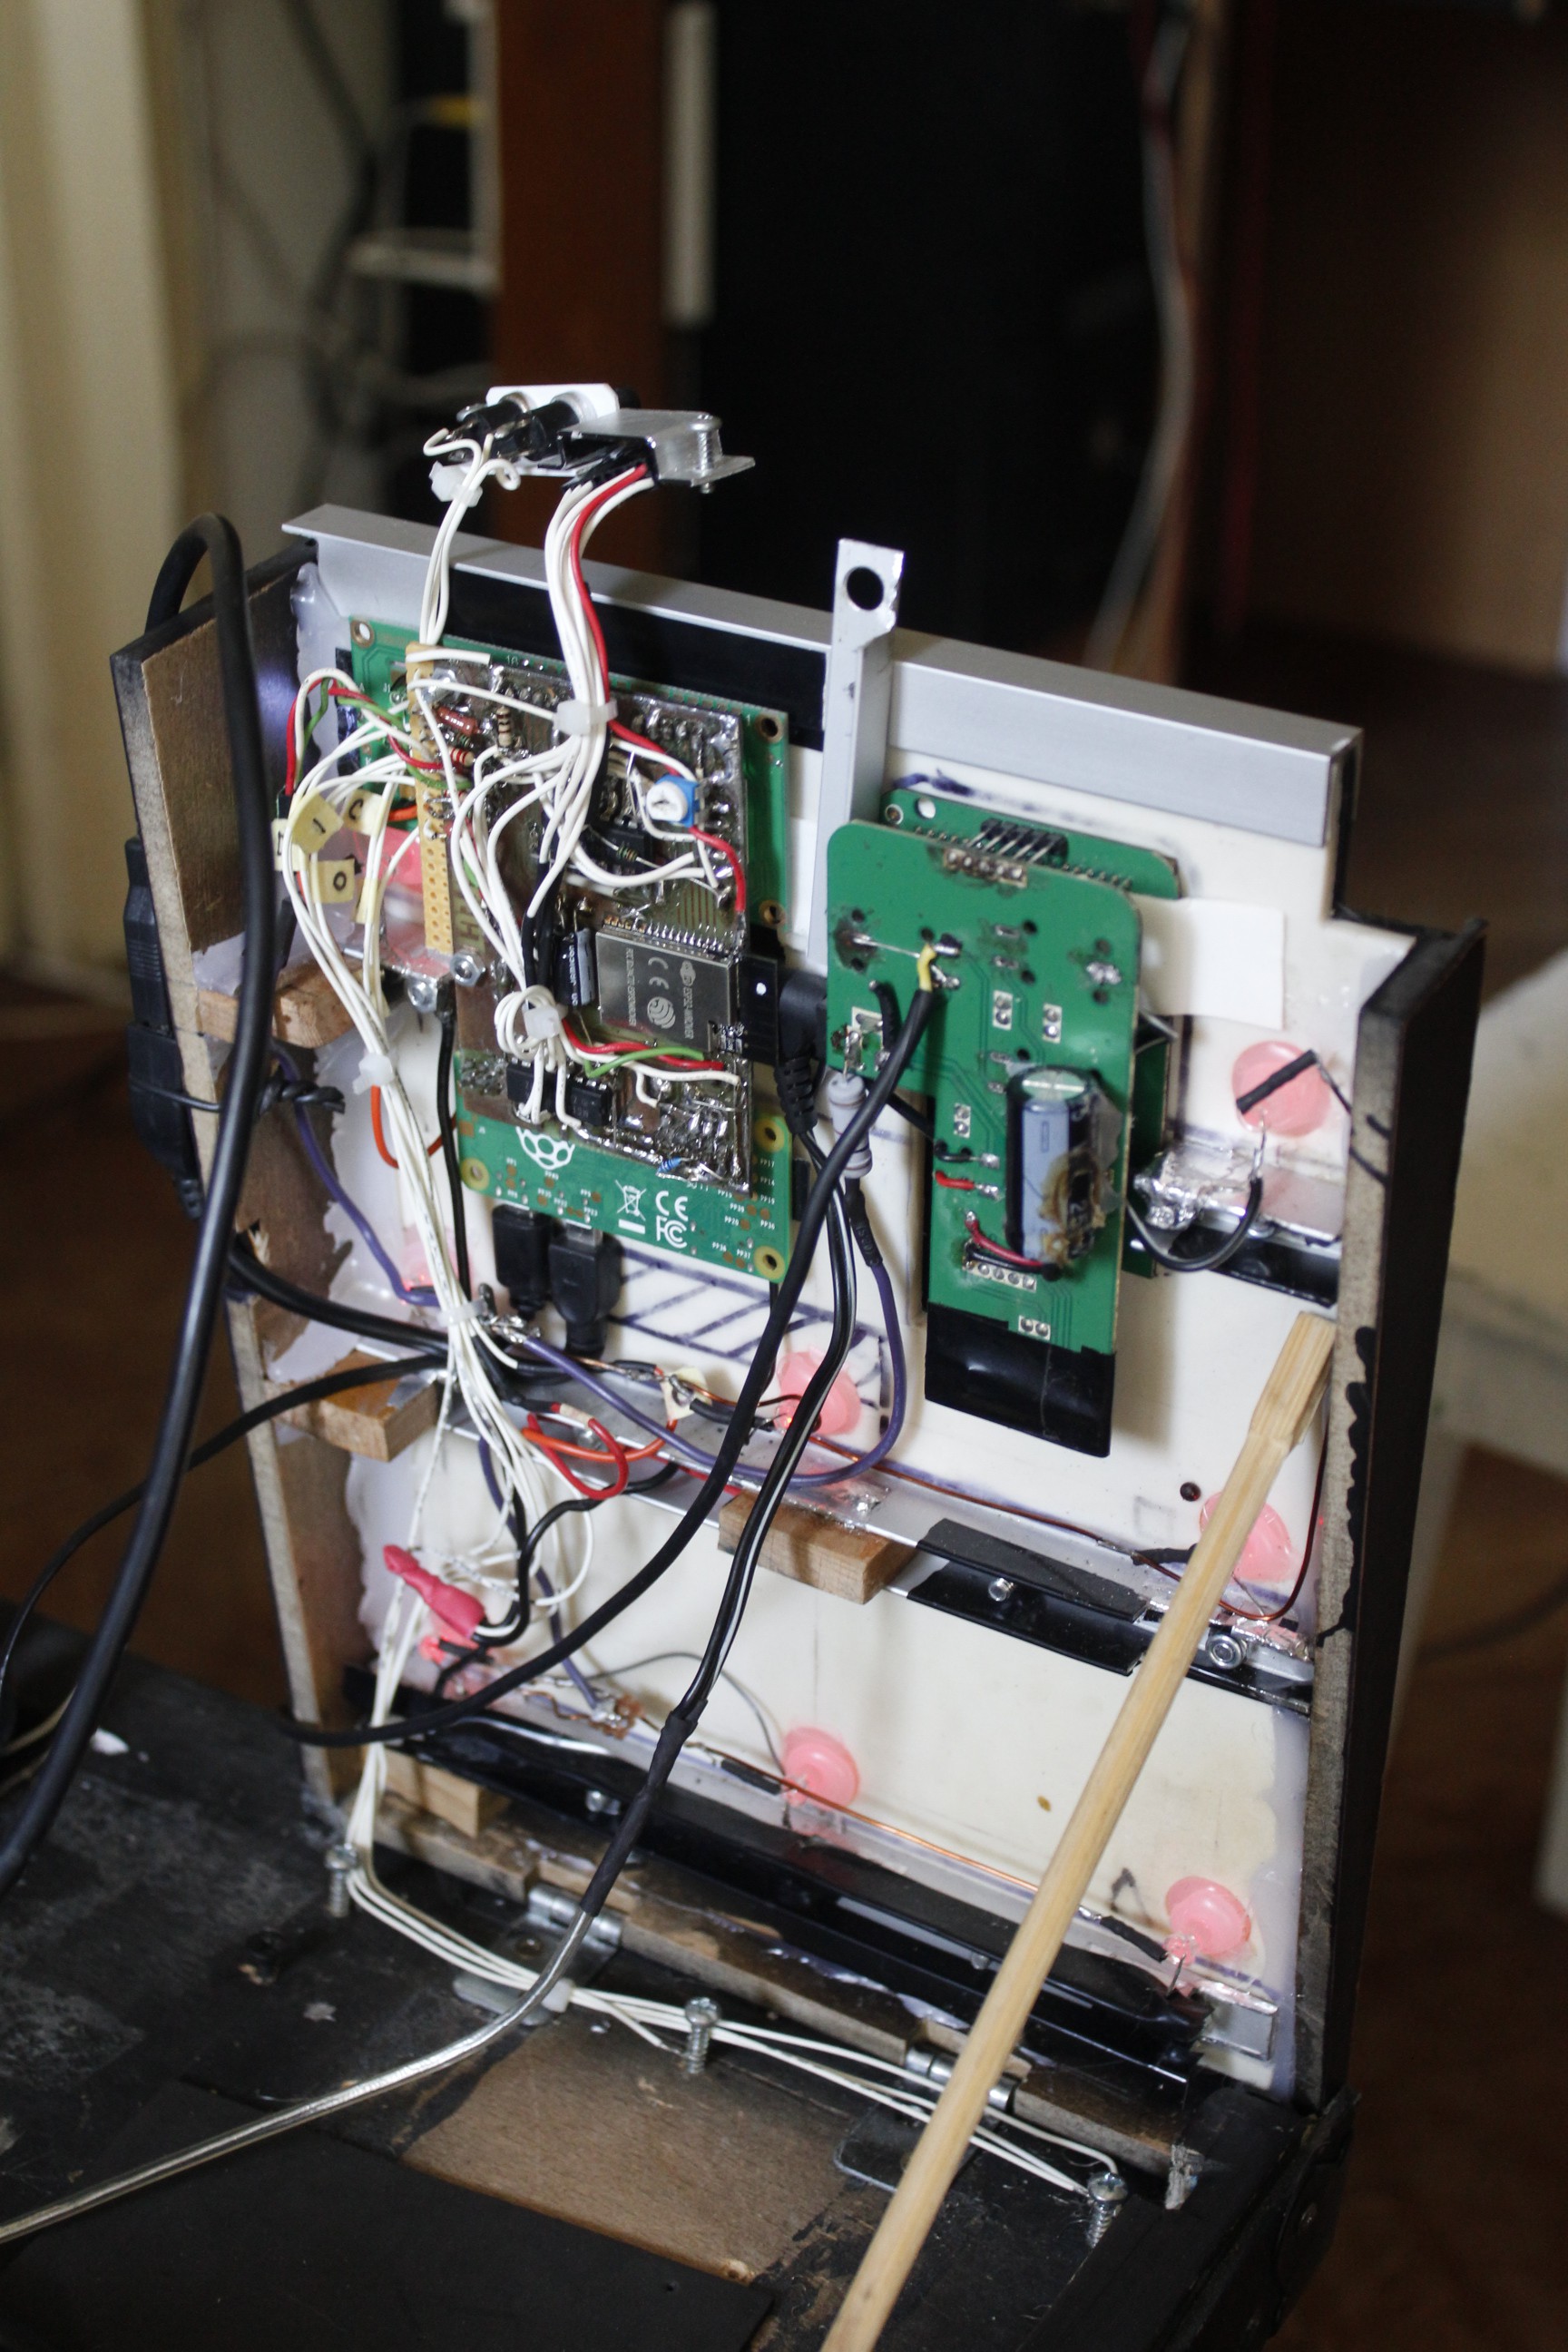
Believe it or not, it’s a lot more tidy.
I got bogged down in firmware land for a week due to what I hear is called “premature optimization”, but once I realized the ESP32 has massive ammounts of RAM and storage compared to an ATmega328P everything went smoothly. The ESP-WROVER I used even has extra PSRAM that I didn’t touch. My programming education started in the 5th grade and ended in the 8th, so I’ve attached the code in case anyone wants to point out my mistakes:
Lament Configuration V2 firmware and data folder.
Now interface design is something more up my alley, and I hope I kept it simple and funcional:
Clicking a bank from the left list loads its contents into the central table, where the 5 presets (and the bank’s name) can be edited at once.
The list of RP155 presets serves as a reference and their new ultra-wide 6 character labels can also be edited here.
Then the [save] button writes all the configuration data to SPIFFS in JSON format.

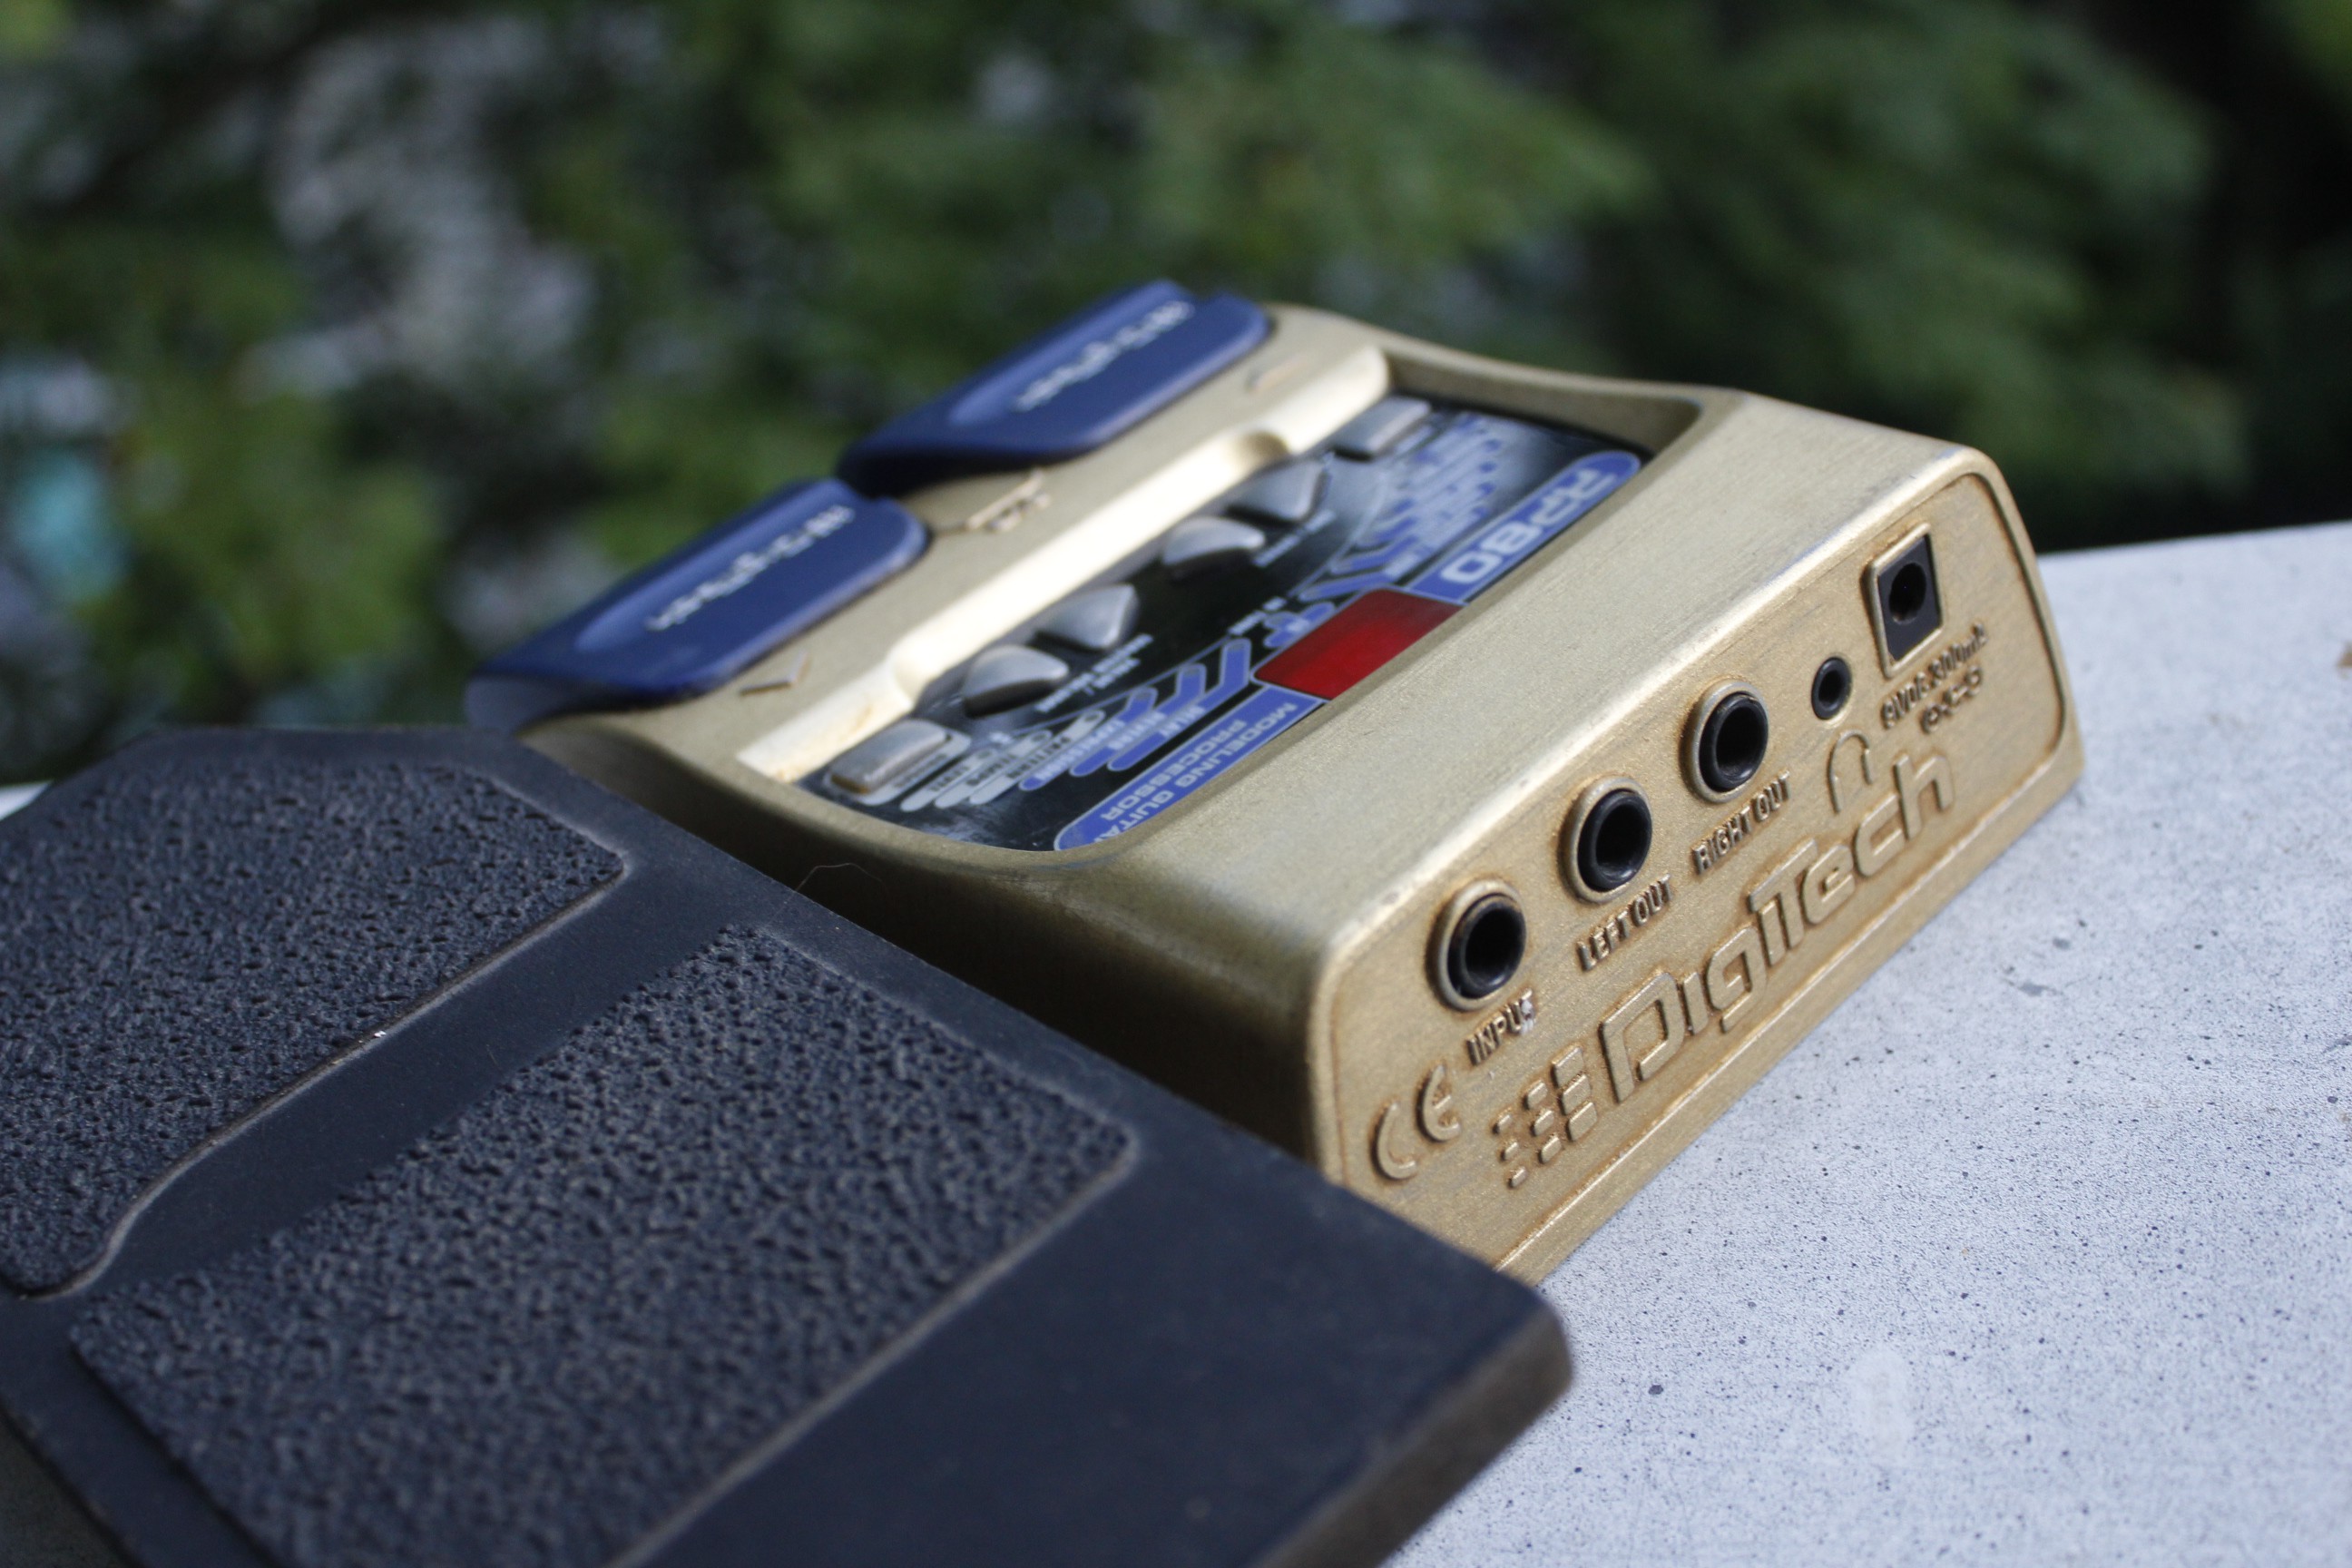
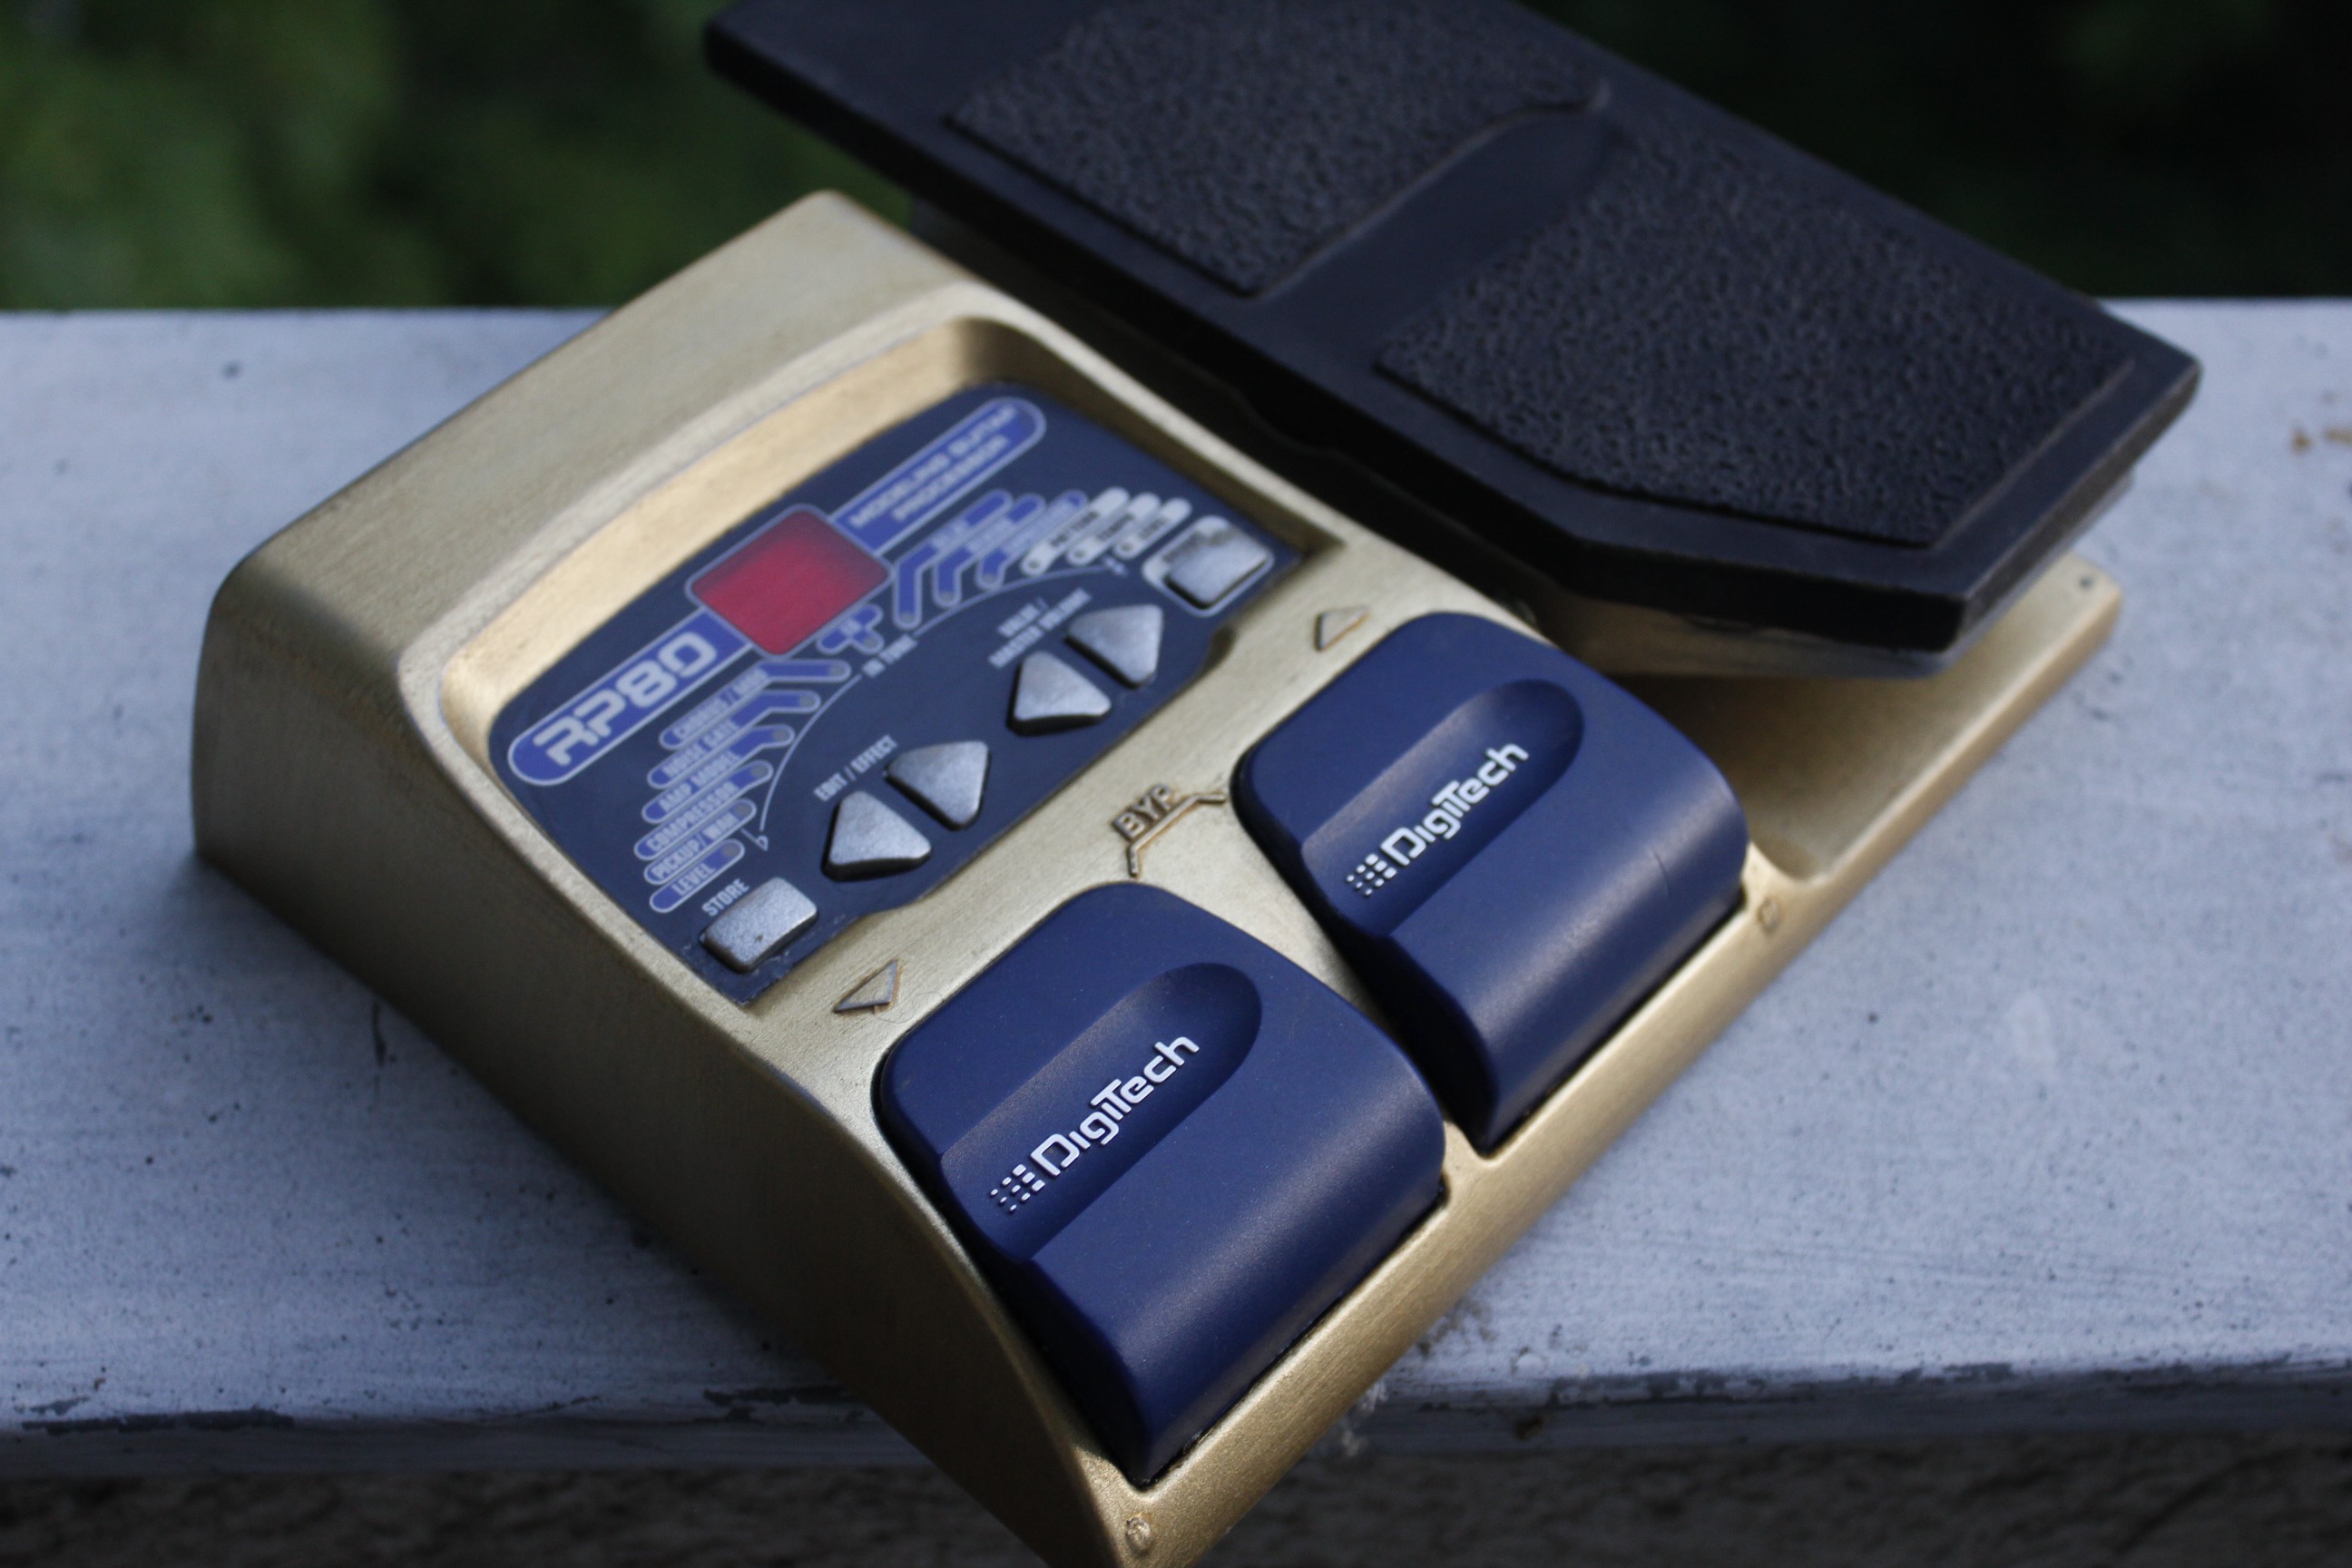
Teaching an RP80 to speak MIDI
First order of business for welcoming back this ancient processor was to give it a proper antique paint job.
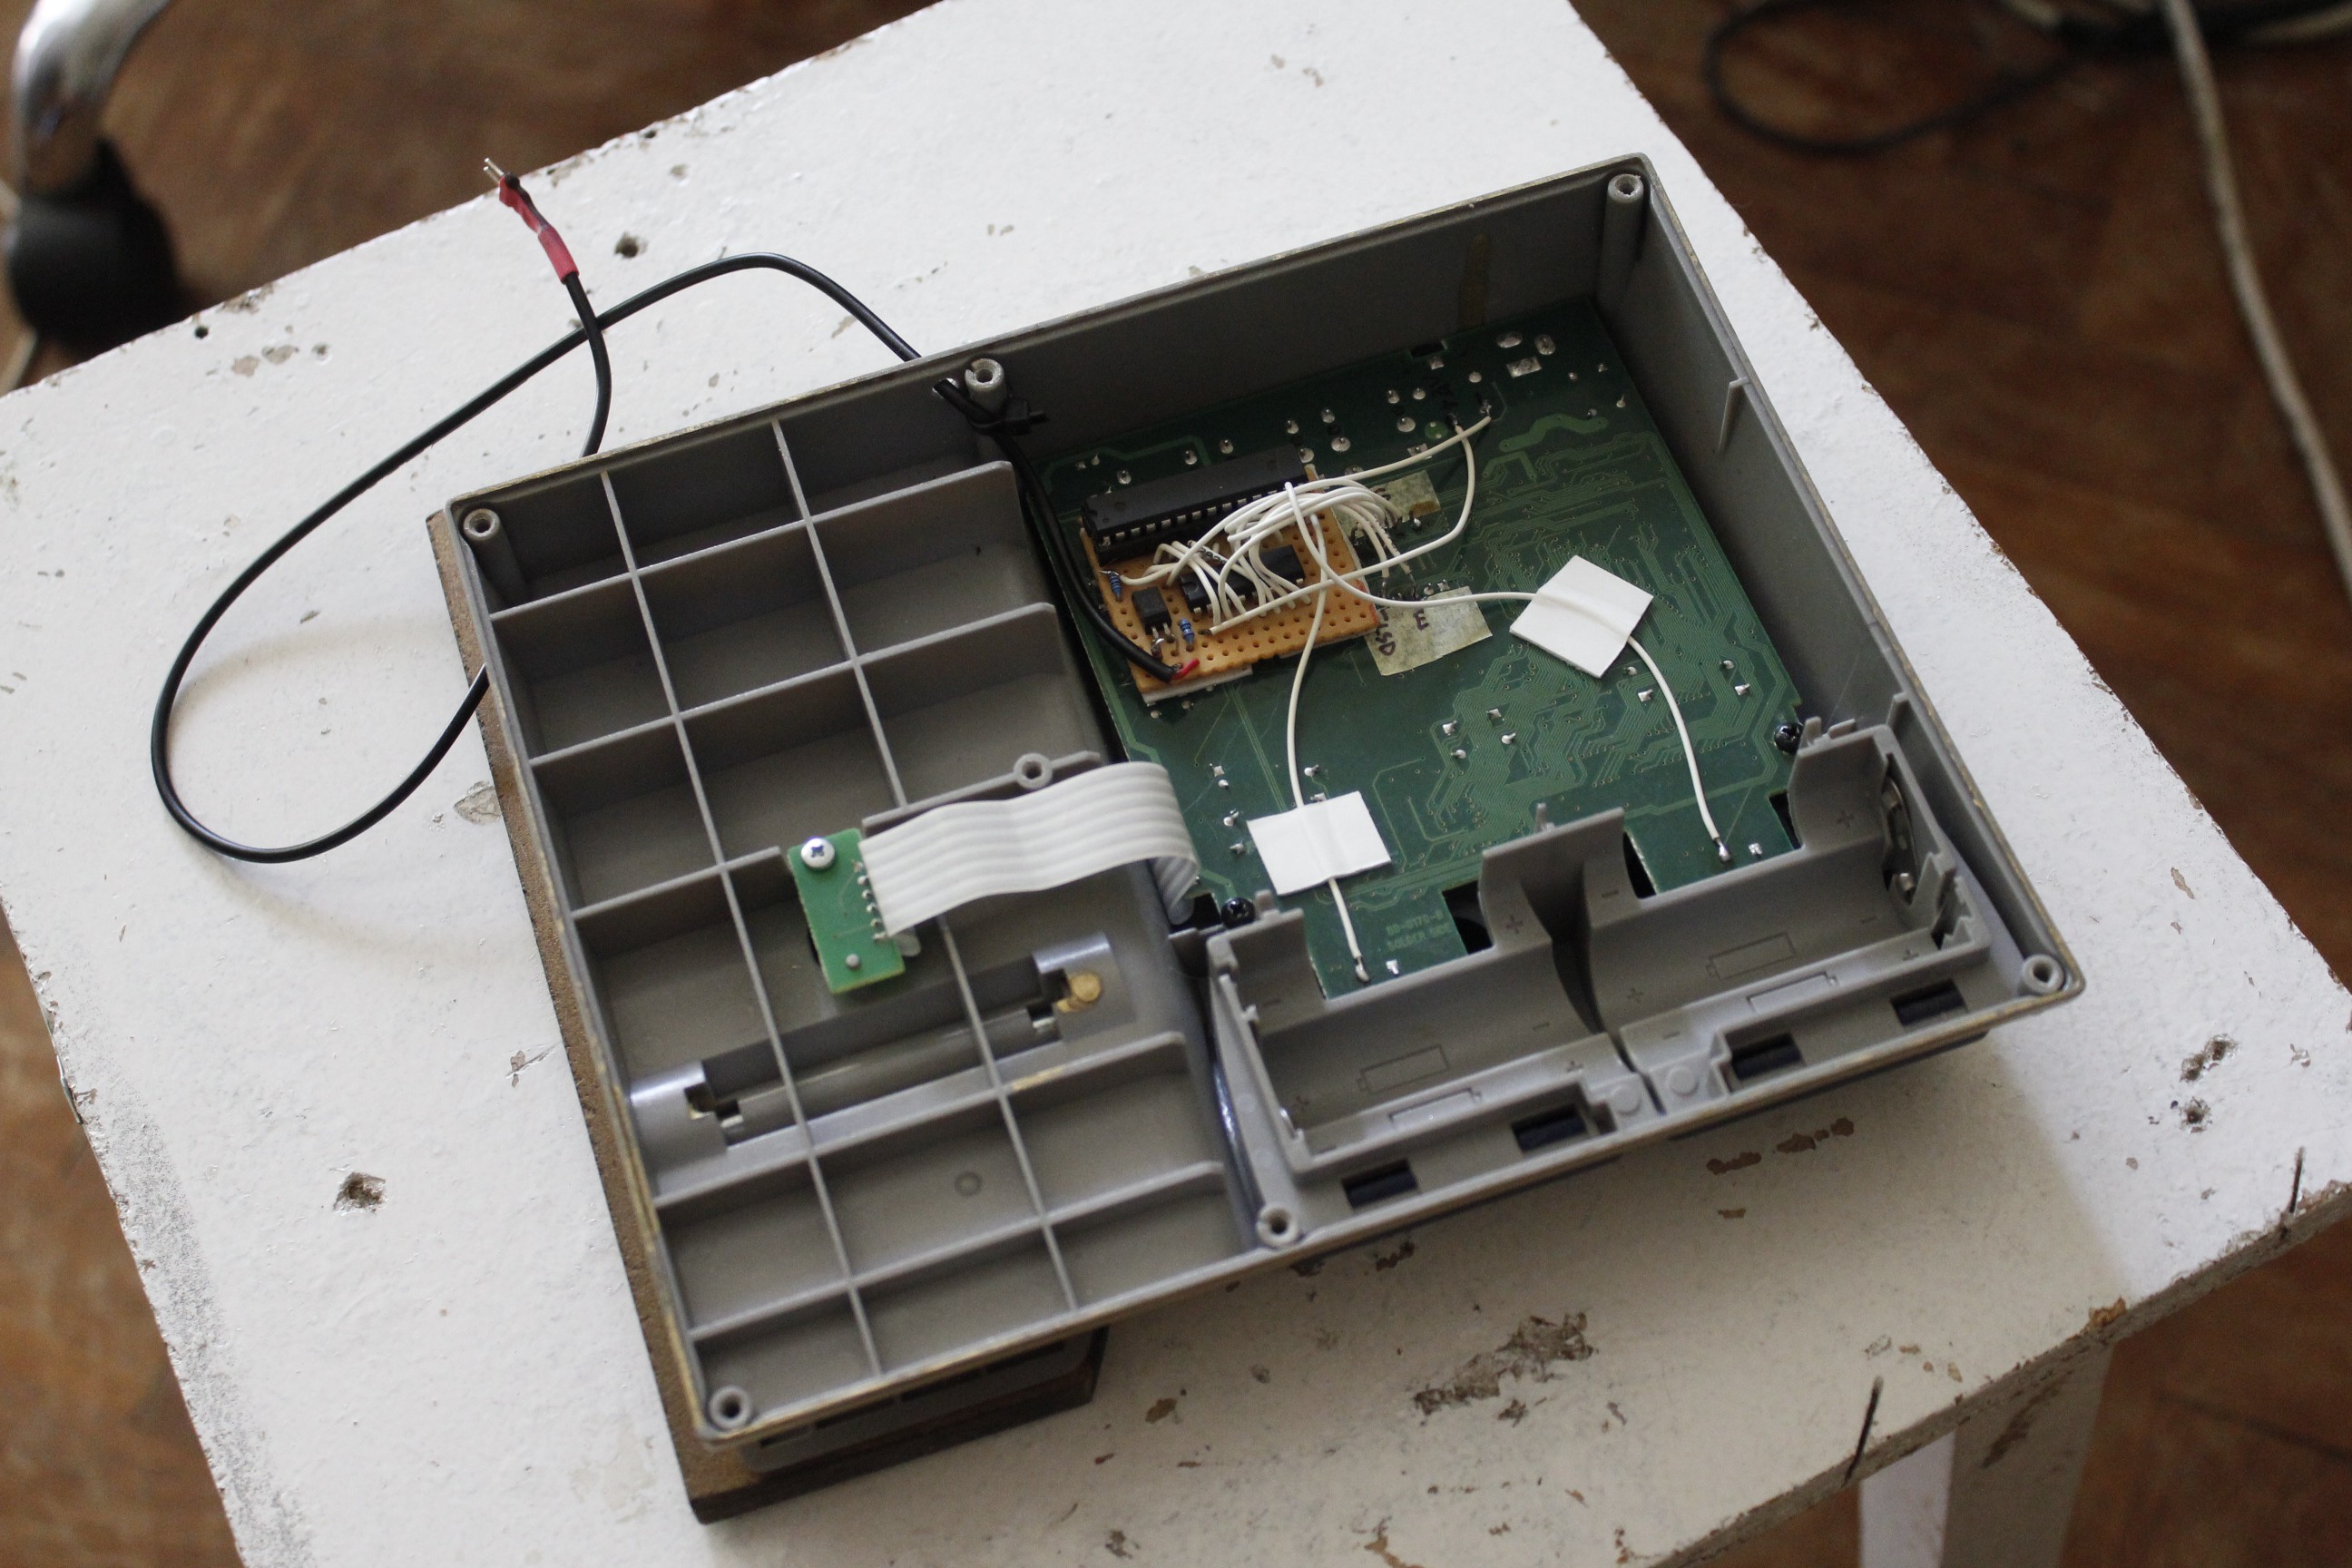
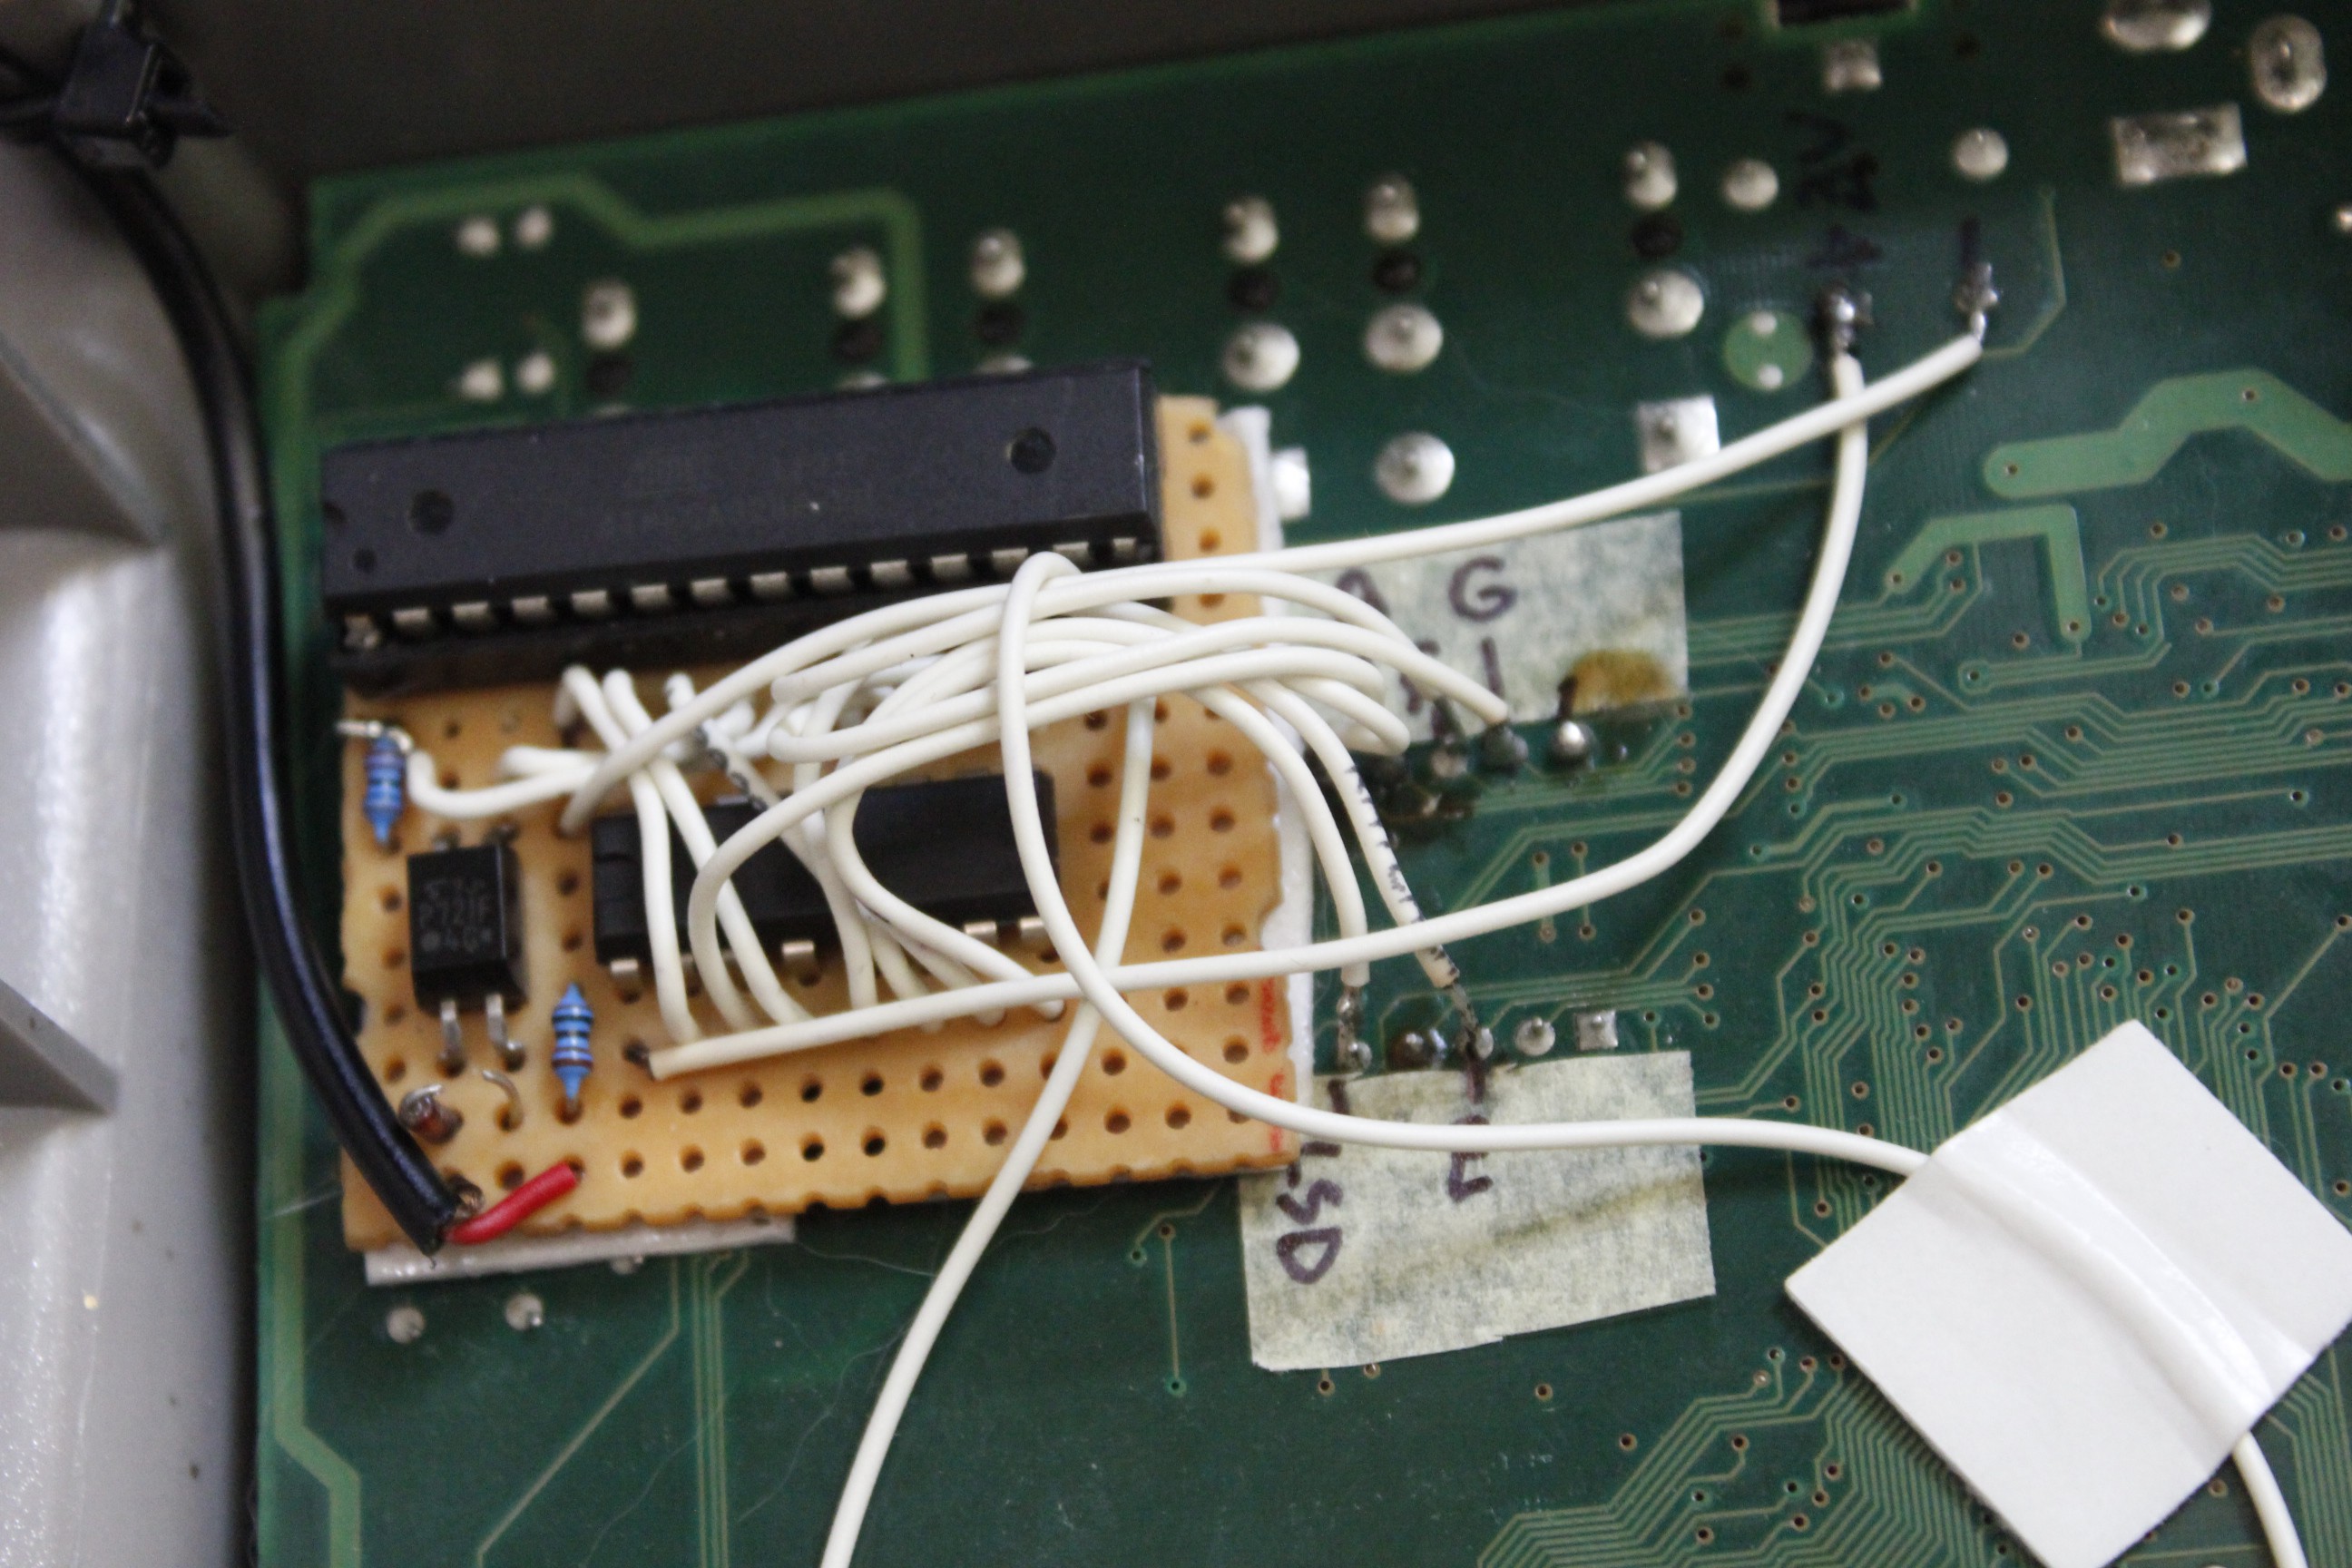
Then I implemented a very quick hack for a MIDI upgrade: an ATmega328P reads the display to find where it’s at and shorts either the Up or Down button to ground if the last received MIDI Program Change is different from the active preset. The RP80’s digits and LEDs are all multiplexed so I used a hex inverter to kind of clean up the signal. It probably could be done programmatically and I’ll probably try in the future but right now I’m squeamish to delve into port registers and interrupts and whatever else would be involved. The current solution can only do 9 presets but it preserves the original functionality and it’s not essential.
Discussions
Become a Hackaday.io Member
Create an account to leave a comment. Already have an account? Log In.