I initially wanted to use the "SparkFun Simultaneous RFID Reader - M6E Nano", however my local Sparkfun resellers do not plan to bring in any stock. I chose that RFID reader because it was a UHF long range RFID reader which will be needed if my smart inventory system is placed in a large storage space. It is unfortunate that I couldn't get one. Many other UHF RFID readers on the market are meant for industrial use and I cannot possibly afford it (costing from a few hundreds to thousands of dollars). I wanted to at least have a fully working prototype, so I had to look for alternatives.
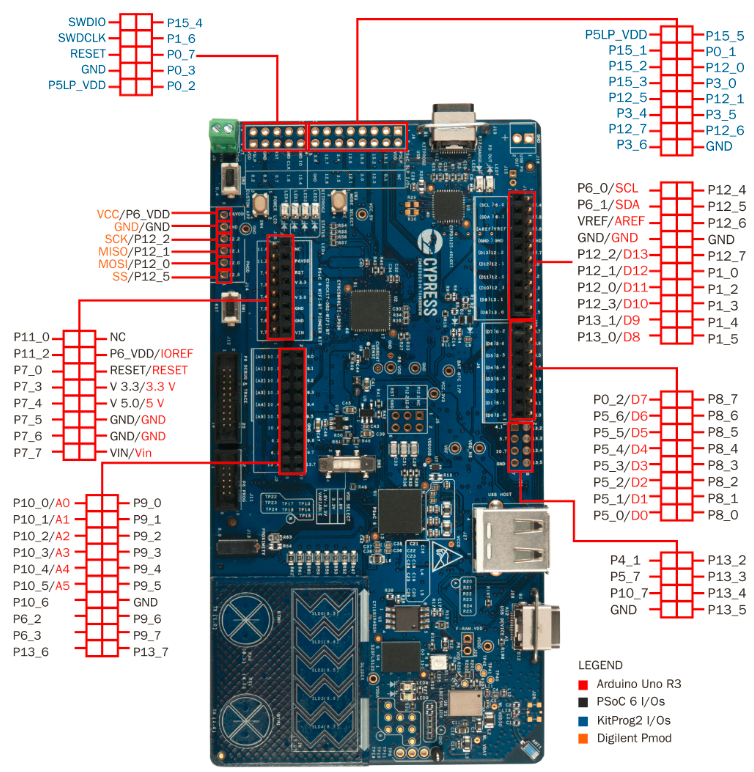
Furthermore, I realised that the Cypress PSoC 6 Kit does not have a lot of GPIOs left. This is because the LCD display module takes up most of the pins. I found out there are no exposed hardware UART pins, SPI pins or I2C pins. (Technically, I can share I2C with the one for the KitProg).
With the constrain on the pins, I decided to choose the MFRC522 RFID Reader module which requires only SPI. SPI is very easy to bit-bang and I am familiar with the MFRC522 because I have used once when I first started with Arduino programming.
Testing the MFRC522 Module
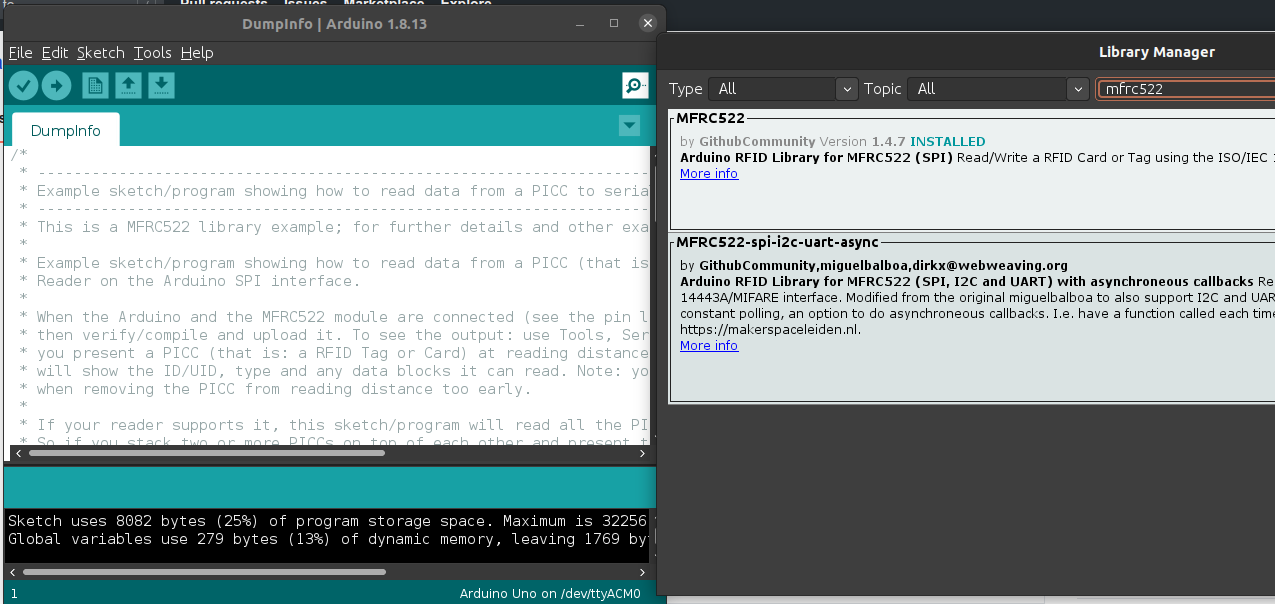
I first verified that my module works using the Arduino examples.
And it works, so I ported the Arduino C++ library to a C library so I can use it with my Cypress PSoC.
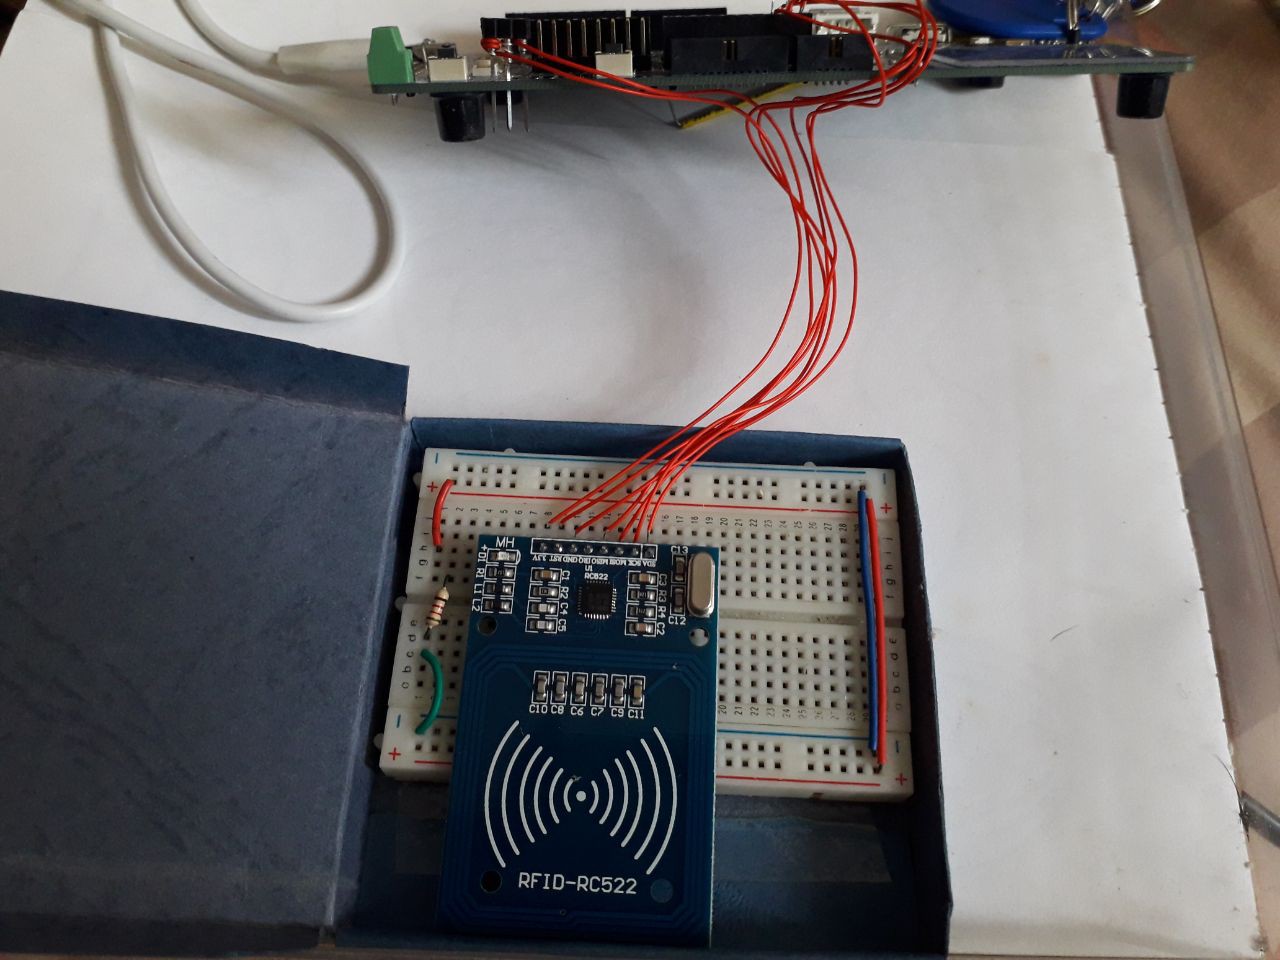
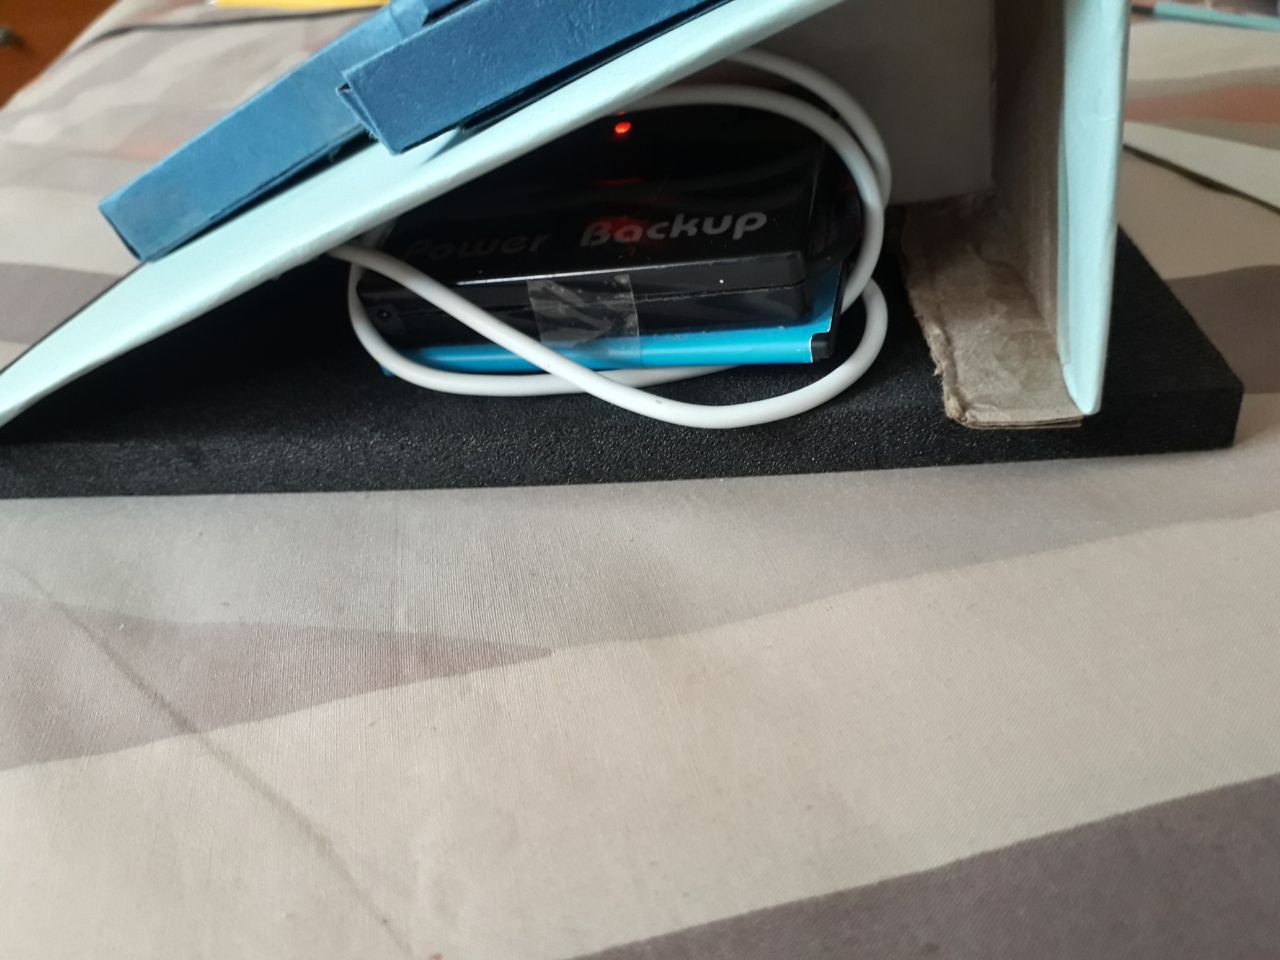
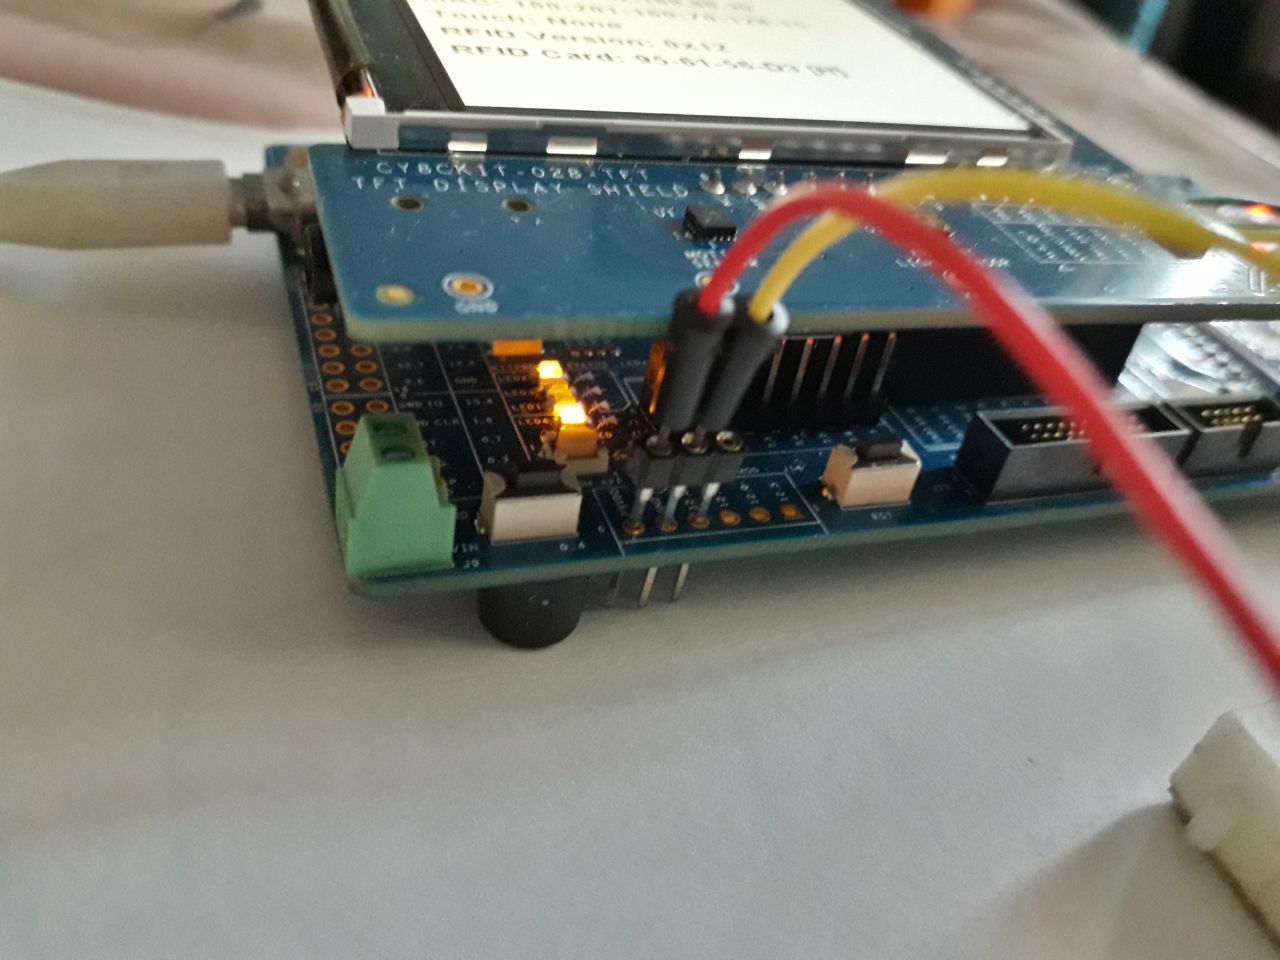
As for wiring, I tapped off VDD and GND from the Pmod connector. I wanted to avoid soldering, so I used long socket pins to make a friction fit.
For the SPI pins, I connected it as follows:
MOSI = P6_2
MISO = P6_3
SCK = P9_6
SDA = P9_7
RST = P13_7
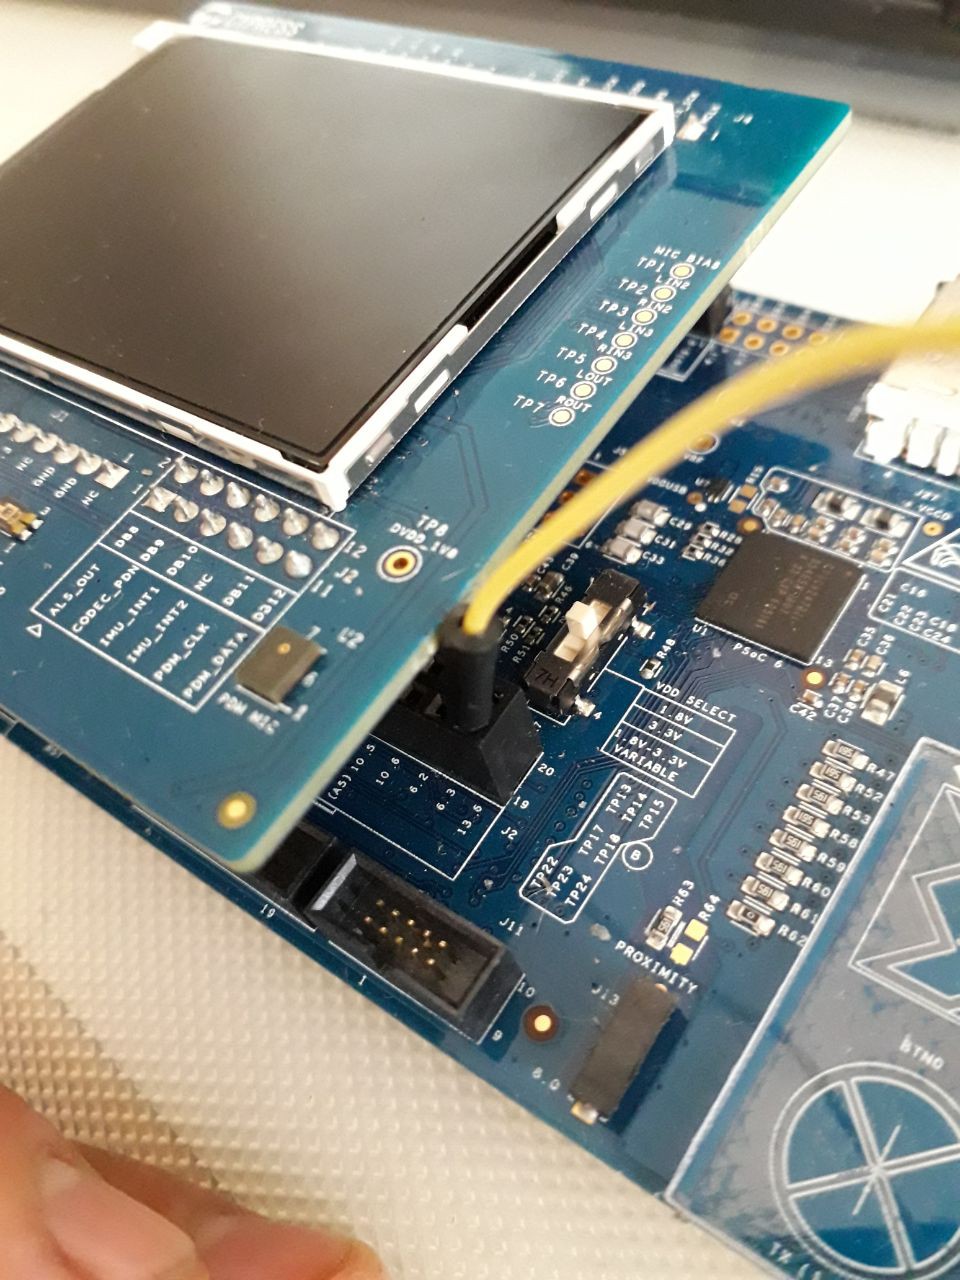
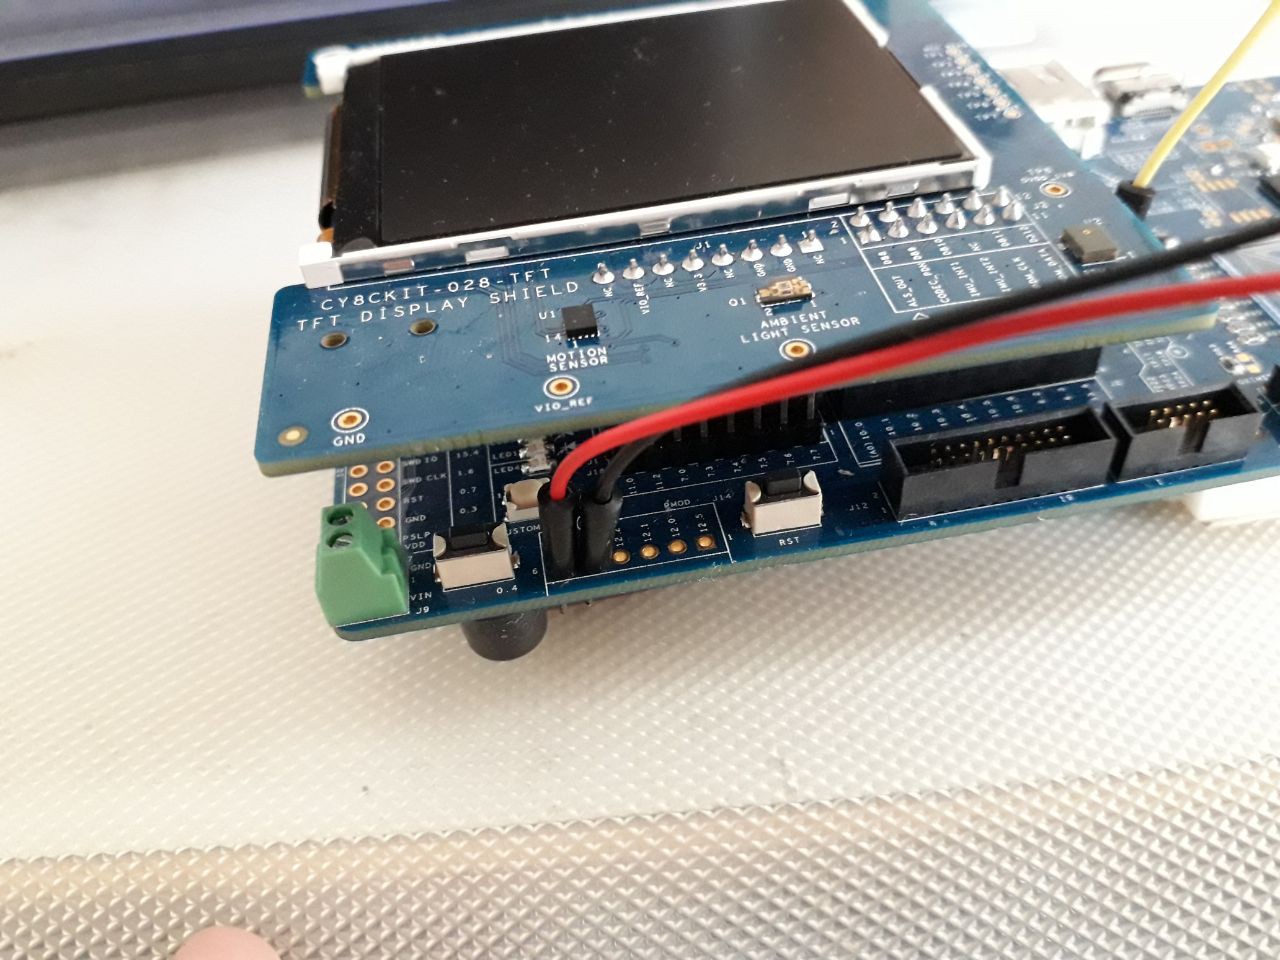
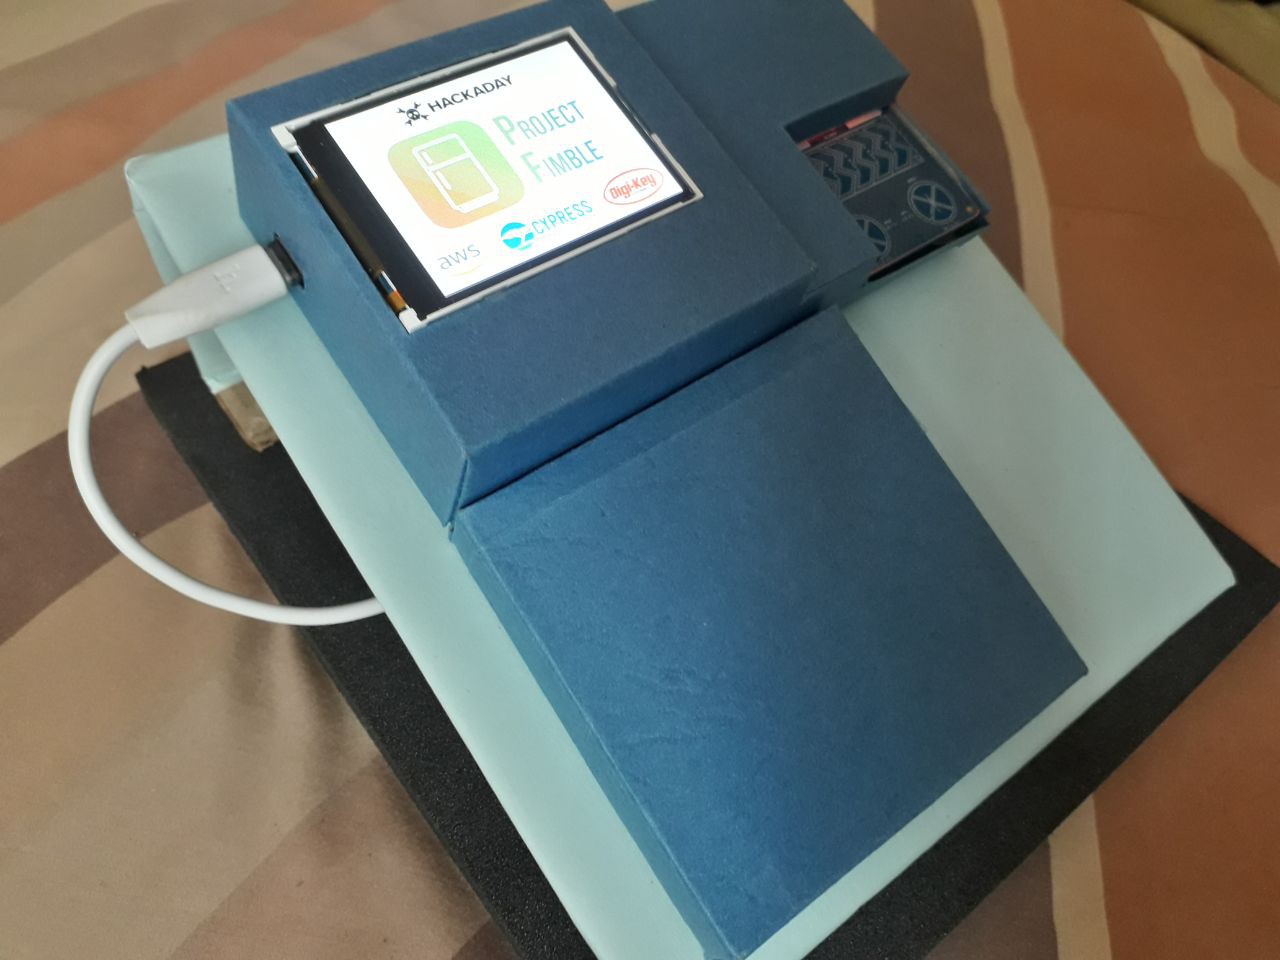
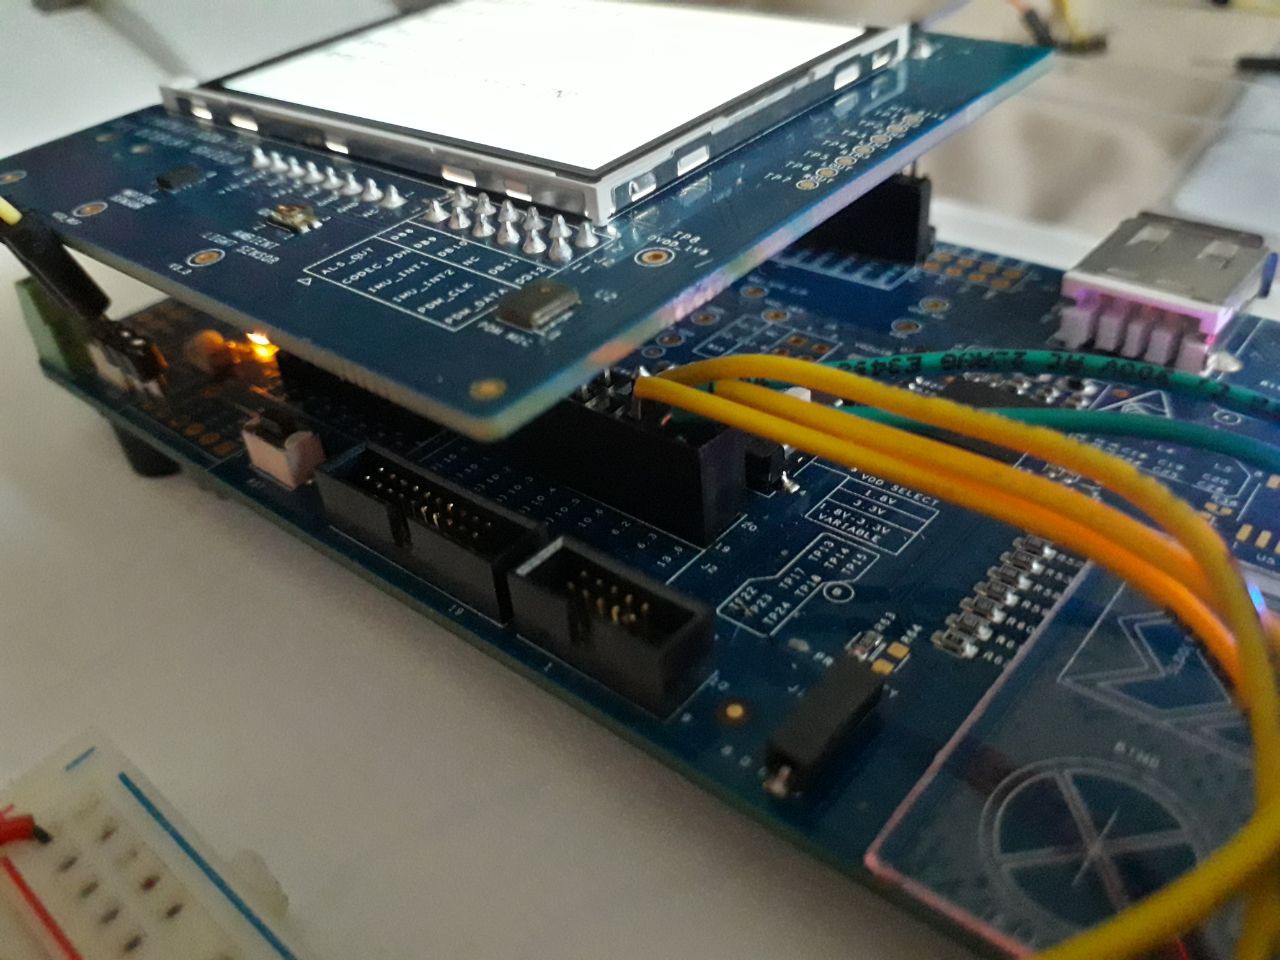
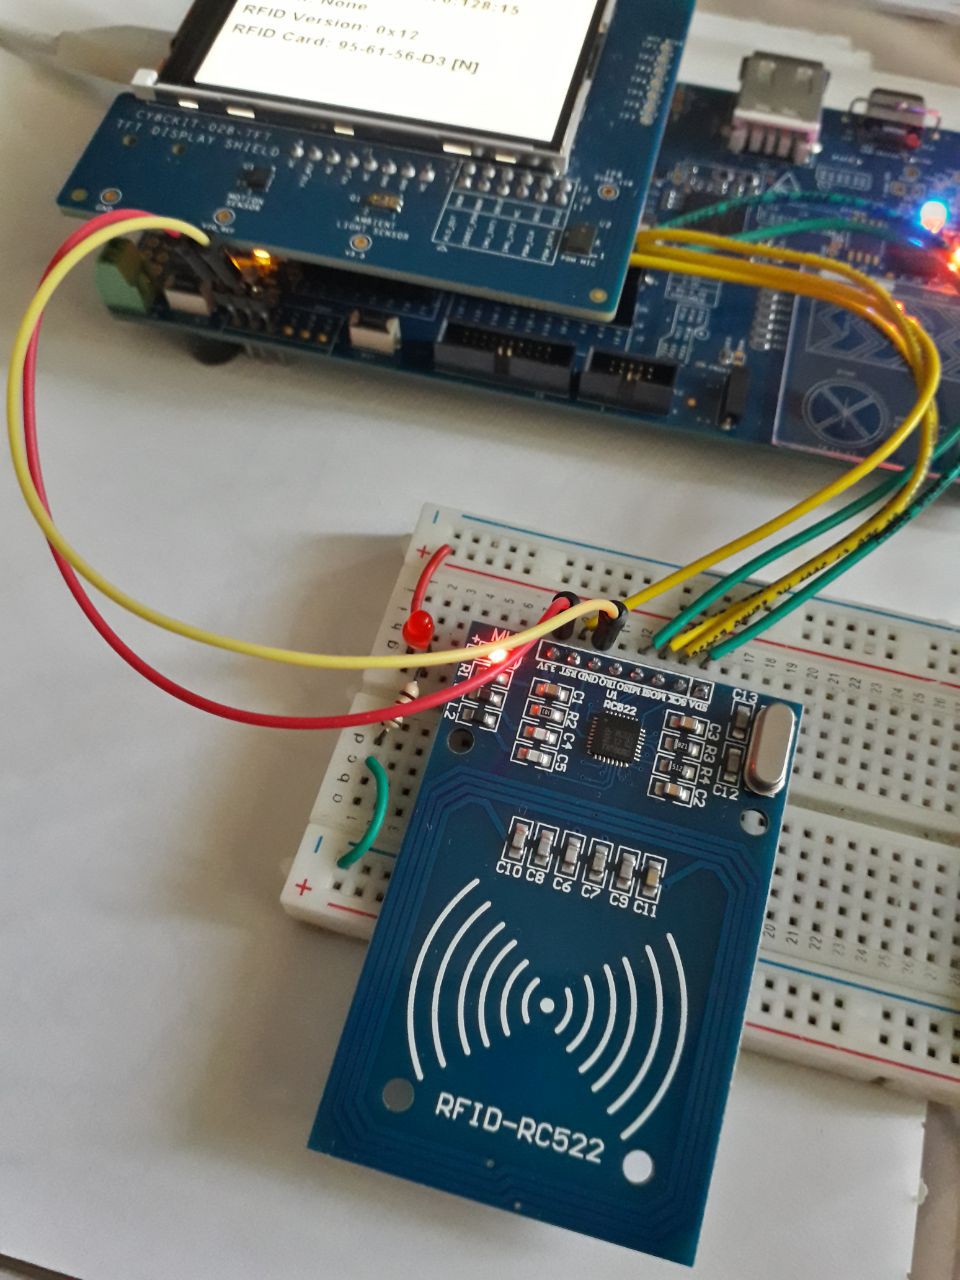
This is how the whole setup looks like.
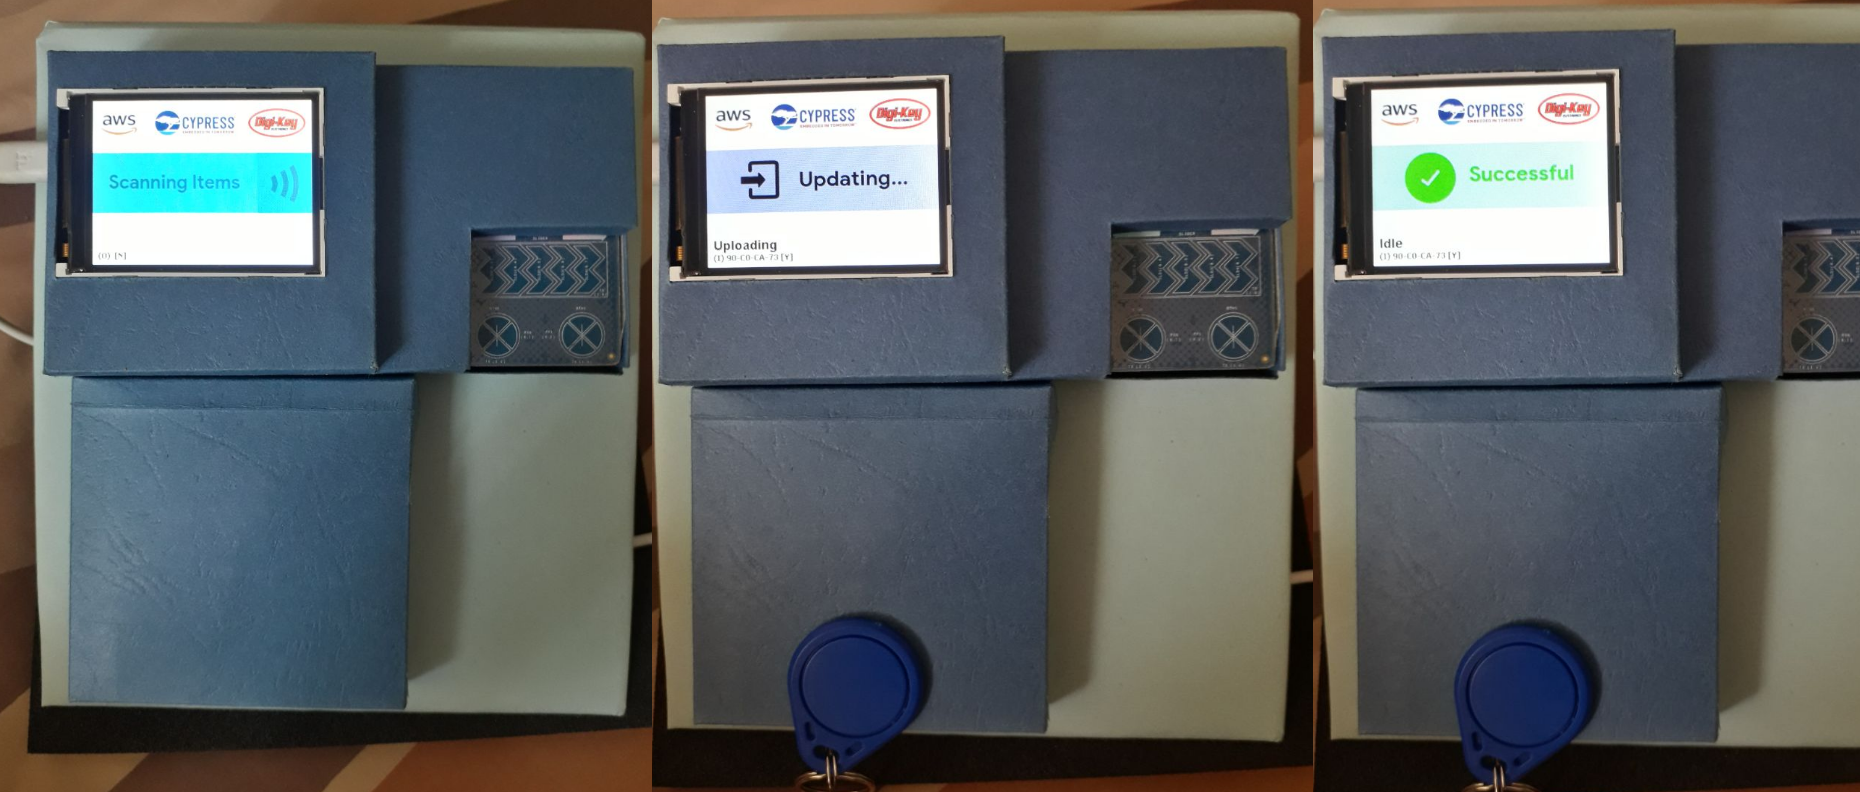
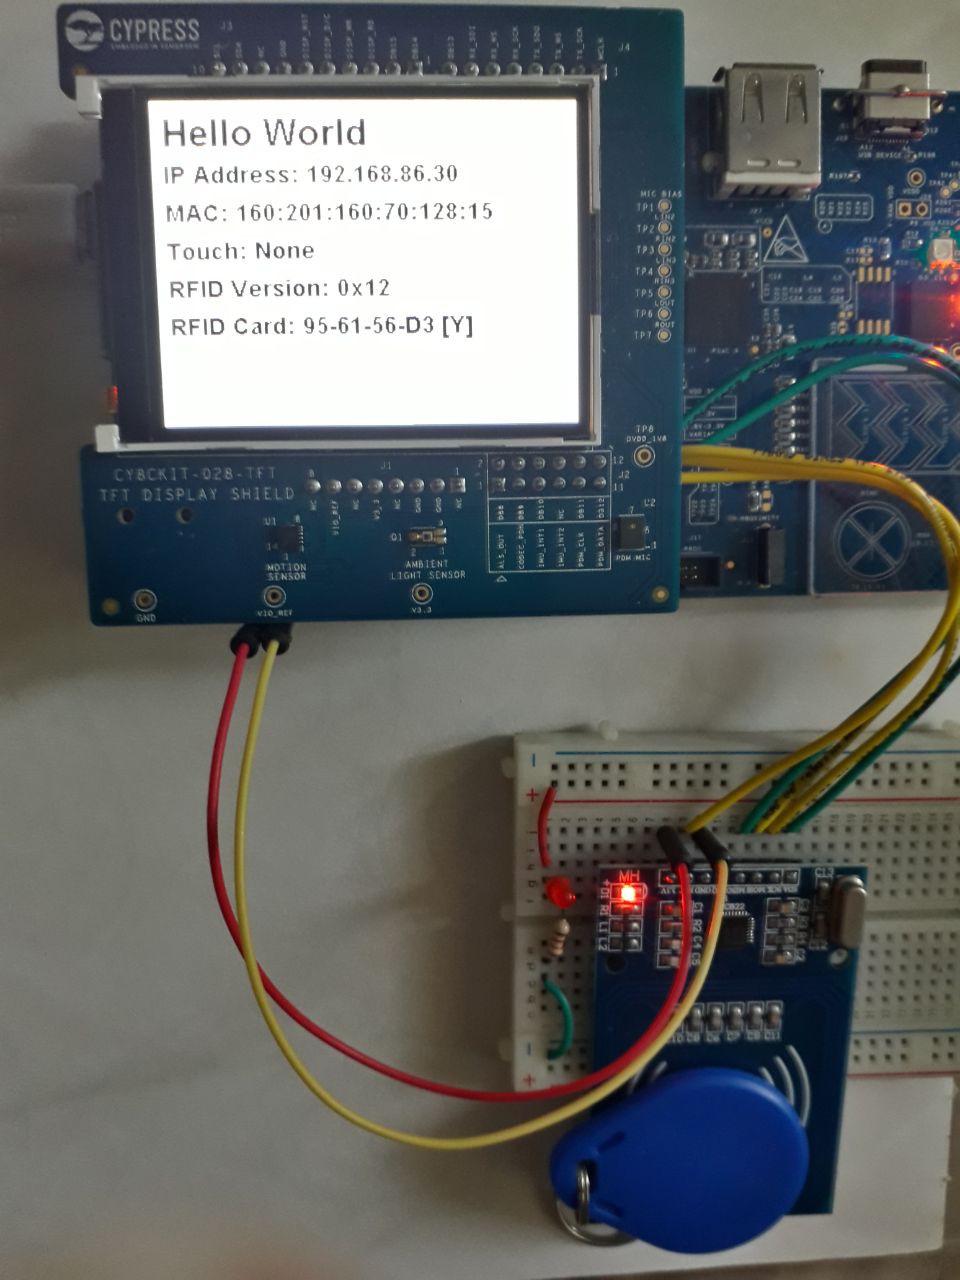
Shown in the above picture is the debug screen. The RFID card UID is being read.
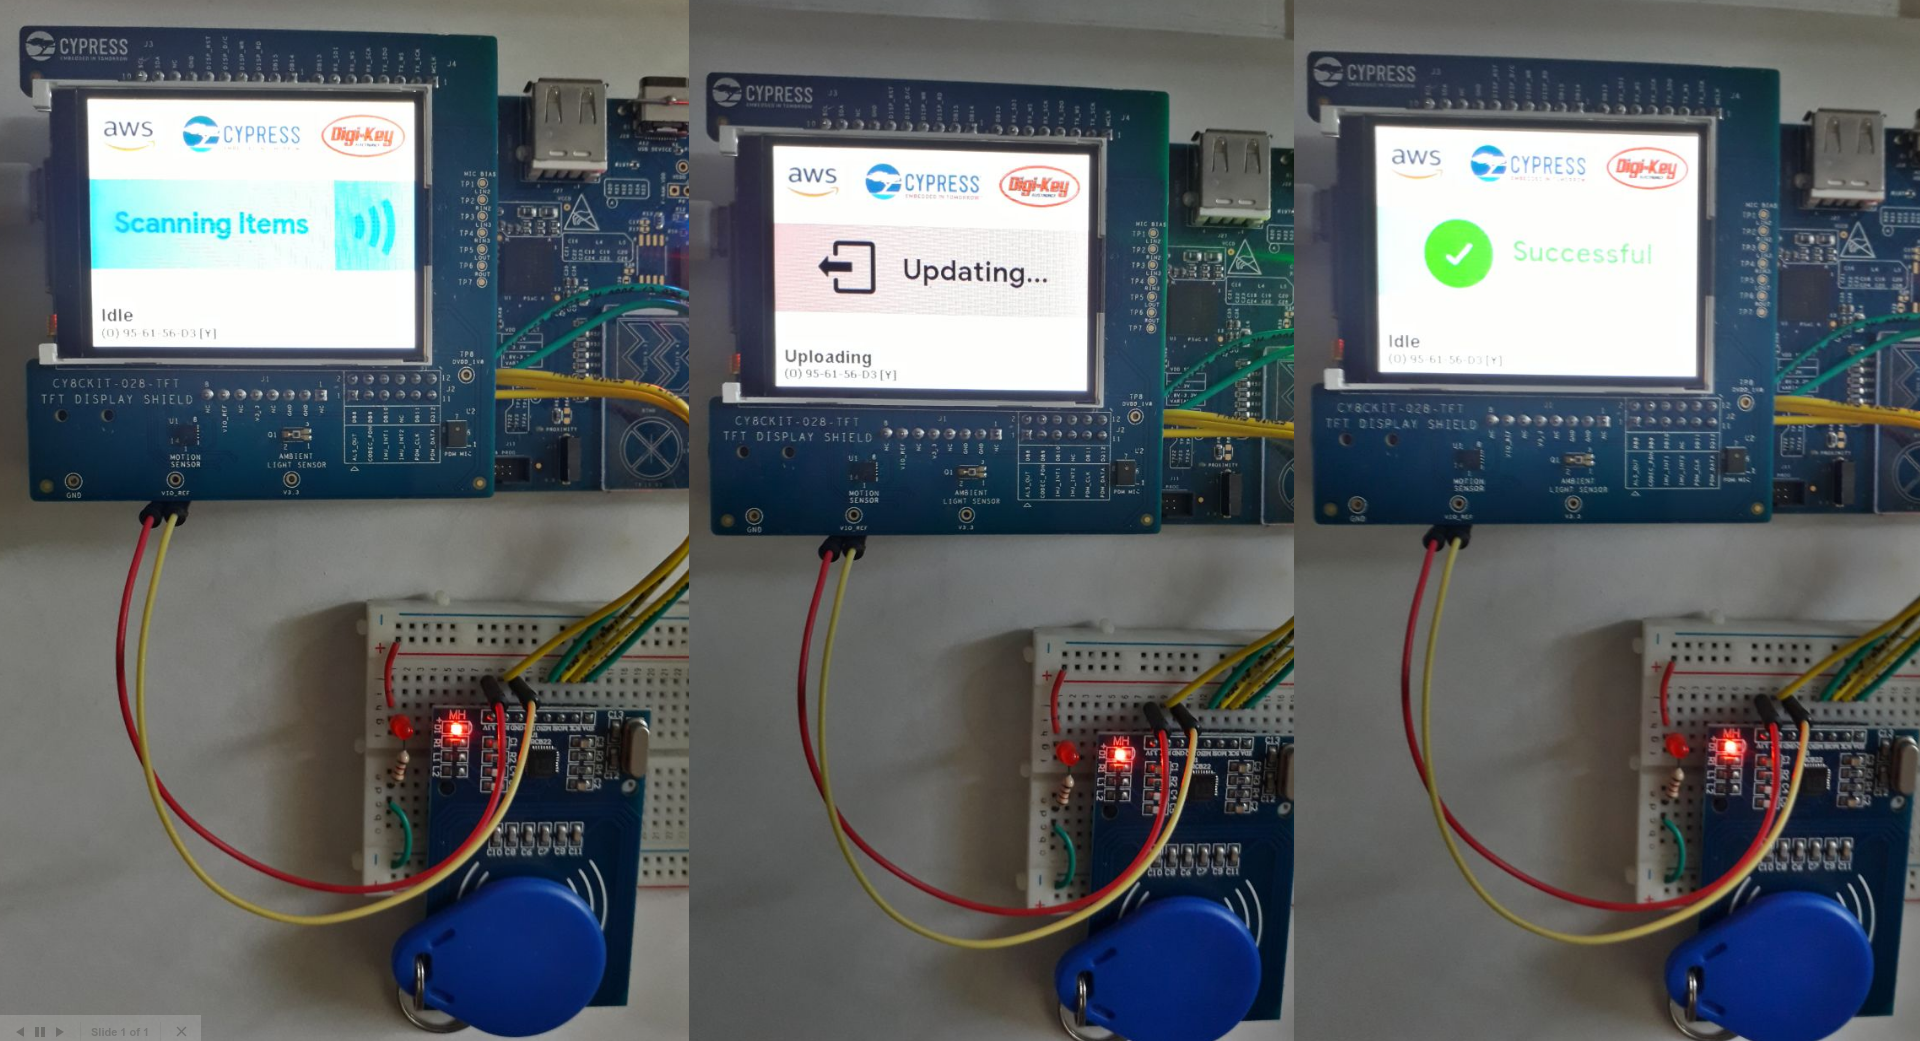
That is it for today. The hardware is 100% completed for this project. The next post will be to have the RFID reader upload the card detected to AWS. I will then simulate an inventory with RFID tags and make a demo video for you to see soon!
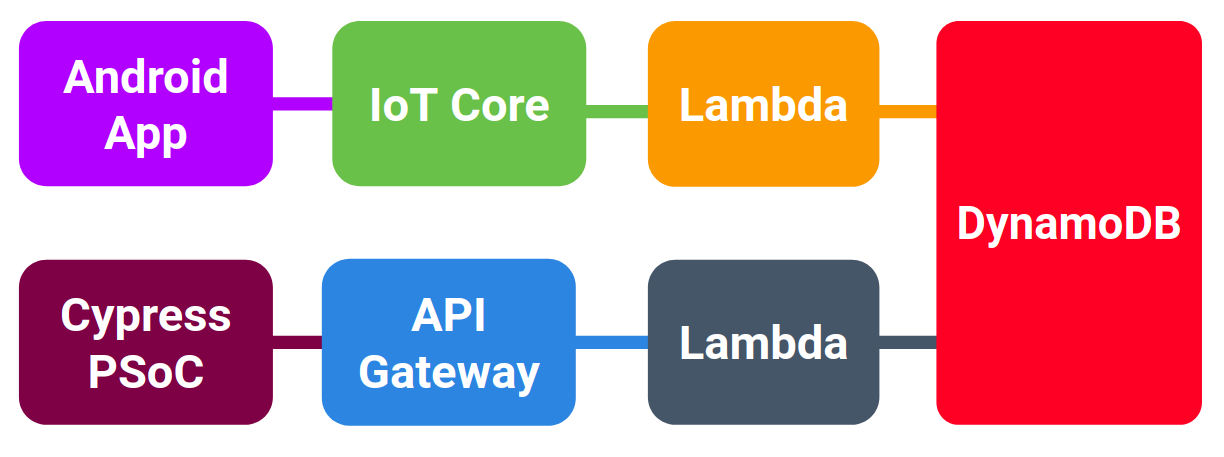
When I created the Flutter Android App, I thought of cross-platform as one of my reasons for trying out Flutter.
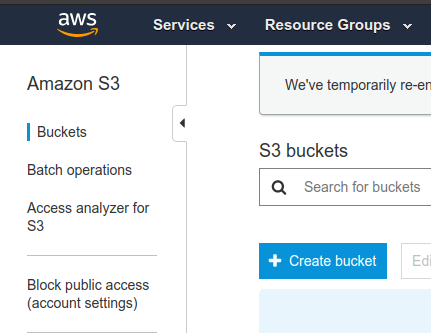
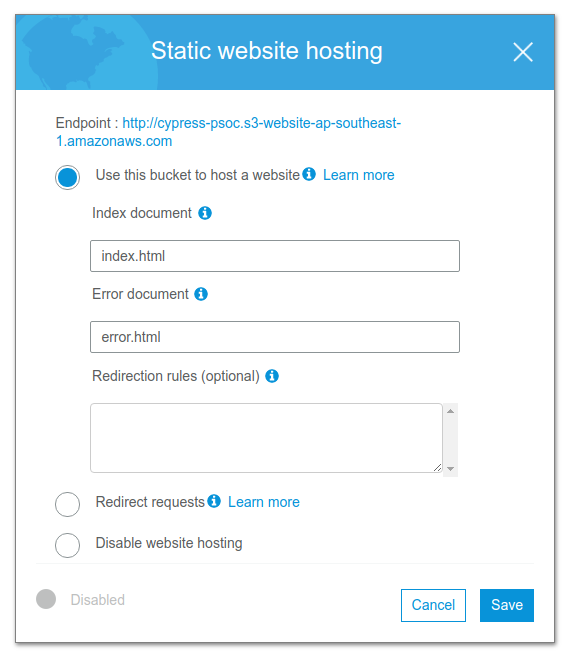
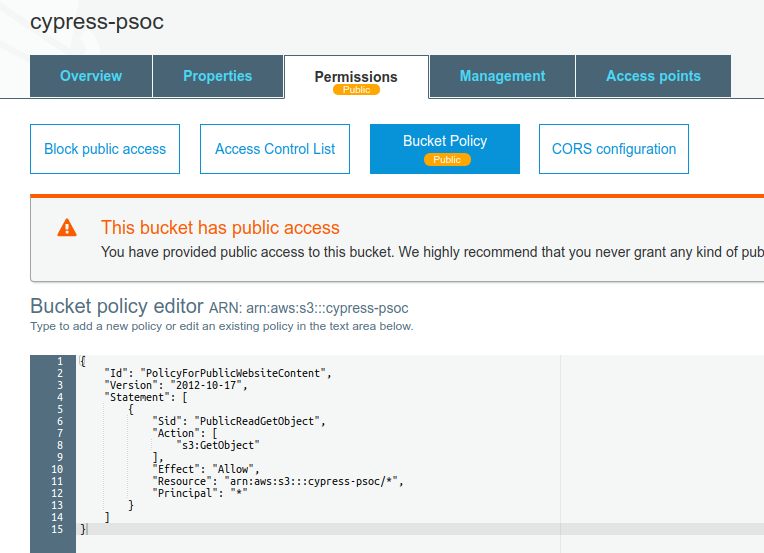
I read that Flutter Web is still in early support, however, it will be good to try it out. I want to see how to host it on Amazon Web Services itself. If I can host my app on AWS, it will turn my project into a fully serverless and cloud-based concept.
Adding Web support to my Flutter App
To add web support, first I ran these commands in my flutter app directory.
As of now, most part of my project is done. For the hardware side, the only missing piece is the RFID reader which I have yet to receive due to issues with shipping delays. All the code is working perfectly and interfaced with AWS cloud so I will say it is 90% done for the hardware.
My next plan was to make an Android app which will keep track of all the inventory items in the system. I have had experience coding Android apps before. But for this I decided to try something new and use Flutter which is a new framework which is cross-platform for Android, iOS and web apps.
Today, I finally completed my app and it is looking great. I will describe the features below.
Run-through of the app
This is the run-through of each page of the app. There are 3 major features which I will propose for my project.
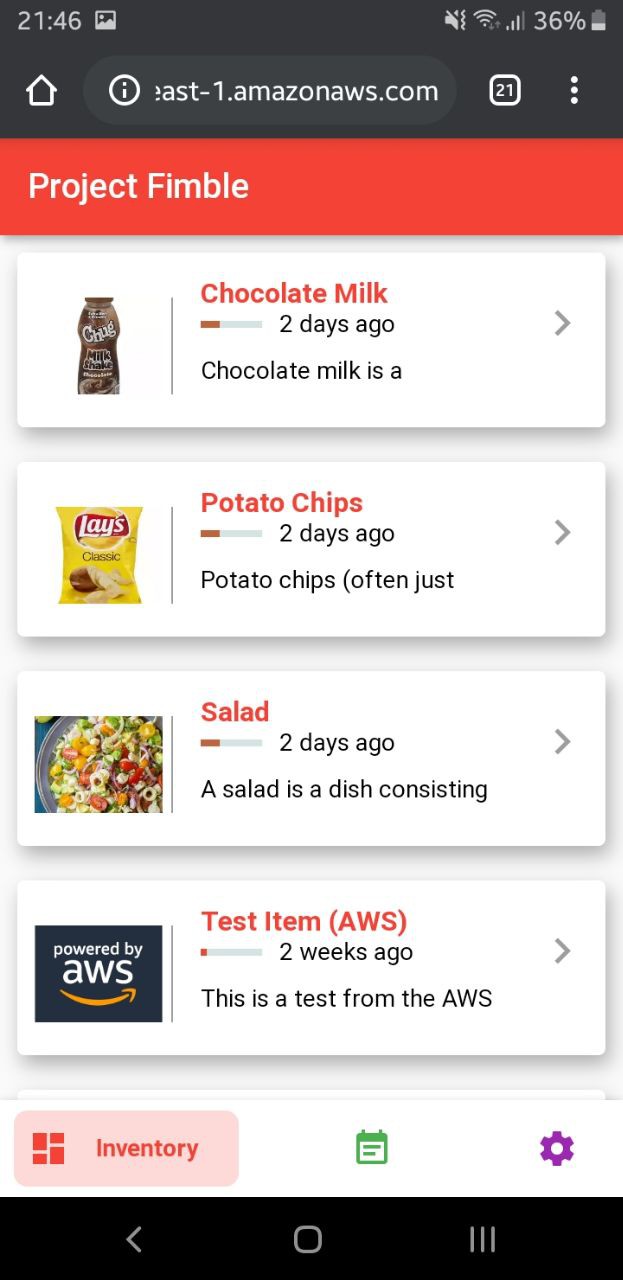
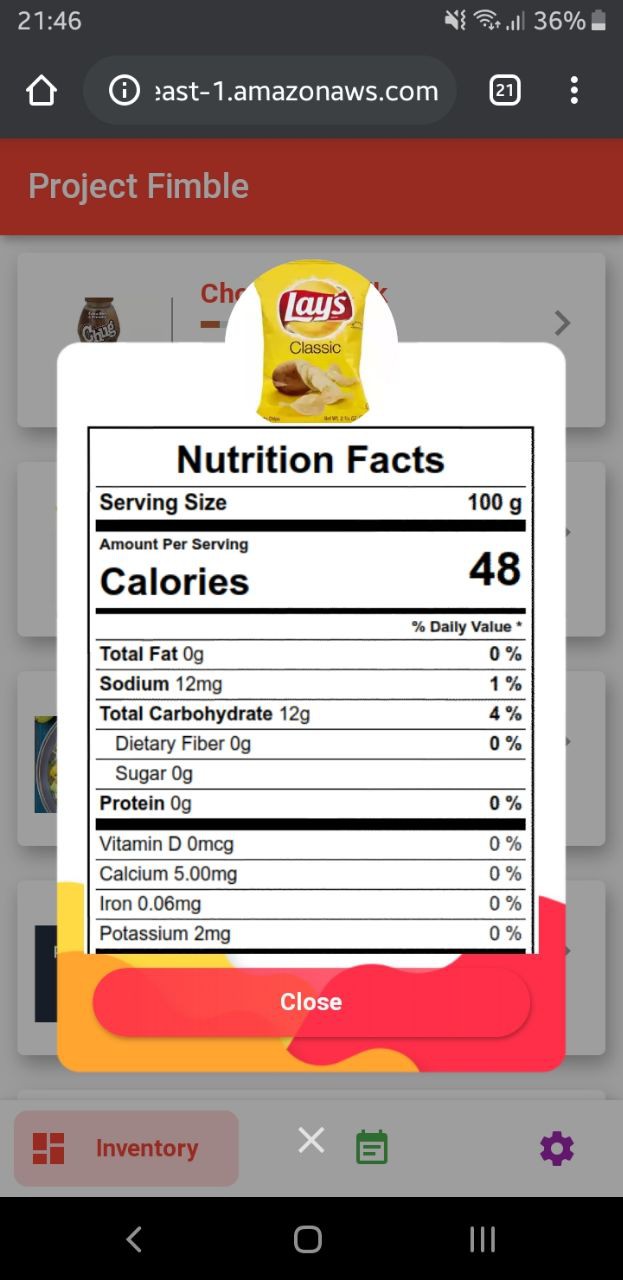
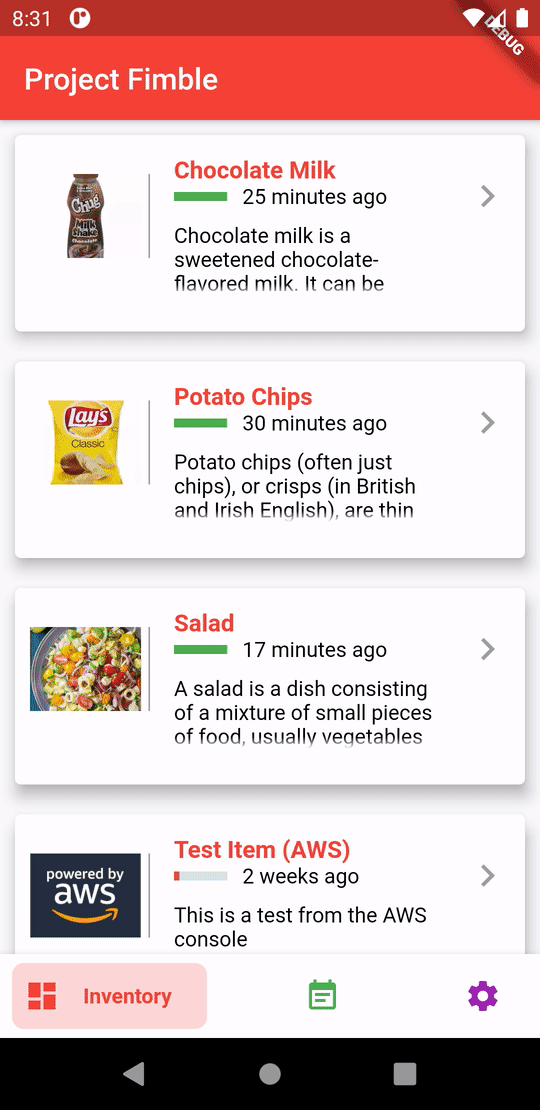
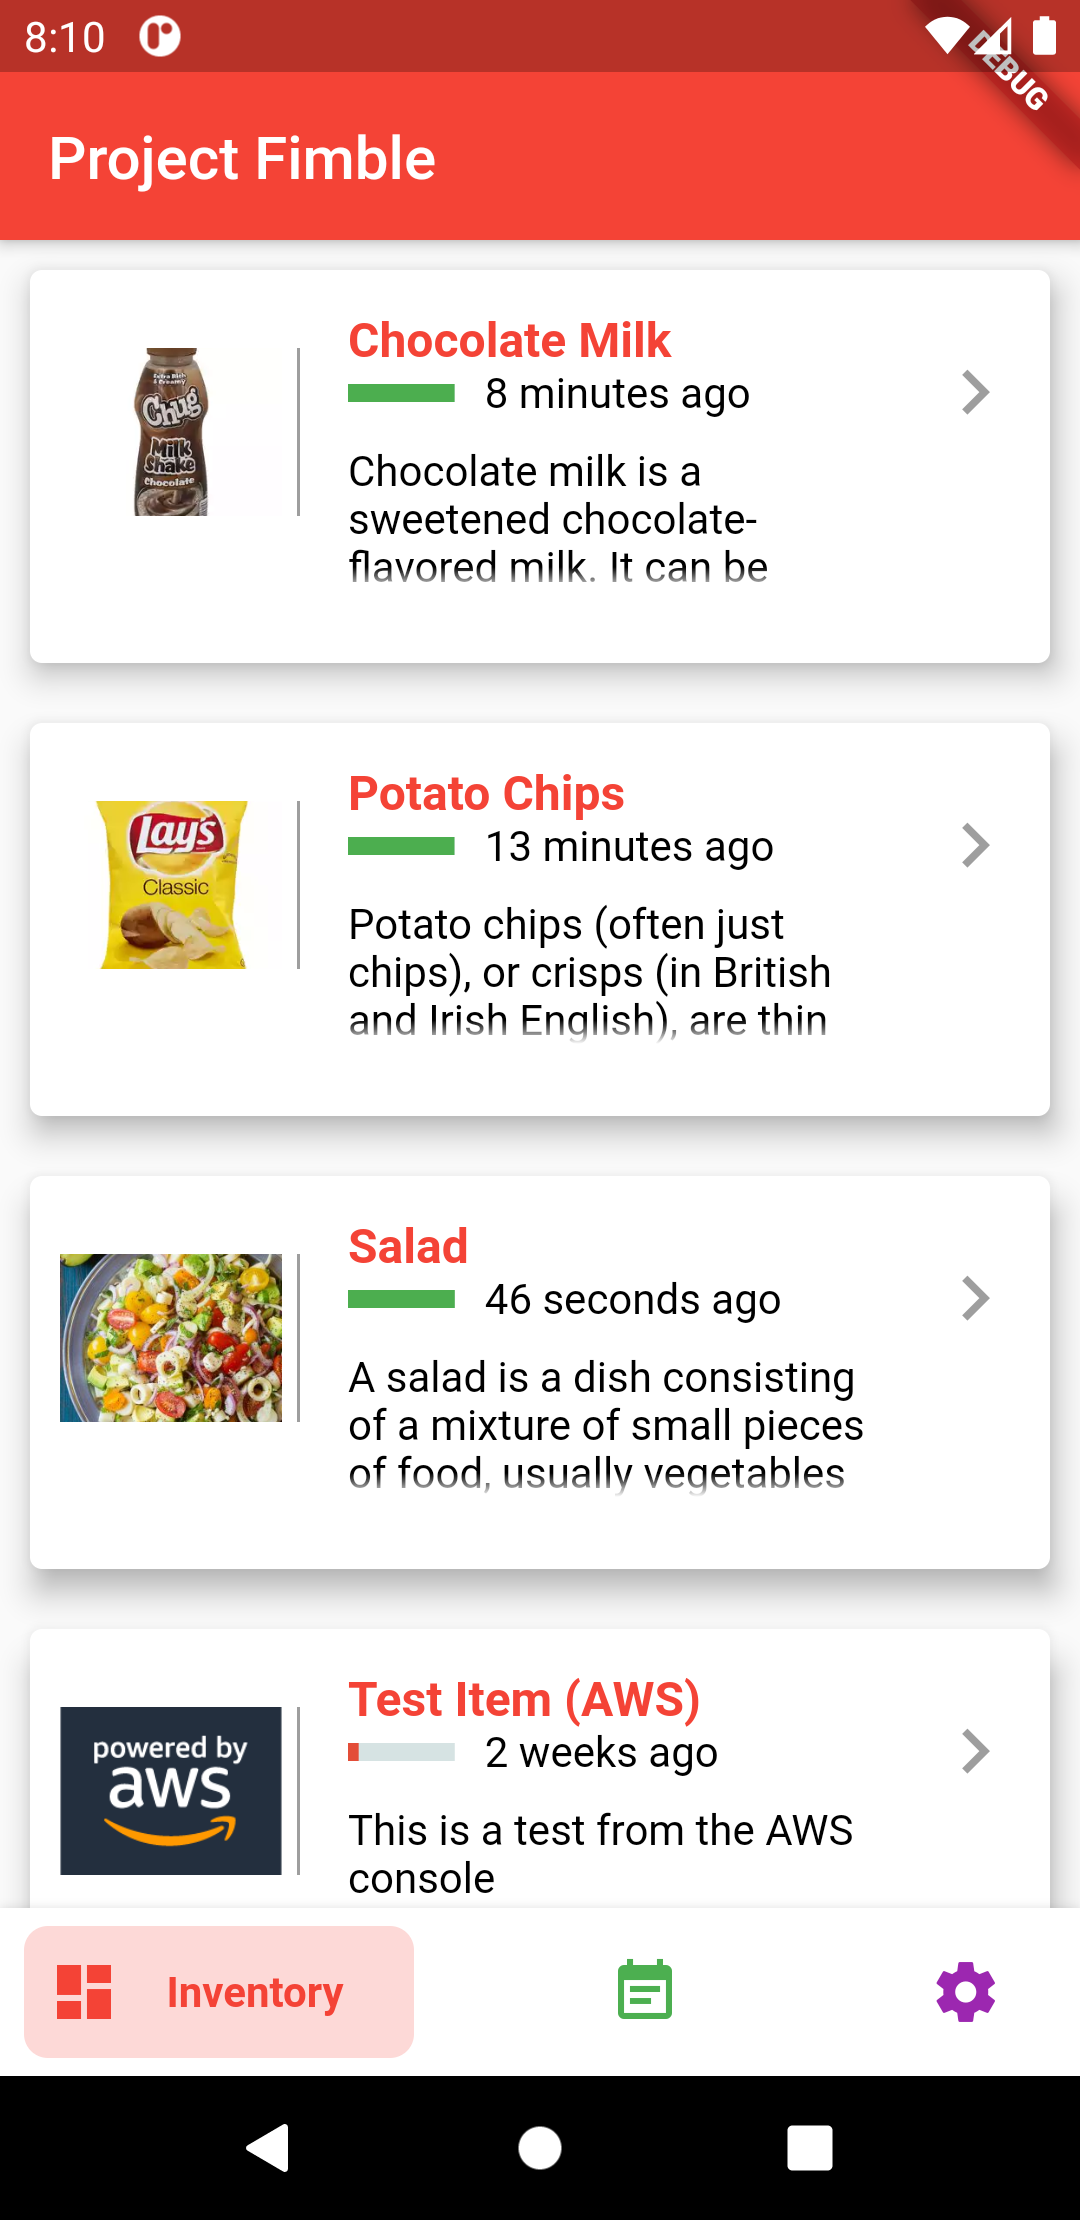
Inventory Page
The first page will show all the items currently inside the inventory (eg. items inside your smart fridge). When the user clicks on an item, there will be a description of the item and also nutritional values of the food item.
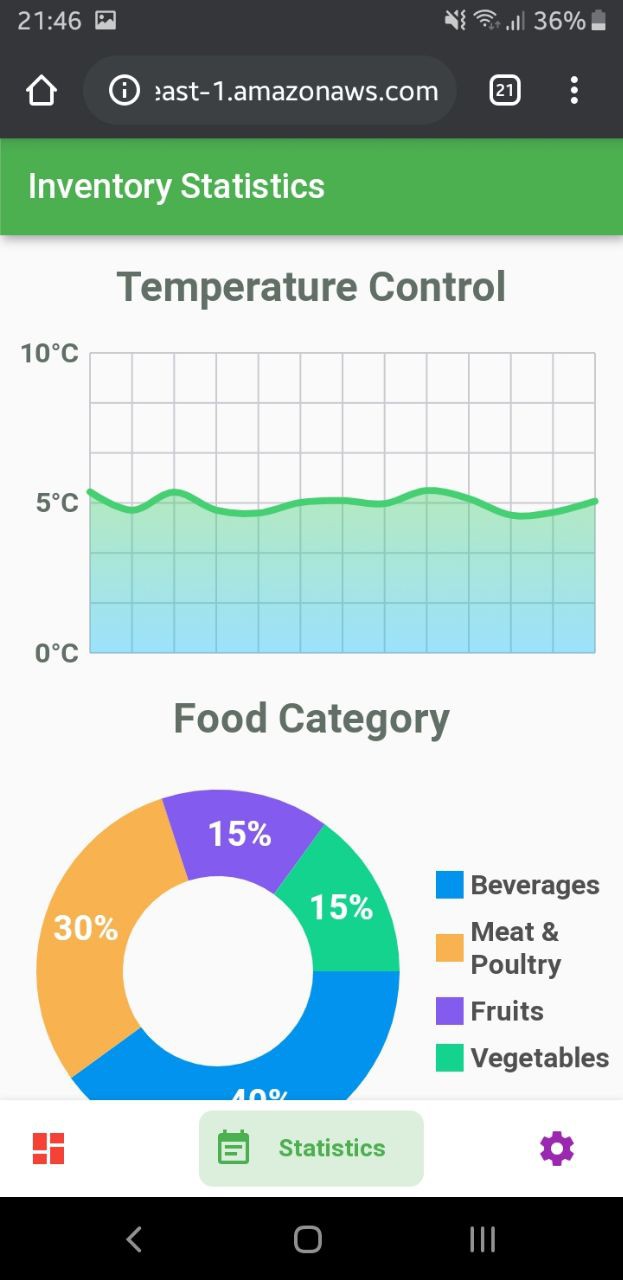
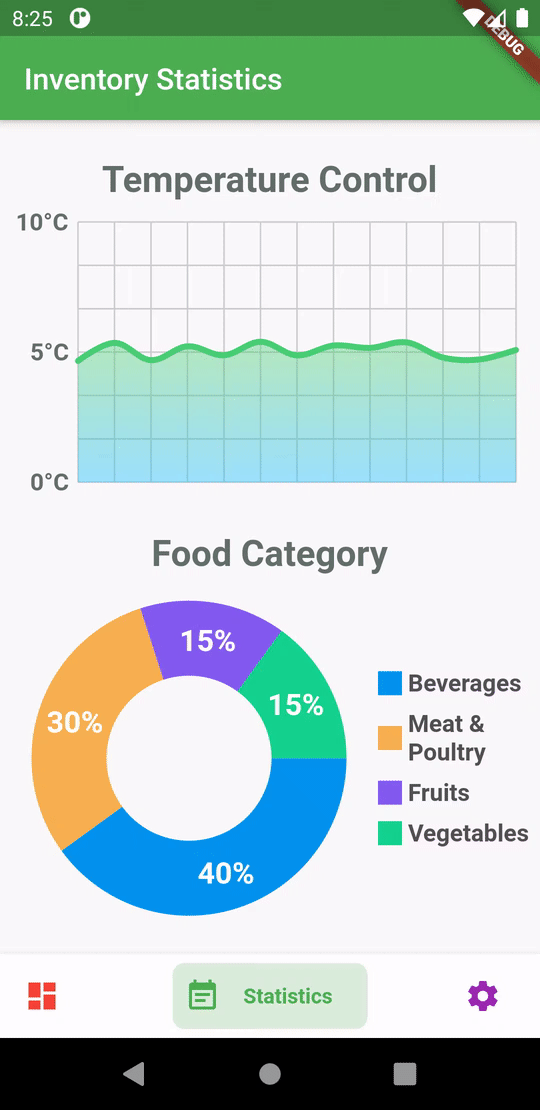
Statistics Page
This page will display the settings of temperature control of the storage area. It is useful especially for sensitive food items which need to be stored at a certain temperature.
A breakdown of the category of the items can also be derived via analytics from all the data gathered through this smart inventory system.
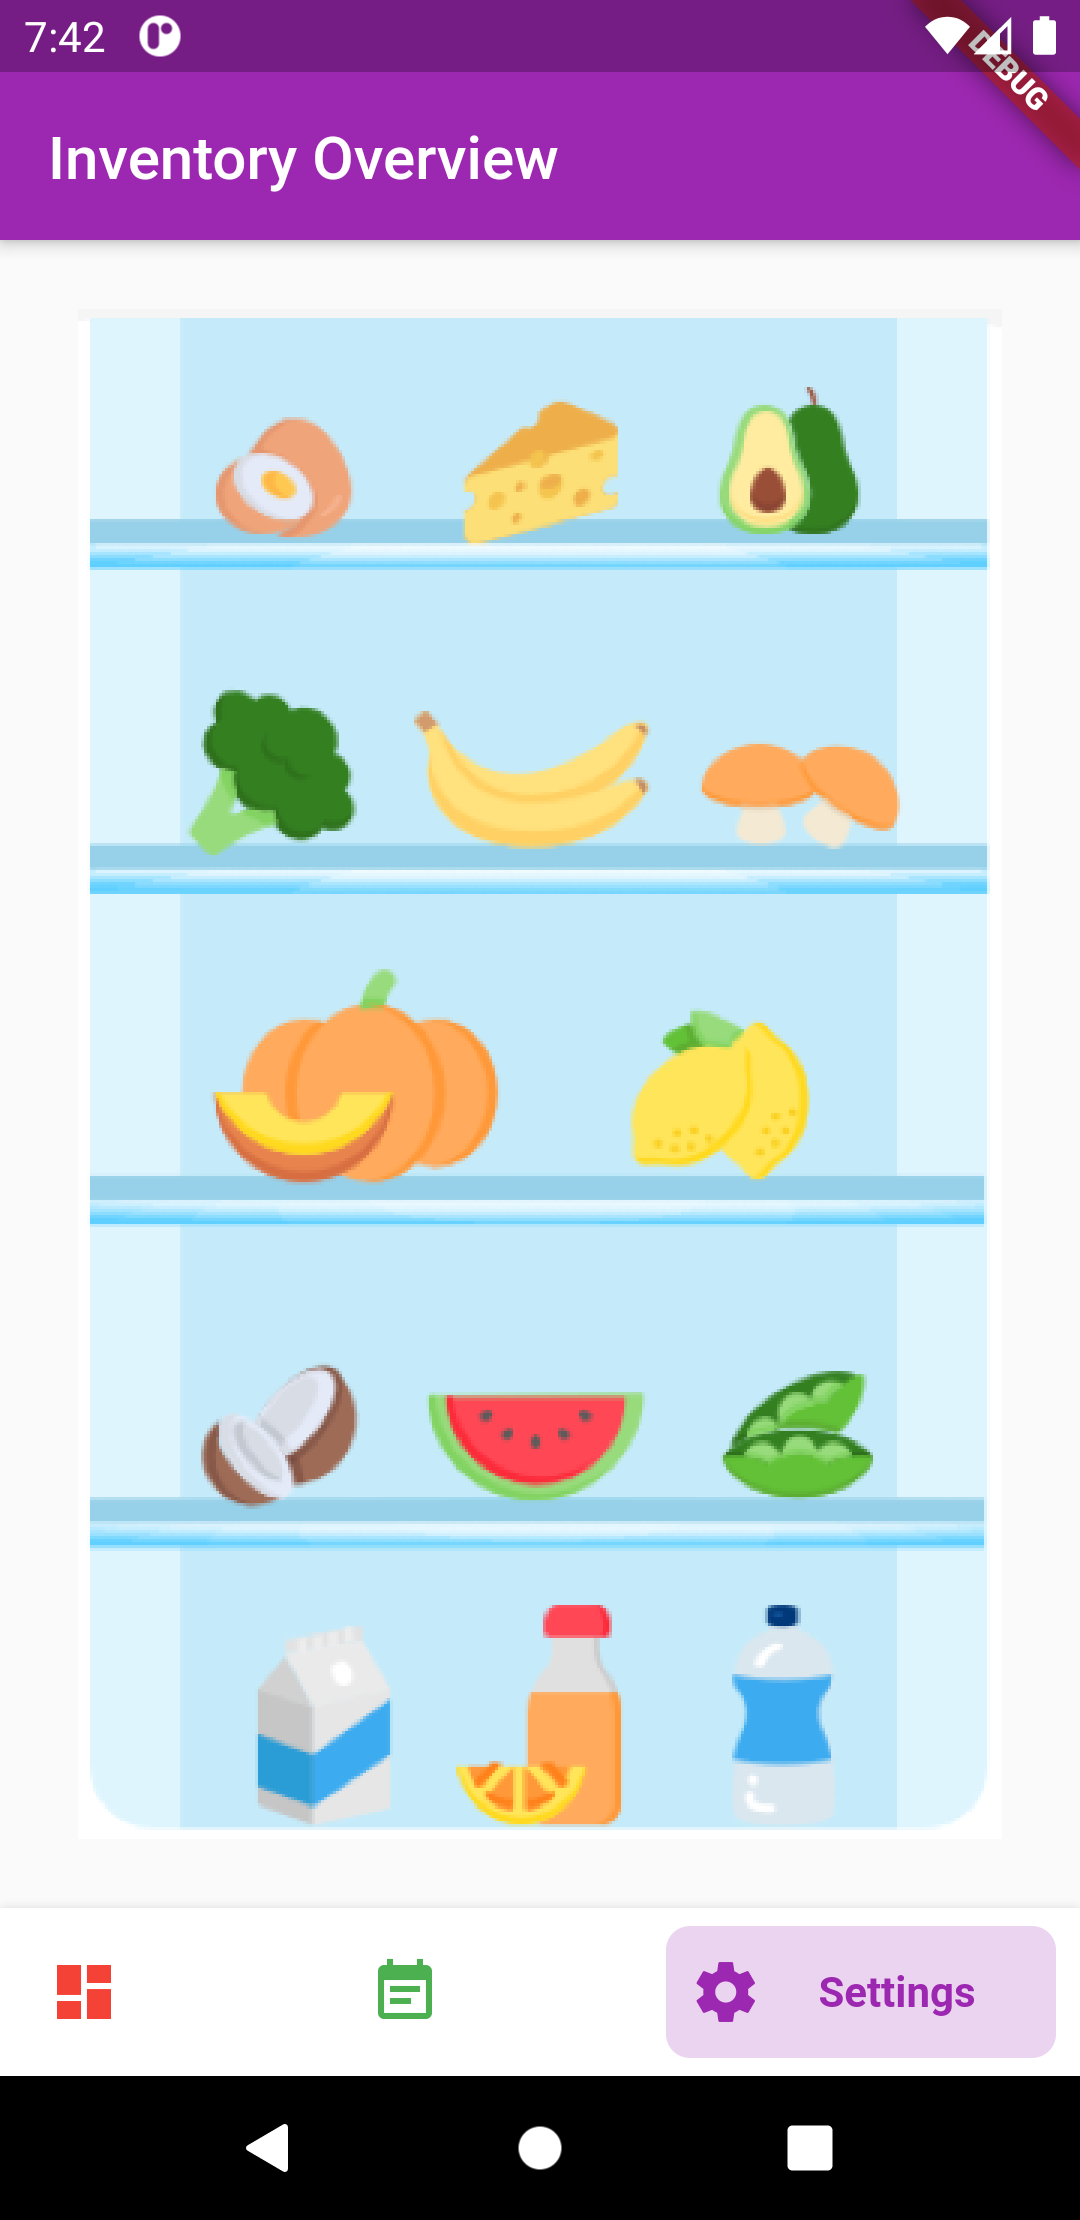
Overview Page
Lastly, the overview page is useful for large inventories especially in warehouses. By providing visual icon representation of the storage area, the workers in a warehouse can quickly navigate and find the item they are looking for.
Working principles behind the app
The app makes use of AWS API Gateway which serves a HTTP page to retrieve the items from the database dynamically. A lookup table is implemented to provide the item image and description for the user. In practical use, there are also online databases with thousands of food nutritional labels which can be made use by the app.
A possible further improvement will be to host the app on the AWS platform itself, and make it truly a cloud solution. As I mentioned earlier, I used Flutter which allows making Web Apps. Using AWS EC2 or S3 may be a possible service to host it on. But I will focus on getting the final bits of my project working first, and try it out only if I have additional time.
As usual, the source code is posted in my Github repo, feel free to take a look and discuss with me.
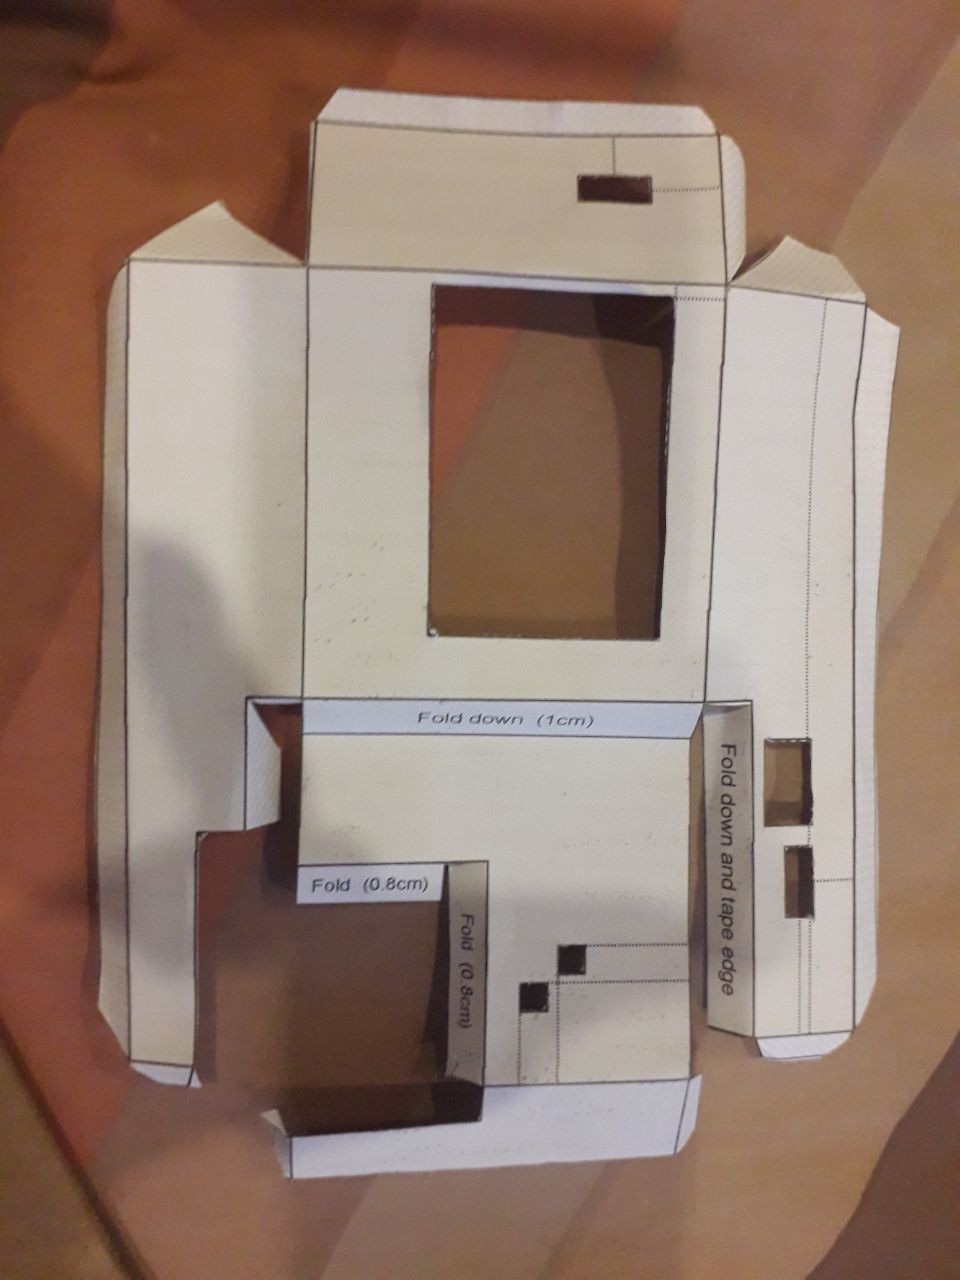
Out of curiosity, I took a look at what other people were doing for this contest. I was inspired by this project log in the Nanodrone project. In the link below, the author designed a case for 3D printing.
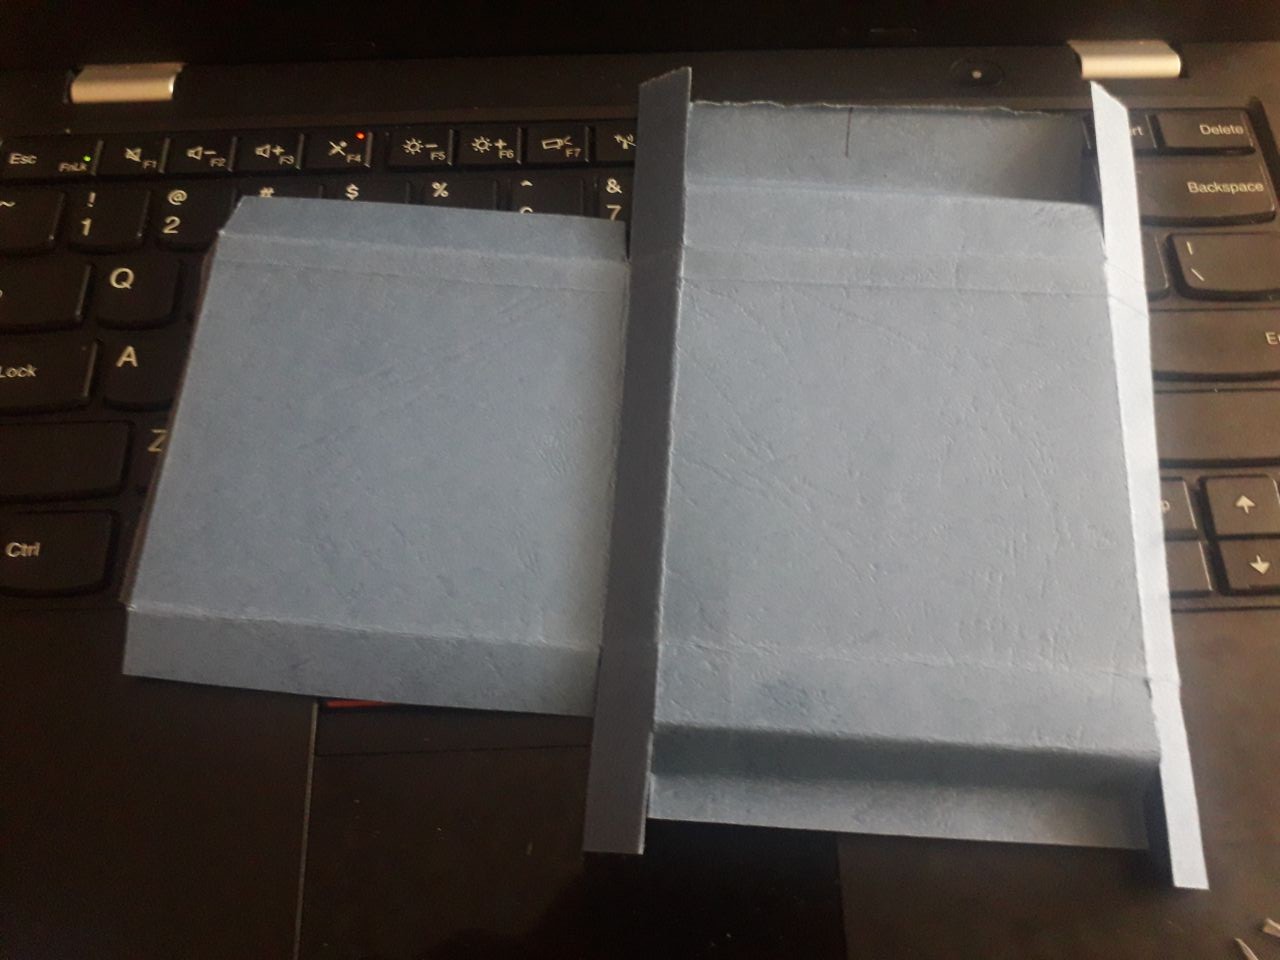
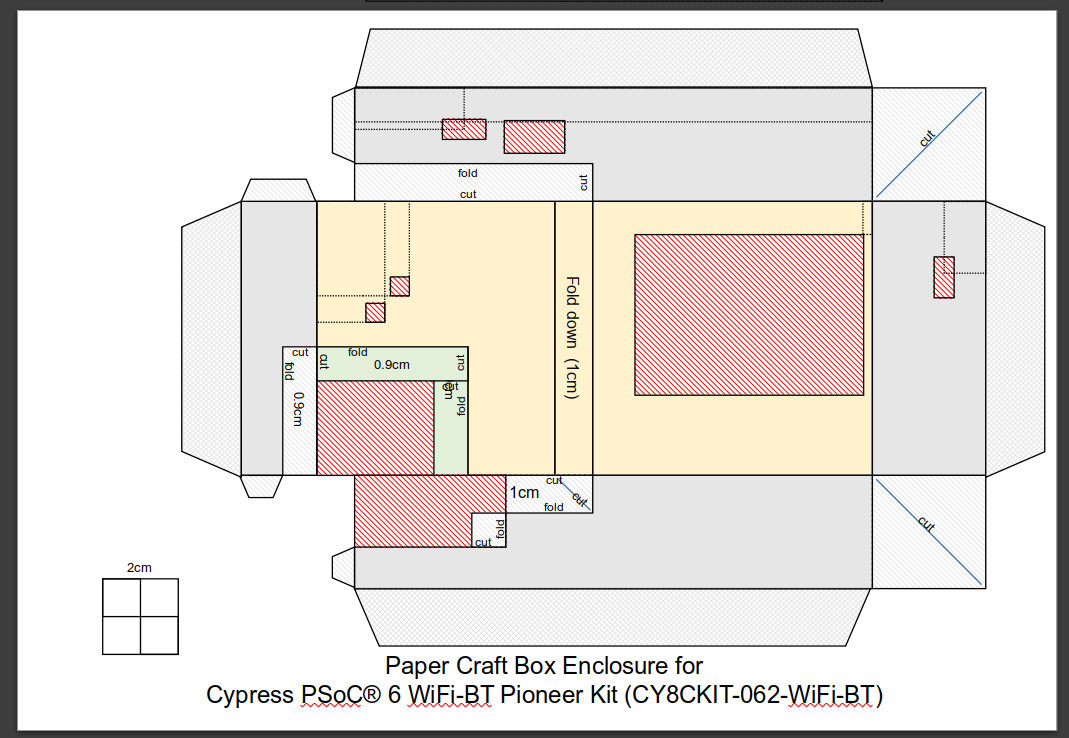
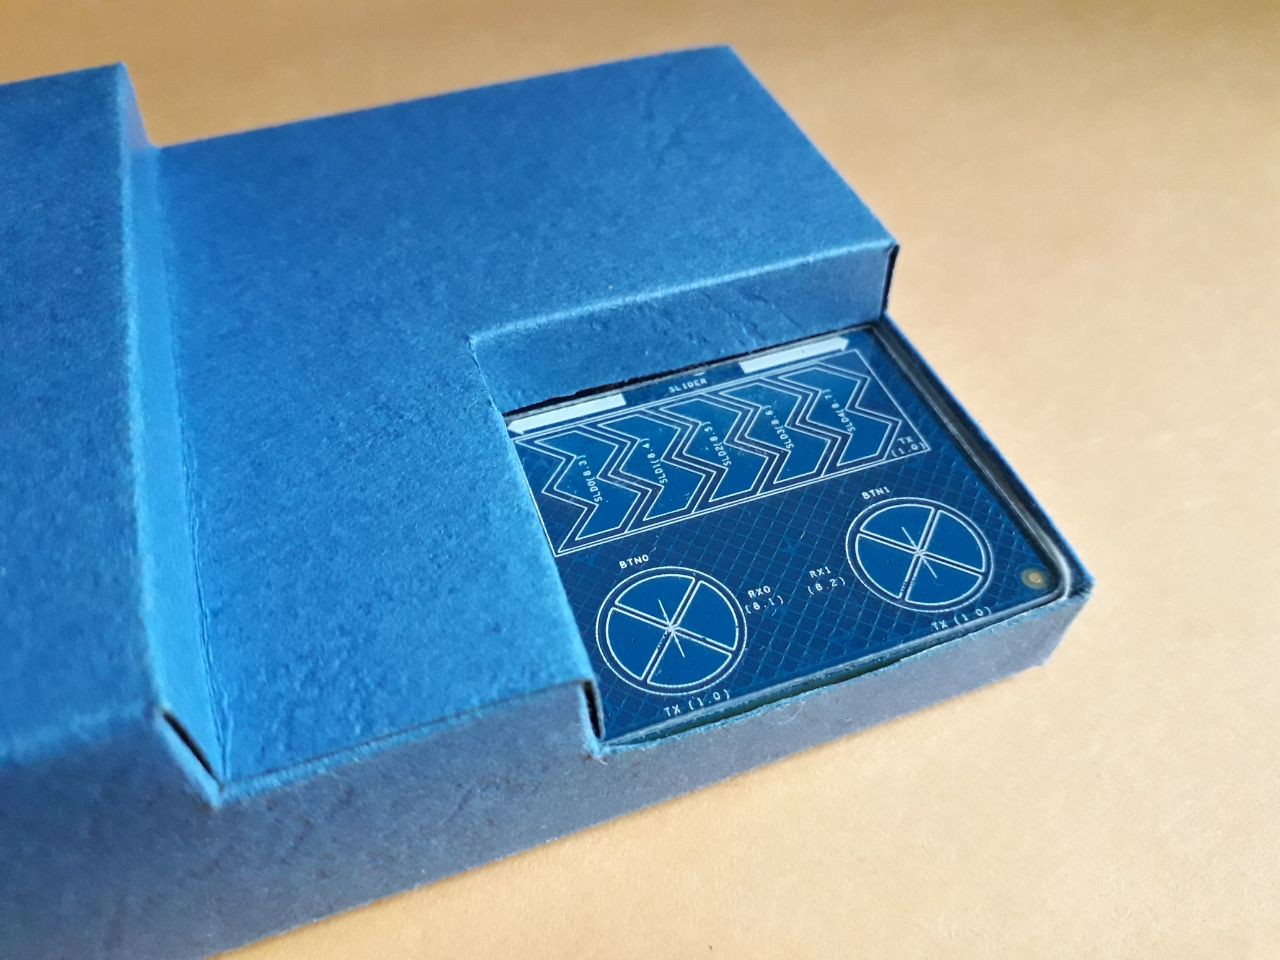
I wanted to do something similar but I didn't have a 3D printer. And also all the Makerspace facilities near my home are closed due to the coronavirus situation. I decided to create a paper craft version of it. I can print it on colored stock paper.
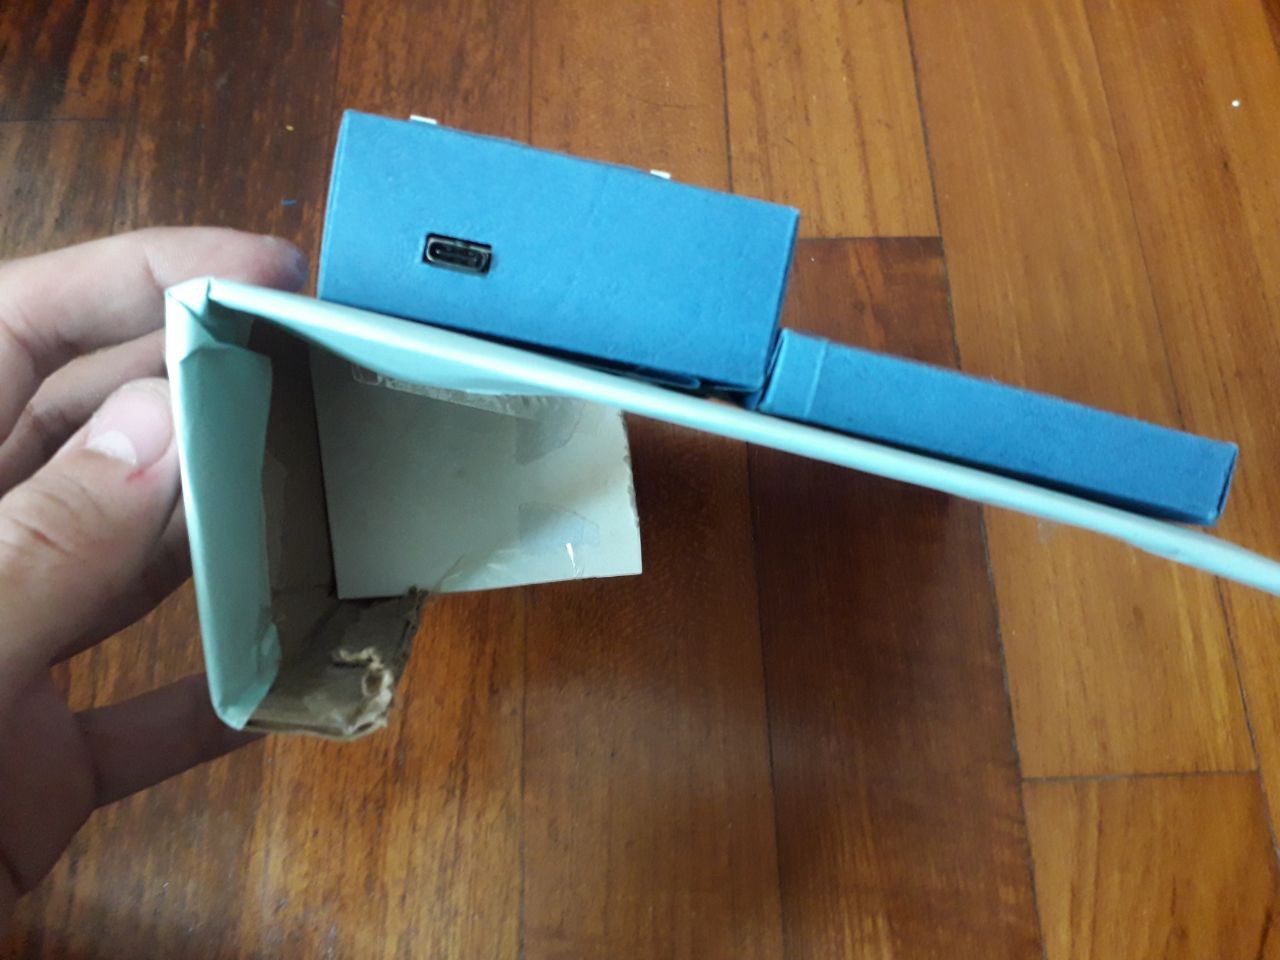
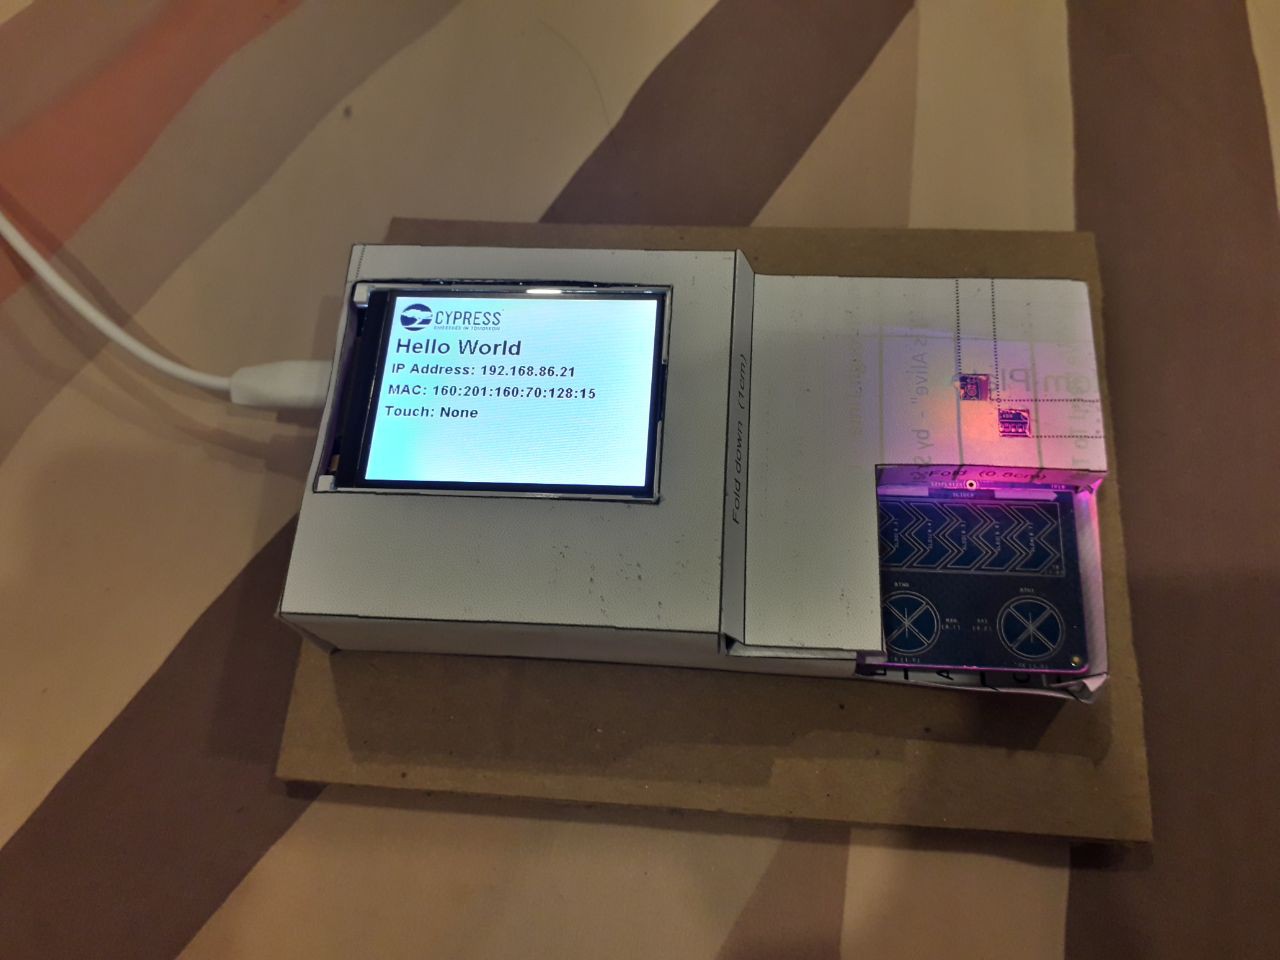
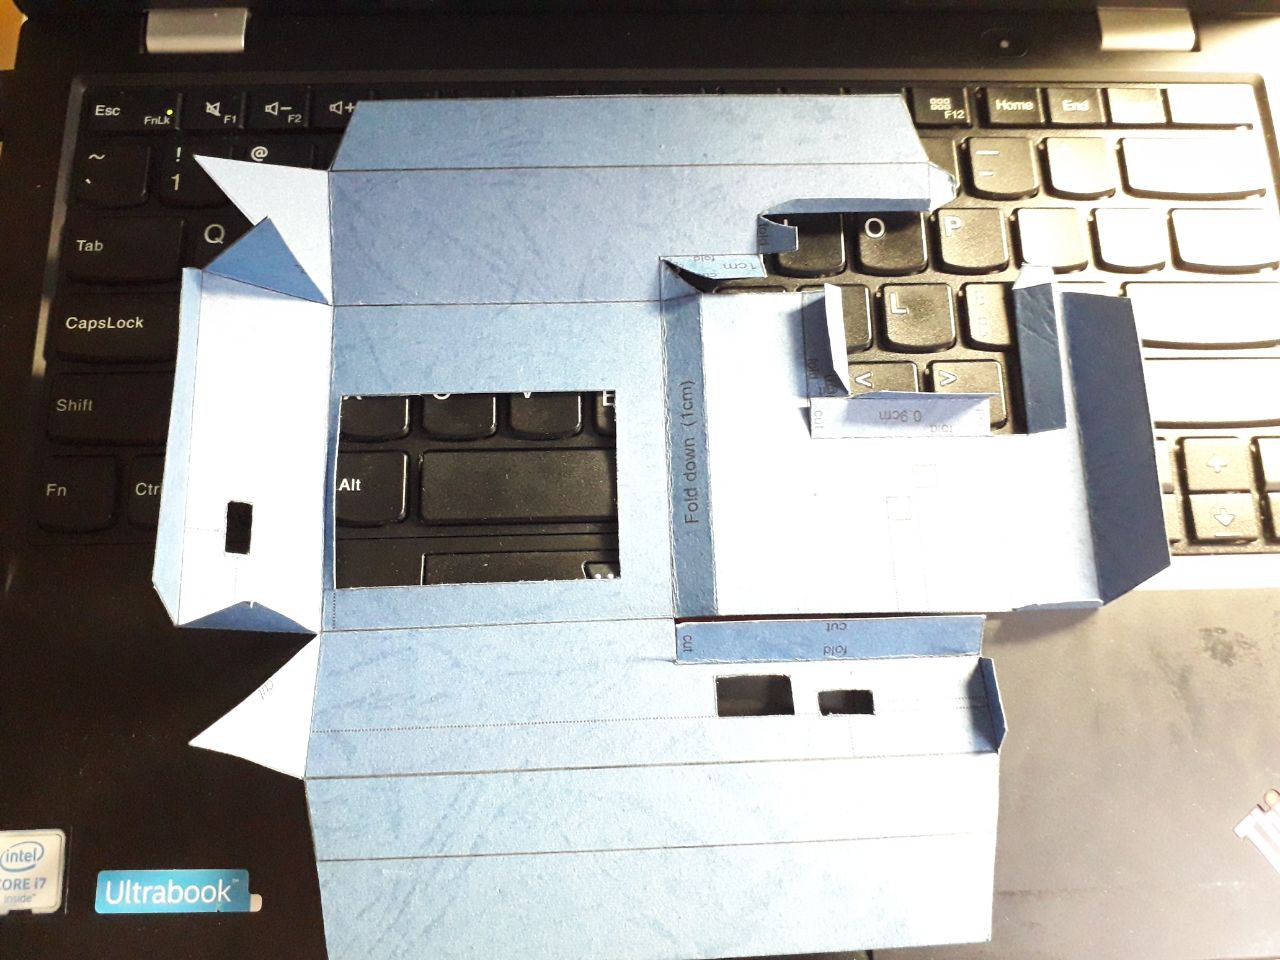
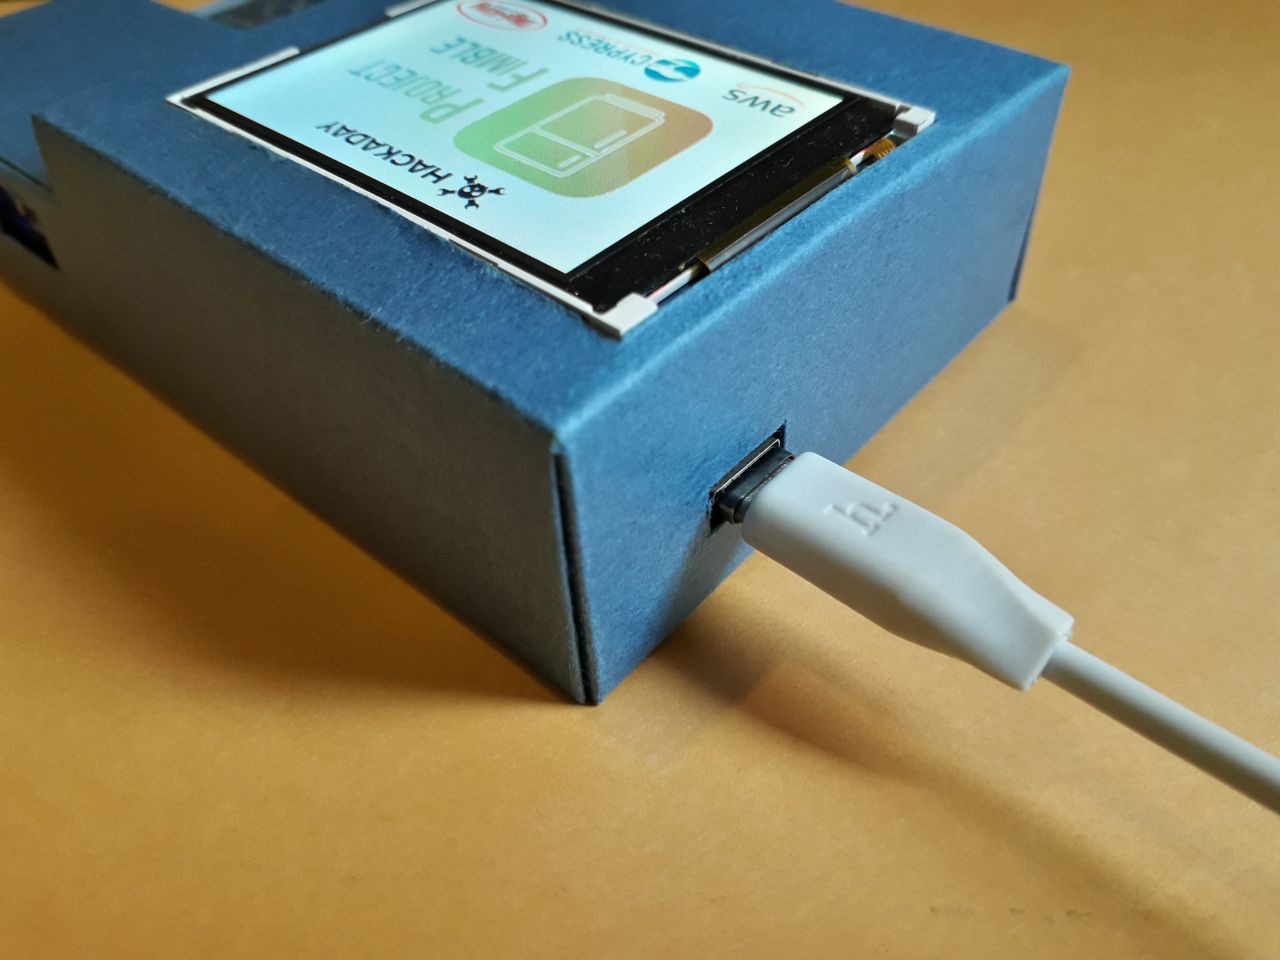
Final Design of Paper Craft Enclosure
Thus, here is my design for the paper craft enclosure for the Cypress PSoC® 6 WiFi-BT Pioneer Kit (CY8CKIT-062-WiFi-BT).
The original files can be found open-source on my github repository. Feel free to download it and make one yourself!
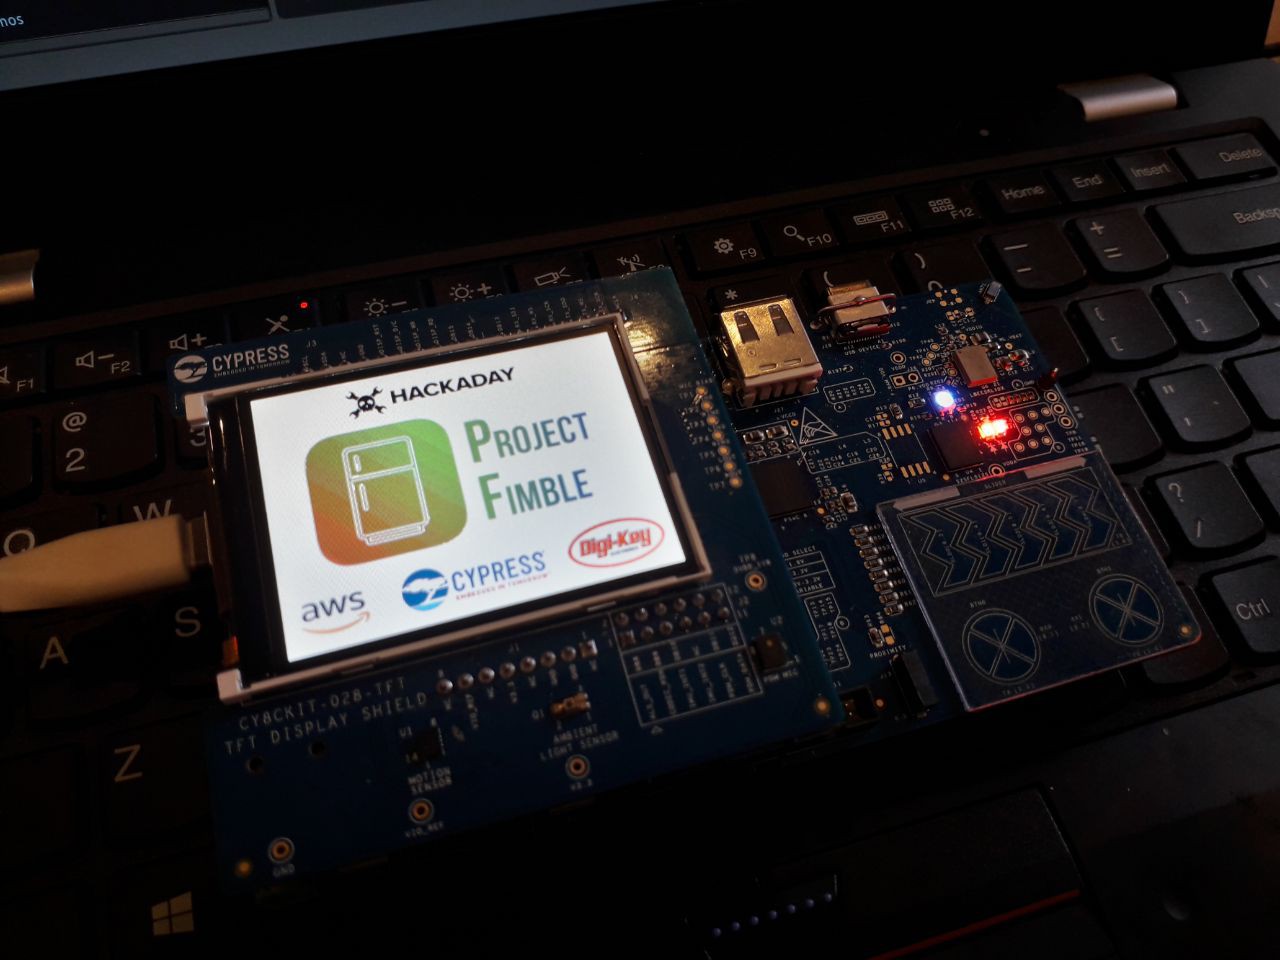
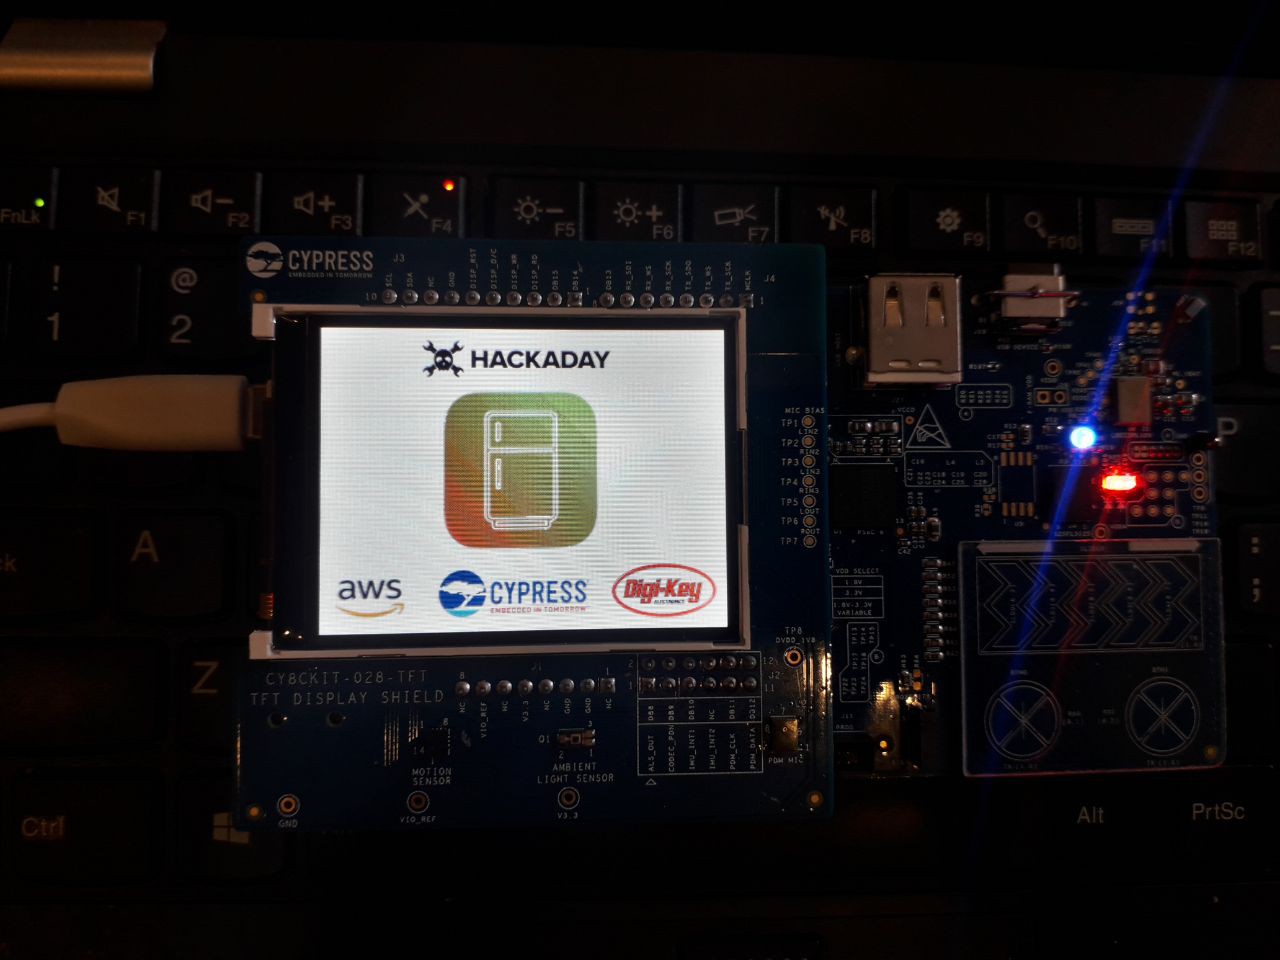
I wanted a nice splash screen for my project. I wanted to test the bitmap capabilities of the emWin driver, because I can see that it allows bitmaps to be displayed.
There is a Segger emWin Bitmap Converter, but there are some issue with it.
(1) It is Windows-only, and I am running my setup on Linux.
(2) It is a demo version, which shows a demo watermark.
As a hobbyist, I cannot afford the full version of the Bitmap Converter, hence I tried to derive the bitmap format myself and create an open-source cross platform using a Python script.
I referred to these sources which show how emWin bitmaps C files are generated.
From here, I can understand that I can have different formats of color encoding (for example, ARGB888, RGB565). The emWin LCD driver is very powerful too as it supports color palettes to compress bitmaps to a smaller size.
I will try out AWS API Gateway today to retrieve contents in the AWS DynamoDB database.
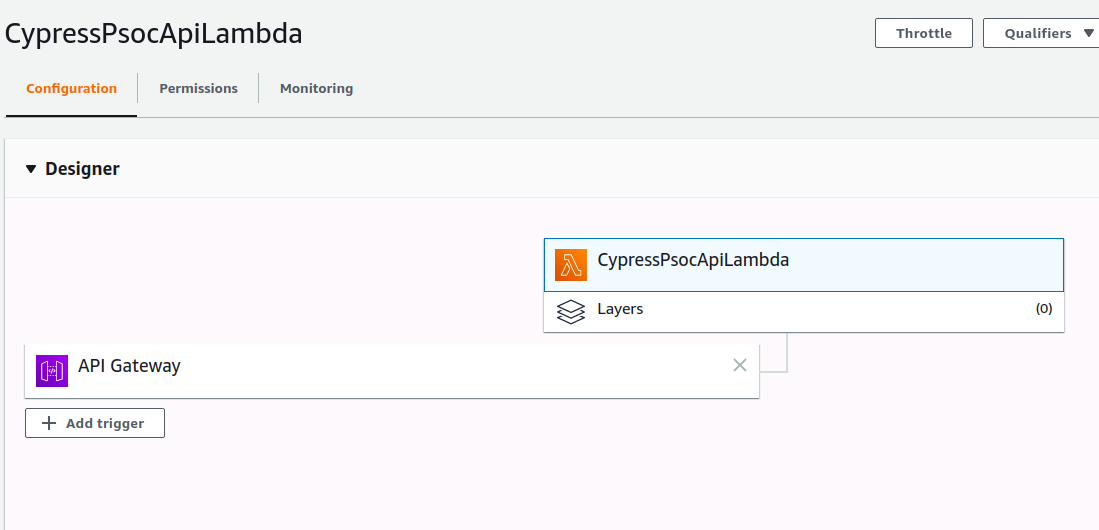
(1) Create Lambda to be invoked by API Gateway.
Go to Lambda console
Function > Create function
Function name: CypressPsocApiLambda
After creating the lambda go to IAM console
Access management > Roles > Permissions > (Click on the function name)
Attach policy: AmazonDynamoDBFullAccess
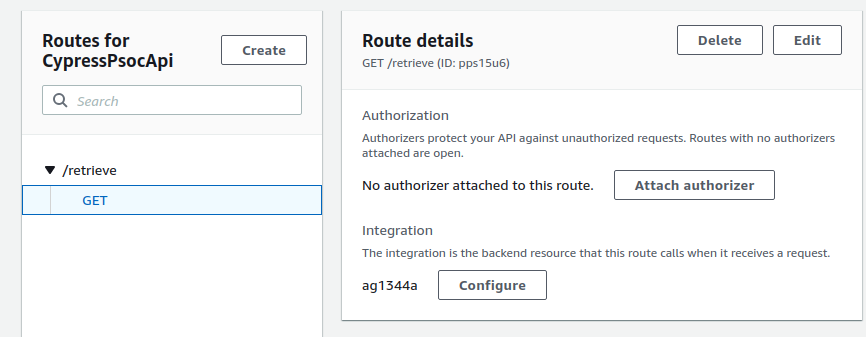
(2) Create API Gateway and integrate it to Lambda
Navigate to the API Gateway service console, and choose Create API. In API name, type CommentsApi and type a short description. Finally, choose Create API.
HTTP API > Build
API name: CypressPsocApi
Stage name (leave as default)
Create a route
GET request: /retrieve
Create and attach and integration
Integration with: Lambda function > Choose “CypressPsocApiLambda”
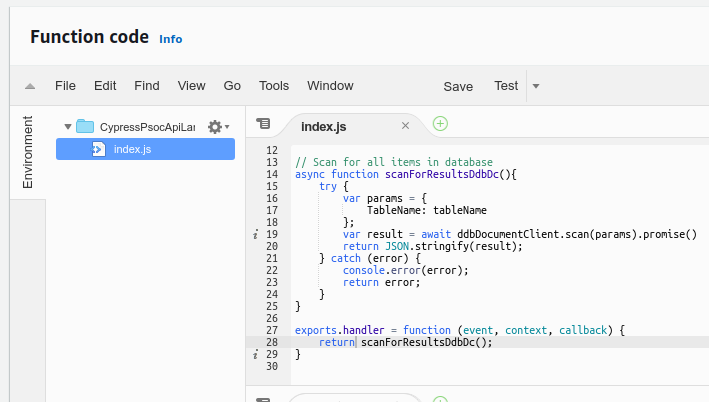
(3) Edit Lambda to parse DynamoDB items
I used the document client to scan for the table name. This retrieves all the items without any filters. Perhaps I'll add a filter parameter in if I need it in the future part of this project.
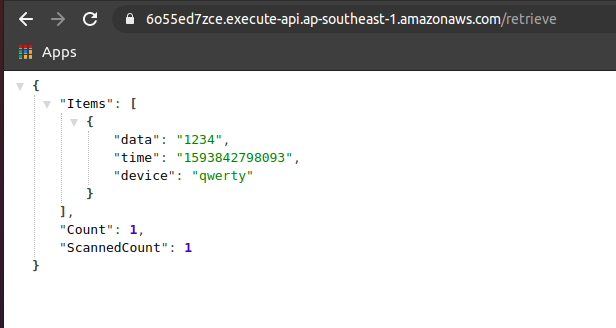
And now, I can go to the /retrieve page and I see all the test entry in my database.
For next time, I want to do up the android app and also the RFID portion of the PSoC device.
 zst123
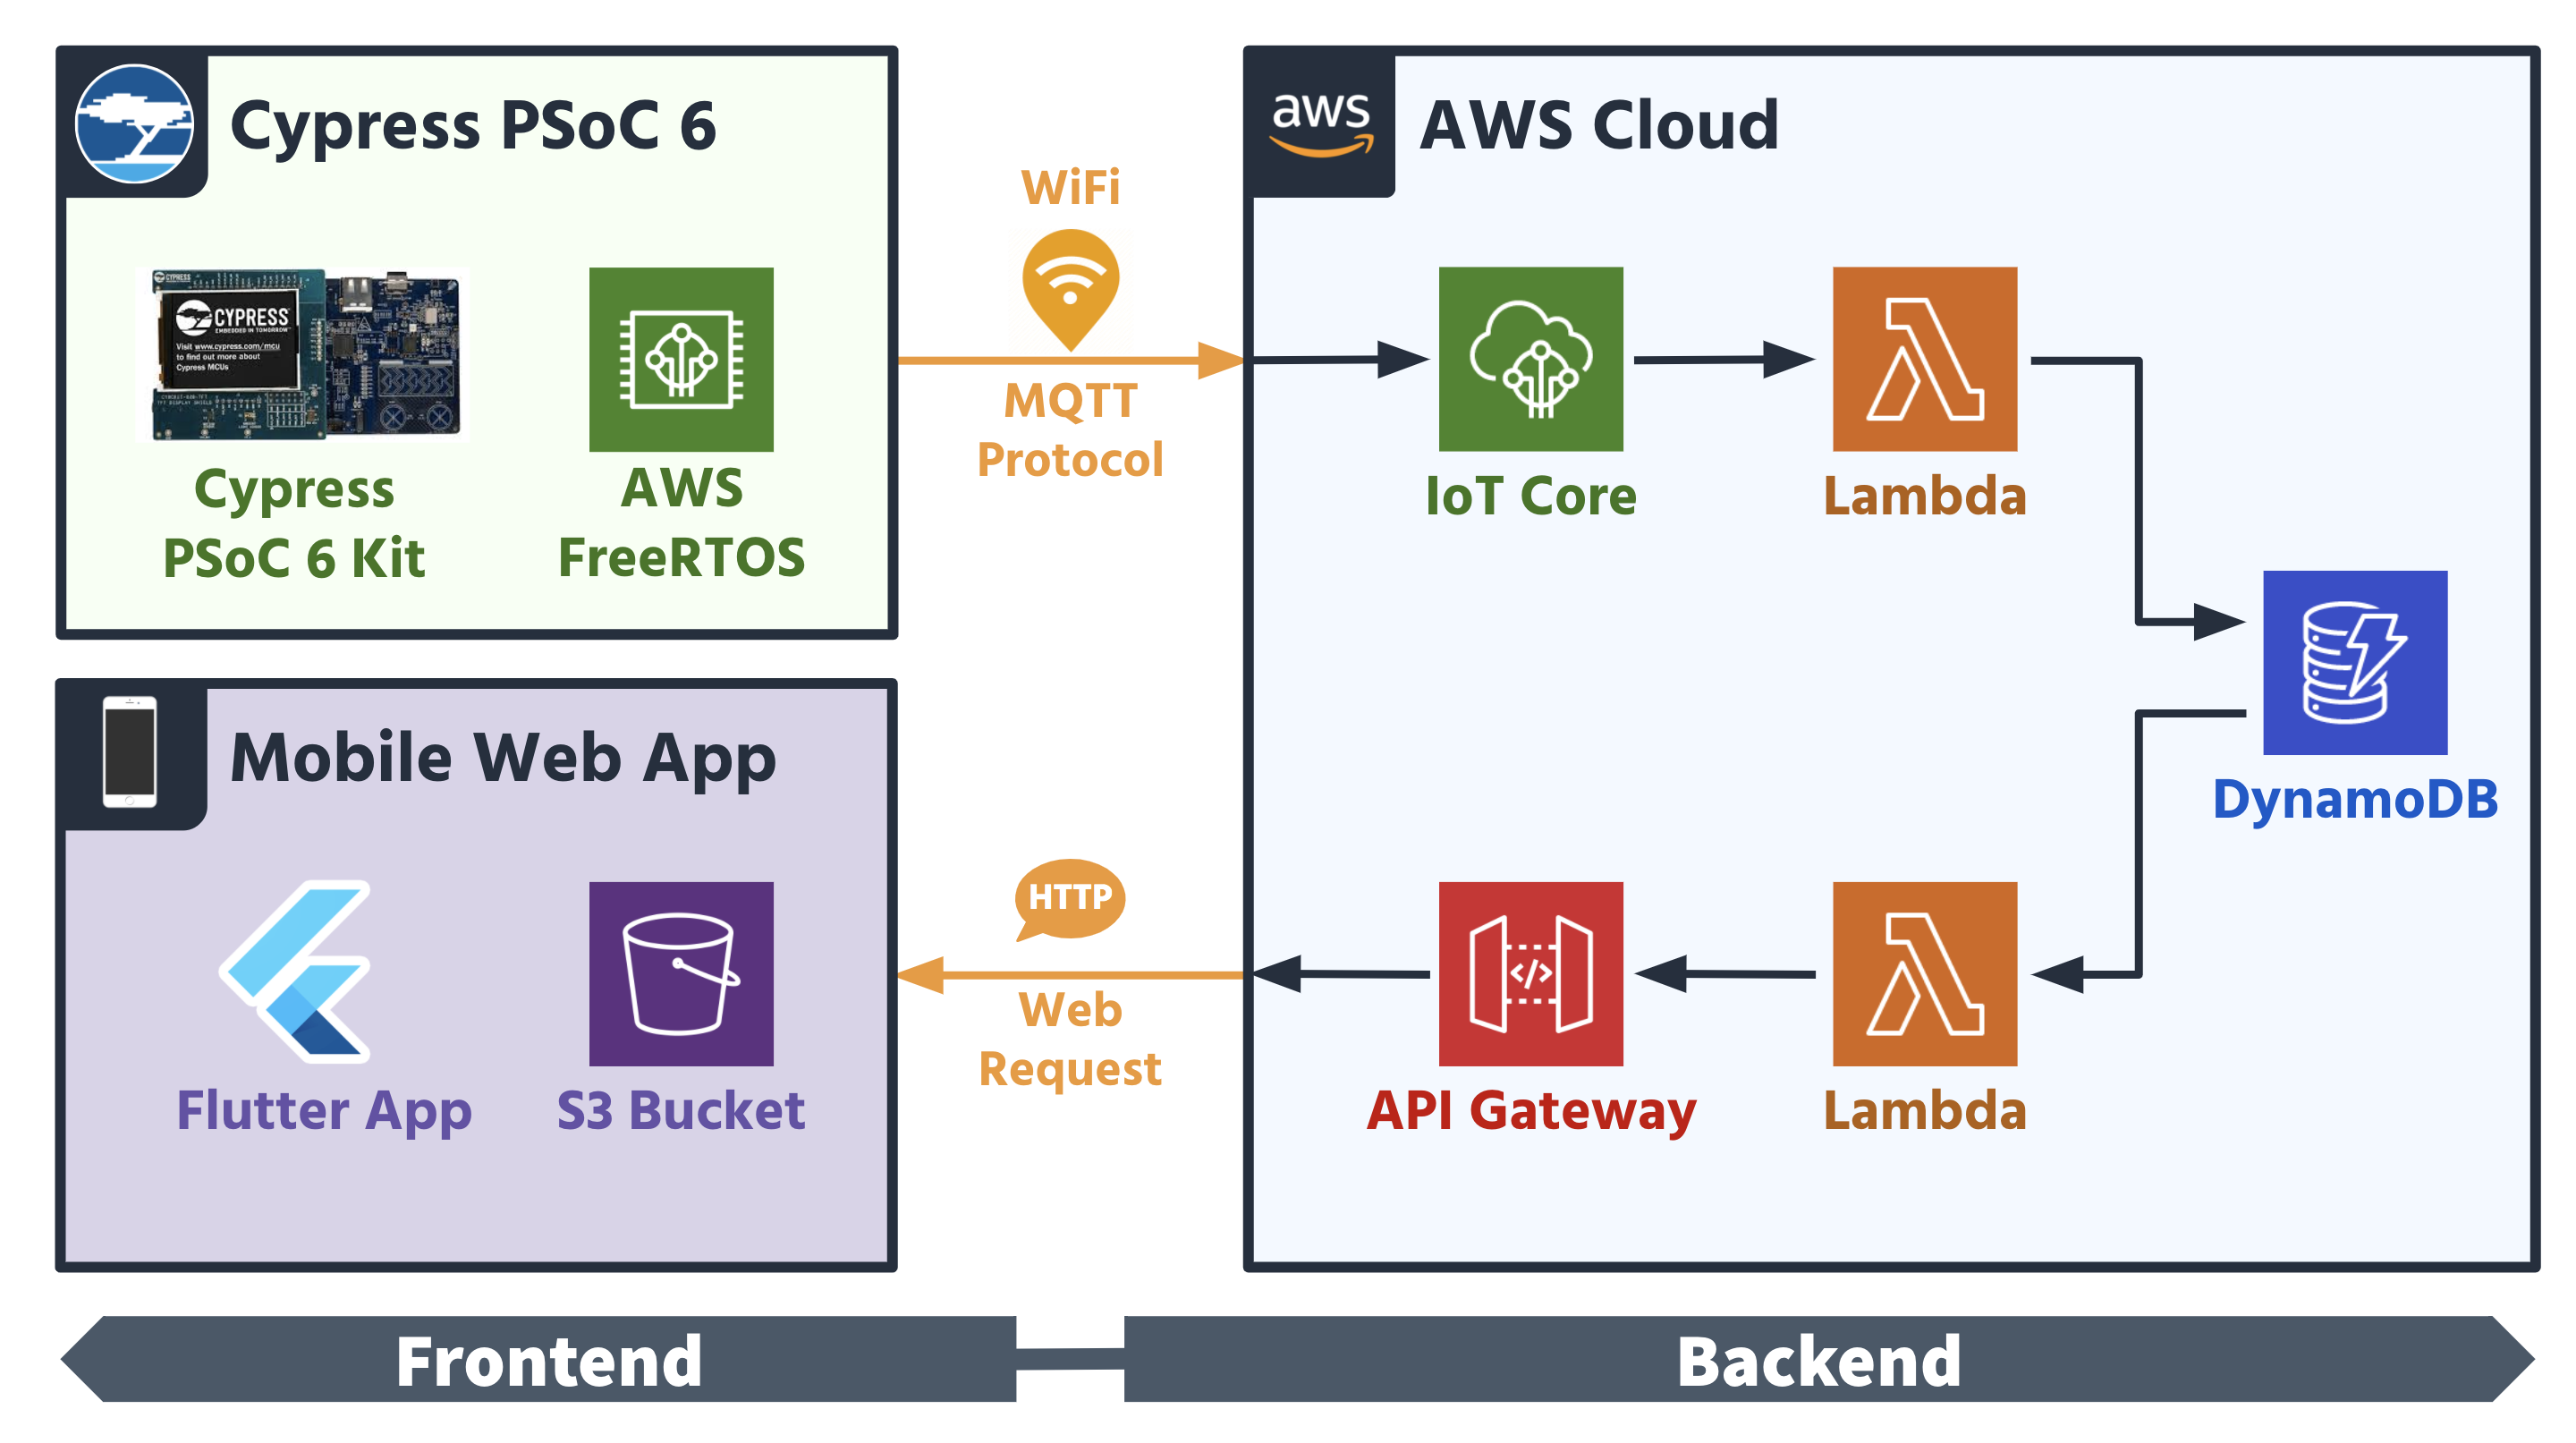


 Lastly, the overview page is useful for large inventories especially in warehouses. By providing visual icon representation of the storage area, the workers in a warehouse can quickly navigate and find the item they are looking for.


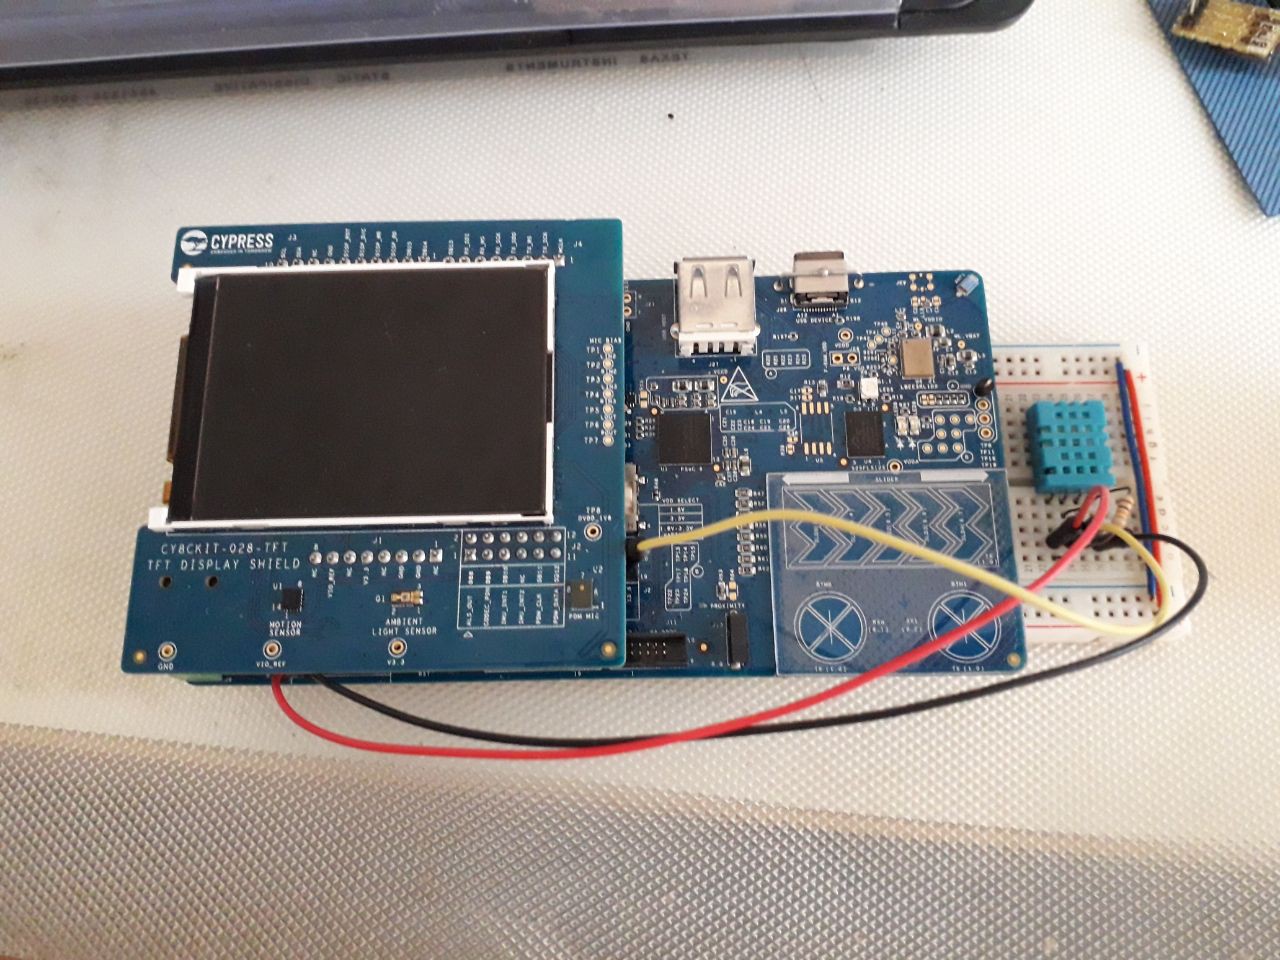
 I wired it on a breadboard as follows.