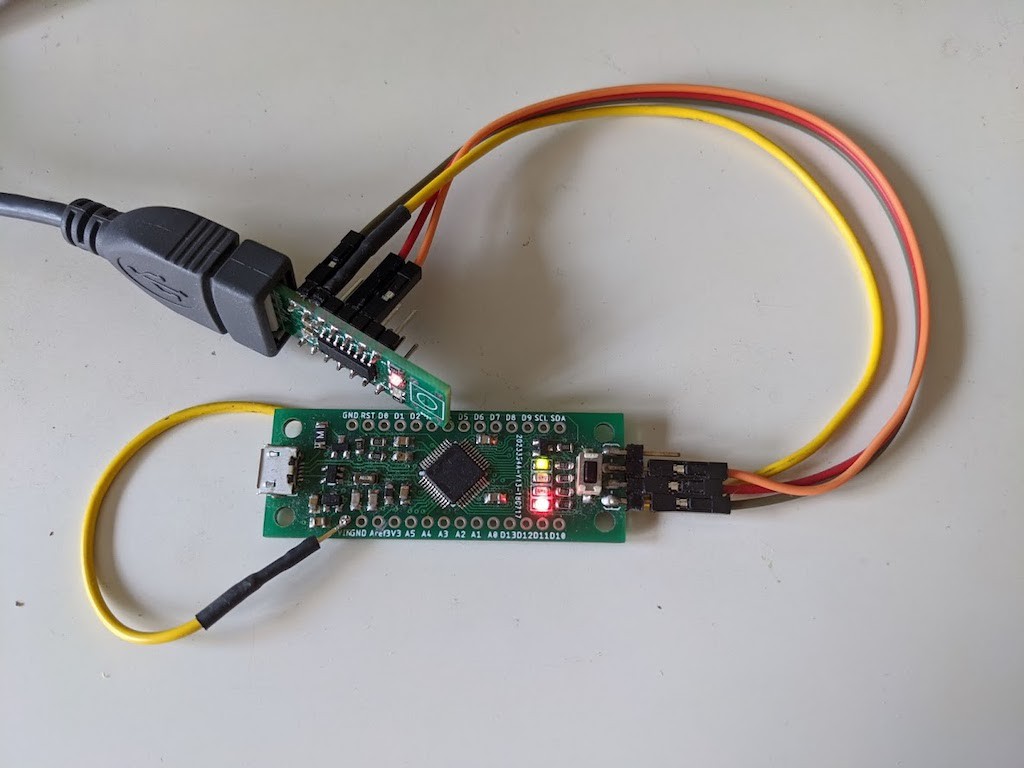
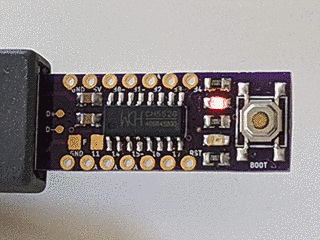
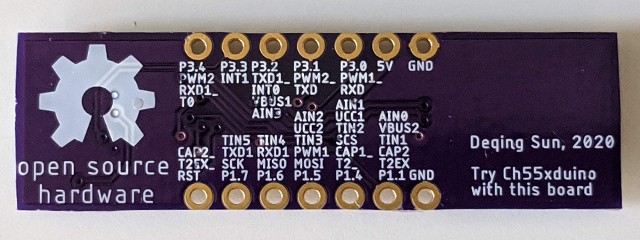
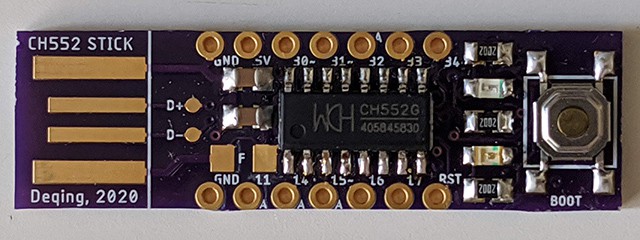
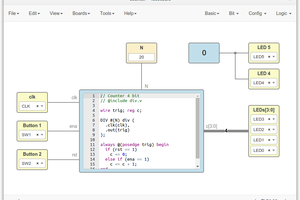
Ch55xduino is an Arduino-like programming API for the CH55X, a family of low-cost MCS51 USB MCU. The project tries to remove the difficulty of setting up a compiling environment. Users can simply write code in Arduino IDE and hit one button to flash the chip to get code running. No configuration or guesswork needed.
CH551/2/4 may be the lowest part count system that works with Arduino. The minimal system only requires one chip, 2 decoupling capacitors, and one optional pull-up resistor. These features made it ideal for DIY projects.
At this moment the project is still working-in-progress. USB-CDC communication, delay, millis, and the digital and analog pin functions are supported. Refer to examples in this repo for more info.
Find Ch55xduino by typing 'ch' into the search line
Click on the list entry
Click on Install.
Now you should find a new entry CH55x Boards in the list at Tools->Board:...
Choose CH552 Board from the list
open the standard Blink example from File->Examples->01. Basics->Blink
Change pin number in Blink example. For example, if you have LED on P3_0, you will write pin 30.
compile it by hitting Verify
If your board is never used with ch55xduino before, you need to make the ch55x chip enter bootloader mode. You need to disconnect USB and unpower ch55x, connect the pull-up resistor on D+ line (generally a 10K resistor between D+ and 5V, controlled by a push-button or adjacent pads). Then you connect USB. and hit Upload. Also, a blank new chip will enter the bootloader automatically.
If you have used ch55xduino once and your code doesn't crash the USB subsystem, you can simply press Upload. Arduino and the firmware will kick the chip into the bootloader automatically.
Is that the Electrodragon dev board you are using? It's a pity they don't use a micro USB connector so that you can put the board on a breadboard for experiments, and use a micro USB cable, instead of a USB A male-female cable.