 Samuel
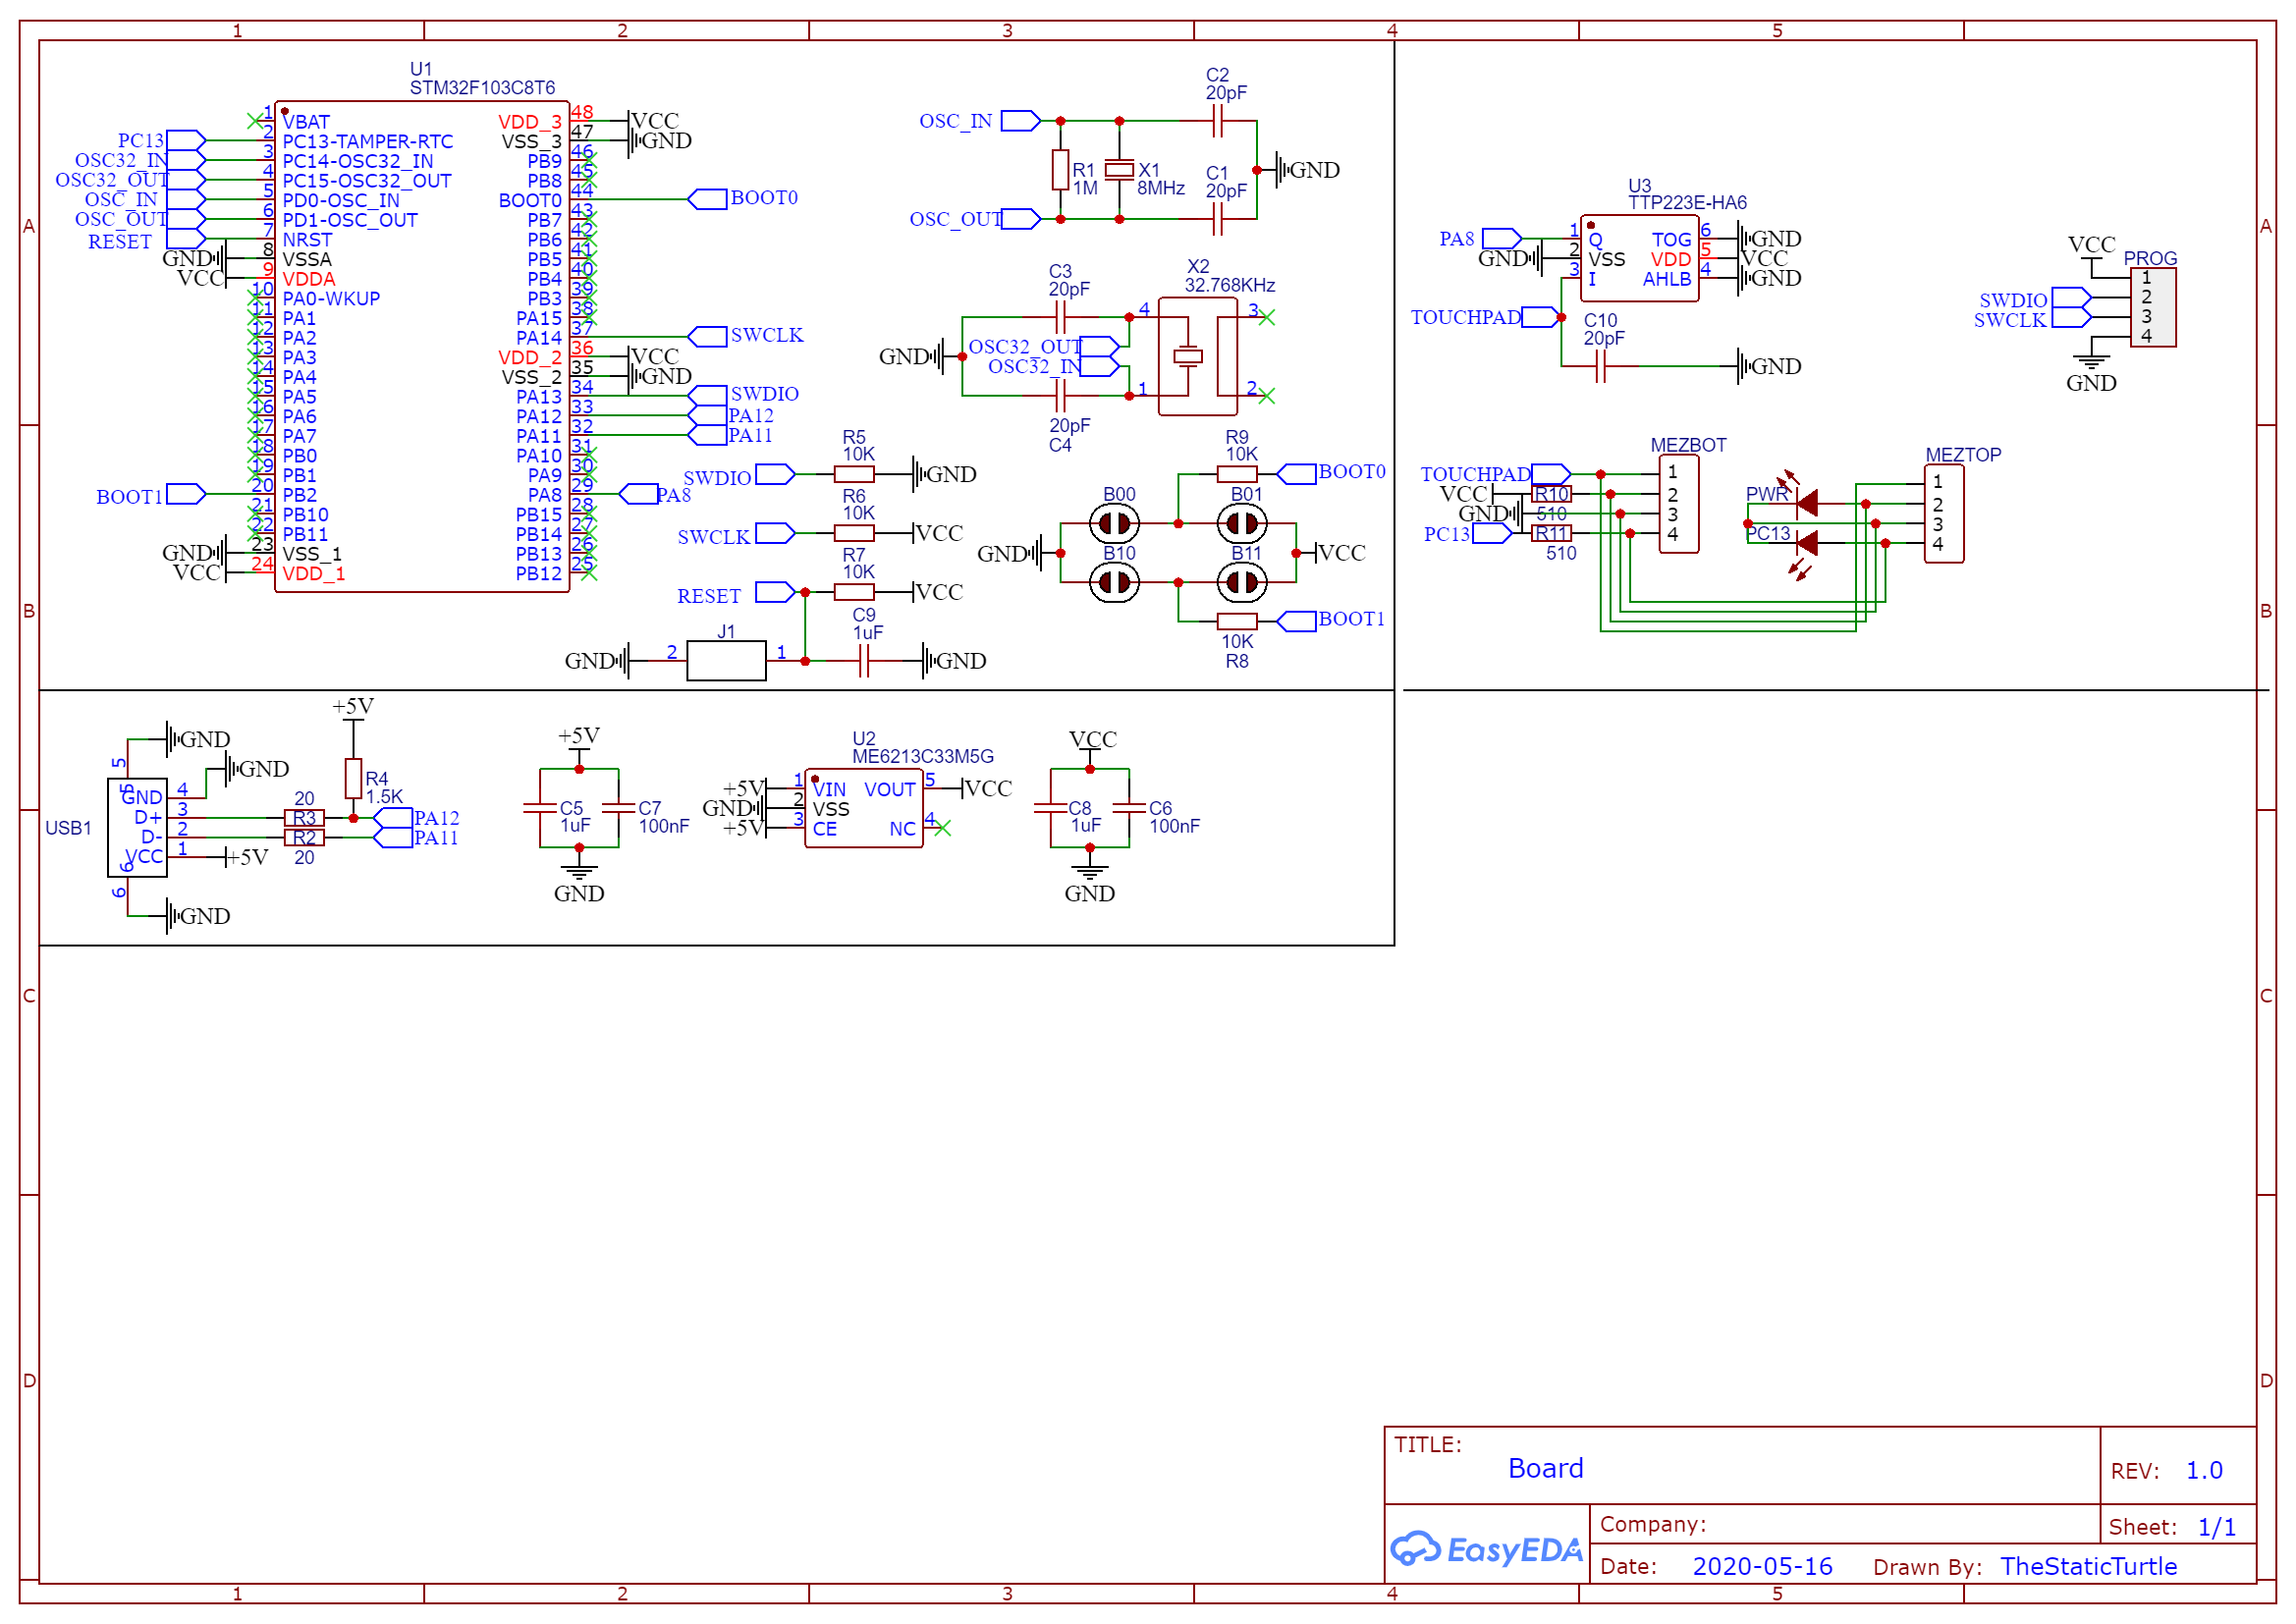
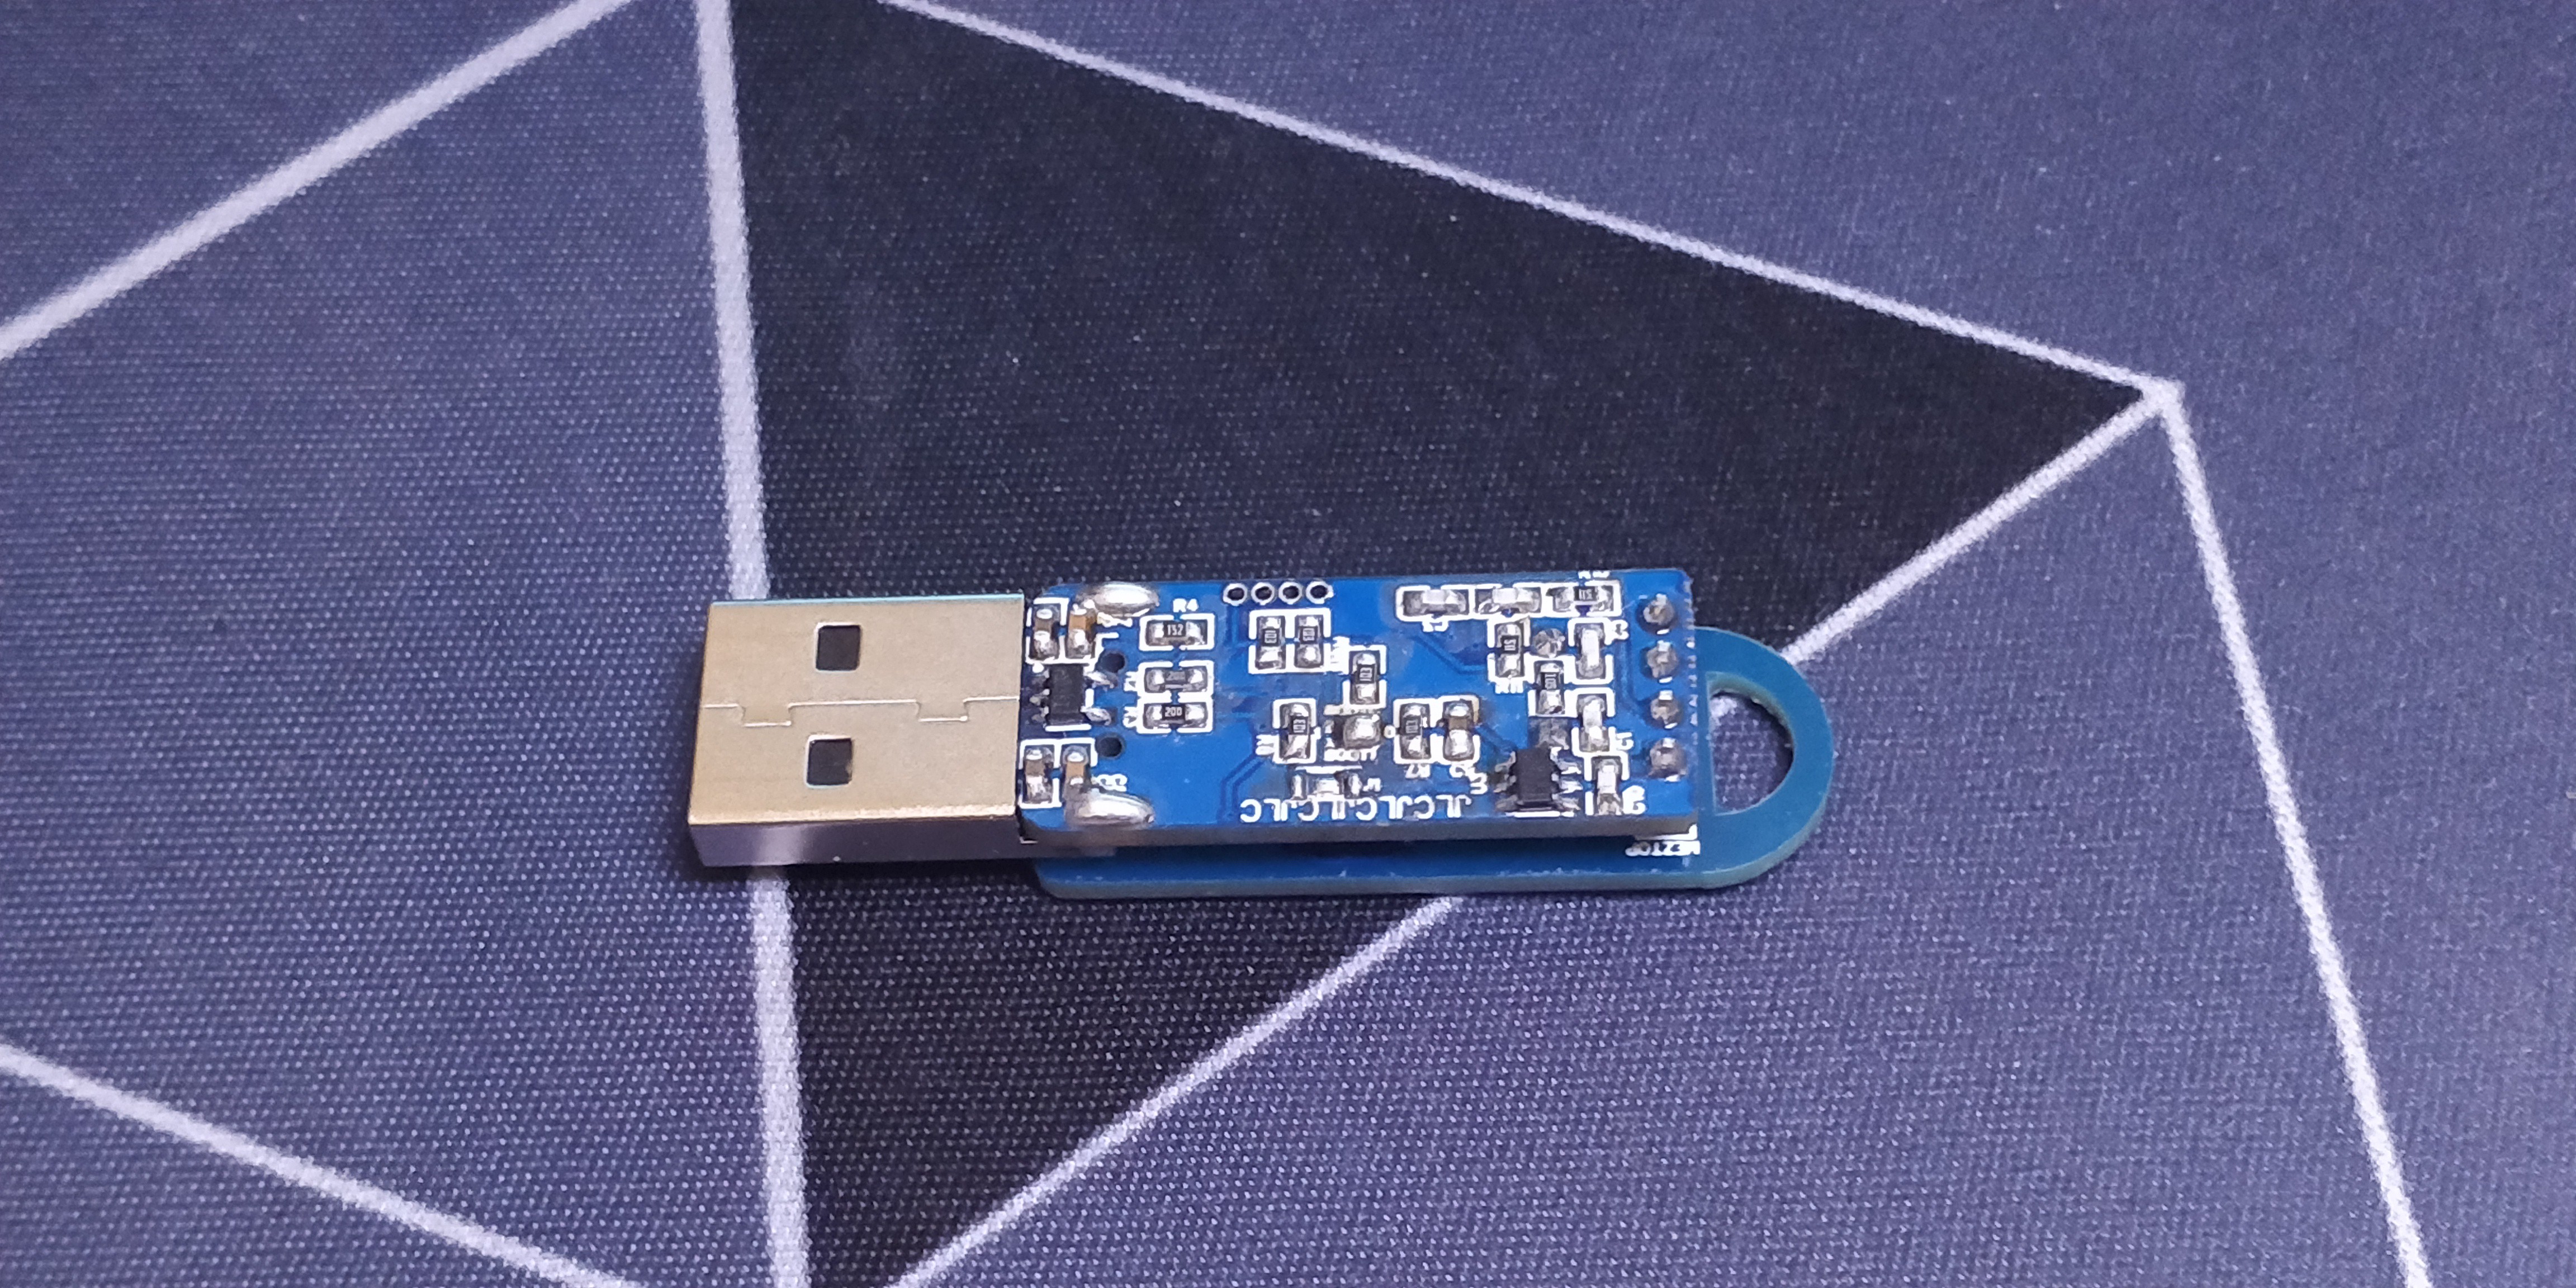
Some of you may know that you can use yubikey's as a gpg smart card for message encryption / ssh login however starting at $45 for a compatible one I didn't really like that, so I searched a bit around and found a project by danman creating such token with a St link V2 (the stm32/8 programmer) after looking a bit I found out that there is the gnuk project that implements just that on a stm32f103.
0%
0%
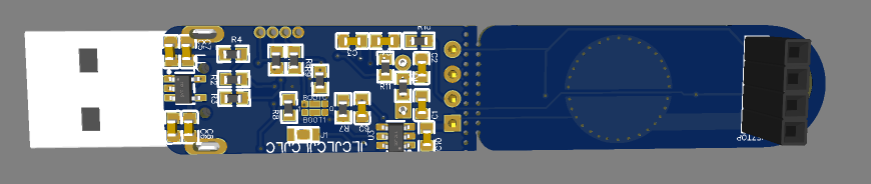
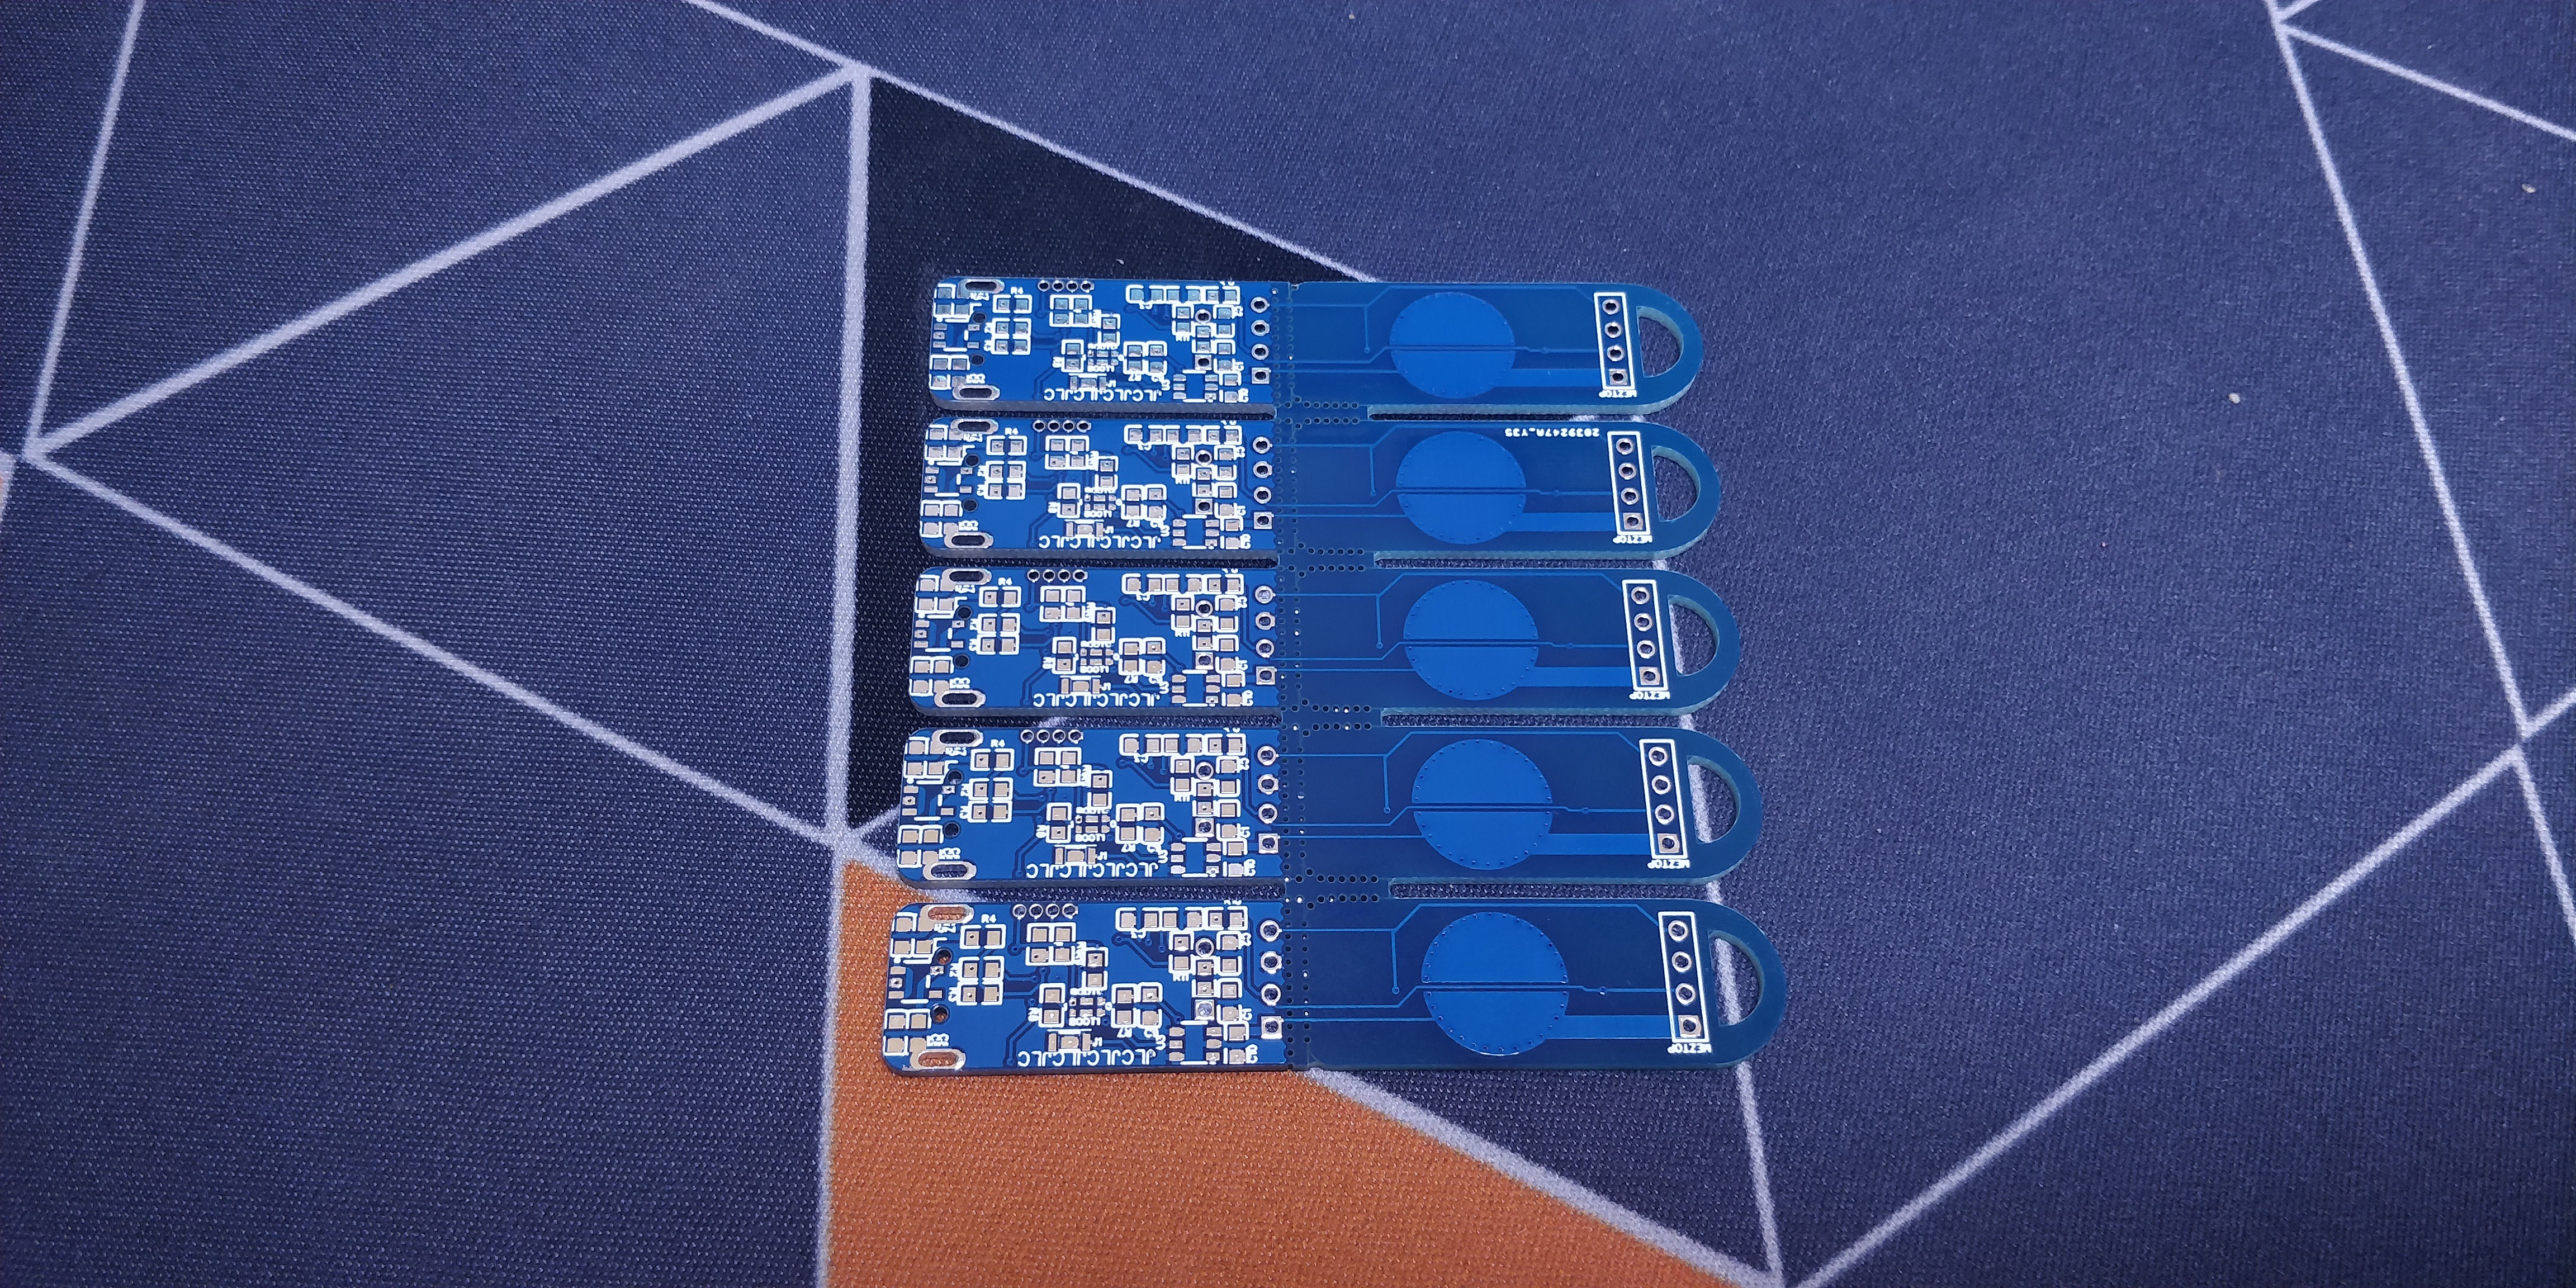
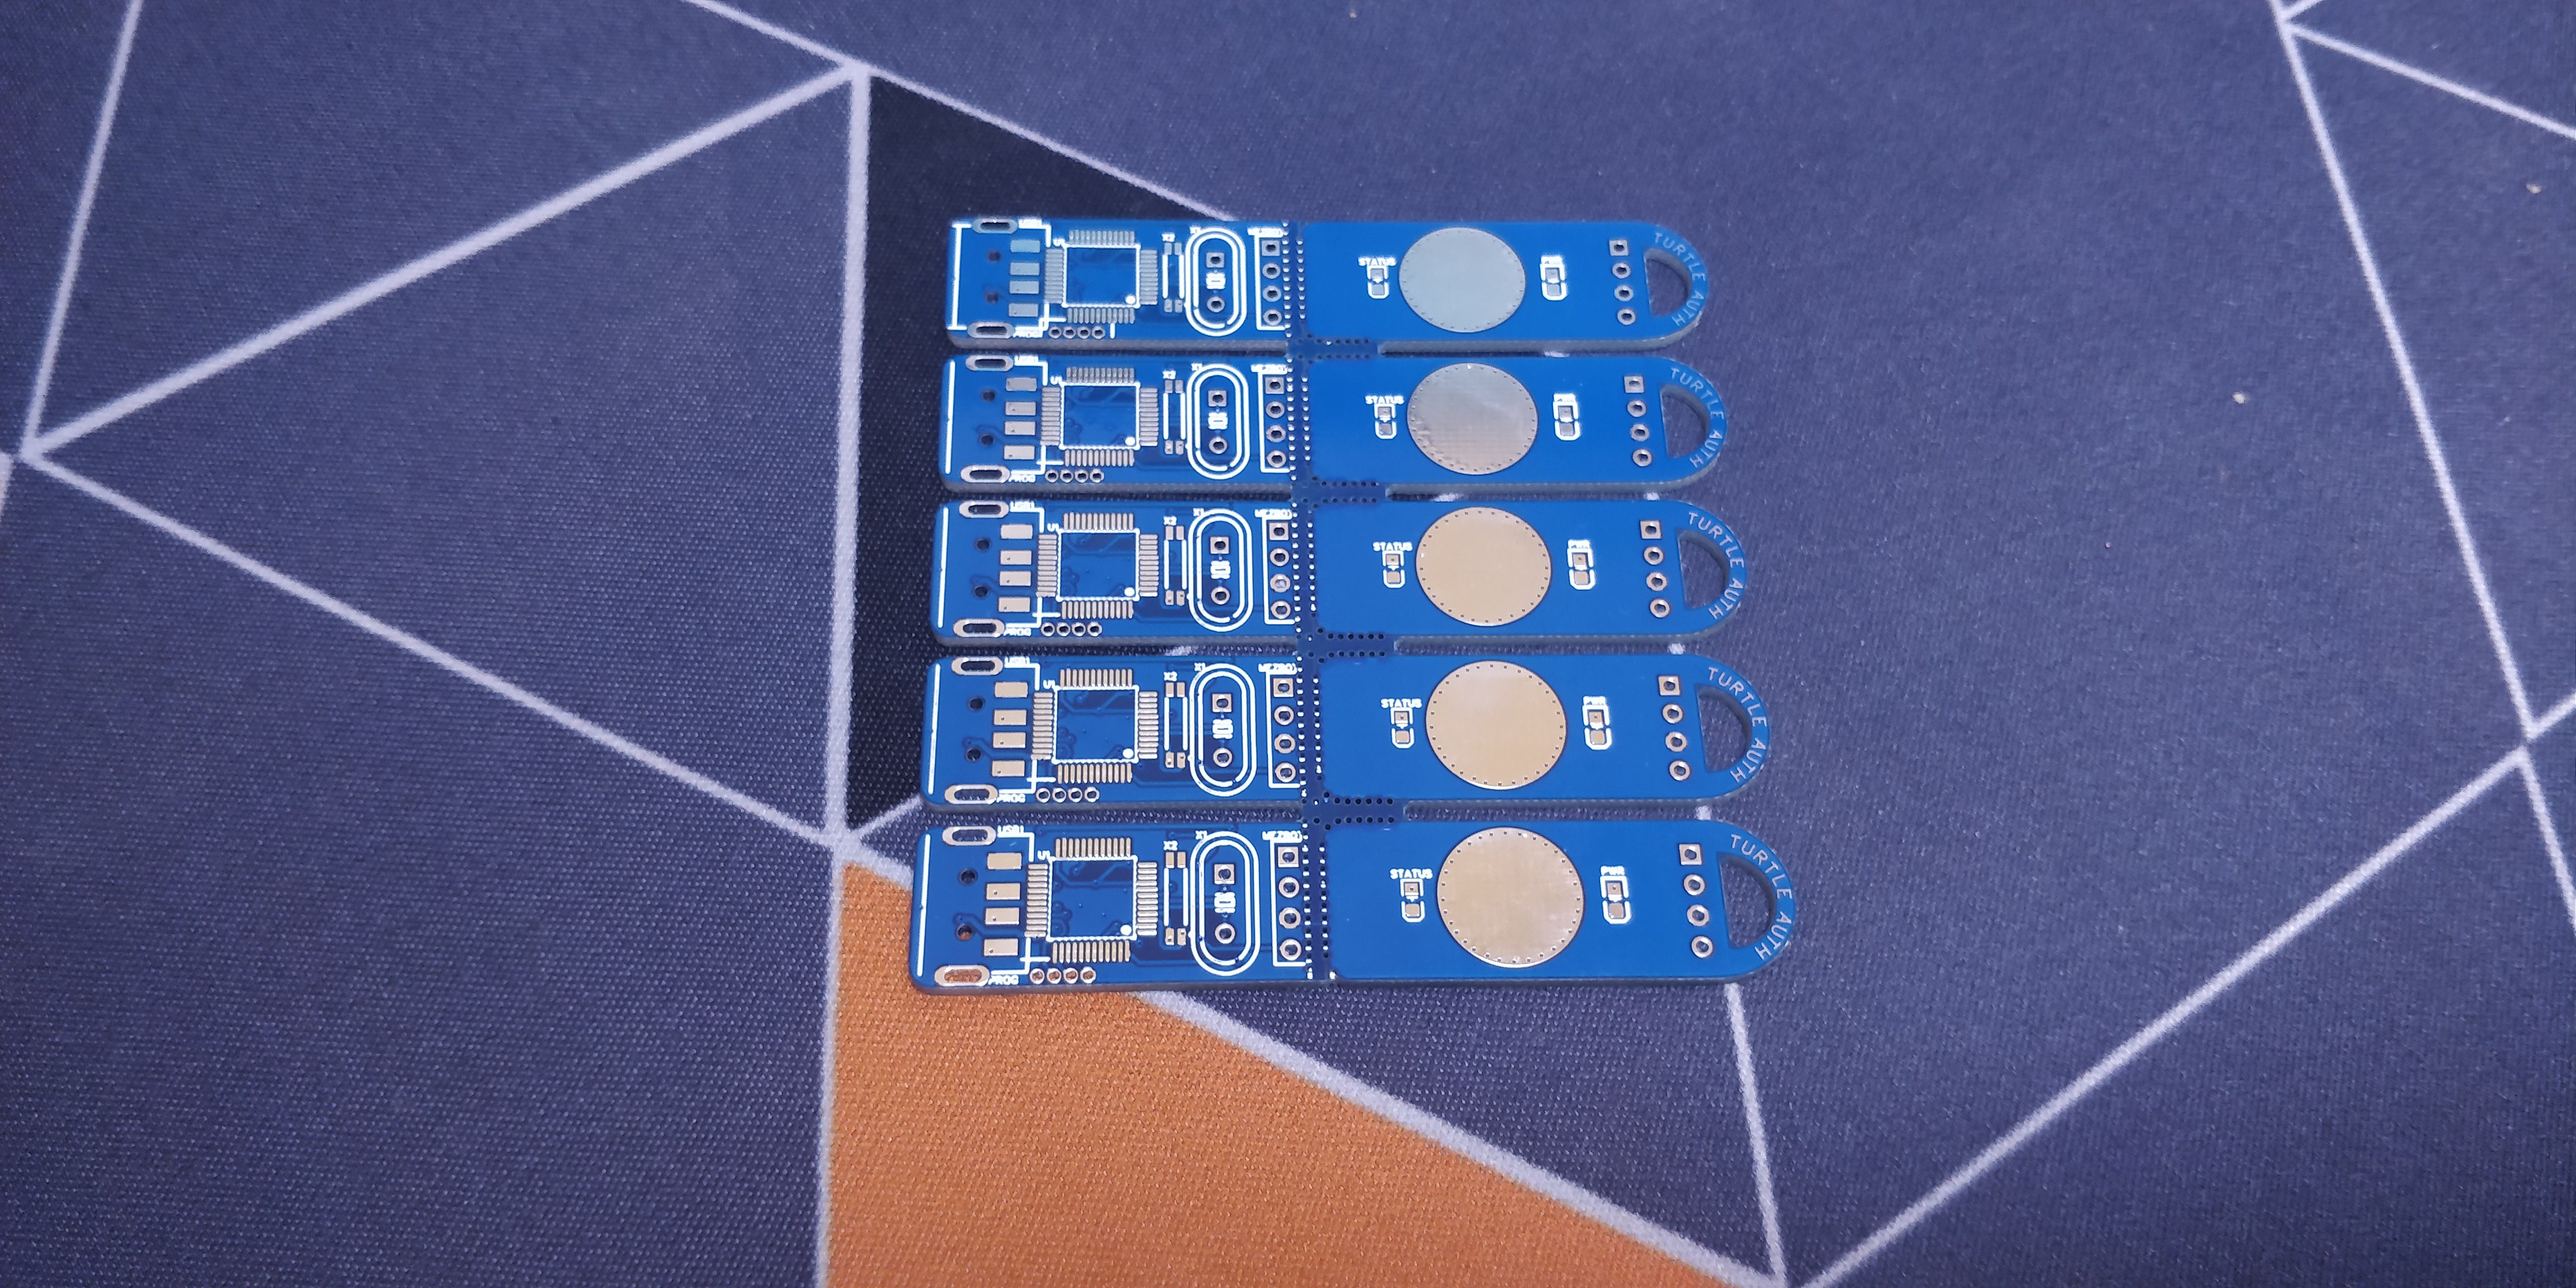
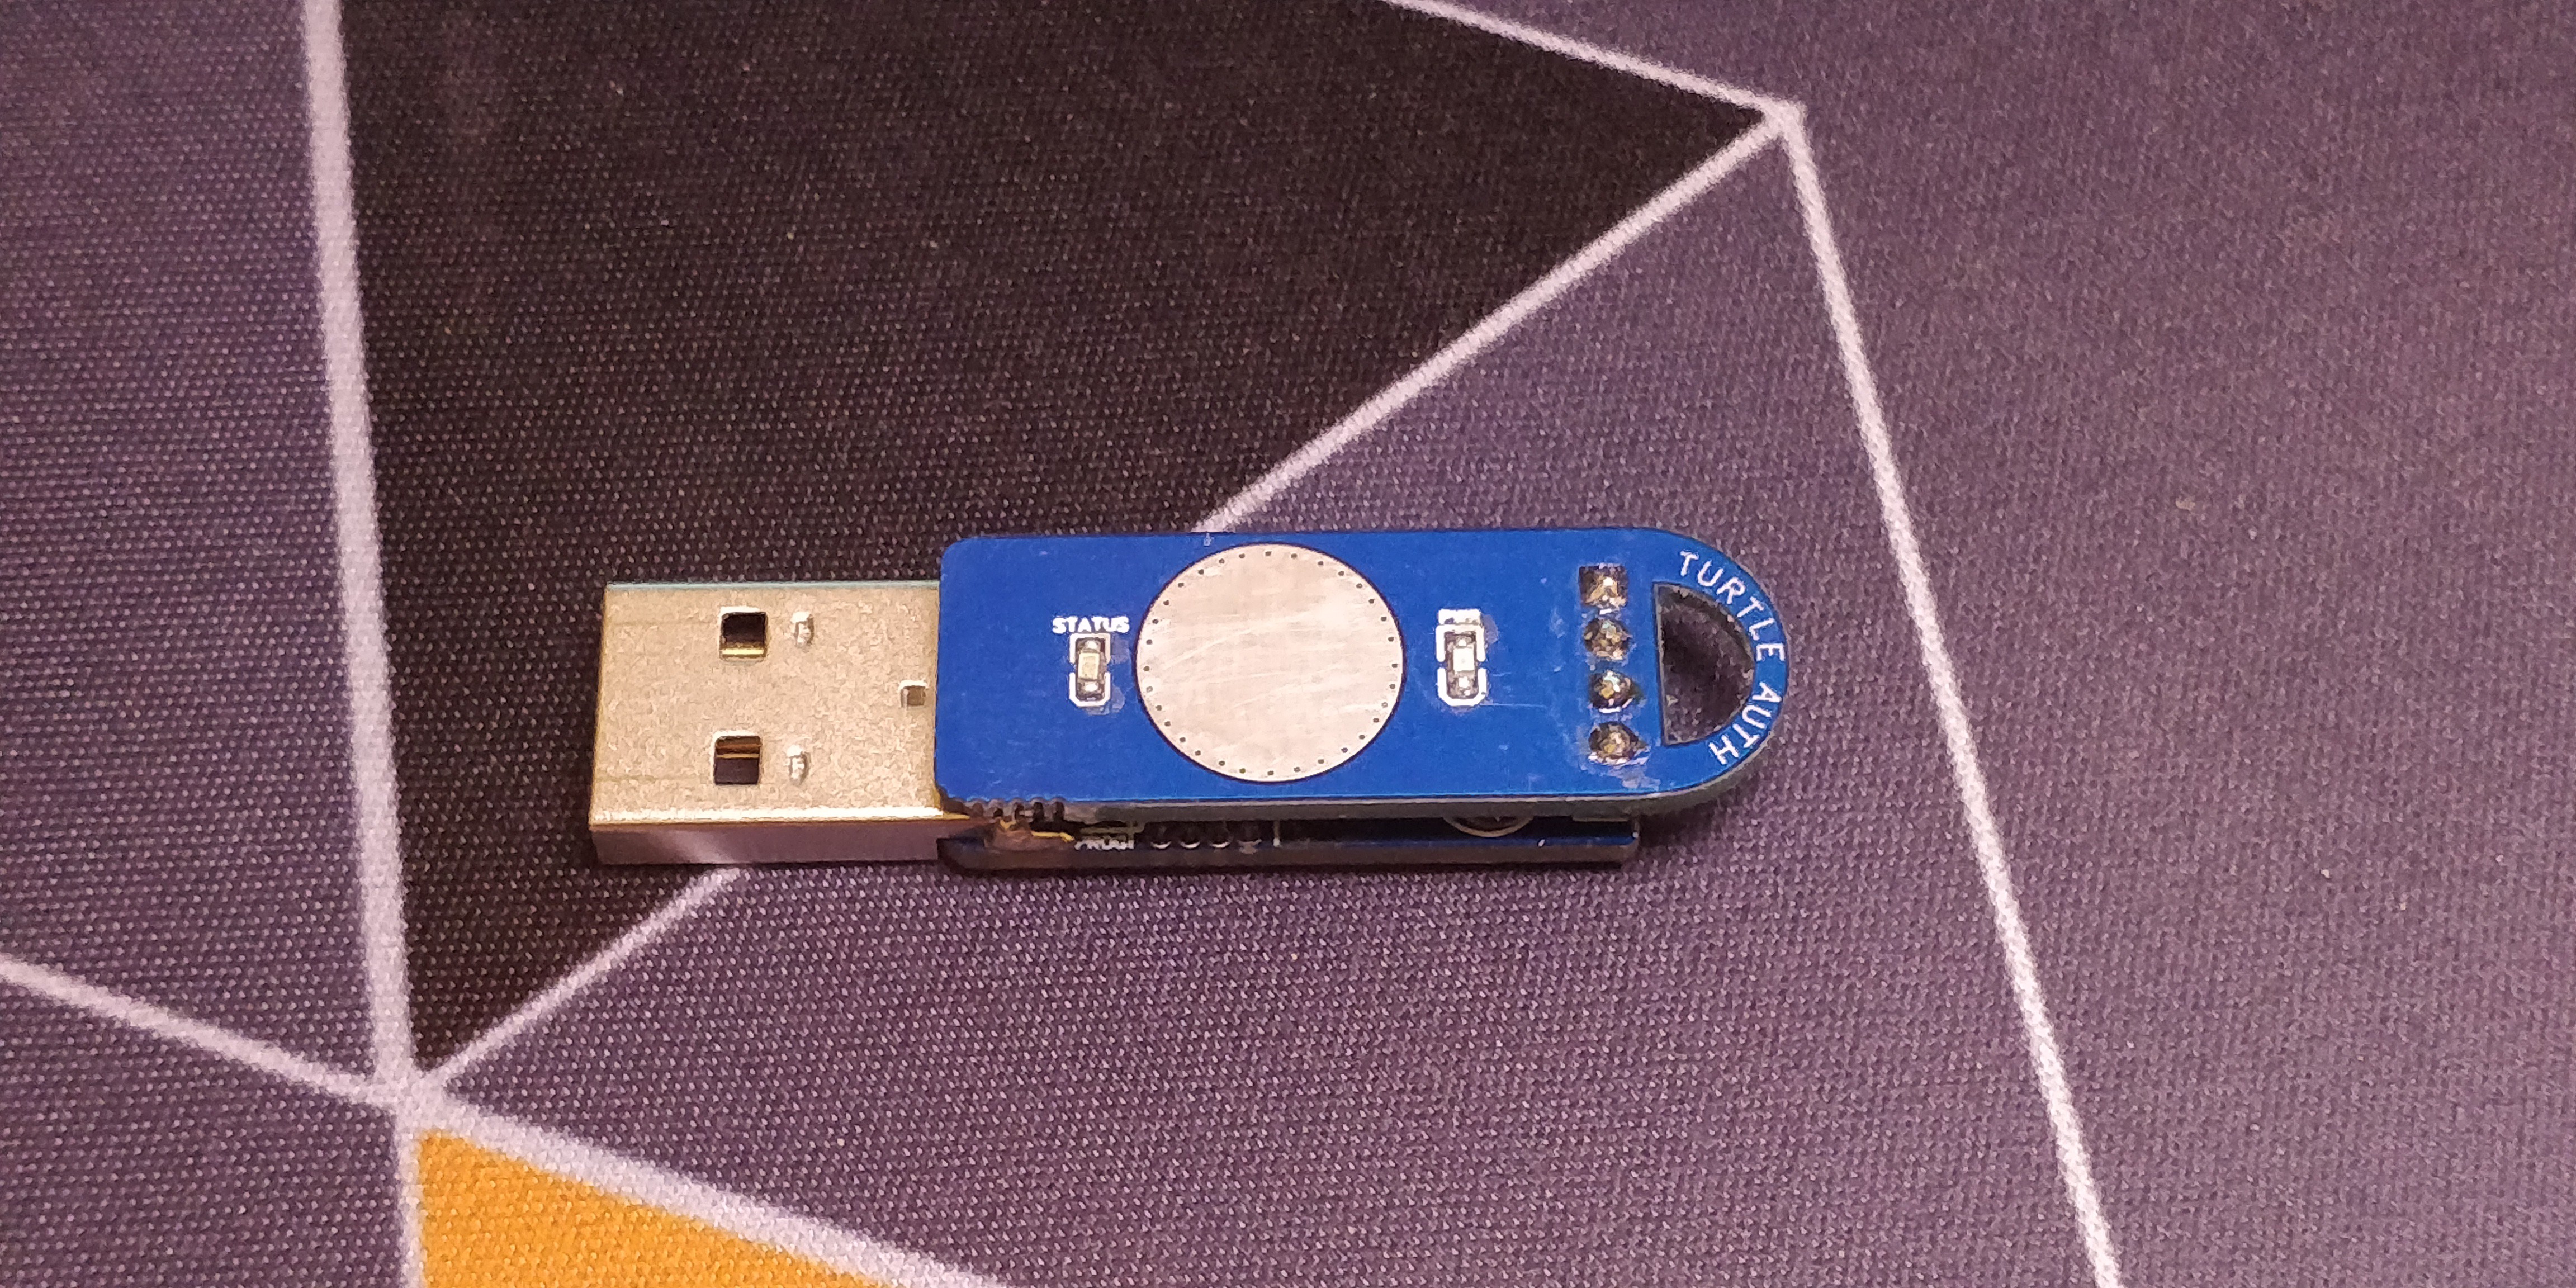
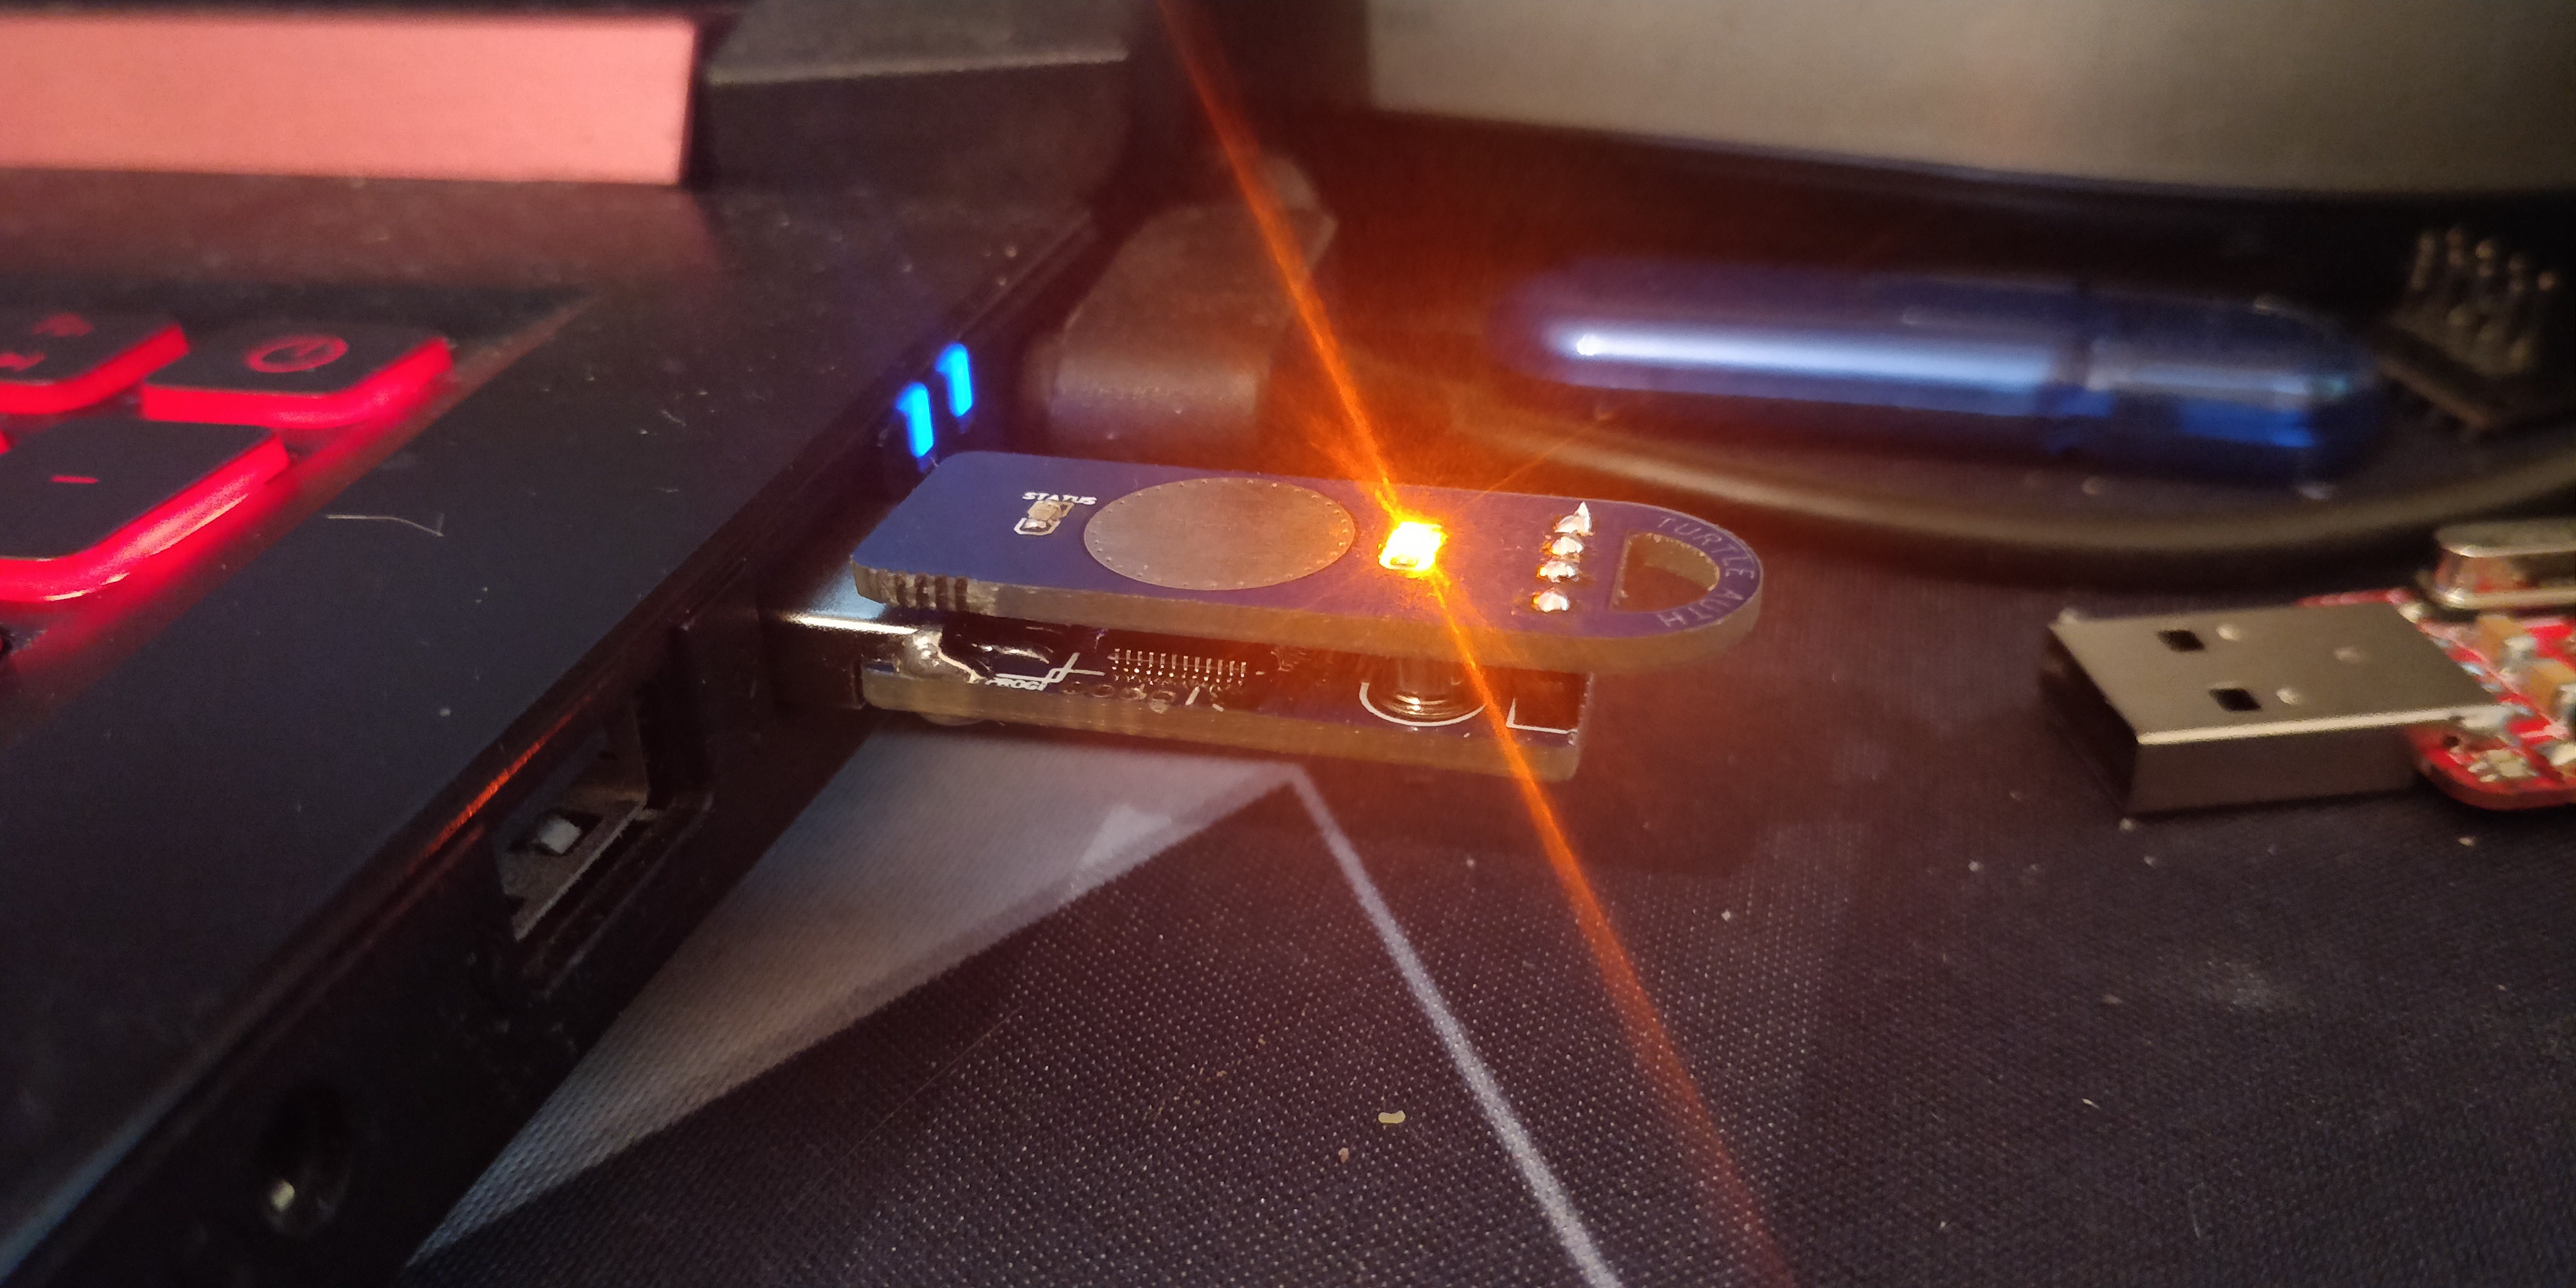
TurtleAuth: The DIY gpg usb key
Let's make a DIY gpg usb key
Become a Hackaday.io member
Already have an account? Log in.
Just one more thing
To make the experience fit your profile, pick a username and tell us what interests you.
Pick an awesome username
hackaday.io/
Your profile's URL: hackaday.io/username. Max 25 alphanumeric characters.
Pick a few interests
Projects that share your interests
People that share your interests

 Just4Fun
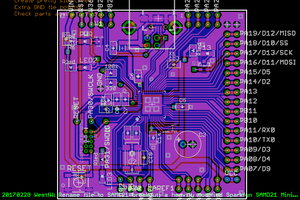
 WestfW
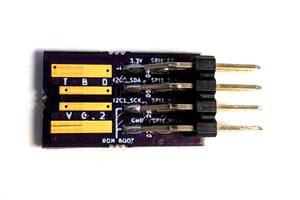
 ajlitt
 Alex
Alex