 Samuel
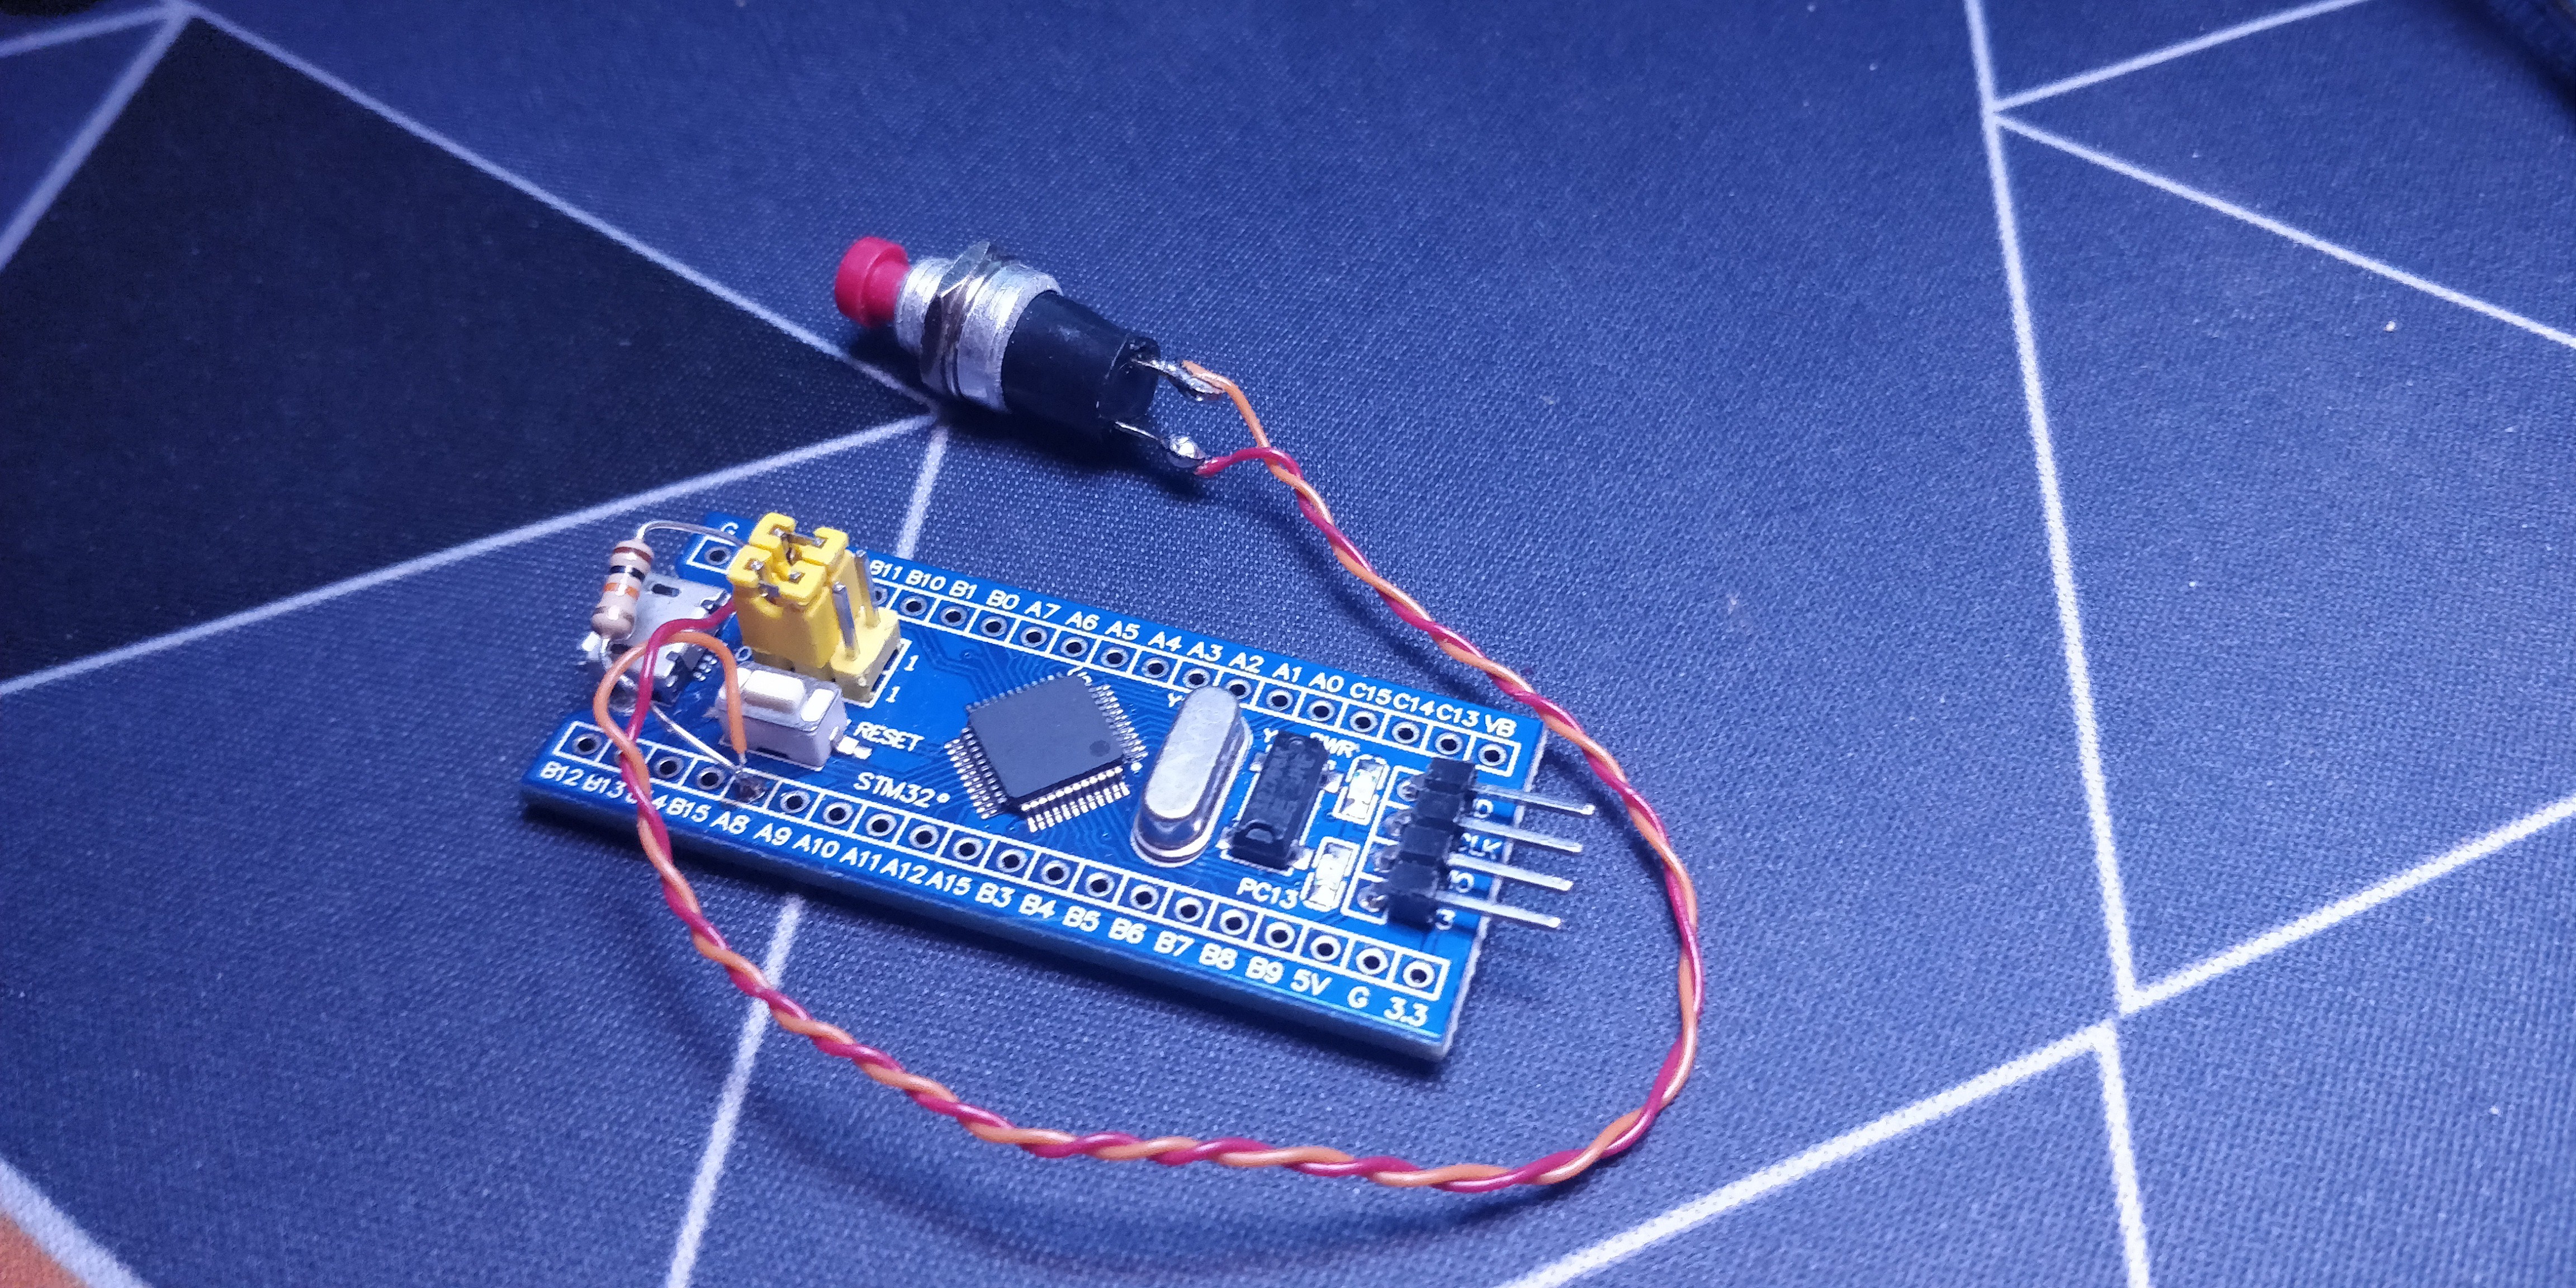
I, next found that there is another gpg key called the Nitro Key which is cheaper but still a bit pricey. As I already had some Blue pills (stm32f103 devboard) lying around I decided to test it.
I started by finding the source code of gnuk (and the sub module chopstx) which was more difficult than I thought (Some git services were shut down), upon finding the source on GitLab I cloned it on my GitHub (https://github.com/TheStaticTurtle/gnuk https://github.com/TheStaticTurtle/chopstx/).
I named my project TurtleAuth, so I started by just using the same config as the ST_DONGLE target since I don't plan on changing the MCU and the officials ones are based on the stm32f103c8 (clones are often the stm32f101 which doesn't officially have "USB capabilities" but can be used anyway somehow). I proceed by creating my own board definition (chopstx/board/turtle-auth.h) and adding / changing configuration like the led pin which I set to PA13 (On board led on the bluepill) and configuring a button on PA8 in pull up
/*
 * Port A setup.
 * PA11 - Push Pull output 10MHz 0 default (until USB enabled) (USBDM)
 * PA12 - Push Pull output 10MHz 0 default (until USB enabled) (USBDP)
 *
 * Port C setup.
 * PC13 - Push pull output 50MHz (LED 1:ON 0:OFF)
 * ------------------------ Default
 * PAx  - input with pull-up
 * PCx  - input with pull-up
 */
#define VAL_GPIO_USB_ODR            0xFFFFE6FF
#define VAL_GPIO_USB_CRL            0x88888888      /*  PA7...PA0 */
#define VAL_GPIO_USB_CRH            0x88811888      /* PA15...PA8 */

#define VAL_GPIO_OTHER_ODR          VAL_GPIO_USB_ODR
#define VAL_GPIO_OTHER_CRL          VAL_GPIO_USB_CRL
#define VAL_GPIO_OTHER_CRH          VAL_GPIO_USB_CRH

#define VAL_GPIO_LED_ODR            0xFFFFFFFF
#define VAL_GPIO_LED_CRL            0x88888888      /*  PC7...PC0 */
#define VAL_GPIO_LED_CRH            0x88388888      /* PC15...PC8 */
The button will still not work with this code I still had to add it the gnuk / chopstx source code. First I need to add a new function in chopstx to wait until the button has been pressed. I set it up to blink the led every 100ms and break out of the loop if the button goes high (I have a 10k pull down resistor on the button)
void wait_button() {
    #if defined(GPIO_BUTTON_PIN)
        while (1){
            set_led(1);
            wait(1000000);
            if( (GPIO_OTHER->IDR & (1 << GPIO_BUTTON_PIN)) ) break;

            set_led(0);
            wait(1000000);
            if( (GPIO_OTHER->IDR & (1 << GPIO_BUTTON_PIN)) ) break;
        }
    #endif
}
Next I added the wait button function in the openpgp.c file at line 936 and 1144
#ifdef CONFIRM_BUTTON_SUPPORT
  wait_button();
#endif(https://github.com/TheStaticTurtle/gnuk/search?q=wait_button&unscoped_q=wait_button)
and added the CONFIRM_BUTTON_SUPPORT option to the command line arguments (https://github.com/TheStaticTurtle/gnuk/search?q=CONFIRM_BUTTON_SUPPORT&unscoped_q=CONFIRM_BUTTON_SUPPORT)
Since I didn't have any experience programming and stm32 outside the Arduino environment I followed danman guide to build and transfer the program.
I started by creating a config for OpenOCD (Debugger / Programmer) and setting up to use a st link V2 to flash the software.
#daemon configuration
telnet_port 4444
gdb_port 3333

#interface
interface hla
hla_layout stlink
hla_device_desc "ST-LINK/V2"
hla_vid_pid 0x0483 0x3748

#transport select swd

# The chip has 64KB sram
set WORKAREASIZE 0x10000

source [find target/stm32f1x.cfg]
#adapter_khz 100
gdb_breakpoint_override hard
OpenOCD open a telnet server on port 4444 that you can use to send commands to it. I, next wrote a build and flash script to simplify my life during testing, since I change the source code on a different computer that the one I used to flash (Windows/Linux), I added git pull to make sure that I'm up to date with my GitHub
Build script:
cd gnuk
git pull
git submodule update --init
git submodule sync
git submodule update --remote

cd chopstx
git pull origin master
cd ..

cd src
./configure --vidpid=234b:0000 --target=TURTLE_AUTH --enable-confirm-button
make clean
make
Flash script (Not the best but it works):
echo 'stm32f1x unlock 0' > tmp.network
echo 'reset halt' >> tmp.network
echo 'stm32f1x unlock 0' >> tmp.network
echo 'reset halt' >> tmp.network
echo 'flash erase_sector 0 0 127' >> tmp.network
echo 'flash write_bank 0 ./gnuk/src/build/gnuk.bin 0' >> tmp.network
echo 'reset' >> tmp.network
echo 'exit' >> tmp.network

cat tmp.network | netcat 127.0.0.1 4444
rm tmp.network
So after flashing sucess the device show up in dmseg
[  808.561960] usb 2-1: Product: Gnuk Token
[  808.561964] usb 2-1: Manufacturer: Free Software Initiative of Japan
[  808.561967] usb 2-1: SerialNumber: TURTLE-1.2.15-87033357
After executing gpg --card-status I was greeted by a wonderful output that told me that everything was working correctly
$ gpg --card-status
$ gpg --card-status

Reader ...........: 234B:0000:TURTLE-1.2.15-87033357:0
Application ID ...: D276000124010200FFFE870333570000
Version ..........: 2.0
Manufacturer .....: unmanaged S/N range
Serial number ....: 87033357
Name of cardholder: [not set]
Language prefs ...: [not set]
Sex ..............: unspecified
URL of public key : [not set]
Login data .......: [not set]
Signature PIN ....: forced
Key attributes ...: rsa2048 rsa2048 rsa2048
Max. PIN lengths .: 127 127 127
PIN retry counter : 3 3 3
Signature counter : 0
Signature key ....: [none]
Encryption key....: [none]
Authentication key: [none]
General key info..: [none]
After that I could use it like a normal gpg smart card. However, this mess isn't superb to carry around and very fragile:
Discussions
Become a Hackaday.io Member
Create an account to leave a comment. Already have an account? Log In.