WHY would I need this interposer board?
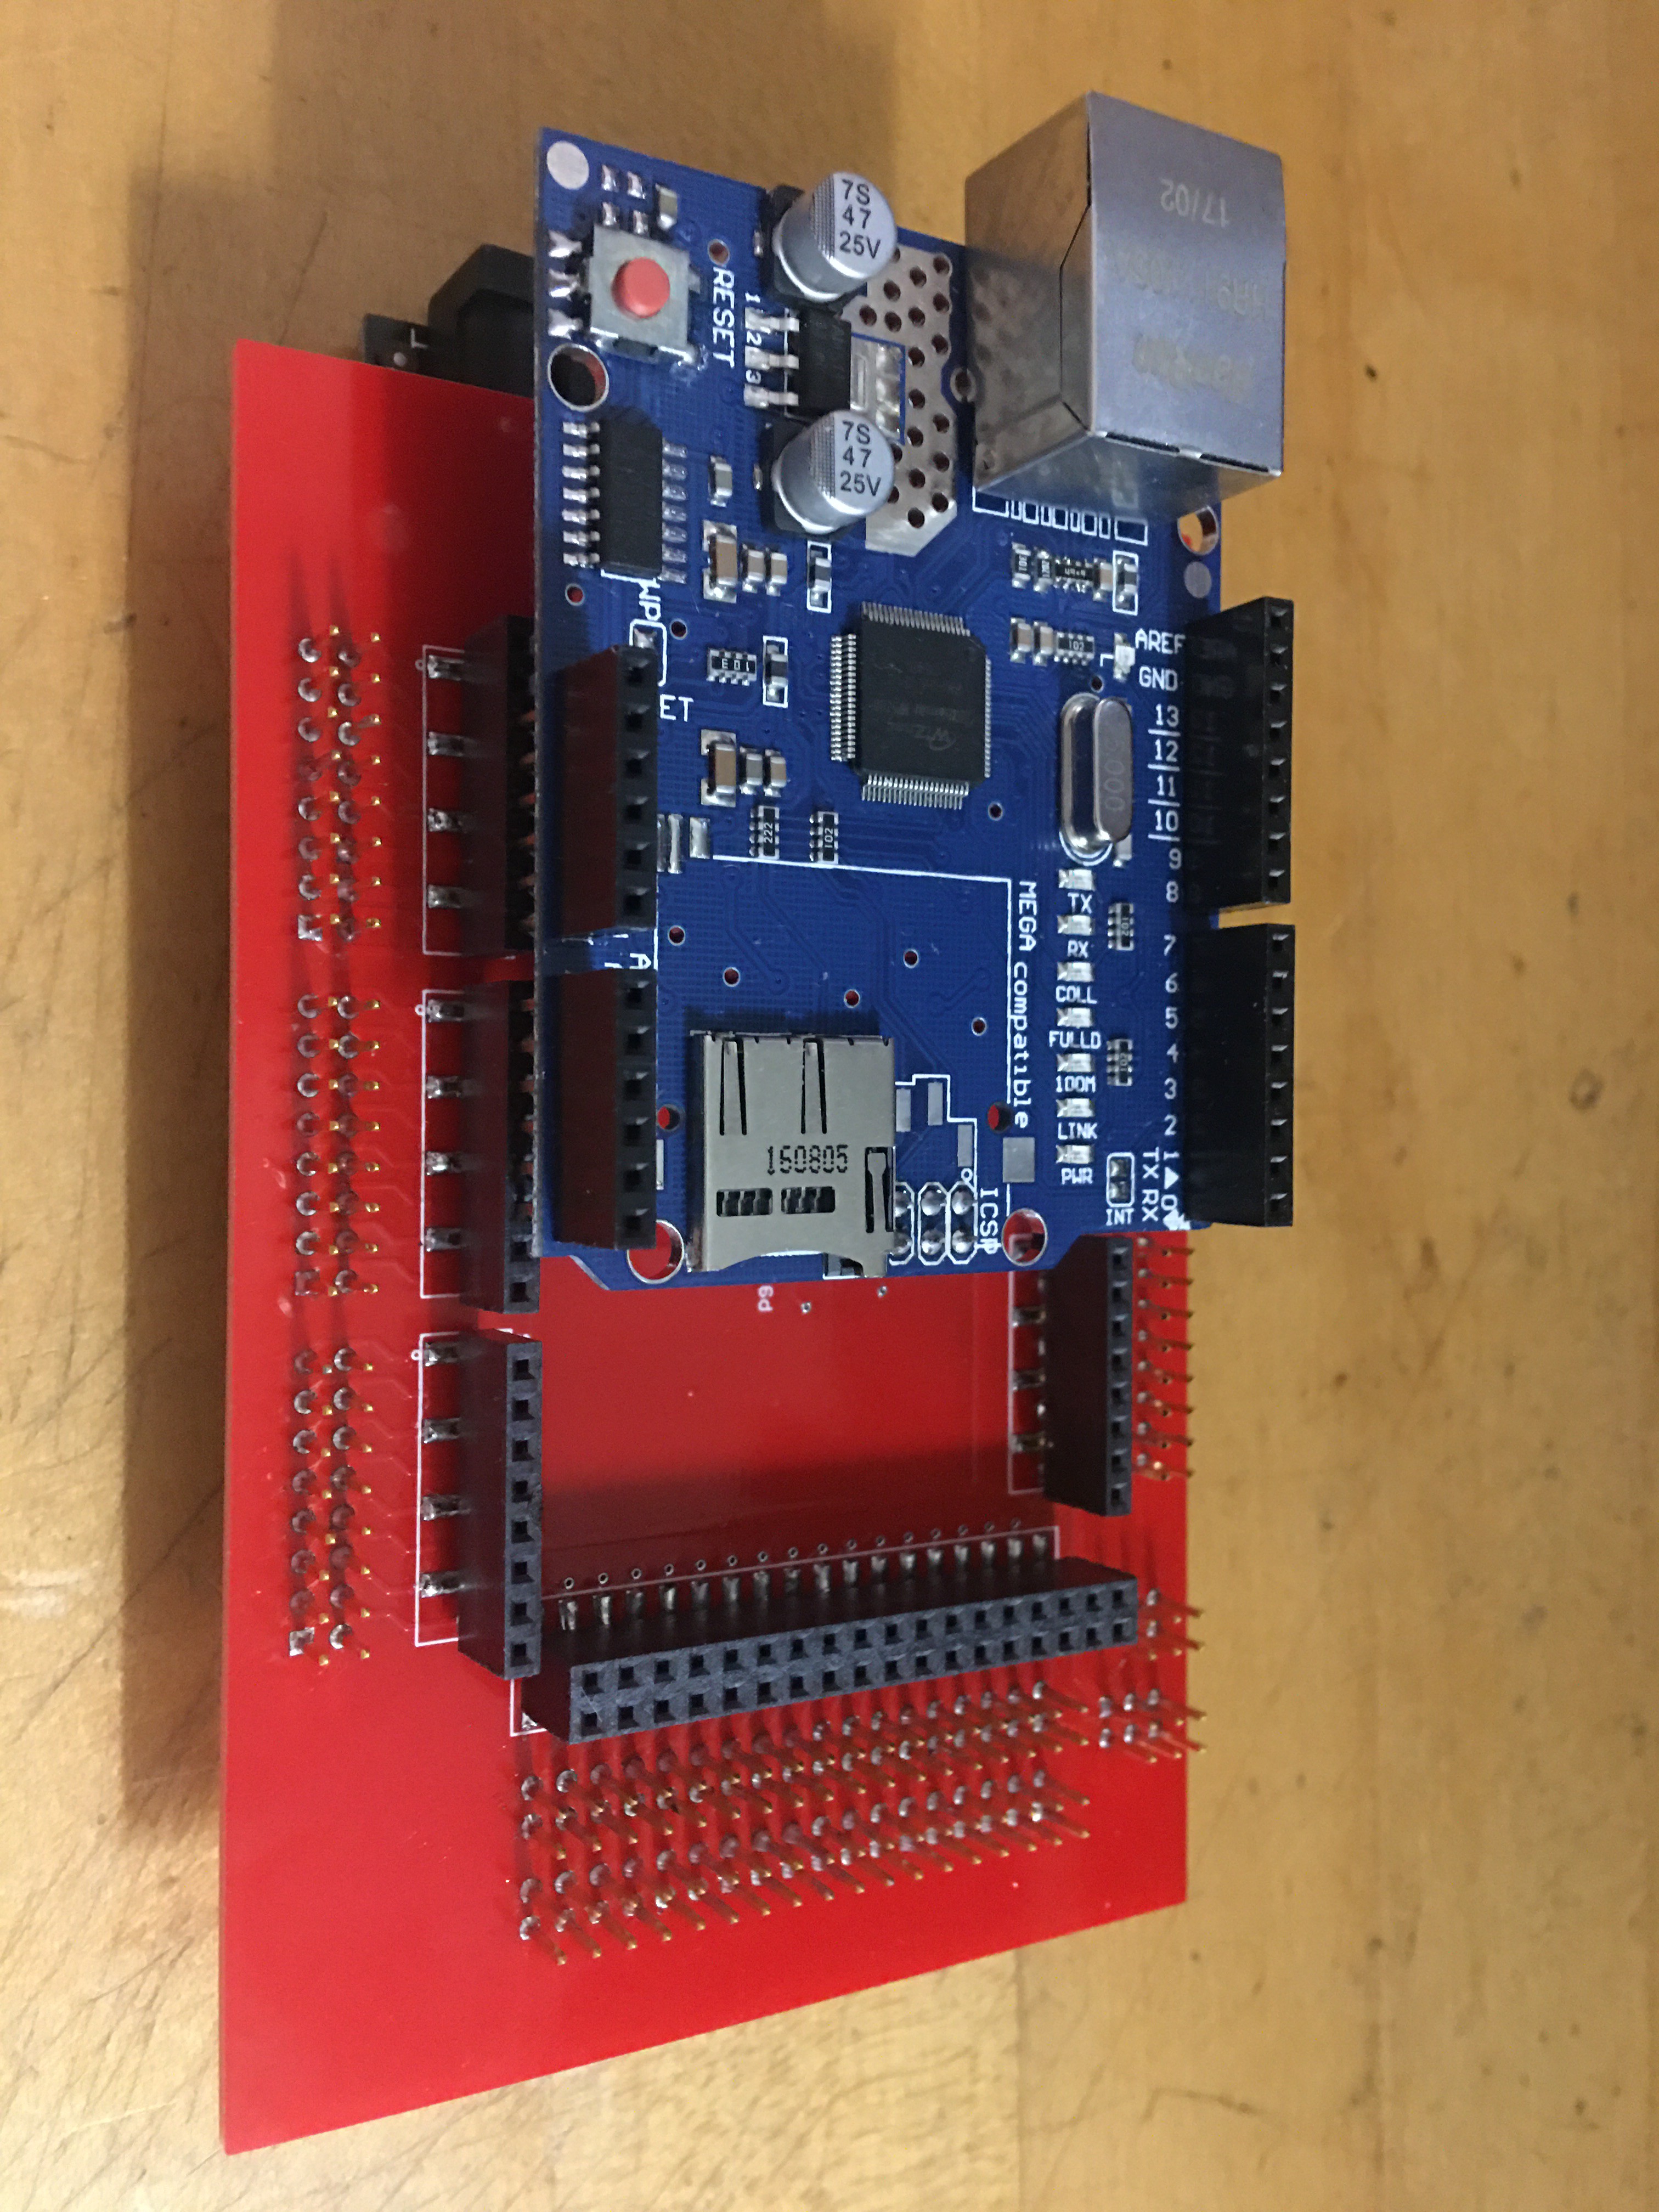
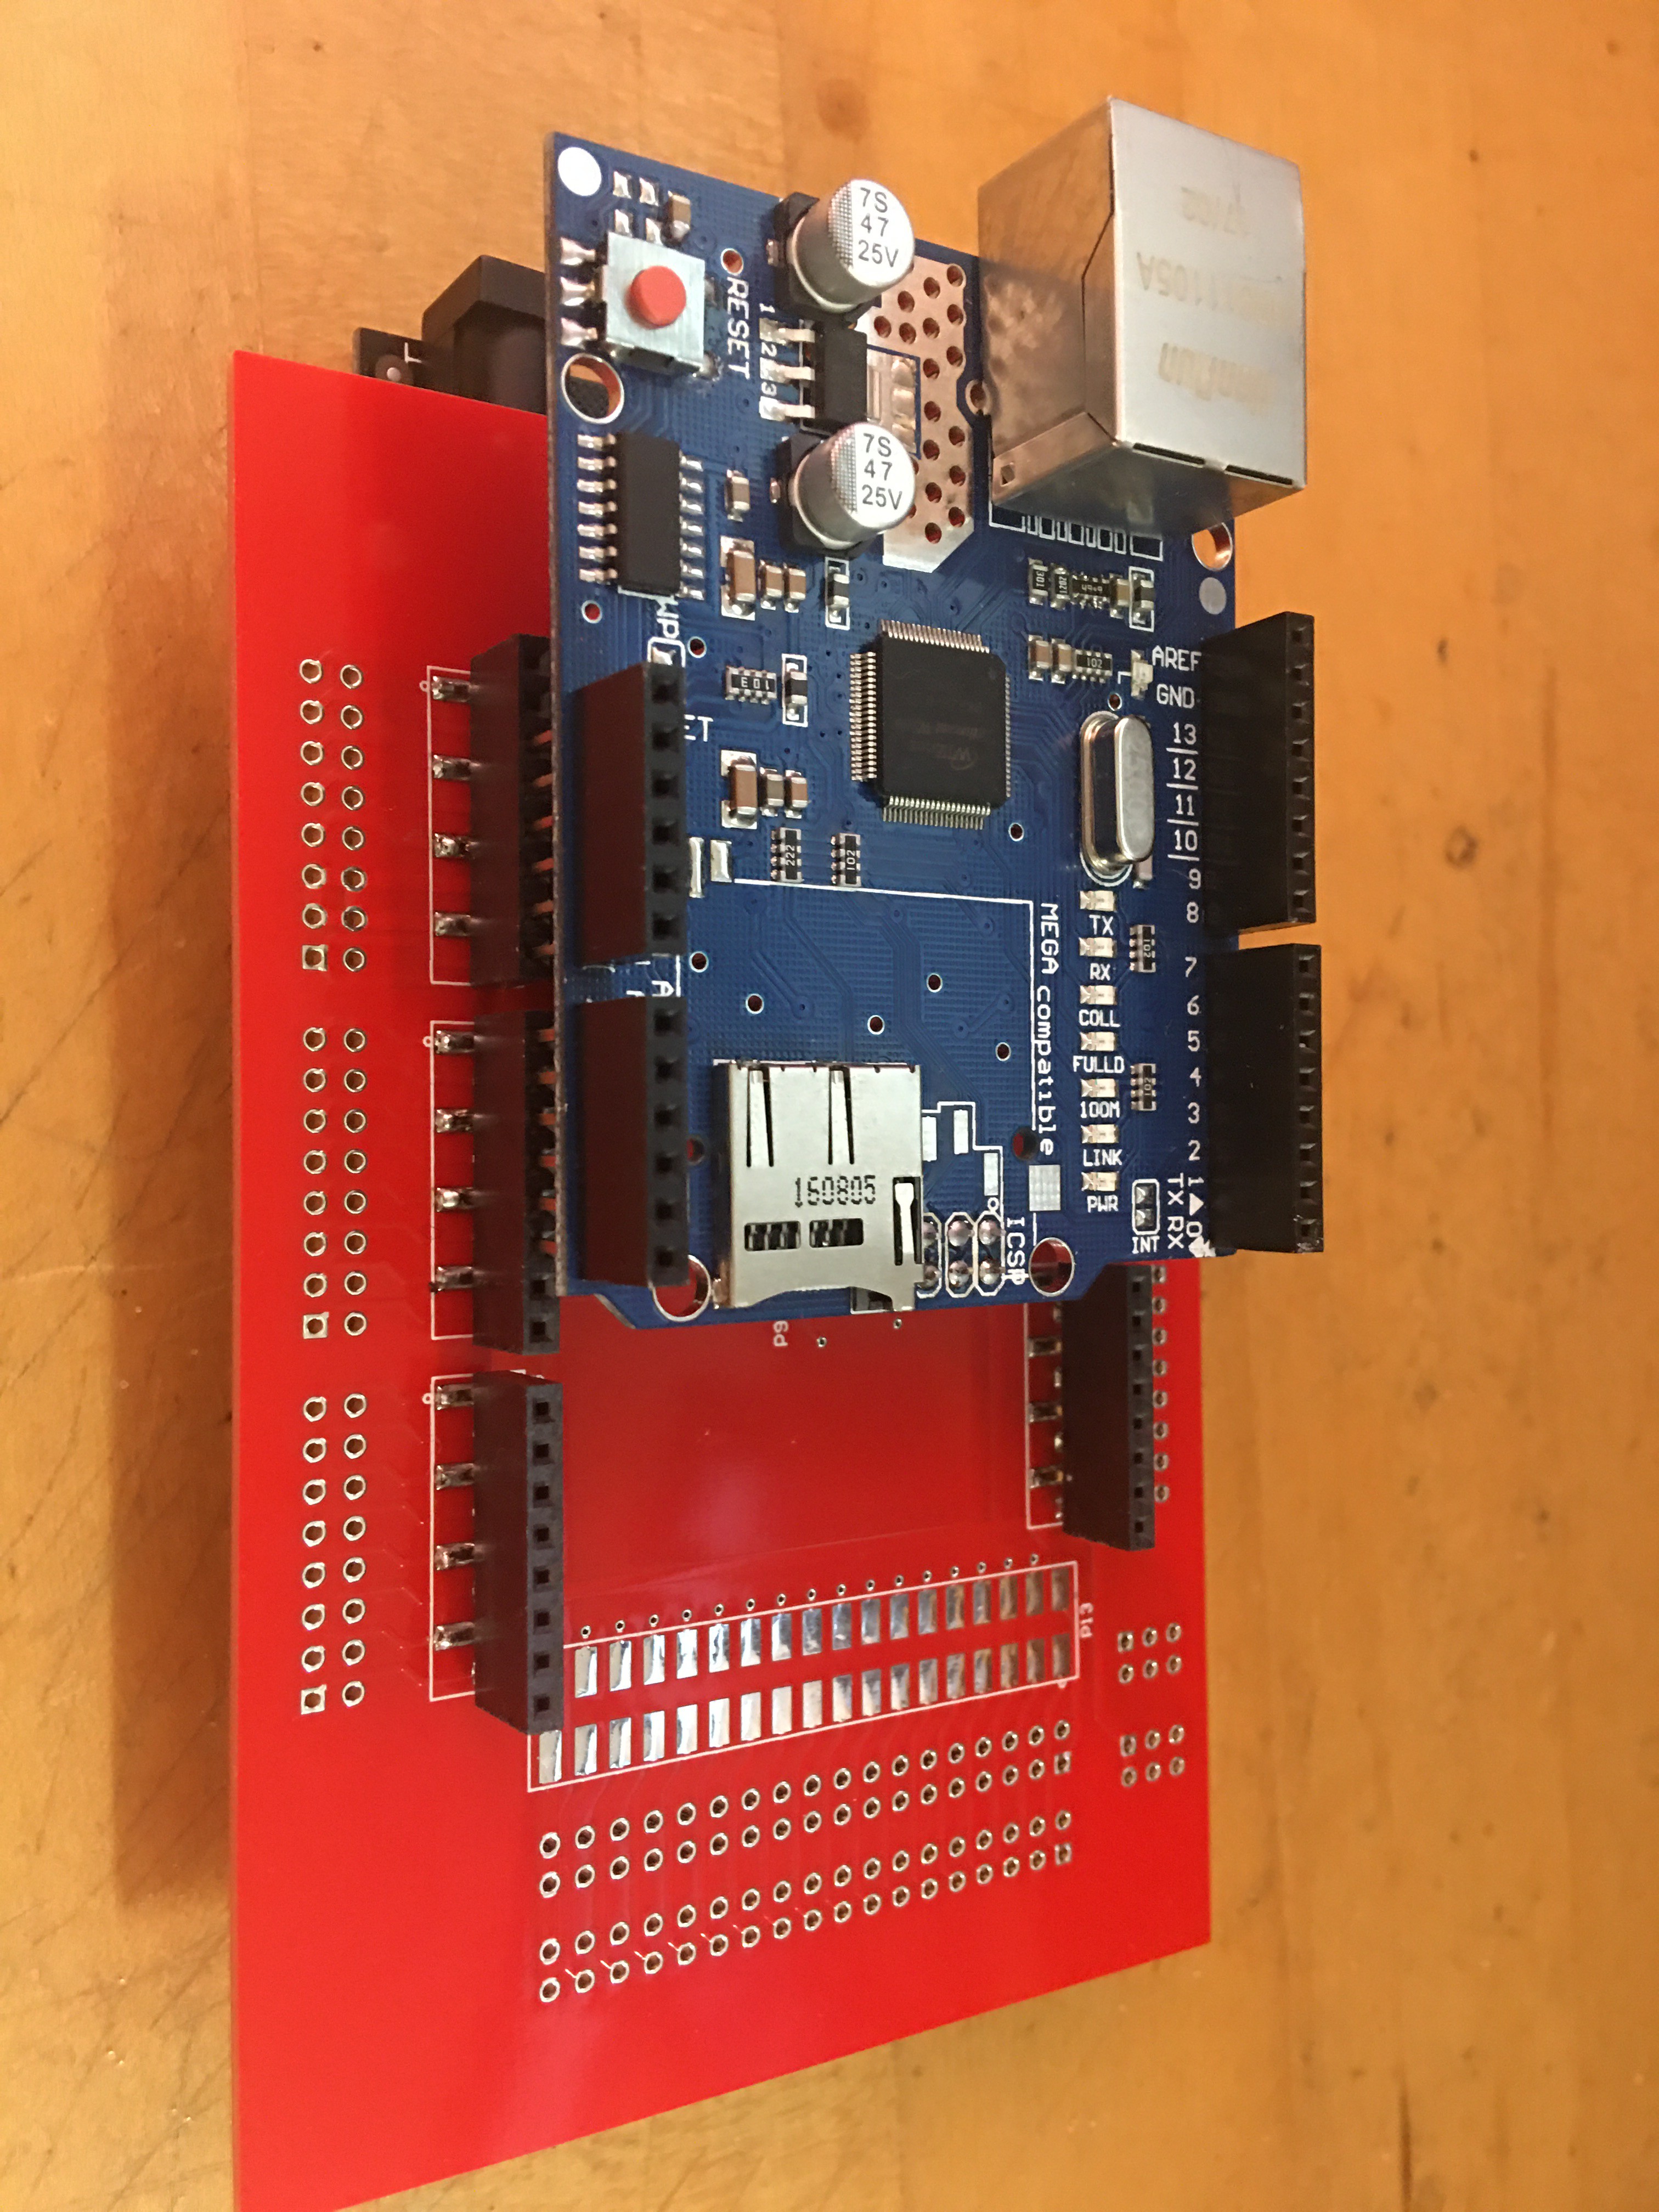
In my case, I have a particular industrial-control project with a weird behavior. Many generic MEGA2560 CPU boards mysteriously self-reset when a certain set of GPIO's are activated.
However, I found one brand of MEGA2560 that doesn't exhibit this behavior (same F/W load!).
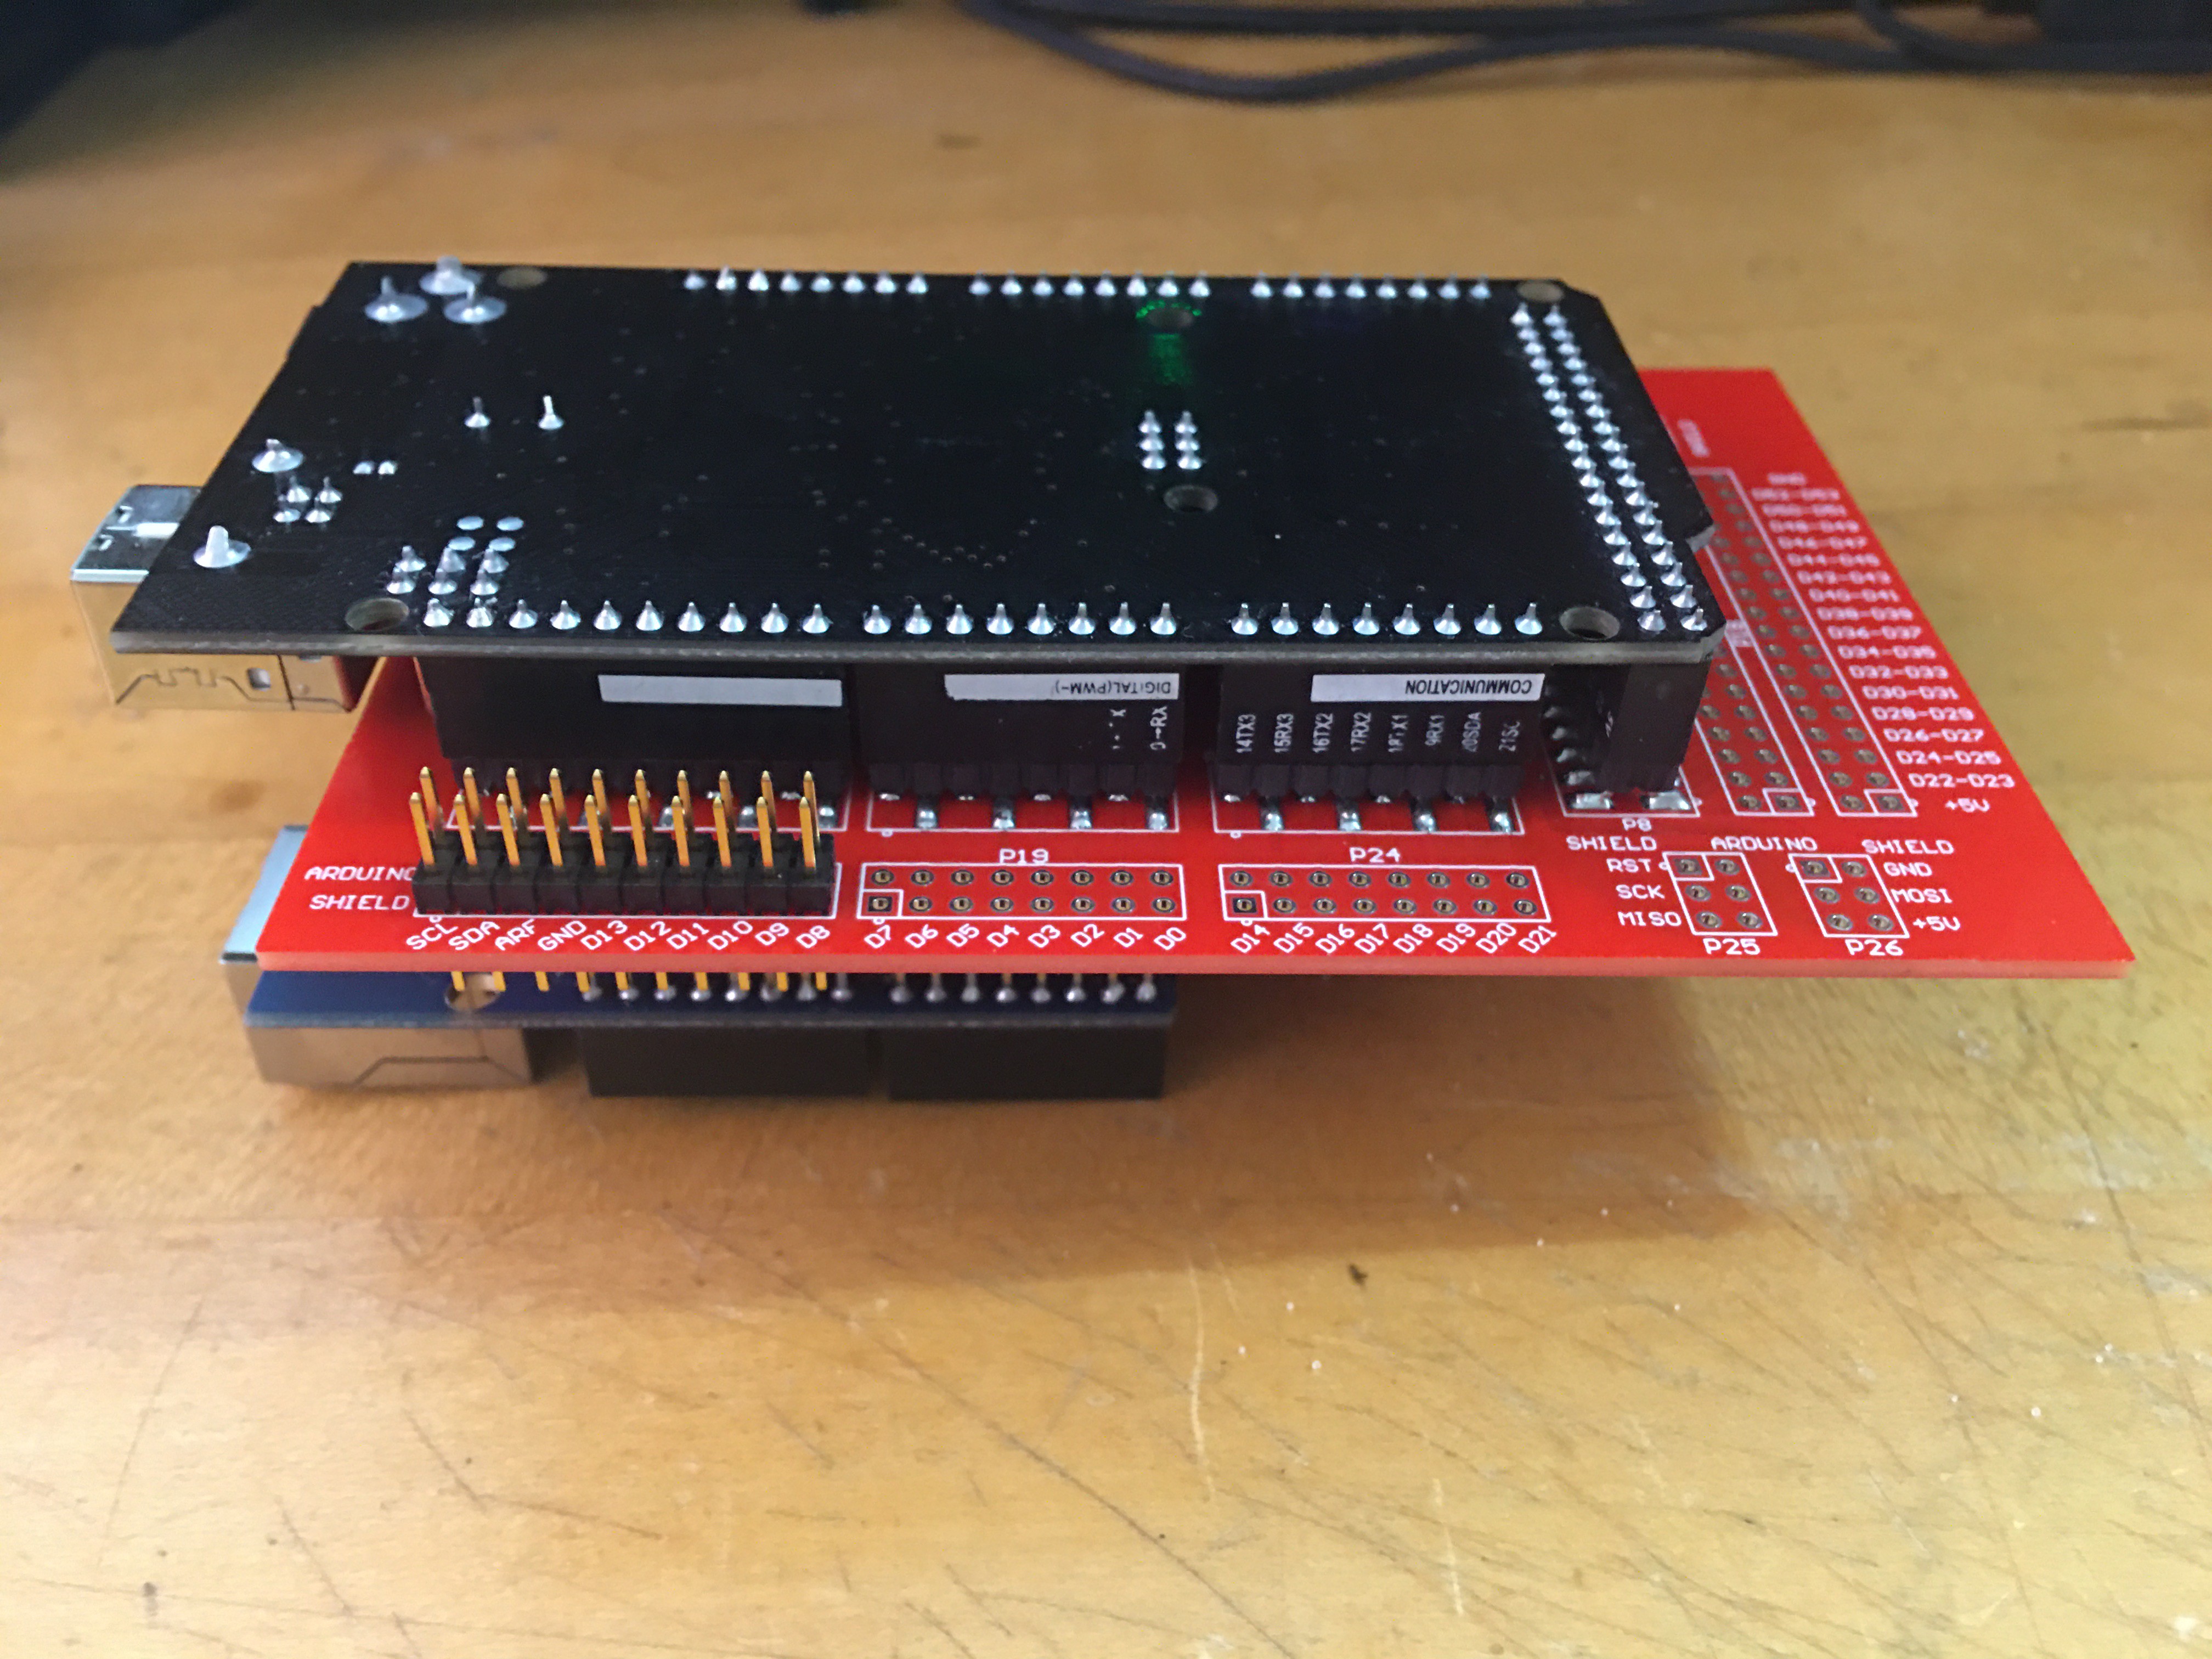
Not wanting to leave well enough alone... I really needed to dig into this and figure out why seemingly identical MEGA2560 boards behave differently. Using this interposer board I can now isolate one GPIO at a time (without cutting header pins, or rigging up an insane mess of extension headers), and see if this self-resetting behavior can be prevented.
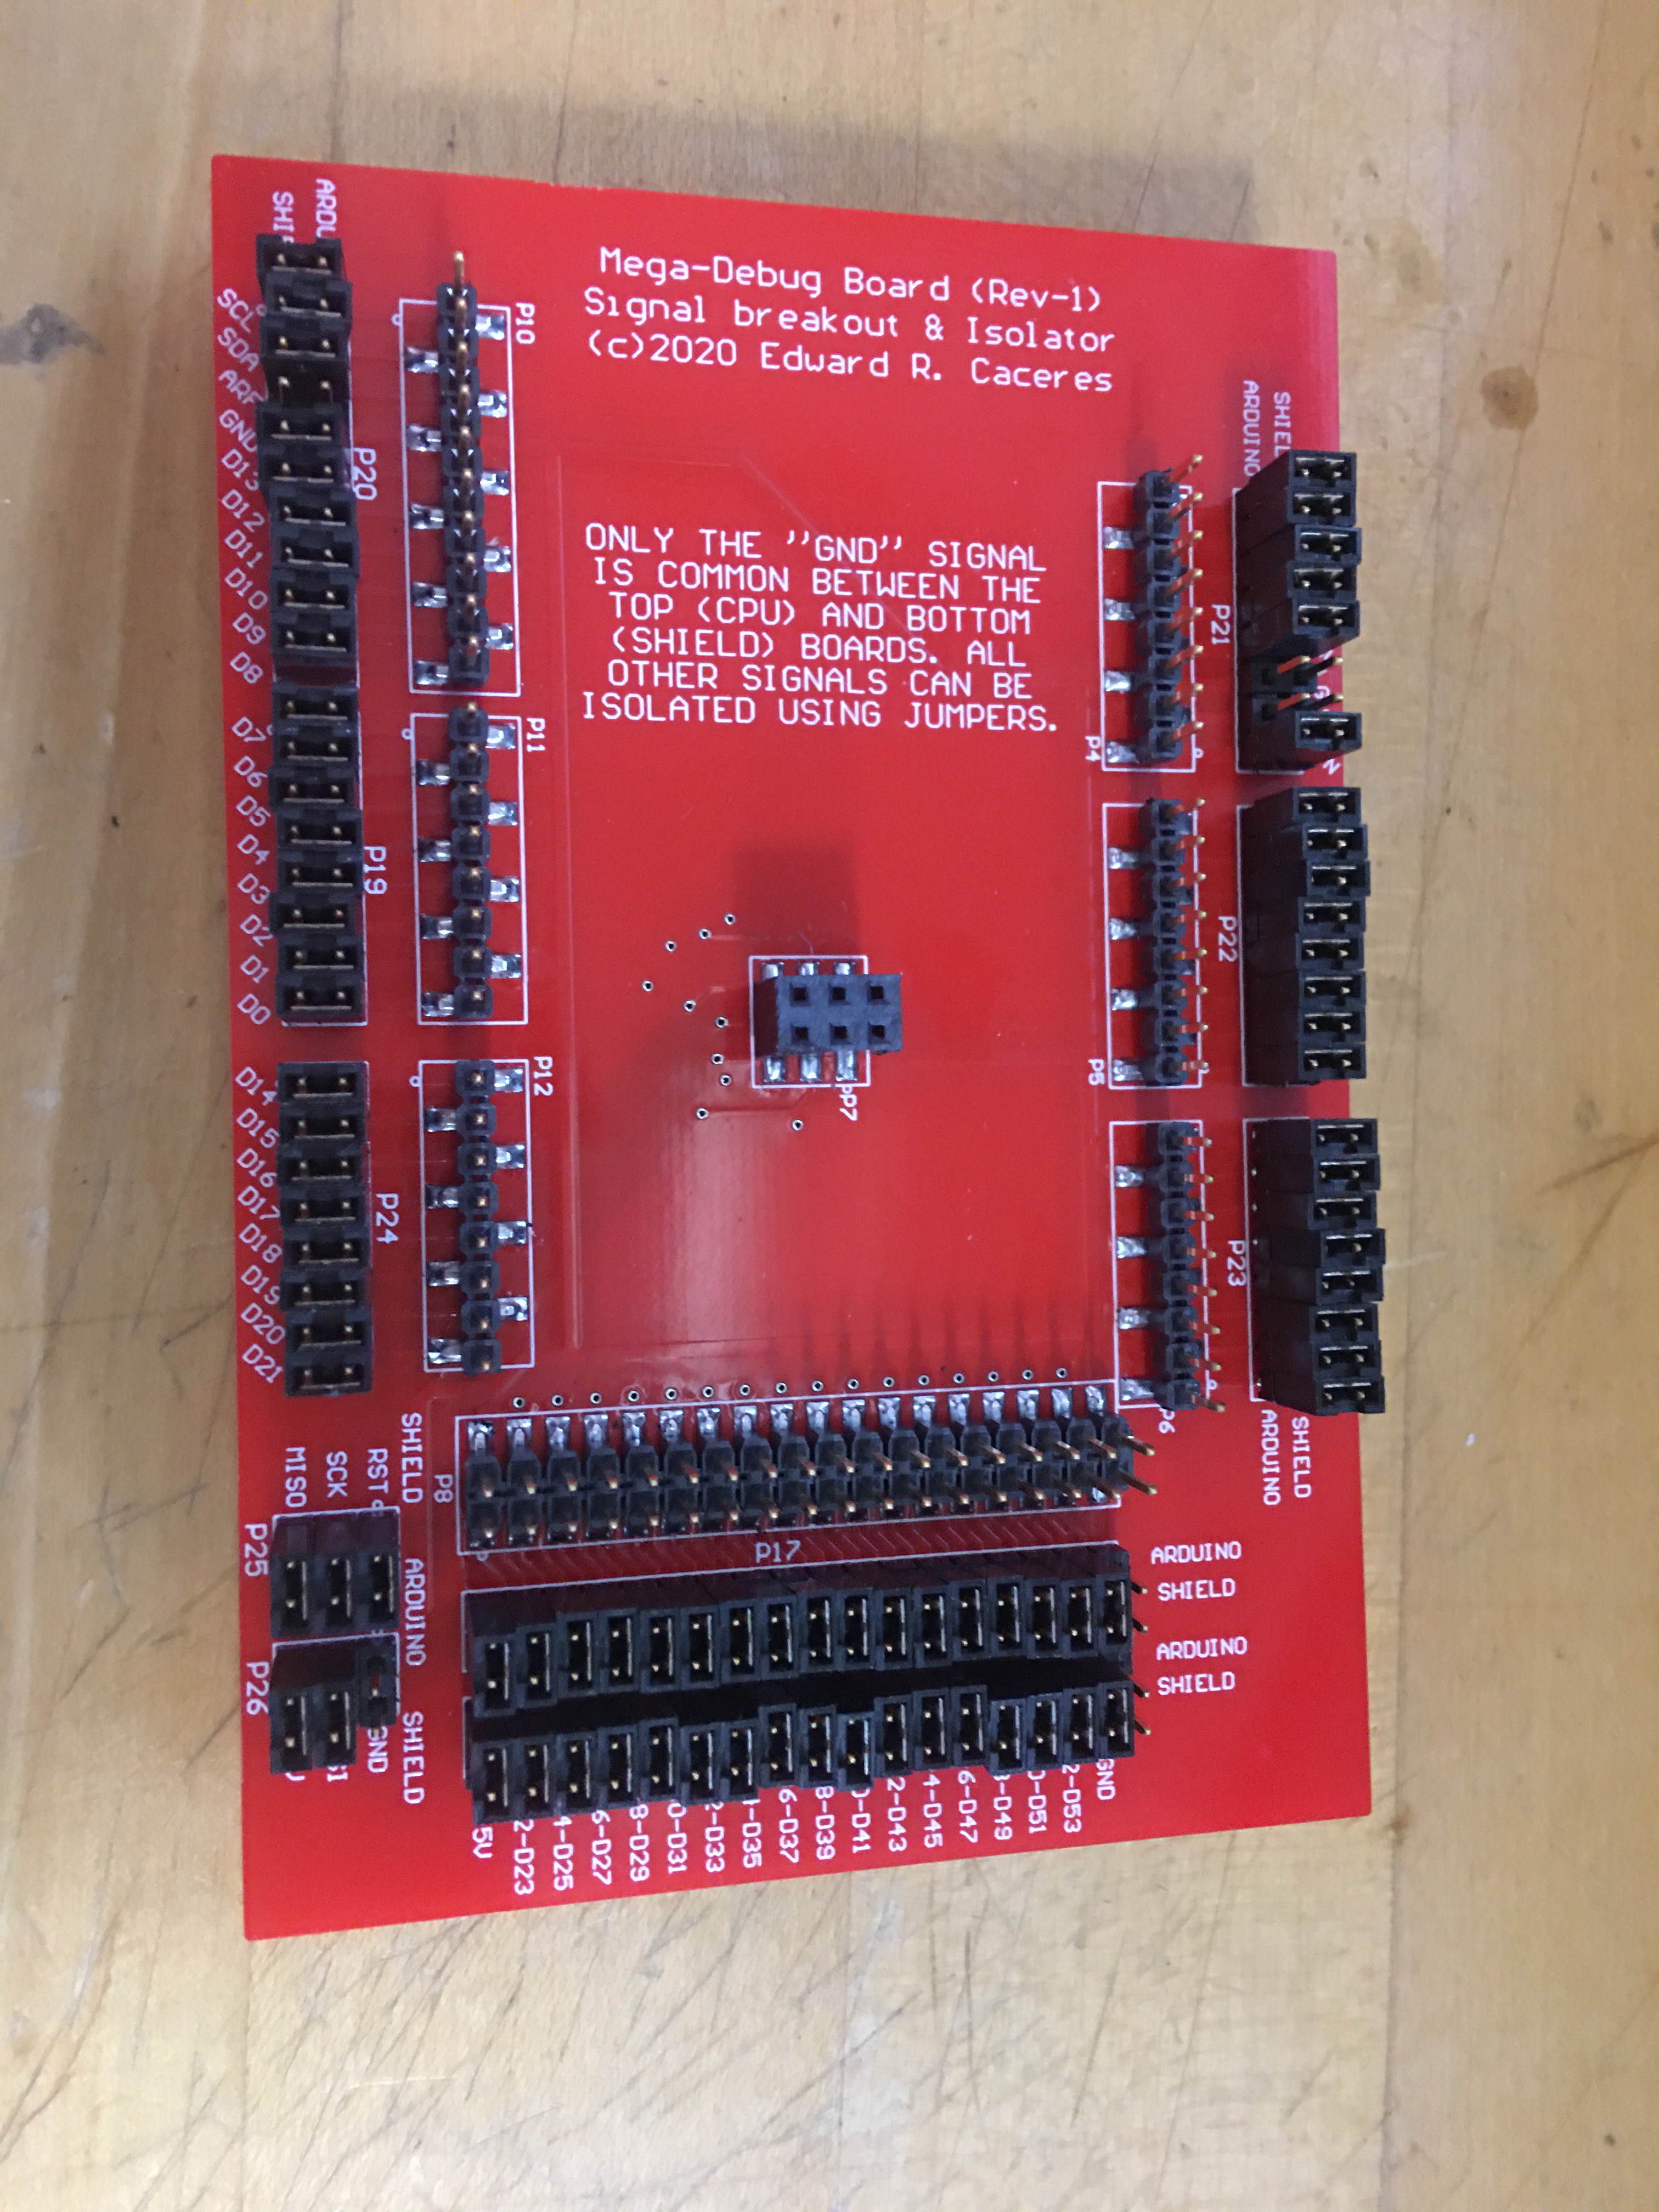
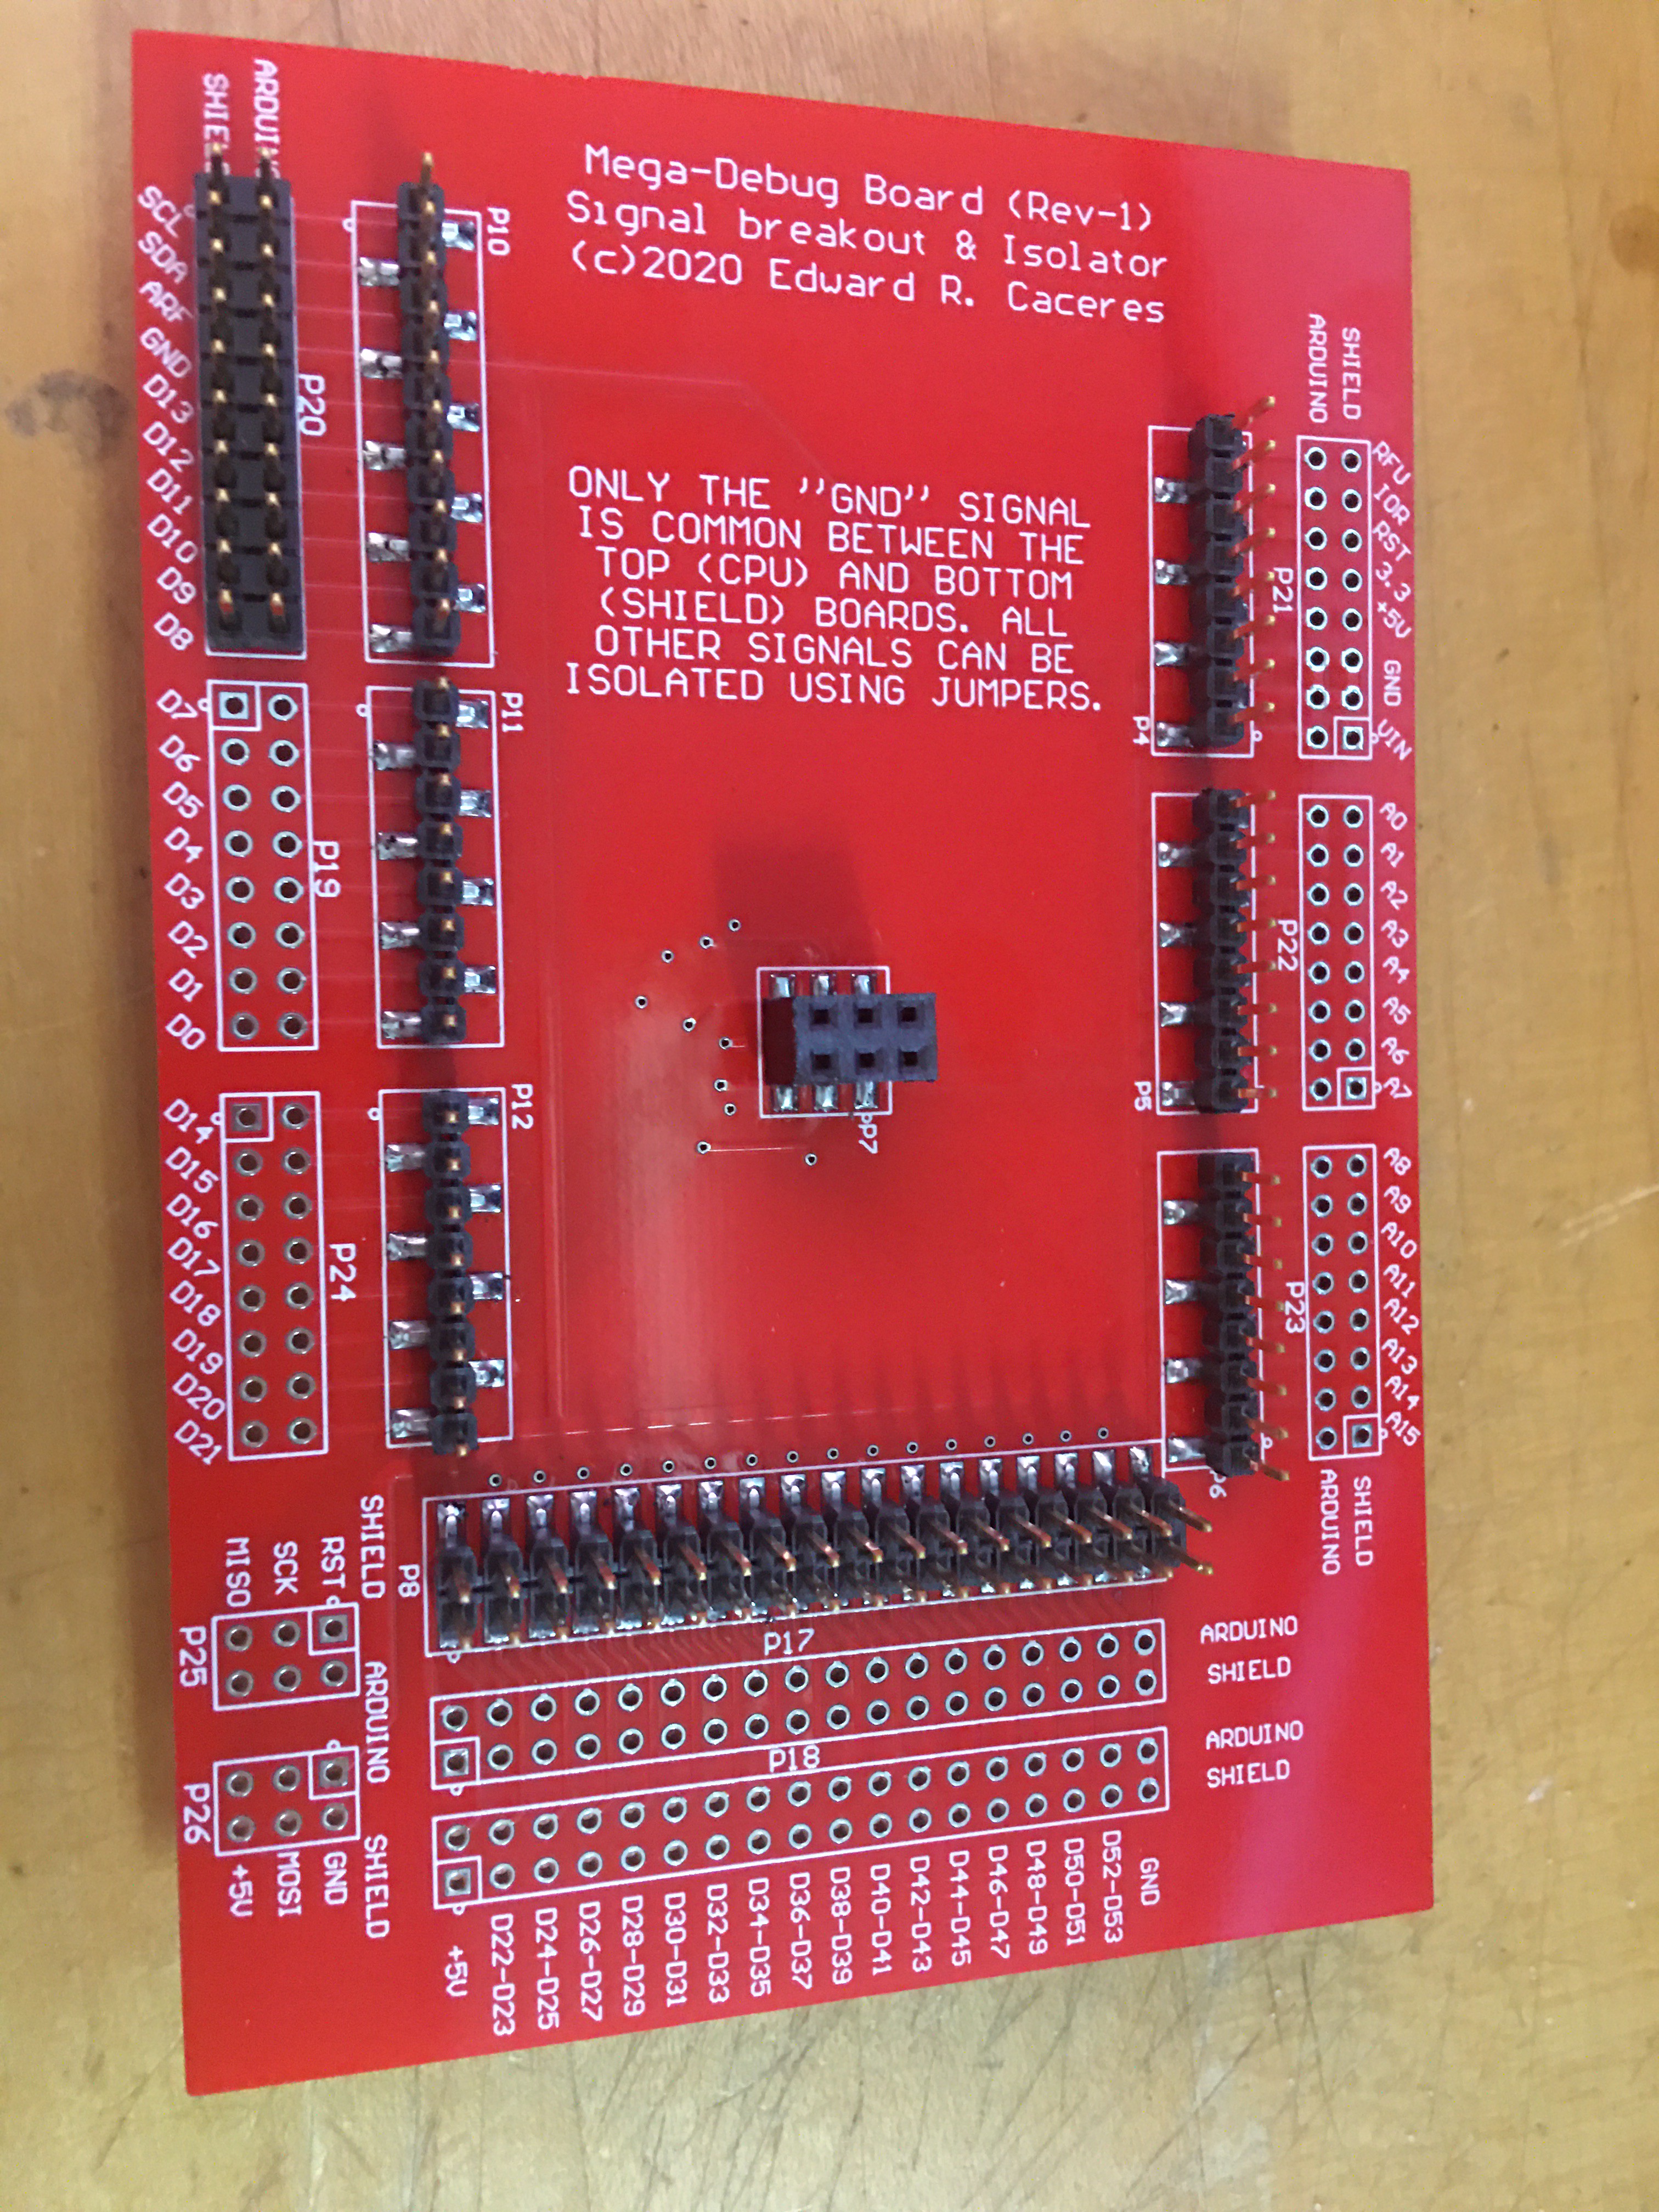
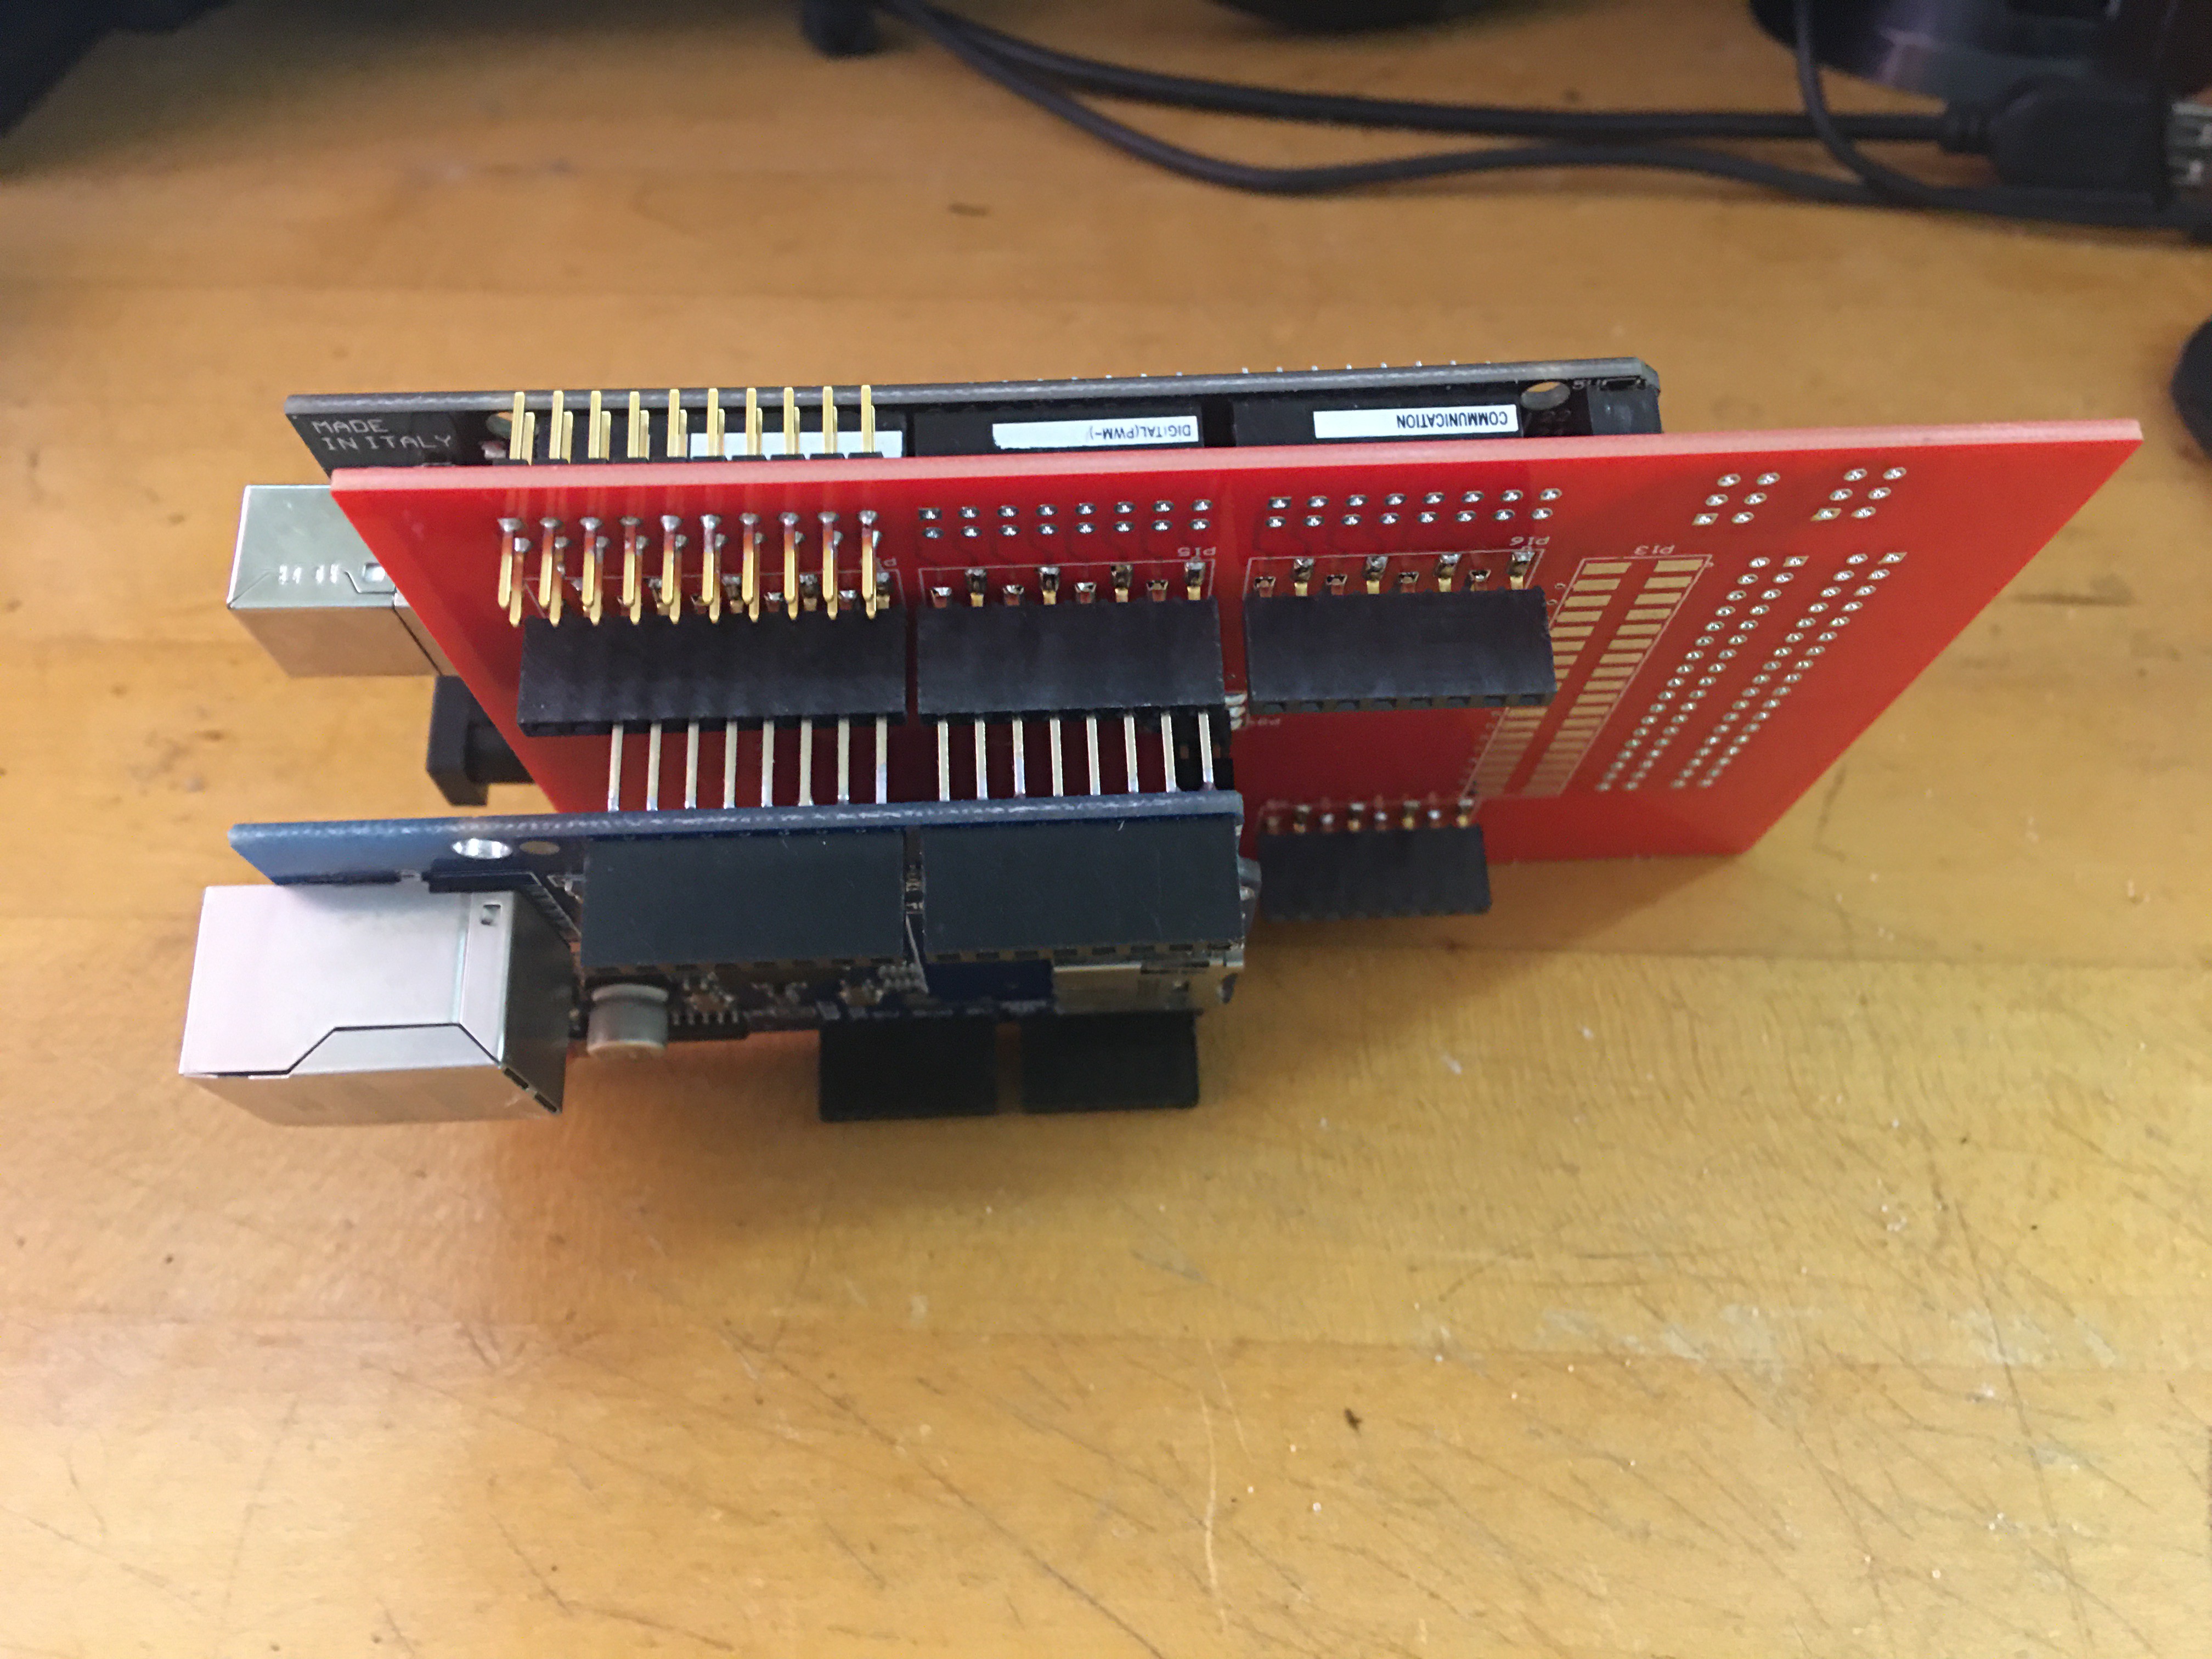
When using this MegaDebug interposer board:
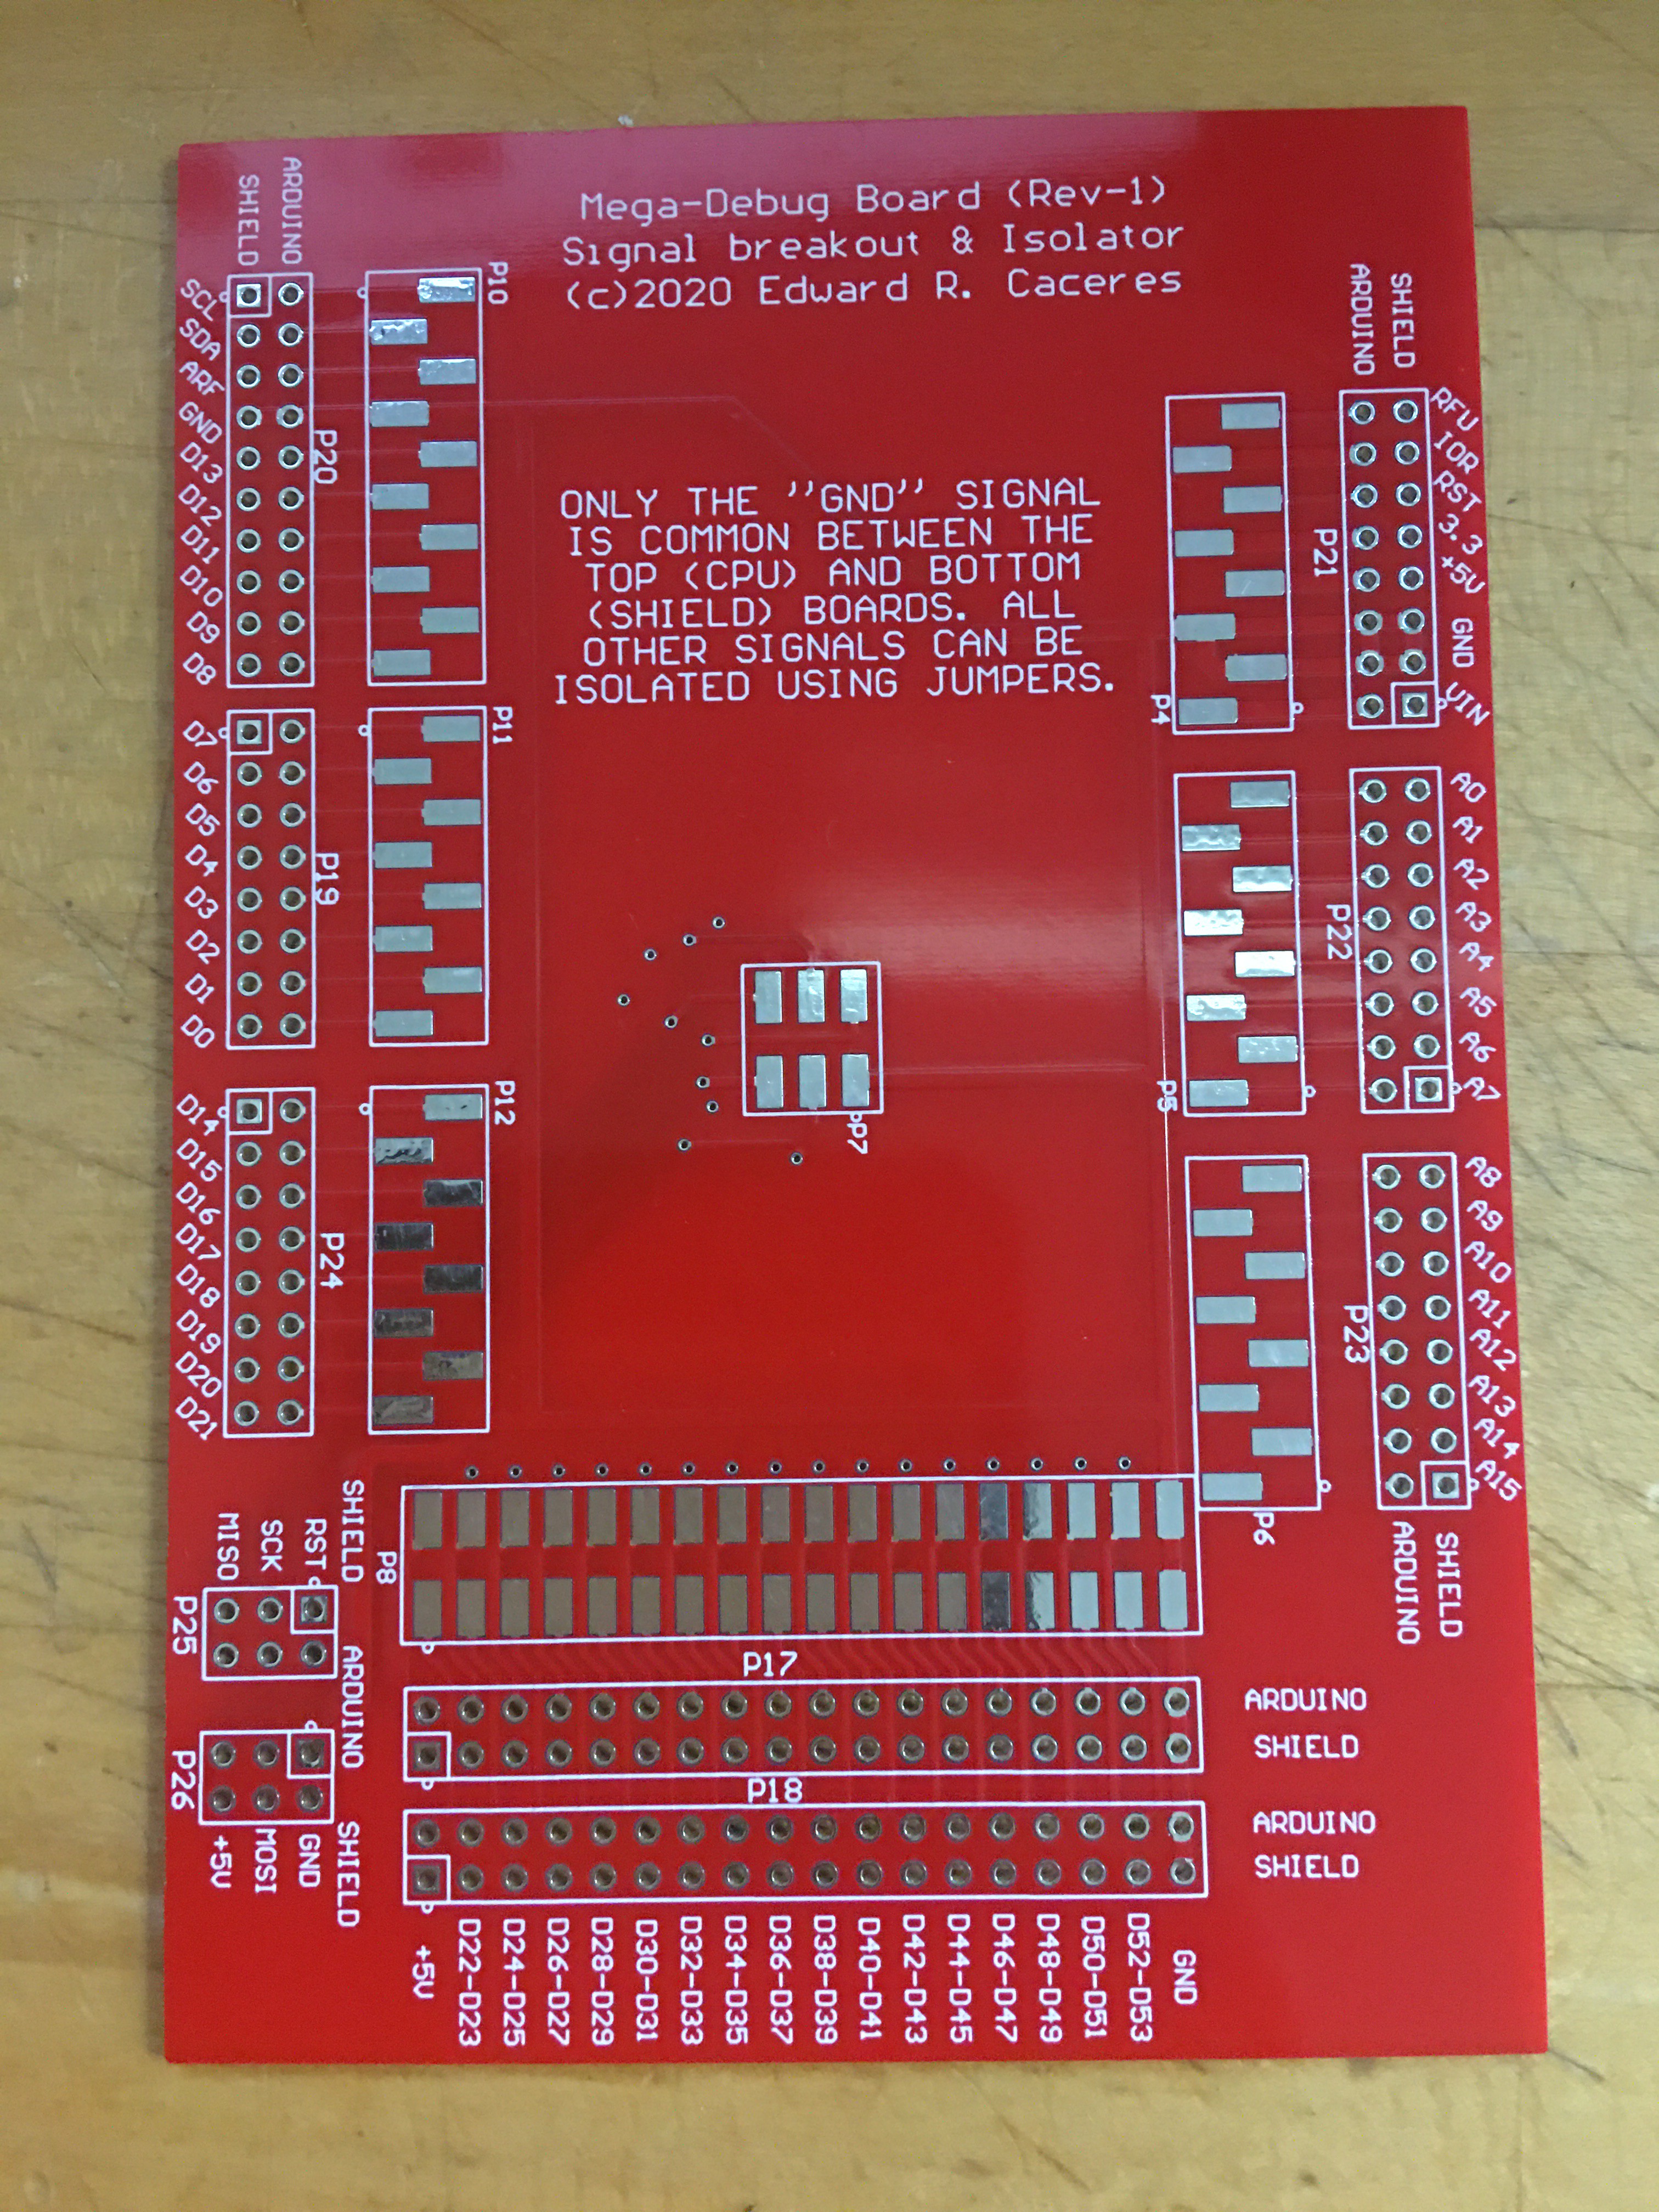
* Every Mega-2560 (or UNO, or compatible footprint) I/O pin can be disconnected, EXCEPT for Ground.
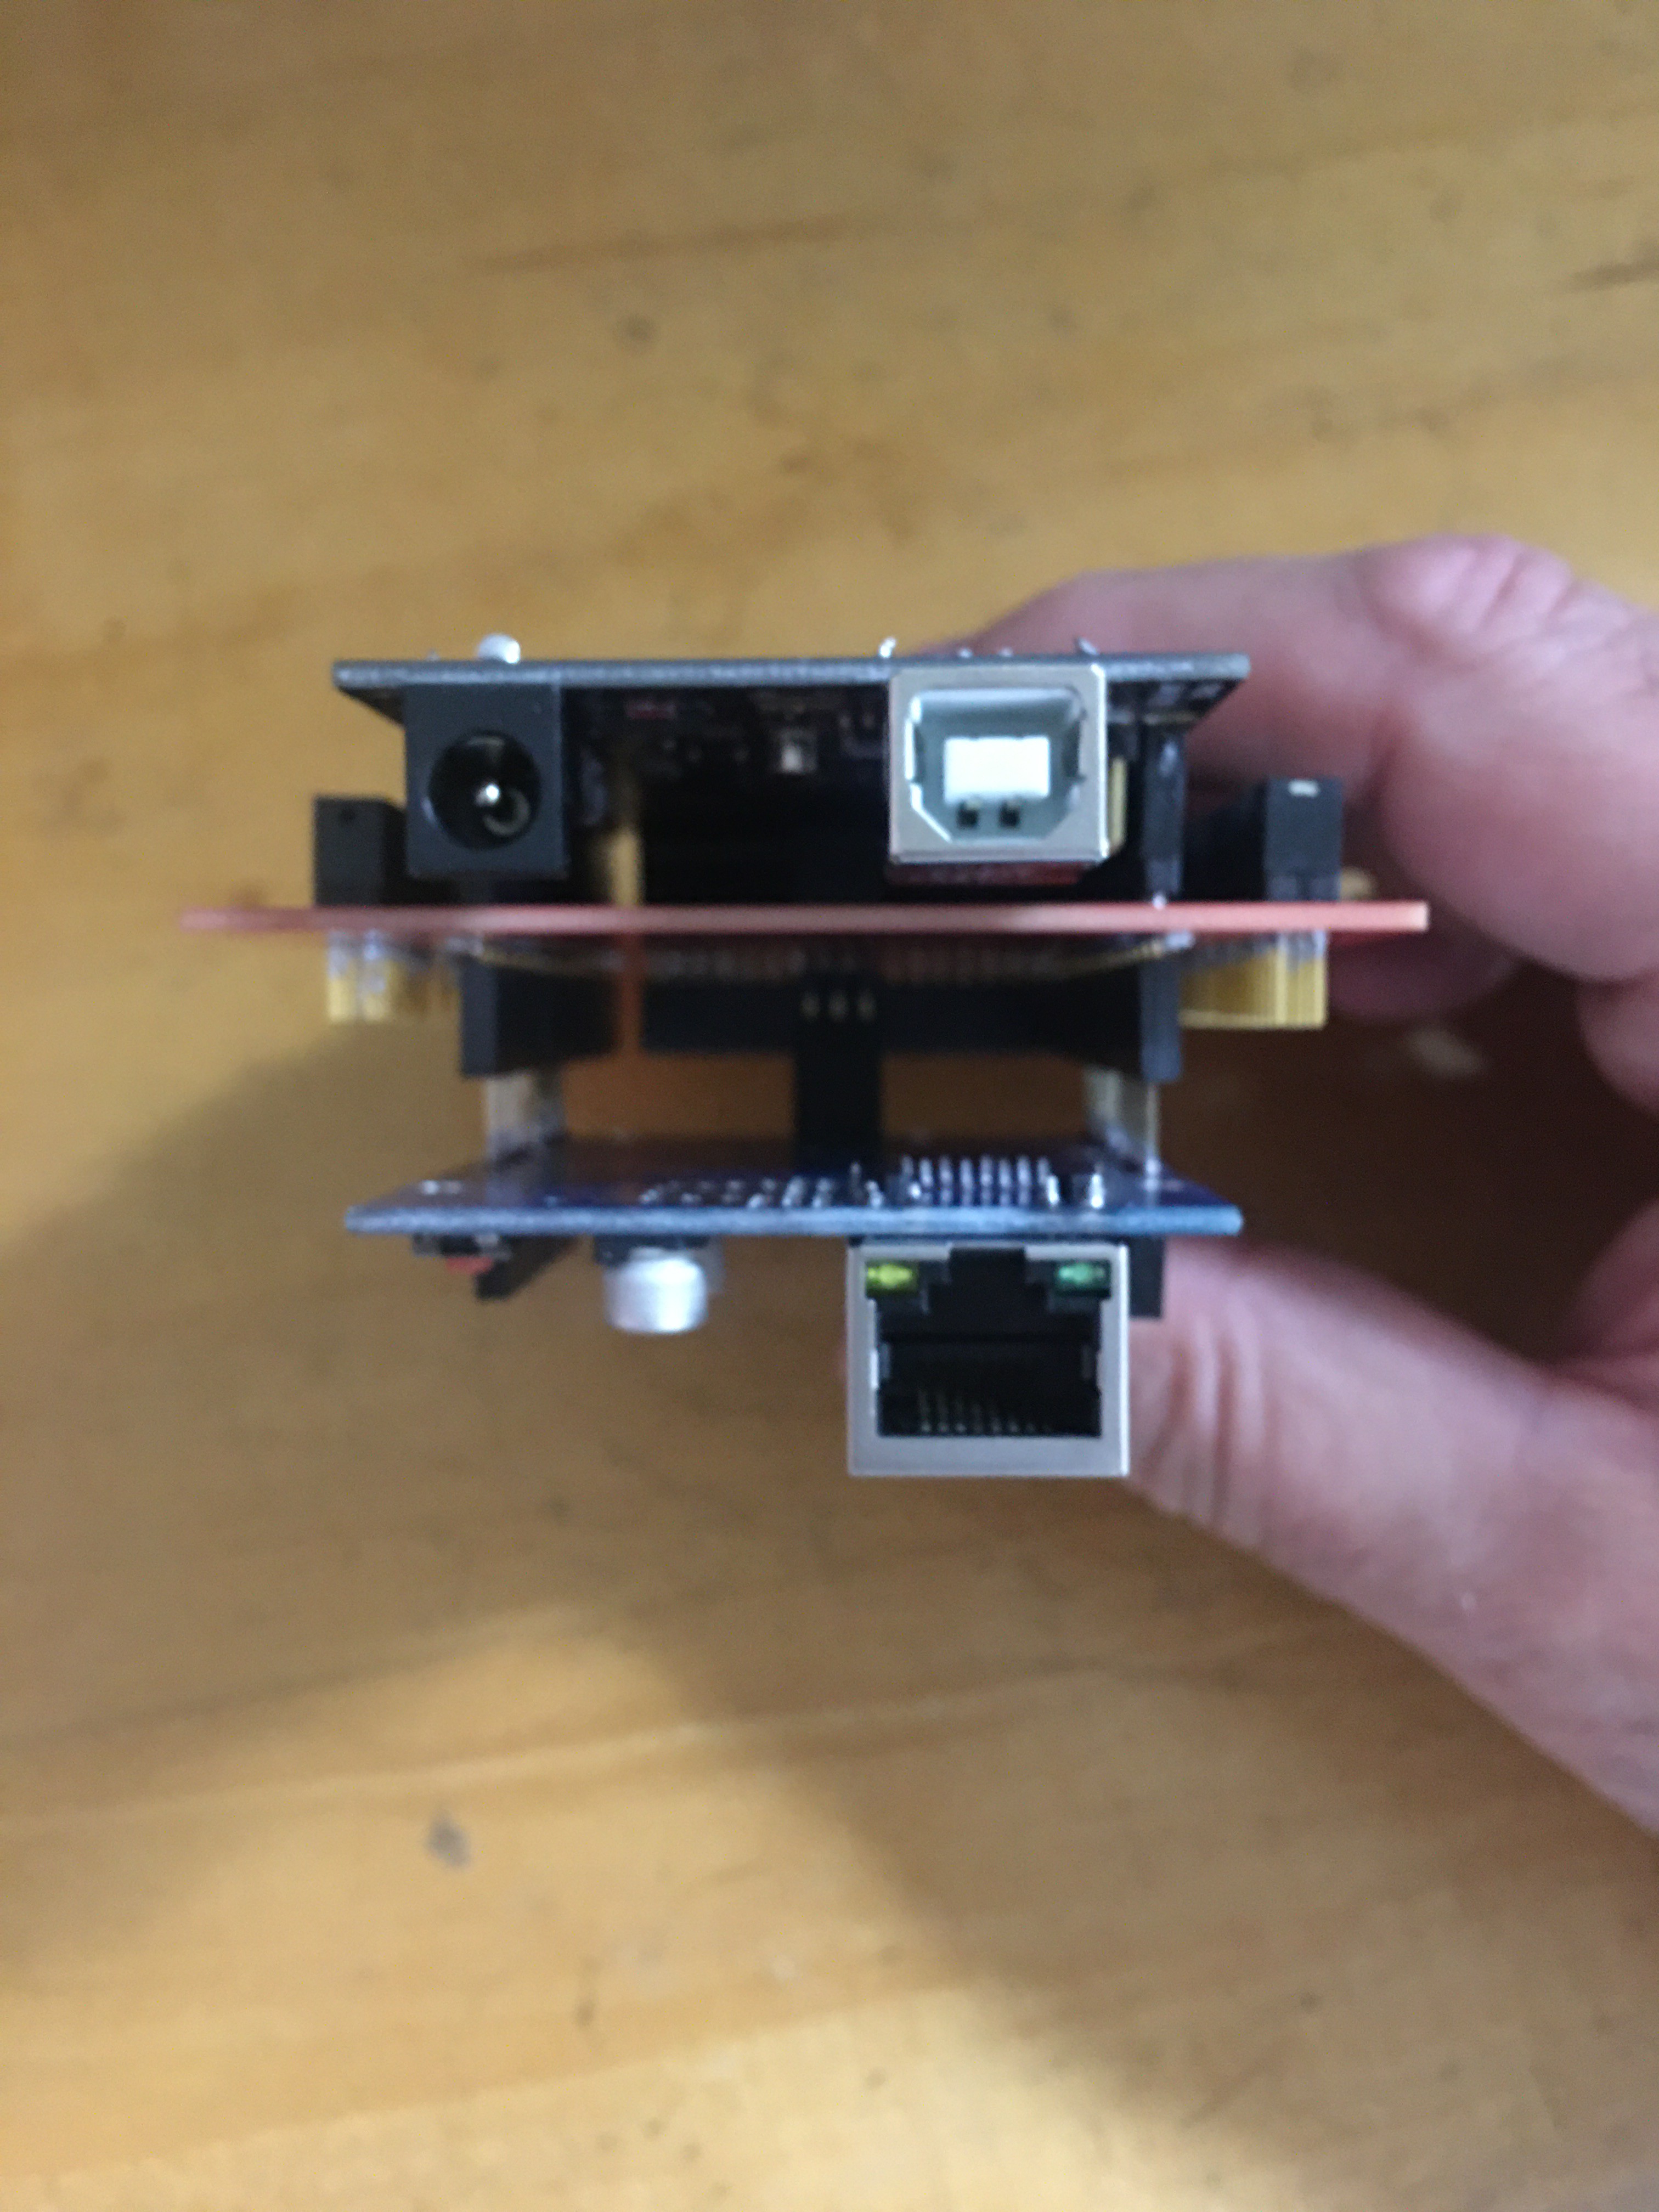
* Use standard shunts to make the "top" to "bottom" connections.
* Remove one or more shunts to effectively isolate Arduino I/O signals.
* Depending on your project's physical packaging, you may want to use the shorting-jumpers on one side or the other. Either will work. Wherever you don't have a jumper installed - is where you can now attach a probe wire.
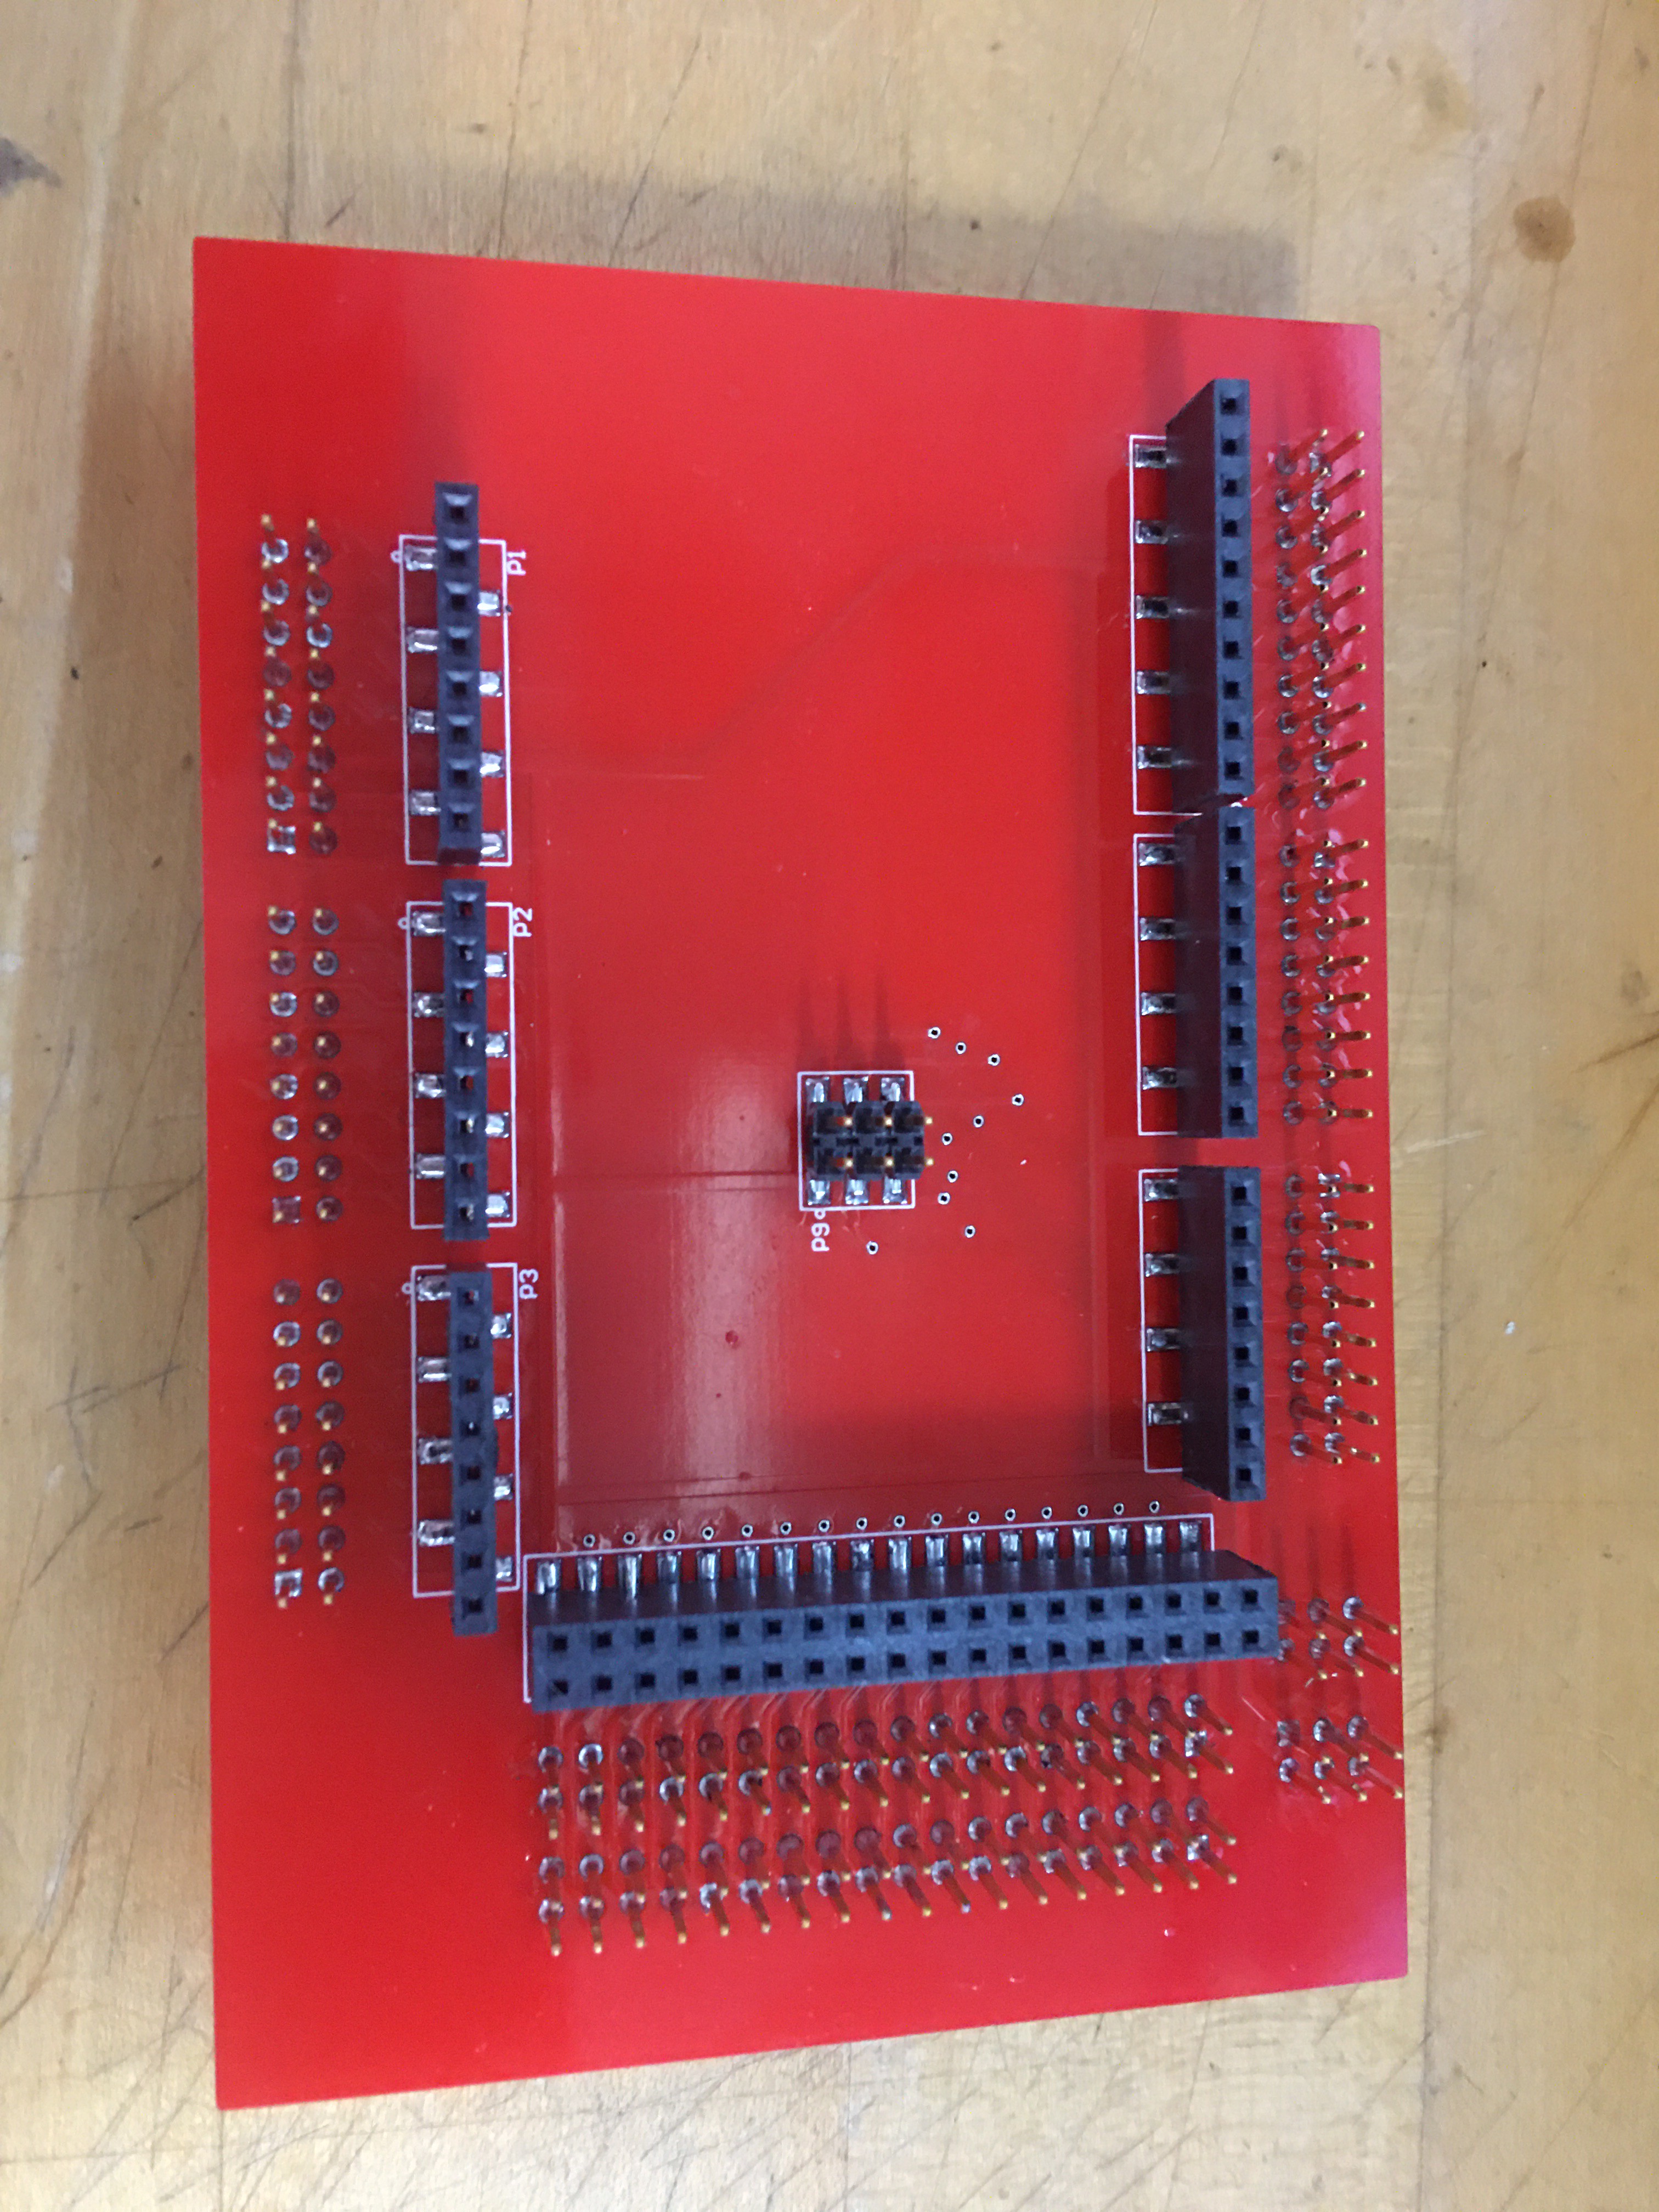
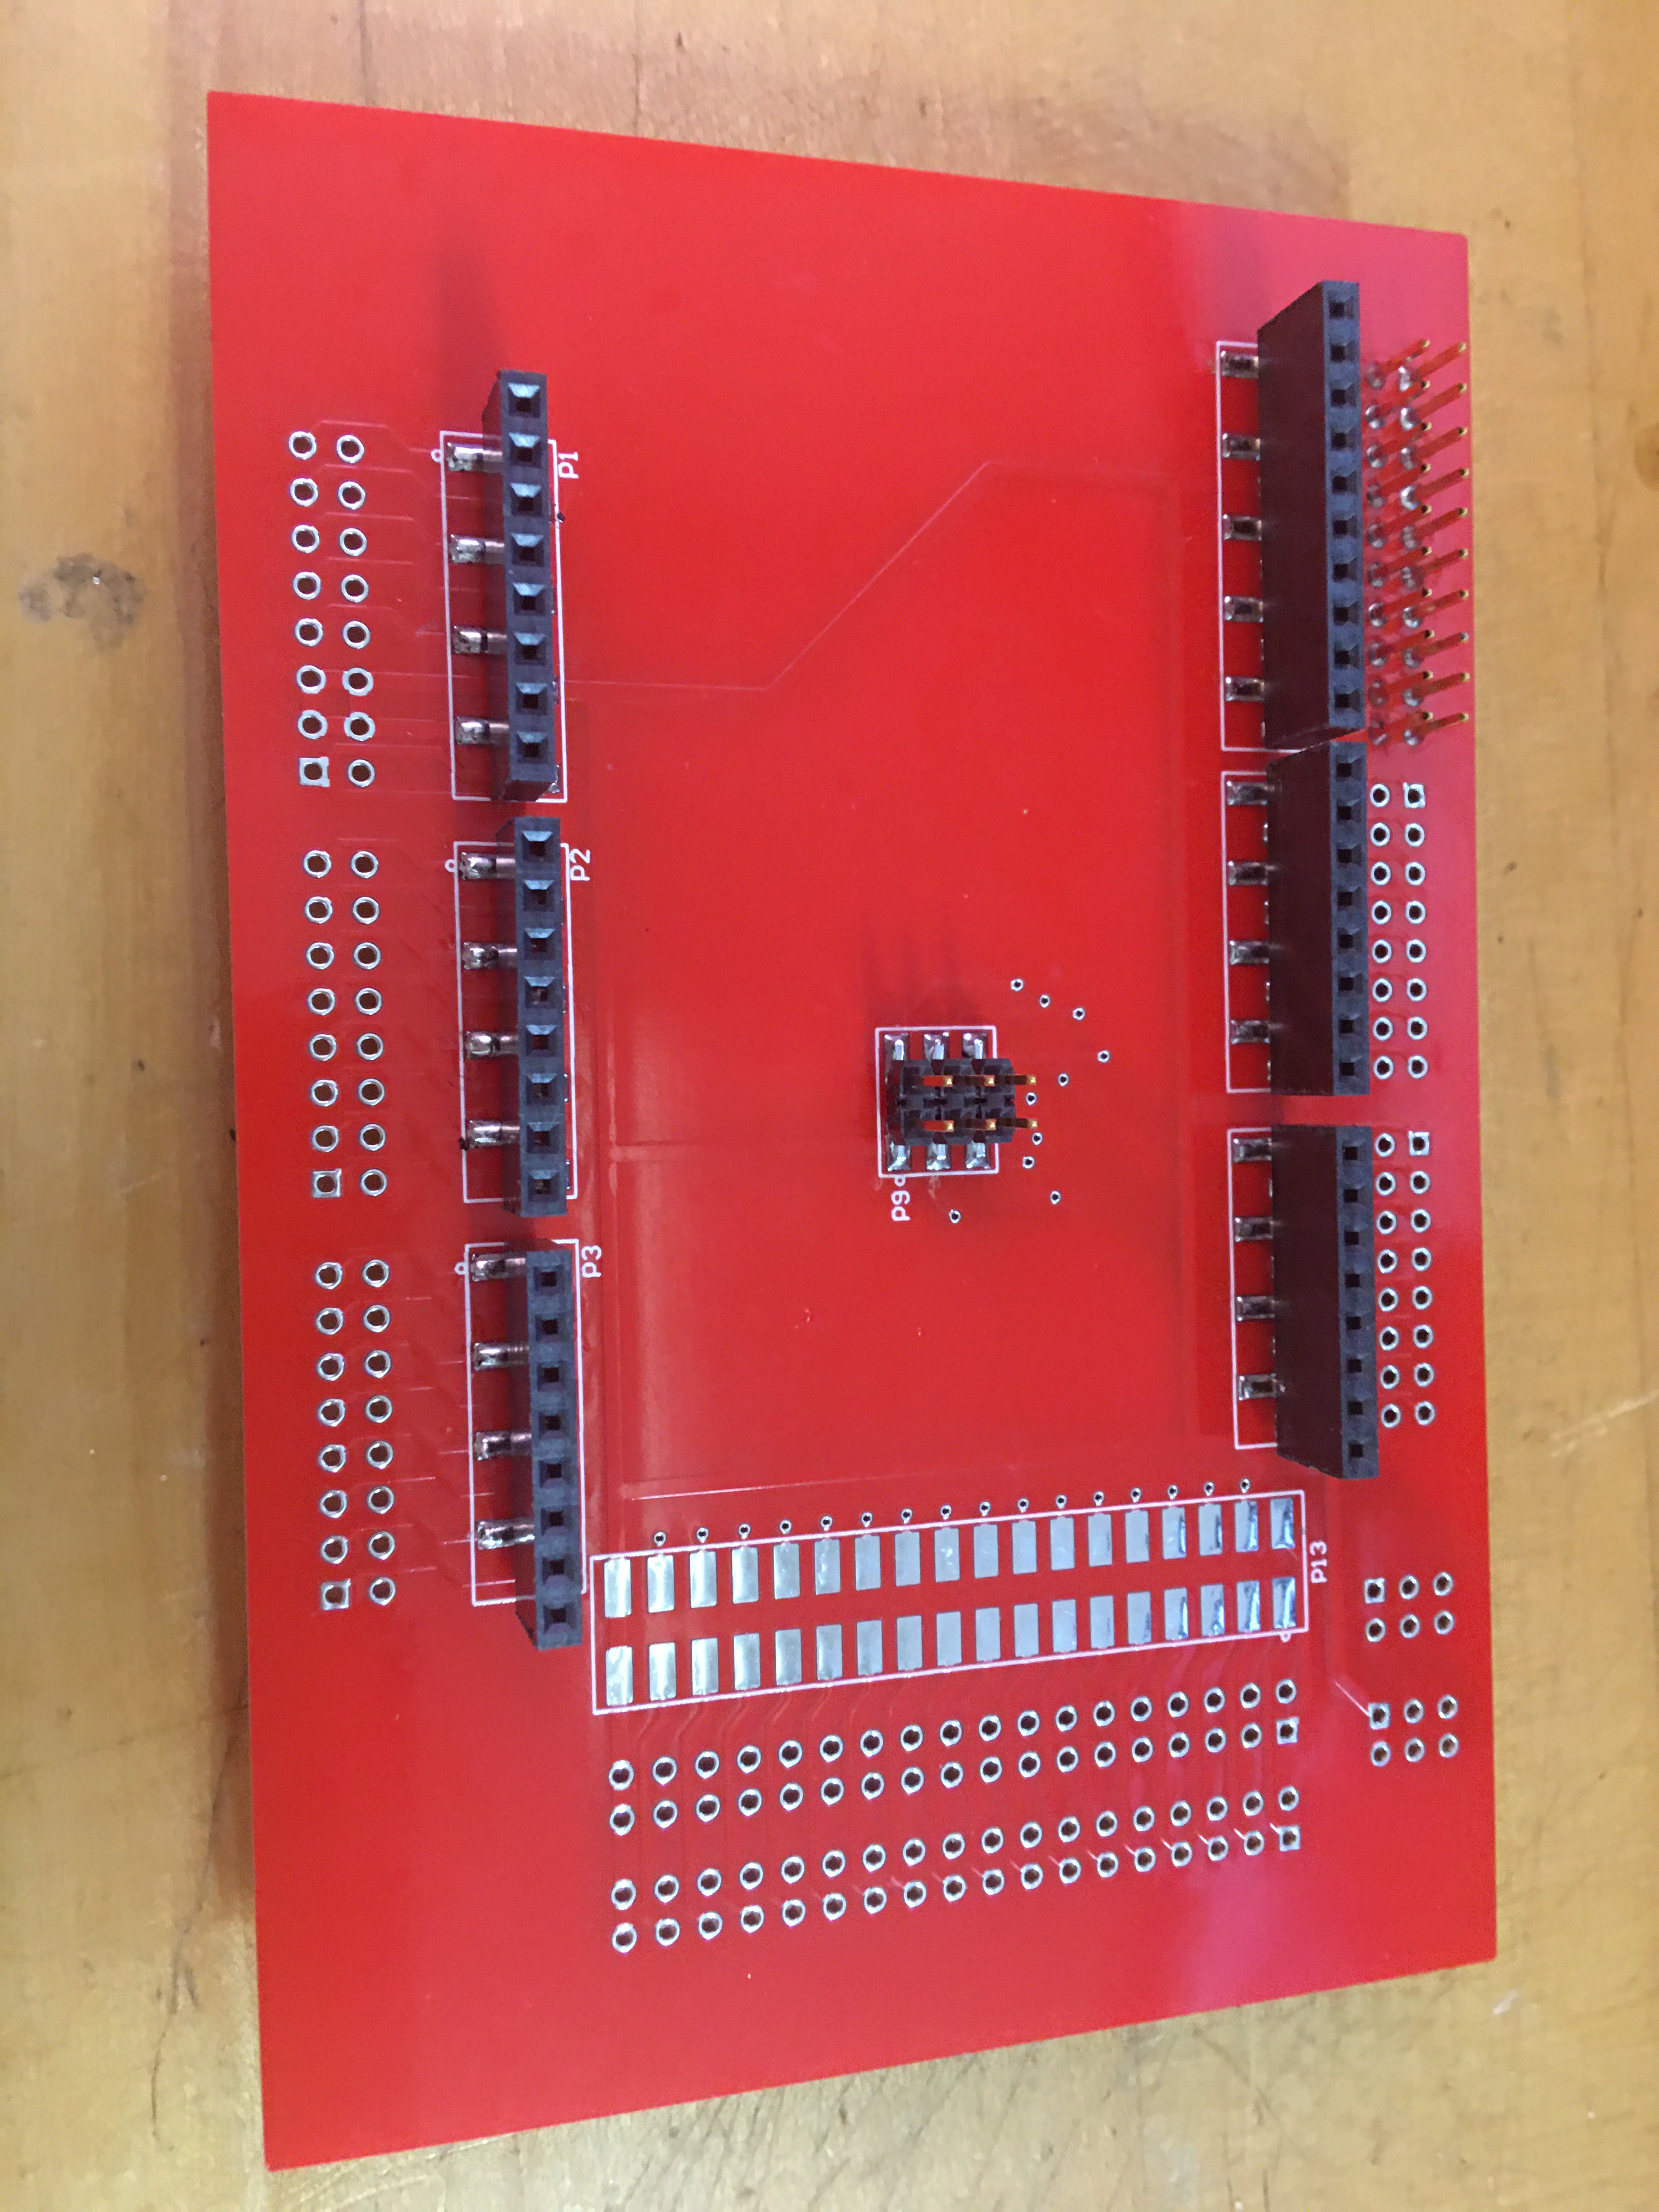
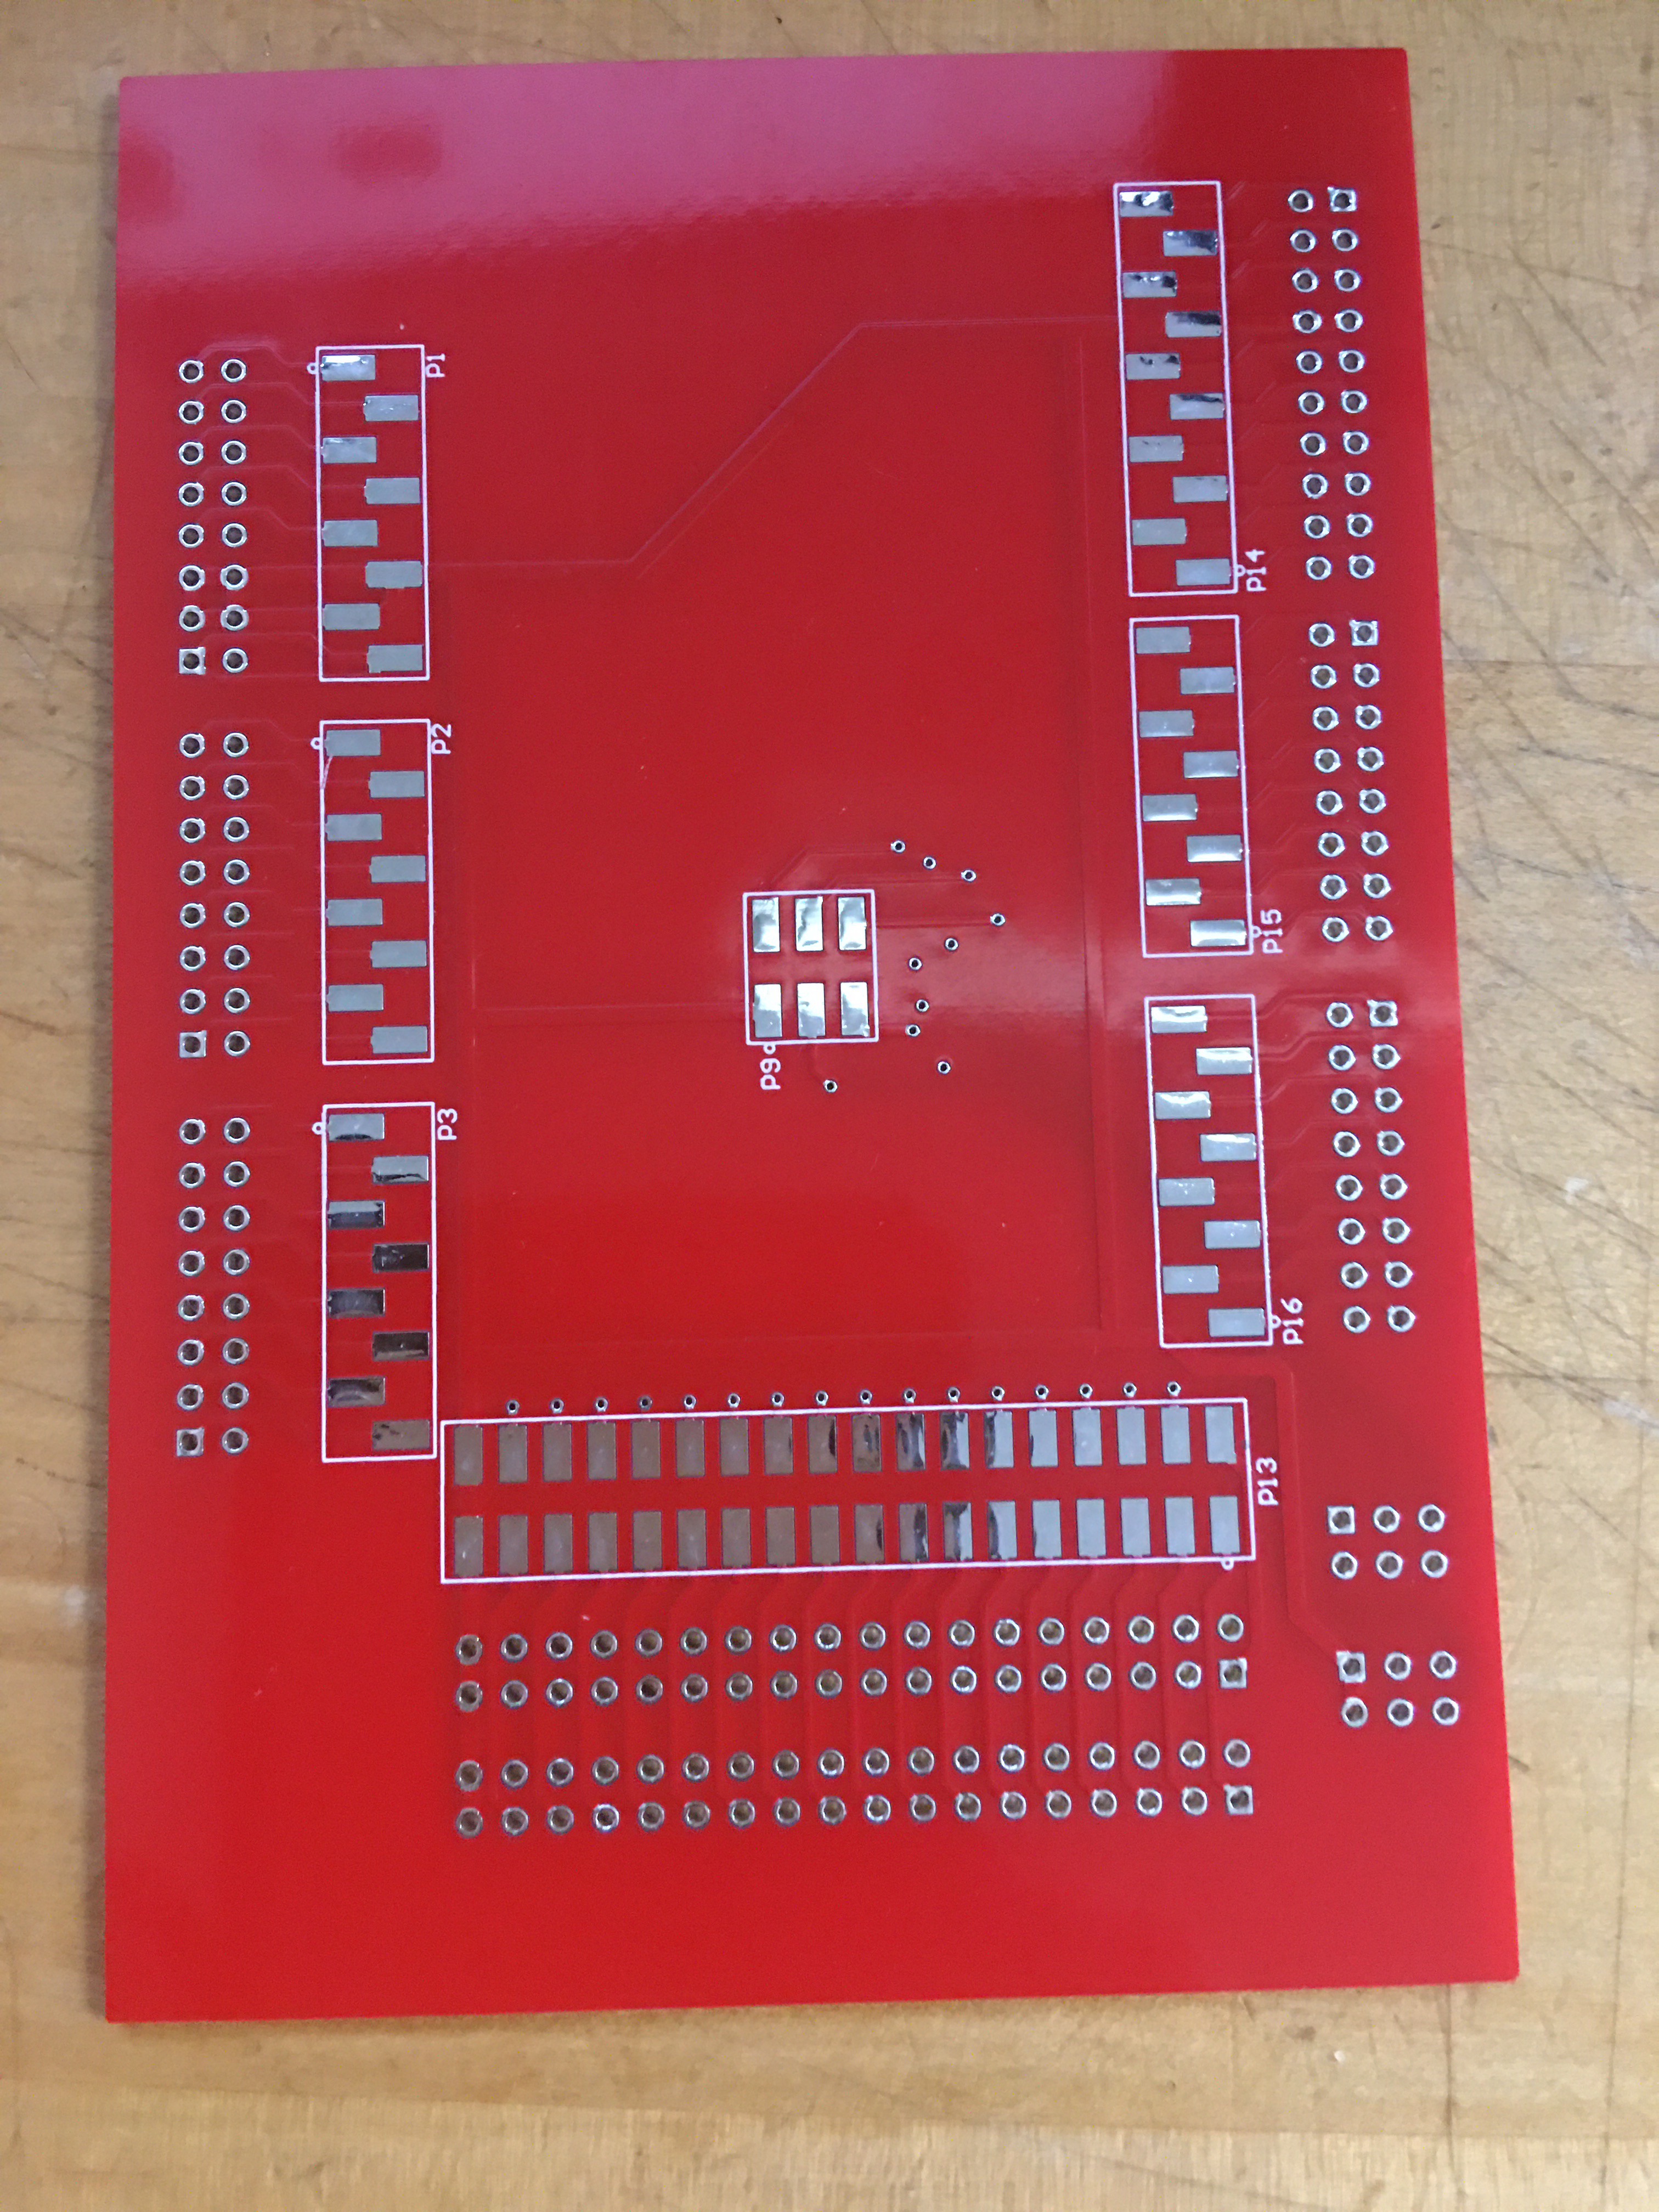
* This is a 4-layer board! Due to the density of signals at the 36-pin header area, getting everything routed as short and direct as possible meant a 4-layer scheme was preferable.
* Other than header connectors - there are no other active or passive components on this board. It should introduce no "problems" or "cures" when using it. However, certainly it does introduce some additional PCB track-length to signals (mostly the SPI port), so you should take that into consideration of you're running very fast, very critical signals (especially the SPI port).
I plan to offer this up on Tindie. Not sure if it will be just a blank board, a parts-kit, or fully assembled. Stay tuned...

 Craig Hissett
 maehem
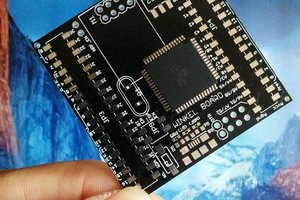
 Rishi
Rishi
 Arduino Enigma
Dang! Why didn't I think of this? Well done! 👍