Close
0%
0%

Playing with the Starbridge Lynx 210

A research project on a 3.74$ router I got from Goodwill

Public Chat
Similar projects worth following
A research project on the Starbirdge Lynx 210. I don't have much experience with embedded devices, and maybe starting out with a 15 year old router is not the best way to get introduced to the topic, but it sure is fun!

I was shopping through a local Goodwill, not looking for anything in particular, I just saw one that I hadn't visit before and decided that today was as good of a day as any to give it a visit. I didn't found much, just a bunch of clothes, VHS tapes and tabletop games. But on my way to the electronics section I saw and old router for around four dollars, and I decided to pick it up just to see what I could do with it.

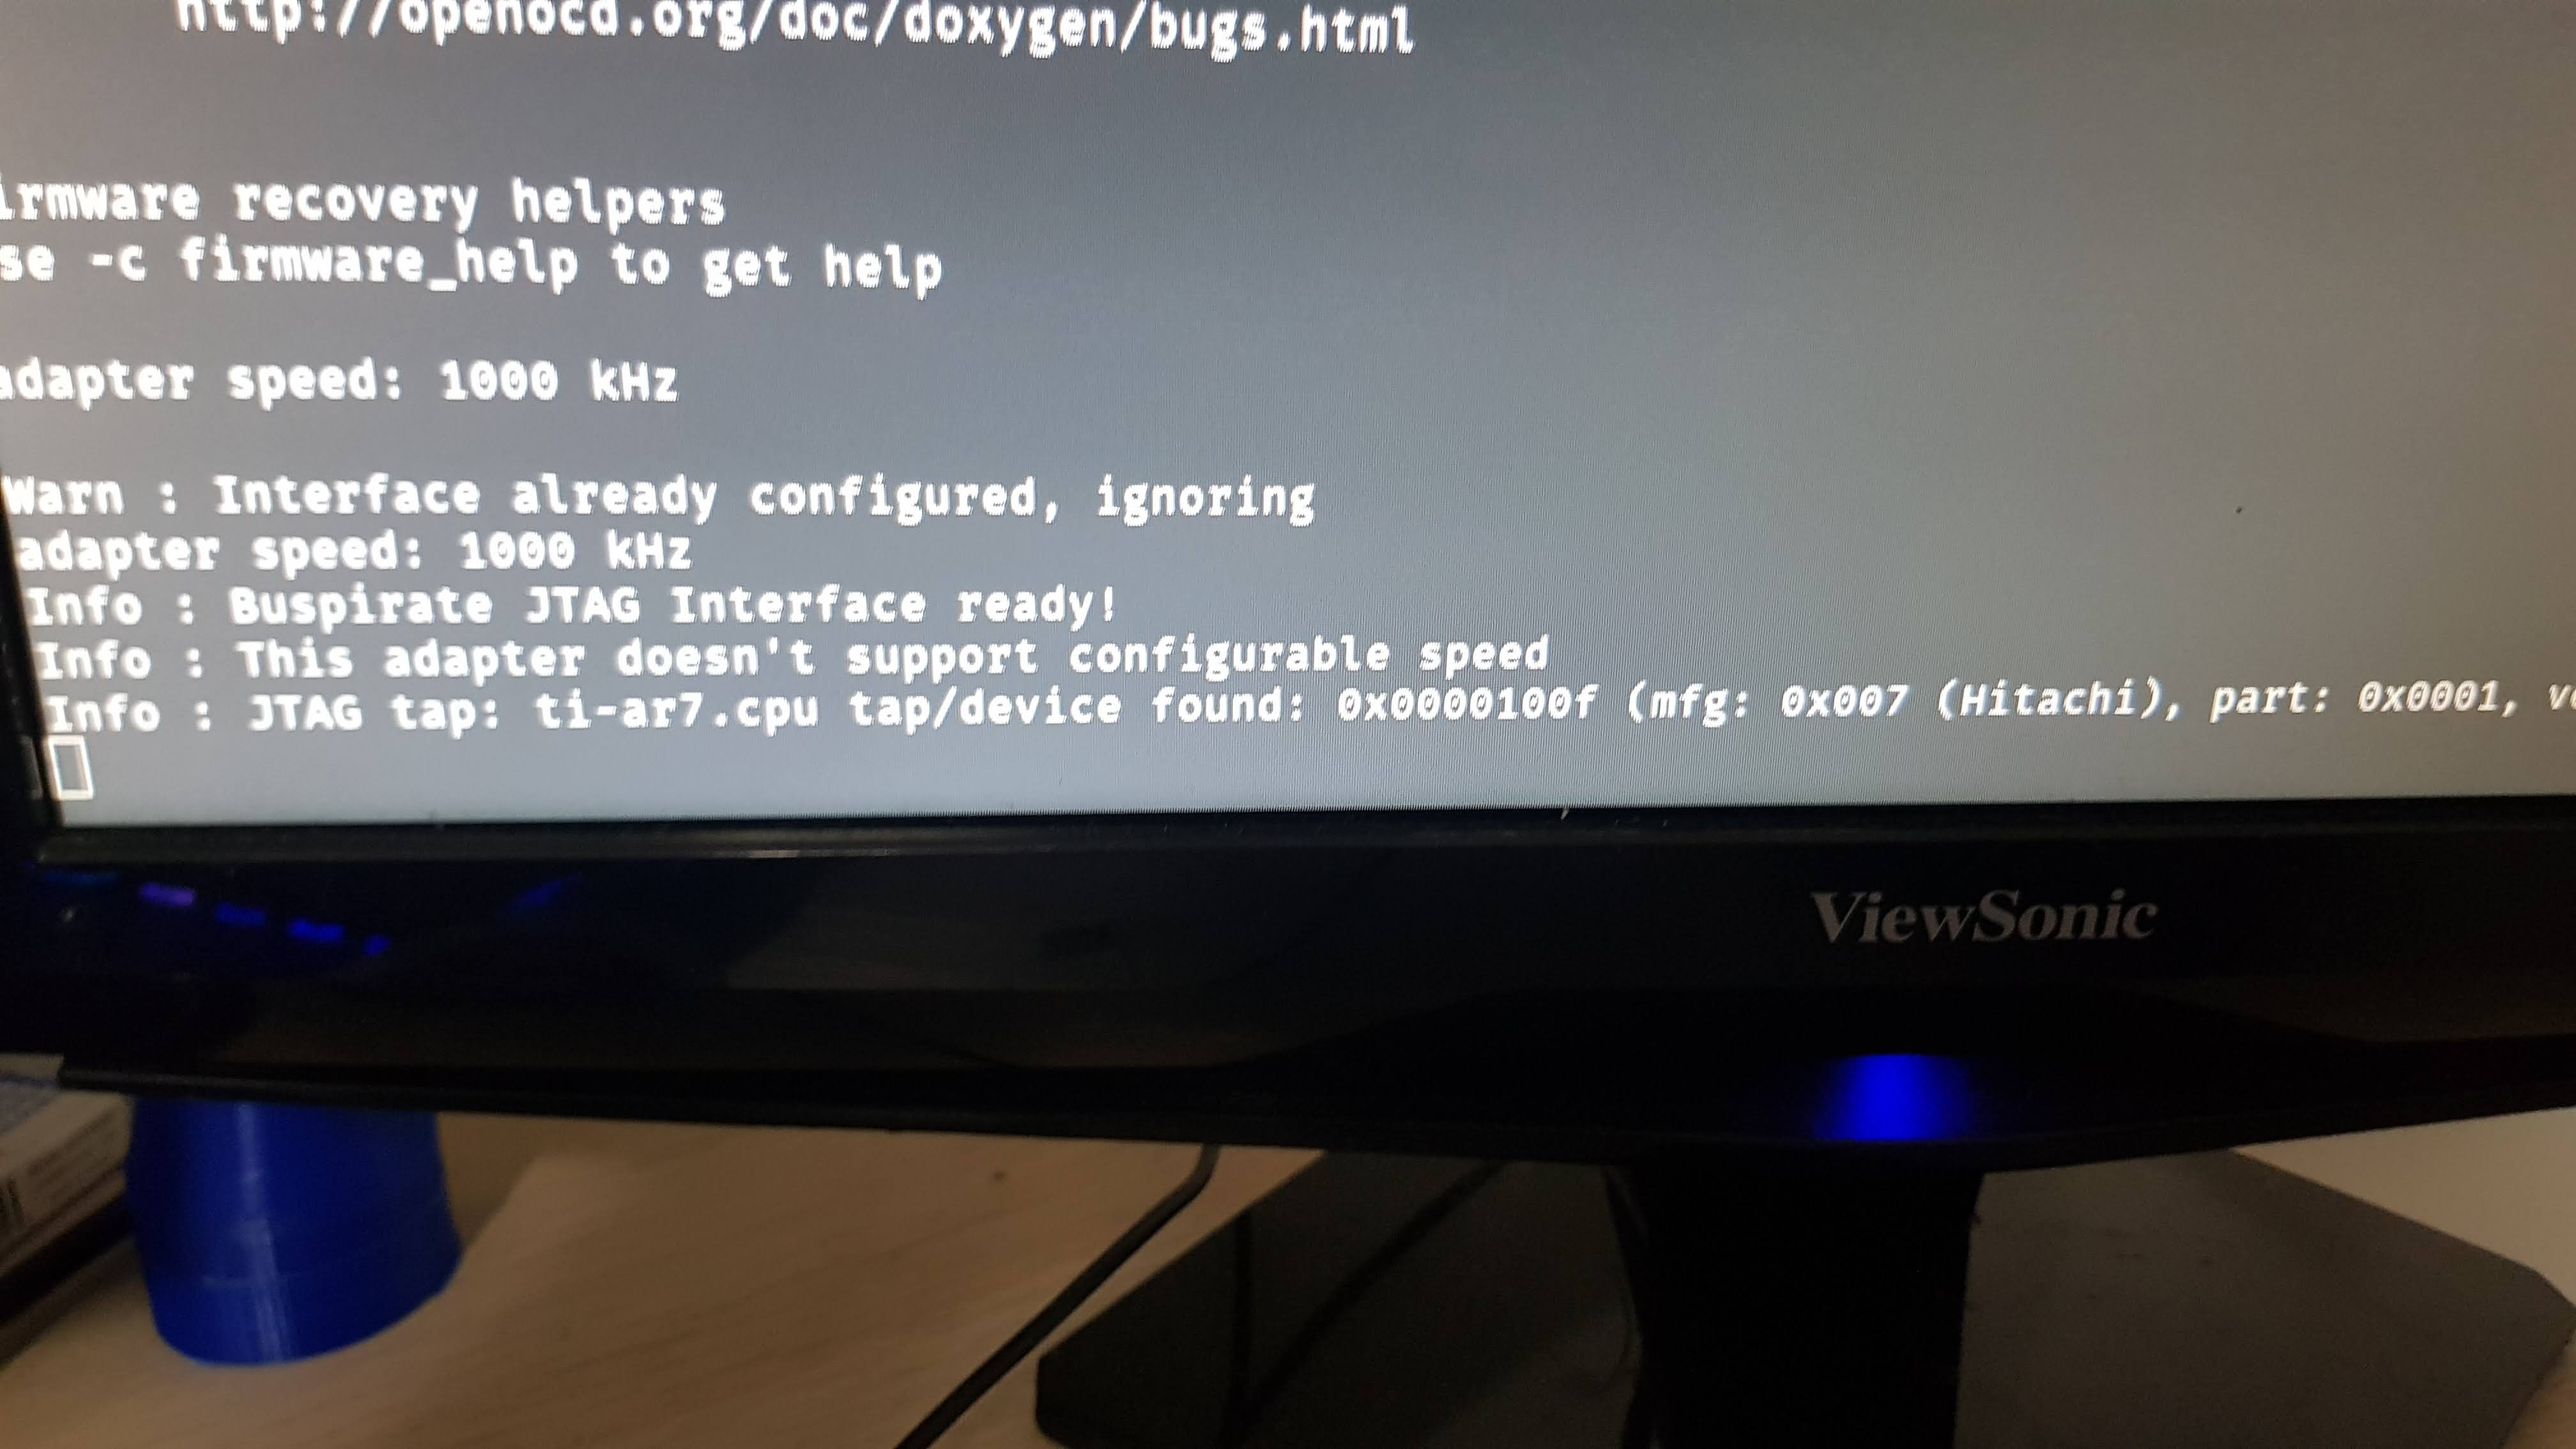
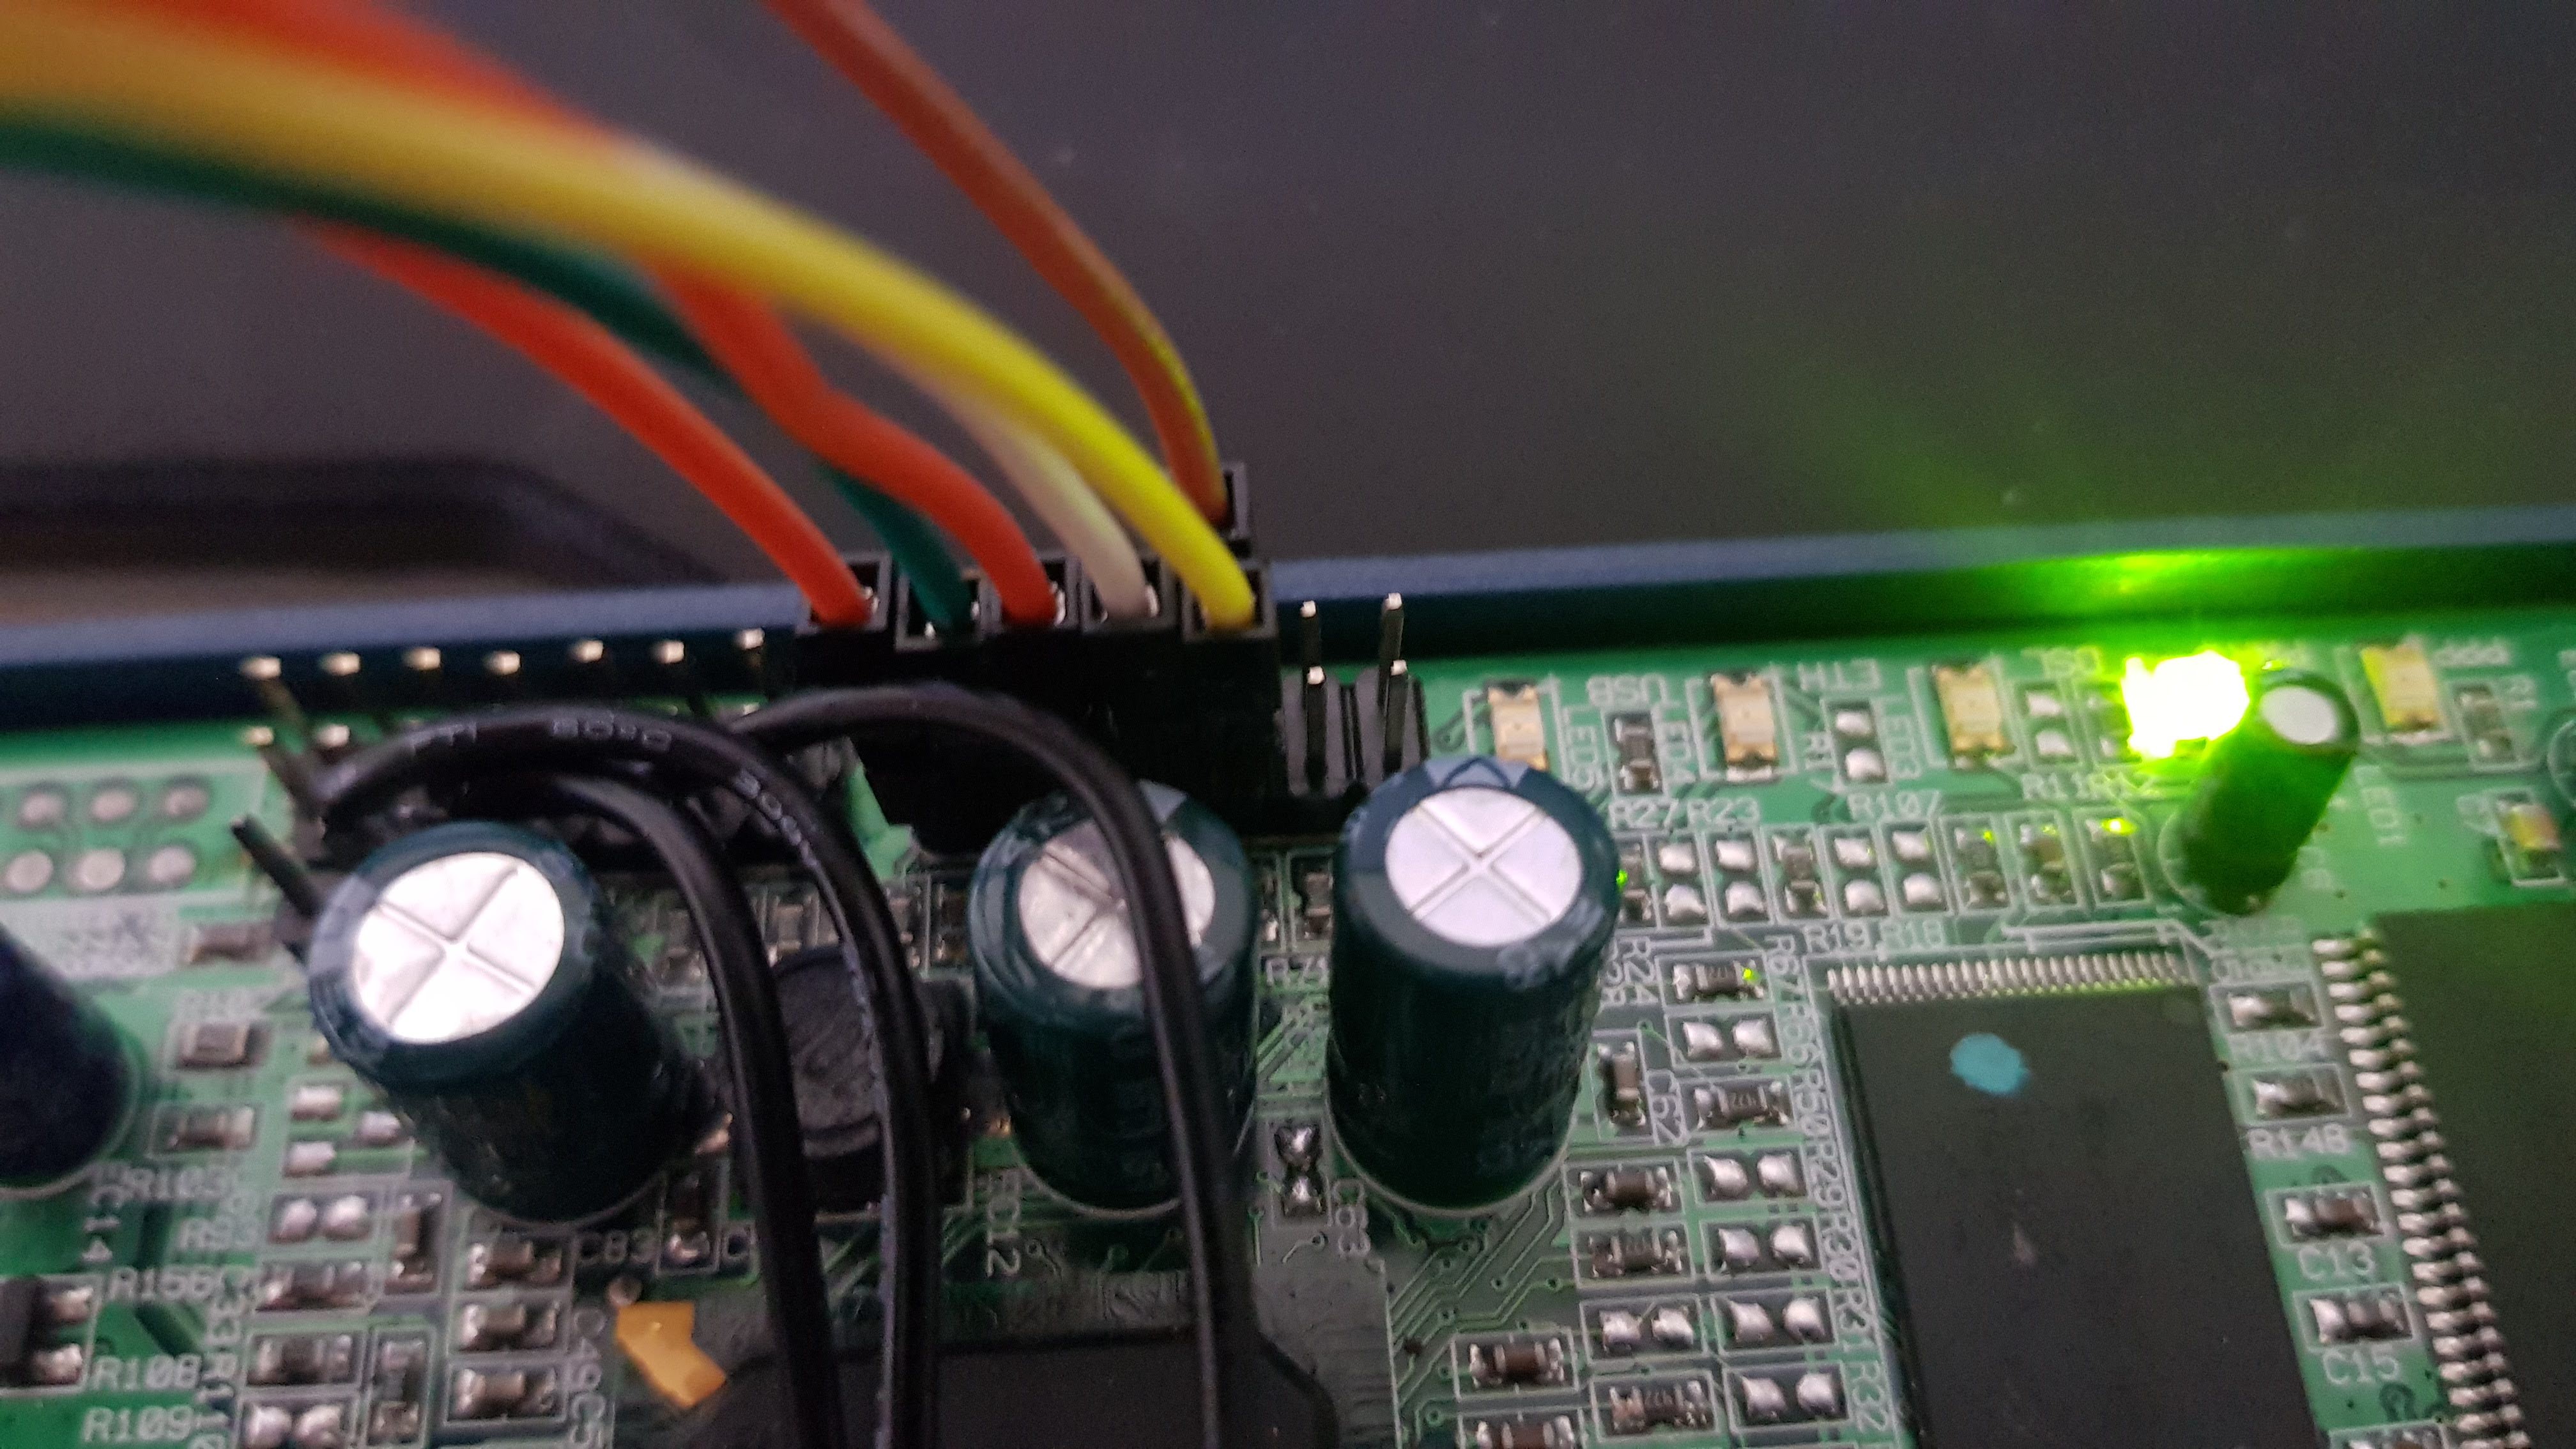
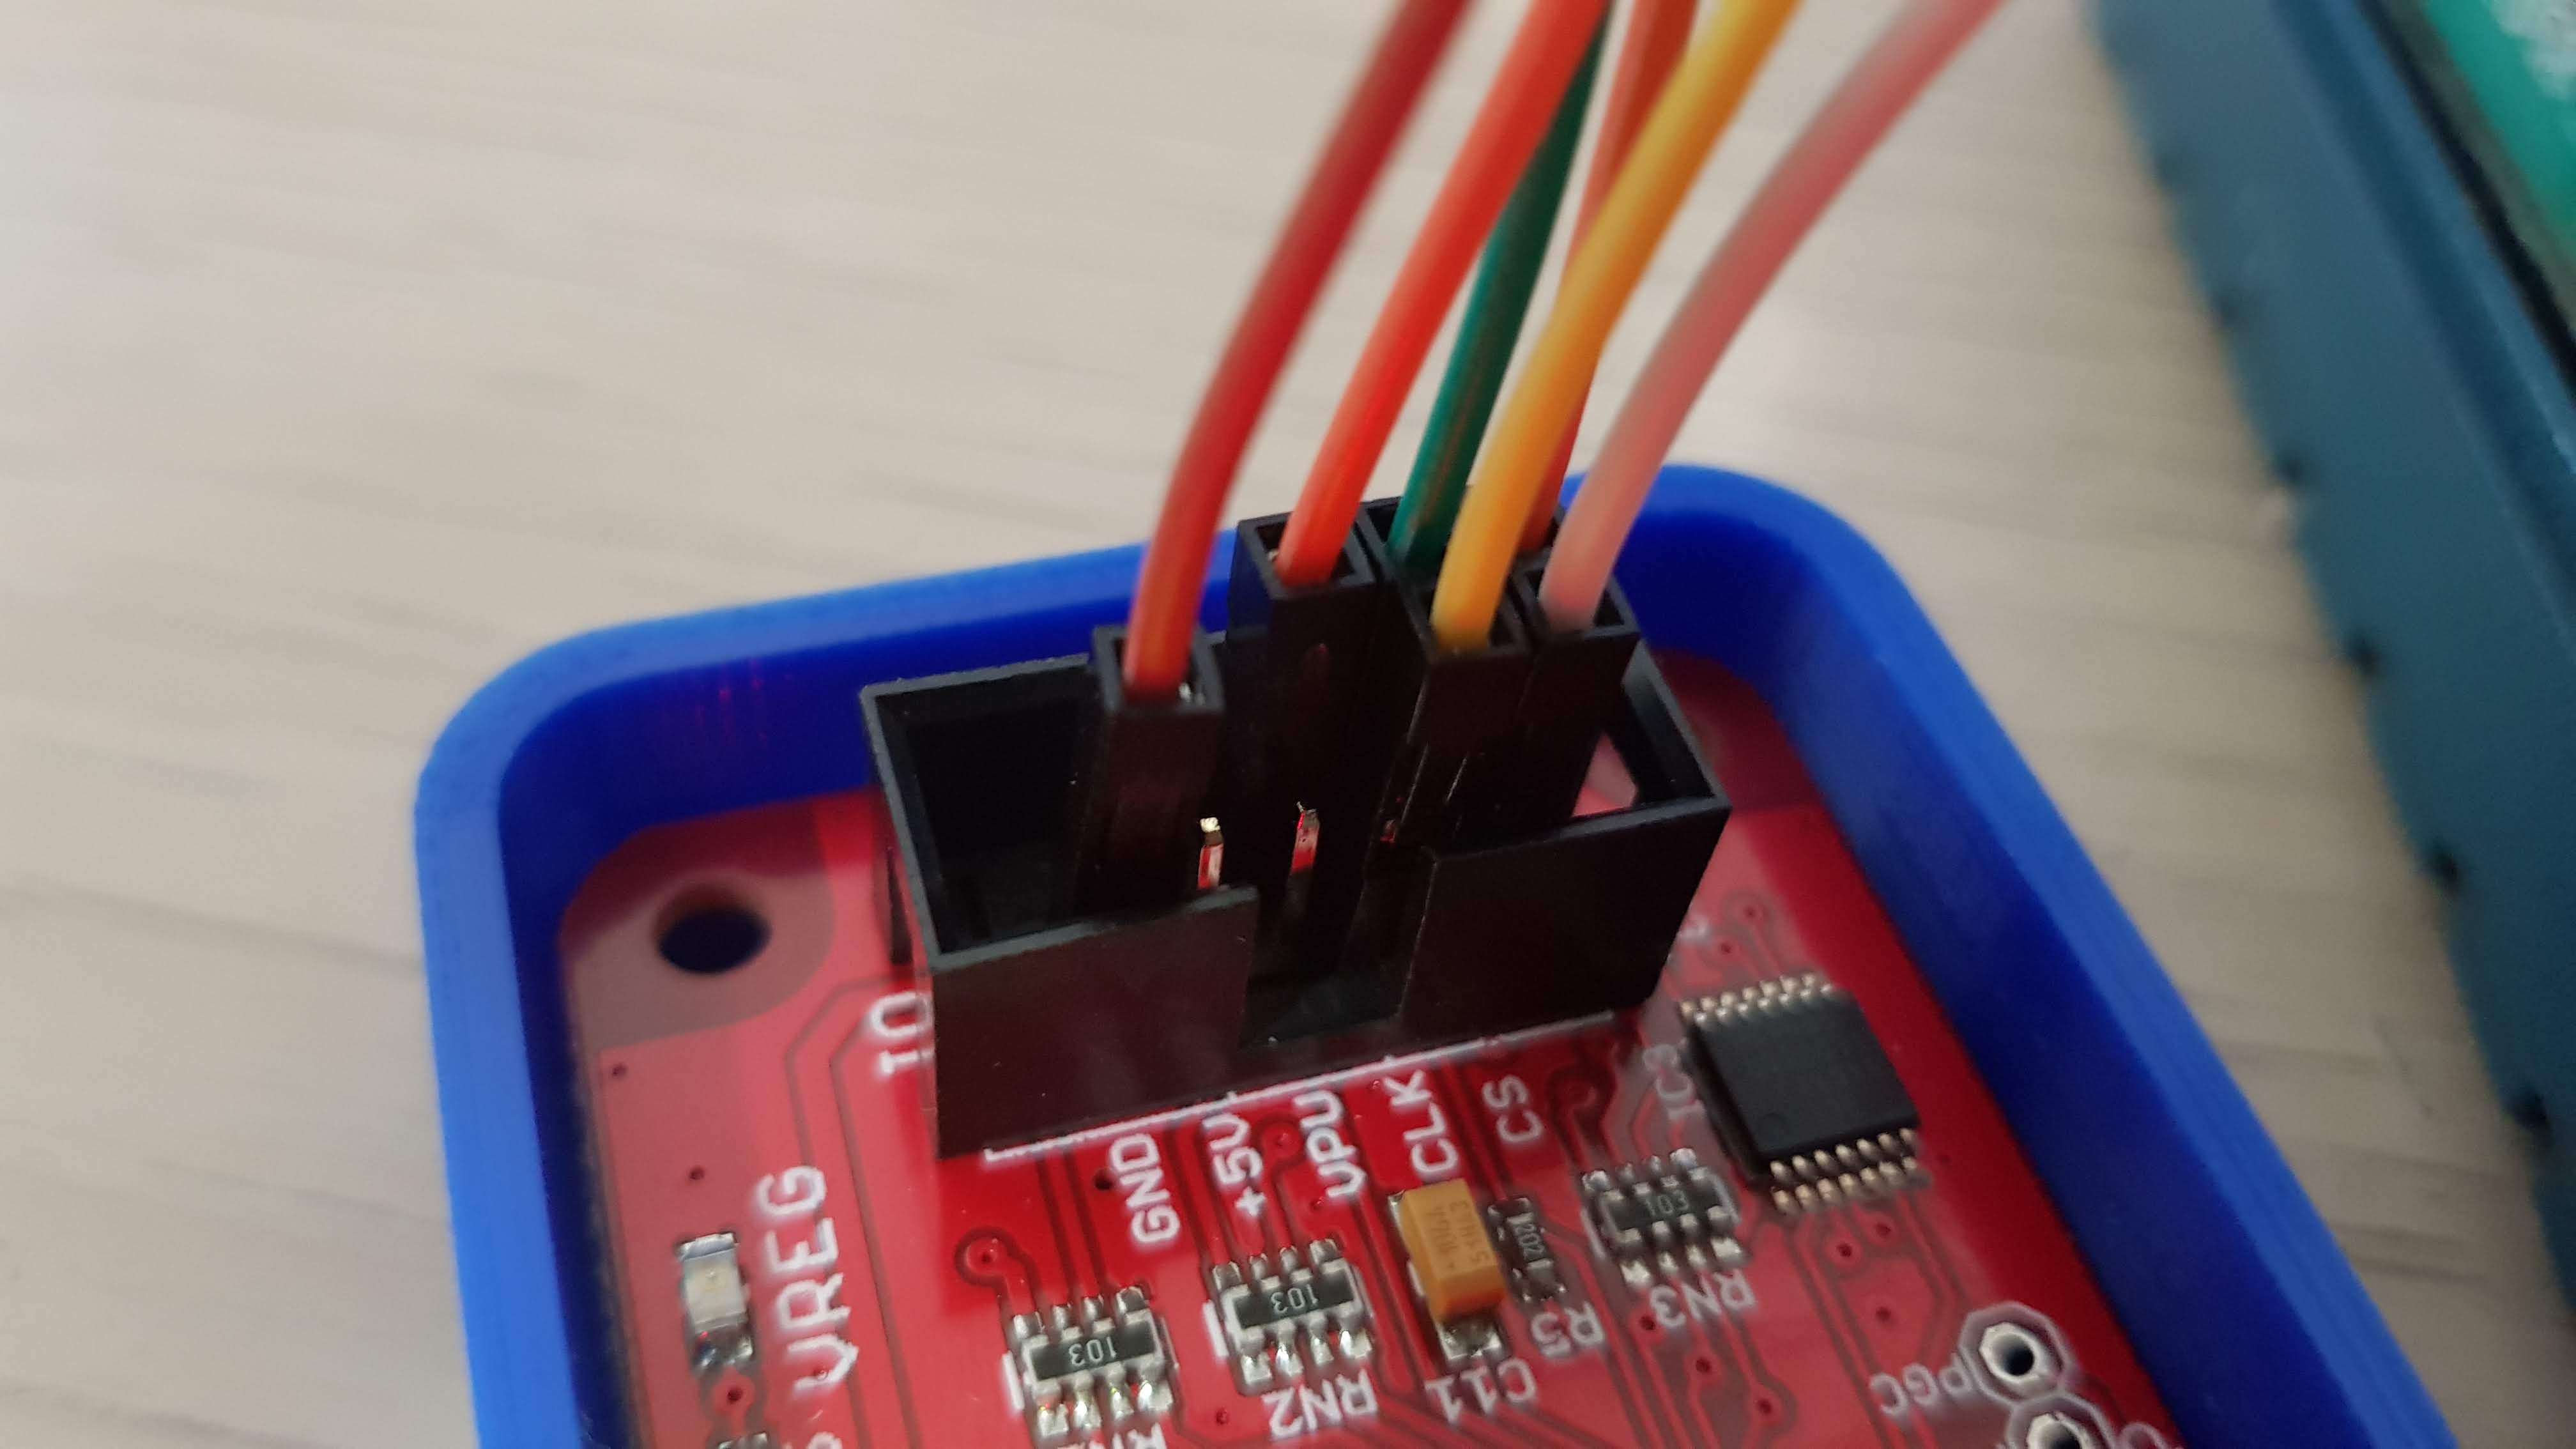
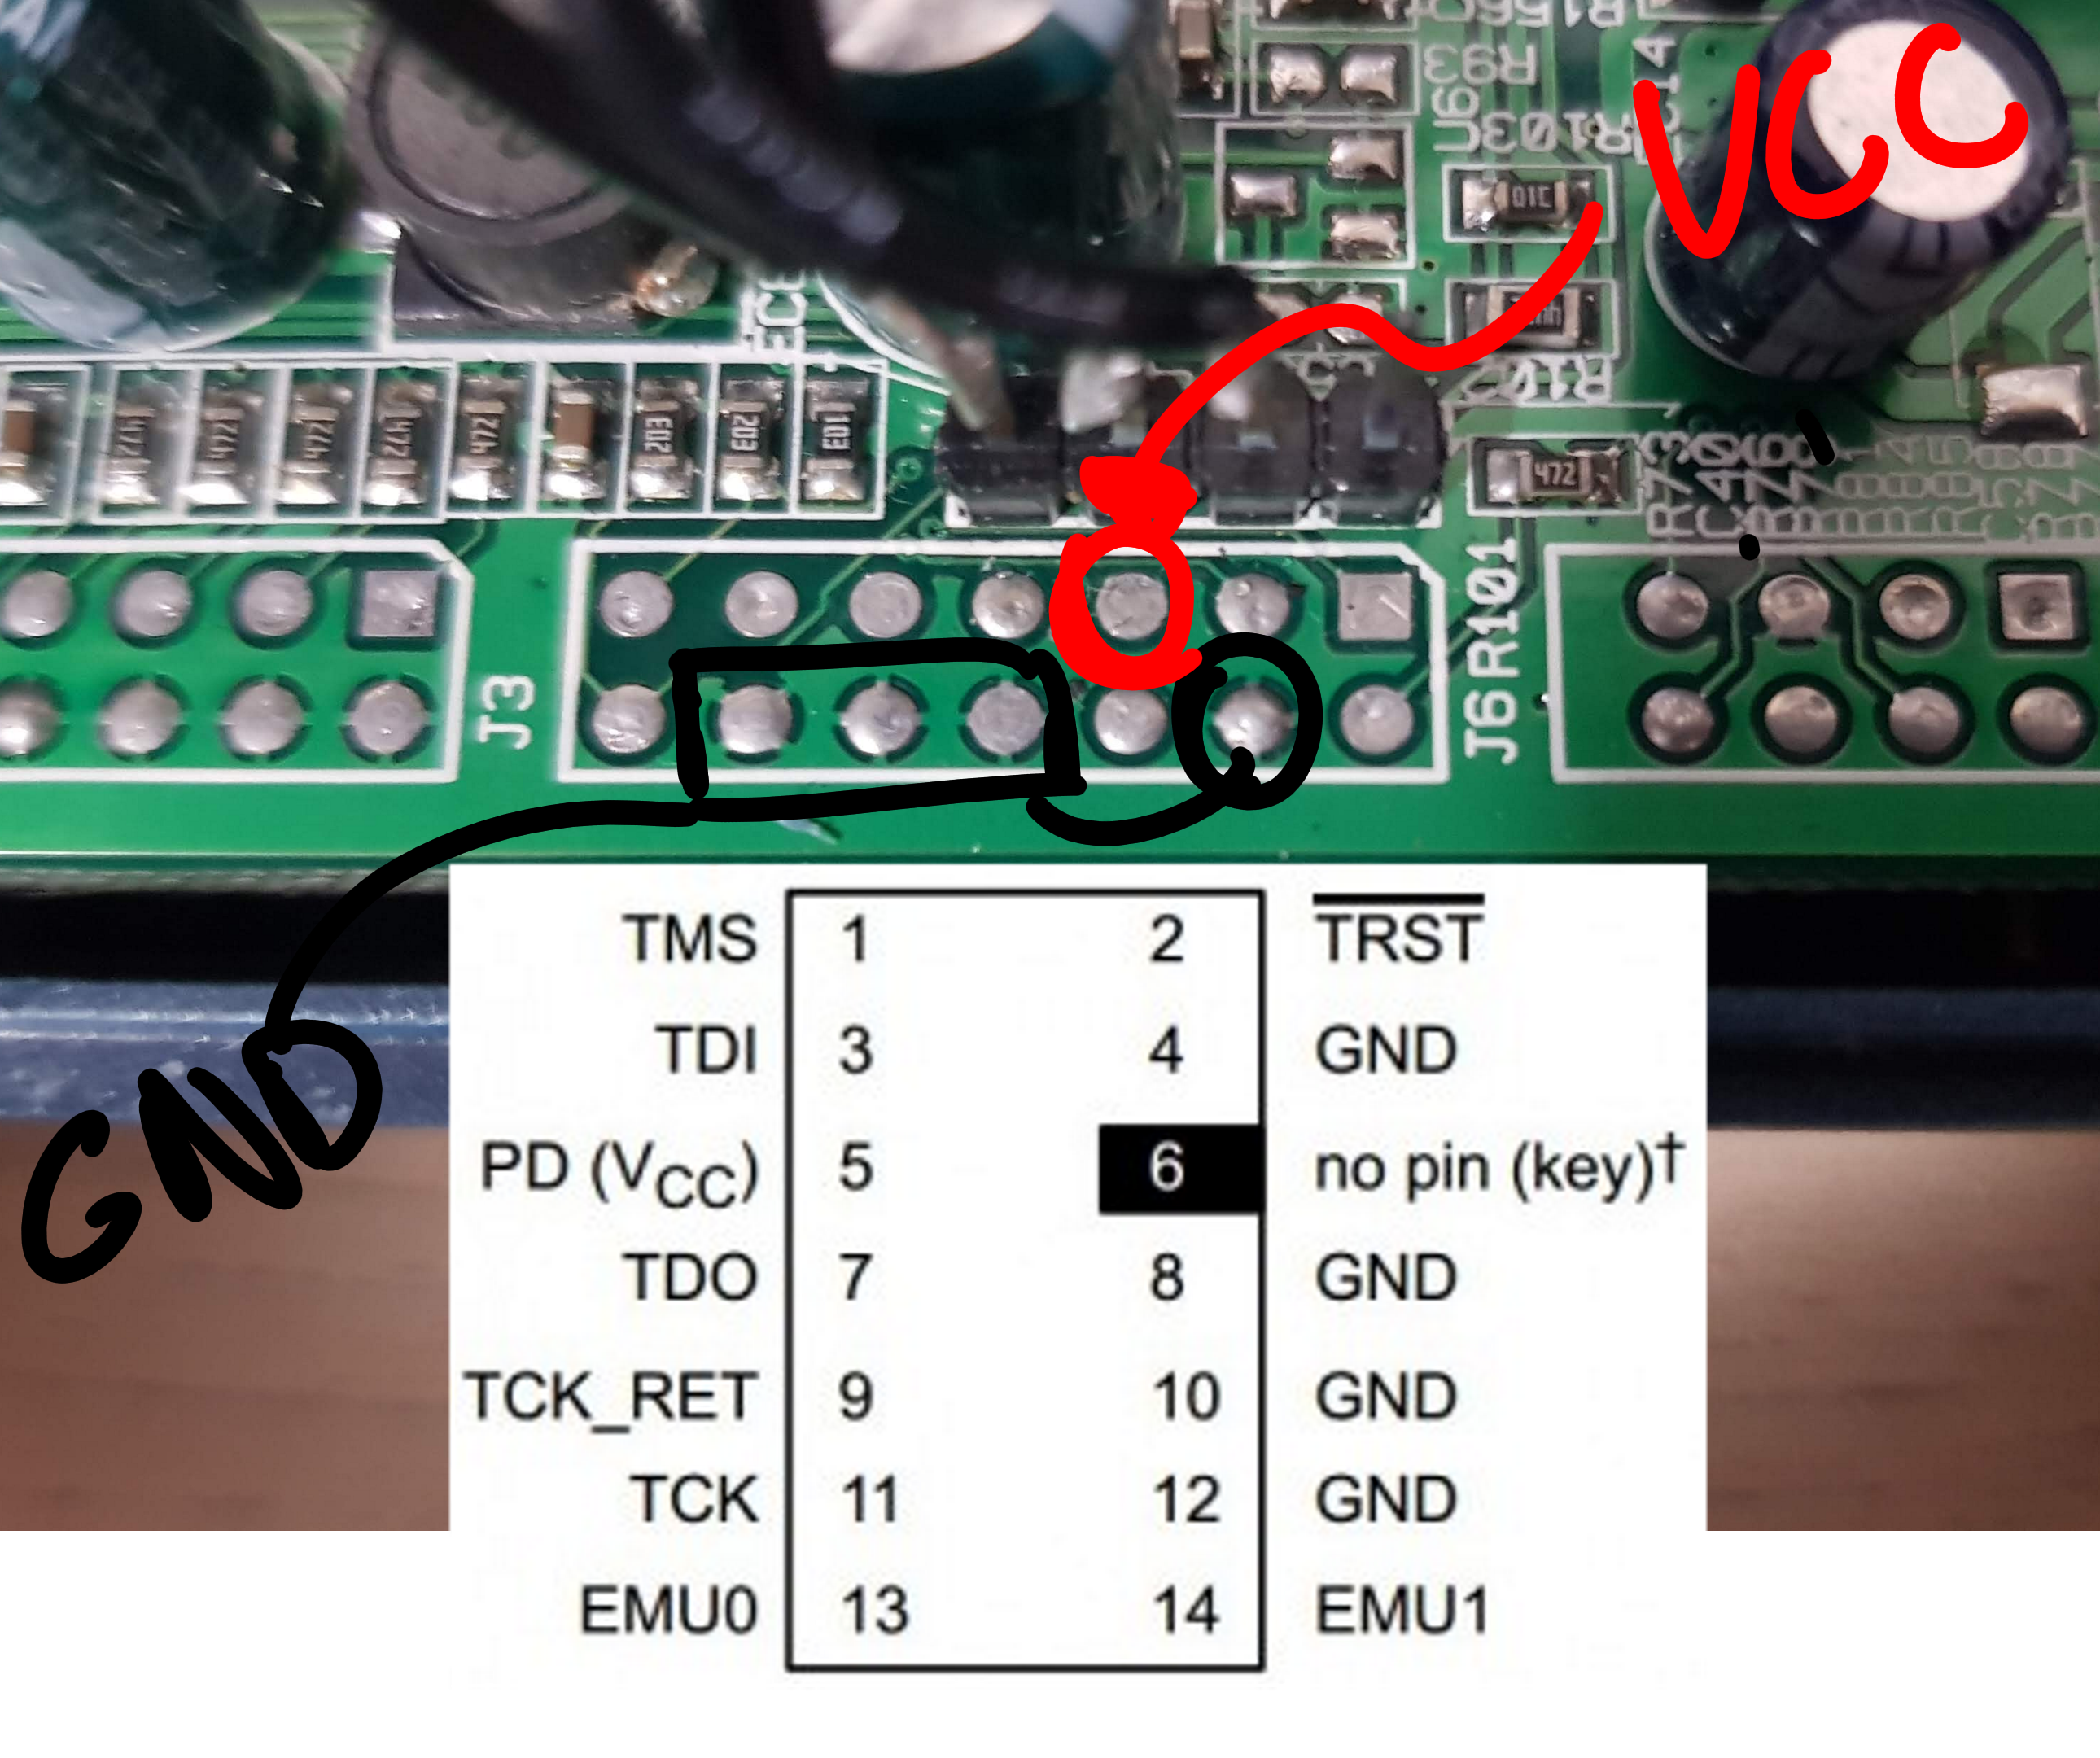
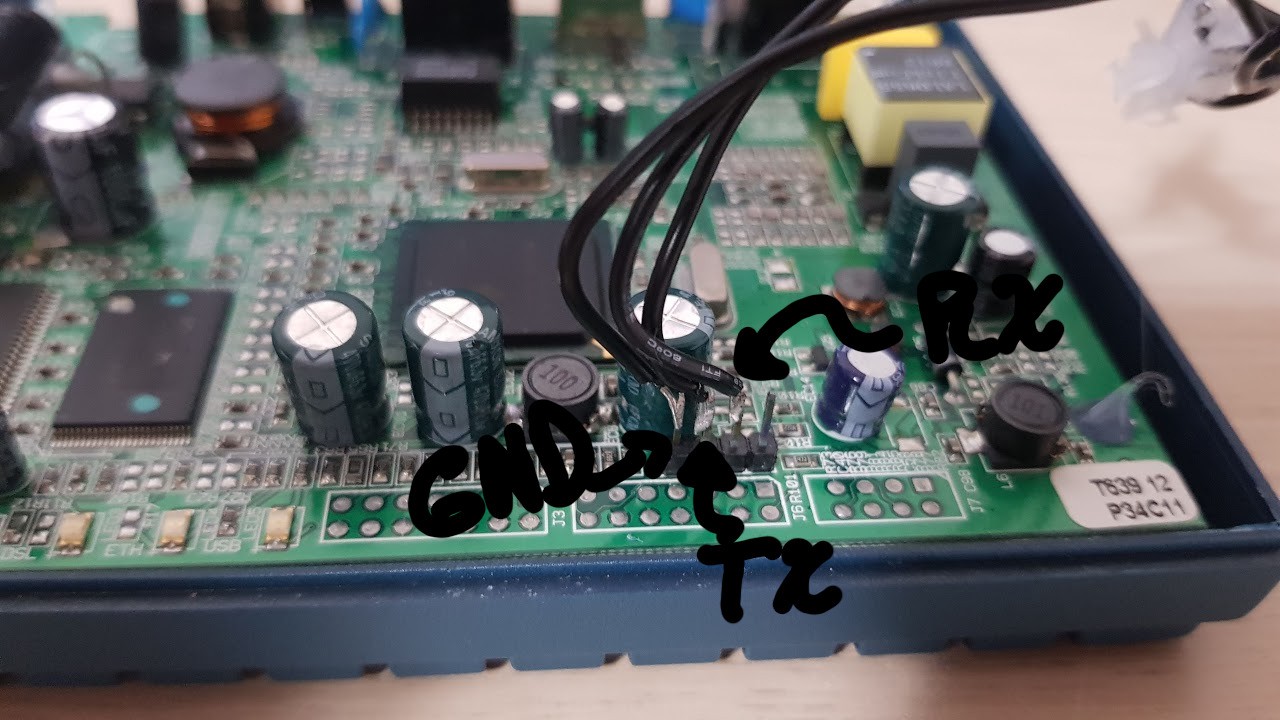
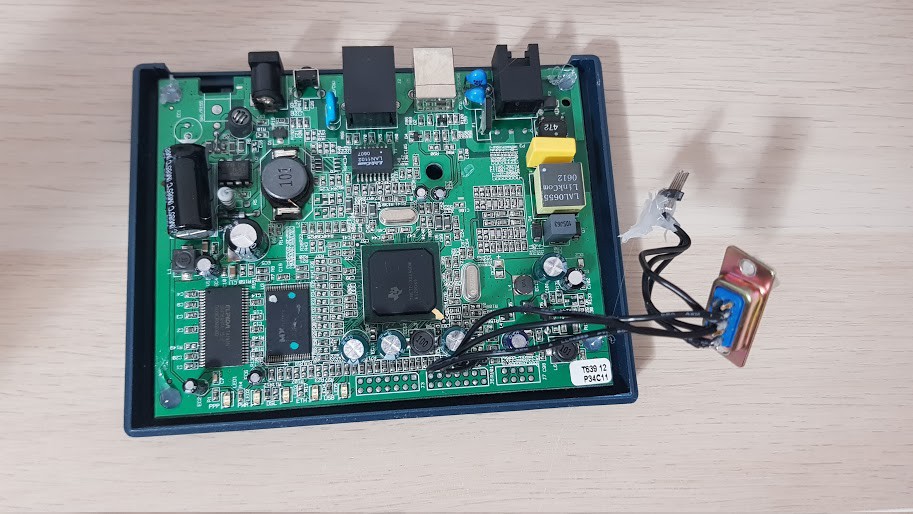
It turned out to be a Starbridge Networking Lynx 210 from 2005, running a TI TNETD7300 SoC with 2 MB of flash and 8 MB of RAM. Unsurprisingly, it has no OpenWrt support or anything, but it did had a set of UART pins already soldered on its board, and after a bit of digging, I found out they were running at 38400 bauds (odd). It looks like it's rocking the "Adam2" bootloader (which I expected after reading the OpenWrt wiki on its CPU) so I might be able to make it run some code from RAM. And while a J-Link might (will) come in handy, I don't have one of those yet, but there's probably plenty of things that I can do with this puppy in the meantime.

  • JTAG adventures: Part II, boy do I hate/love JTAG

    Jose Ricardo06/13/2020 at 05:00 0 comments

    Okay, so a few says ago I bought a Bus Pirate v3.6 off Amazon (might not have been the best buy, but you know, it works), and up until this morning I was pretty much just working based off TFTP and UART, obviously with limited progress. But later today I got my precious swiss-knife of embedded computing, and after a much needed firmware upgrade to v6.1, the first thing I did was trying to plug it in in the "JTAG" ports I found earlier. Somewhat unsurprisingly however, it didn't quite work the first time. I'm not sure as to why, but I couldn't get it to work, so I decided to look at the other header right next to it. After a bit of poking it turned out to be a MIPS EJTAG 2.6, or something similar. I tried hooking the BP to it, and finally!, it didn't work either.

    I tried plugging and unplugging the cables many, many times. I tried changing MISO for MOSI (as if that was going to work), using other tools like urJtag and even the integrated serial terminal on the BP (which wasn't available in this version afaik, but that didn't stop me from trying). Finally, and after a long walk where I cooled my head down a little bit, I tried going for another approach.

    Earlier today I found JTAGenum, an Arduino-based utility mainly used to detect the different pins for JTAG on an embedded device. For whatever reason however, I did not think about using it until I came back. It was a bit of a challenge to get it working at the begging. None of the boards I had seem to work, I tried using an Arduino UNO, a NodeMCU and even an old Weemos D1 mini board I had laying around in my room. Of course, I don't think it was an issue with the code, but rather with the wiring, but nevertheless I only managed to get the utility working with an Arduino Pro mini.

    And it all lead to this four, beautiful lines:

    > s
    ================================
    Starting scan for pattern:0110011101001101101000010111001001
    FOUND!  ntrst:2 tck:3 tms:4 tdo:5 tdi:6 IR length: 5
    active  ntrst:2 tck:3 tms:6 tdo:5 tdi:4  bits toggled:28
    ================================

     I ran the command a couple times to make sure it was right, and it all seemed to be working. All it was left to do was to try the connection out...

    I can't begin to express how happy I was when I saw that. All the times I tried connecting the BP to the router, I got all sorts of errors and warnings, but now, it even let me halt and continue the system, a cathartic experience all around. I also made sure to take pictures of the pins and jumpers I used to accomplish this:

    I'll now be trying to get the dumps out of the flash, and hopefully start building a new image for this old fella. Which by the way, might be the least difficult part of the project (and yes, I know there's a extremely high chance I'm wrong, but hey, I can have dreams!)

  • JTAG adventures: Part I

    Jose Ricardo06/10/2020 at 03:08 0 comments

    Yesterday I tried to find the JTAG pins on the board with my multimeter, and while I do not have a programmer yet (I might be getting a bus pirate by the end of the week) I wanted to test my luck with the tools that I had in mind.

    I was well aware that some devices use their own weird proprietary connectors for the JTAG pins, but I after taking a look at the three different headers right next to the serial port, I figured there was a good chance it was using a standard pinout. And I might be right.

    I found out about the TI 14 Pin JTAG connector, and after looking at the placements of the GND and VCC pins, we might just have a winner in your hands:

    I might be wrong of course, but that wont stop me from trying those pins out as soon as I get a proper programmer in my hands.

  • Got some flash dumps!, I think...

    Jose Ricardo06/09/2020 at 07:02 0 comments

    So, I remember reading about mtd partitions somewhere, and at the time I'm writing this log I believe they represent flash memory in embedded devices or something.

    After what I can only describe as a painfully long ordeal, I set up a tftp server on my laptop and I managed to dump all of the four partitions to it. I'll now be using Ghidra to see which one of them is the bootloader, (I mean, I know it's mtd0 from the serial port logs, but I just want an excuse to use Ghidra). I'll see if I can also take a look at the SquashFS image and change the contents of it.

    I'm not entirely sure as to if I can upload the binaries somewhere, but I'll see if I can later built a small (and more modern) Linux image and publish that instead.

    I just used this command to dump the mtd partitions into files on my laptop:

    tftp -p -l /dev/mtdblock/0 -r /mnt/tftp/mtd0.bin 192.168.1.2 69
    

  • We got UART!

    Jose Ricardo06/09/2020 at 02:50 0 comments

    I did this as soon as I got the router. I first took a look at the board and tried to find a serial port of some kind following devttys0's excellent guide. I took me a while to realize that the port wasn't any of the empty slots I so much tried to use, but rather the very obvious but horribly placed header right next to them. 

    By the way, I may have messed up the channels on the drawing, but the ground is good... I hope. As for the baudrate, I spent a bit of time trying to get devtty0's baudrate.py working (Python2 man...), but I just ended up testing different standard baudrates. At the end it turned out it uses 38400 bauds, which is a bit unusual, at least as far as I know, but other than that it works just fine.


    I also added a RS232 interface on it. It doesn't do anything (I don't even know if it would work if I where to connect it to a computer), but I figured it would be cool to see a router with a serial port sicking off the side. And I was right.


    Here are the dumps I got from playing around with the serial port a bit:

    ADAM2
    ADAM2 Revision 0.22.03
    (C) Copyright 1996-2003 Texas Instruments Inc. All Rights Reserved.
    (C) Copyright 2003 Telogy Networks, Inc.
    Usage: setmfreq [-d] [-s sys_freq, in MHz] [cpu_freq, in MHz]
    Memory optimization Complete!
    
    Adam2_AR7RD > 
    Press any key to abort OS load, or wait 5 seconds for OS to boot...
    help
    	 Commands		Description
    	 --------		-----------
             h/help Displays the commands supported
               info Displays board information
              memop Memory Optimization
           setmfreq configures/dumps the system and cpu frequencies
              erase Erase Flash except Adam2 Kernel and Env space
           printenv Displays Env. Variables
             setenv Sets Env. variable <var> with a value <val>
           unsetenv Unsets the Env. variable <var>
             fixenv Defragment for Env. space
                 go Loads the image starting at address <mtd1>
    Adam2_AR7RD > 
    Adam2_AR7RD > info
    Monitor Revision              0.22.03
    Monitor Compilation time      Apr  1 2005, 18:45:39
    Endianness                    Little
    External Memory rate          Full, 16 bit wide
    CPU Frequency                 150 MHz
    Adam2_AR7RD > 
    Adam2_AR7RD > printenv
    memsize               0x00800000
    flashsize             0x00200000
    modetty0              38400,n,8,1,hw
    modetty1              38400,n,8,1,hw
    bootserport           tty0
    cpufrequency          150000000
    sysfrequency          125000000
    bootloaderVersion     0.22.03
    ProductID             AR7RD
    HWRevision            Unknown
    SerialNumber          none
    my_ipaddress          192.168.1.1
    prompt                Adam2_AR7RD
    firstfreeaddress      0x9401d328
    req_fullrate_freq     125000000
    maca                  00:30:0A:5F:2D:0B
    mtd0                  0x90090000,0x901f0000
    mtd1                  0x90010000,0x90090000
    mtd2                  0x90000000,0x90010000
    mtd3                  0x901f0000,0x90200000
    mtd4                  0x90010000,0x901f0000
    autoload              1
    azcpmac_config        1
    usb_vid               0x0451
    usb_pid               0x6060
    HWA_RNDIS             00:30:0A:5F:2D:0C
    HWA_HRNDIS            00:30:0A:5F:2D:0E
    usb_flag              1
    modulation            MMODE
    usb_board_mac         00:30:0A:5F:2D:0C
    usb_rndis_mac         00:30:0A:5F:2D:0E
    macc                  00:30:0A:5F:2D:0D
    vcc_encaps0           0.0
    vcc_encaps1           0.0
    vcc_encaps2           0.0
    vcc_encaps3           0.0
    vcc_encaps4           0.0
    vcc_encaps5           0.0
    vcc_encaps6           0.0
    vcc_encaps7           0.0
    connection0           0
    Adam2_AR7RD > 
    Adam2_AR7RD > 
    --- exit ---

    BOOT 

    Press any key to abort OS load, or wait 5 seconds for OS to boot...
    Launching kernel decompressor.
    Starting LZMA Uncompression Algorithm.
    Copyright (C) 2003 Texas Instruments Incorporated; Copyright (C) 1999-2003 Igor Pavlov.
    Compressed file is LZMA format.
    Kernel decompressor was successful ... launching kernel.
    
    LINUX started...
    Config serial console: ttyS0,38400
    CPU revision is: 00018448
    Primary instruction cache 16kb, linesize 16 bytes (4 ways)
    Primary data cache 16kb, linesize 16 bytes (4 ways)
    Number of TLB entries 16.
    Linux version 2.4.17_mvl21-malta-mips_fp_le (khcheng@atmos2) (gcc version 2.95.3 20010315 (release/MontaVista)) #12 Tue Aug 31 18:43:49 SGT 2004
    Determined physical RAM map:
     memory: 14000000 @ 00000000 (reserved)
     memory: 00020000 @ 14000000 (ROM data)
     memory: 007e0000 @ 14020000 (usable)
    On node 0 totalpages: 2048
    zone(0): 2048 pages.
    zone(1): 0 pages.
    zone(2): 0 pages.
    Kernel command line: 
    the pacing pre-scalar has been set as 600.
    calculating r4koff... 000b71b0(750000)
    CPU frequency 150.00...
    Read more »

View all 4 project logs

Enjoy this project?

Share

Discussions

Dan Maloney wrote 06/09/2020 at 17:04 point

Pretty gutsy going after such an obscure device. It's cool that you were able to get in and poke around.

  Are you sure? yes | no

Jose Ricardo wrote 06/09/2020 at 18:29 point

Dude I did it mostly out of boredom, but to be fair it seems to be fairly capable for a router of it's age. At this point I'm just hoping to play Zork or something on it

  Are you sure? yes | no

Dan Maloney wrote 06/10/2020 at 17:07 point

Definitely, keep posting updates - I love learning by watching what others are doing. I've got a couple of devices I'd like to reverse engineer, especially a security camera that I'd love to put back into service without the privacy-challenged OEM firmware.

  Are you sure? yes | no

Similar Projects

Does this project spark your interest?

Become a member to follow this project and never miss any updates