 Subhajit
Simply place your hands or dishes underneath the automatic taps to activate the infrared sensor and water is released from the water switch. And the water will stop automatically after removing the object under the infrared water switch.
Circuit Diagram:
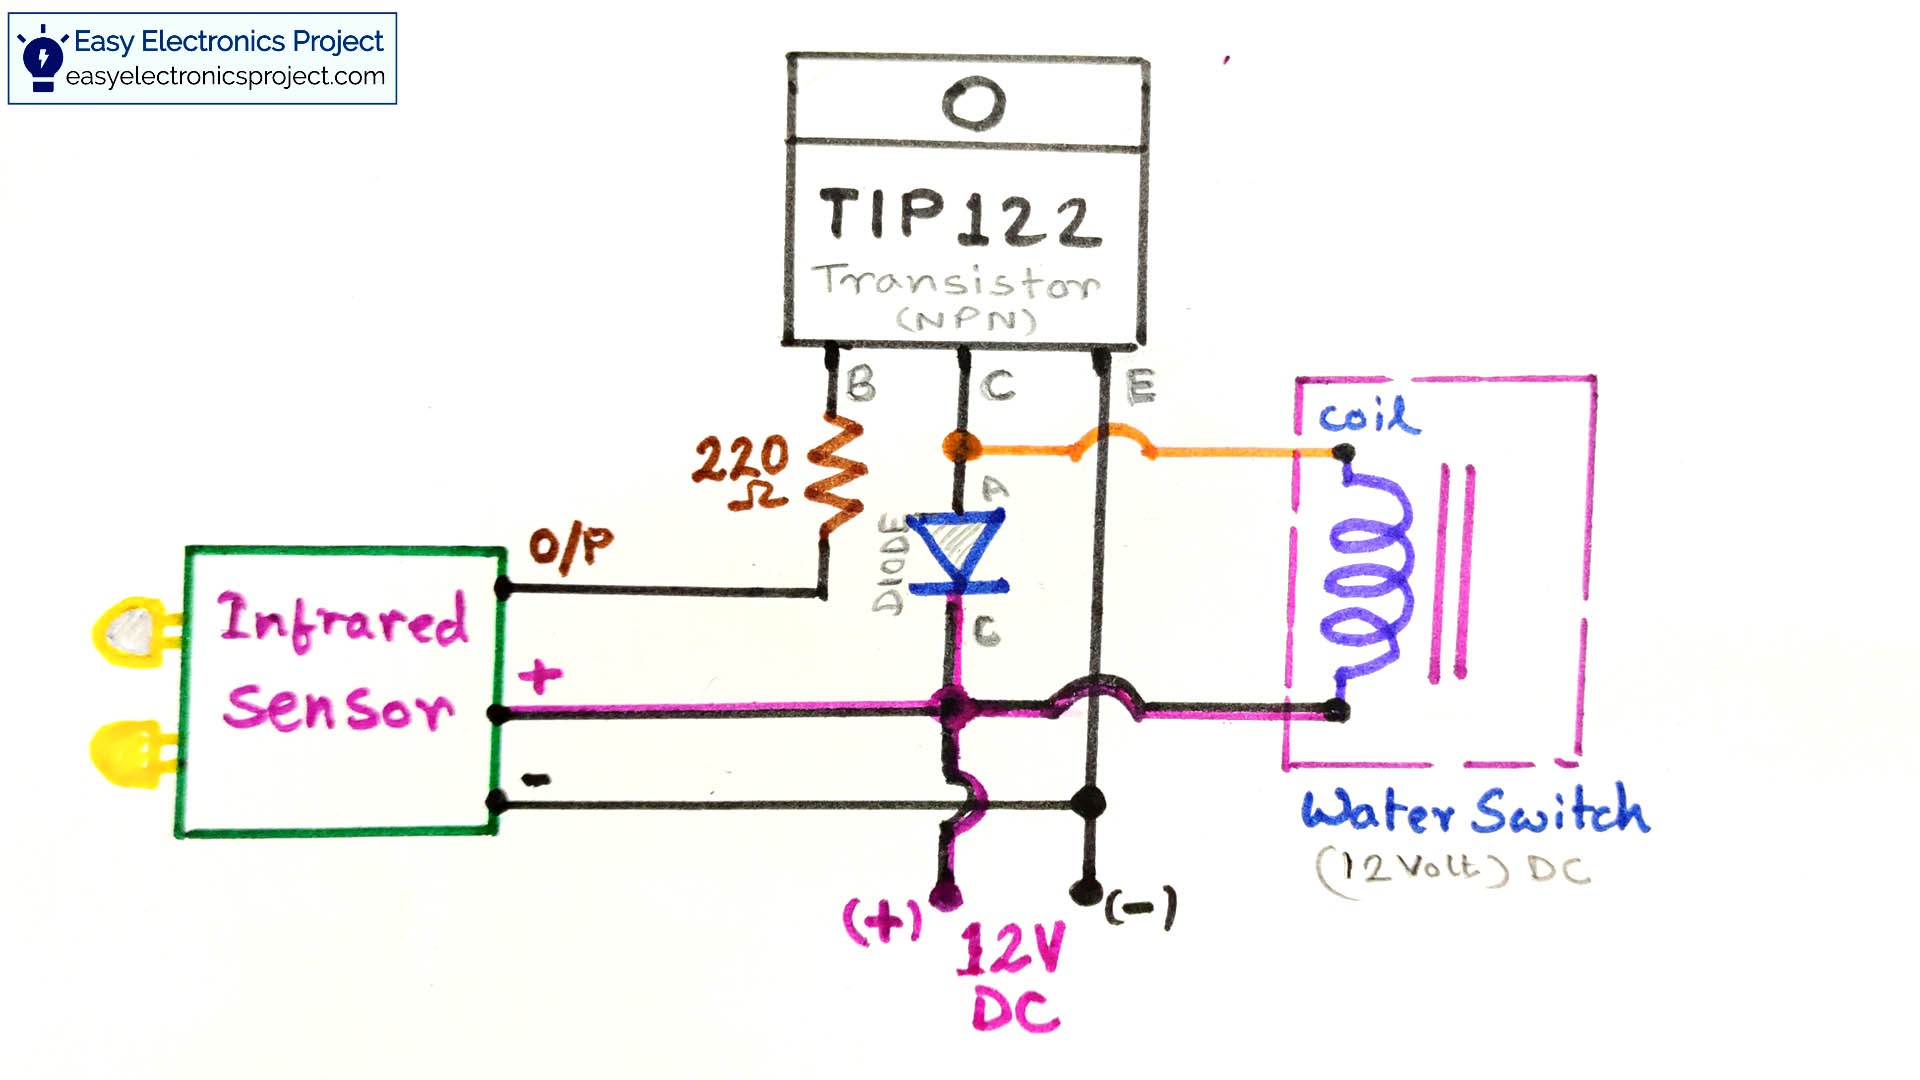
How the Automatic Infrared Water Tap works:
When someone places a hand under the water tap,
1 The IR sensor detects the hand.
2 Then the output pin of the IR sensor becomes high.
3 The transistor TIP122 turns on, as the IR Sensor output pin is connected with the base of the TIP122 NPN transistor.
4 Then the current can flow through the coil of the water switch. So the water switch turns on.
5 When the hand removed, the IR sensor output pin becomes low.
6 As no positive pulse at the BASE, the Transistor turns off.
7 No current can flow through the coil of the water switch. So the water switch turns off.
Component List:
- IR Proximity Sensor – 1no
- TIP122 NPN Transistor – 1no
- 220-ohm 0.25watt Resistor – 1no
- 1N4007 Diode 1no
- DC connector – 1no
- Water Switch (Induction) 12V – 1no
- 12 volt DC adaptor – 1no
Tutorial Video:
IR Proximity Sensor:
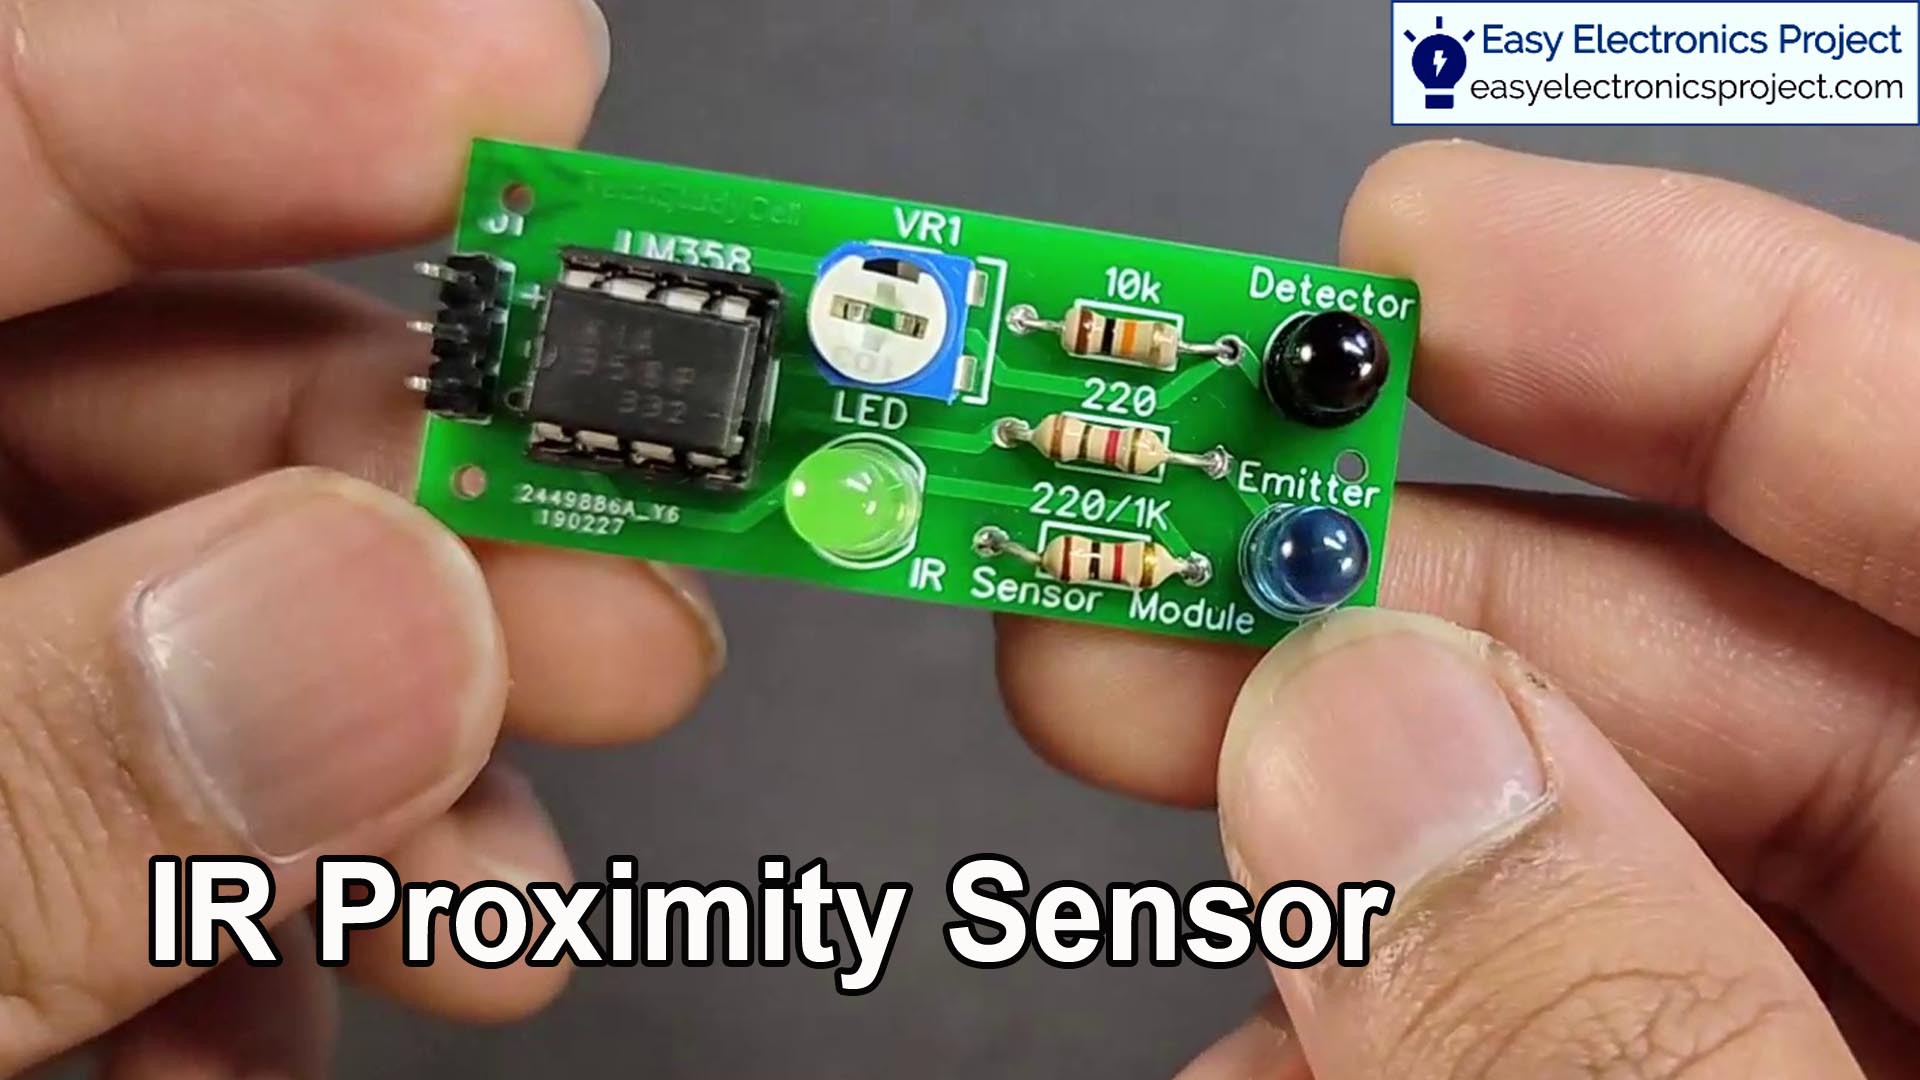
An IR proximity sensor can detect the presence of nearby objects without any physical contact.
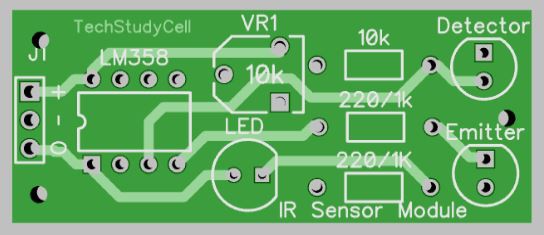
Designing the PCB for IR Proximity Sensor
You can buy the IR Proximity Sensor from any online store at $2.
But I have designed the PCB for IR Proximity Sensor as I need this IR Proximity Sensor in my different projects.
You can also download the PCB Garber file for the IR Proximity Sensor.
Download link for the PCB Gerber:
https://drive.google.com/uc?export=download&id=1sCKgvbfqWzT5S_ffoTJKKEzssRbpnUzX
Order the PCB

After downloading the Garber file you can easily order the PCB
1. Visit https://jlcpcb.com and Sign in / Sign up
2. Click on the QUOTE NOW button.
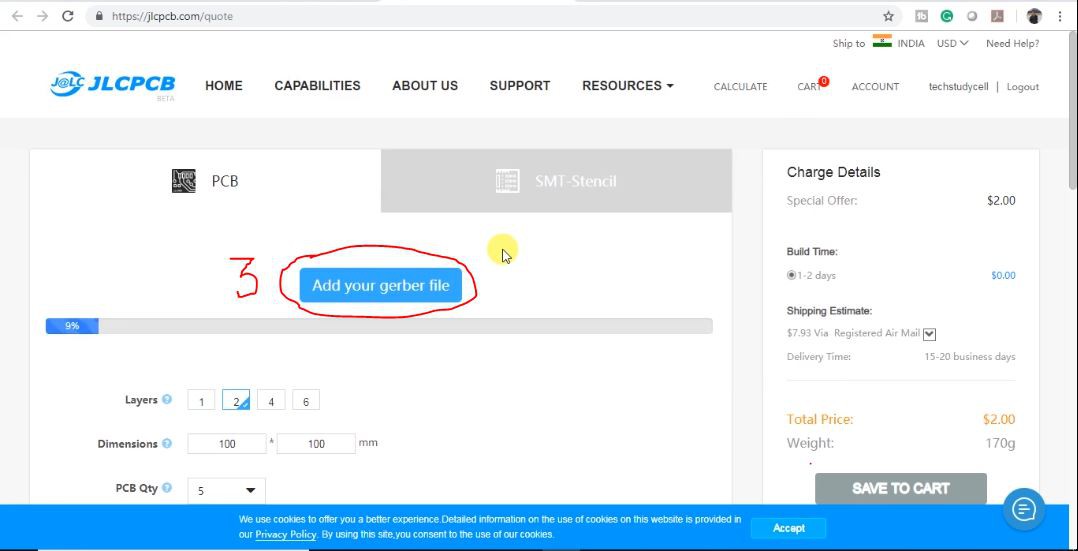
3 Click on the "Add your Gerber file" button. Then browse and select the Gerber file you have downloaded.
Uploading the Gerber File and Set the Parameters

4. Set the required parameter like quantity, PCB color, etc
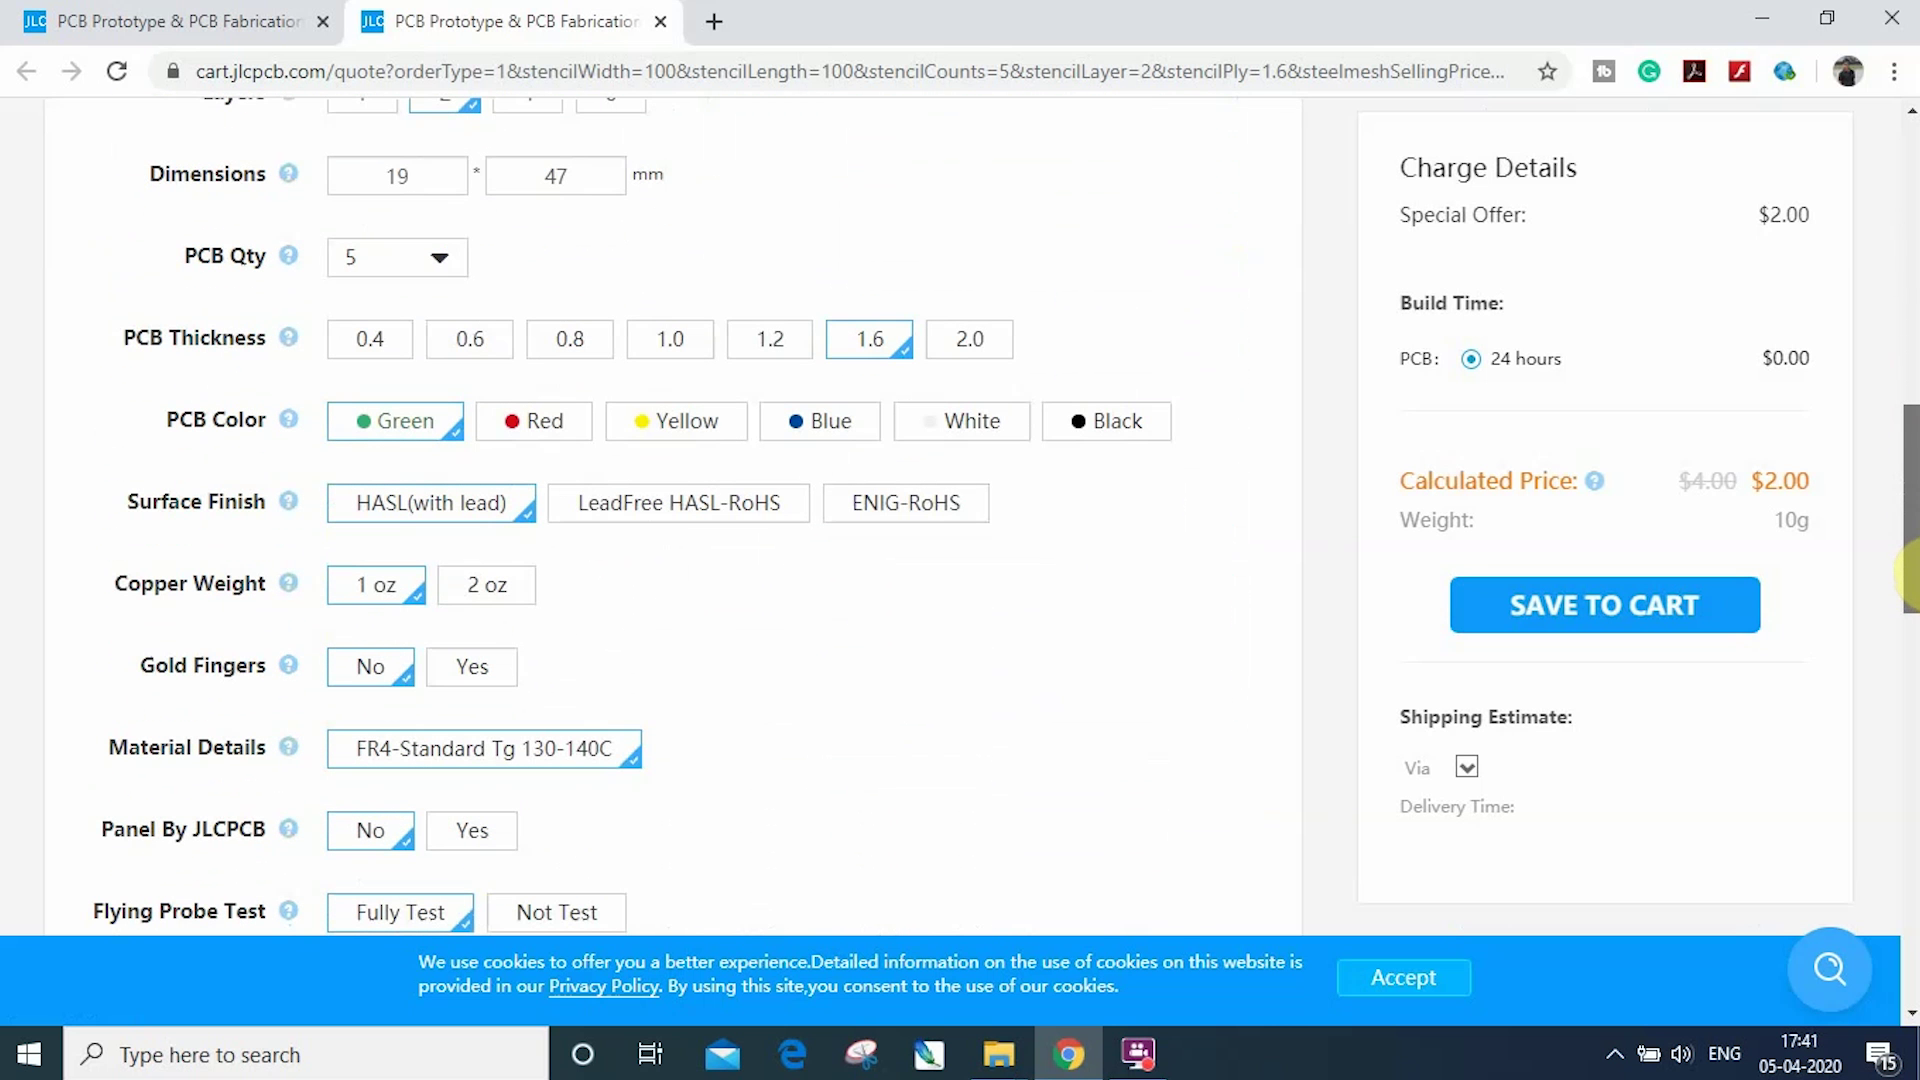
5. After selecting all the Parameters for PCB click on SAVE TO CART button.
Select Shipping Address and Payment Mode

6. Type the Shipping Address.
7. Select the Shipping Method suitable for you.
8. Submit the order and proceed for the payment.
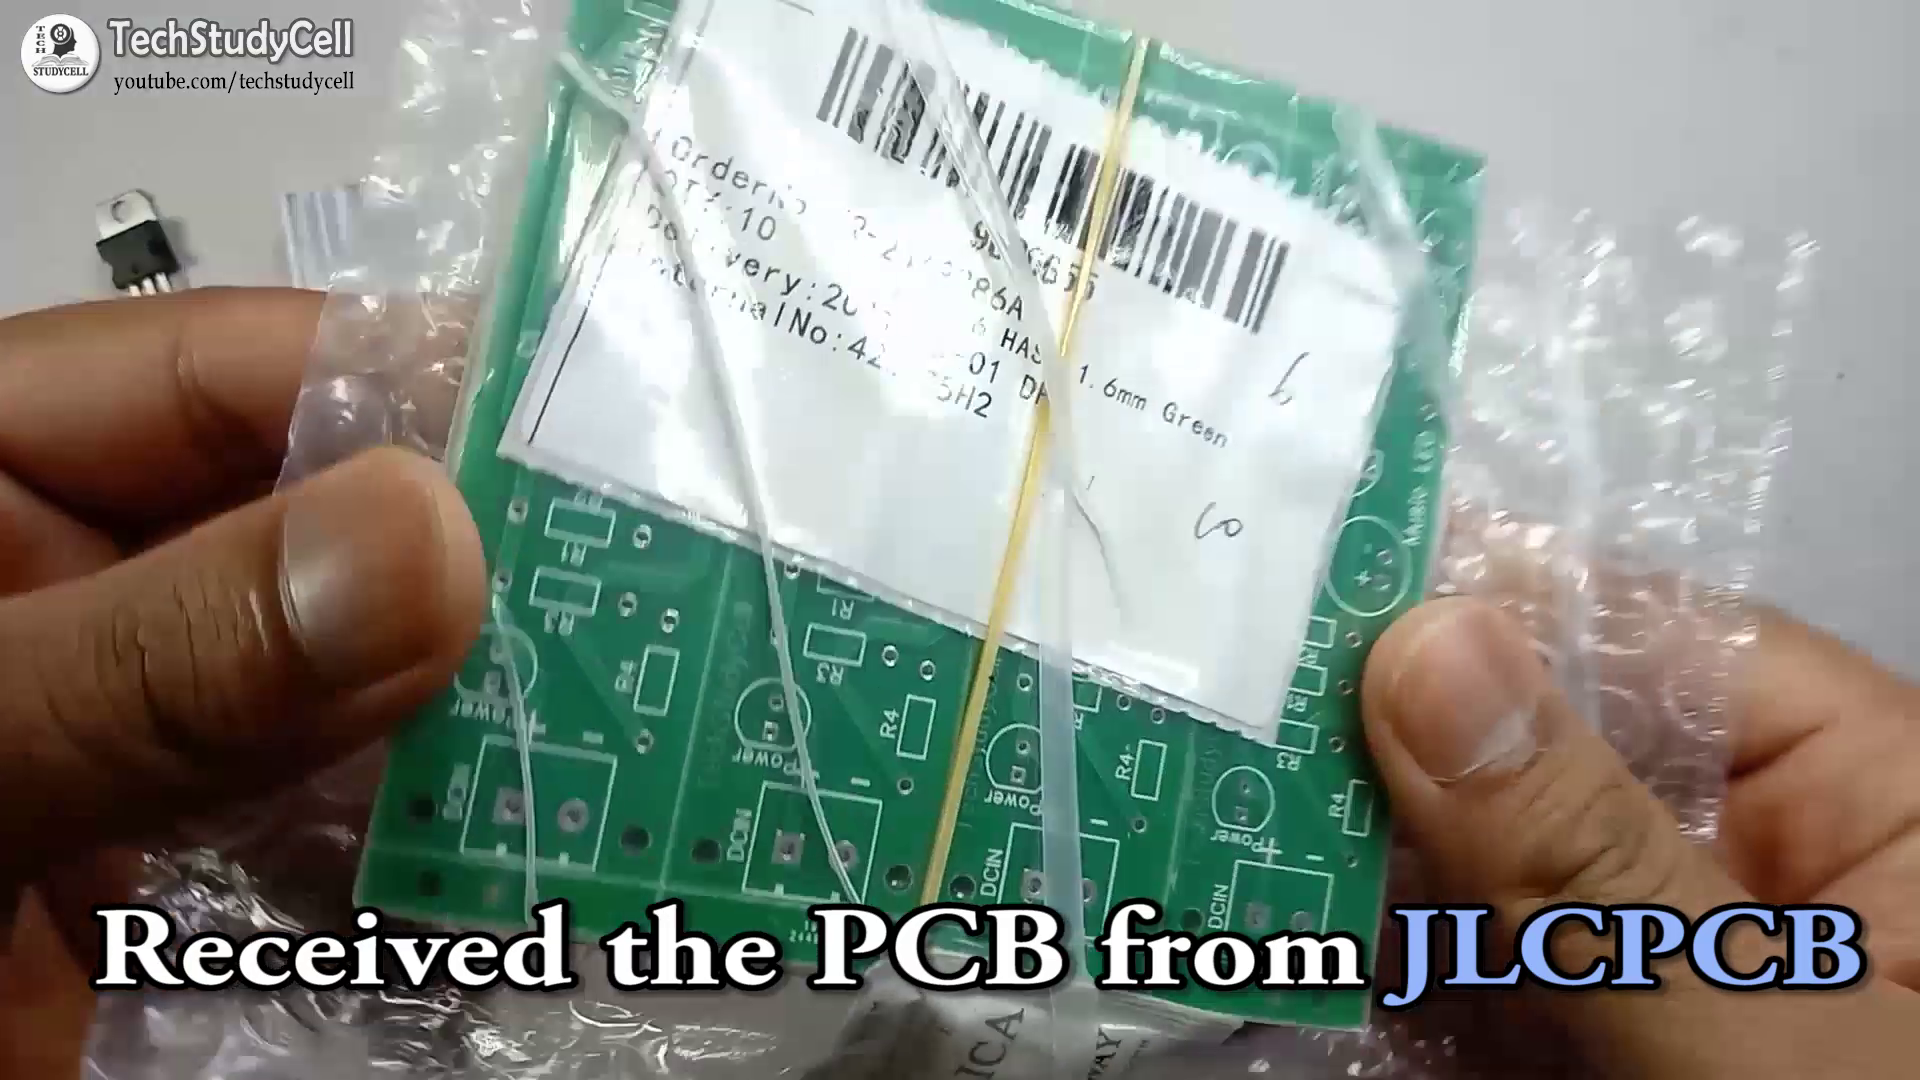
You can also track your order from the JLCPCB.com My PCBs took 2 days to get manufactured and arrived within a week using the DHL delivery option. PCBs were well packed and the quality was really good at this affordable price.
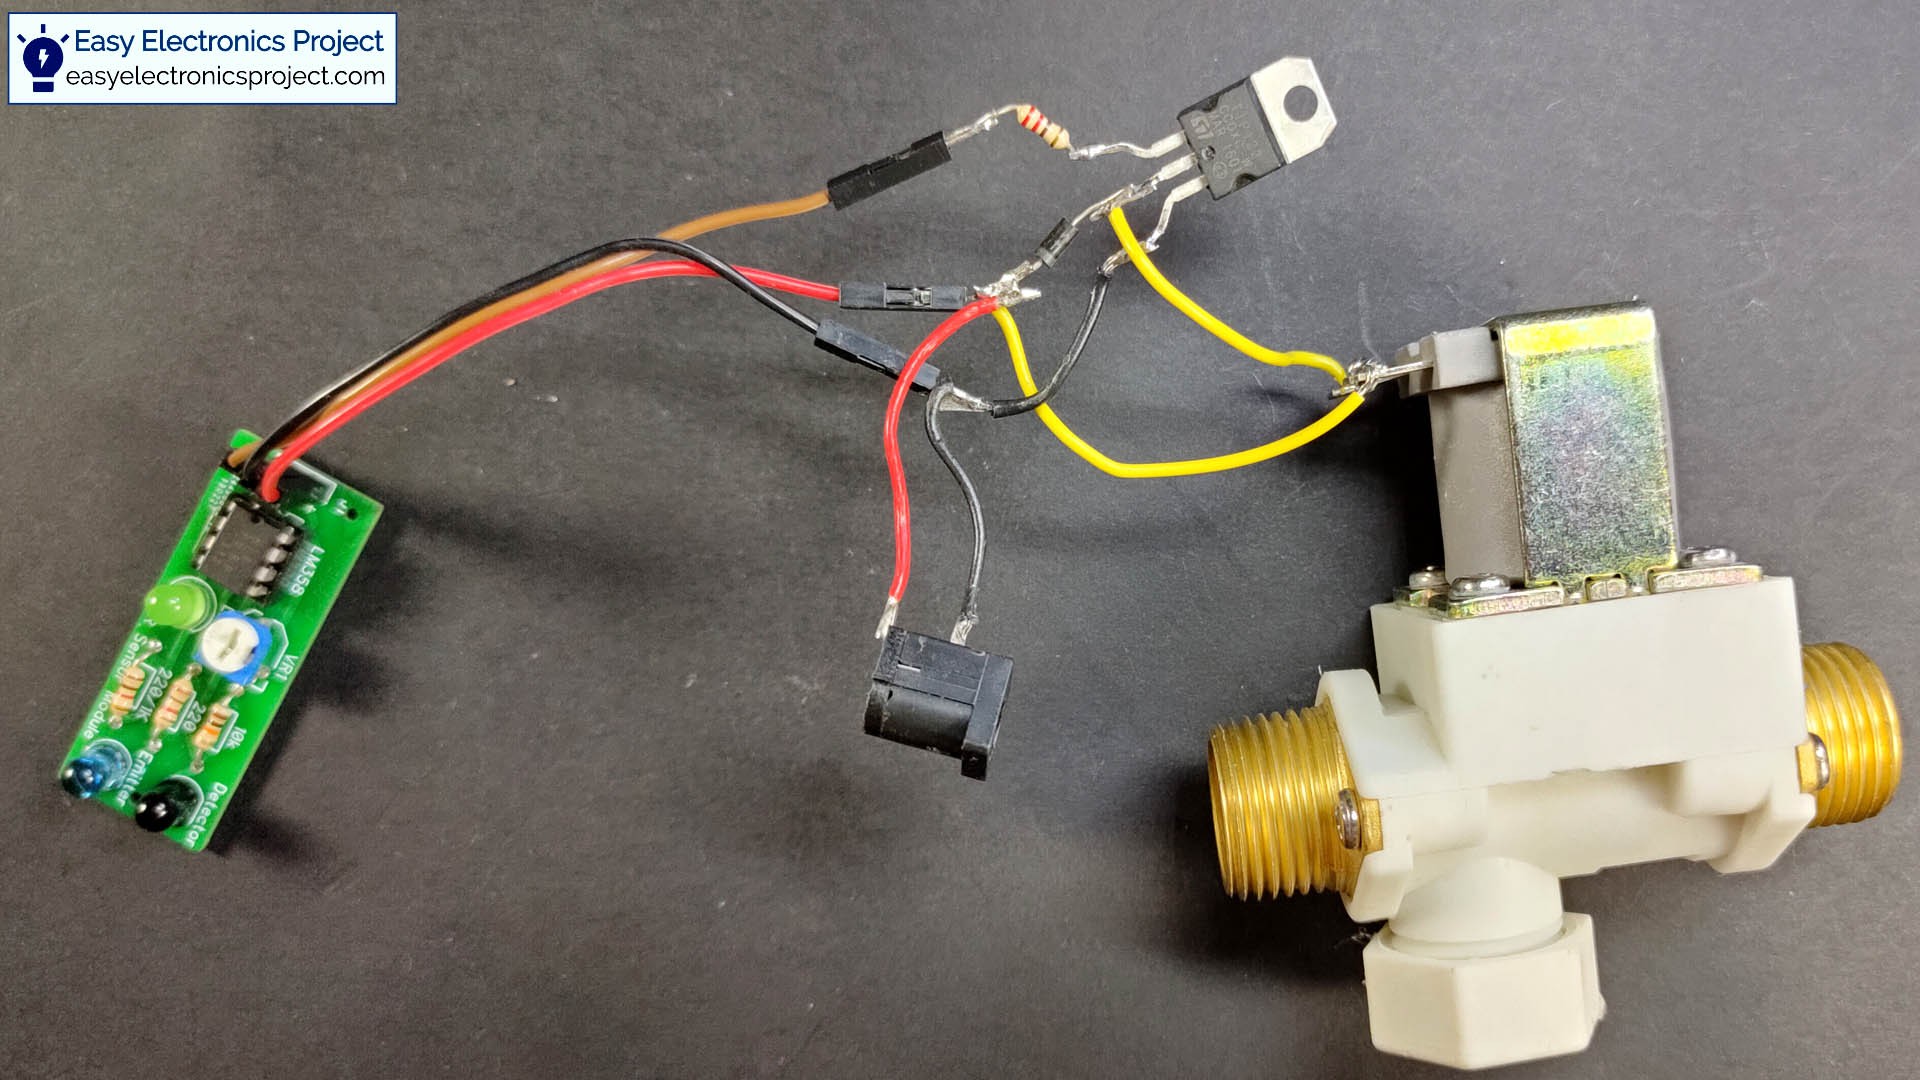
Solder All the Components

Now solder all the components as per the circuit diagram.
Testing the Circuit
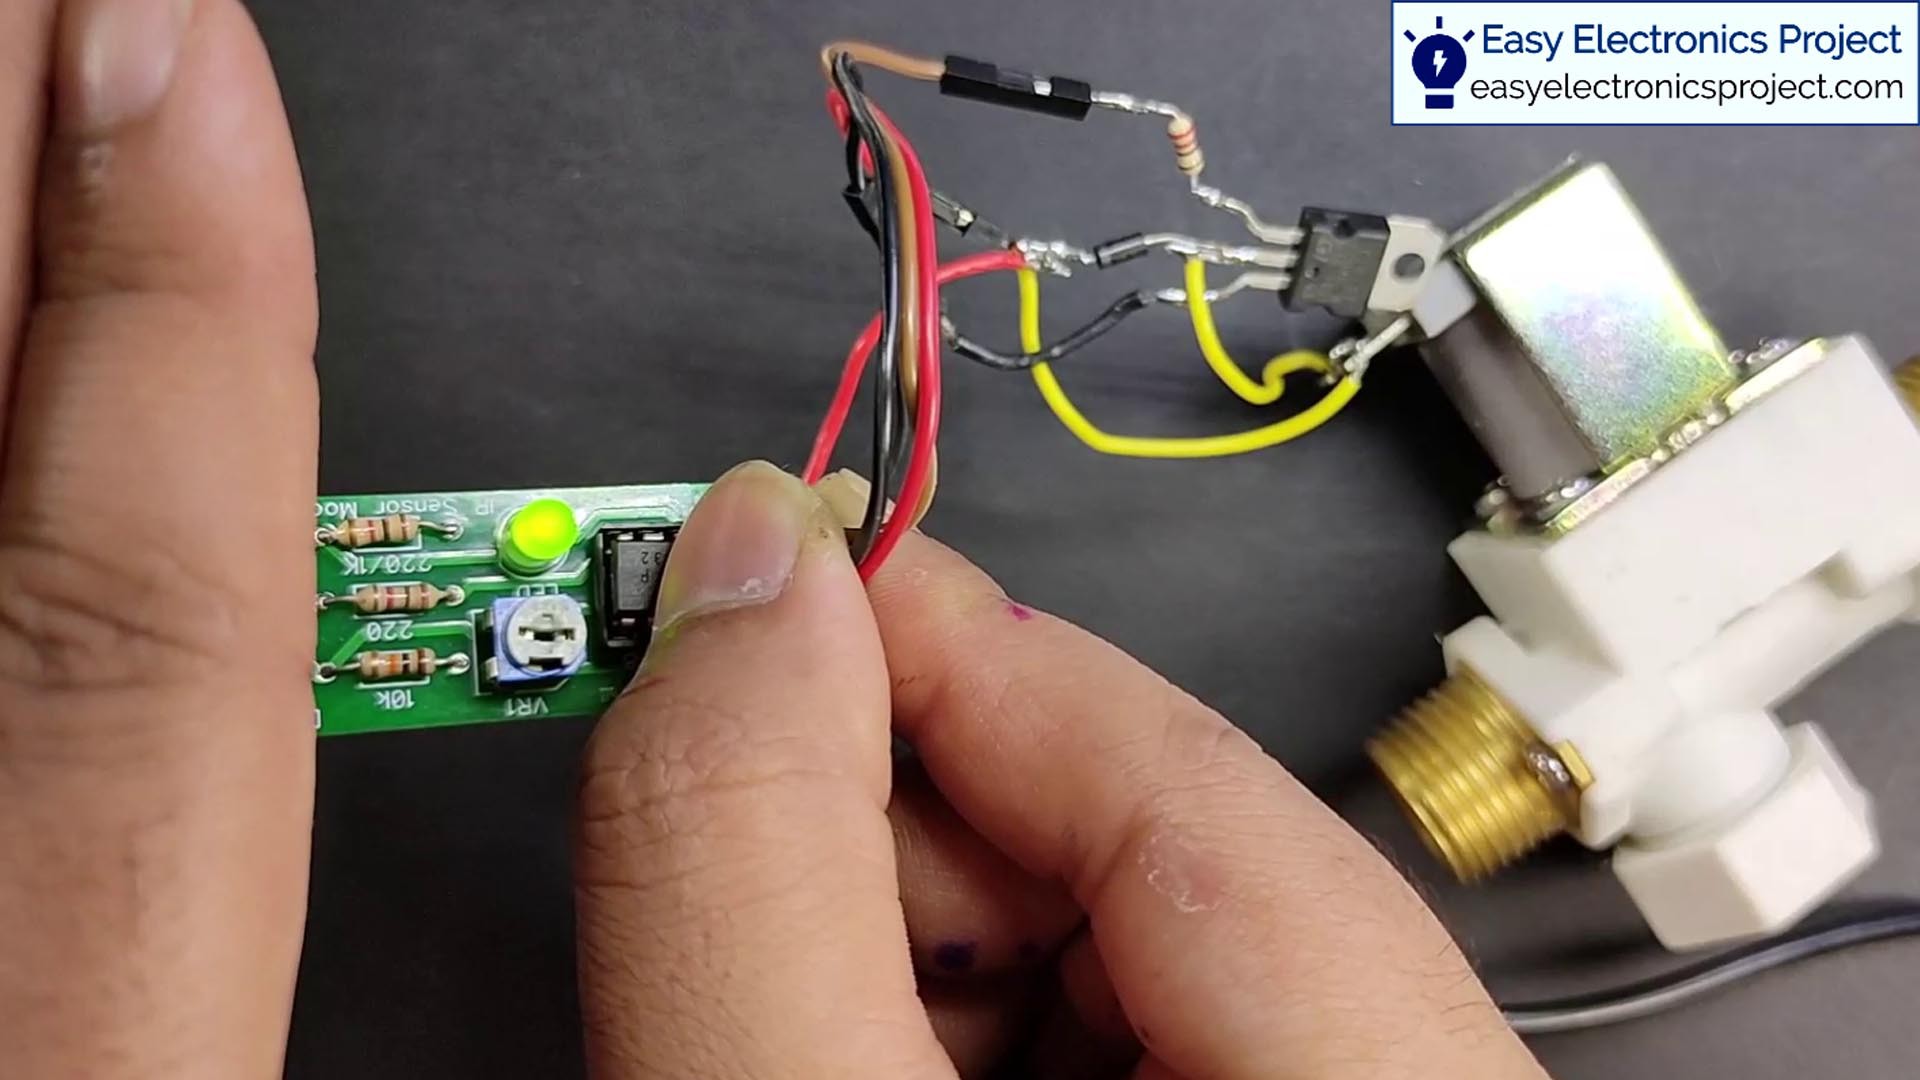
While testing the circuit, if we place our hand close to the IR sensor the Water switch should turn on.
Placing All the Component Inside Housing:
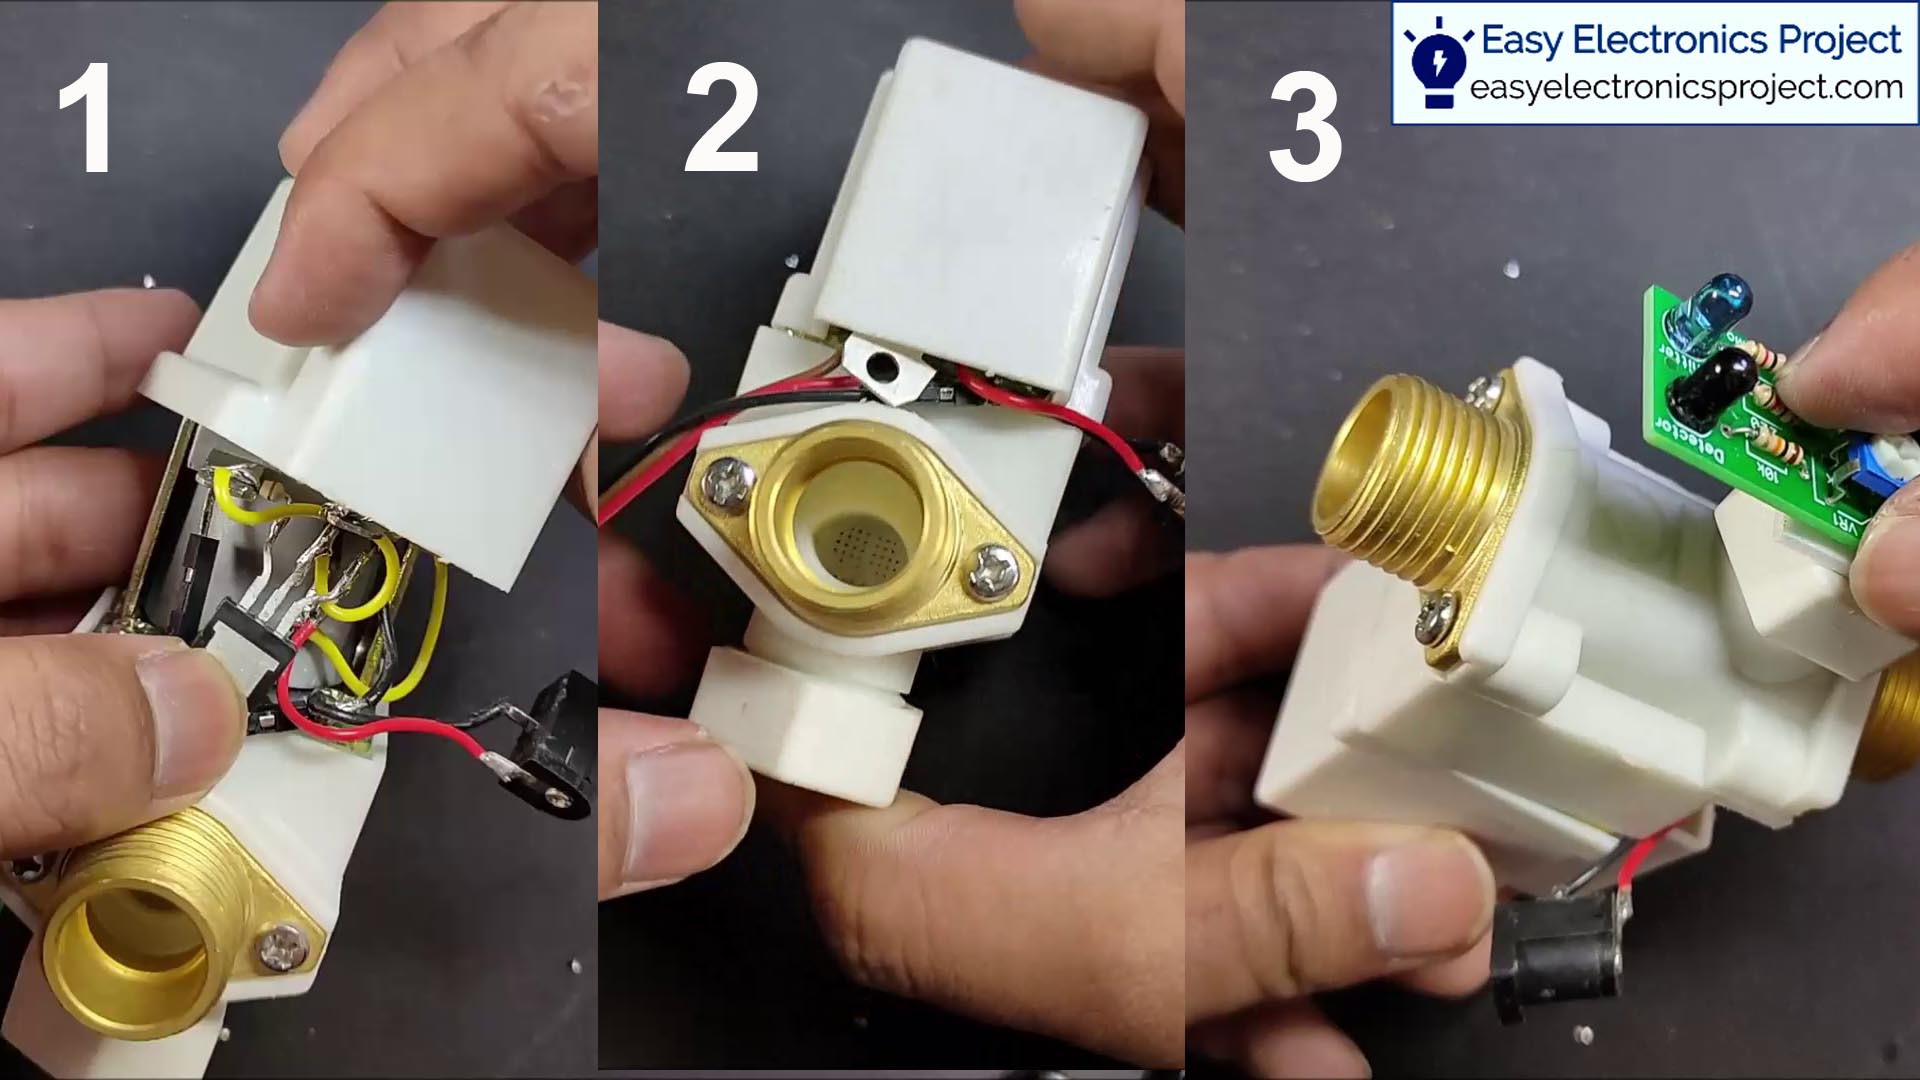
Now we need to place the circuit inside the housing carefully. Here, I have used proper insulation to avoid any short circuits.
Fitting the Water Switch
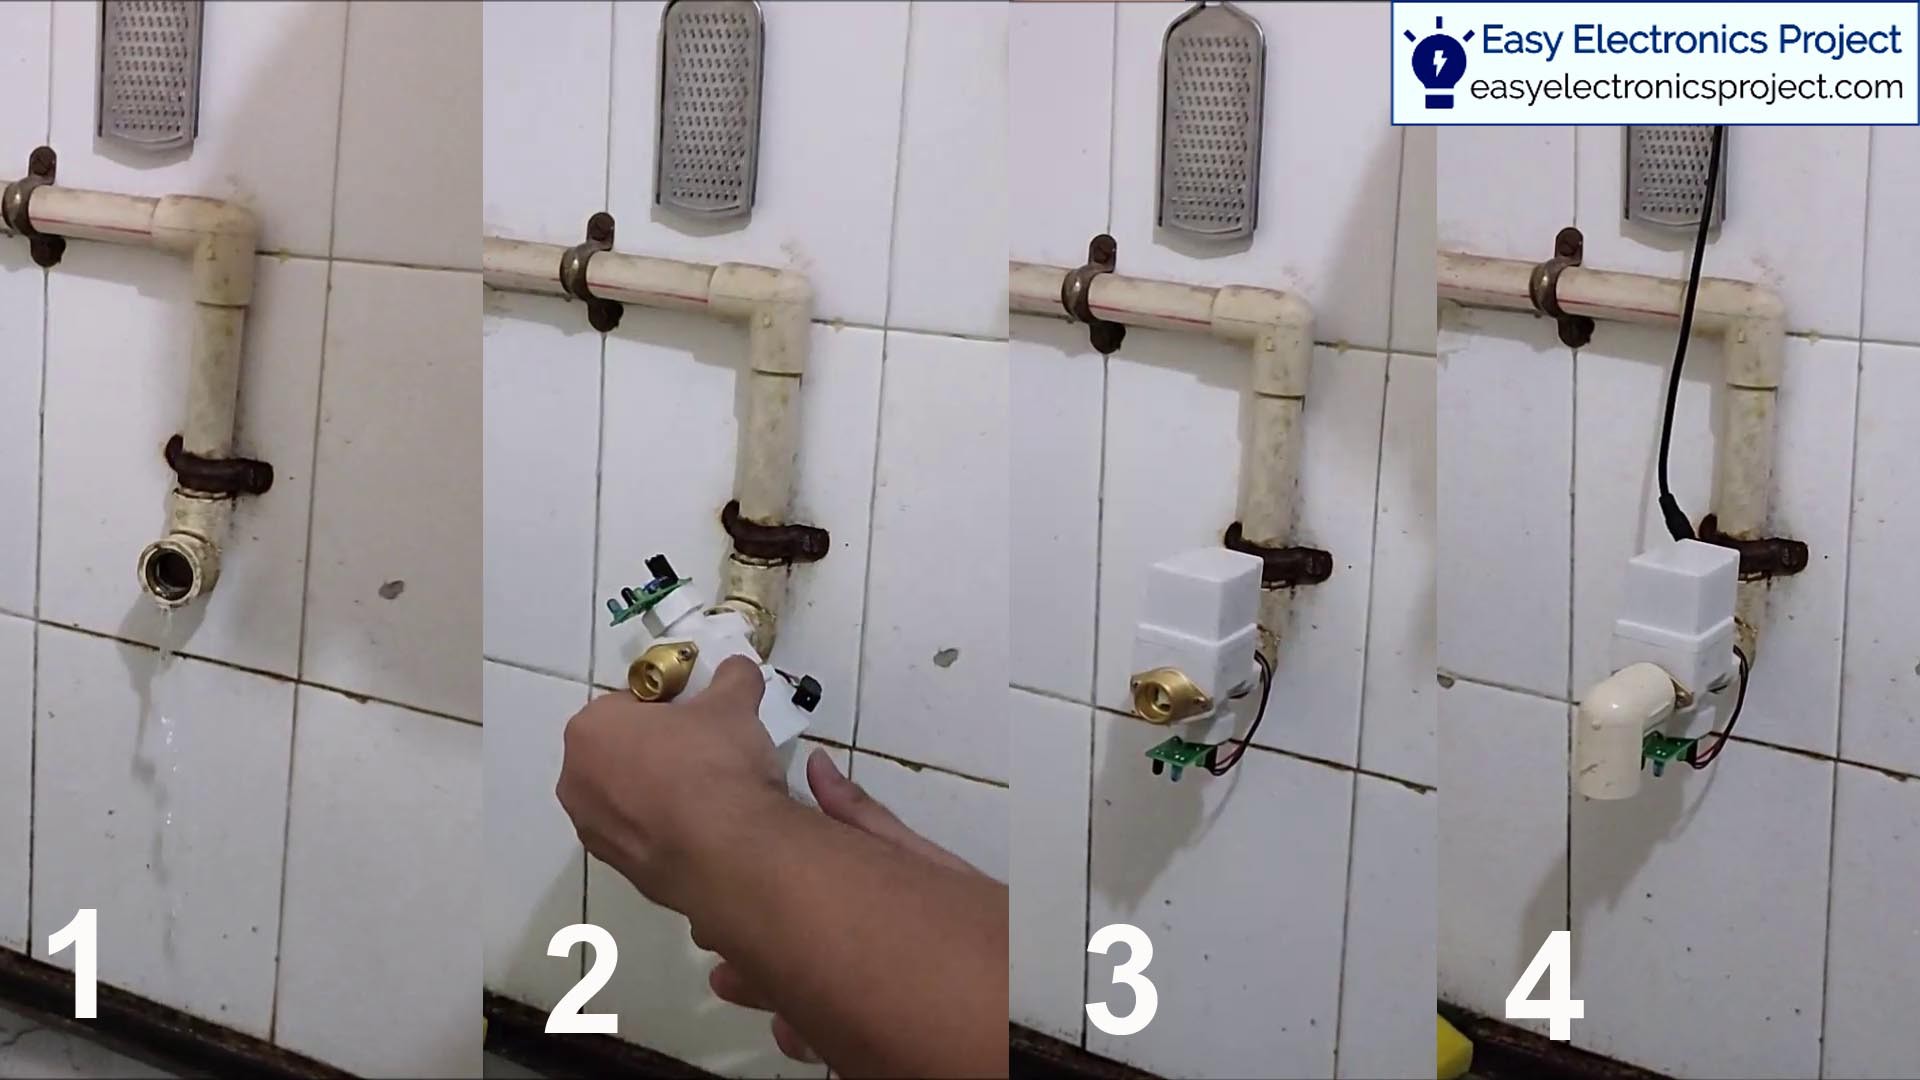
The Automatic infrared water switch can be easily mounted with an existing pipeline as you can see in the picture.
Finally, the Automatic Water Switch Is Ready to Use:
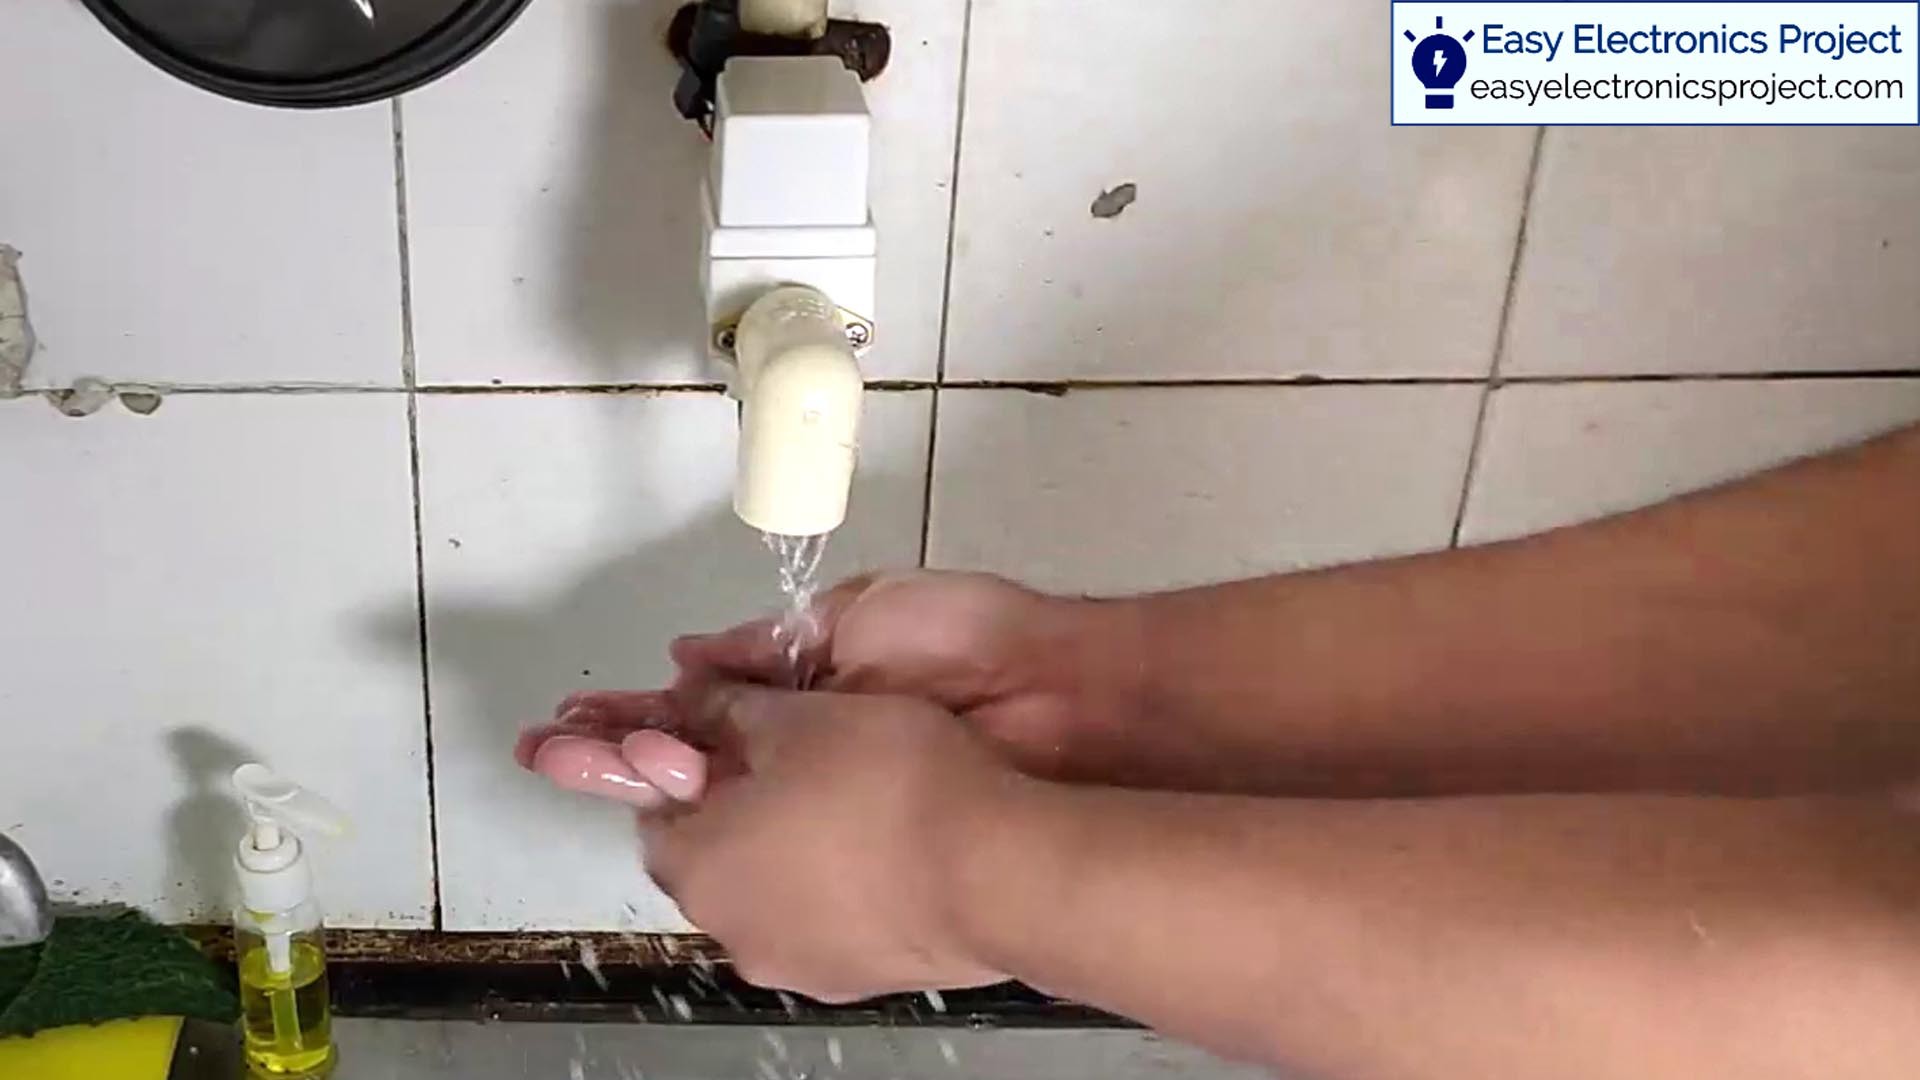
Now you can save a lot of water with this project as water will only come out if you place anything under the Automatic Water Tap.
I hope you like this Automatic Infrared water tap project.
Please do share your feedback on this mini-project. Thank you for your time.
You can also visit easyelectronicsproject.com for more such projects.
 Lithium ION
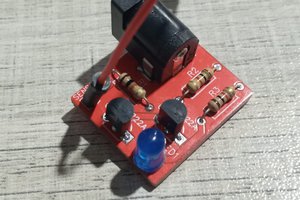
 ElectronicABC
 Jan Neumann
 ashish