 Vincent
So the whole X27 idea is out of the window, really. In one of my purchasing blizzards from AliExpress, I found a VU meter with just the right dimensions. Using some code I found online, I managed to get the thing working on an Arduino Uno. Using two dials I managed to determine the max value and the vibration values. This looks way better than my dingy old X27 motor!
I then got to work in trying to fit the whole thing into the Rad Module. I bought 2 of them, so I sacrificed one to see how far I could cut it down. That way I'd have enough space in the Rad Module for the Artemis Nano and other boards.
...I ended up totally destroying the 1st one but at least I had an understanding of how it all worked.
I then asked my AliExpress supplier how I could open the case so I could change the graphic on the dial to a more Pip-Boy accurate one. They sent me a video that showed someone bascially pulling the top off, so that was more simple than I thought. The plastic topped screw in the middle doesn't seem to do anything.
After some testing with fitting and cutting away some internal supports, I decided to just go for the easy route and just flip the dial the "wrong way round", as that would provide a working dial and did not require me to re-engineer the whole module. It will mean I will most likely have to put the Artemis Nano somewhere else. I think I'll add it above the screen, in the Red Button Module:
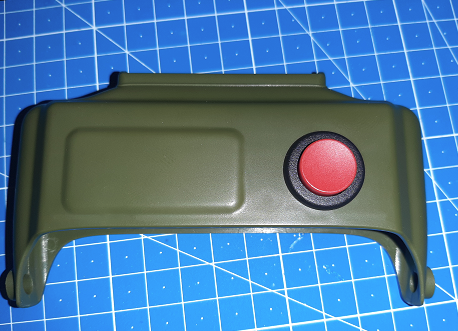
Perhaps I can then use the button for something related to the Artemis Nano's functions. Maybe even use it to reset the clock on the OLED displays for the HoloTape Module!
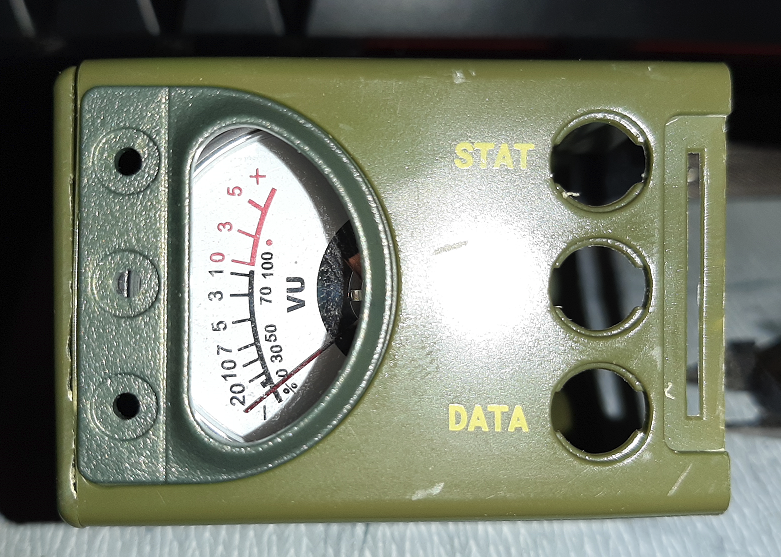
All that is left is to find myself an off-the-shelf 3 button array that is small enough to fit in the space next to the VU meter, or design one of my own. Those buttons are real tiny, so I hope I can either find a good match for them, or reuse the dummy buttons from the kit.
As a final note, here's a pic of the Rad Module with the VU meter in place:
 Looking good, huh? Well, that's it for the Rad Module for now. Hope you enjoy these logs!
Discussions
Become a Hackaday.io Member
Create an account to leave a comment. Already have an account? Log In.