 opentag
I made open tag for a few reasons. To share my love for electronics with other people, to teach other people something cool, to play a fun game with my friends, and to inspire a new generation of engineers, makers and programmers. And I hope you can get into the guts of this system, see how it works and make it your own. And with that, here's what this is.
I'm building a class based game of laser tag, similar to the video games Team Fortress 2 or Overwatch. It's a game where each person can pick a unique ability and work together as a team to complete some objective. Each class has an ability that has different properties. Some are good at close combat, others are good at a distance. Some heal allies and others make it easier to damage foes. You get to decide what ability you want to use and how to best assemble your team to defeat your enemy.
The purpose of this is to give the game both breadth and depth (for more on that, check out this video). Instead of a standard game of laser tag, where everyone has the same device that sends tags the same distance and does the same thing, you get to pick which type of tag you want to send based on how you want to play the game. You get to make meaningful choices about what ability you want to use based on how you want to play the game, and each one is experientially different. This makes the game more fun and adaptable to different play styles.
In addition to making the core game fun, I want this to be simple to build and understand. The point is not only to make a fun game, but to make something that other people can build off of. I want you to be able to take what I've built, understand it, and make it your own. And if it inspires you to learn more about electronics, Engineering, programming, or any other science, awesome.


 Eddie
Eddie
 Johnny
 John Grant
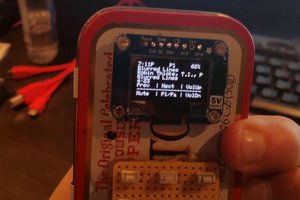
 mikeneiderhauser