 Dan Jilek
After a months long hiatus to take care of more pressing matters, I finally have some time to spend on lower priority projects. Adafruit's Black Friday / Cyber Monday sale made the Pimaroni display I had been looking at a bit more affordable, so I picked one up right away.
As previously mentioned, the Pimaroni 10" display is slightly larger than the bezel space for the original display (9.5"). That being said, the picture on the Pimaroni display doesn't go all the way to the edge, so I can probably install it in the existing space without losing much. The bigger problem is fitting it around the existing mount holes.
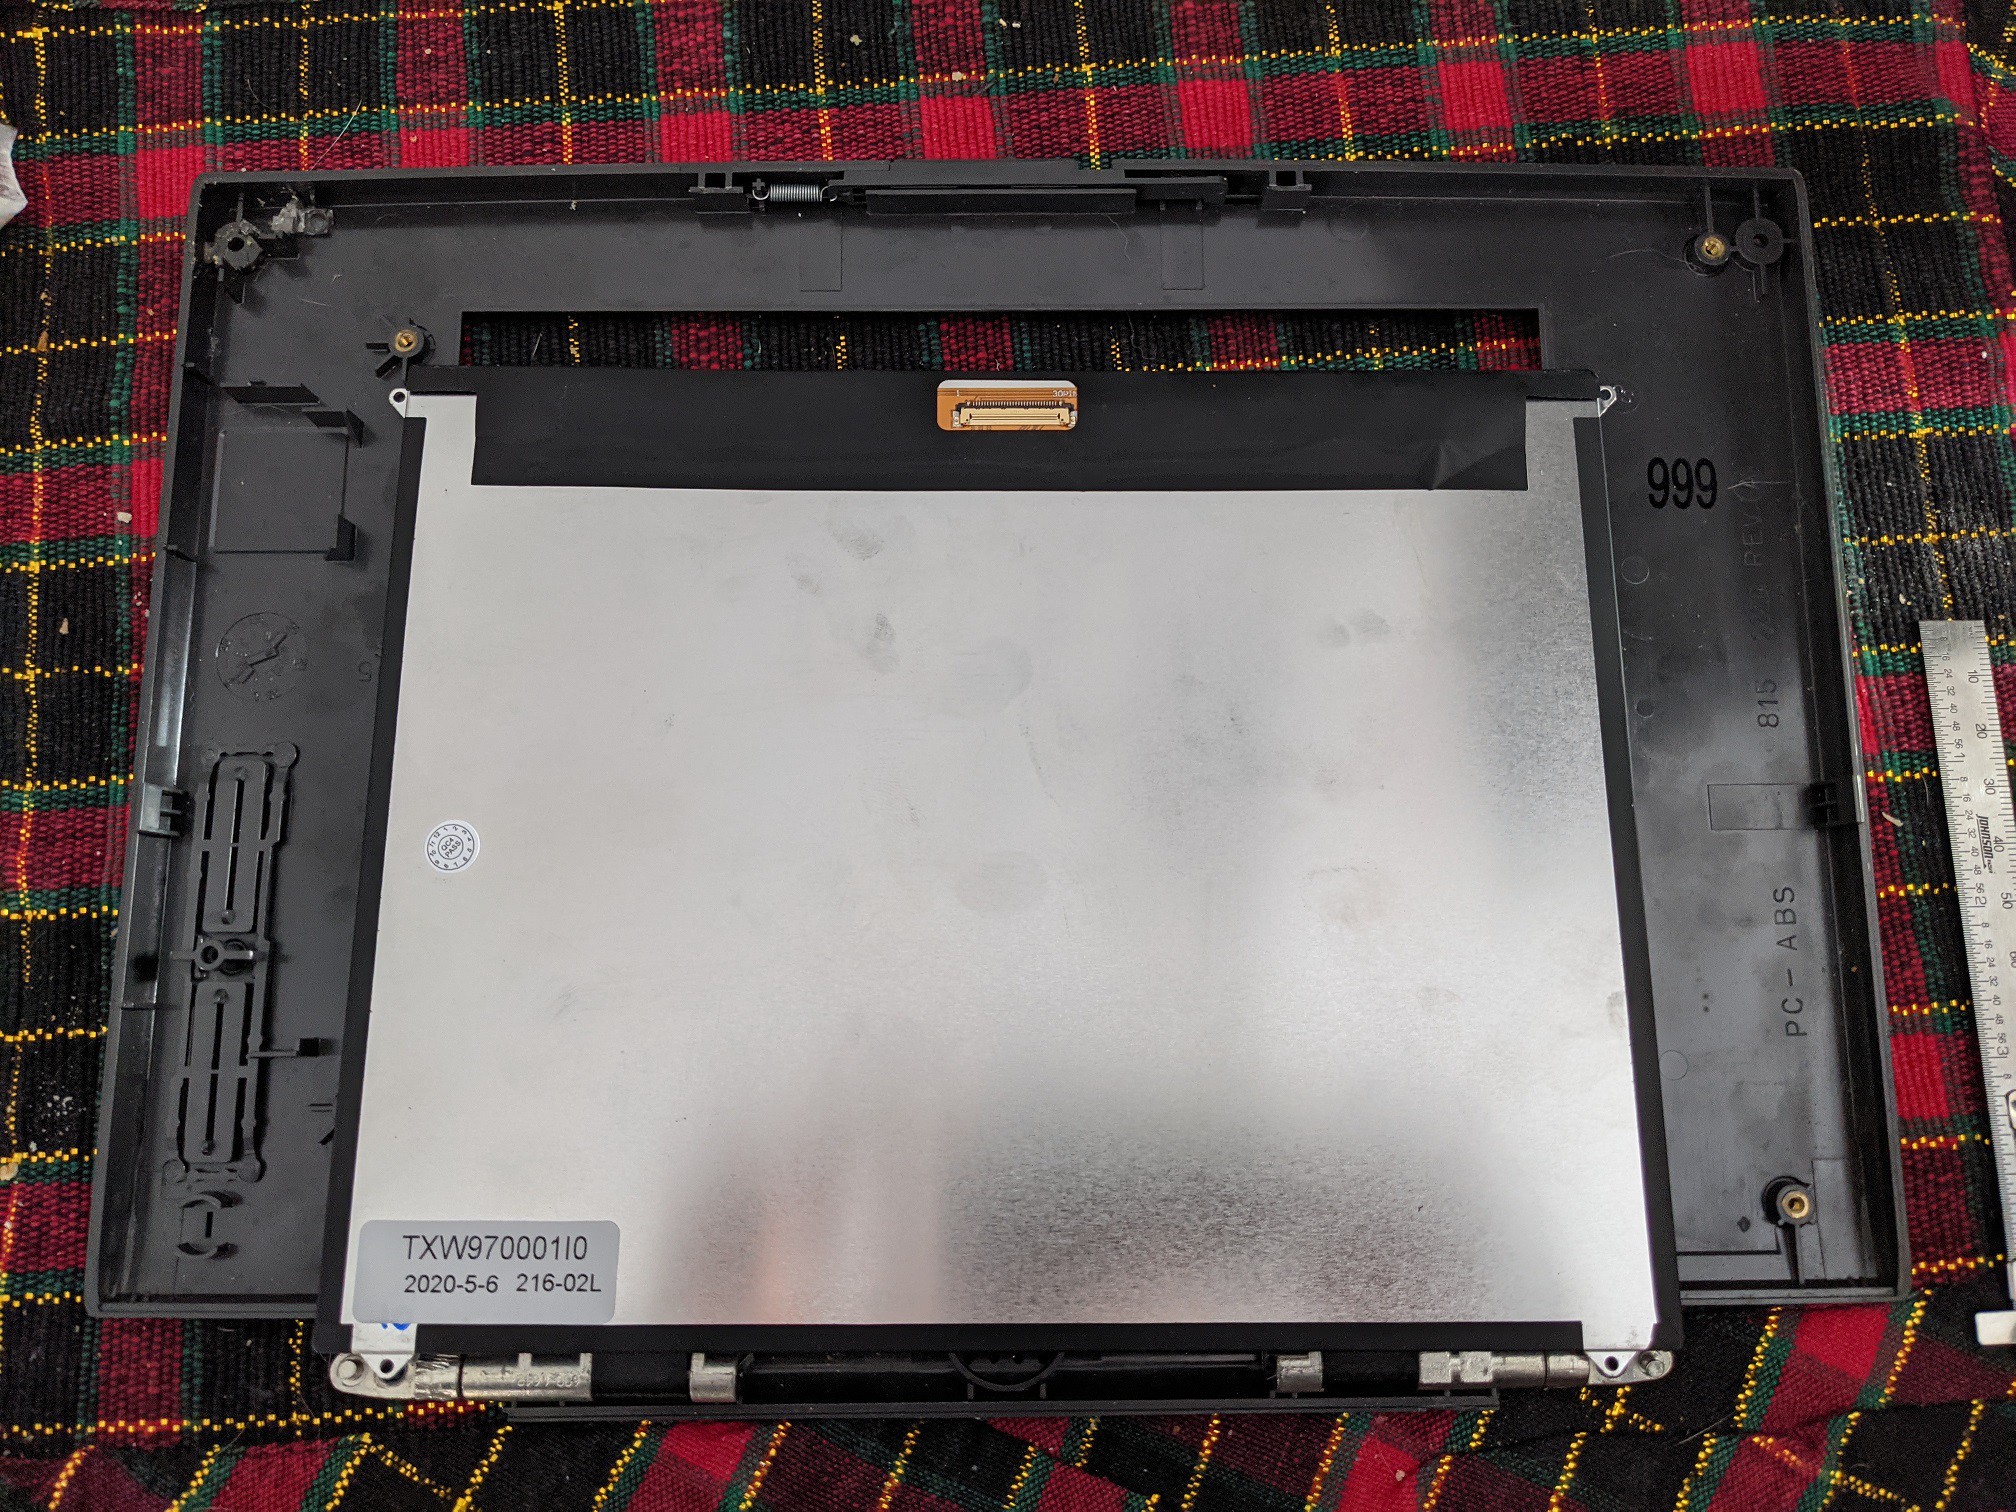
On the left side of the picture, which is actually the right side of the display, the mount points for the old display are in the way for centering the new one. If I were trying to do a non-destructive mod, this would be a problem, but since I'm never putting the old display back in it's a little easier to deal with. An X-Acto knife makes short work of the fairly brittle old plastic, then a pliers to tease out the heat press inserts leaves me with a relatively smooth surface.
Now to mount the display. I had toyed with the idea of 3D printing some angle brackets to go on the corners under the mounting tabs. They would need to be a couple of millimeters thick to get the right stand-off distance from the bezel. However, that would still require adhesive in addition to the printed parts. Then I remembered I have a bunch of Scotch mounting squares on my desk. They're about the right thickness, won't be bothered by a slightly irregular surface, and quite sticky.
I traced the bezel and cut out a paper template to tape to the front of the display so I could get the portion I wanted visible properly centered in the space. Then I traced the display in sharpie, took it off the bezel, and placed pieces of mounting square under where the tabs go.
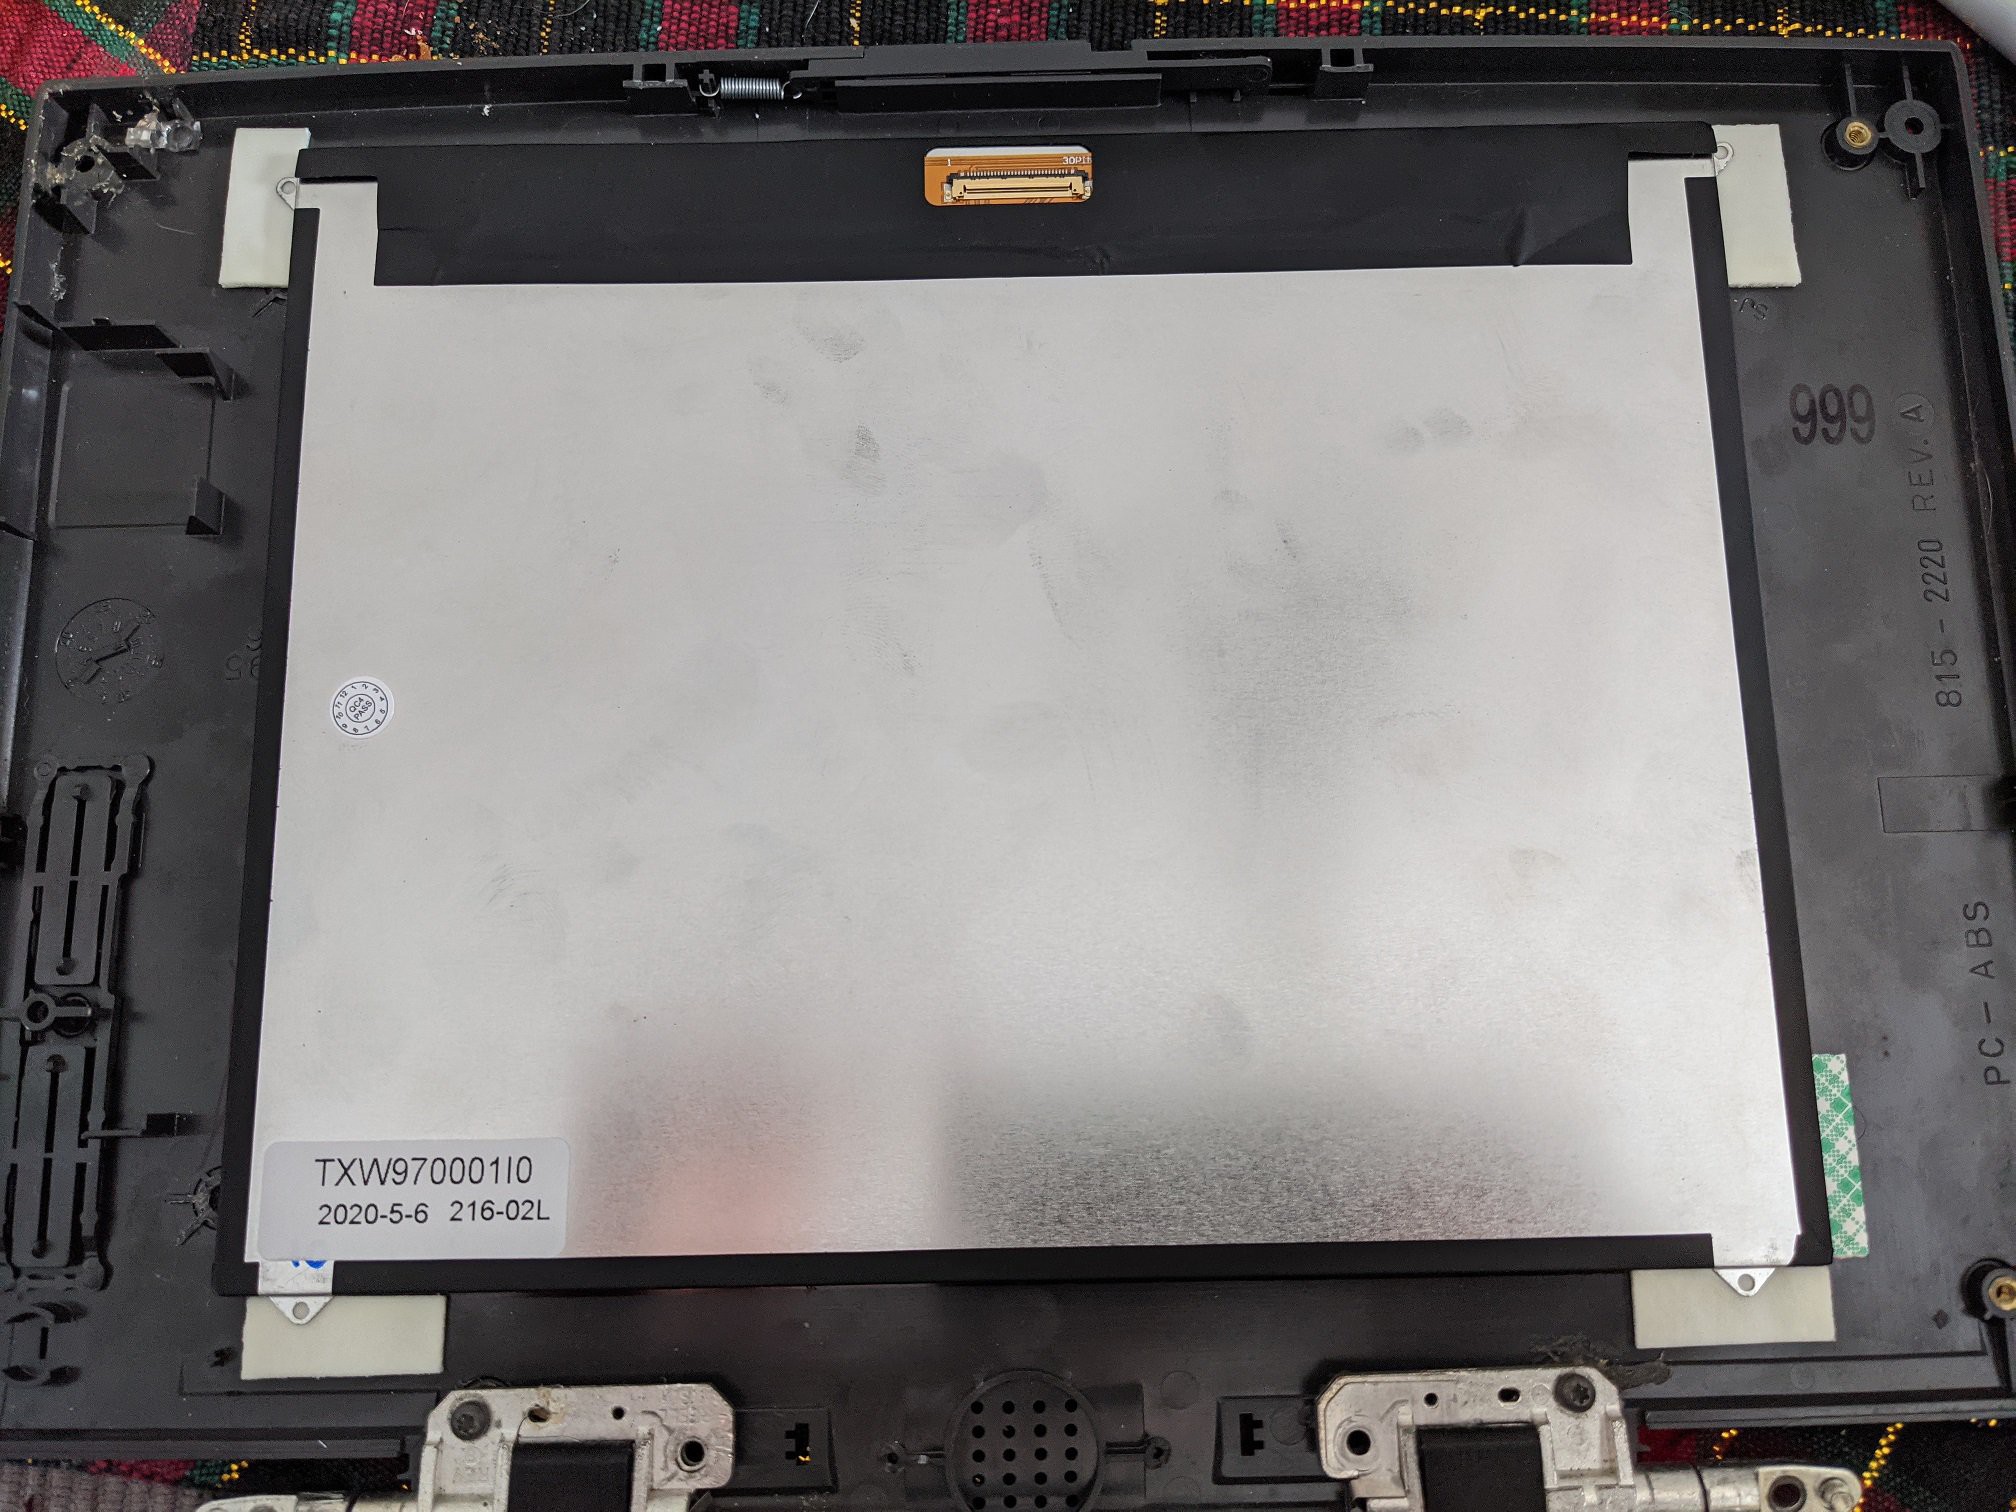
Effective, if low tech. A second layer of mounting square on top of the existing one sandwiches the tabs between layers of adhesive. They're not going to be able to move any time soon. As long as the squares stay attached to the bezel, we're in business. An added benefit of course is if I need to take the display out for any reason, it will be relatively easy and only require me to replace a few cents worth of readily available adhesive.
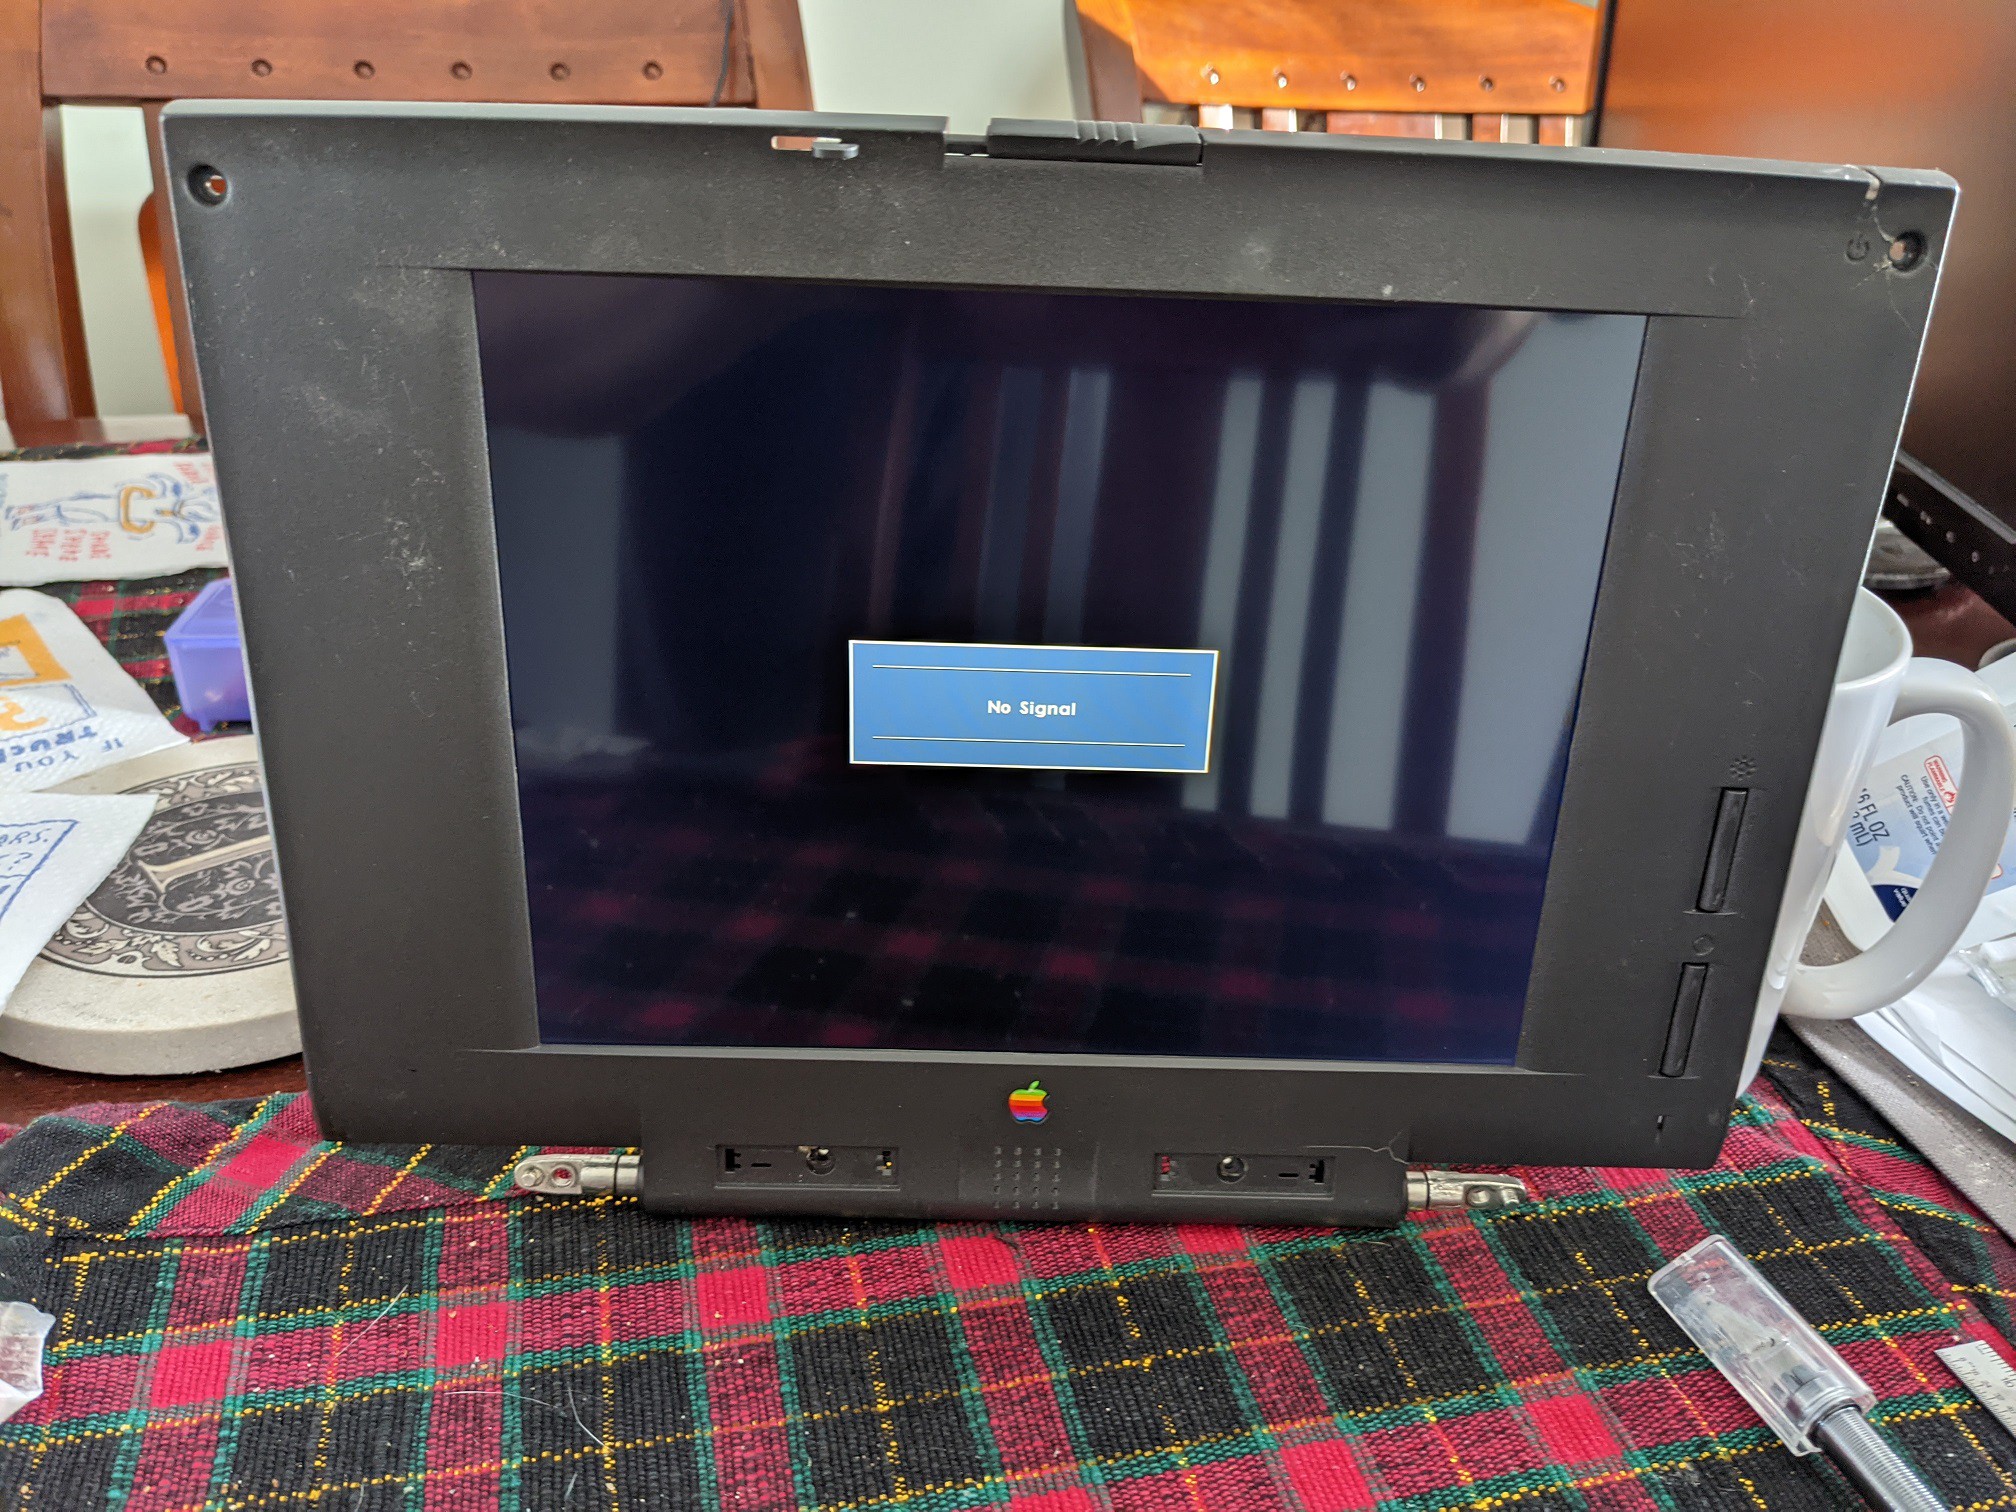
I now have what is basically a strange looking monitor with no stand. Progress!
Discussions
Become a Hackaday.io Member
Create an account to leave a comment. Already have an account? Log In.