 Pep3175
Once the PCB has been modeled in Fusion 360, the other elements have to be made of in order to be able to make a box with the right dimensions. For that, I search as much as I can on the Internet for the 3D files of my components and modules and when I can't find them, I measure the size and make myself a basic model allowing me to report the main dimensions on which to rely.
Of course, I don't need all the elements of the device. The most important elements are : the screen, the battery, the USB port, the switches and the HP.
Here what it looks like :
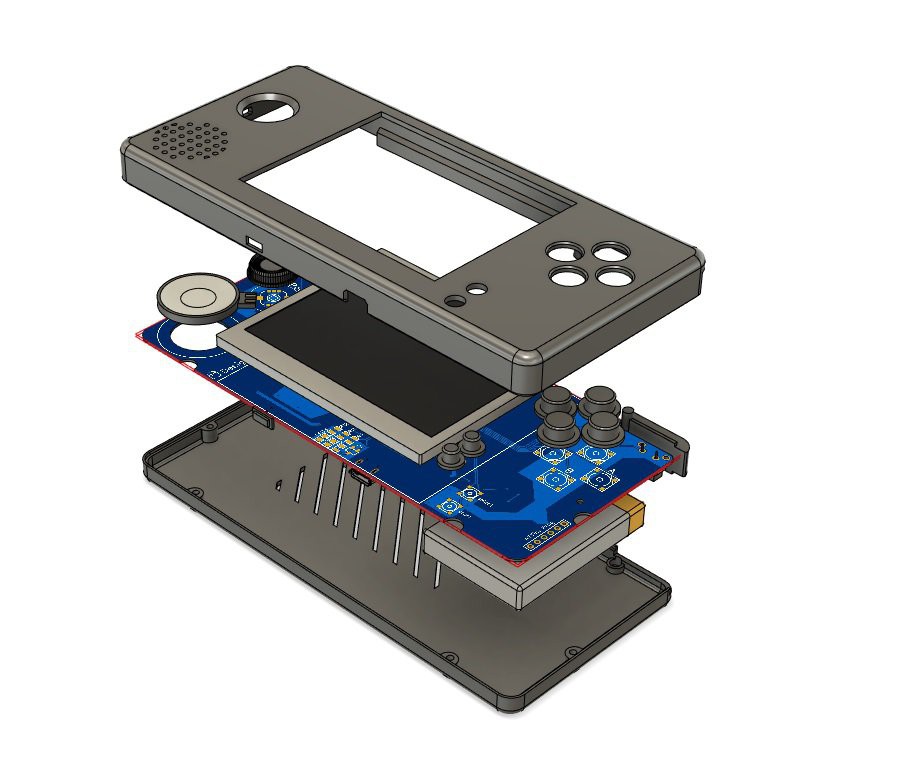
This is not the most recent rendering and I have already made some new modifications such as the rear vent allowing a better dissipation of the heat produced by the processor.
3D modeling should always be done with the print in mind. Indeed, not every model is printable and keeping in mind the way a 3D printer works when one is designing the 3D model gives better results.
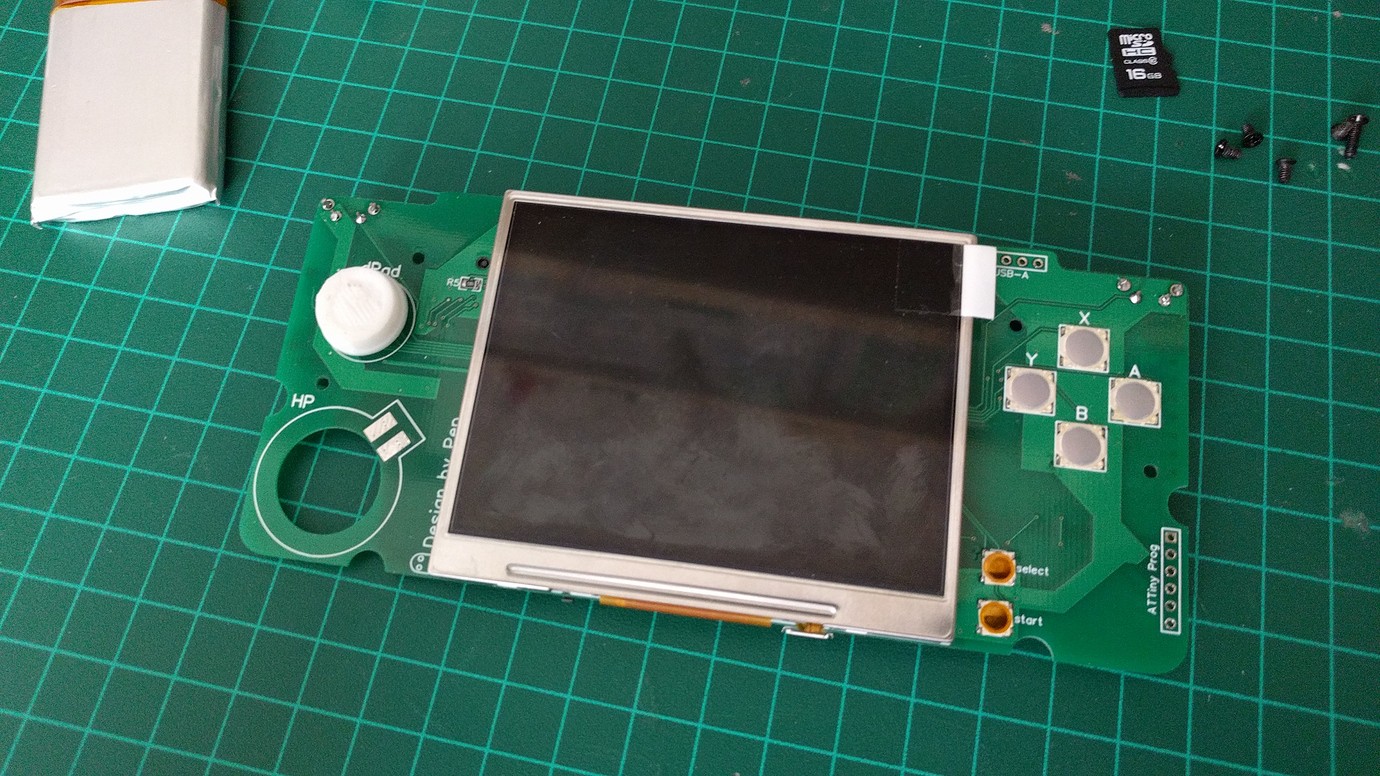
Concerning the soldering of the components, it is clear that a heat gun is more than recommended. I also used a stencil to deposit the soldering paste for the DDR2-SODIMM socket that will host the CM3. There are still 200 pins and after facing some difficulties to solder it on the first prototype, I preferred to make my life easier for this time and get a much better rendering.
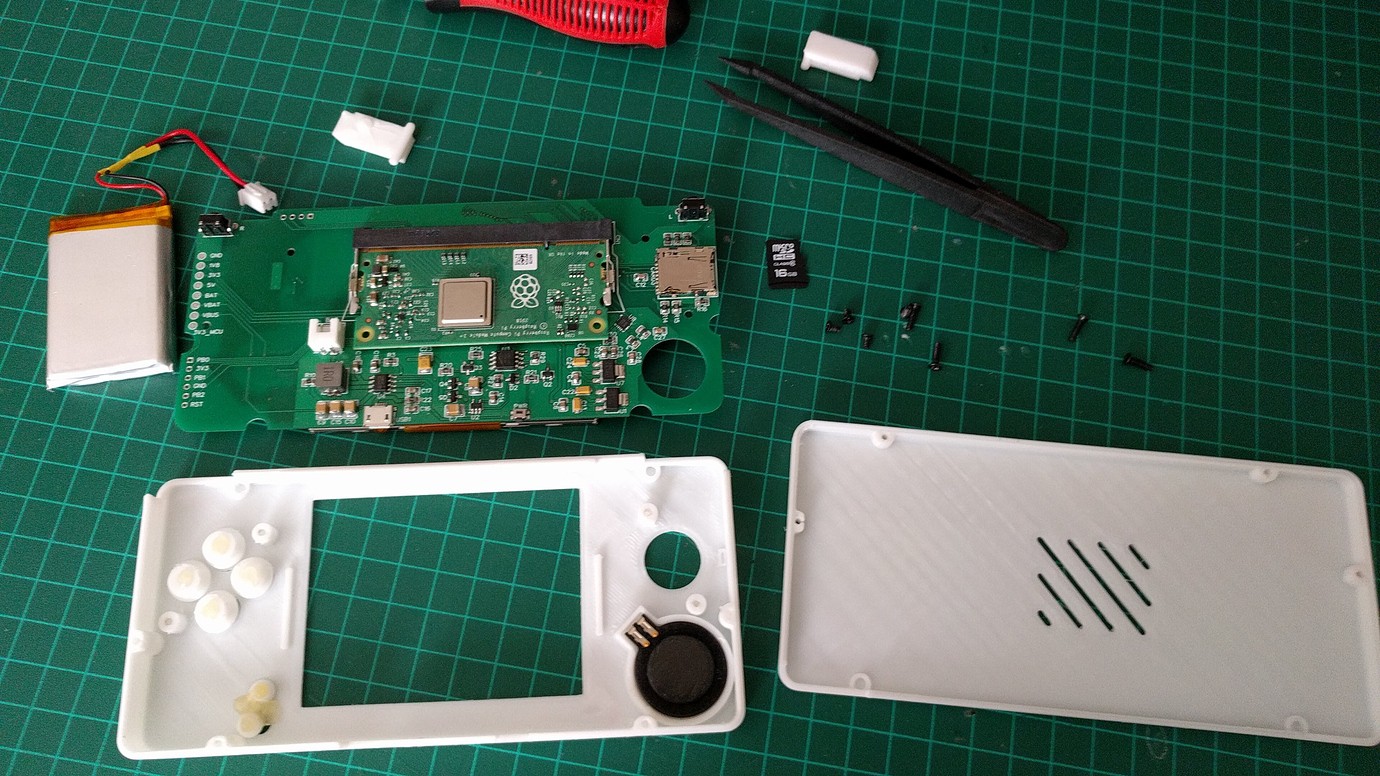
In the end, the different elements are ready for assembly :
Discussions
Become a Hackaday.io Member
Create an account to leave a comment. Already have an account? Log In.