 EK
EKAll of the pieces have completed printing, and what’s next is to assemble it all! Here are all the pieces:
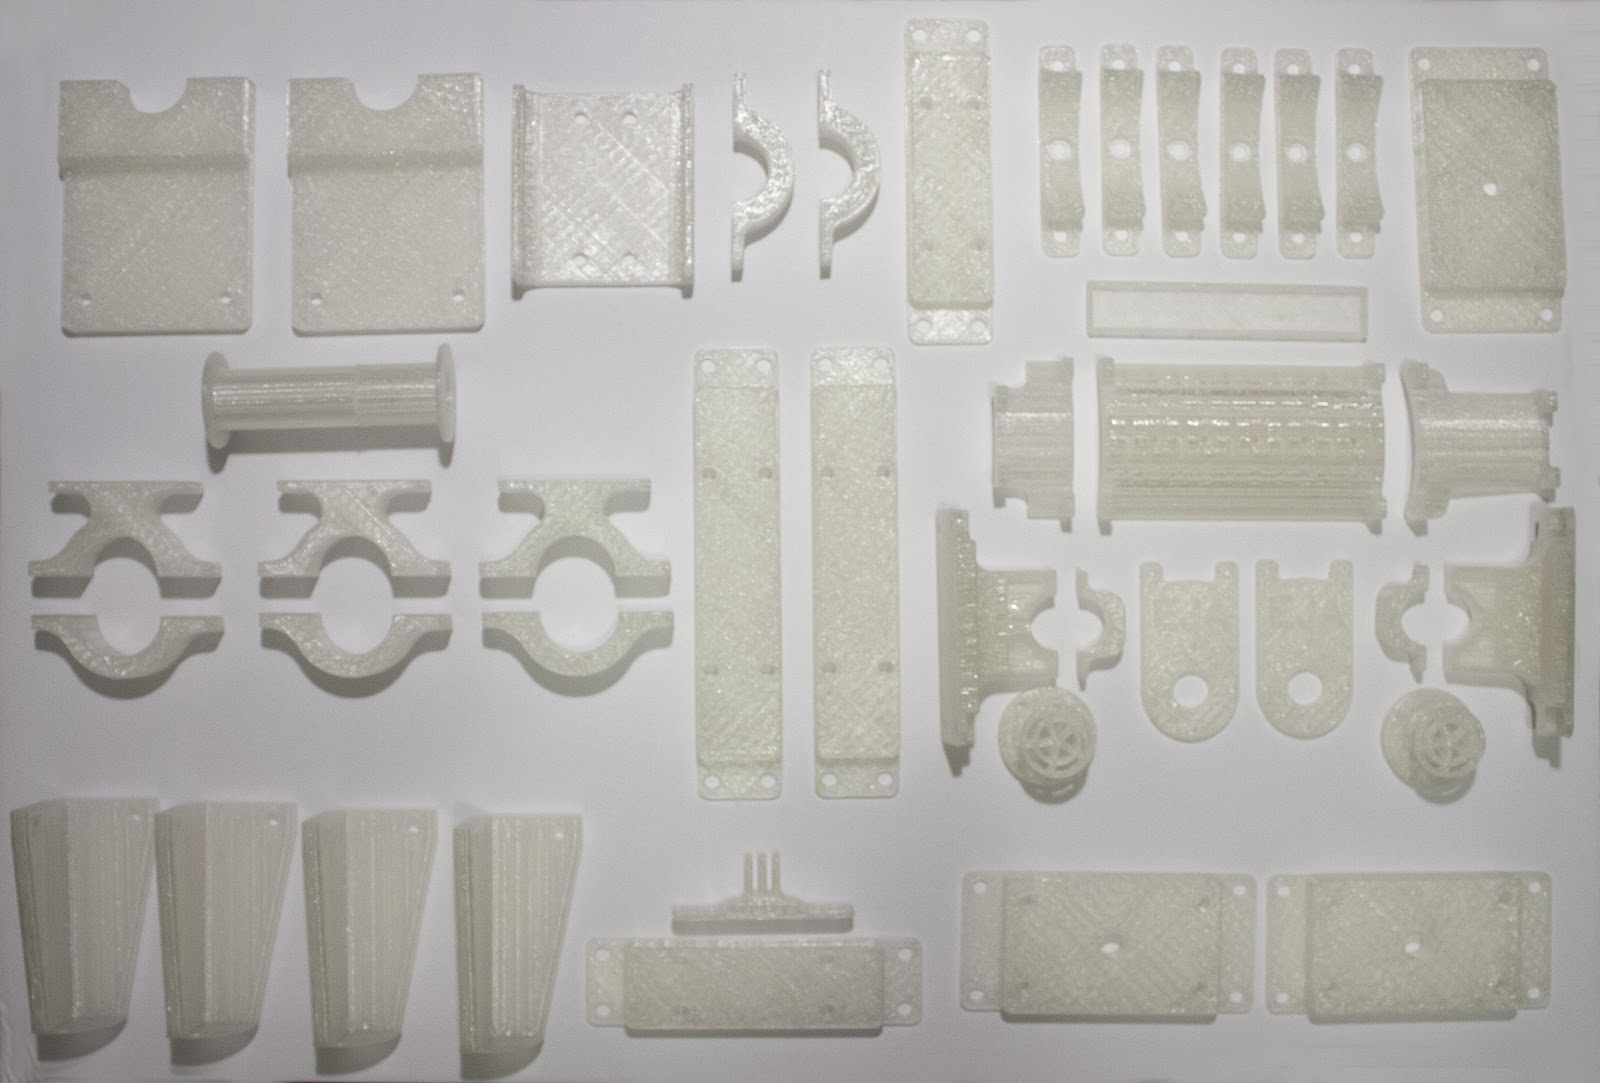
These pieces will attach to the HDPE top plate of the spool box. For now, we’re focusing on testing the release mechanism.

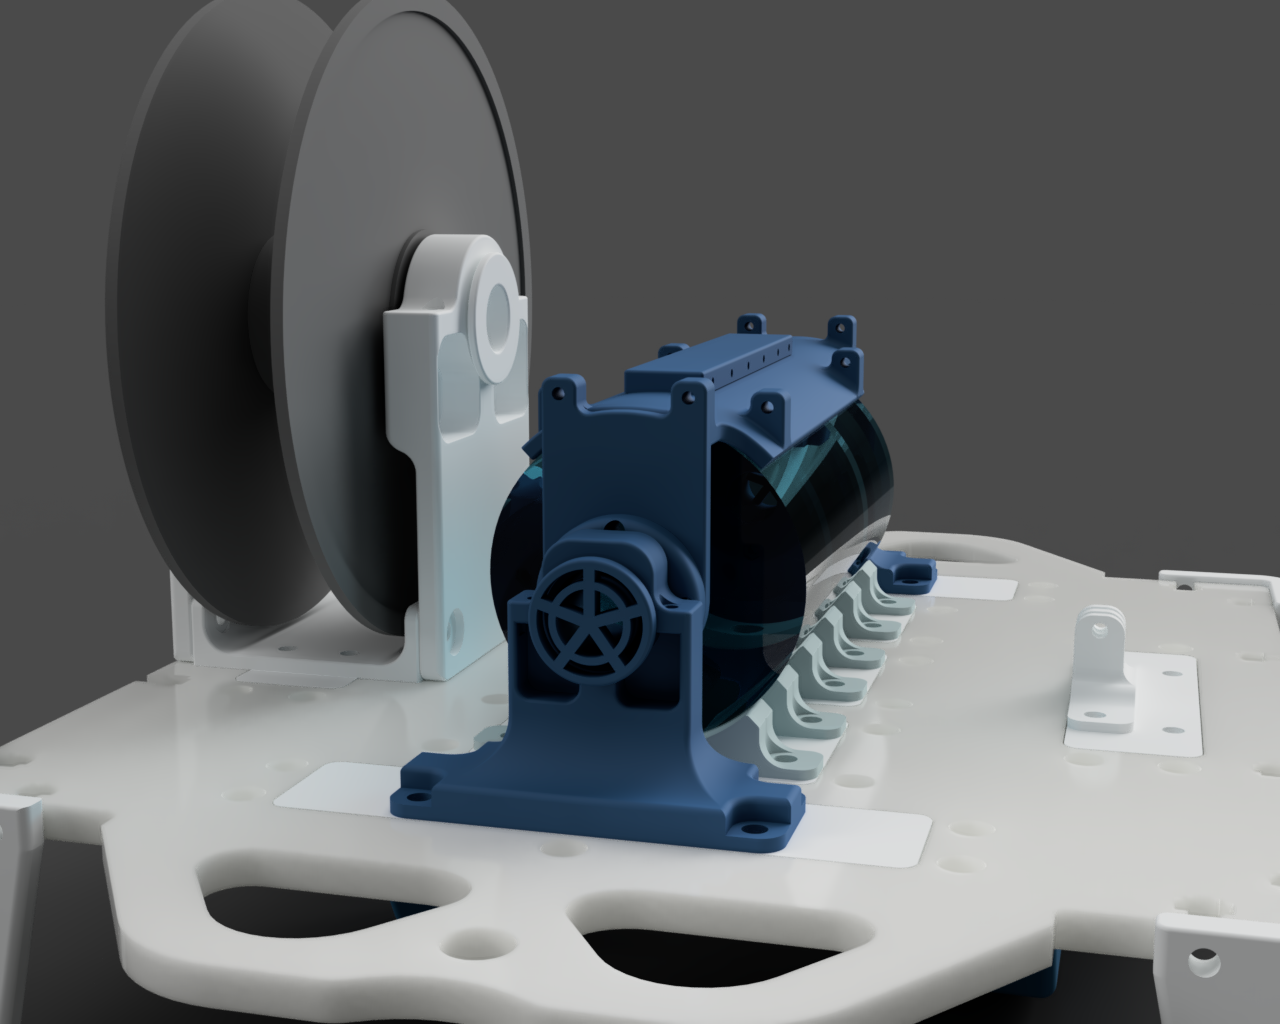
For weight, there is a 10lb dumbbell attached below the middle. Ideally, this load would have been spread out over two dumbbells, however - everywhere is sold out of weights because of the pandemic!

The external wiper takes on a bit of a wider form, serving as a way to hold down the buoy. It’s attached to a point on each end that use simple 3D printed sleeve bearings.
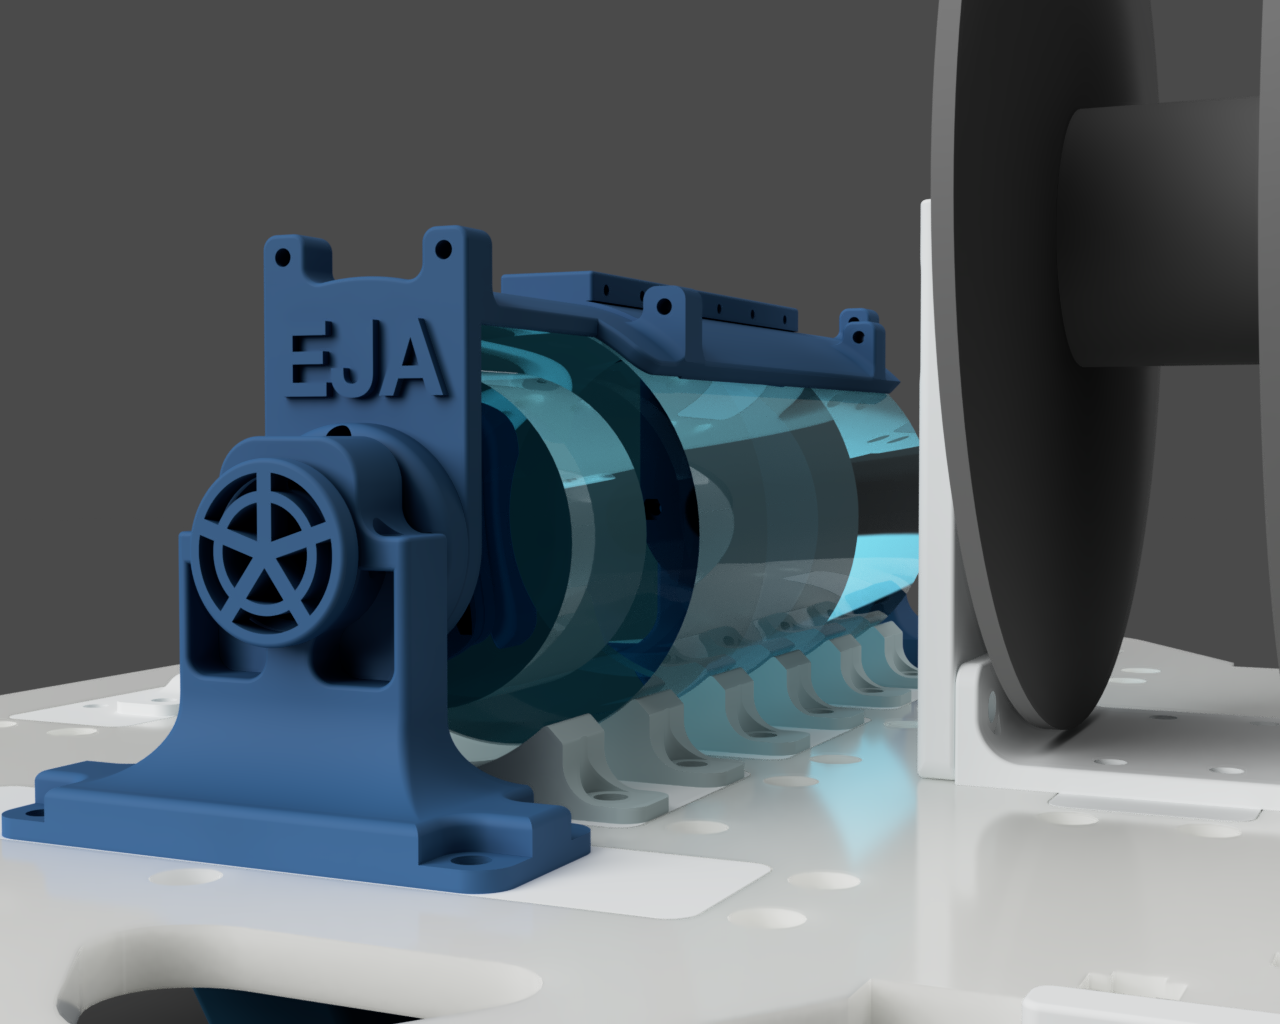
The rope that attaches to the buoy can be attached to the spool. This isn’t the final design of what the solution would be, but it will allow us to test properly.
There will be a rope attached to the handles for placing the whole assembly in the water and bringing it up. There’s a GoPro mount near the front that will be able to see how everything works underwater.
The process of design for this was to design a piece, print it, then before that was done, design the next piece and print it, etc. Idea here being that it’s more suitable to multi-tasking. One of the caveats to this approach is that ideally, a dedicated amount of time could have been spent on the spool box, and that could have been cut out of HDPE at DesignLab. One of the benefits of going this slower 3D printed approach, is that all of these brackets and attachments can be easily iterated on. Ran into a bit of an issue with my 3D printer with X-axis layer shifts (but only at a certain Y position), and figured out a workaround for now.
Next step is to assemble it all! All of the pieces should attach together as simply as this, but in reverse:
This morning it was really energizing to see Leo’s and Tobi’s progress on the boards and coding. We even got to see a sneak peek of the finished circuit boards from Tobi live at the company’s HQ. Leo explained about some of the code he had the chance to write, and even implemented OTA updates. Hopefully they will post project logs about this soon!
Thanks again to the DesignLab for milling the top plate piece out of HDPE. Time to go and assemble the pieces!
Discussions
Become a Hackaday.io Member
Create an account to leave a comment. Already have an account? Log In.