 Michael Gardi
The Tape Panel will hold the Flip-Byte and implement the Tape Head. In addition some buttons will be added to allow the user to reset the tape to a default state and to modify the bits and starting head position on the tape prior to running the machine should they choose. It looks like this:
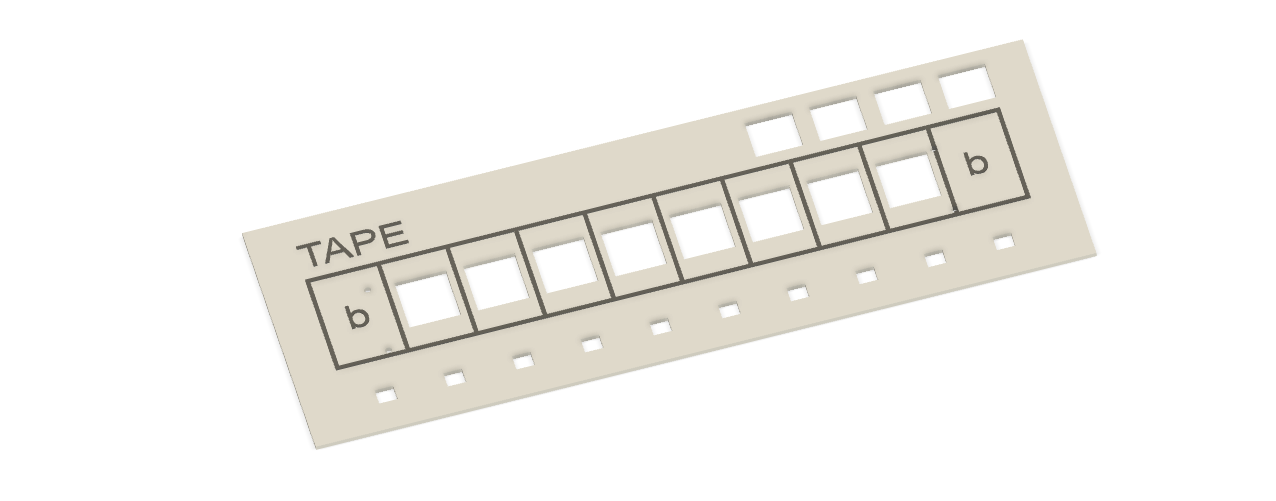
So while I wait for the actual Tape Panel to finish printing I thought that I would talk about the controls.
Buttons
The tape control buttons will go into the four spots on the upper right of the panel. Rather than buying "off the self" I decided to design my own buttons so that I could coordinate the look with the numerous panel mounted lamps that will be used for this build. Anyone that has seen some of my other work will not be surprised by this.
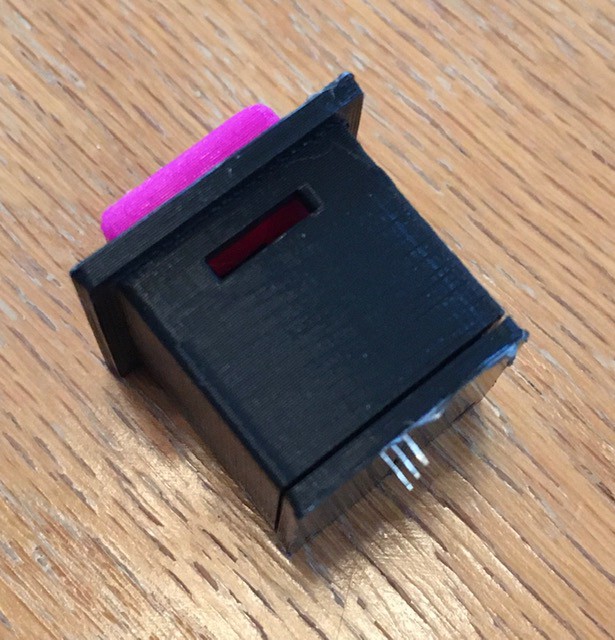
So we are talking about a simple push button switch here that I built around a small micro switch (Amazon: Gikfun Micro Switch Long Hinge Lever (Pack of 20pcs) for Arduino EK1713) that I had lying around. Here are the mostly printed parts:
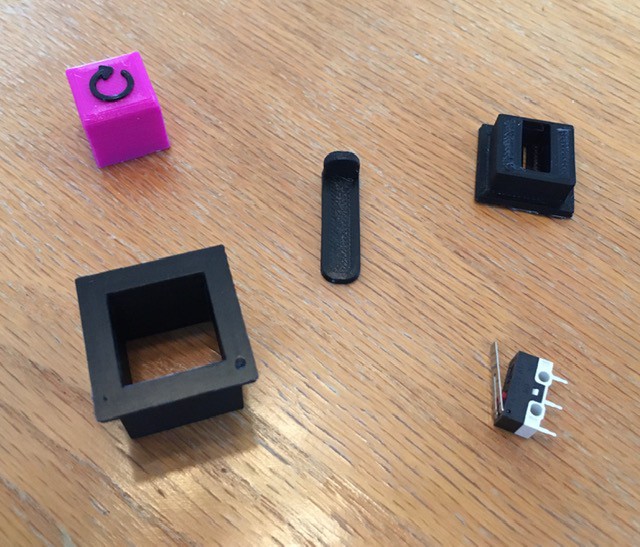
Assembly is pretty straight forward. Start by sliding the micro switch into the base piece making sure that the lever actuator does not extend past the edge of the base (there is one right and one wrong way to do this).
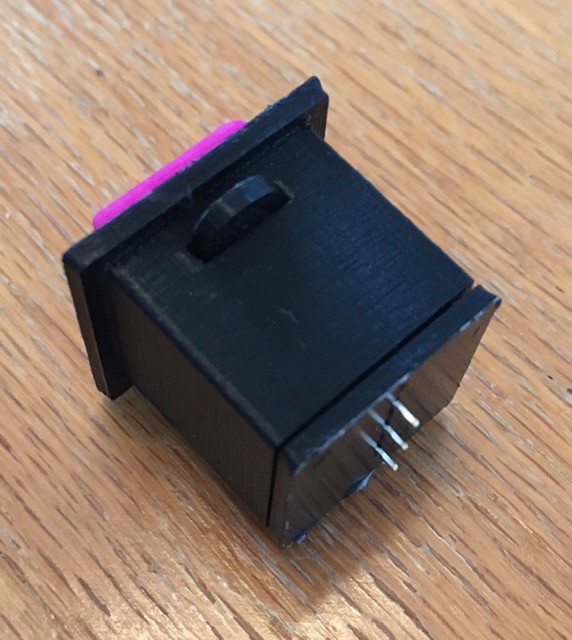
Next slide the button into the console mounting piece. Make sure that the slot on the button is aligned with the smaller slot at the top of the shaft.
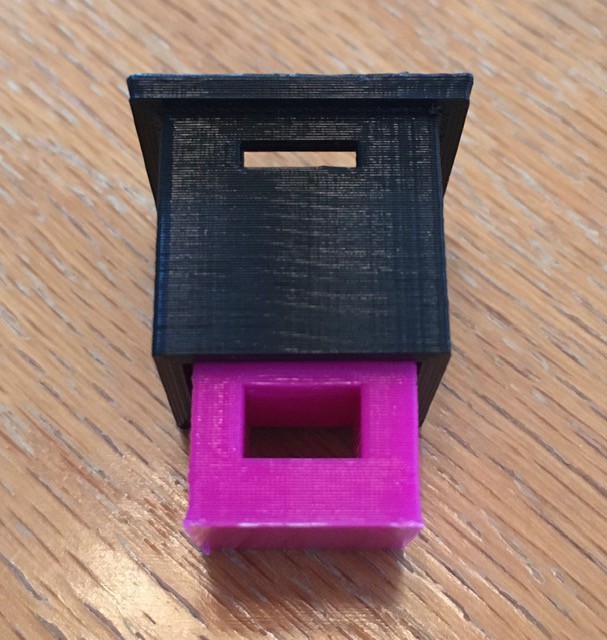
Now attach the base piece to the bottom of the console mounting piece. I used a small amount of glue to hold it firmly in place.
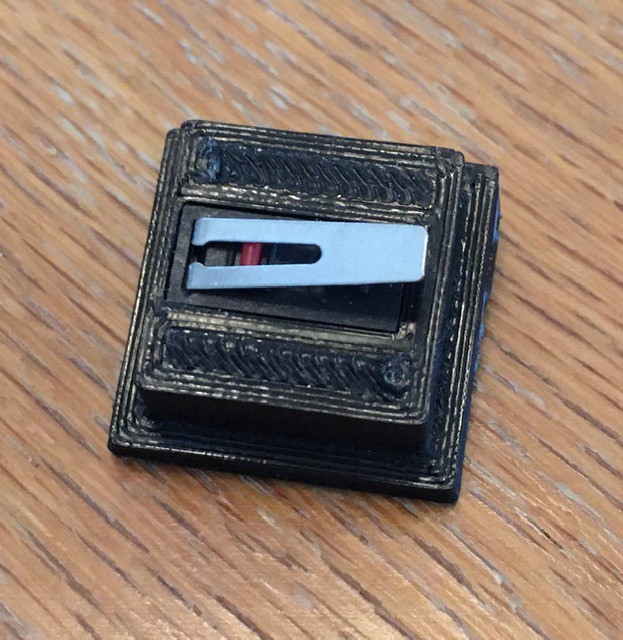
Finally (for now) slide the locking tab into the slot at the top.
This will keep the button from popping out and when it is time to mount the button on the panel it will serve to hold the button assembly in place on the panel.
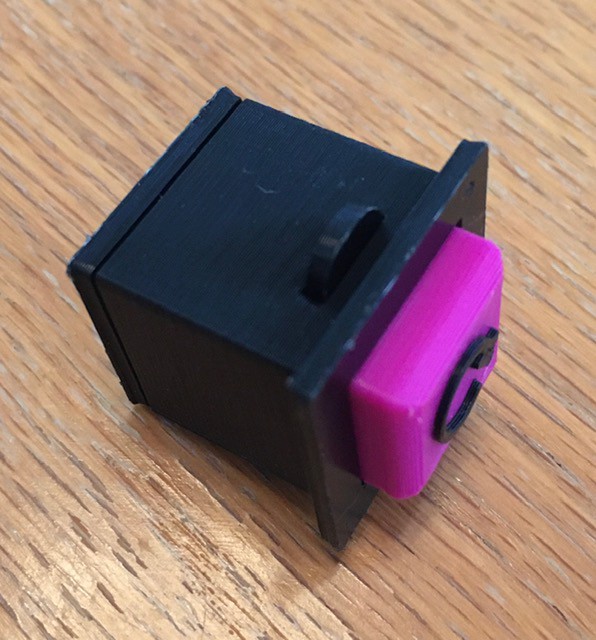
This is my "Reset" button. More to come.
Lamps
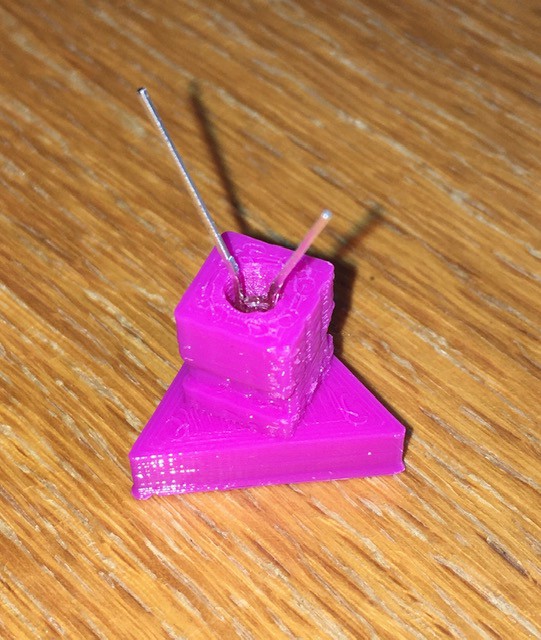
Since the Tape itself is fixed it means that the Tape Head has to move. There is a spot under each cell of the tape for a lamp that will indicate the "current" position of the Tape Head. The lamps are just simple white high intensity 3 mm LEDs (Amazon: Gikfun LED Lamps 3MM White Color White Light Super Bright for Arduino (Pack of 100pcs) AE1124) with a custom 3D printed housing. Here are the parts:
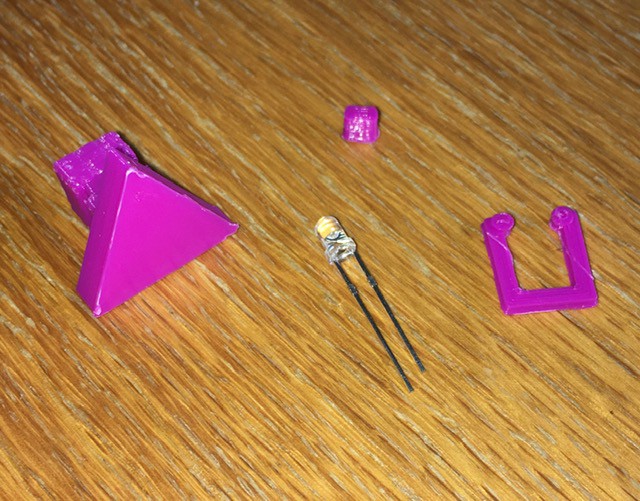
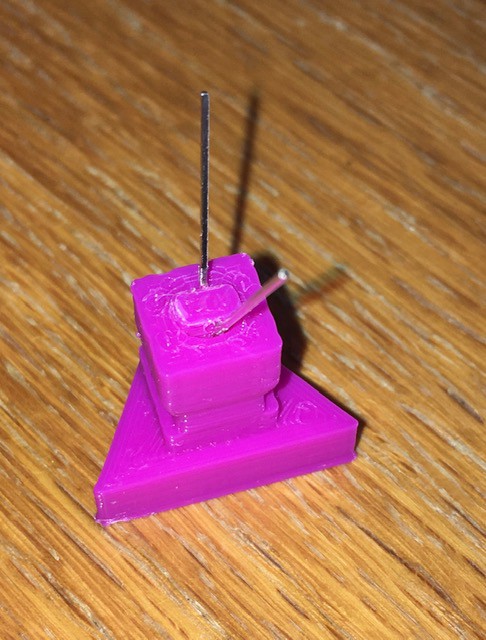
Nothing to the assembly. Start by sliding the LED into to the hole at the base of the lamp as far as it will go. I bend the leads slightly apart to make the next part easier.
Then press the small plug into the hole keeping the leads separate. This will hold the LED firmly in place.
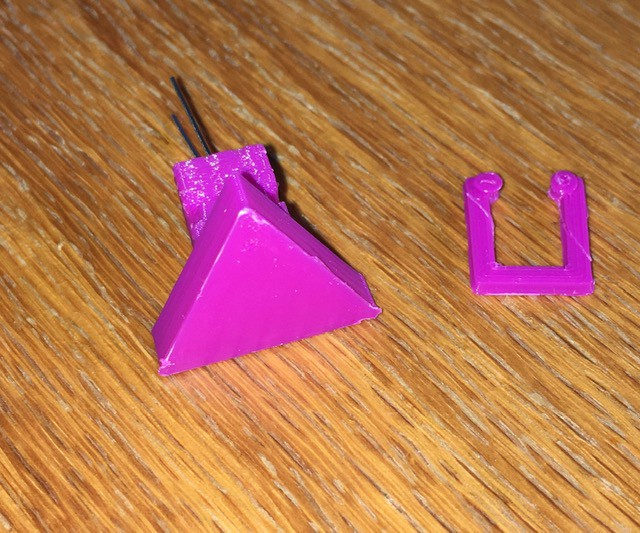
And that's it. When it comes time to mount the lamp to the panel the small C clamp pictured below will hold it in place.
So when the panel is finished printing in about 14 hours or so, all will be ready for the final Tape Panel assembly.
Discussions
Become a Hackaday.io Member
Create an account to leave a comment. Already have an account? Log In.