 Michael Gardi
Having decided that the Tape would be of a fixed size with endmarkers, it was time to consider the underlying implementation. Given the fixed length it seemed simplest to have the Tape be stationary with a movable Head.
Since the endmarkers are immutable, only the inner cells of the tape would ever change between 0 and 1. Such a binary implementation could be accomplished in number of ways including a simple on/off LED. I thought about 7-segment and LCD displays. I started thinking that something more analog would be a good fit for this project and Flip-Dots (Flip-Disks) came to mind. Then it struck me, not Flip-Dot but...
Introducing Flip-Bits
I'll just string eight of these together to form the "input" area of my tape. I'll call that a Flip-Byte ;-)
Making a Flip-Bit
First print the parts. The STL files have been posted to this project.
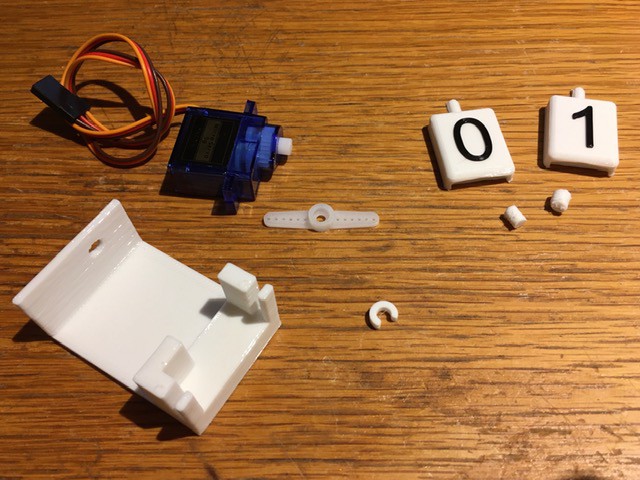
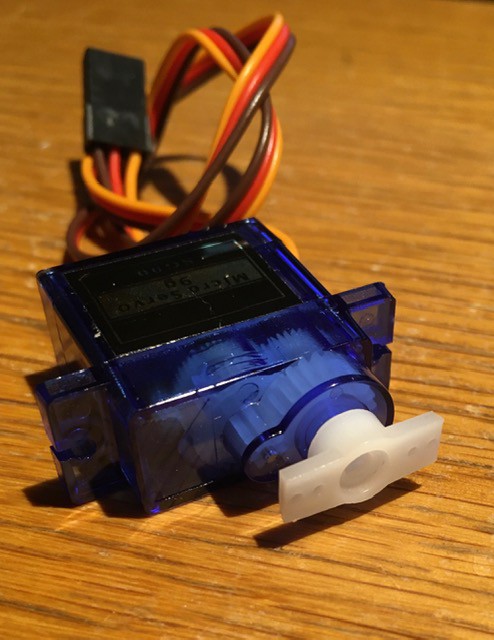
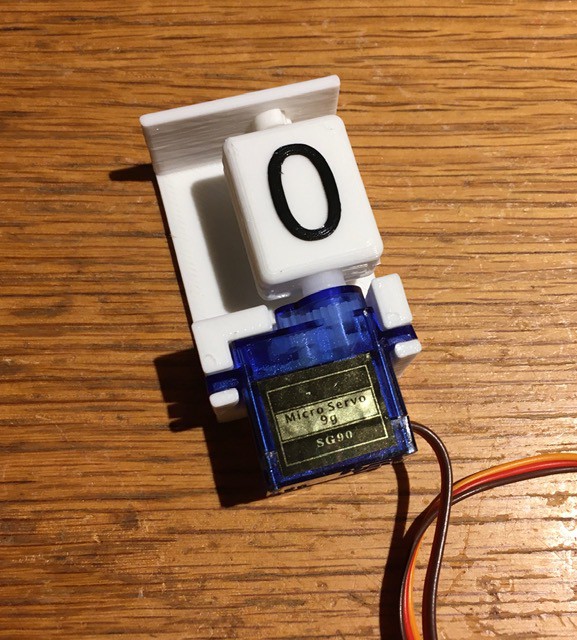
You will also require a standard SG90 Micro 9g Servo (from Amazon: SG90 Micro 9g Servo For RC Airplane Car Boat Genuine).
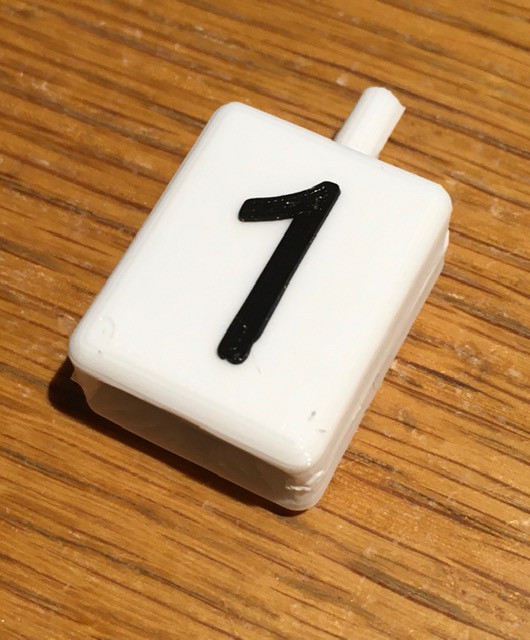
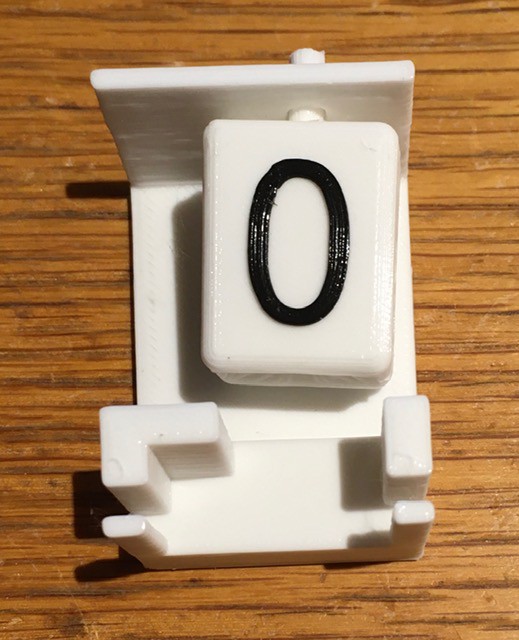
Glue the 1 and 0 pieces together. Use the pegs to help align the two pieces.
To prepare the servo cut down one of the included horns at the third hole from the center.
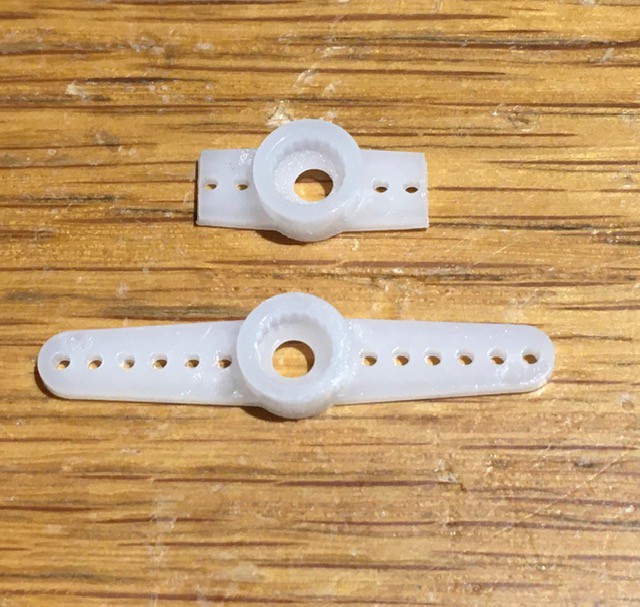
Make sure the servo is in it's 0 position. I hooked mine up to an Arduino and wrote a small program to do this. Attach the horn parallel to the long axis of the servo as shown below.
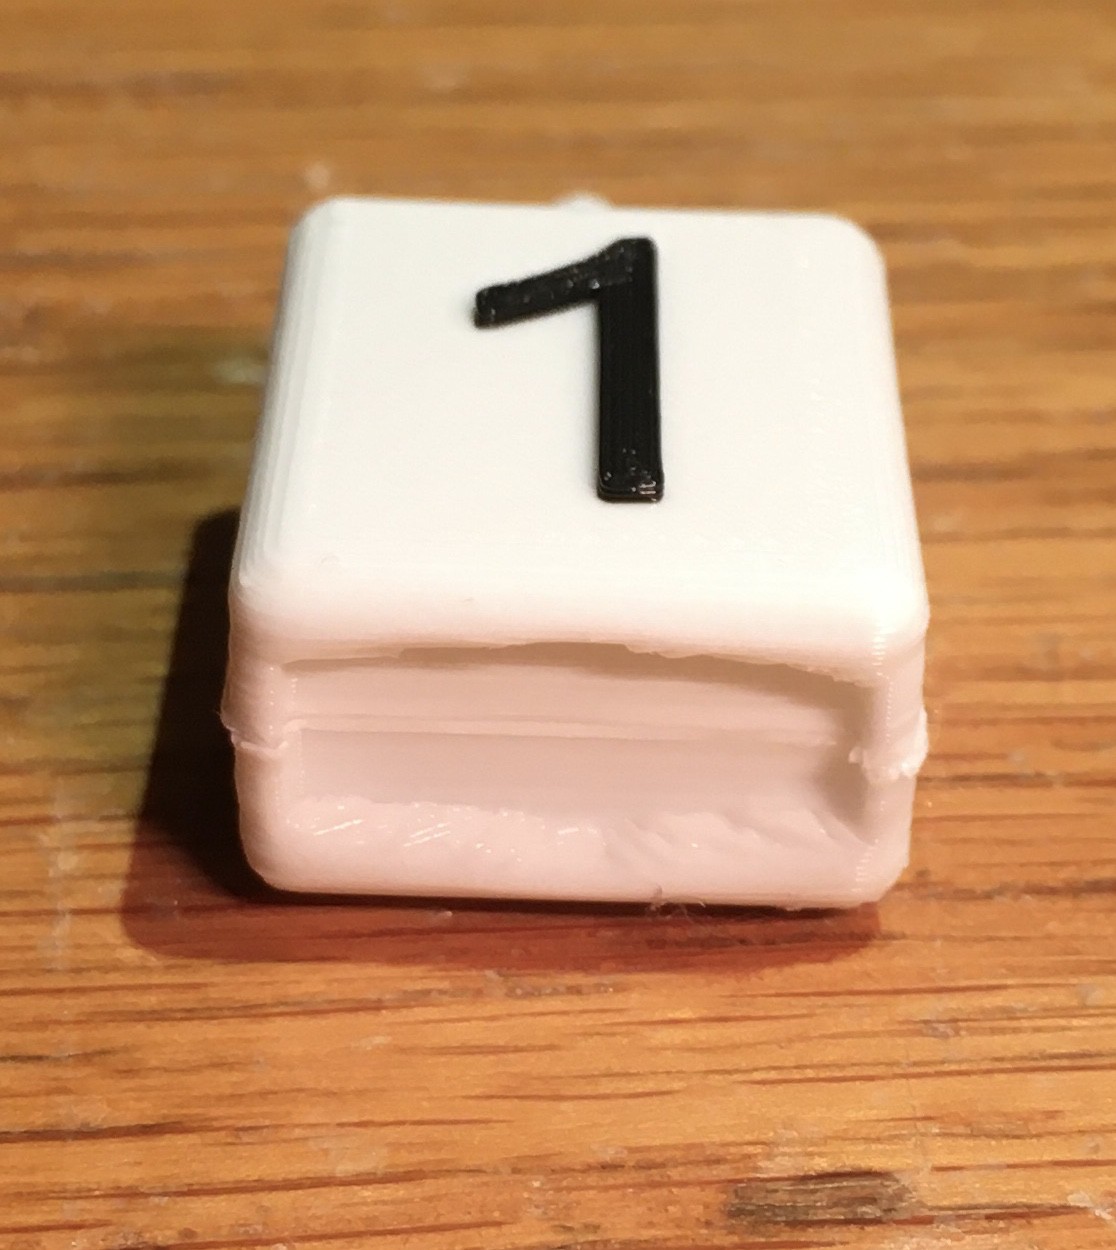
Slide the 0/1 flipper piece loosely into the base.
Insert the servo into the base then push the flipper onto the horn.
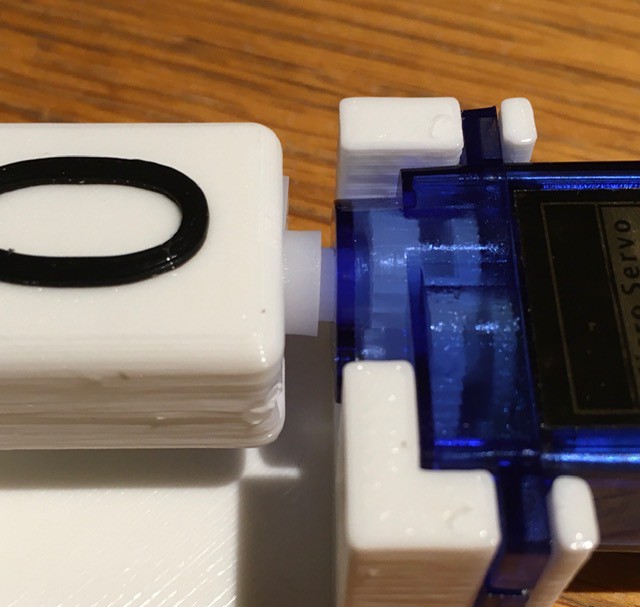
Finally snap the c shaped spacer onto the flipper shaft to hold everything in place.
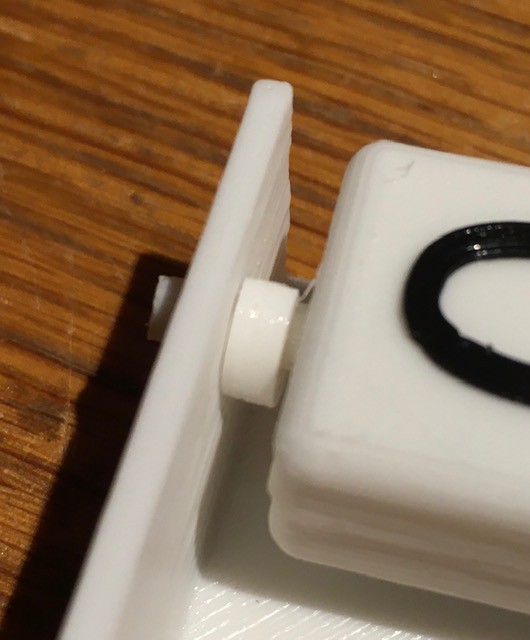
And voila, a Flip-Bit.
To test the Flip-Bit:
#include <Servo.h>

// Create servo object to control a servo.
Servo myservo;

void setup() {
  // Attaches the servo on pin 9 to the servo object.
  // Adjusts the min and max pulse widths, in microseconds,
  // corresponding to the minimum (0-degree) and maximum
  // (180-degree) angles on the servo.
  myservo.attach(9, 500, 2450);
}

void loop() {
  // Show the zero.
  myservo.write(0);
  delay(500);

  // Show the one.
  myservo.write(180);
  delay(500);
}
I found that I had to tweak the min and max values for the servo attach() method to get the flipper to line up horizontally.
Discussions
Become a Hackaday.io Member
Create an account to leave a comment. Already have an account? Log In.