Close
0%
0%

Infinity Mirror "Belt"

A wearable LED project for Burning Man 2017, inspired by SexyCyborg's Infinity Mirror Skirt.

tedTed
Similar projects worth following
For Burning Man 2017, I decided to make new things to illuminate myself at night. Having recently gotten access to laser cutter at a maker space, I wanted to experiment with infinity mirrors. So I made a spin-off of SexyCyborg's Infinity Mirror Skirt: an infinity mirror belt.

In the day, it's a bunch of mirrored discs with Burning Man's 10 Principles.


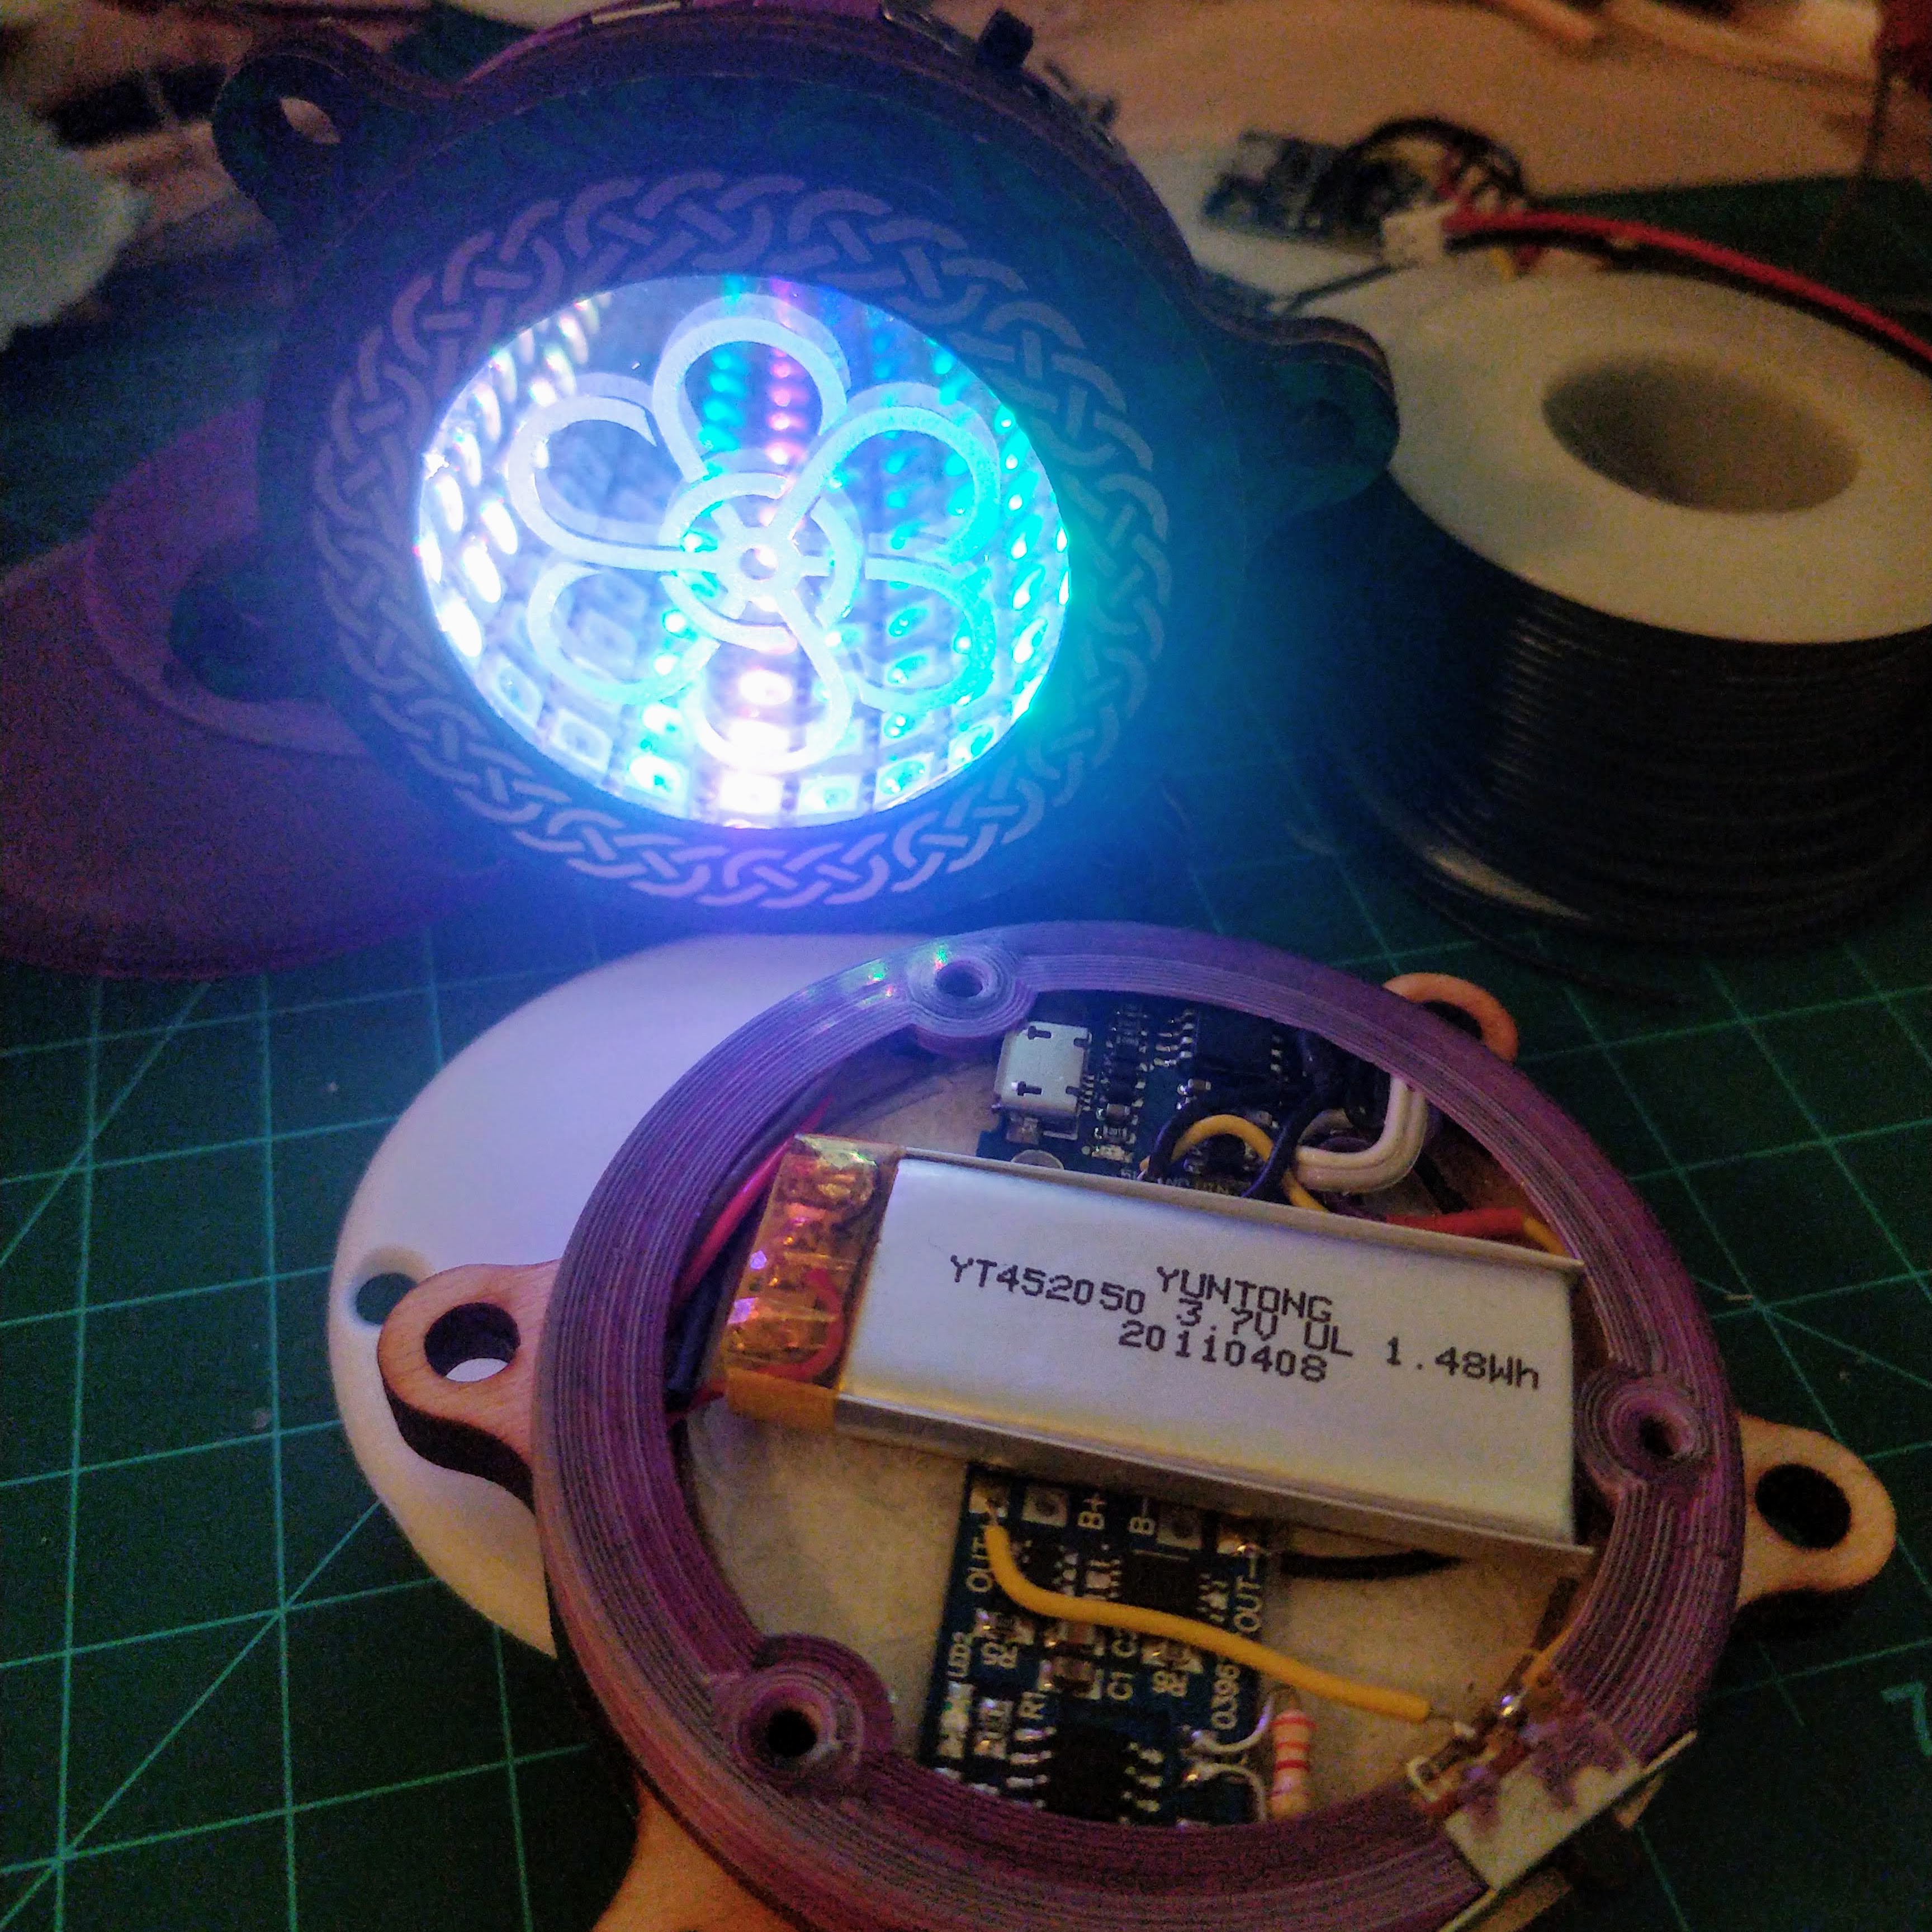
Unlike goggles I had made before, a belt has 360 degree visibility. The code incidentally is the same I used for my goggles, with just some #defines the the bits that are different. It has two controls: brightness and pattern-select. The mode can select specific patterns, or cycle between various patterns. It's driven by a Teensy LC, and powered by a 3S LiPo pack connected to a buck converter / BEC to drop it to 5v. 5Ah lasts a full night.

The only clip I have of it in use at BRC 2017:

I wonder if I might be even more interesting if had etched the symbols on the mirror side so they would glow more and be reflected themselves.

  • Sand-Alone Belt Unit

    Ted07/25/2020 at 23:21 0 comments

    I had originally planned to make some solo elements not part of the belt, but didn't get around to it until this summer when not rushing other projects.

    I have a knock-off Digispark (ATTINY85) running the effects, powered by a single cell LiPo. I thought I might need a boost converter to bring the supply power to 5v, but in testing, that wasn't necessary. The 400mAh battery lasts about 5h. For convenience, I added a USB charging module that I had handy.

    This time, without maker-space access due to COVID-19, I 3D Printed the additional parts to make a shell with a screw-on lid.

    The design is not the best - I decided to shop my stash instead of buying parts just for this. A dead-bug style ATTINY85 would take less space and work just as well since I don't plan to reprogram them. The charger I used has low-voltage cut-off, but so does the battery itself. So I could have used a different battery or different (and smaller) charger. The charger is preset for 1A, but the battery is rated for 1C (400mA) charging, so I needed to swap out a resistor (hence the chunky one off to the side on the charging board)

    Not pictures, I also printed a TPU gasket to try to reduce the dust that gets inside. That might just be wishful thinking.

  • Construction Notes

    Ted07/25/2020 at 23:04 0 comments

    Each element of the belt is 4 layers of 3mm (1/8") wood - conveniently equal to the ~12mm width of the 144 LEDs/m strips I had. The infinity mirror is a "first surface" mirror finish on 3mm acrylic on the hidden side and a two-way mirror on 3mm acrylic on the visible side.

    I designed the belt elements in OnShape, and cut mock-ups using random scrap materials (I think all from the trash bin) to get the size right. The ring needs to just fir the LED strip with enough space for the wires at the end, but not so much space the gap is obvious. And the mirrors need to fit just inside there. It's a deliberately snug fit - everything hold just with friction. (A nice plus for laser cutting over 3D printing - it's just a couple minutes to cut a new shape when tweaking the size so I can iterate quickly.)

    I expected soldering the edges of the tight 144 LED/m strips would be difficult. It was tricky first, but after getting a feel for it, it's not bad at all. The most important part in tinning both the LED strip and wire first - then the connection is easy to make (at first I only tinned the strips, which didn't work as well). Recently a good tutorial on LED soldering was added on Adafruit.

    I had chosen to use crimped connectors for one side. For those after a few failure crimping wires already inserted in the rings, and needing to cut the wires shorter, I learned to crimp as one of the first steps instead of one of the last.

    (I ran the power in separate wires, so on the output side of the strip I only connect clock & data)

    To avoid shorting where the ends meet, I added a small bit of cut up plastic bag for insulation. (This has failed me, to I need test the output before gluing the front cover on) I also noticed that sometime pressure on the mirrors would cause the strip to glitch - I'm not sure if it was shorting it, or lifting the LEDs off the strip, but the solution was adding a small bead of hot glue along the pins of the LEDs. (unfortunately I didn't discover that until at Burning Man, so I had to take things apart to implement the fix later)

    Here are a few in various stages of production / testing / repair:

    The biggest reliability issue I had was the connections between the discs. I used hot glue for insulation on one side where I soldered connections, but not on the side with crimped connections. Some of the crimped connections did not survive the night. In the image above, you can see both side with hot glue as stress relief.

    These APA102s sometimes glitch into an all-white state (I suspect working clock + bad data line), which gets quite warm. (enough that I know one behind me glitched and I need to disconnect it)

View all 2 project logs

Enjoy this project?

Share

Discussions

Similar Projects

Does this project spark your interest?

Become a member to follow this project and never miss any updates