 marble
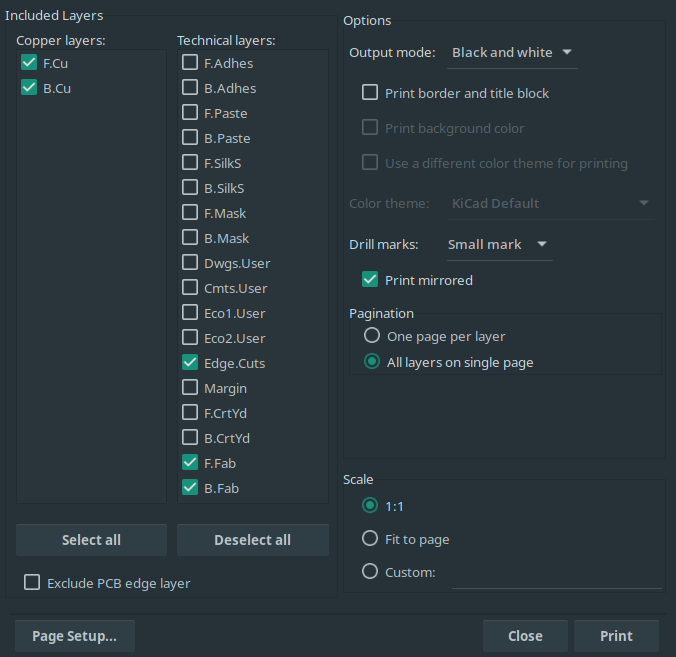
Before ordering PCB one should triple check everything. Apart from electrical rule cecking (ERC) the schemetic and design rule cecking (DRC) the layout, one should also check for mechanical fit.
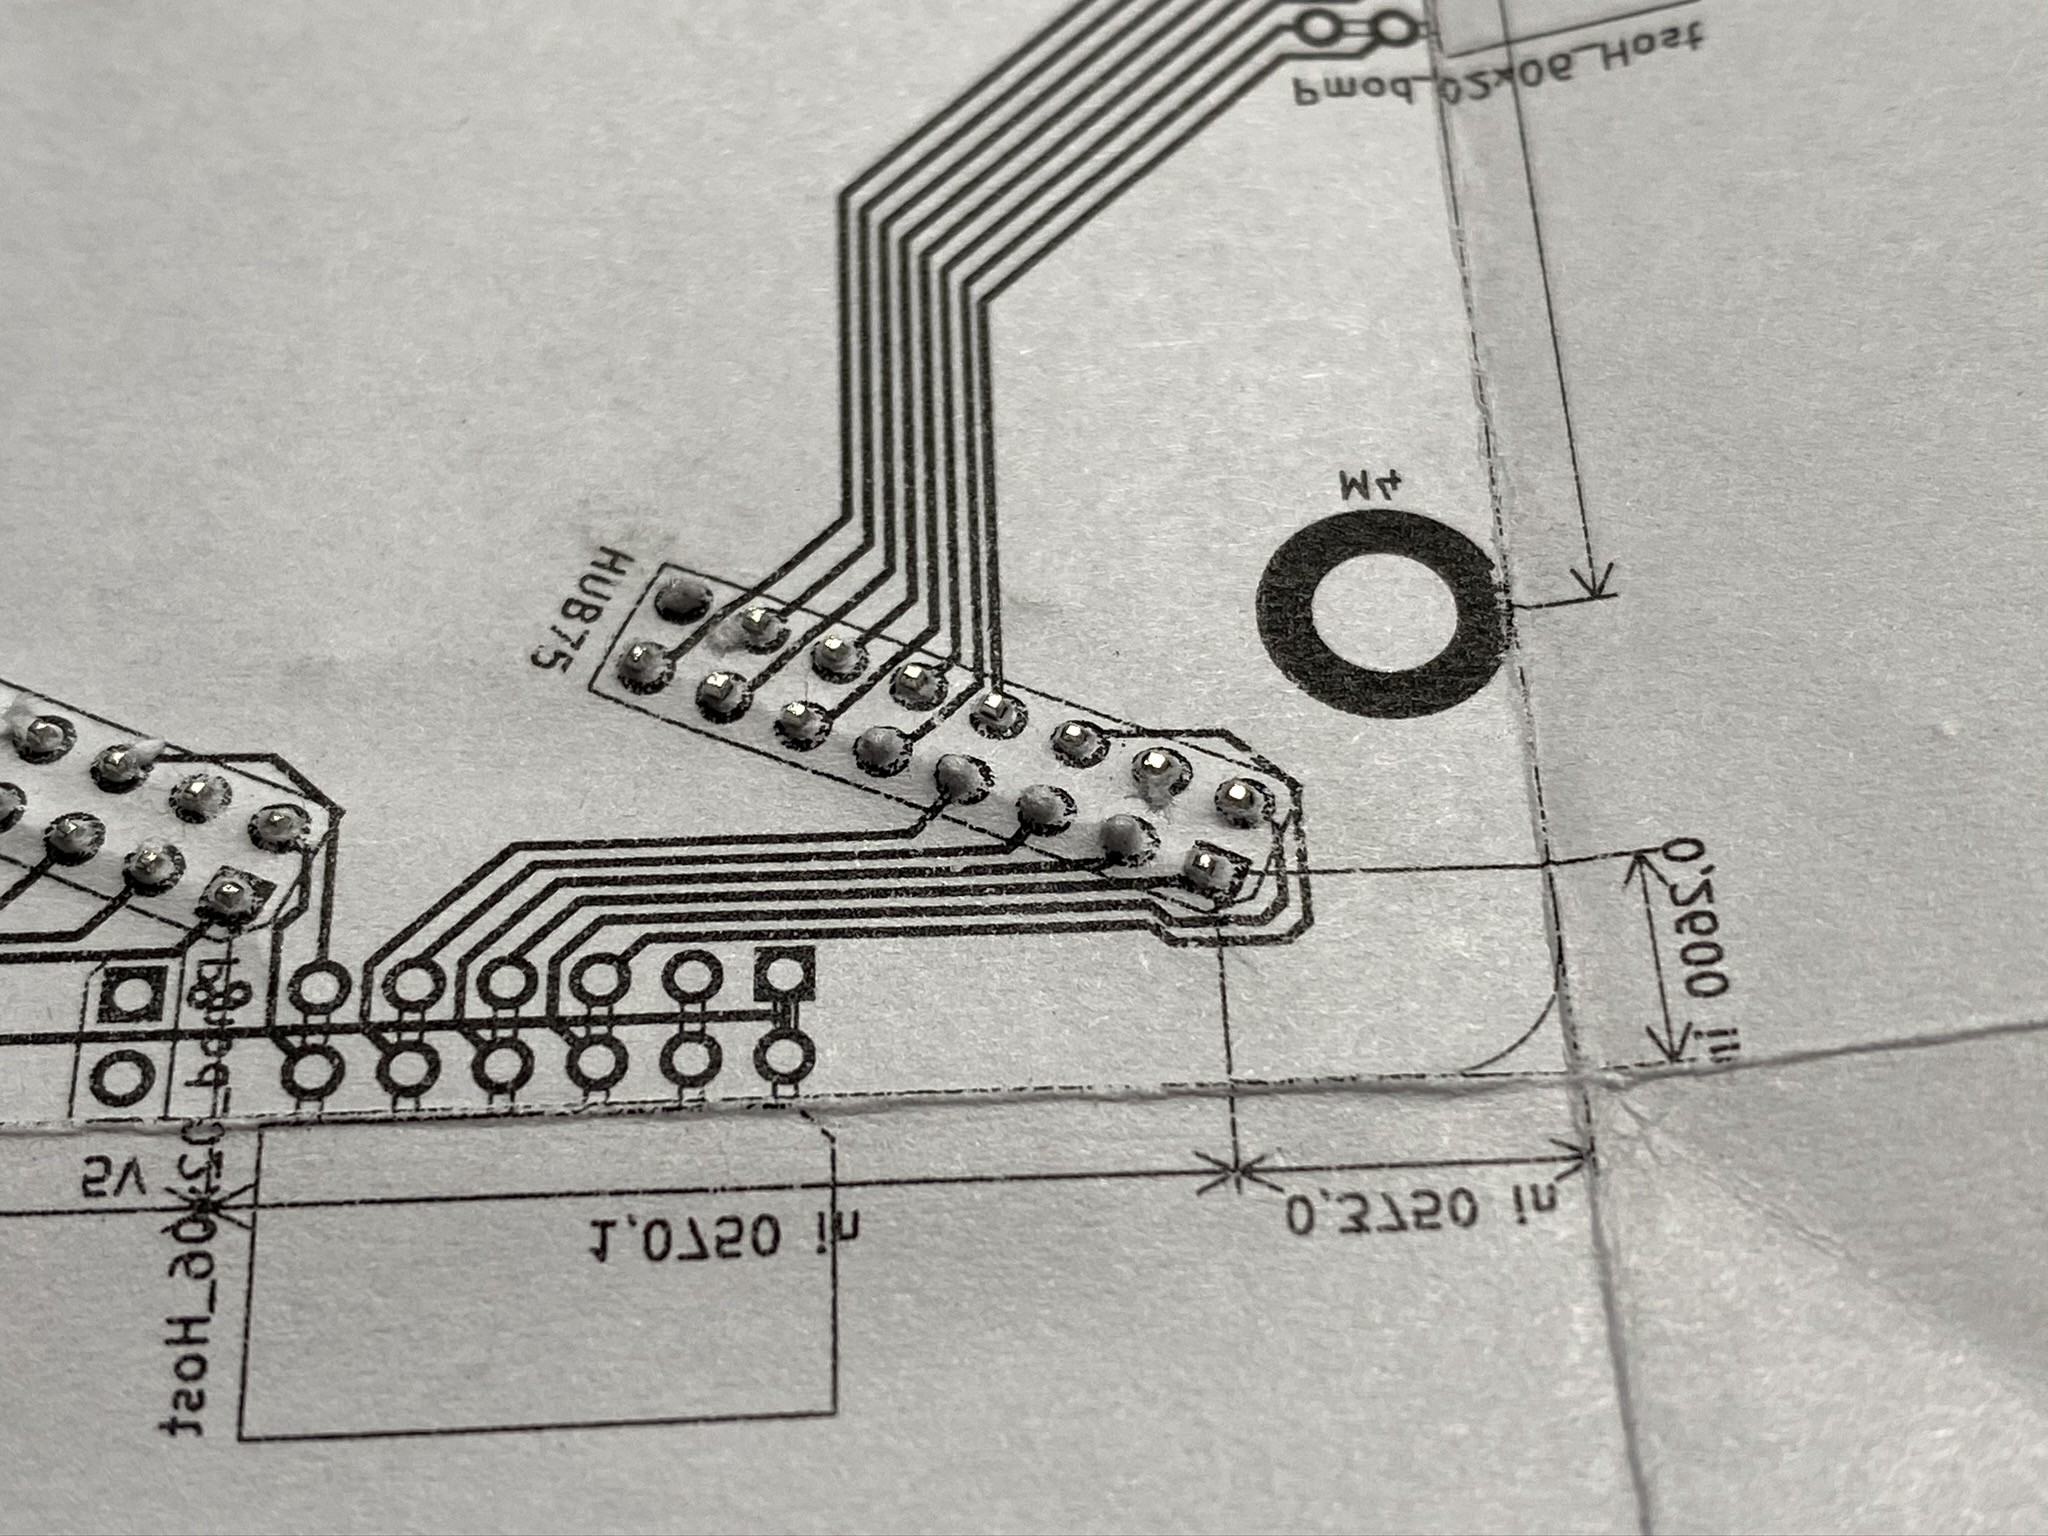
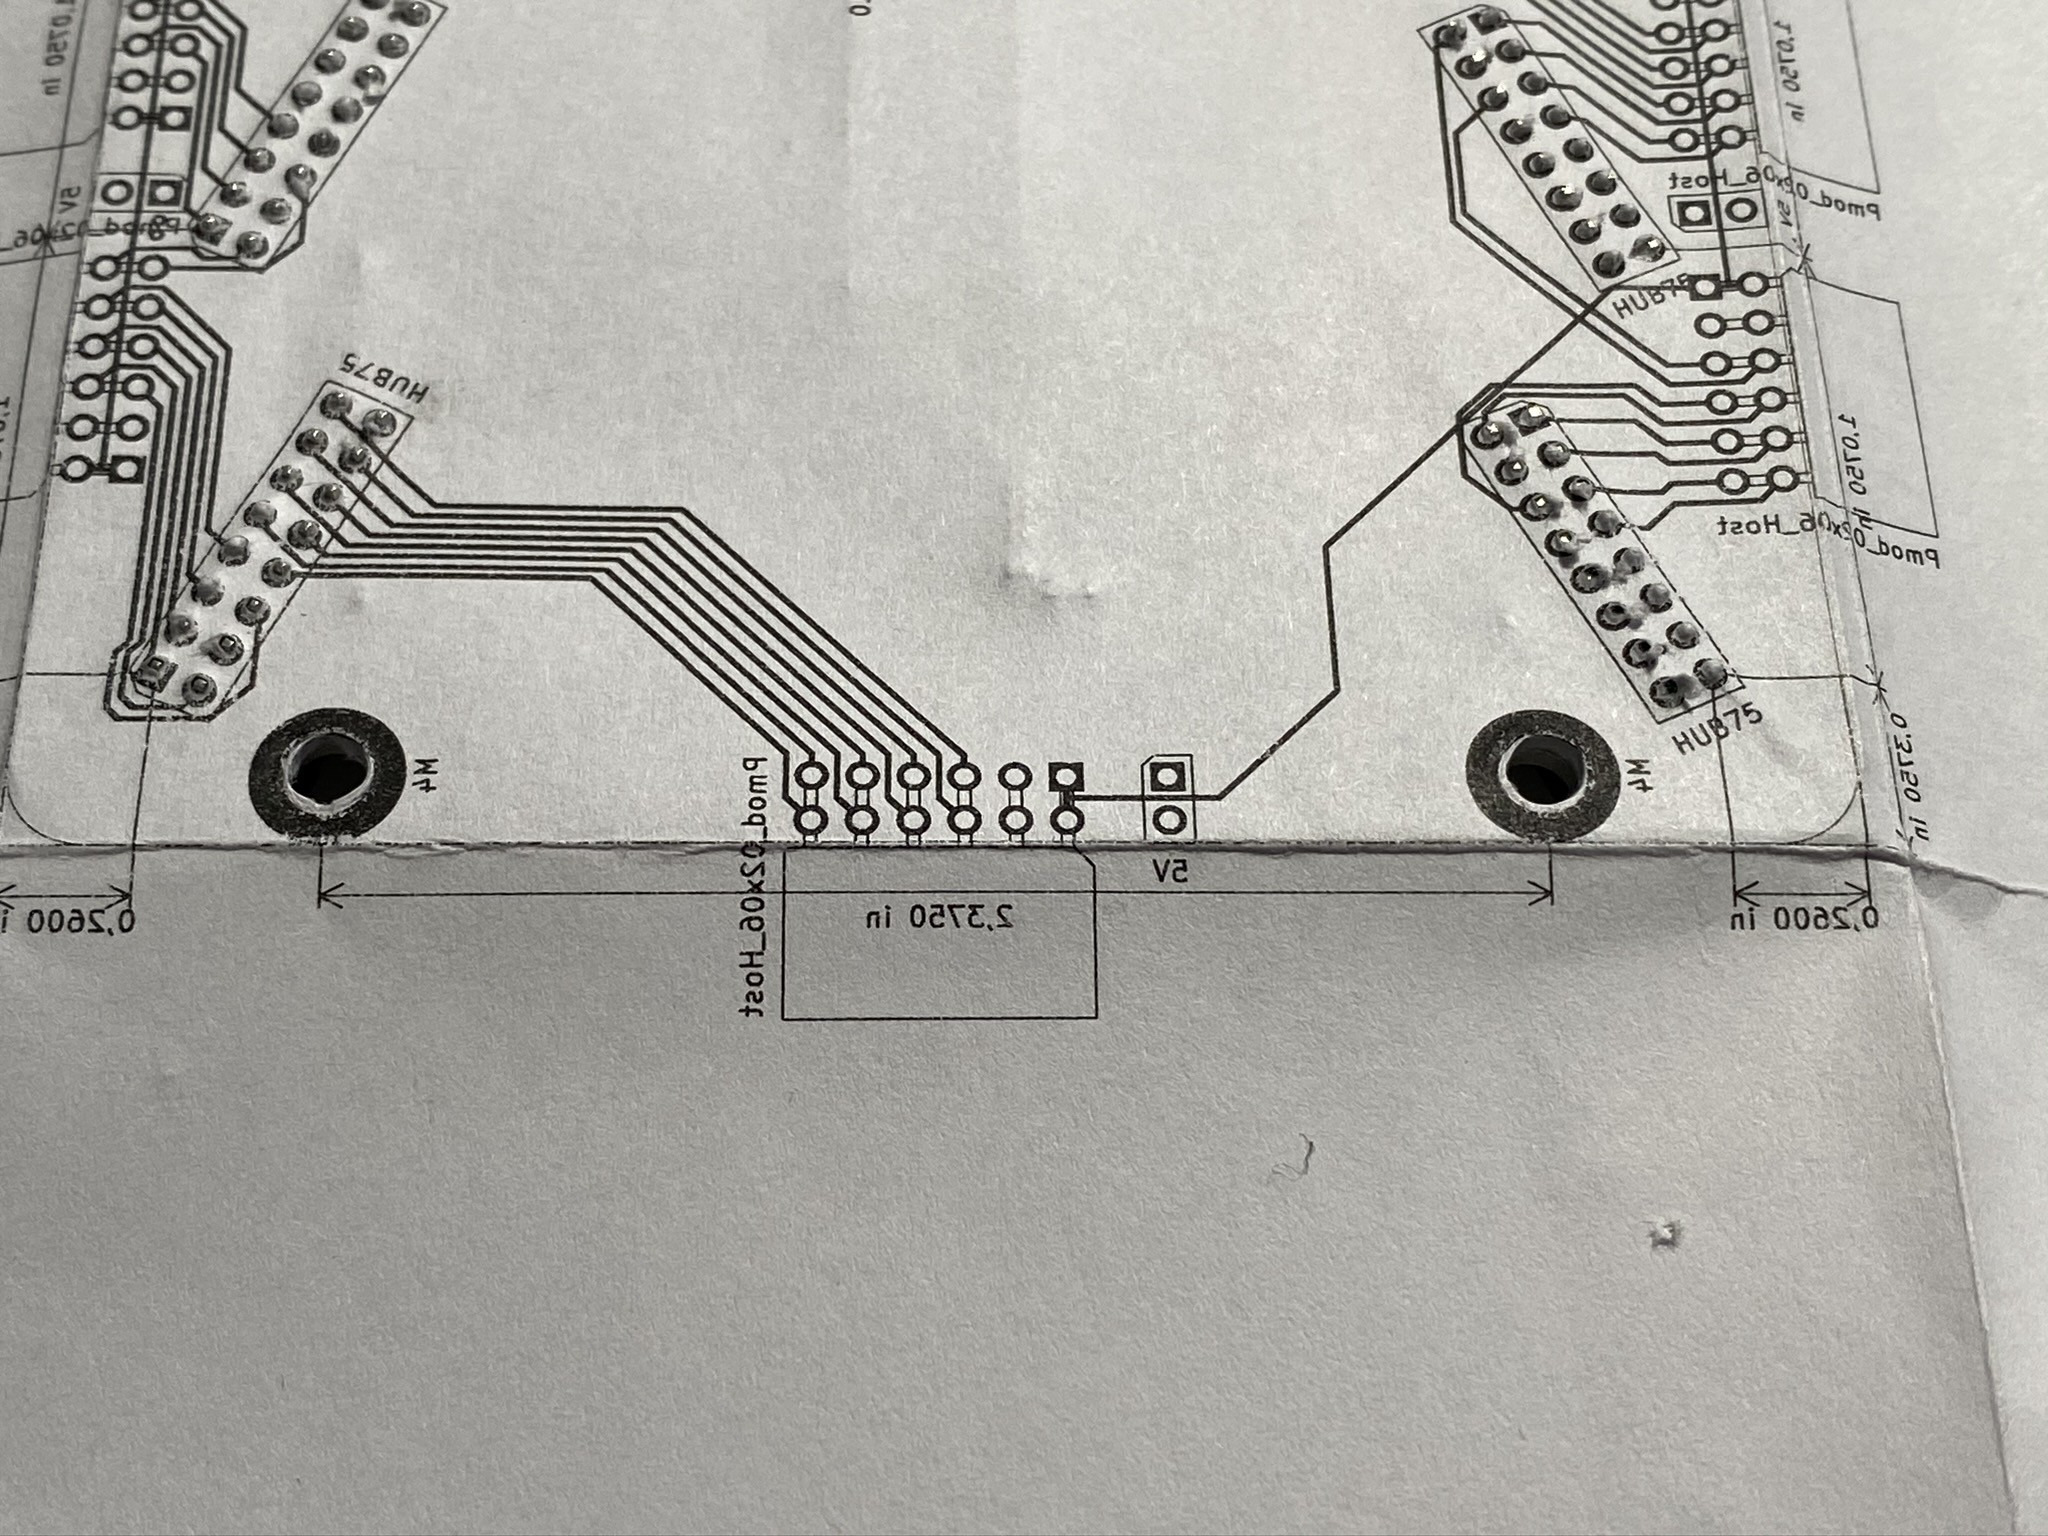
In our case we have to check that the connectors we placed on the board are in the right place with the right orientation. Usually, the latter is not as important, because designers tend to rotate parts in increments of 90 degrees. This is not the case with the HUB75 connector. They seem to deviate by 25 degrees from the 90 degrees reference.
To test the placement and orientation I printed the layout on paper, since paper is way cheaper than PCBs and my printer has a quicker turnaround time that any fab - a trick I learned from Ben Heck.
When printing one must pay attention to mirroring and scaling. The Colorlight has all its big through hole components on the top side. My design is also right side up. So I have to mirror the print if I want to use the bottom side of the Colorlight.
Scaling must always be 1:1. Pay attention to the printer dialog and check the printed page with a ruler.
Also clear all the copper pours from your design before printing (KiCAD: Ctrl+b) or your design will be mostly black.
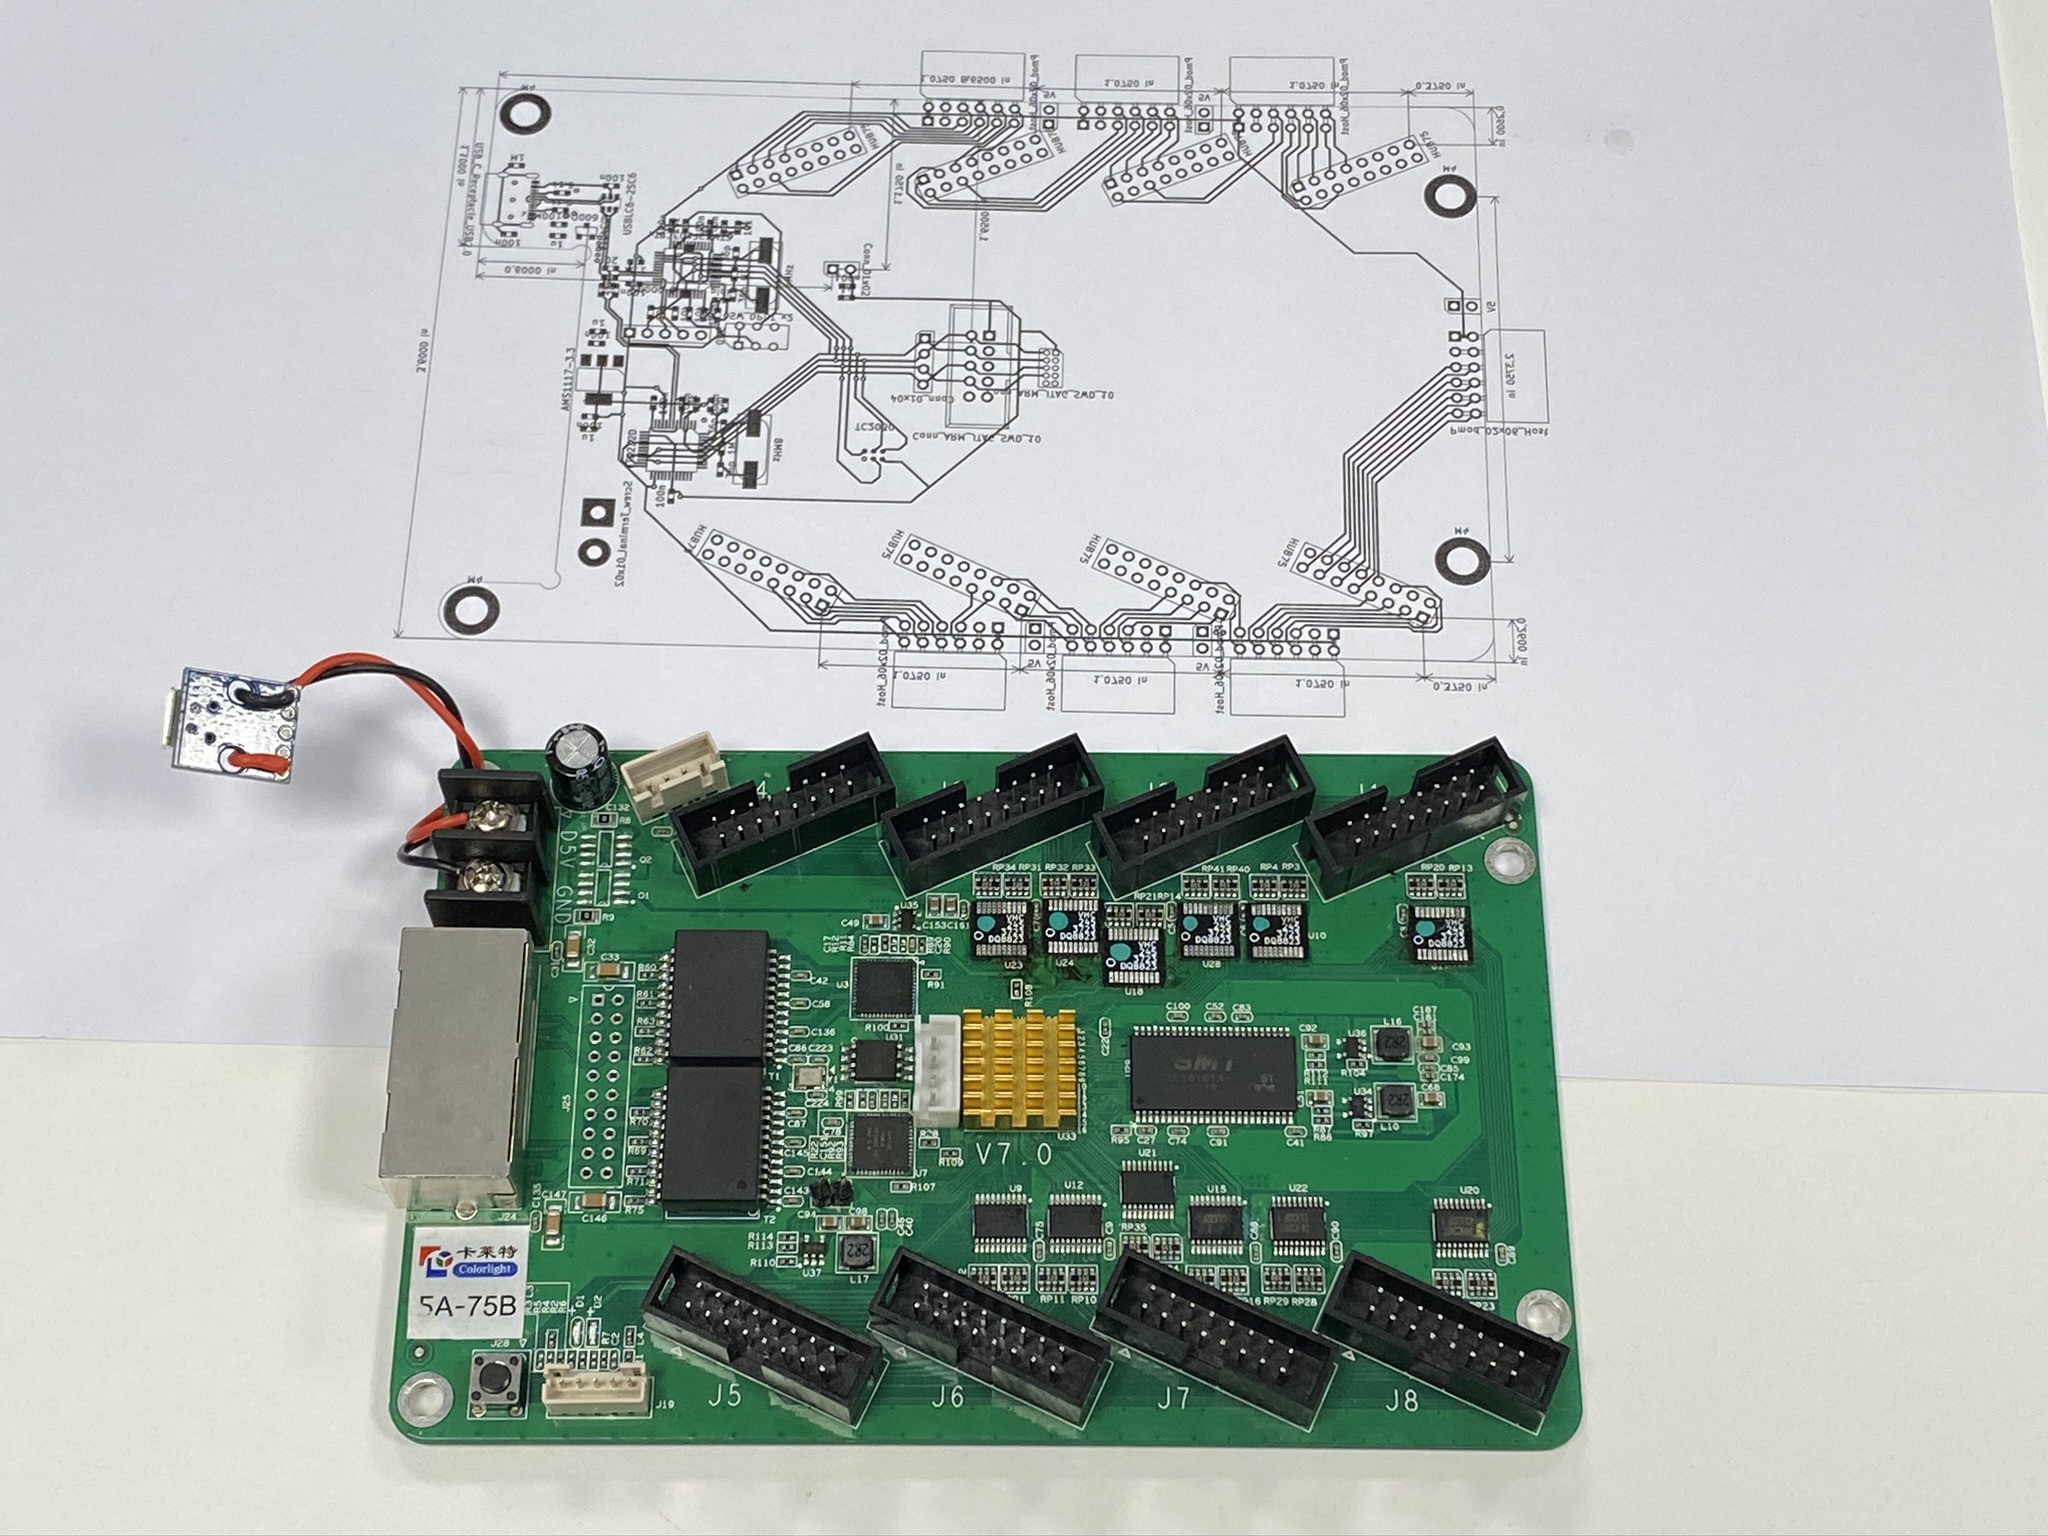
Getting the initial alignment right is tricky. In the future I might want to use translucent tracing paper. It also helps to fold along the edges and align the PCB with one corner. I then used my finger tips to find one pin through the paper, line it up with one pad on the paper and push through.
After that I aligned the connector on the opposite corner of the board and worked my way around all connectors.
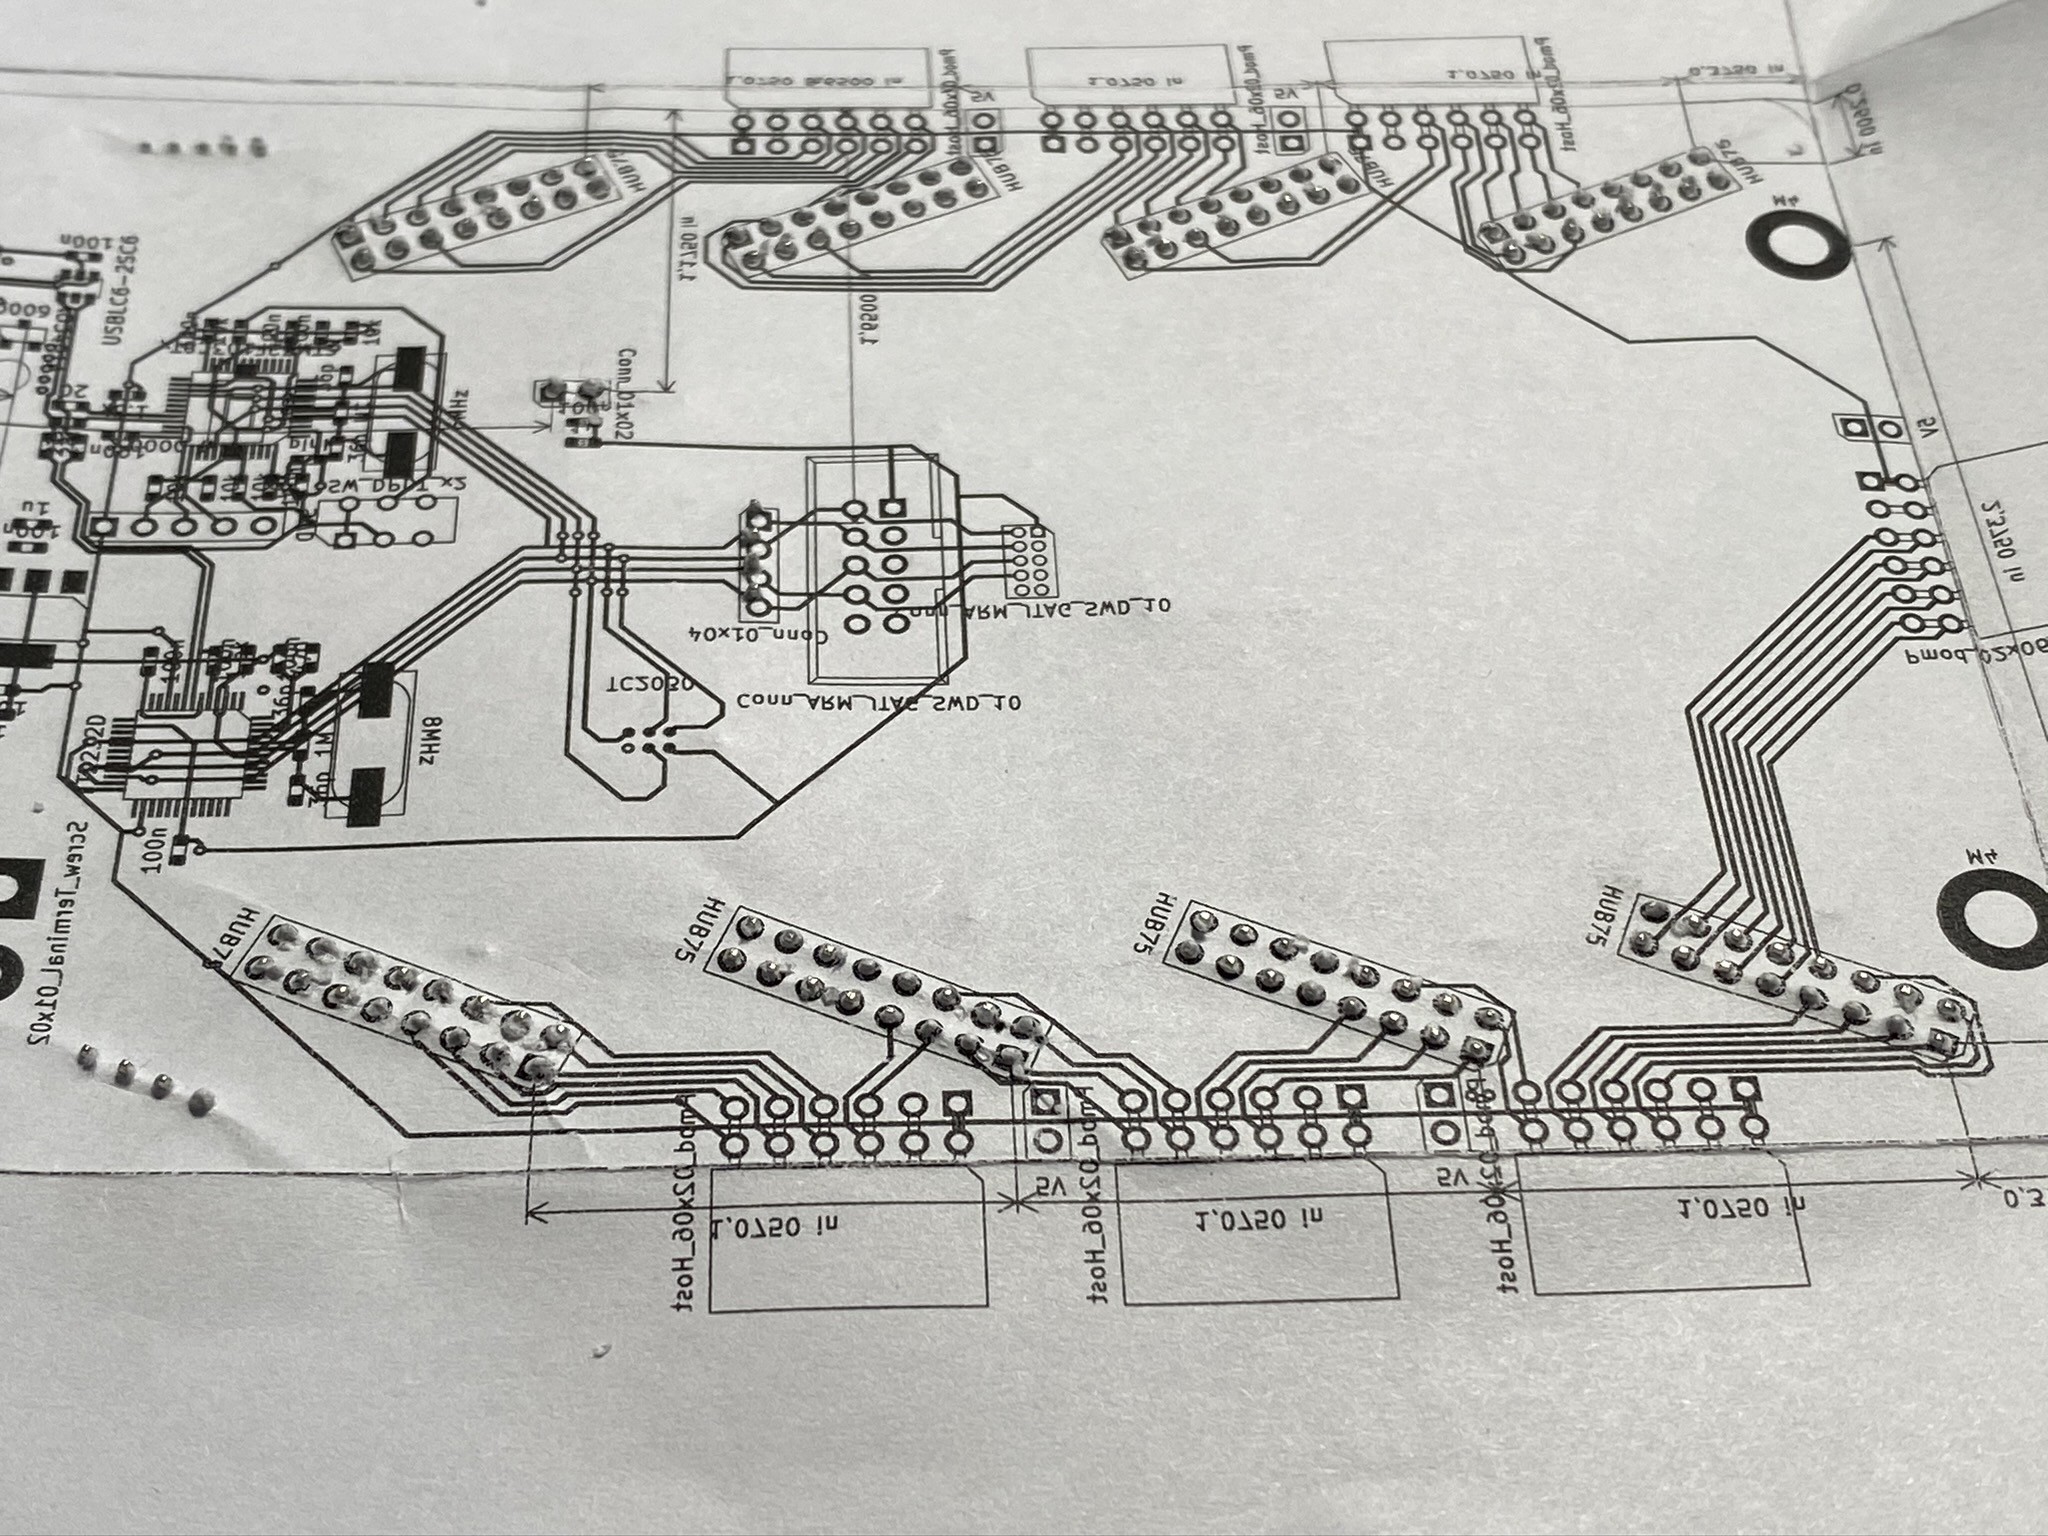
Using a pen I also checked the alignment of the mounting holes.
Everything looked nice, except for the JTAG header.
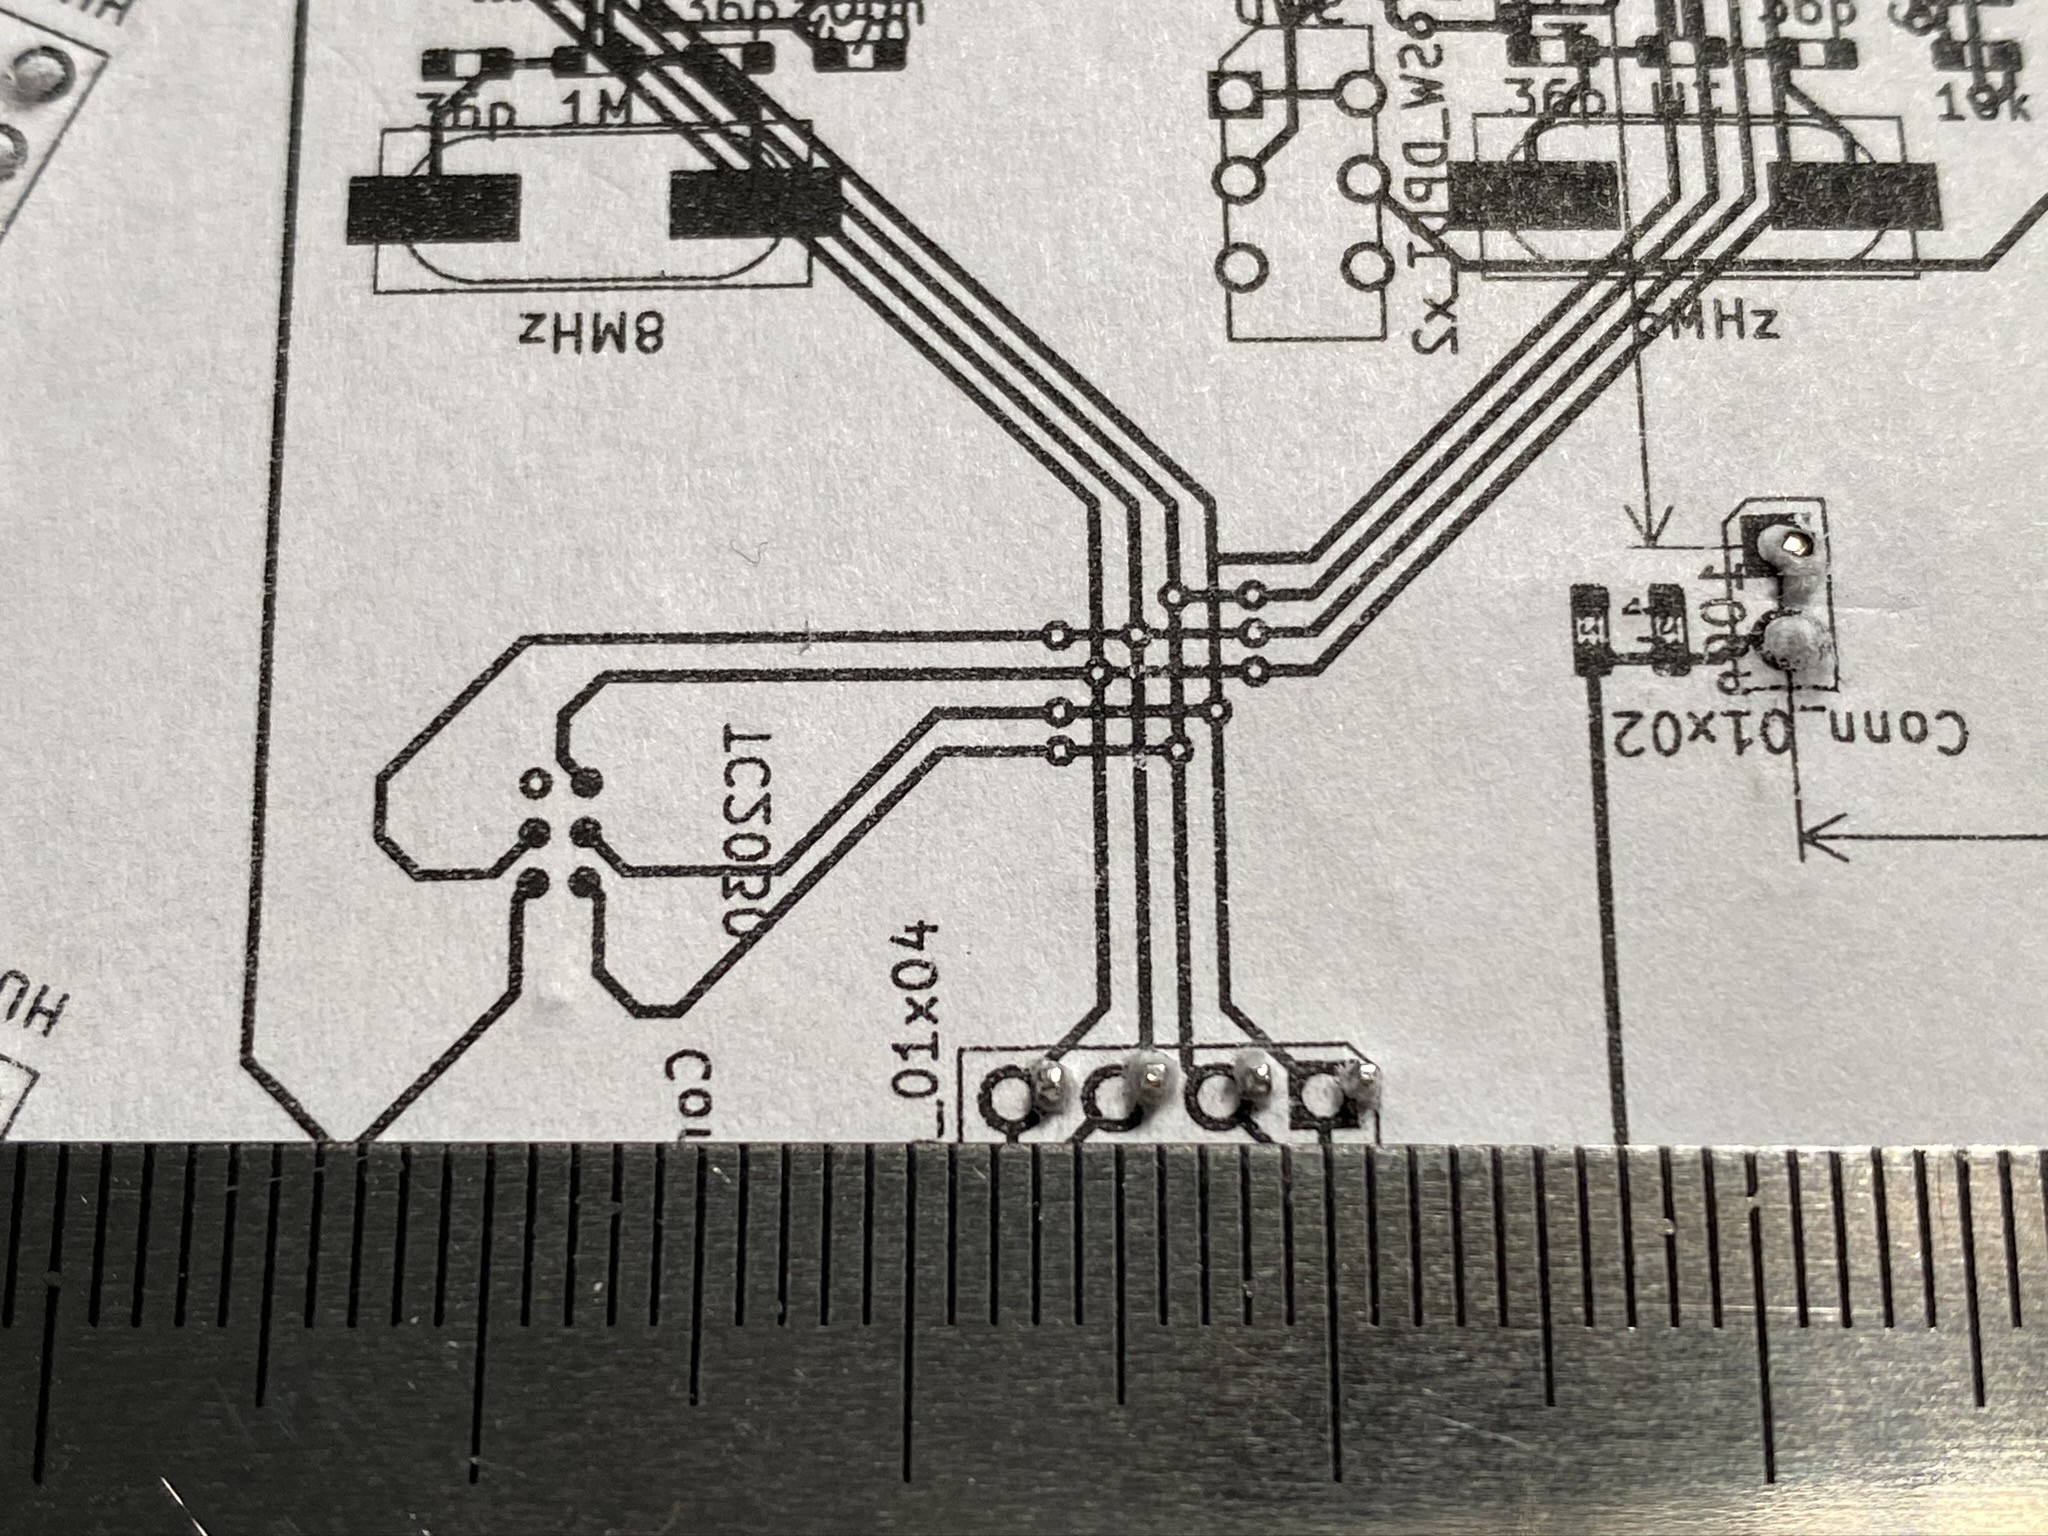
But after some adjustments, it also lined up well.

Discussions
Become a Hackaday.io Member
Create an account to leave a comment. Already have an account? Log In.