 Shu Takahashi
Hello everyone, it’s been a while since we last updated the community on the progress we’ve made. First of all, we are incredibly honoured to be one of the finalists for the Hackaday Prize 2020. We are extremely excited to keep on pursuing this project. I know it’s been a long time, but trust us, we’ve been working hard to make more improvements so we can get this device to people that need it fast.
Admittedly, we have found it more difficult to make progress because of the time constraints. I started my first year at the university about five weeks ago in Canada (but I’m in Japan) which has taken away the time I had to work on this project during the summer holidays. Pato changed his position at his company and this made it more difficult for both of us to coordinate together, not to mention the significant time difference we have between ourselves.
Nonetheless, we have both tried to contribute as much as we could to this project. Although we’ve worked on this project throughout the last month, it’s been more difficult to write a log for each of the small chunks of the tasks we finished. But enough about ourselves, here is a long update of everything we’ve accomplished in the last month. I’ve written this log with the headings listed below, and hopefully this will make it easier to read this update.
- Hardware Updates
- New PCB designs
- New harmonica unit design
- Testing the new design
- Other updates
- Software Updates
- New GUI for configuring the device
- Arduino code to write configuration settings to EEPROM
- Other updates
- General Updates
- Exhibition at Maker Faire Tokyo 2020
Hardware Updates
We’ve made significant changes to the hardware of Magpie MIDI. Magpie MIDI 2.0 aims to be more fabricatable at large scales. Although the end result is in no means perfect, it was overall a good experiment to test the design ideas we had after creating the first prototype.
New PCB designs
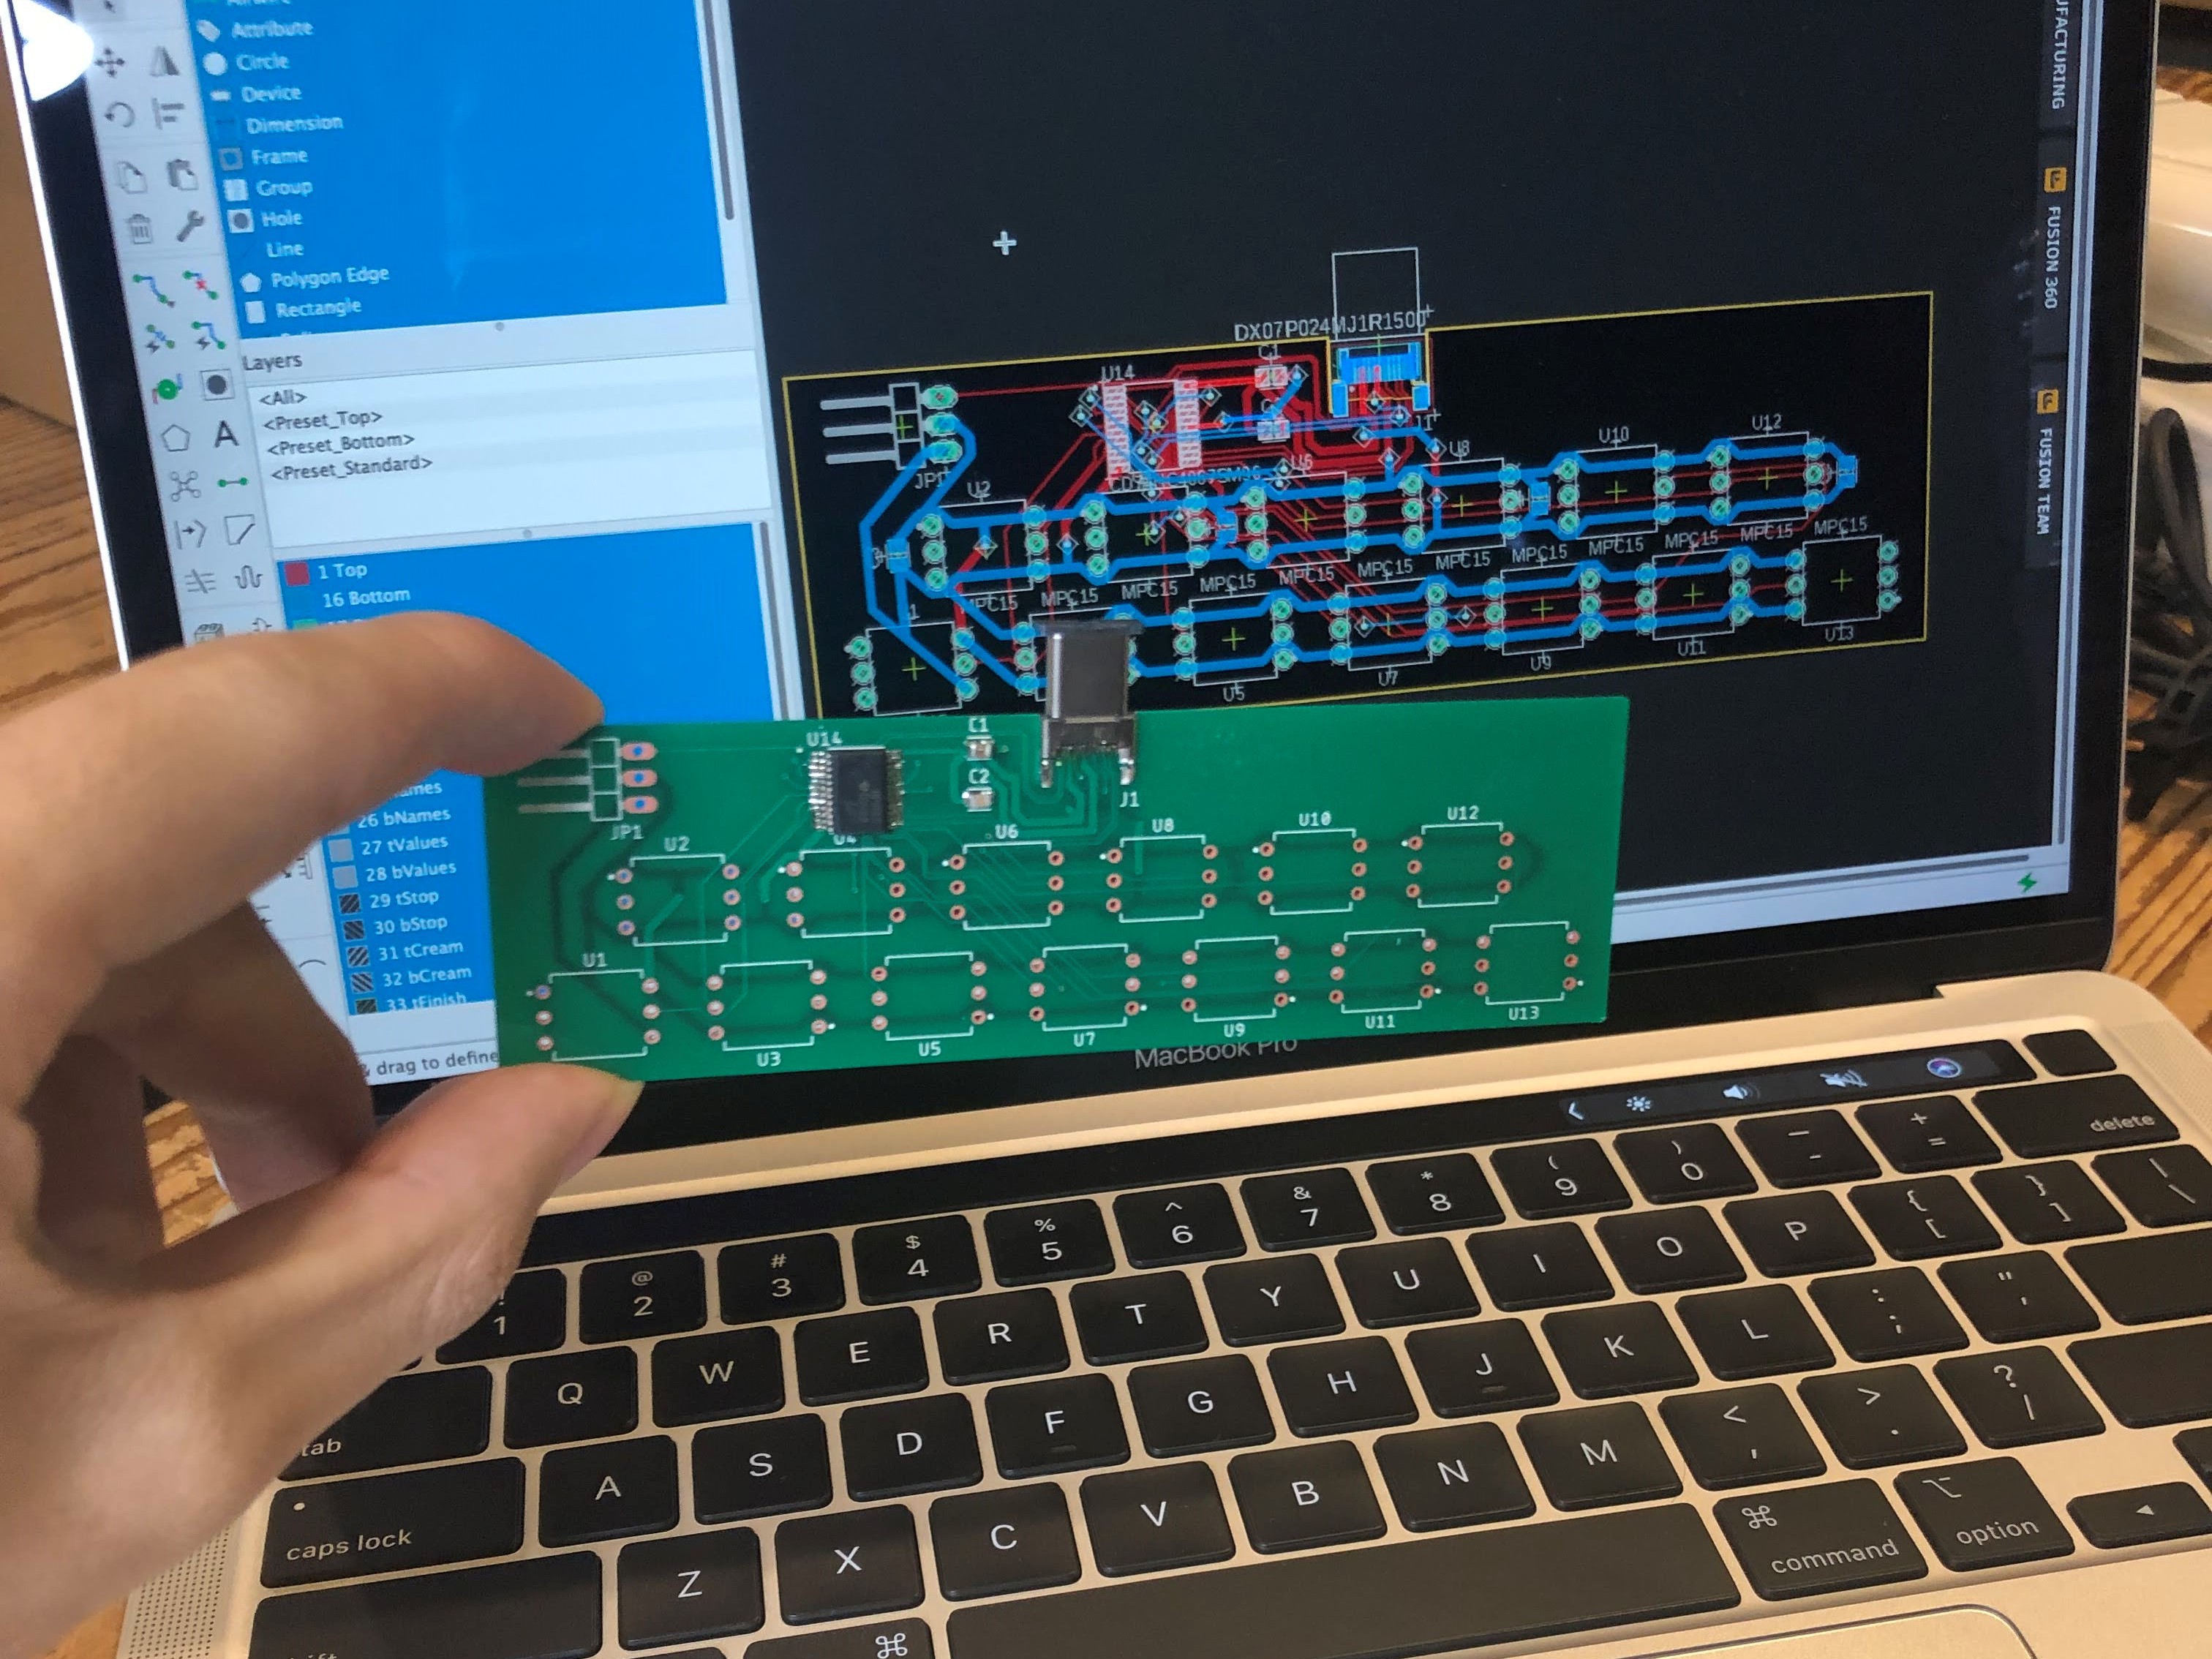
We mentioned that we were going to move on from CNC milled circuit boards to manufacturable PCBs, and this is exactly what we have done. We’ve redesigned the PCBs both for the harmonica unit and the base unit.
The harmonica unit’s PCB now uses the SMD version of the multiplexer, CD74HC4067 as well as other SMD components except for the air pressure sensors. This made the PCB much more compact and opened the door for new potential designs. In addition, we’ve also added a male USB type-C connector to the PCB for reasons we will explain in the following section.
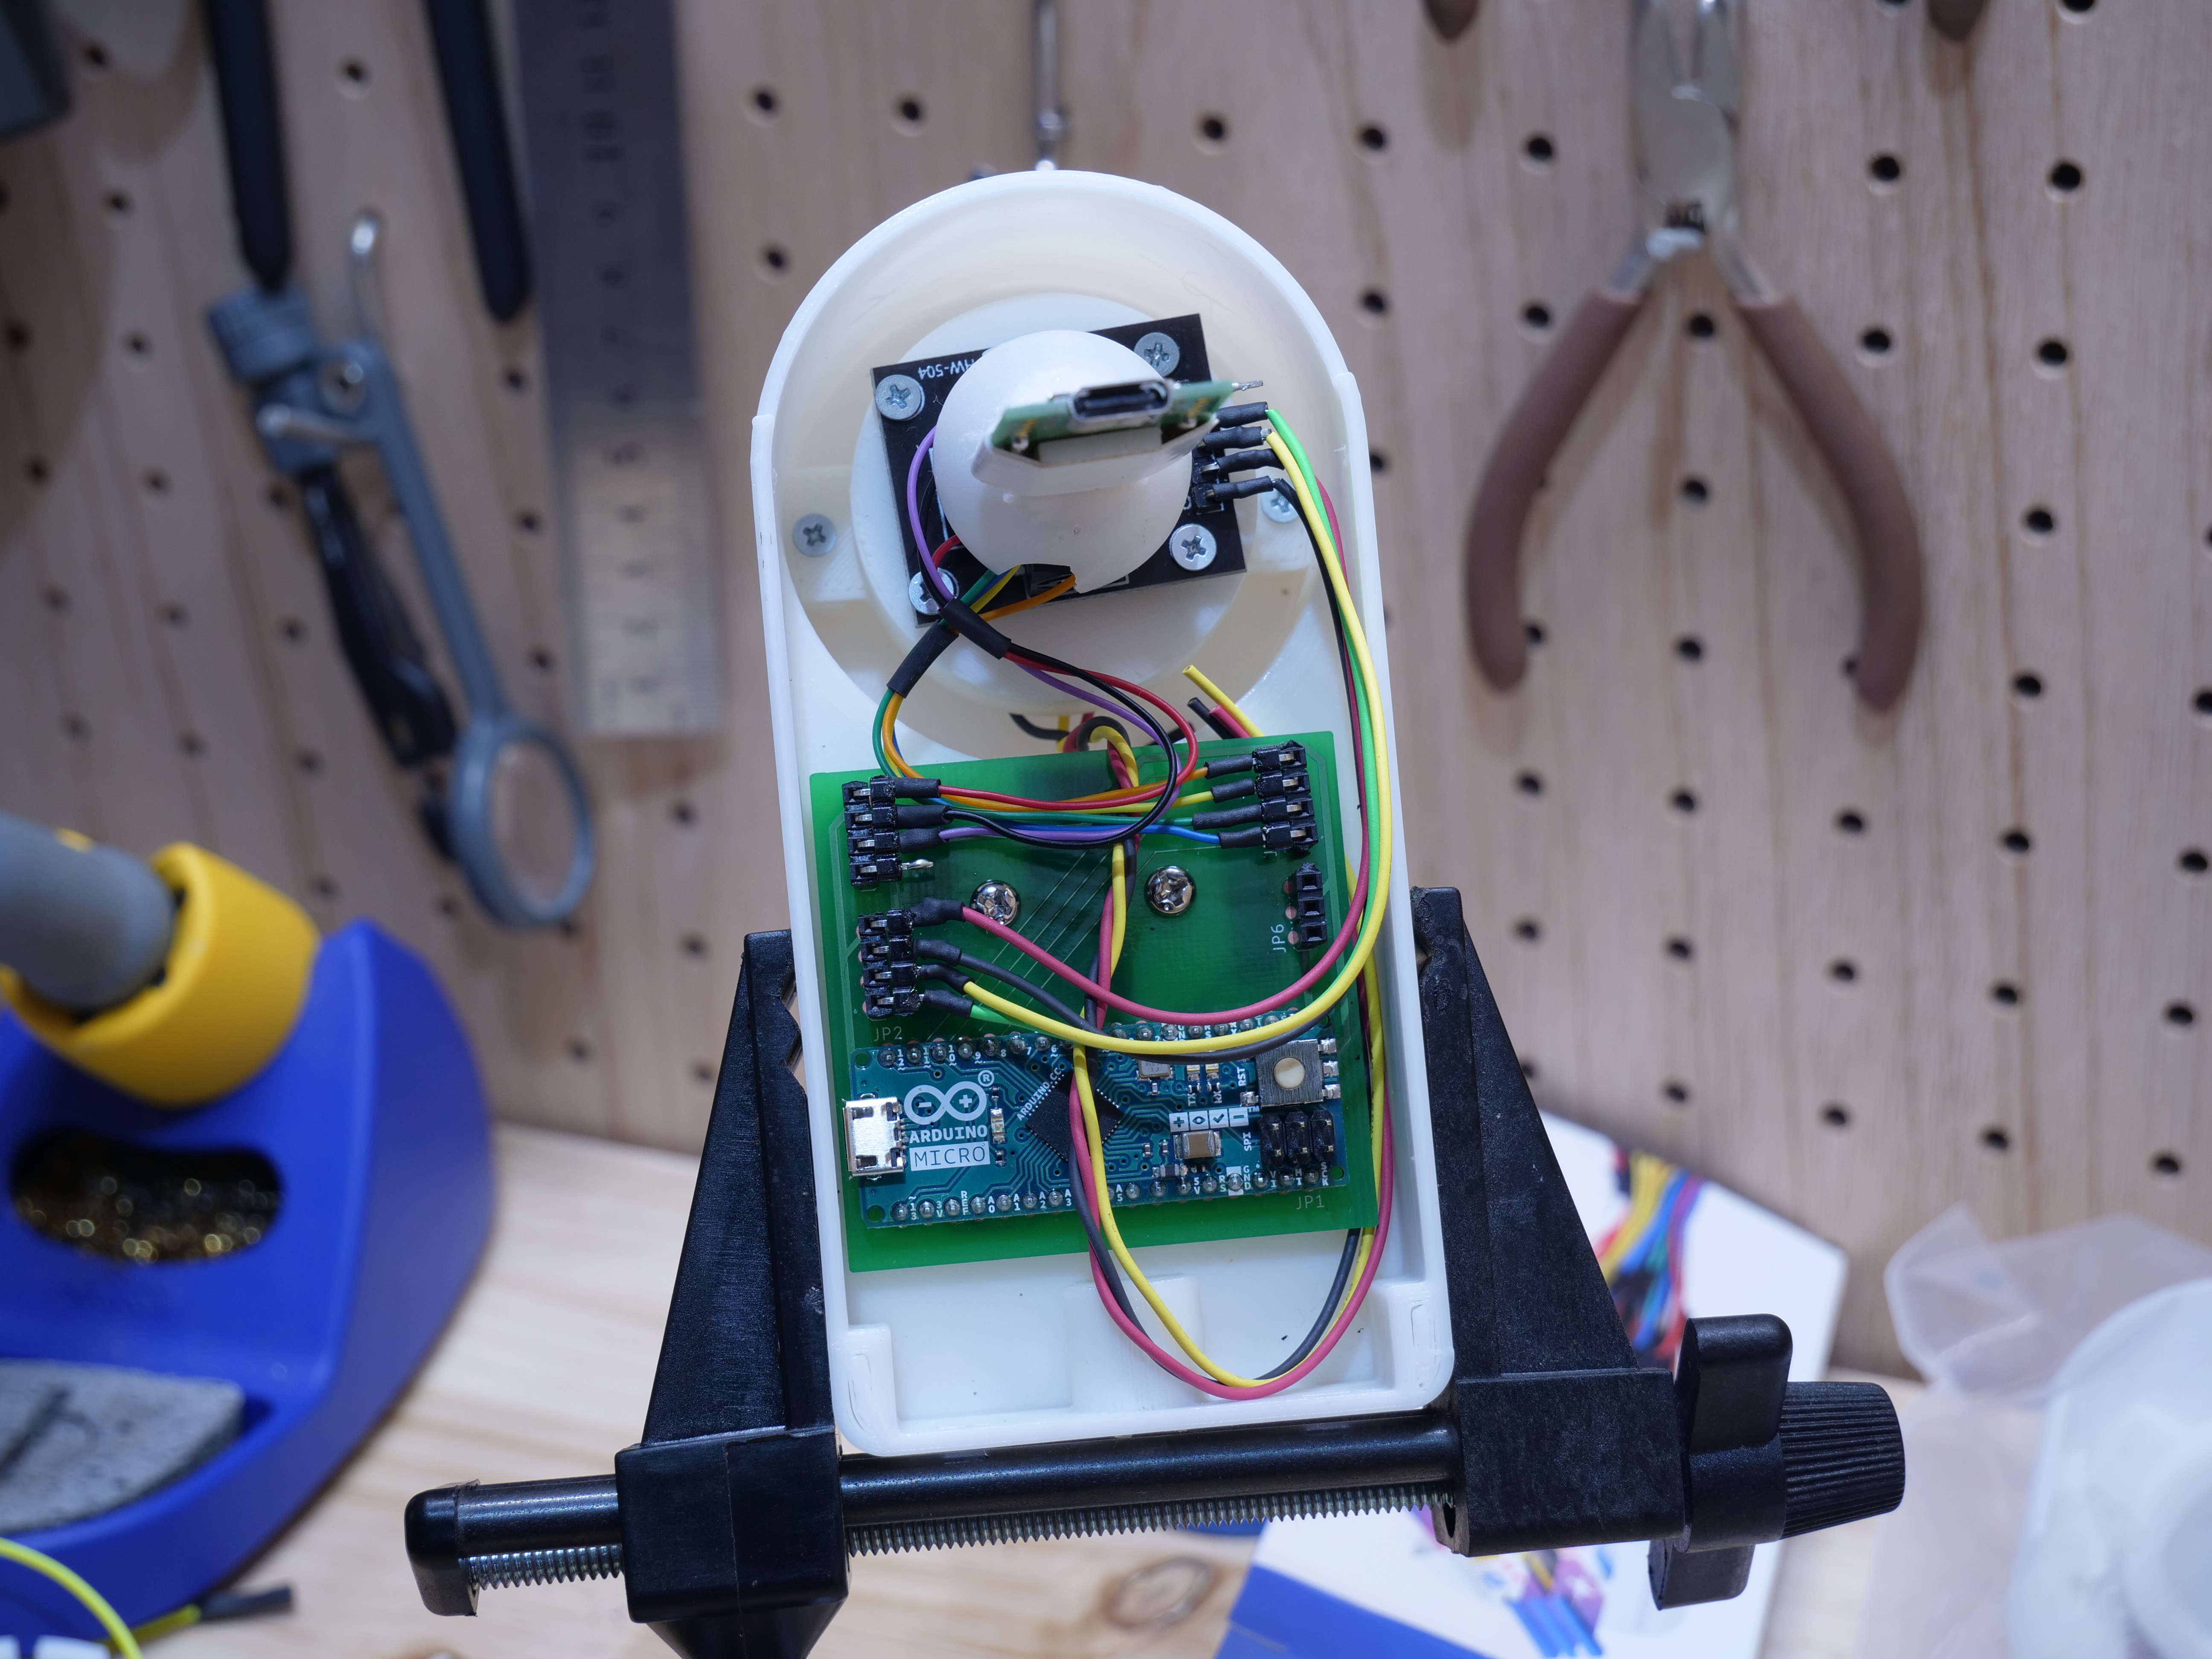
The base unit now has two PCBs. One is used to connect the USB type-C connector from the harmonica unit to the main PCB. The other is the main PCB which has the Arduino board. We’ve decided to switch from Arduino Leonardo to Arduino Micro so that the base unit is more compact, and the USB cable is able to come out from the sides, not from the bottom of the base unit. Although this has improved the base unit overall, in the future, we want to get rid of the Arduino and make our own 32u based boards to better customize it to our needs.
New harmonica unit design
Because of the redesigned PCB, we were able to make significant improvements to the harmonica unit. In the first prototype, it was extremely difficult to assemble the harmonica unit as it required multiple components to be held together at the same time. In the new harmonica unit design, we were able to simplify the design so that it’s easier to fabricate and assemble.
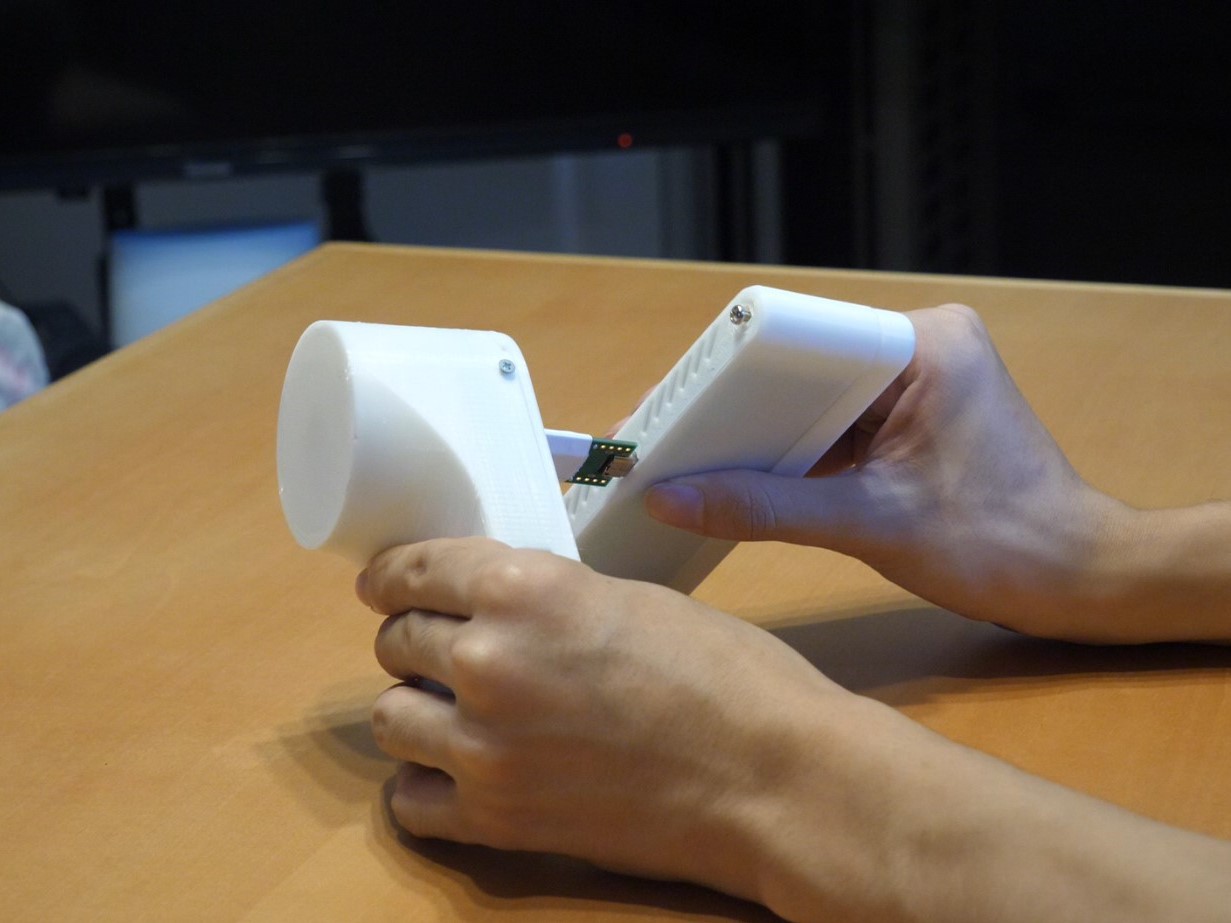
As I mentioned earlier, the harmonica unit’s PCB now has a male USB type-C connector. This connector is used to connect the electronics in the harmonica unit to the electronics in the base unit. In the first prototype, this connection was made using thin wires that ran through the joystick unit. This made the assembly much more difficult and made the base and harmonica unit inseparable. By using a USB type-C connector, the two units can now be taken apart for easier assembly and better transportability.
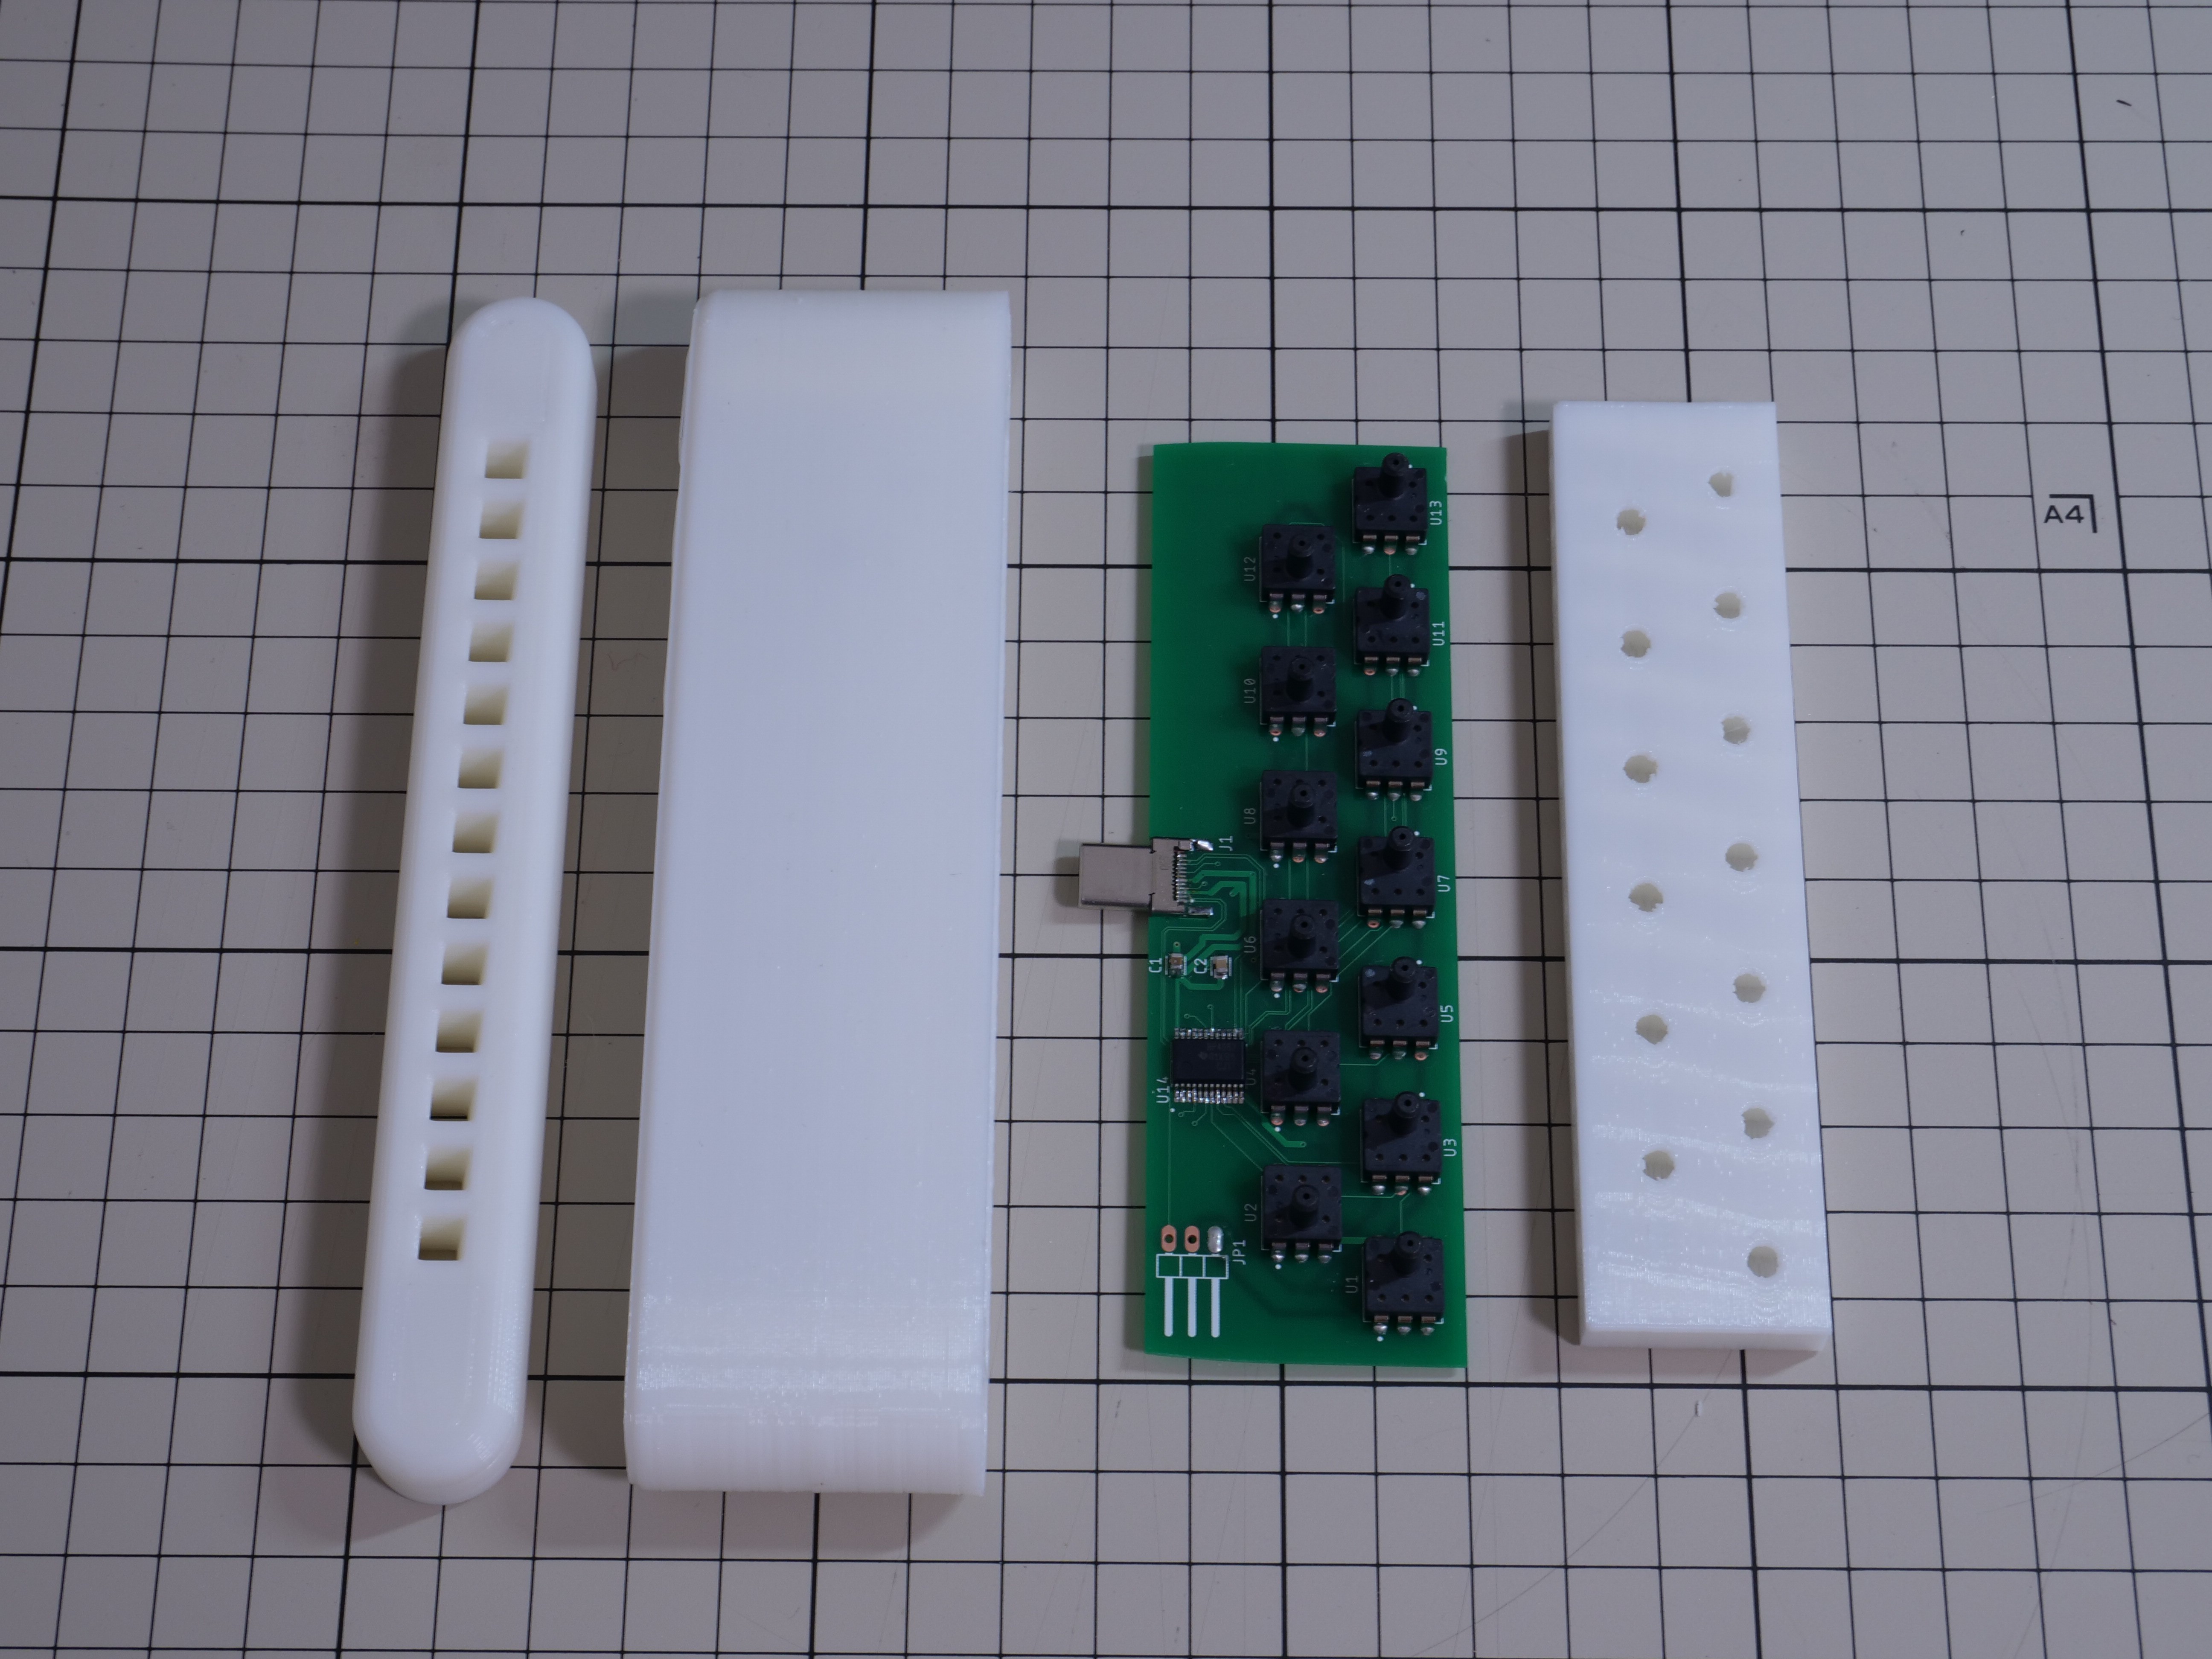

The outer casing is now in the shape of a single piece sleeve instead of the top and bottom cover design we had in the first prototype. This design again, simplifies the assembly. In addition, the sleeve design is much easier to 3D print on a FDM printer. With this design, it will make replacing breath filters in the mouth piece easier as well although we have yet to design the mouthpiece with filters.
Testing the new design
As I assembled and tested the new harmonica unit, this is when it became apparent that there were some issues with either the new PCB design or issues that arose from soldering the SMD components. Although my initial tests with the multimeter indicated that the PCB had no wiring problems, when the sensors were read by the Arduino, three of the sensors gave out a range that was beyond a typical value. For reasons still not entirely clear, the sensor values did not change when the air pressure was changed on purpose. For this reason, we were unable to use the second prototype properly.
In addition, an error was made in the circuit design for the PCB that is supposed to connect the harmonica unit to the base unit. One of the pins in the USB type-C connection was not connected to the right soldering pad on the PCB. Luckily, we were able to use a commercially sold USB type-C breakout board (which is also open source) to continue on with our testing. This is a minor error and can easily be fixed when we order the PCBs again.
I believe that the root cause of these problems come from the time constraint we had. We really wanted to get the Magpie MIDI V2.0 to work like the first prototype but with better improvements. Instead, by making haste, we must have made an error either in the PCB design or in soldering the small SMD components onto the PCB.
Nevertheless, Pato and I are confident that we can get this PCB design to work. Getting the PCB design right the first time is always challenging for any project. Because we know for a fact that our circuit design works on a breadboard and a CNC milled circuit board, we believe that this is only a matter of minor error we made in creating the electronics for the second prototype.
Assembling the harmonica unit and the base unit also showed that, like the first prototype, the harmonica unit was still too heavy for it to be supported by the springs in the joystick. Like with our first prototype, we used elastic bands to support the harmonica unit’s weight. This is a hardware design issue that will need to be fixed because using elastic bands to support the harmonica unit is not ideal. We have come up with two different ways to resolve this issue and we plan on implementing a fix in the next iteration of the device.
On the flip side, the ease of assembly of the harmonica unit was significantly improved. Whereas the first prototype required various tools and a considerable time to assemble, the new design was able to be assembled in less than a minute using only a screwdriver. In addition, making the harmonica unit and the base unit detachable proved to be a great idea. It not only made the device more portable, but it also made assembling the device more easy.
Other updates
Looking at the harmonica unit PCB design, you may notice that there are three extra pins that point outward. This is for a new feature idea we came up with as we got more feedback from the people at the UCPLA. These three pins are reserved for further expansion of the device. We know that cerebral palsy and other physical disabilities have various effects on body movement. With these three pins, we want to allow our users to have more options in how they control the device by adding additional “modules” via the three pins.
For example, there may be users who struggle to tilt their heads to operate the device. Tilting the head would be necessary to switch modes (i.e. to enter MIDI mode from keyboard mode) but this would not be possible for them. If another sip and puff switch (single air pressure sensor with casings) can be attached on top of the harmonica unit via the three pins, it could be used to switch the device’s modes without the head tilt movement.
These three pins could also be used to add additional functionalities. Adding an additional air pressure sensor module could be programmed to activate a specific command that the user wants constant and immediate access to. With the additional pins already available, there would be no need for custom modification of the device by our users. The three pins are GND, VCC and Analog/Digital pins. Therefore ideas for additional modules to be added to Magpie MIDI is endless.
Software updates
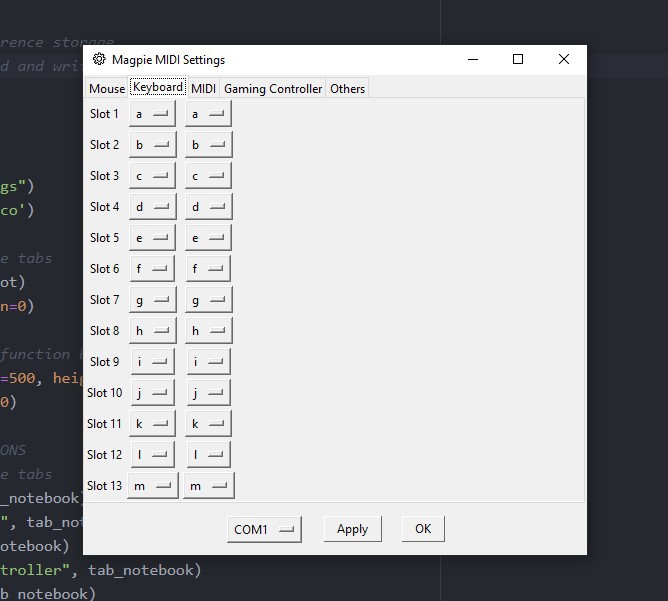
New GUI for configuring the device
As we mentioned previously, we want our device to be fully customizable without the need to use computer programming language. We have written a PC/Mac software that will allow users to customize what each of the air pressure sensors do.
For example, if a user wants to change the musical scale from the device’s MIDI output, they will be able to select the appropriate notes from a dropdown menu and configure the new settings to the device all without touching a single line of code.
Unfortunately, we ran out of time (before posting this update for the final round) to implement the pyserial library into our code. This is part of the code that was supposed to send serial AT like commands to the Arduino in the backend of the software. We ran into issues with getting the library to work together with multiple python files we were already working with. However, with more time, we will be able to get this running.
The GUI of the software is finished and the codes for these are available on our Github repository page. We realize that this software is not the most intuitive and most user friendly software. We have many ideas for how we can make the software more intuitive, but we wanted to get the basics done first. As of now, the GUI software is written in python using Tkinter; however, after we prove that the configuration system works, we plan on using other GUI libraries (we were thinking Electron.js combined with other web development tools) to improve the GUI of the configuration software.
Arduino code to write configuration settings to EEPROM
The configuration system will also require additional code in the Arduino side as well. We have designed the configuration system to store the user’s configuration settings into the EEPROM of the Arduino. The system is similar to an AT command system or a Unix terminal system. Specific reserved ascii letters are used to either program or pass on information between the Arduino and the configuration software on the PC/Mac. Each aire pressure sensor has its own memory address in the EEPROM to store the value. We have successfully gotten this EEPROM writing system to work, and although useless without the software, the code can be found in our Github repository.
Other updates
Pato and I along with our friends who have been very interested in this project have come up with an idea to gamify the process of learning to use this device. We realise that the device will at first have some learning curve. Afterall, learning to play the harmonica requires practice and frequent usage. Therefore, our idea is to create a gaming application (that goes along with the configuration software) that will teach the users how to use this device and allow them to practice using the device in fun and interactive ways. We have not started working on this idea yet, but we will definitely be working on it soon.
General Updates
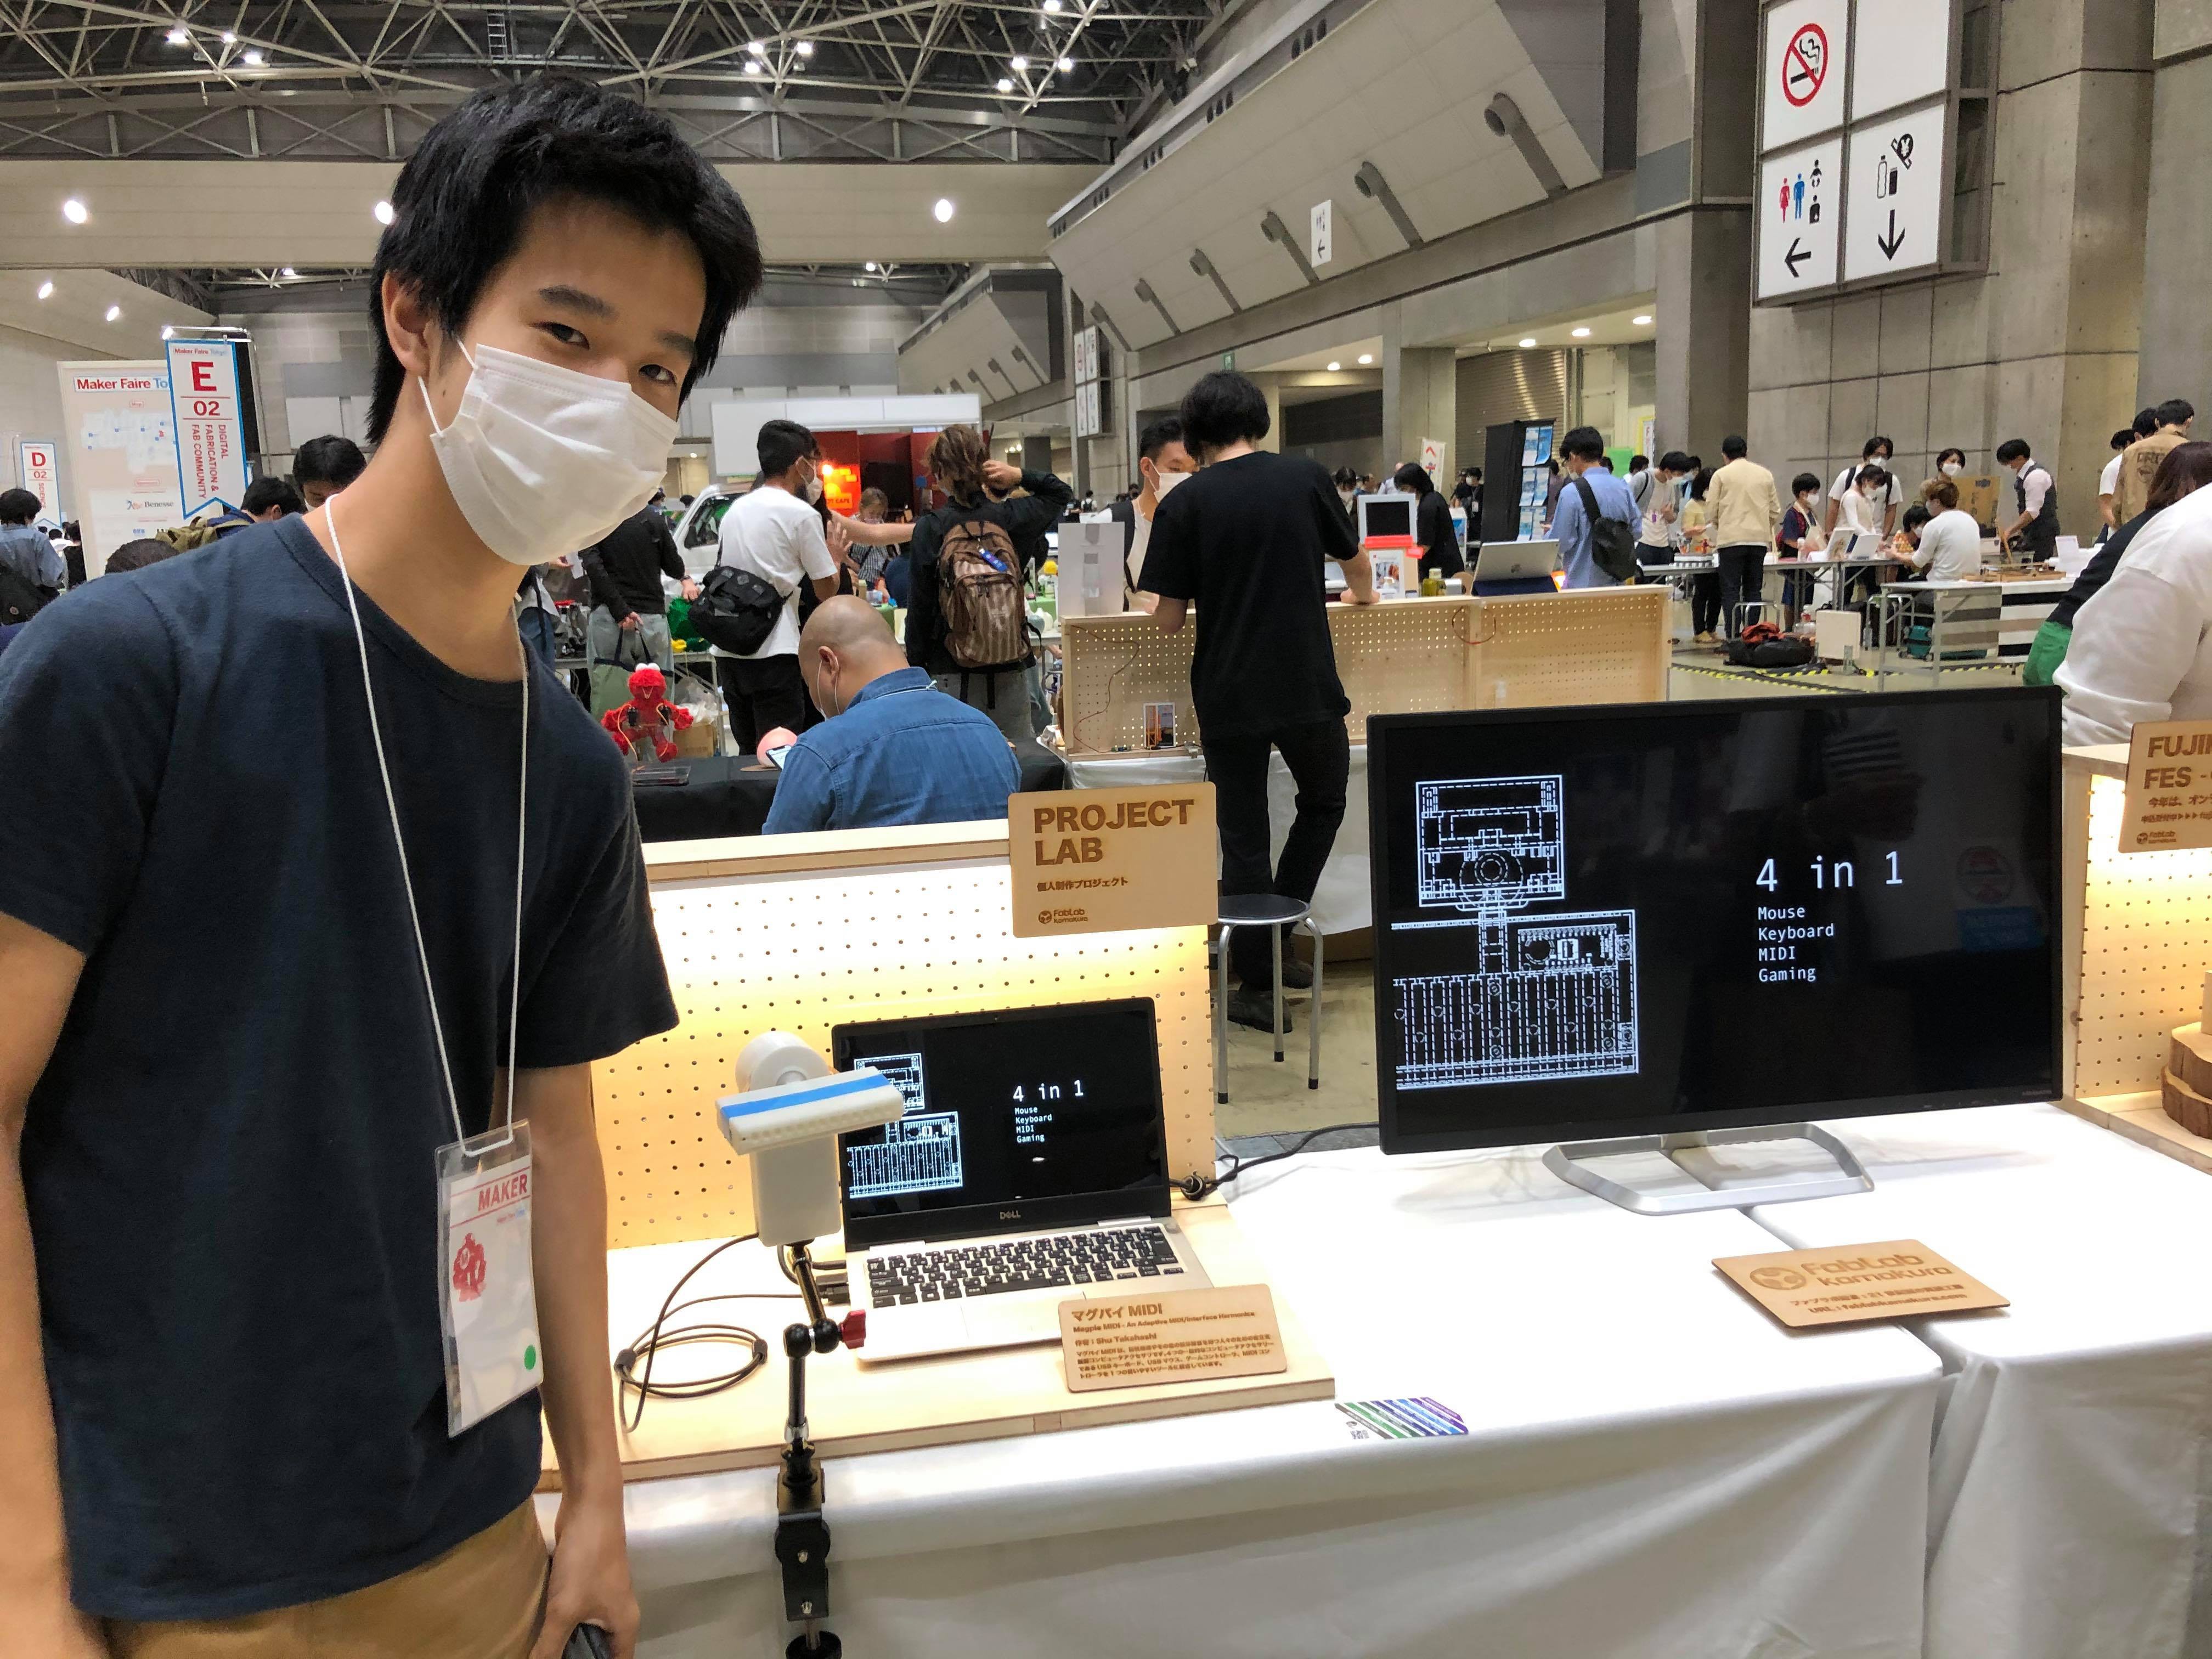
Exhibition at Maker Faire Tokyo 2020
We showcased our first prototype along with the first video at the Maker Faire Tokyo. We heard many positive feedbacks and comments. One of the people that visited the booth excitedly mentioned that one of his friends, who has a physical disability would find our device extremely useful and was interested in following up with our project. Similarly, I also had a friend who knew somebody that would love to use the Magpie MIDI when I made a post about this on Facebook.
We also met a director of a Japanese company who specialise in creating robotics and social solutions for people with disabilities. He was also interested in this project and wanted to hear more from us.
The numerous feedbacks we’ve received online has also made us realise how our device is creating excitement and hope for some. Although creating this device is a small step towards a specific problem, we feel incredibly responsible to get Magpie MIDI to people who would find it useful.
Discussions
Become a Hackaday.io Member
Create an account to leave a comment. Already have an account? Log In.