 parasquid
When I make projects based on the Arduino Pro Mini, it was often more convenient to prototype them with a full size Arduino. However, unlike the 3v3 pro mini where I can just plug in a lipo battery through the raw and gnd pins, I'll need to tether myself to a cable and power supply for the Arduino. I can't really use most of the power banks I have because sometimes the Arduino would sip too little current that the power bank turns itself off.
I've looked online for LiPo battery shields but found them all to be on the more expensive side, so I decided to DIY my own.
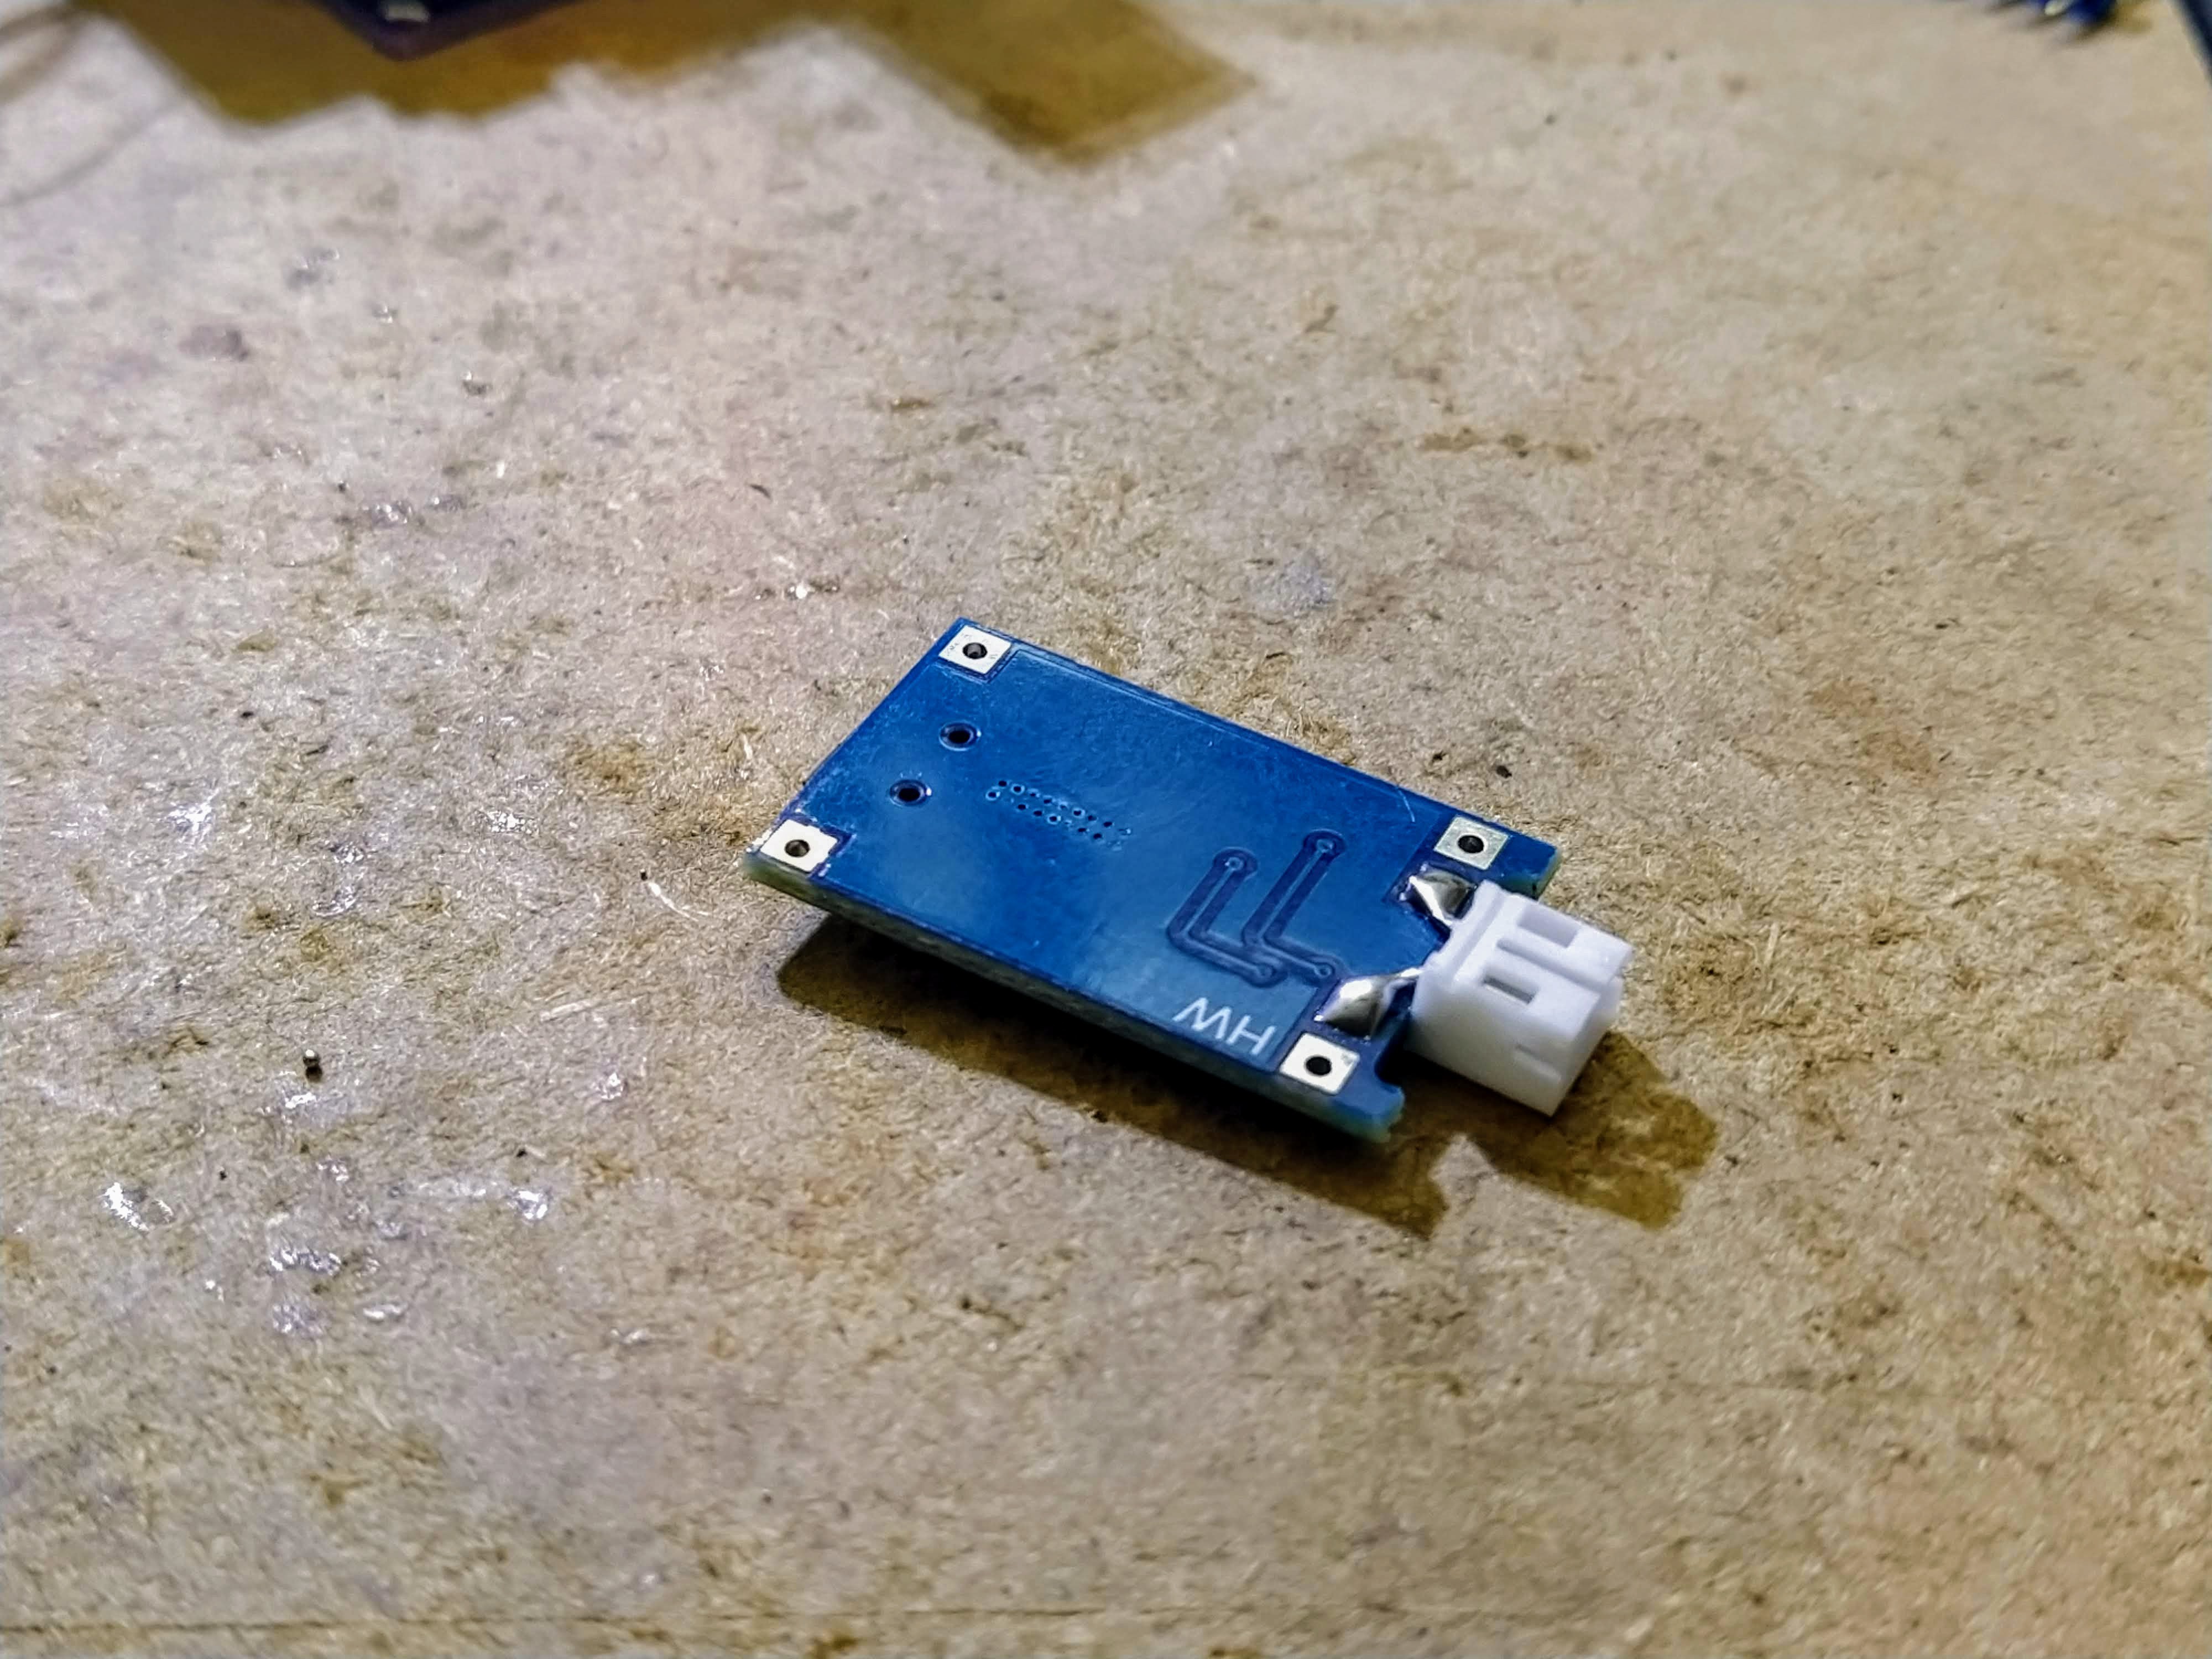
It starts with the TP4056 module with lipo protection. I soldered a two-pin JST header on the battery in/out, spreading the legs so they reach the terminals. It was surprisingly sturdy. I didn't want to solder in the batter wires because the lipo I was using already came with nice silicone wires with a JST connector, and I didn't want to cut that off. Plus I get the option to use a different lipo battery later on if needed.
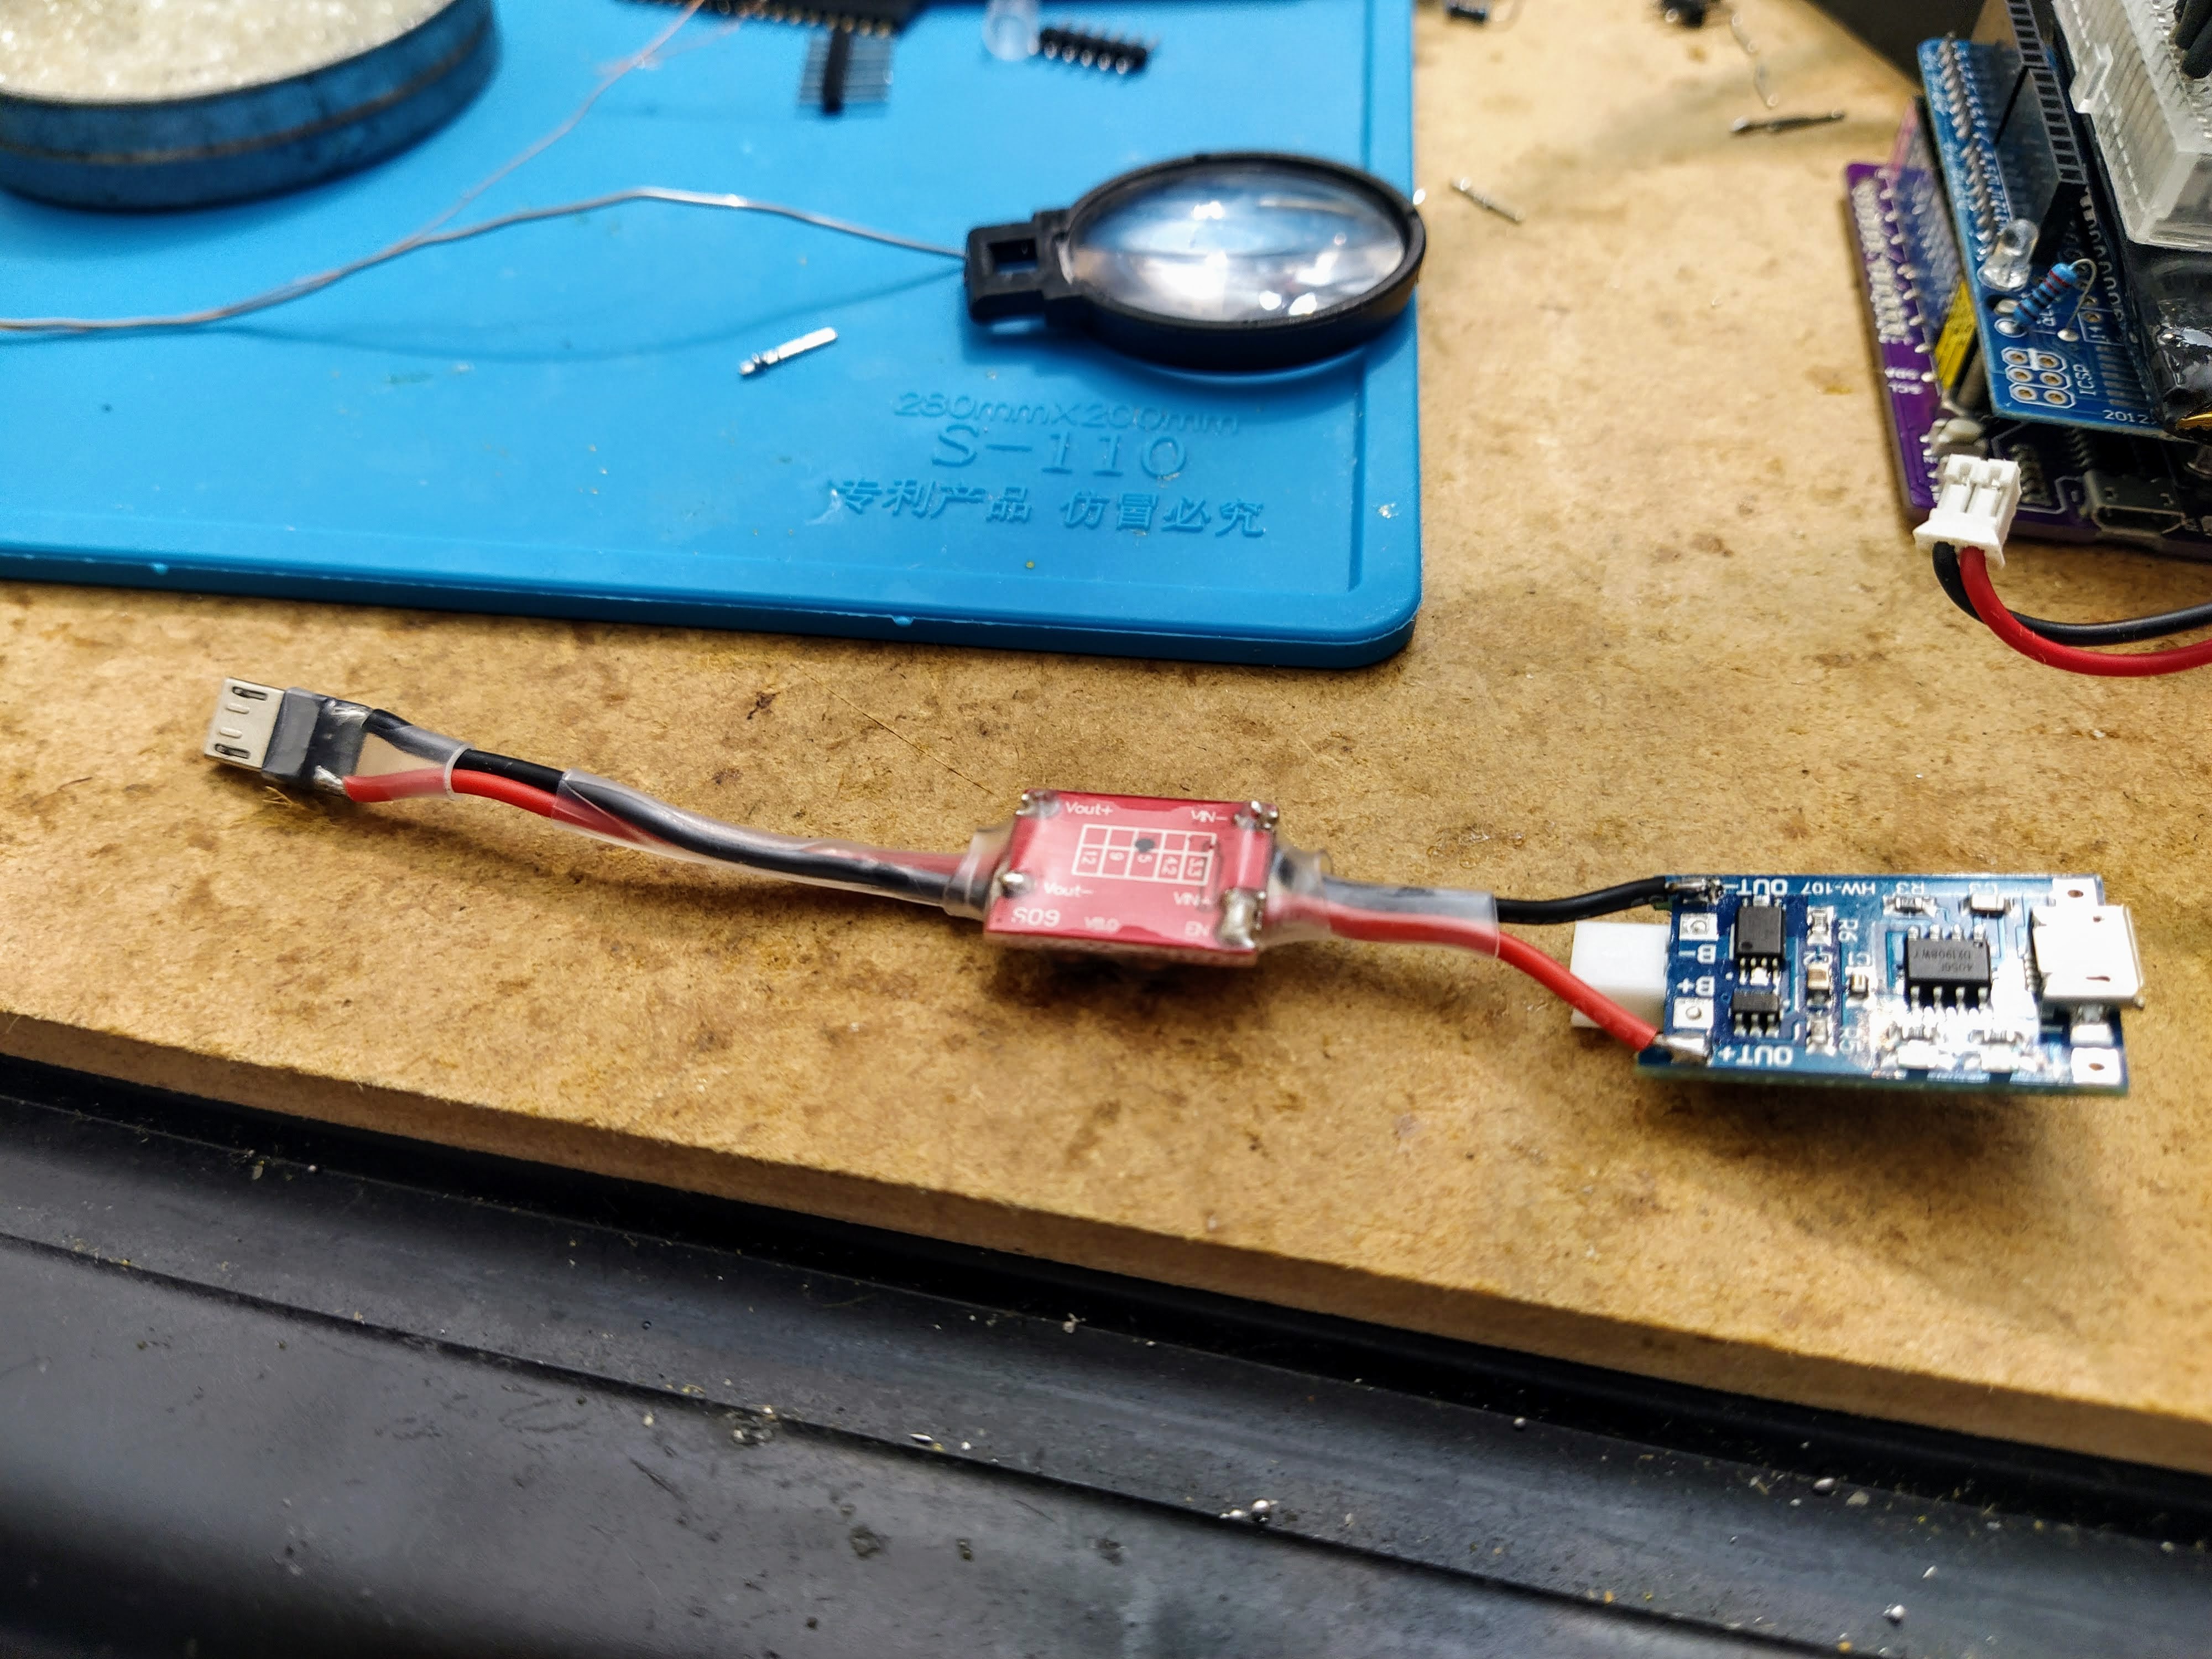
Since the Arduino I'm using has a USB micro input, that's what I'm using for the jack. I had to boost the power to 5v using a boost converter since the lipo can only output 4.2v max. After checking polarities, some heatshrink tubing and some testing, it's time to assemble the shield.
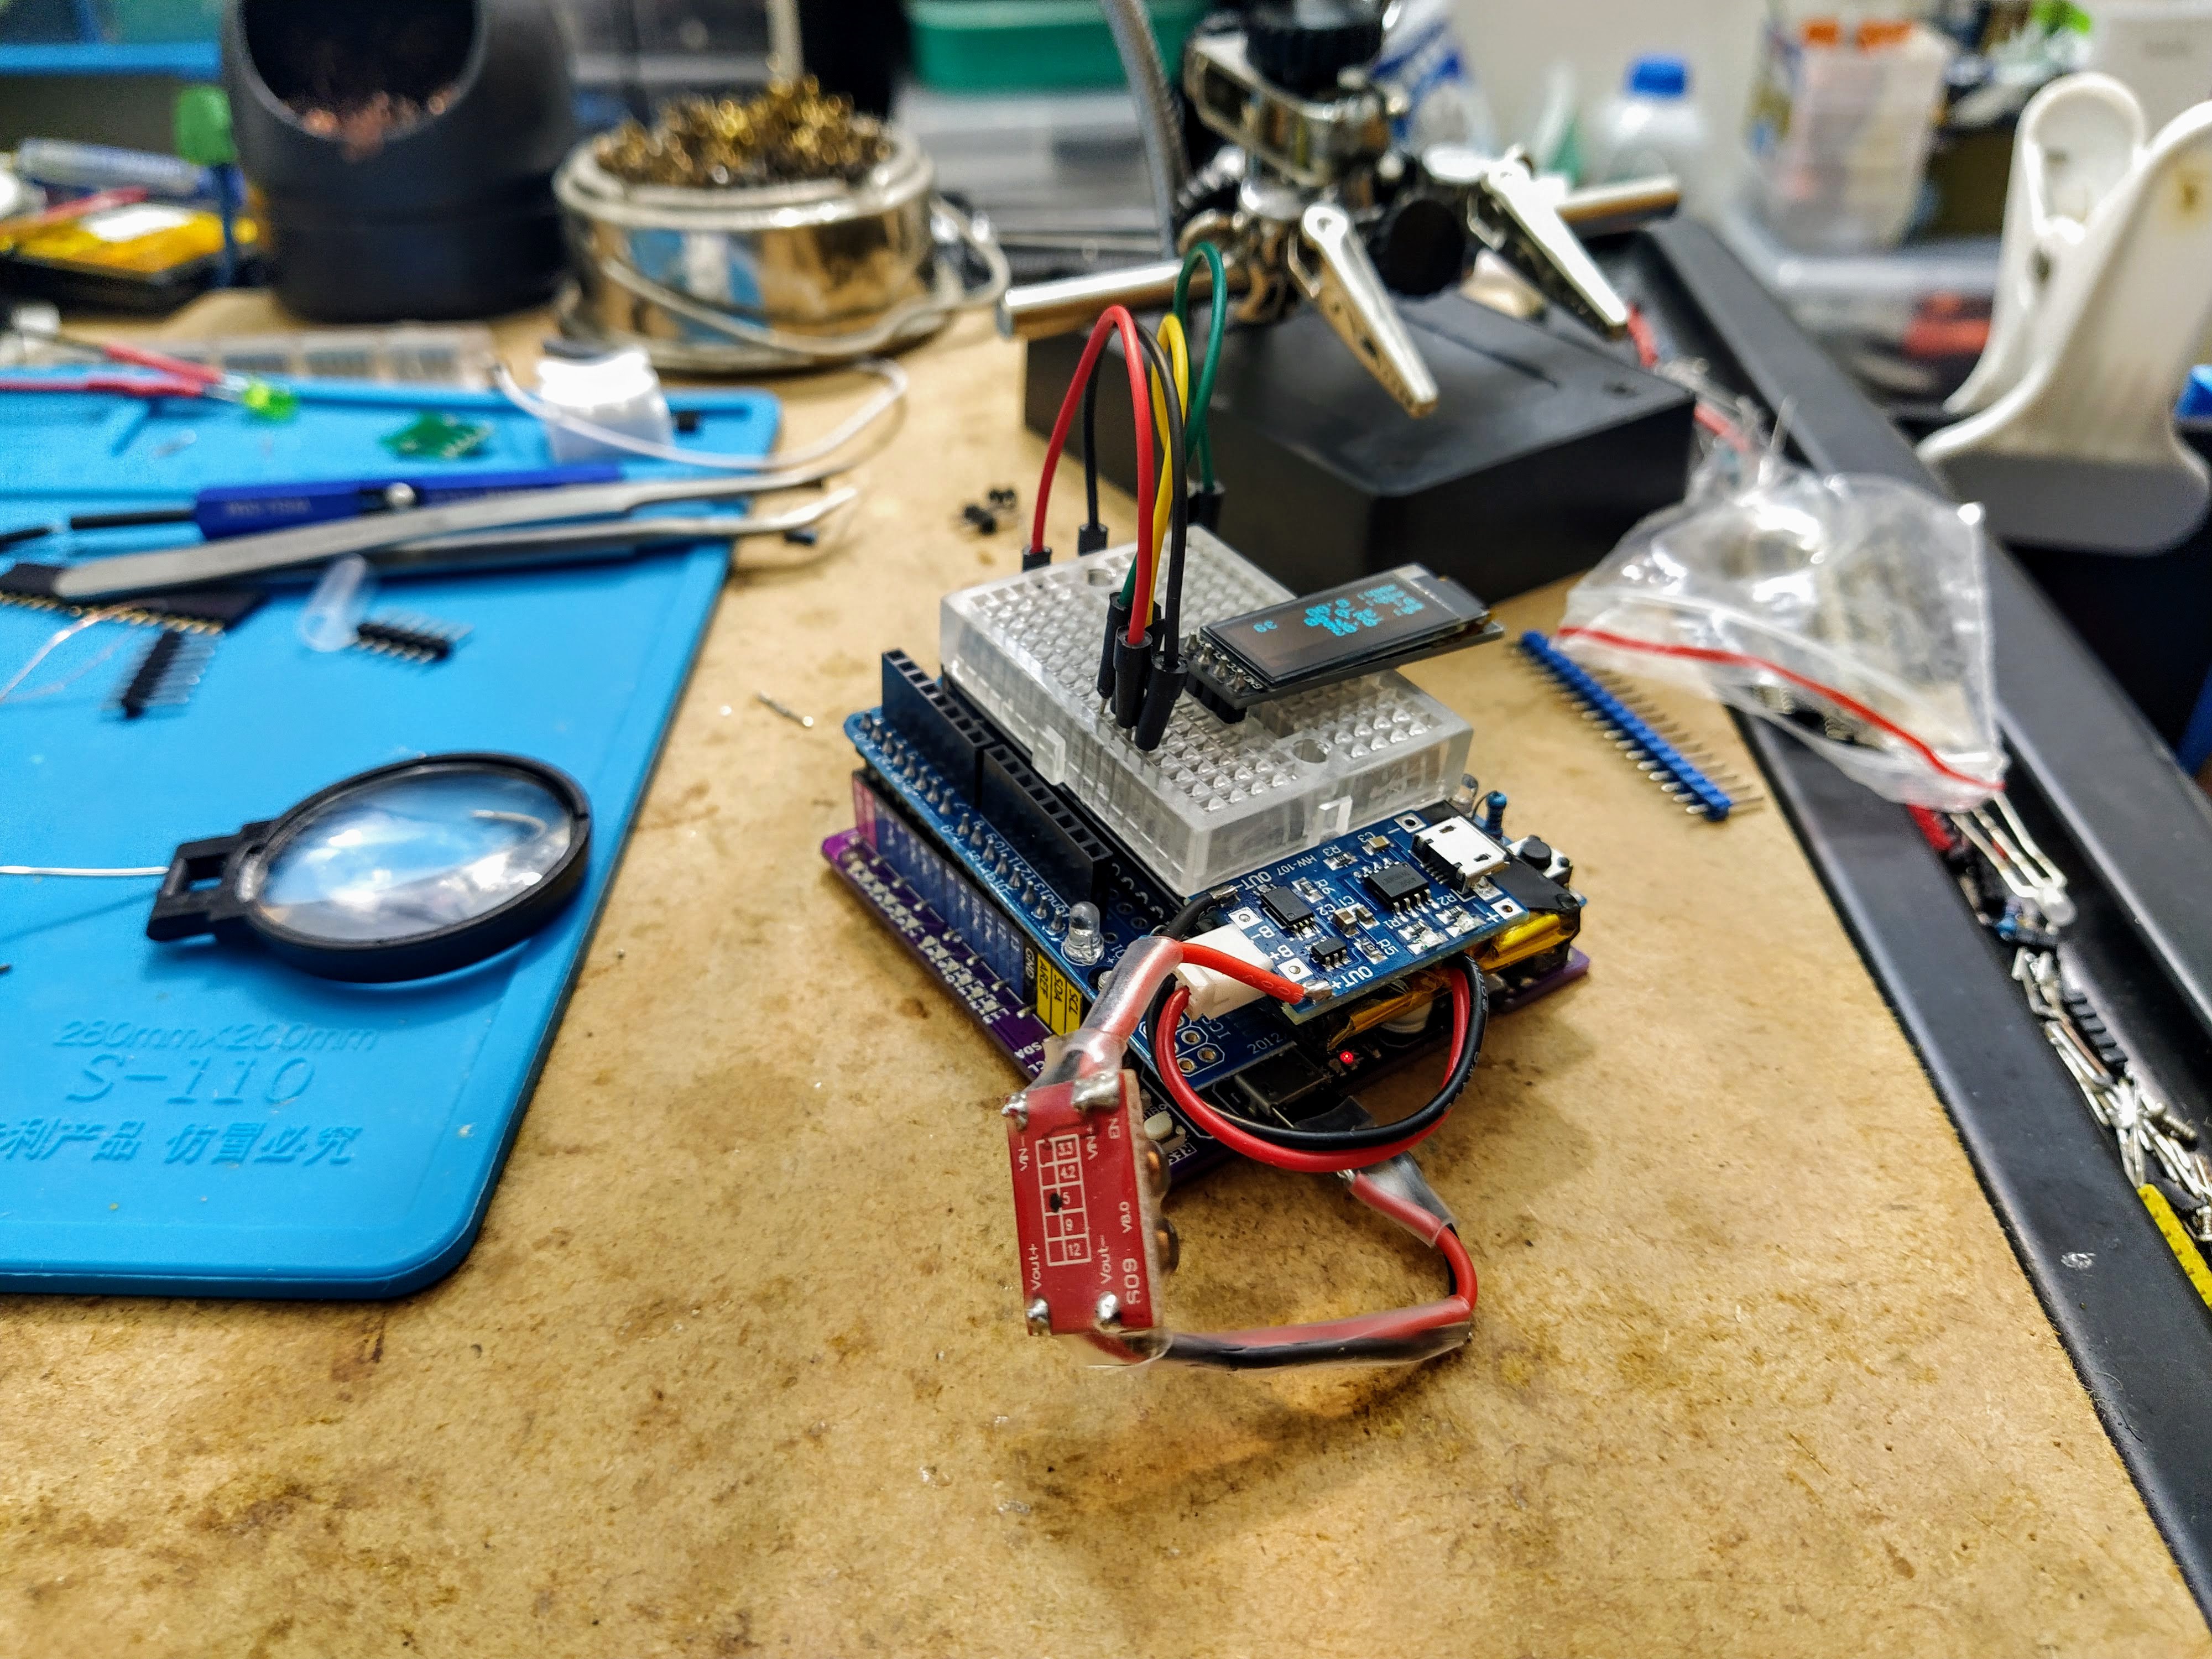
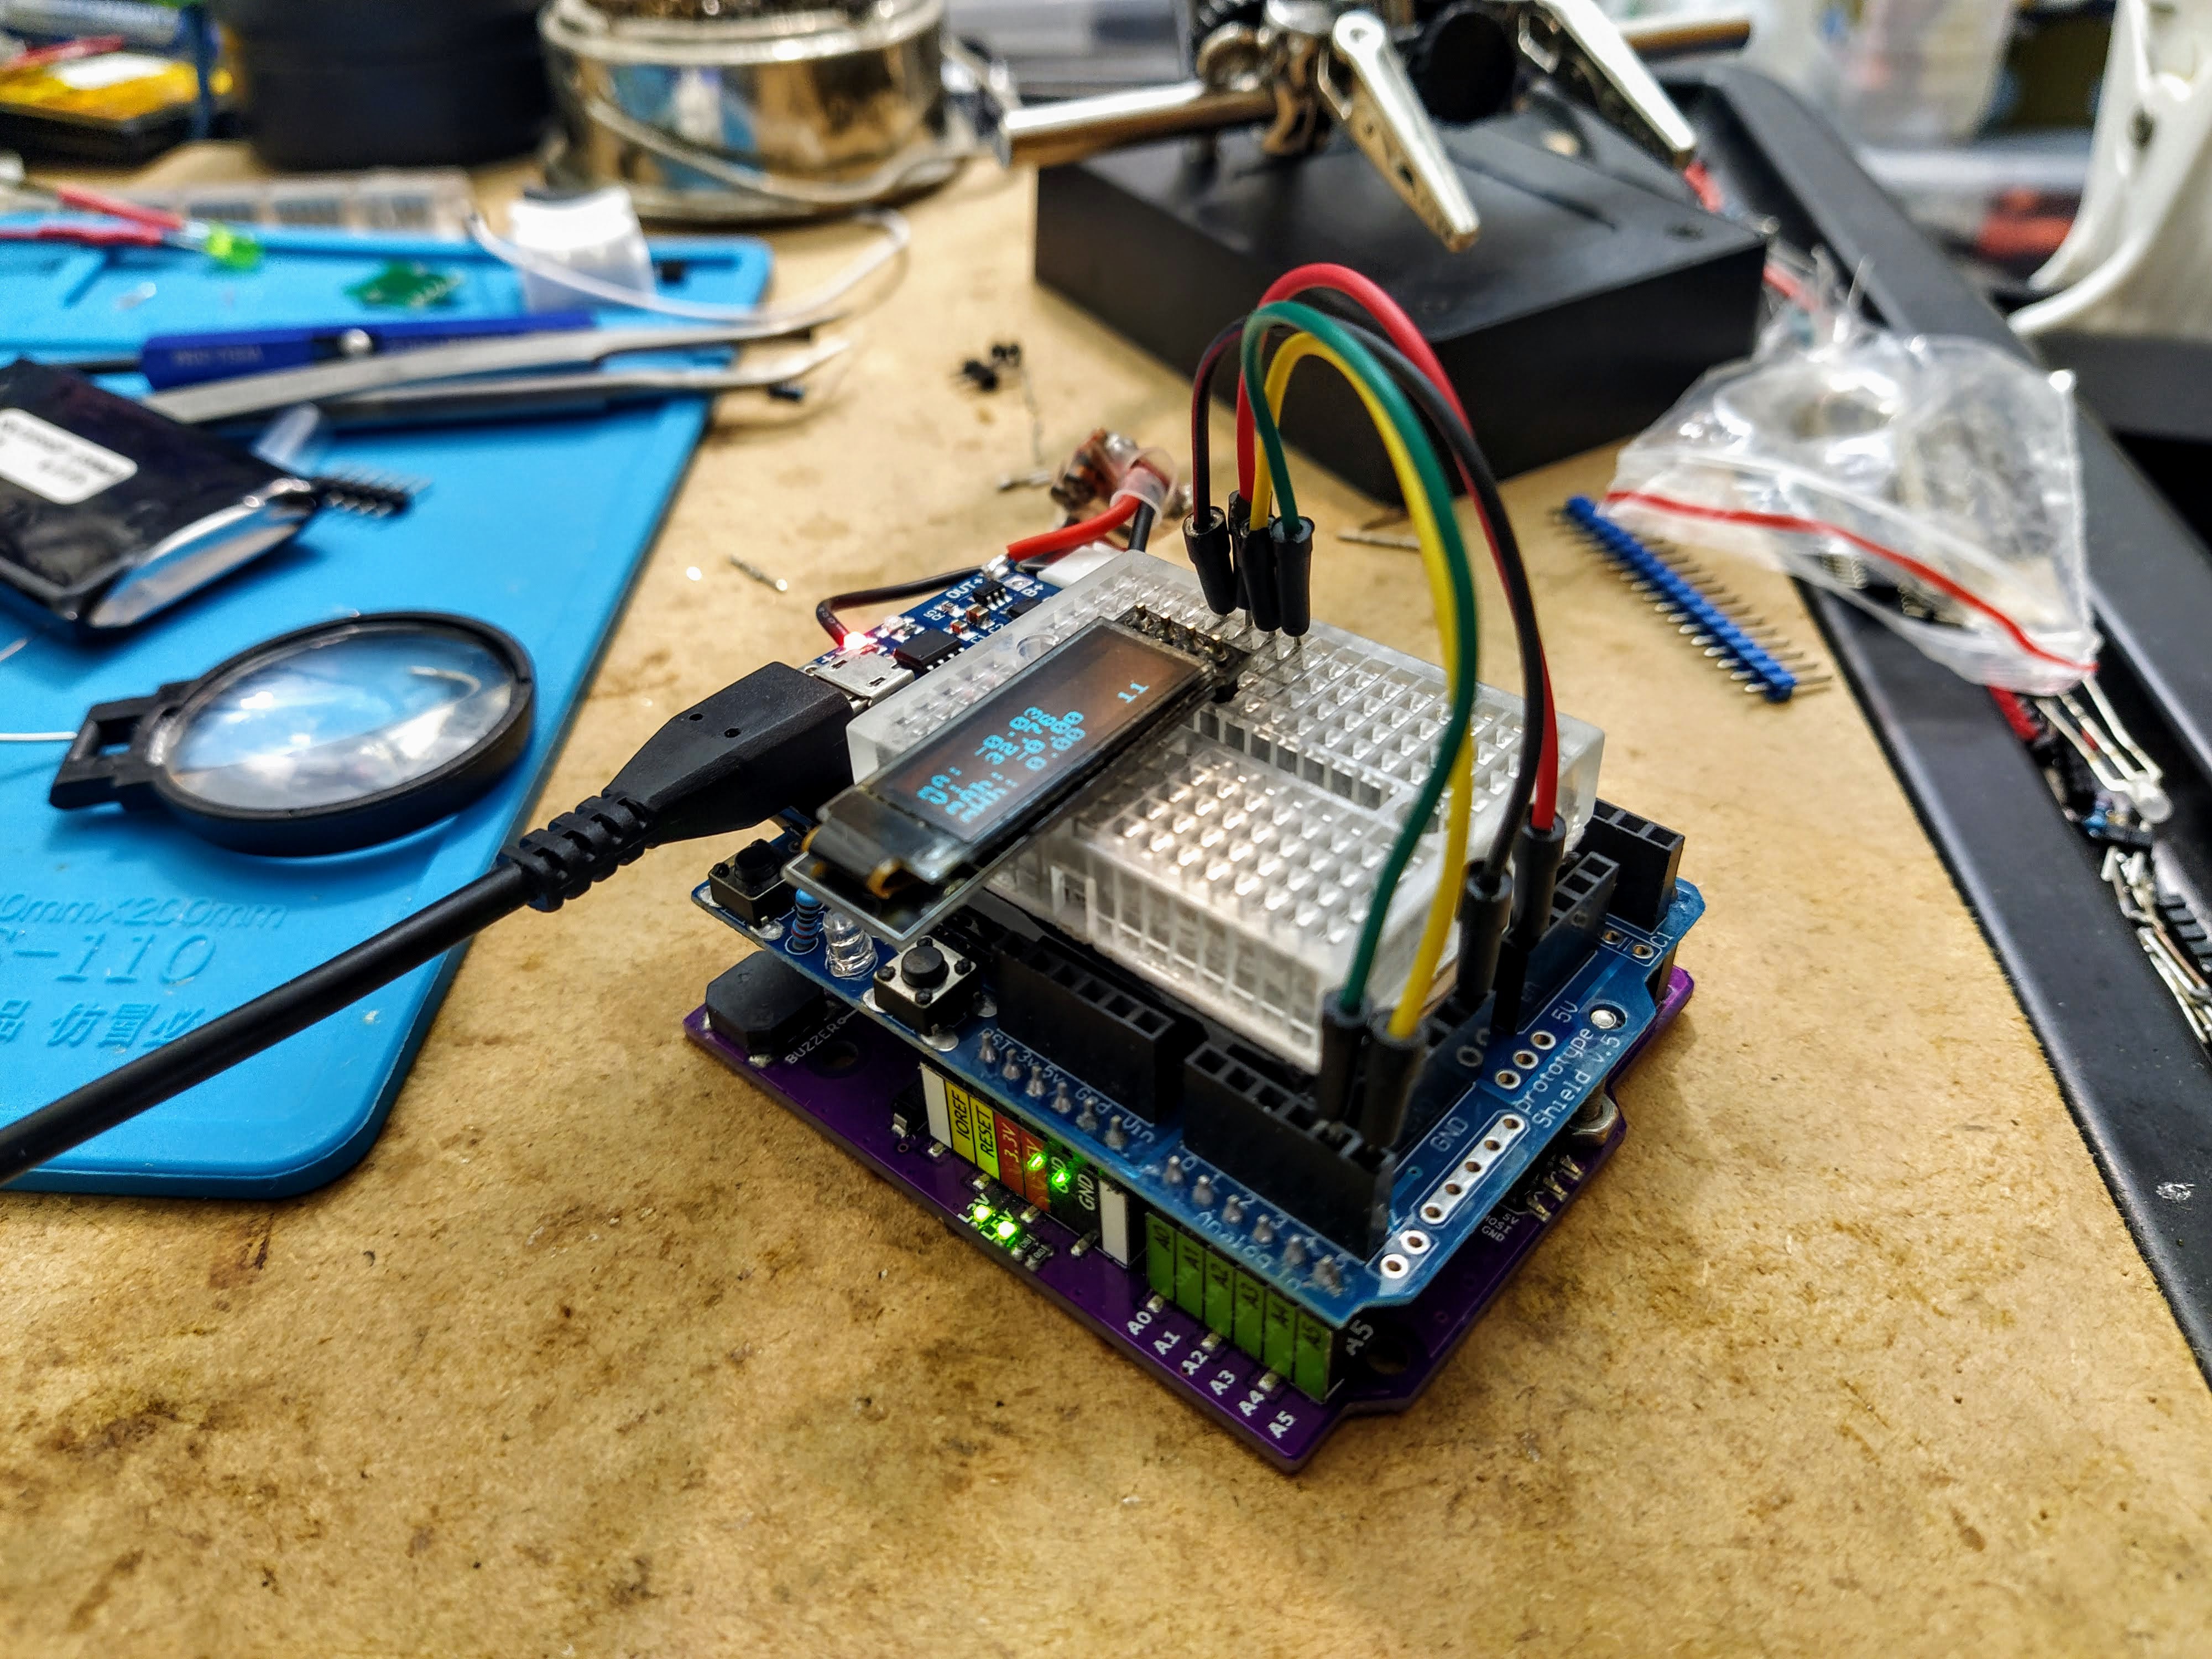
I already had a protoyping shield with a lipo battery attached and a mini breadboard with double sided tape, so I decided to reuse that. After plugging everything in, I confirmed that it's working and running the sketch that I was using for prototyping my other project. This way, I don't need to be tethered to any cables if I'm not doing any programming.
Should the battery go flat, the TP4056 is there to both charge the battery and provide power.
I think this is really convenient. I've been thinking about making one, and I'm glad I was finally annoyed enough to actually make one.
Discussions
Become a Hackaday.io Member
Create an account to leave a comment. Already have an account? Log In.