 parasquid
I ordered some bare NRF52832 ebyte modules ( affiliate link: psqd.pw/ebyte-bare ) from a local reseller while waiting for the modules to arrive from China, since I wanted to work on a project but didn't want to wait too long. While they did arrive earlier than the modules from aliexpress, there was some unexpected issues:
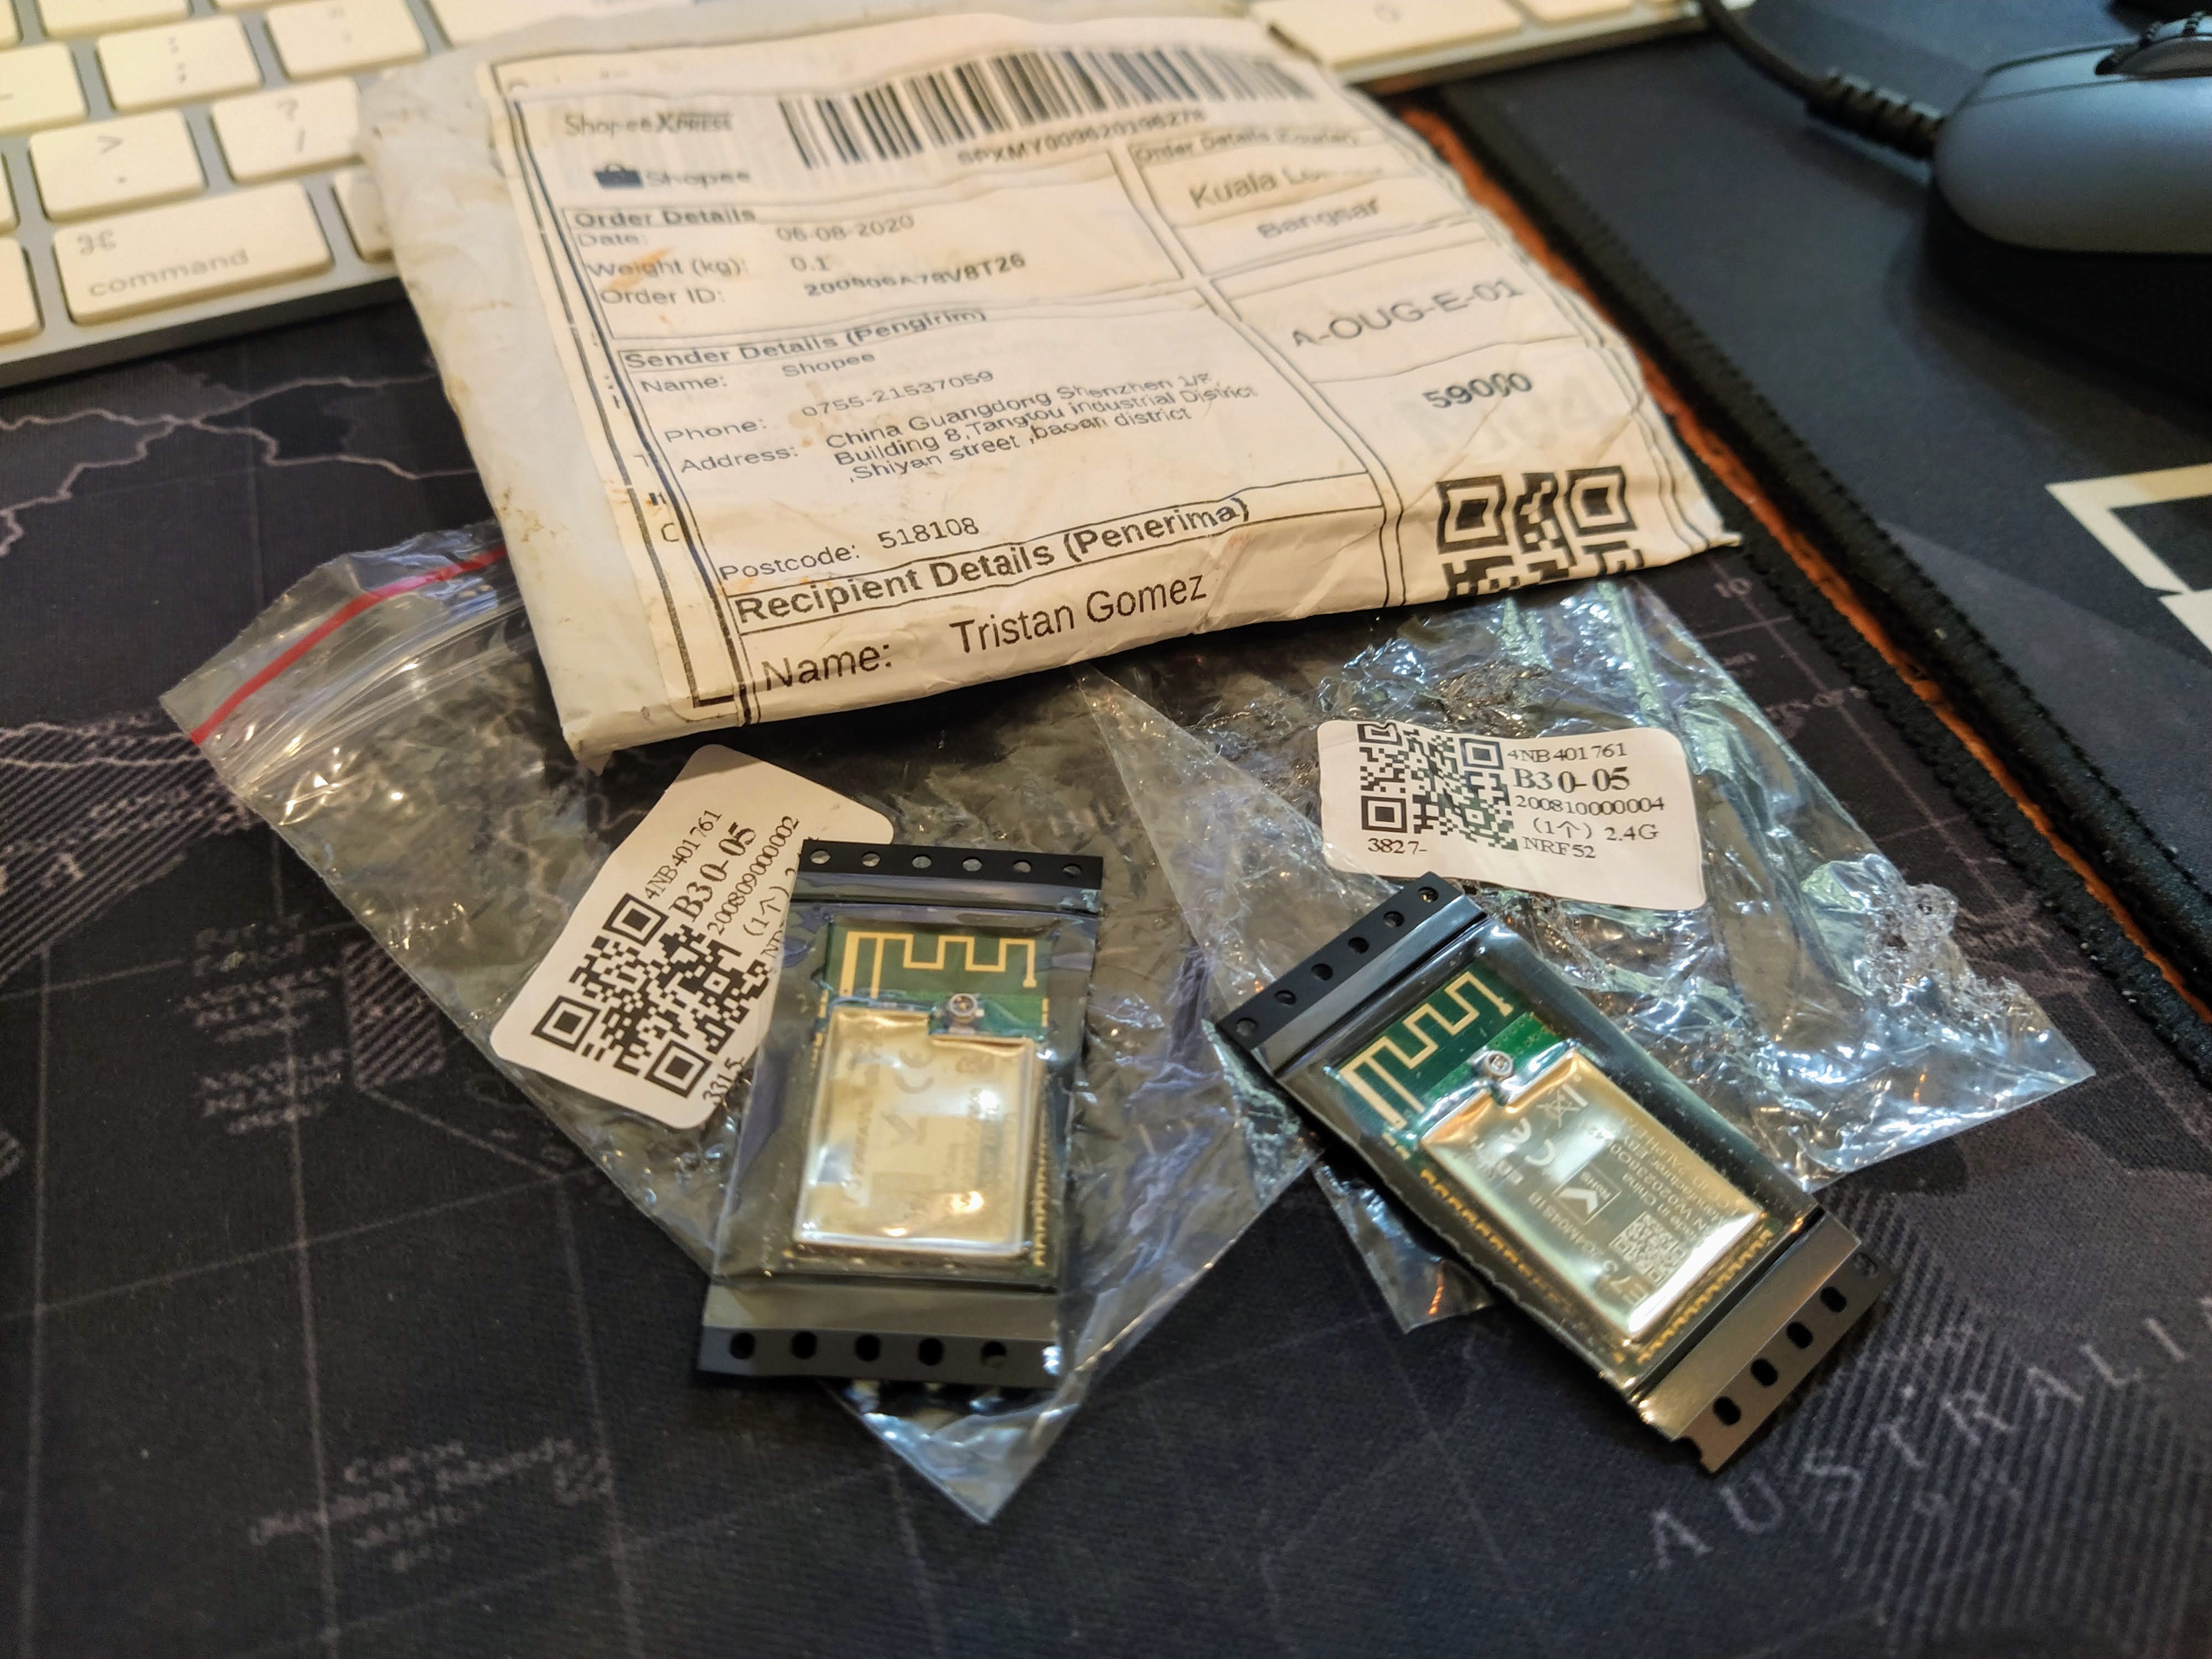
It seemed that the modules had either been through some vacuum process, or something really heavy was put on top of them, squishing the rf shield.
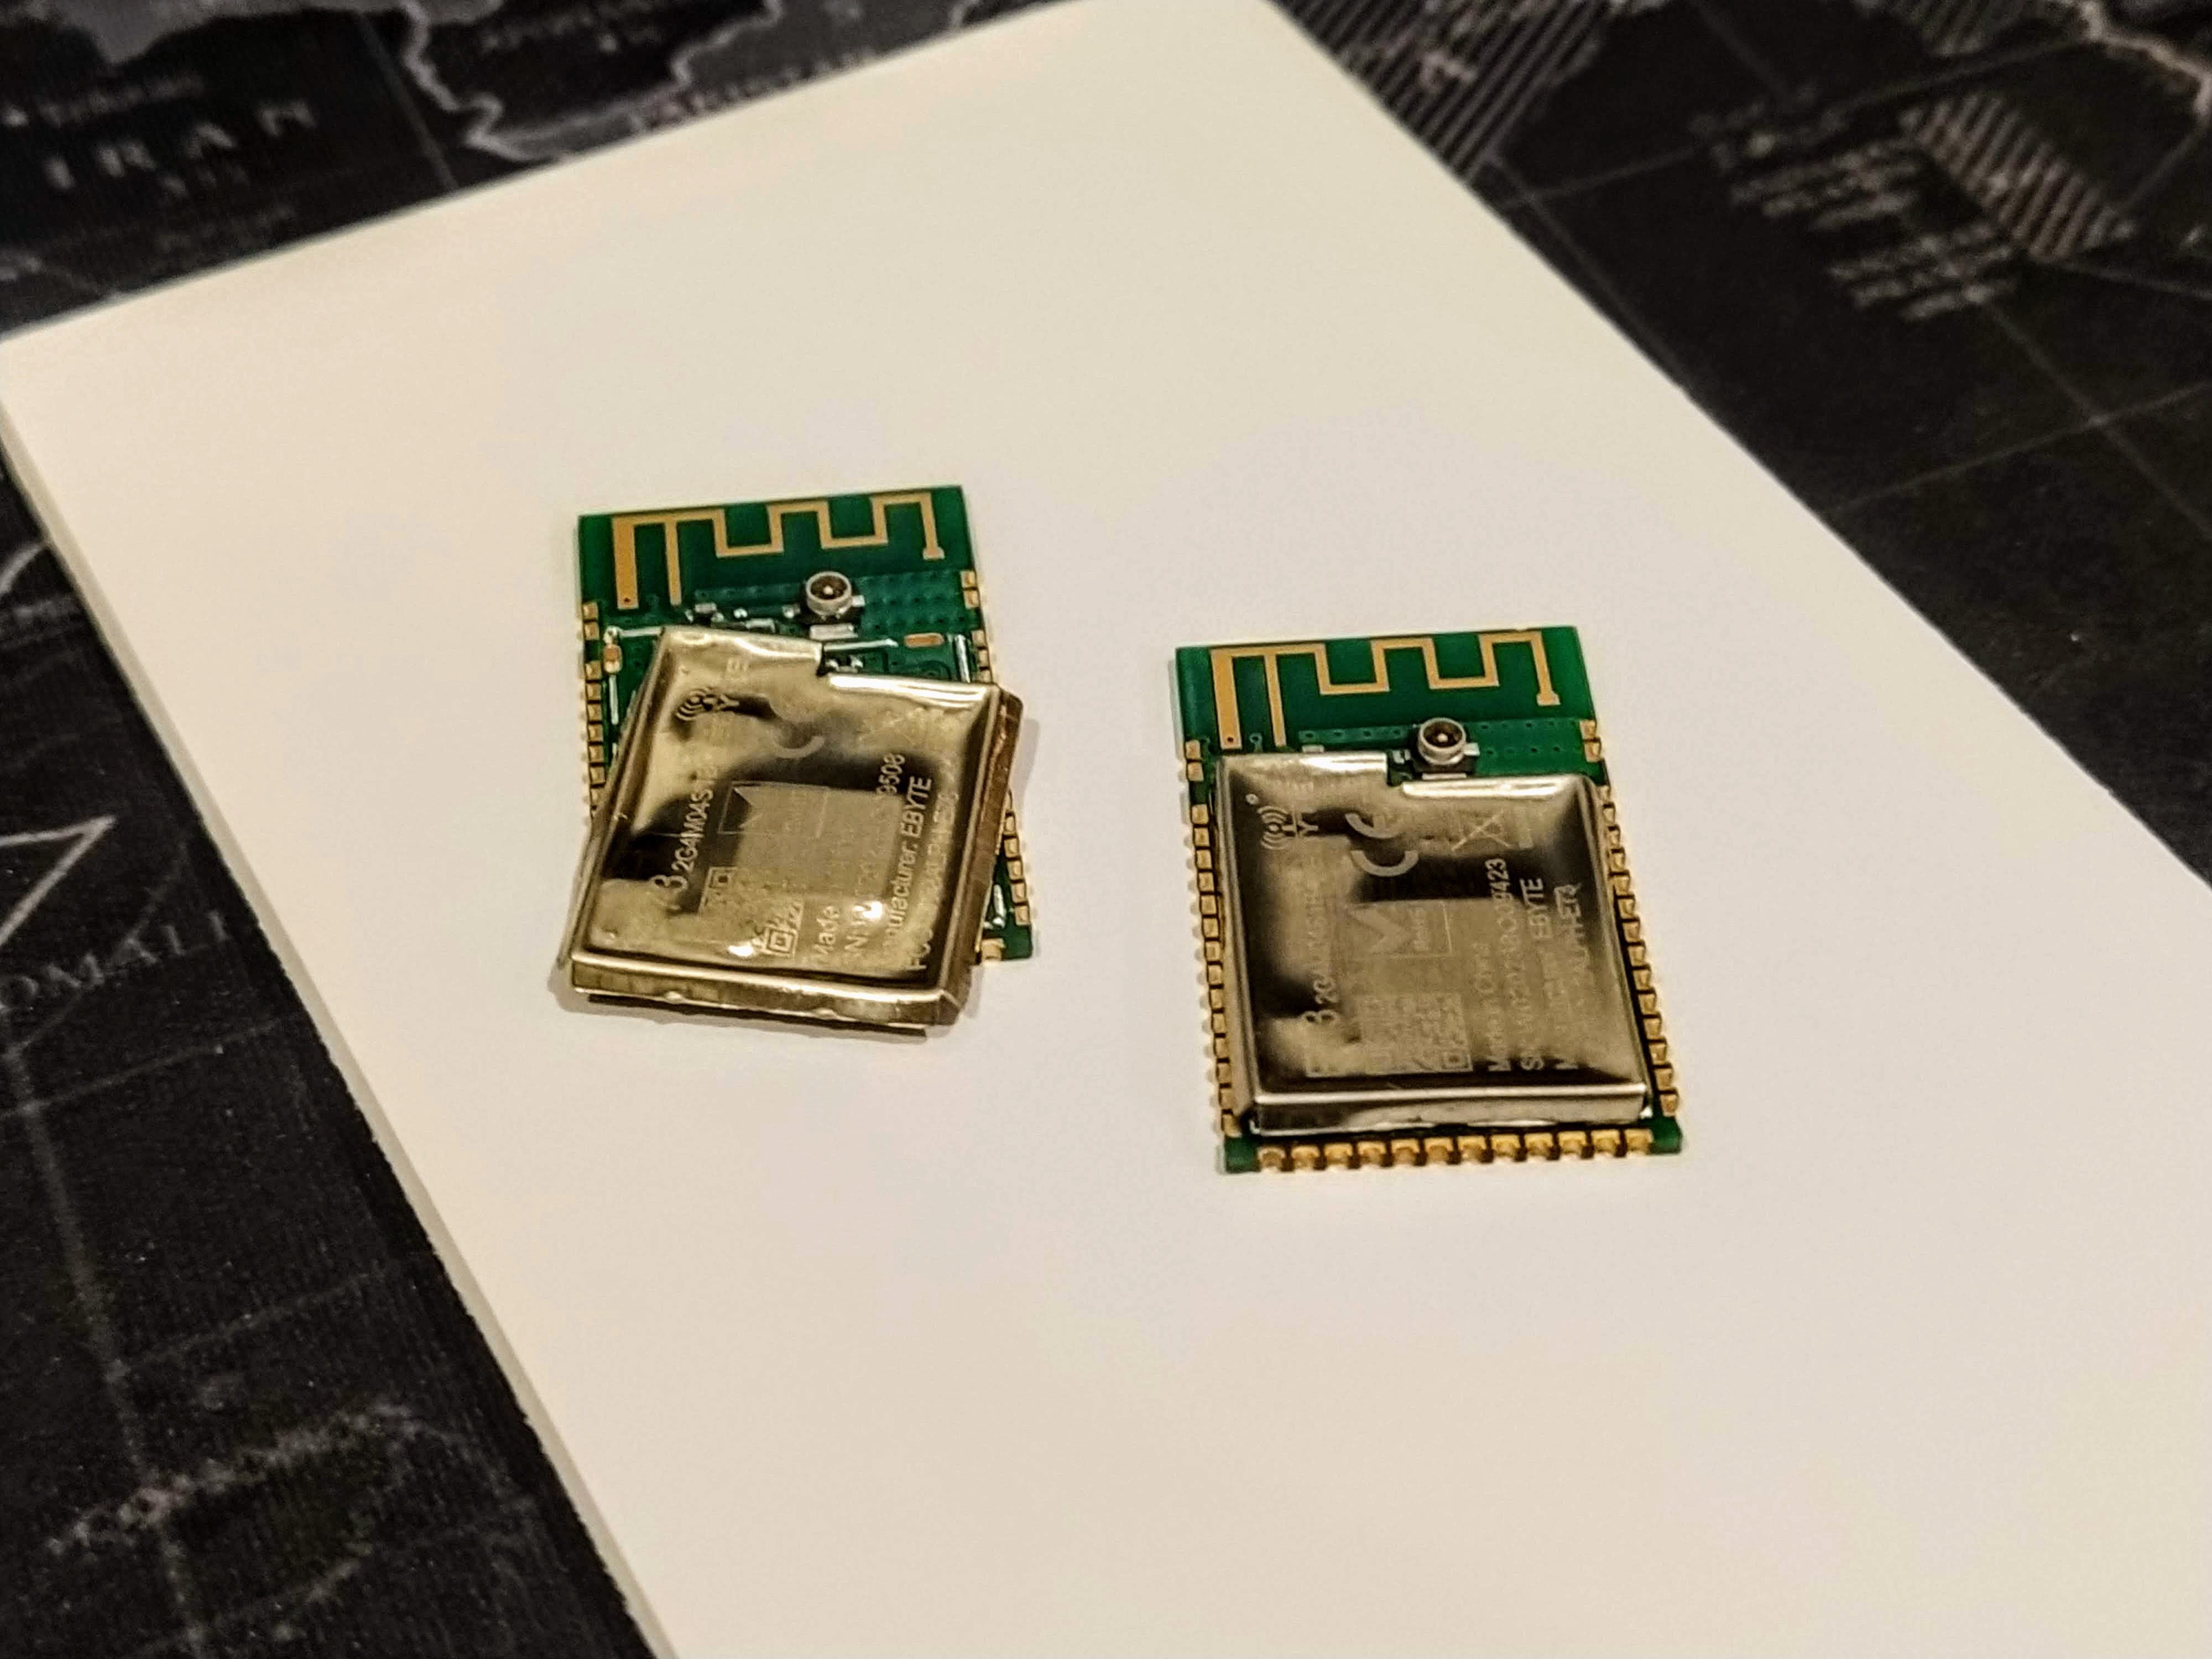
In fact, the rf shielding easily came off while I was inspecting the damage.
It was just the rf shielding, so I was hoping that the chip itself wasn't damaged. So I quickly made up a small jig to program the chips through SWD:
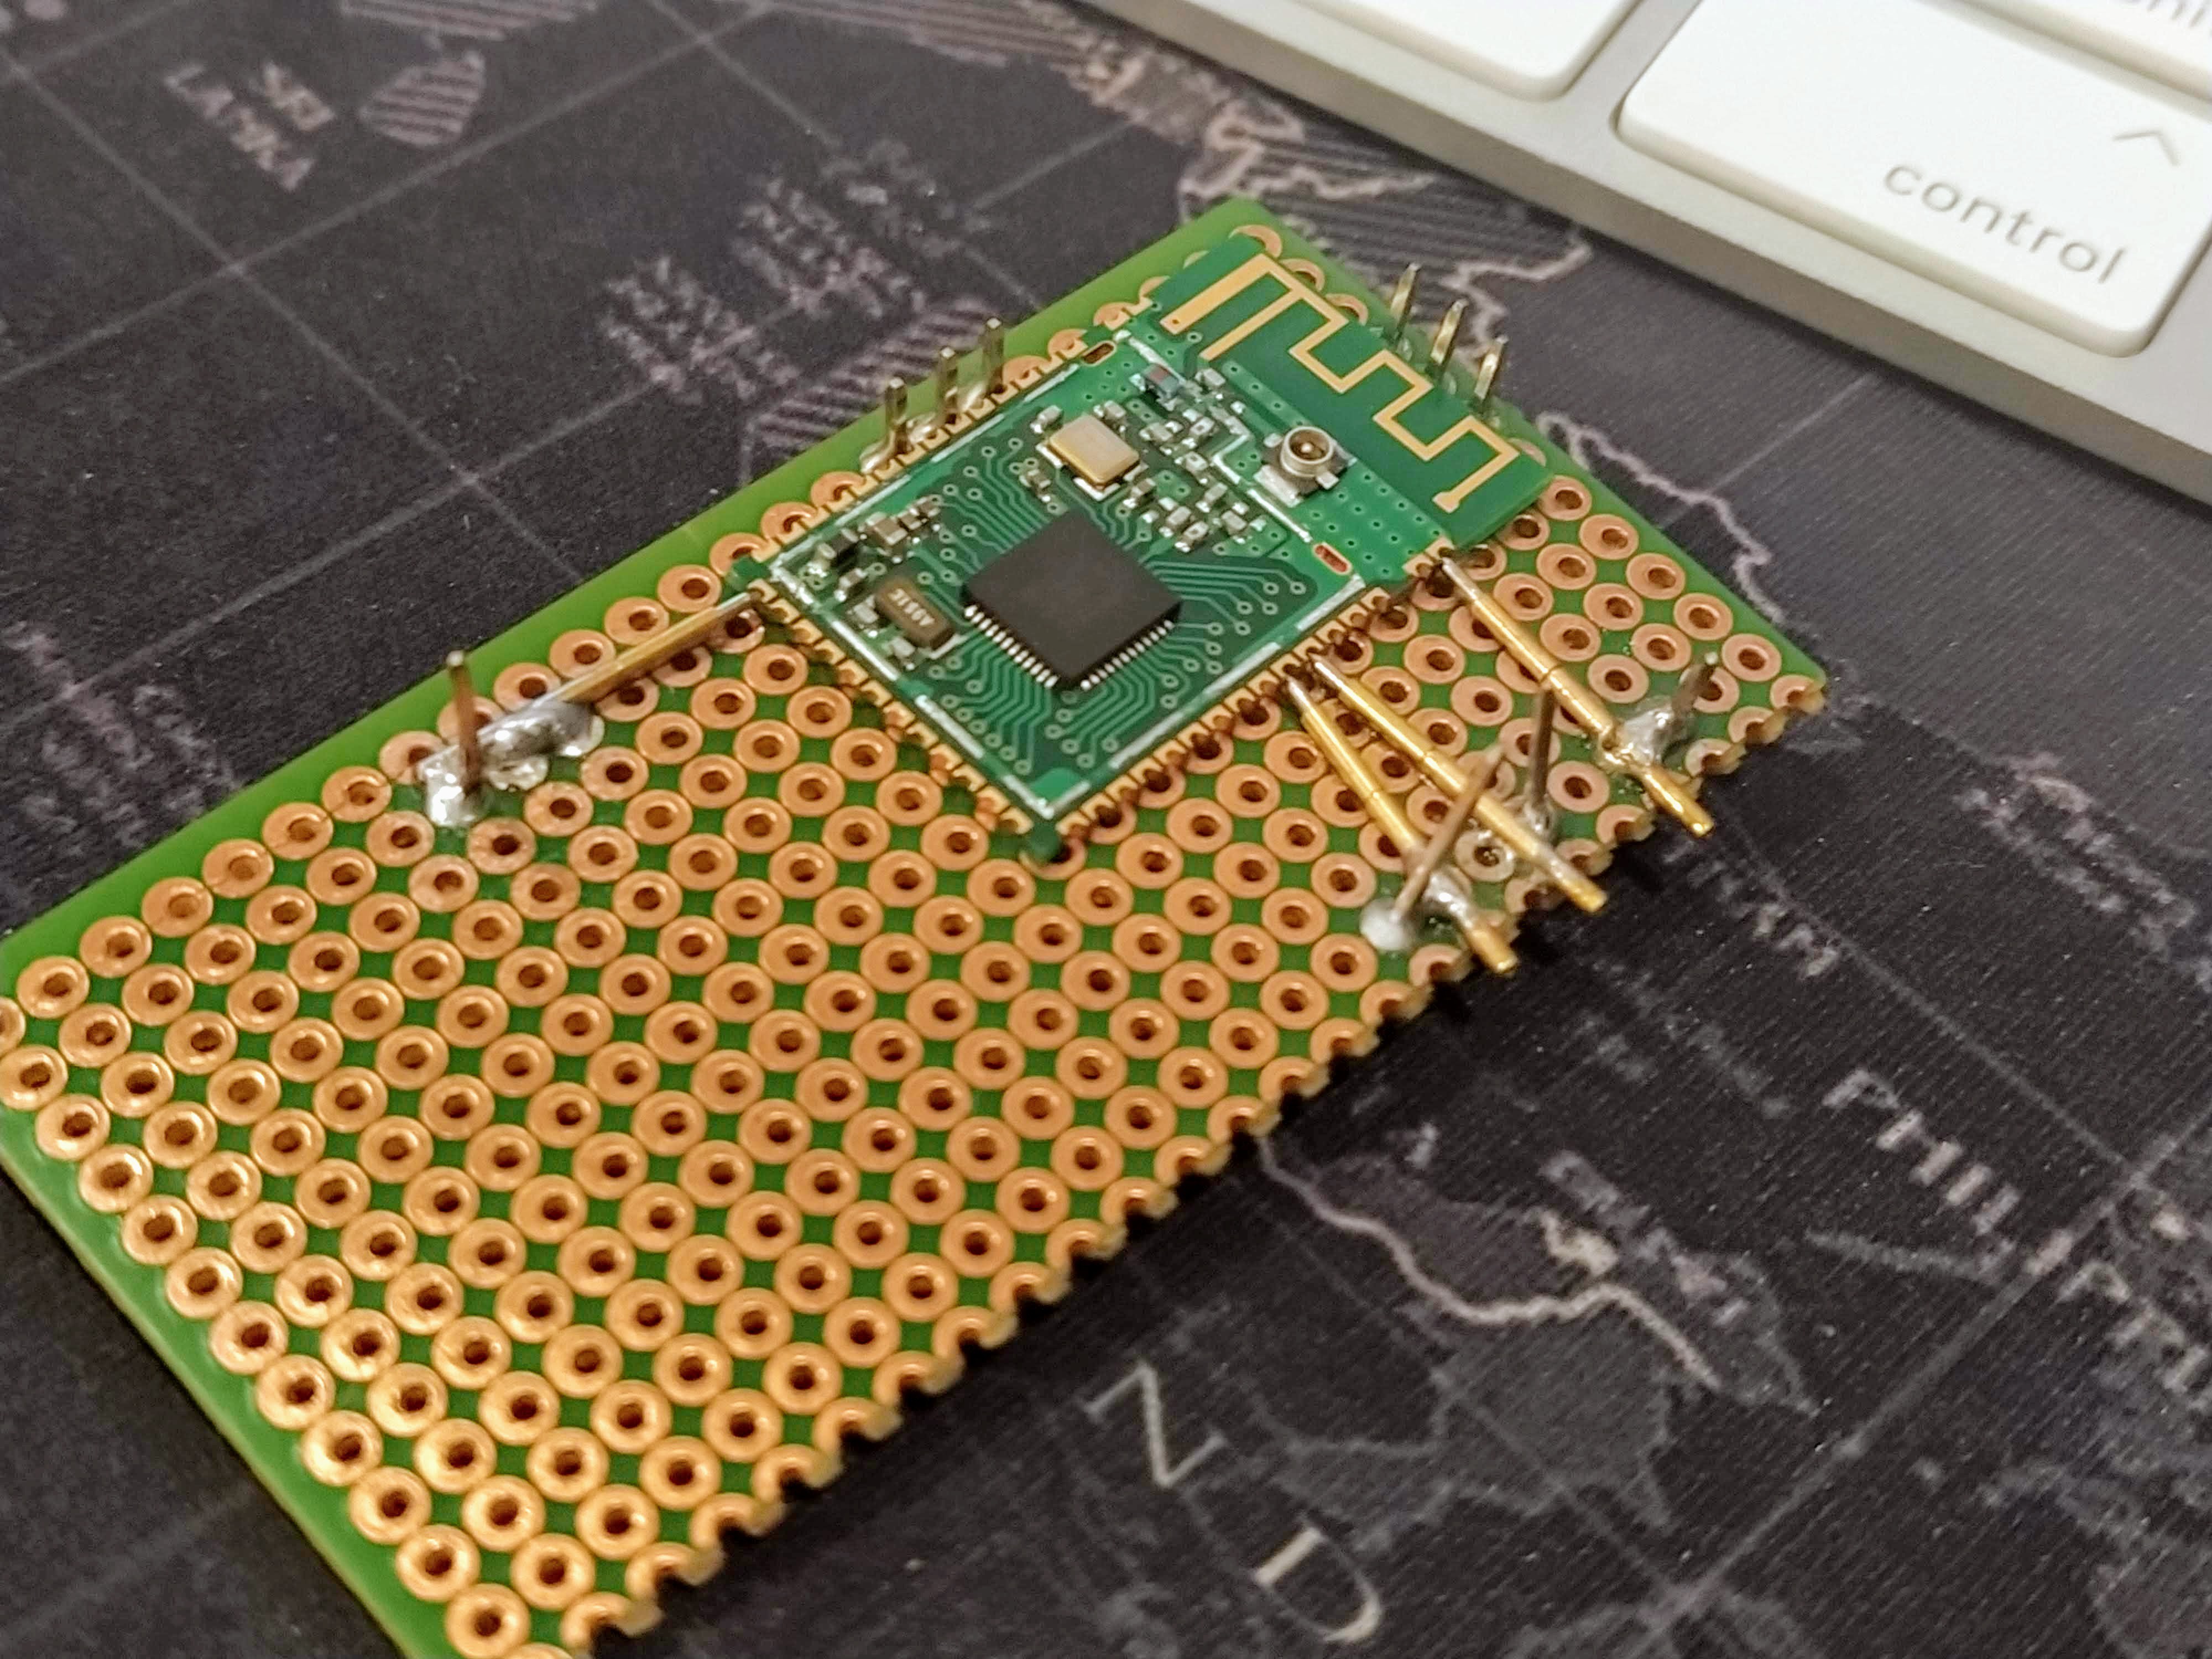
I used pogo pins so the jig will have good contacts with the module, instead of soldering the wires to the chip (I wanted the jig to be reusable).

As a quick test, I programmed the MDBT42Q Espruino firmware onto the module via SWD and some wire grabbers (I also soldered some extra male header pins without their plastic base so its easier to grab the wire). It doesn't look pretty, but I didn't need it to be; I just needed it to work :P
And work it did, I was able to flash Espruino on both modules so at least they are still viable somewhat. However, I don't trust the module's stability anymore and I probably won't be using them for something important, so I thought maybe I'll use them for some projects I've had in the backburner instead?
I did have one, which is a mini-light bulb whose led I wanted to replace with some neopixels, and controlled via BLE. I had a few presentations in mind and one of them would be this one (alongside the neopixel matrix I talked about in one of these logs).

The module barely fits in the bulb housing, but that's actually an advantage as I can just tape the neopixel above the module. I also used an AMS1117 3v3 voltage regulator to drop the voltage from USB 5v to 3v3 for the microcontroller, while passing the full USB 5v to the neopixel. I probably should have used a capacitor for smoothing but I was just interested in whether the thing works.
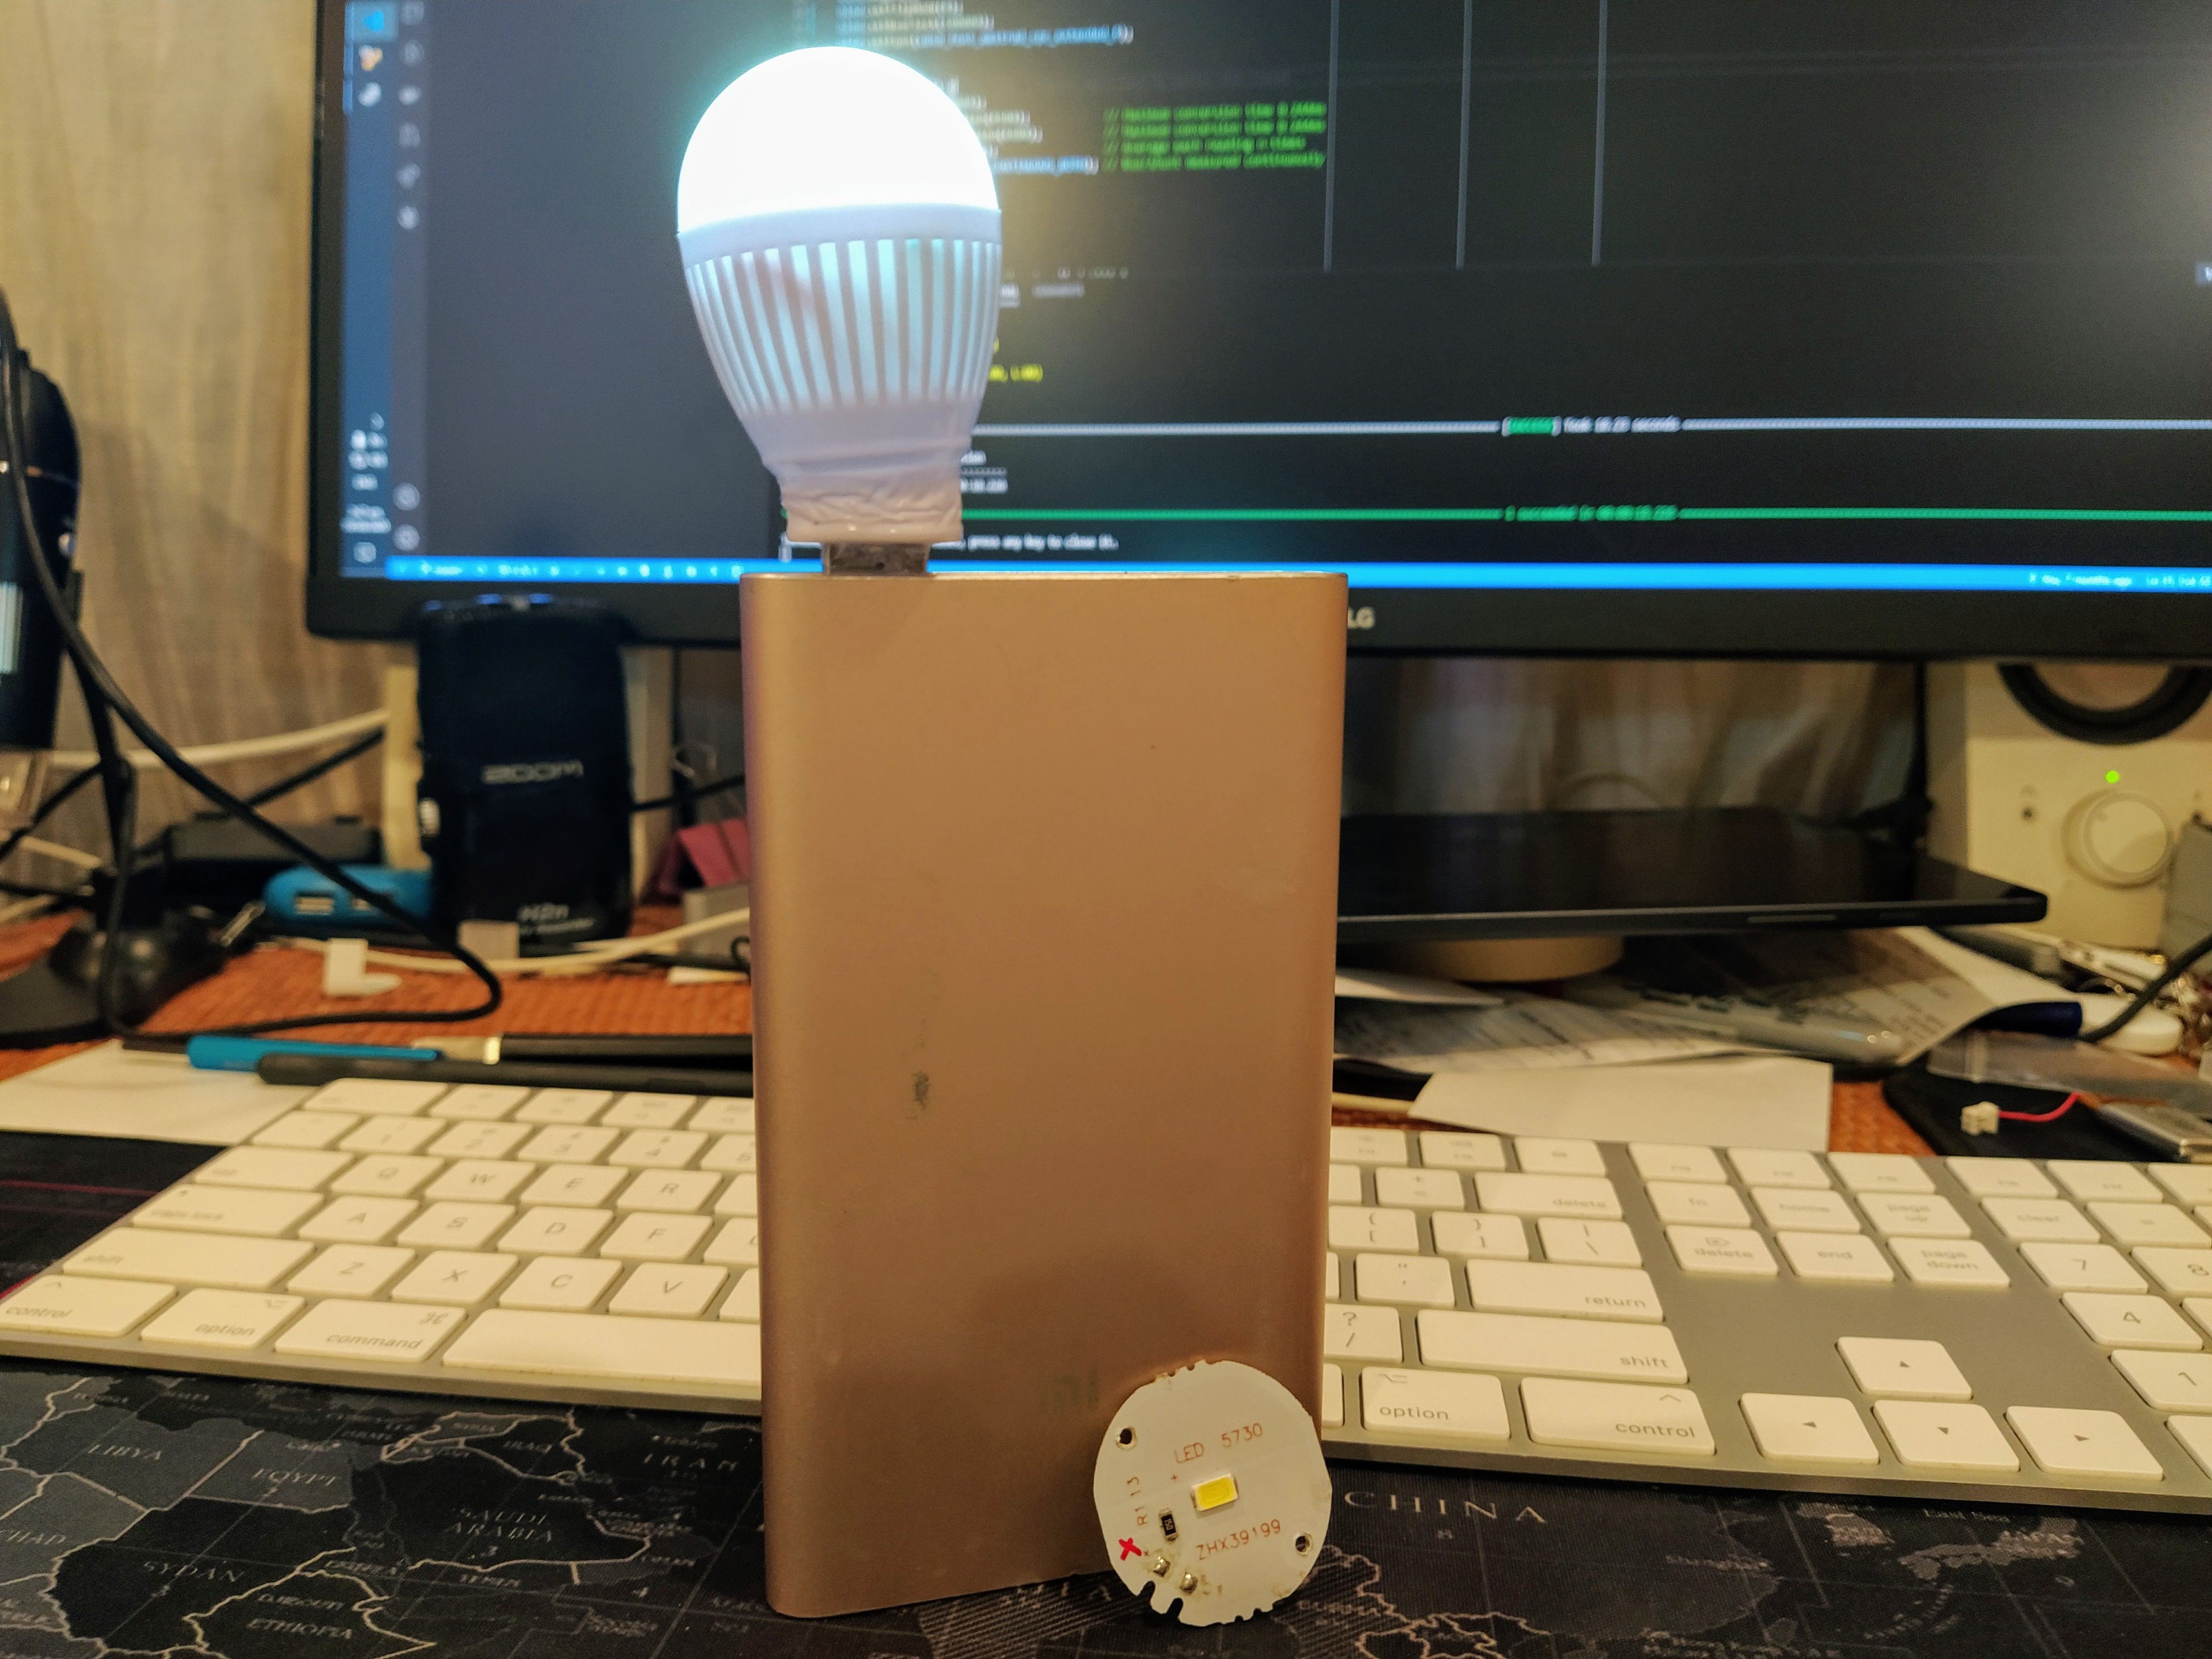
And here it is lighting up and running a rainbow pattern. The original LED from the bulb is near the bottom of the power bank. Unfortunately, it seems the glue that I used was exothermic and nearly melted the plastic base near the USB male connector :( If I ever have to redo this project, I'll have to be careful about that.
No code for now since this was supposed to just showcase how Espruino can run and be useful in even a small device like a light bulb. Theoretically I can put the neopixels and the microcontroller onto a full 220v LED bulb, but I'm not an electrician and working with mains is always dangerous :P So I work with 5v and just leave the possibilities to the imagination.
Discussions
Become a Hackaday.io Member
Create an account to leave a comment. Already have an account? Log In.