Close
0%
0%

Propel-E 50 | A powerful recycled windturbine

A windturbine made from PET-bottles! Completely 3D-printable and open-source.

Public Chat
Similar projects worth following
Propel-E is a windturbine made from plastic waste. It can be made with easy to find parts and is completely open-source.

With it's maximum power output of 50W, it proves that real power can be made with a much smaller carbon footprint than other windturbines of similar size. It is designed for off-grid living but can also be used to feed into the main electricity net when used with an suitable controller.

Elaborating on the work of Precious Plastics, Scoraig Wind, Otherpower, and many more from the DIY- and maker community, Propel-E doesn’t reinvent the wheel, but adds on known and tested designs.


1. Problem: The challenge the project addresses
SuperAdobe structures have been built in 54 countries all around the world. Often in distaster-struck or remote places where there is no acces to electricity.
Being off-grid means being dependent on other sources of energy, like wind and solar. When the sky is cloudy, the production of solar panels diminishes quickly. When not complemented with batteries, there is also no power at night when using solar only. This is why solar and windpower are complementary. There is also the problem of plastic waste. In many countries plastics are not recycled and just dumped into wastelands.


2. Solution: How the project will alleviate or solve the problem
The Propel-E 50 produces enough electricity to charge a cellphone or light some LED's. This can make the difference between being able to continue life after sunset, or being completely in the dark.
The Propel-E 50 can quickly and easily be mass-produced through crowdsourcing. This approach has recently proved to work, where the 3D-printing community resolved the shortage of Covid-19 faceshields. The windturbine can be printed in a few days with any household 3D-printer.

i. Design process & design decisions

- Wing design -

We opted for fixed blades, meaning the blades are attached to the axle. Disadvantages of adjustable blades, like being prone to damage and increased material and maintenance costs do not add up to the advantage of having the blade angle perfect everytime. Also, a near-perfect blade can be made by twisting the blade along its length. Because of this, fixed blades have become the mainstream in the wind DIY-community.

To be sure we have the correct twist and taper, we used Hugh Piggot's Blade Design spreadsheet. Furthermore we choose the NACA 4415 airfoil for its good suitability for small windturbines.

We modeled the entire blade in Fusion360, with some small tweaks in 3DS Max.

- Alternator design -

We choose for an air-core 3-phase axial flux alternator because it is perfectly suited for windturbines. The air-core makes that the windturbine starts very easy, and the 3-phase star connection reduces vibrations and makes the turbine more efficient when the current is rectified for battery charging. 

Therefore we decided to base the design of the alternator on the one from the RepRap Windturbine. At the moment we are testing an upgraded version with slightly bigger N45 magnets, and a 3D-printed template that holds the coils. This means no need to cast them in epoxyresin anymore!

- Battery and controller -

The Propel-E 50 is designed to charge a 12V battery. This can be done with any battery-controller that is suited for windturbines. We will update with a few examples soon.

- Tower mount -

The Propel-E 50 is made to fit and rotate on a 40mm diameter pole. This however can be easily adapted since all source-files are available.


ii. How ready is this design to be manufactured?
The 3D-files of each part can be downloaded for free and are optimized to be printable on each household 3D-printer. The other parts are easy to find on the internet (laquered copper wire of 0,6mm diameter, neodymium magnets and standard bearings).

iv. How complete is the project?
A first prototype of the Propel-E 50 has been tested and the final version will be ready to be deployed by the 1st of October. When fitted on a 40mm pole connected to a battery and a controller, it is a complete kit ready to be installed next to any SuperAdobe structure. (It's not advisable to connect the pole to the dome since
noise will travel through the solid structures.)


Licenses: Everything is in the public domain (CC 0), enjoy!


Propel-E 50 - Full blade.stl

Standard Tesselated Geometry - 799.89 kB - 07/28/2023 at 09:36

Download

Propel-E 50 - Rain Cover Back.STL

Standard Tesselated Geometry - 495.79 kB - 08/31/2020 at 12:15

Download

Propel-E 50 - Magnet Disk Spacer.STL

Standard Tesselated Geometry - 97.74 kB - 08/31/2020 at 12:14

Download

Propel-E 50 - Axletube.STL

Standard Tesselated Geometry - 536.21 kB - 08/31/2020 at 12:12

Download

Propel-E 50 - Blade 2.STL

Standard Tesselated Geometry - 394.52 kB - 08/31/2020 at 12:12

Download

View all 29 files

  • Easy construction, a 12-year old can do it!

    Bram Peirs @ FW2W08/29/2020 at 16:35 0 comments

    One of our primary goals is making our windturbines very easy to assemble. Think an Ikea-style kit that everyone can build with basic tools. This also means omitting the use of resins, these are used for holding the magnets and coils into place. And for neodymium magnets it's very important to prevent contact with moisture, or this can happen:

    We avoid using these because this kind of 2-component adhesives are not that easy to work with. ..You have to weigh the hardener precisely since you only need a few grammes, stir very very well and work fast when applying because it hardens quite fast.

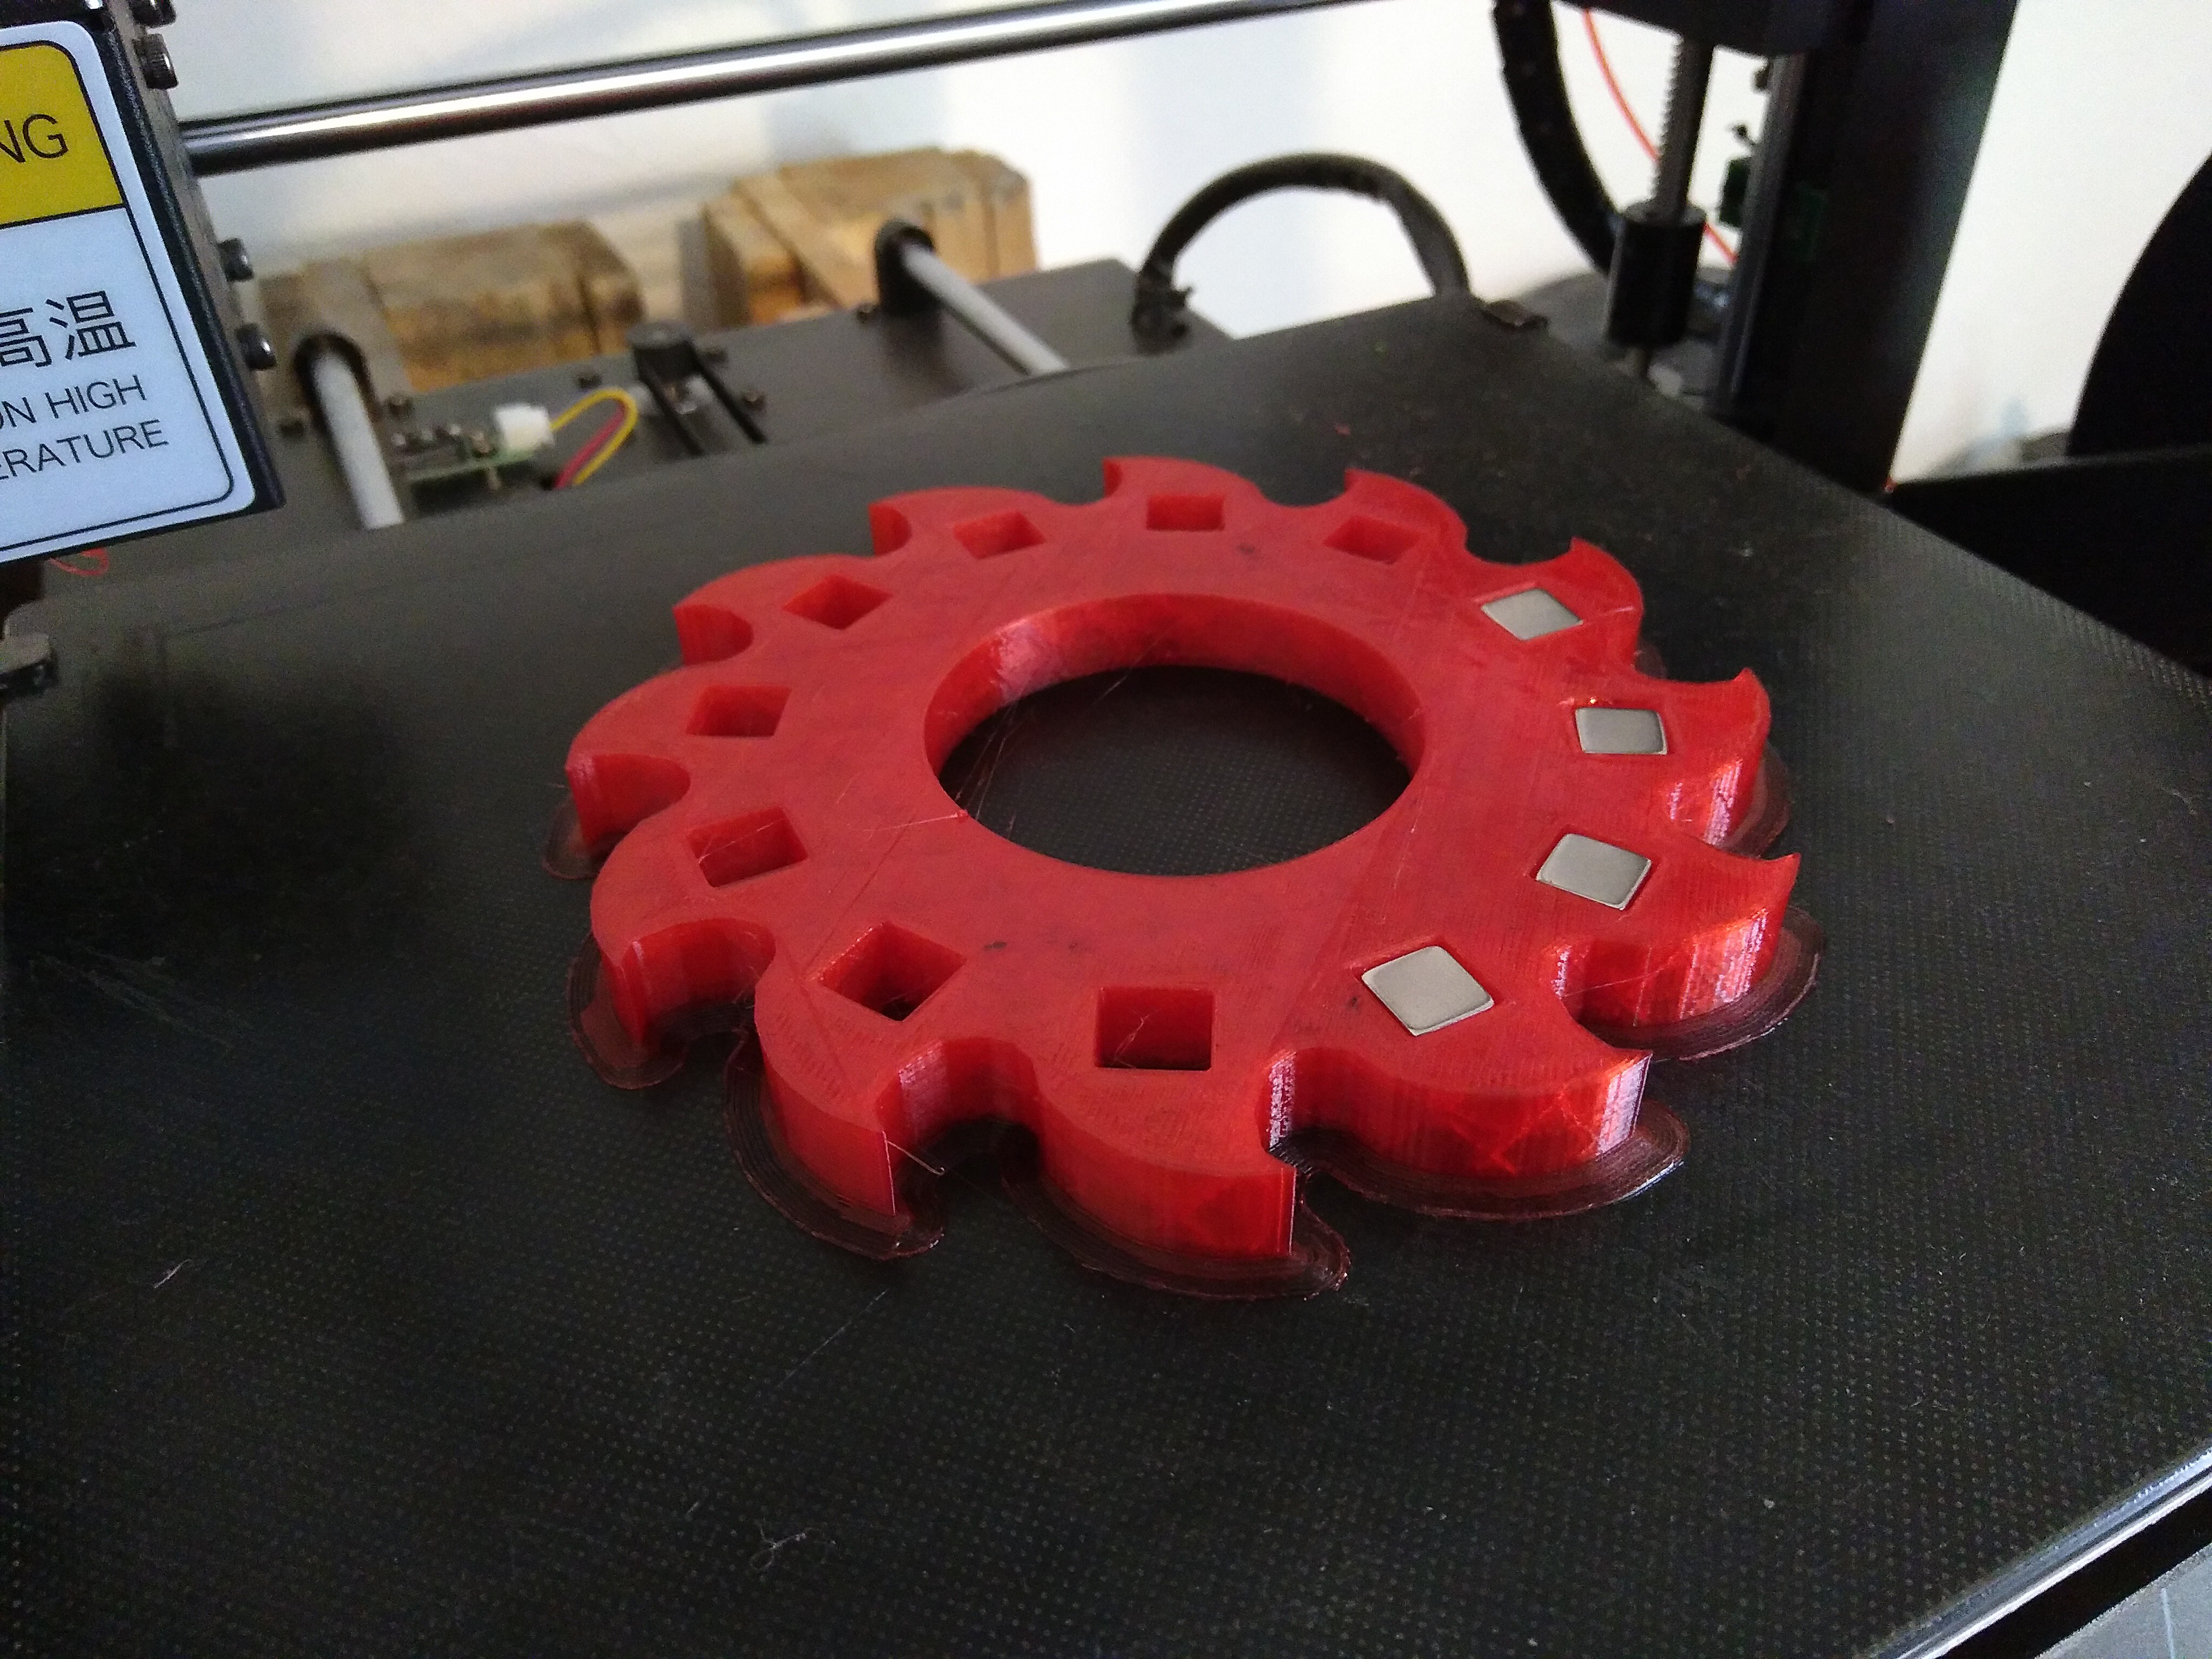
    We came up with a solution! Which is printing the magnets IN the part. This is done by putting the magnets in the caveties, and printing a 'lid' of 5 layers on top of it:

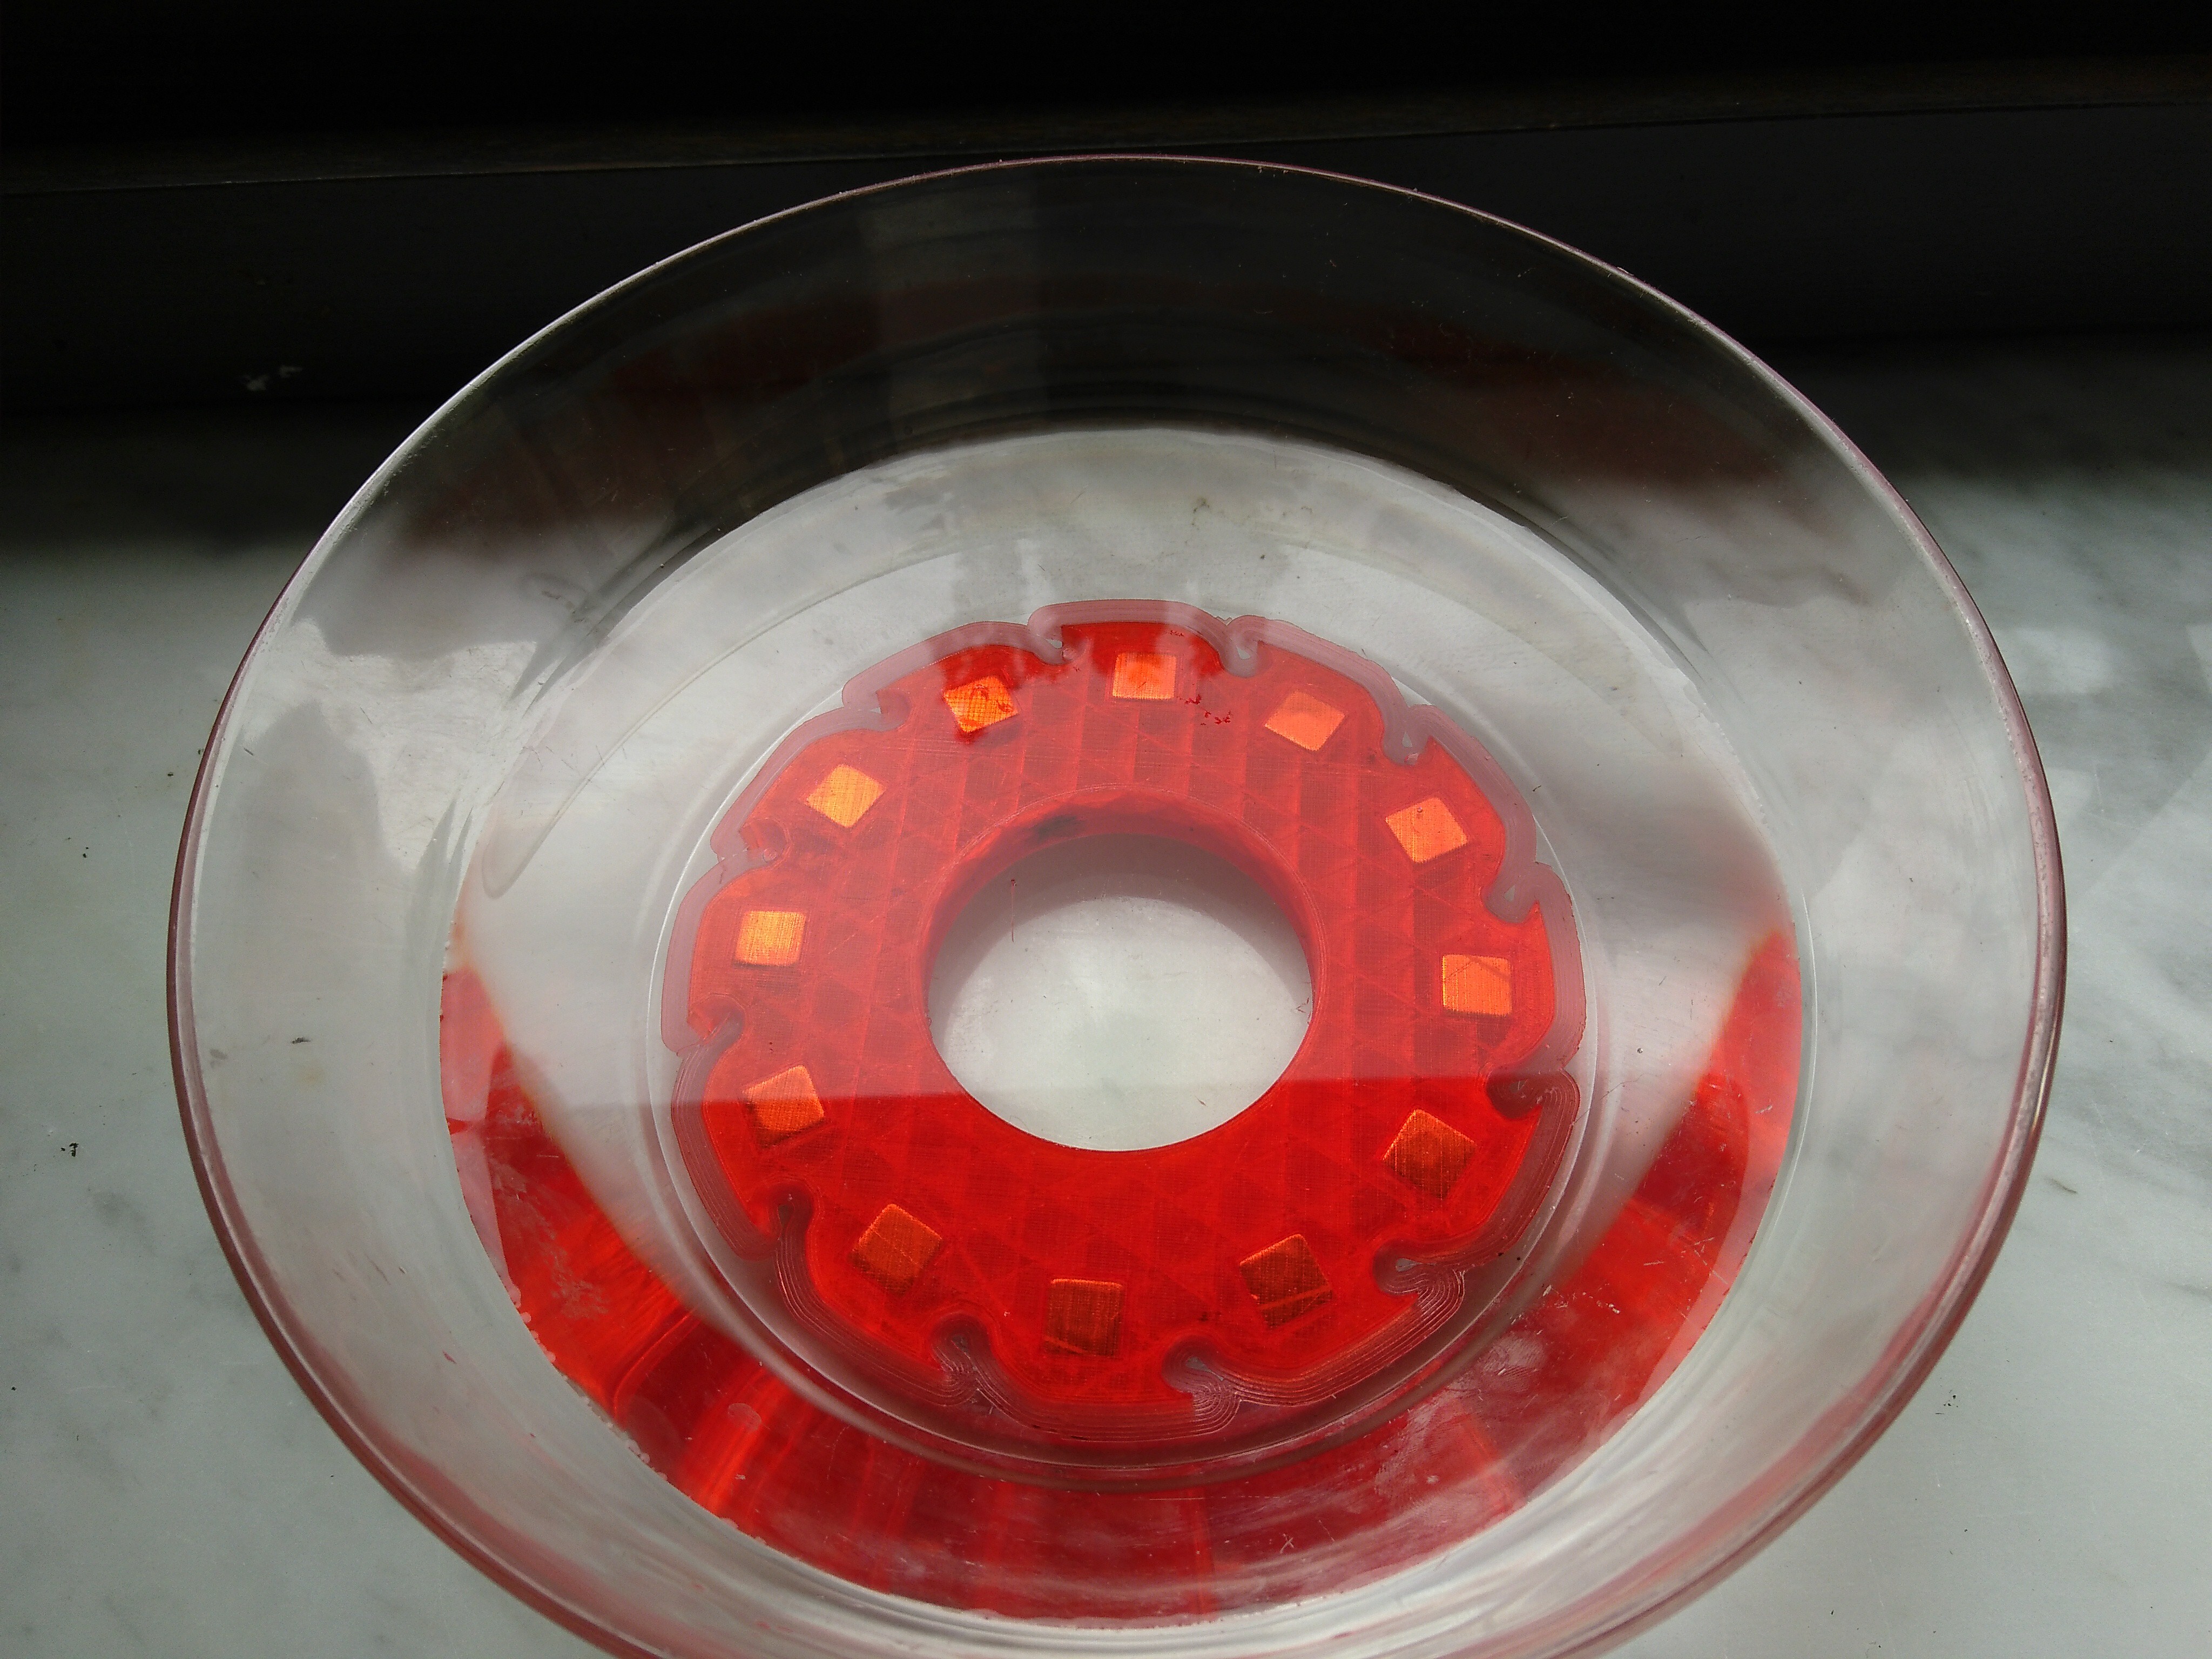
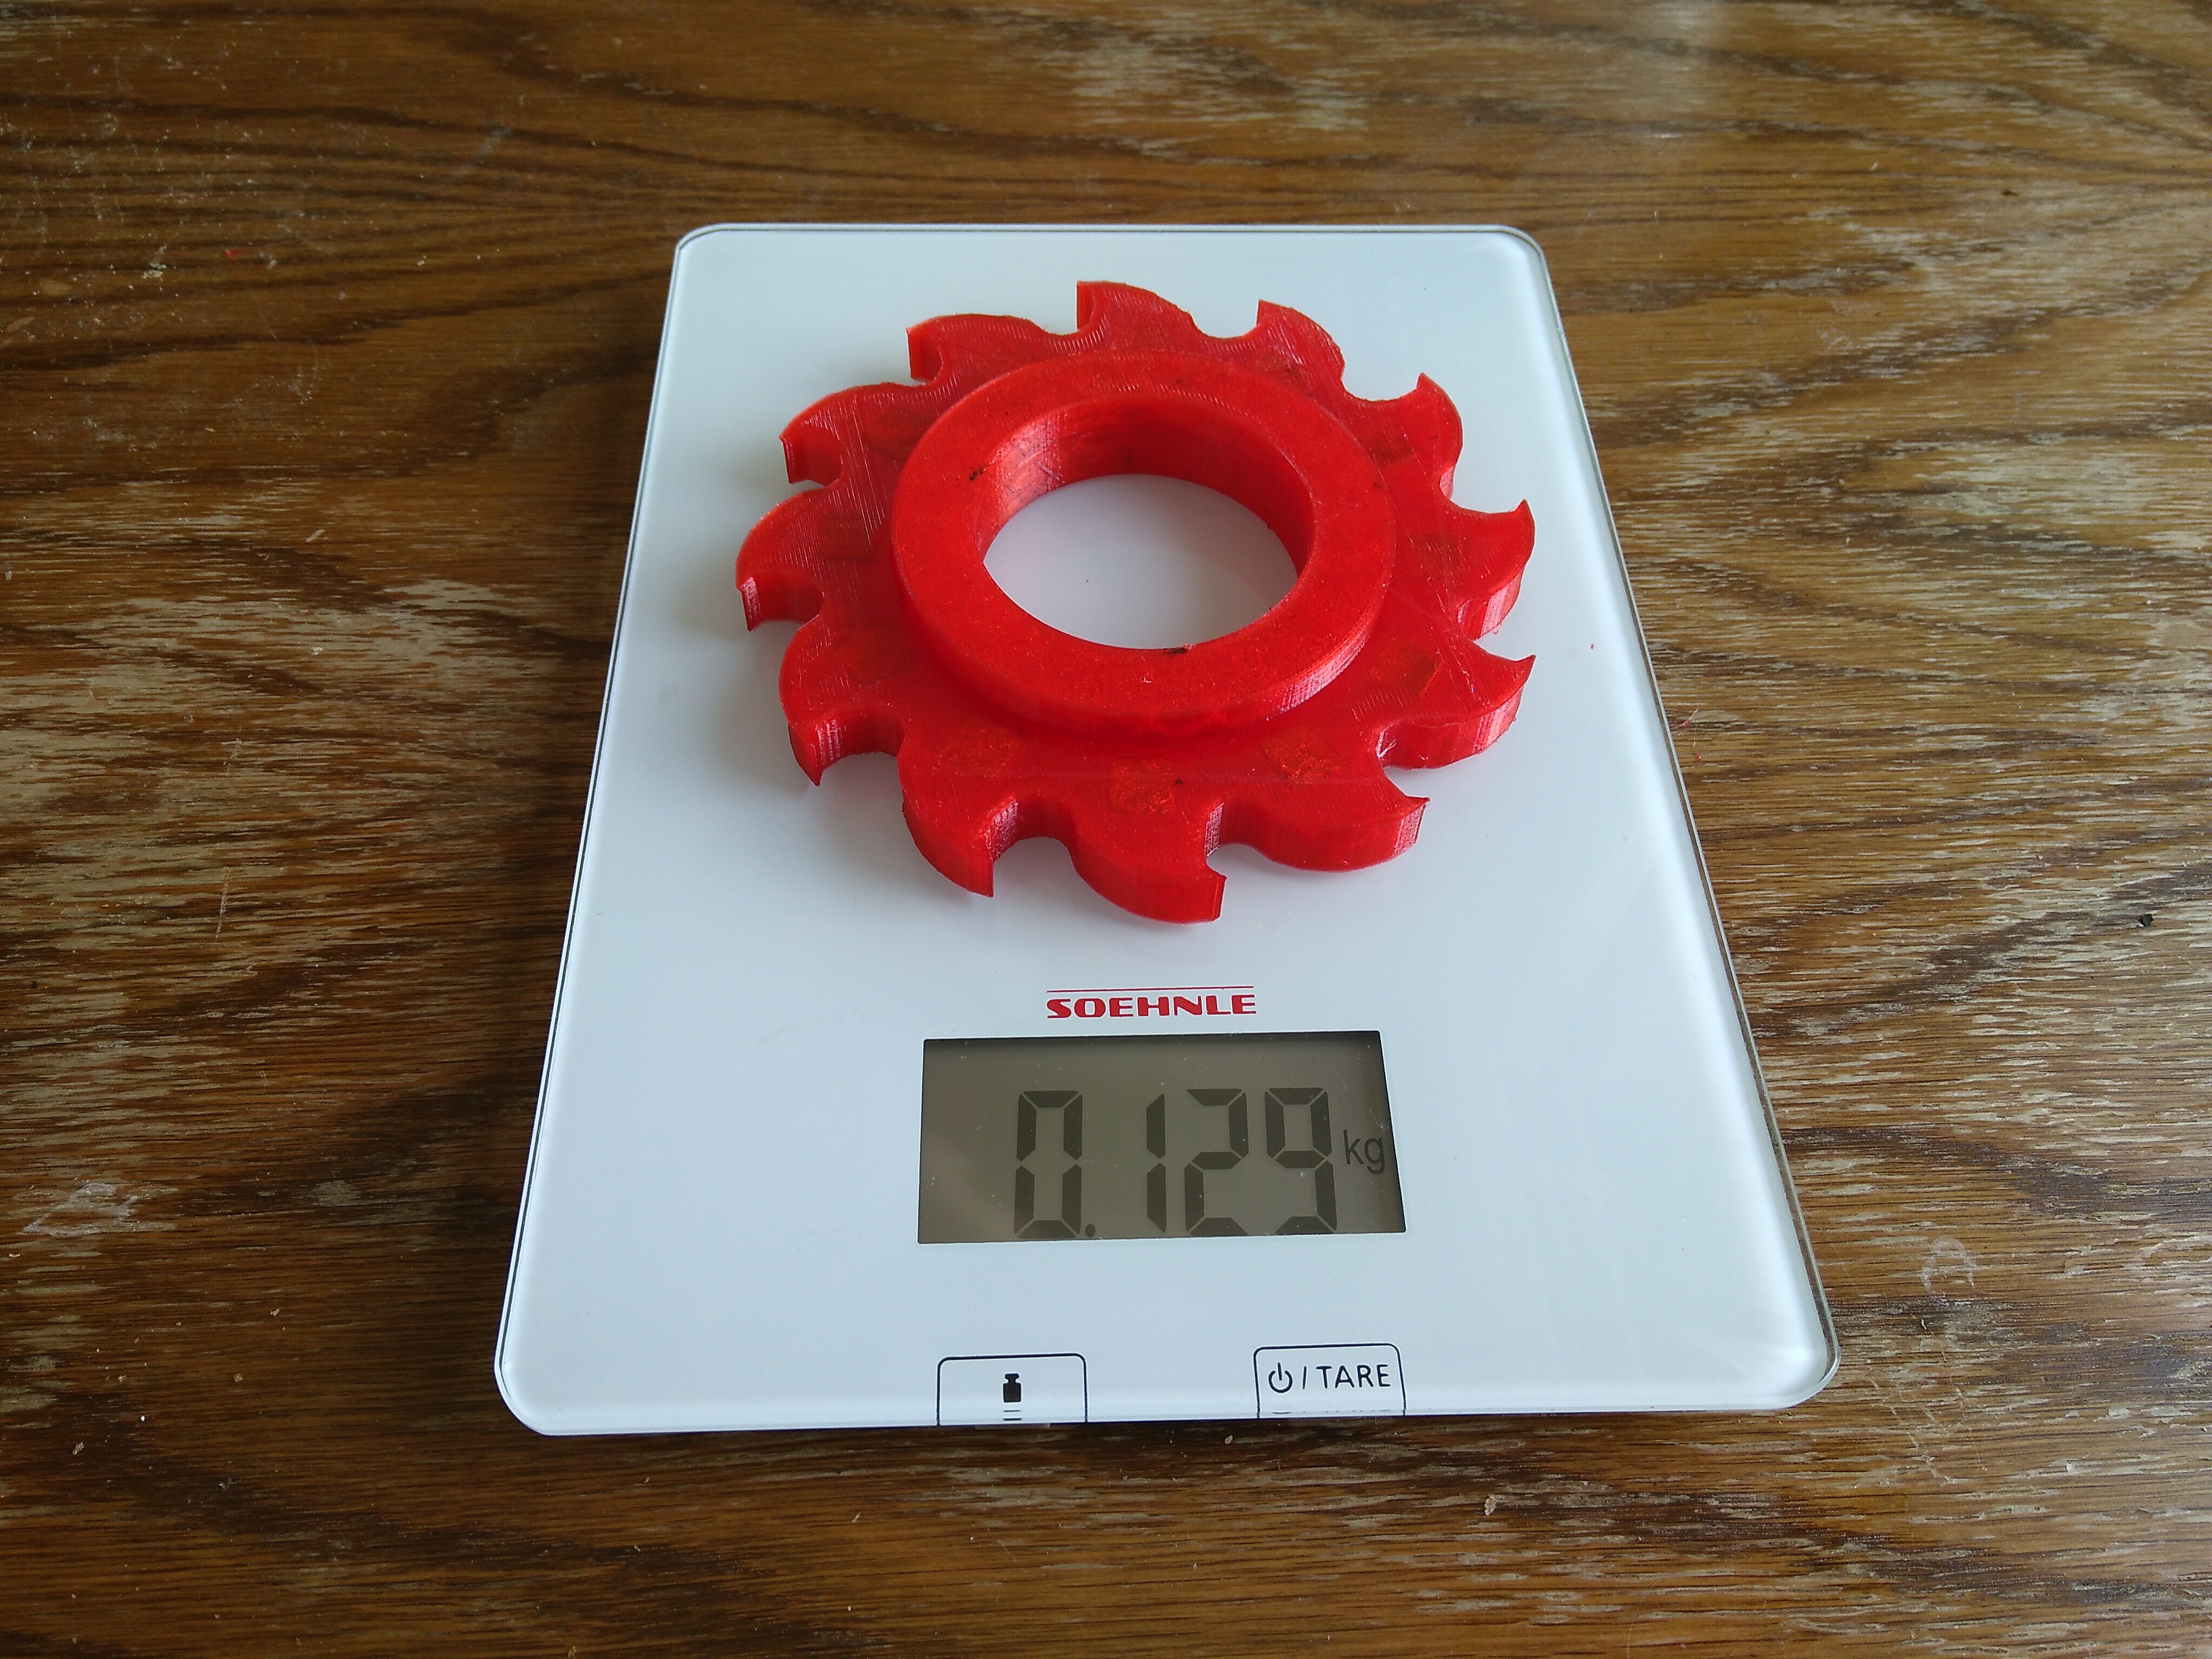
    To test, we emerged the part in water for 24h and weighed it before and after:

    The weight appears to be the same before and after, and no traces of water are visible in the part!

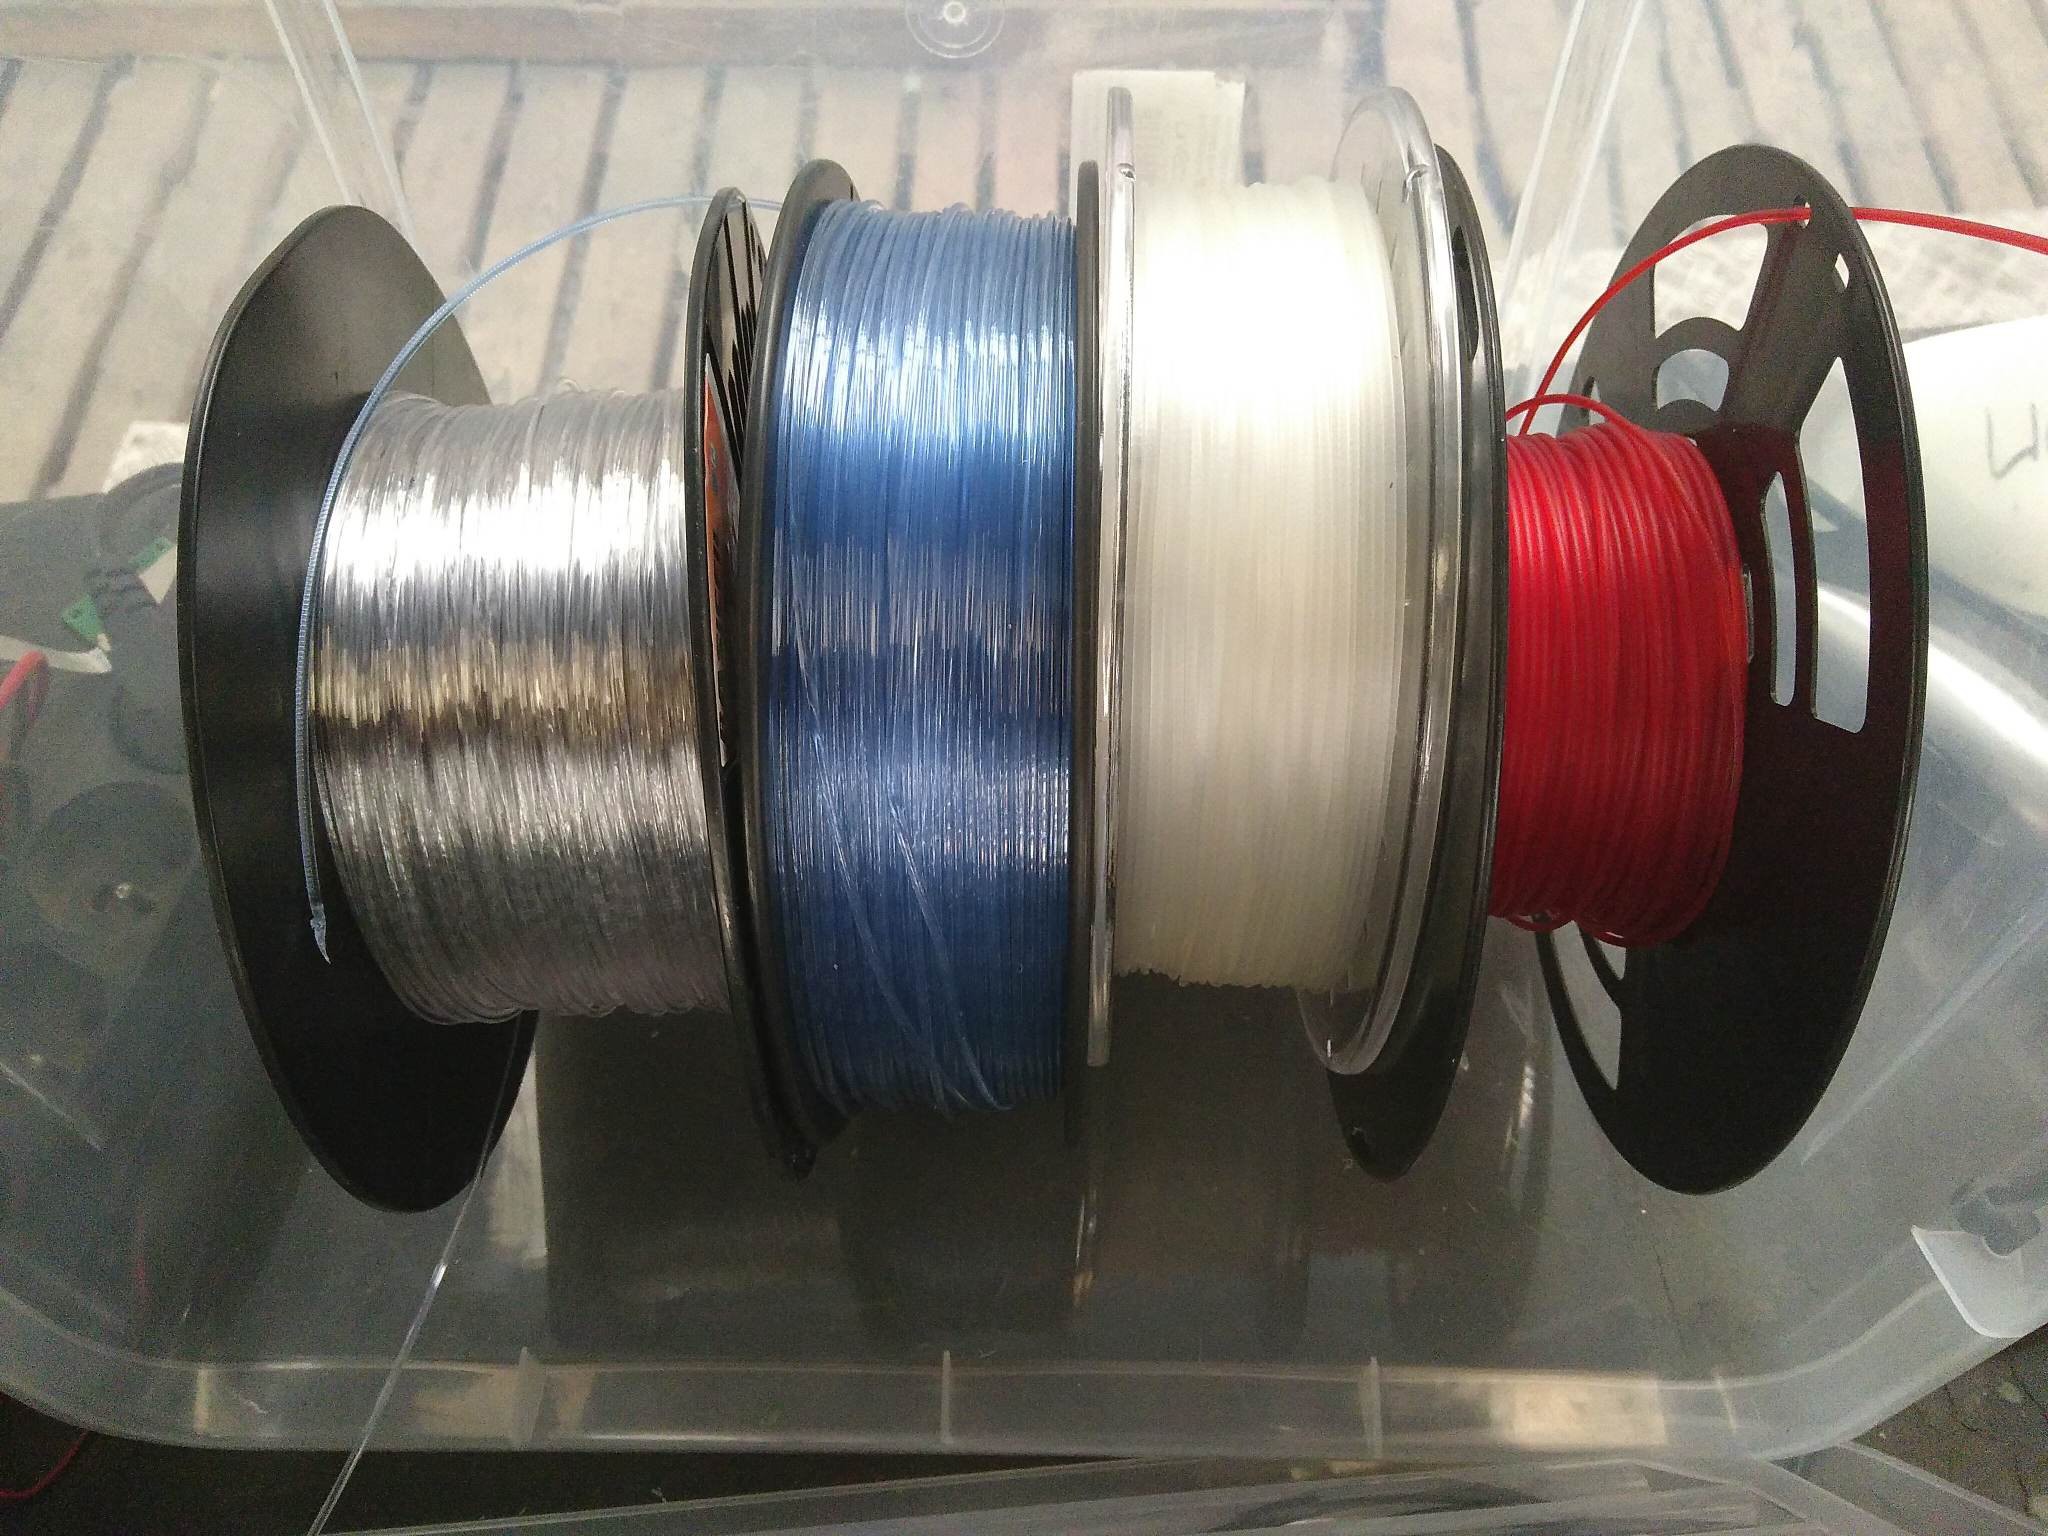
  • First test with rPET (recycled PET!)

    Bram Peirs @ FW2W08/25/2020 at 17:05 0 comments

    Our BASF Ultrafuse rPET arrived! First tests are good: the results are similar as PET-G and it prints with the same settings. It's a bit stiffer though, but the difference is way smaller than between PET(-G) and PLA. BASF's rPET claims to have a flexural modulus of 2,15GPa, generic PET-G should be around 2,1GPa, and PLA around 3,5GPa. In scientific papers we can see that PET-G sometimes has a lower flexural modulus than specified, which would explain the difference in our tests.

    The color seems to be a bit less bright than the official product photos. Certainly for small parts this is something to be aware of. Below is an example next to a red and a green PET-G part.

    Original product picture from the BASF website:

    https://asset.conrad.com/media10/isa/160267/c1/-/nl/001969512PI00/image.jpg(Please not that we are not affiliated with any of the brands mentioned)
  • Using PET's flex for a self-locking tail

    Bram Peirs @ FW2W08/24/2020 at 16:37 0 comments

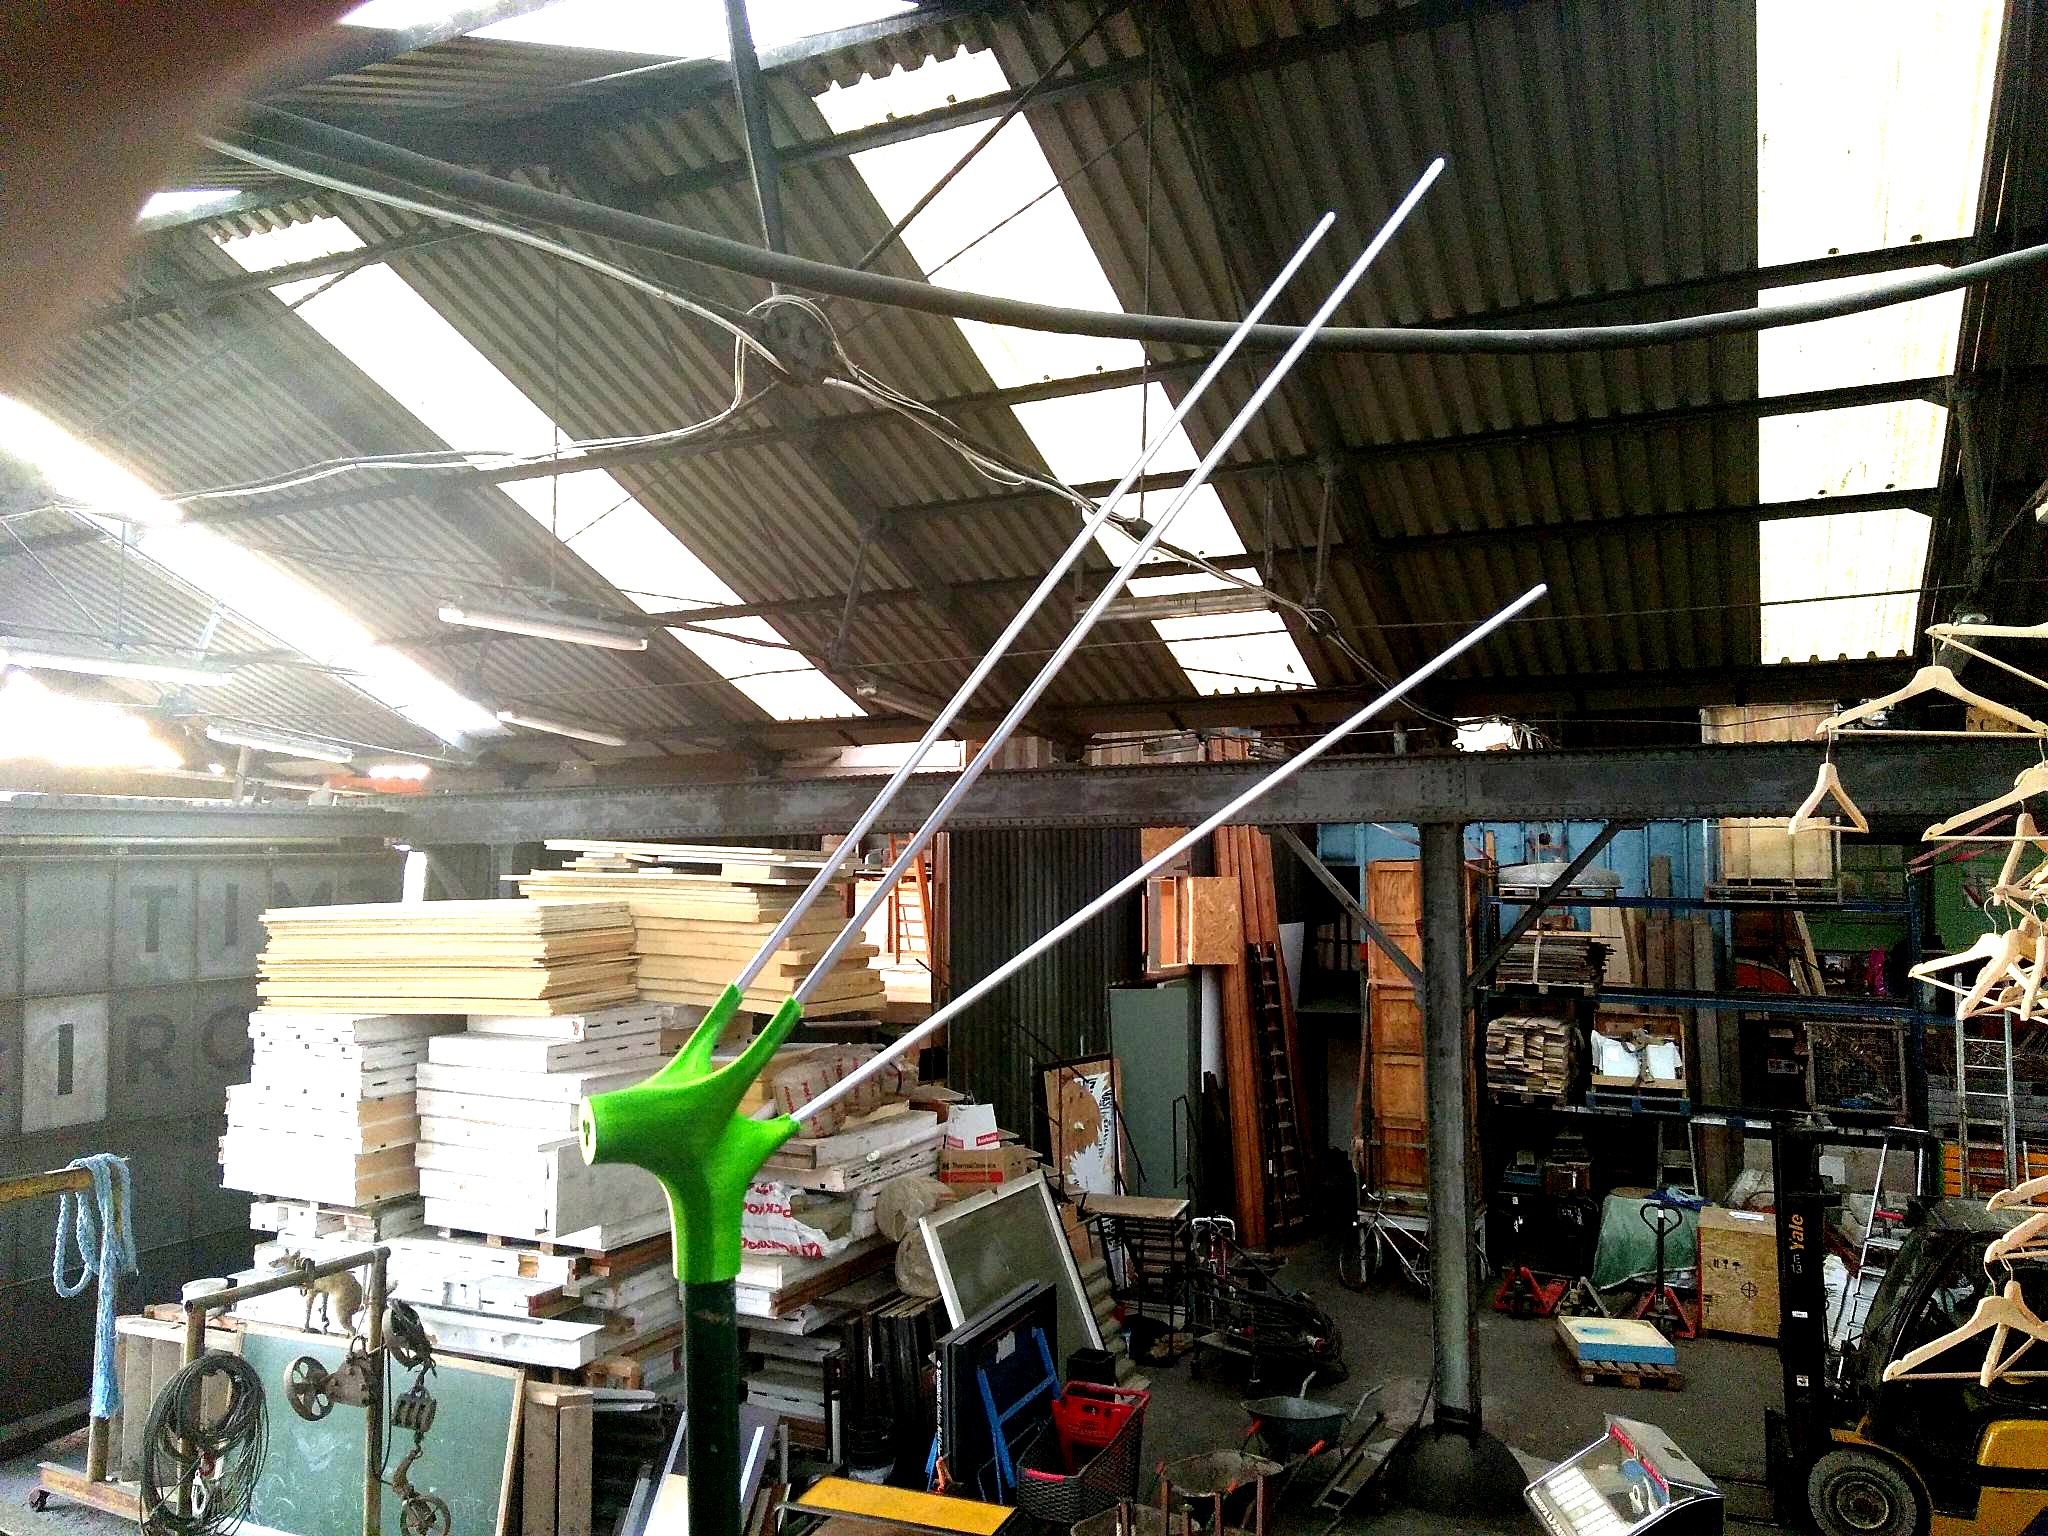
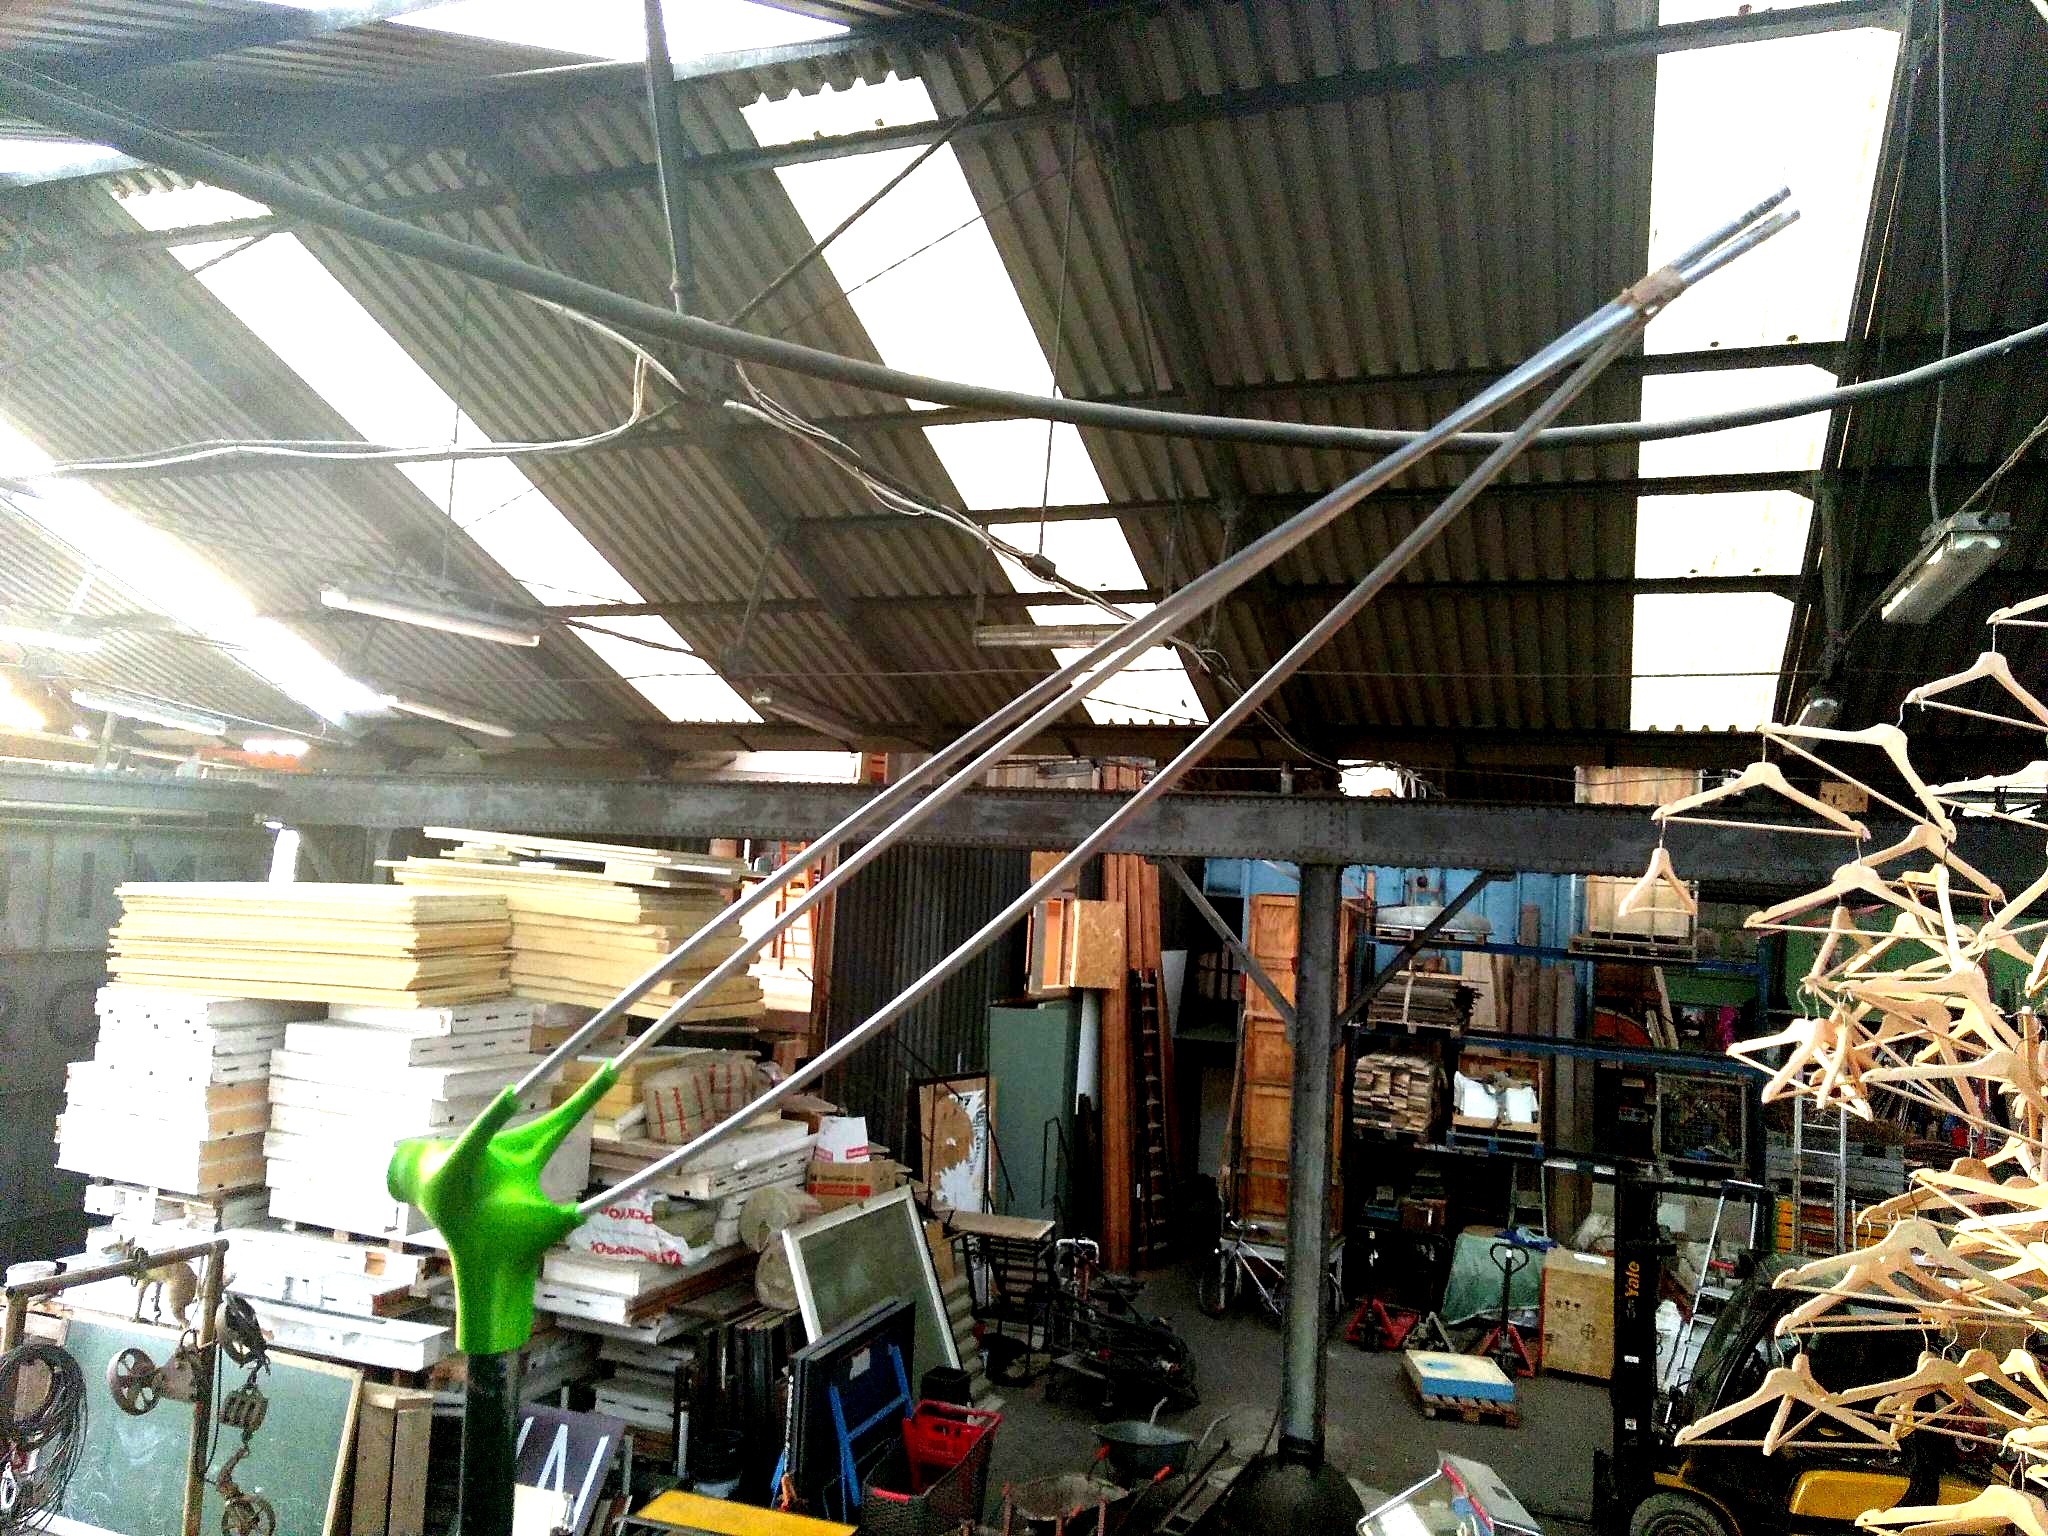
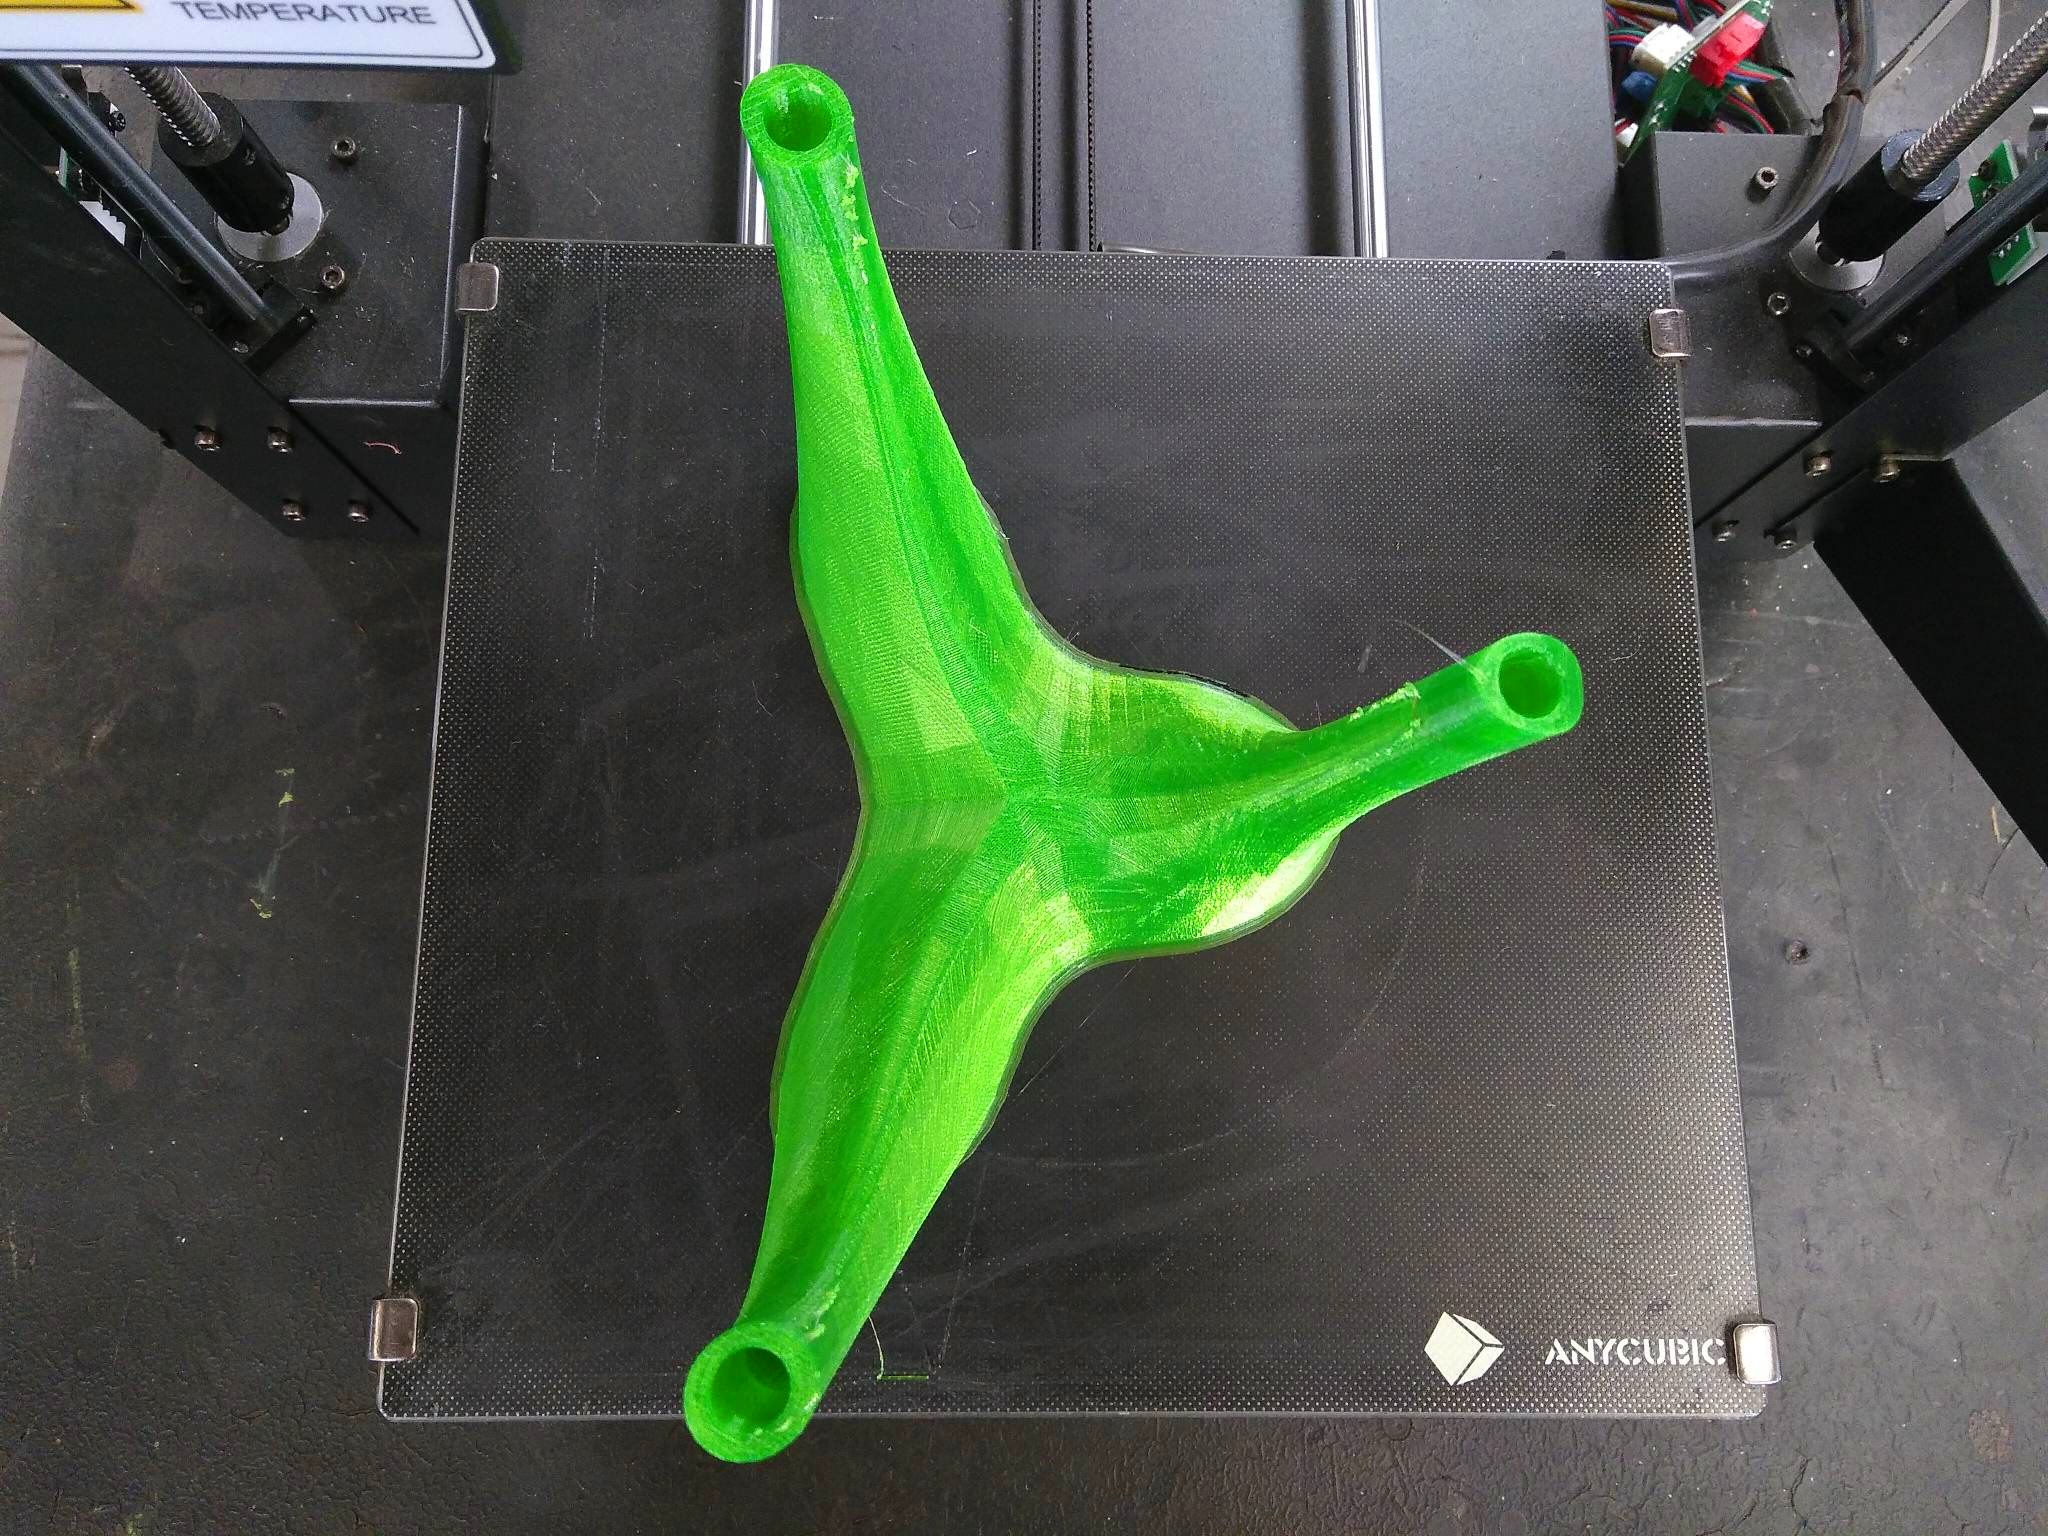
    We aim to make the construction of the windturbine as easy as possible. This means a minimum of glue and screws. For the tail, we designed a piece that holds 3 aluminium rods and can be mounted on a 40mm pole. Since the rods and the PET flex a little, they will interlock because of the tension of bending the rods towards eachother:

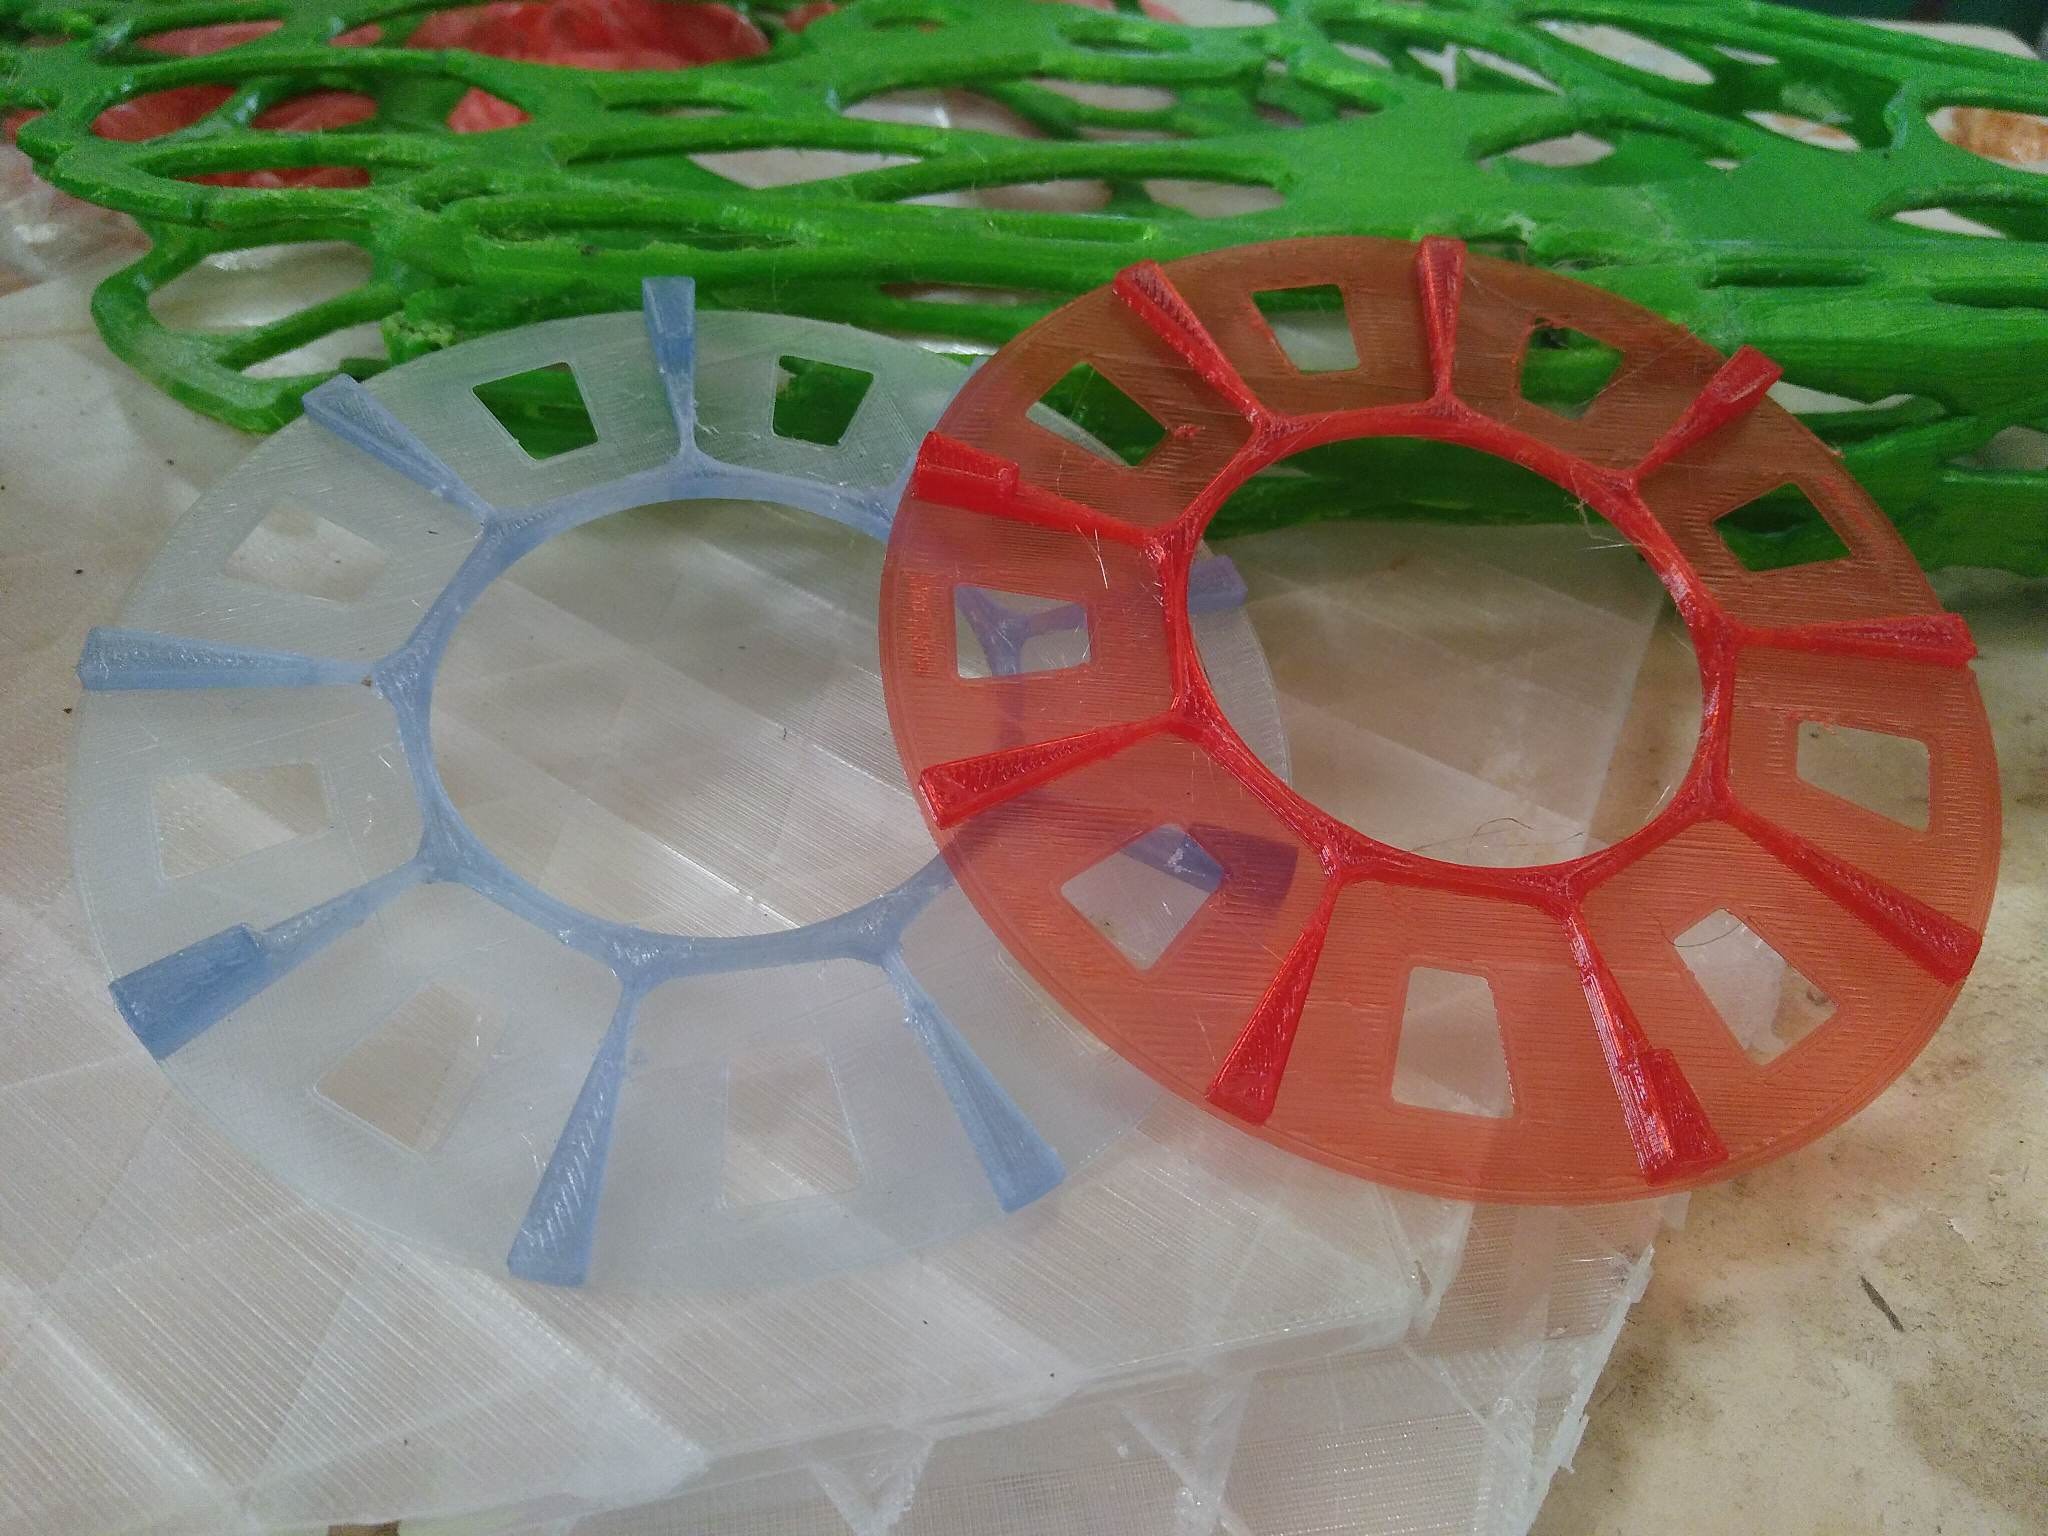
    Test print, but gives a more detailed view:
  • Almost ready to fly!

    Bram Peirs @ FW2W08/18/2020 at 14:59 0 comments

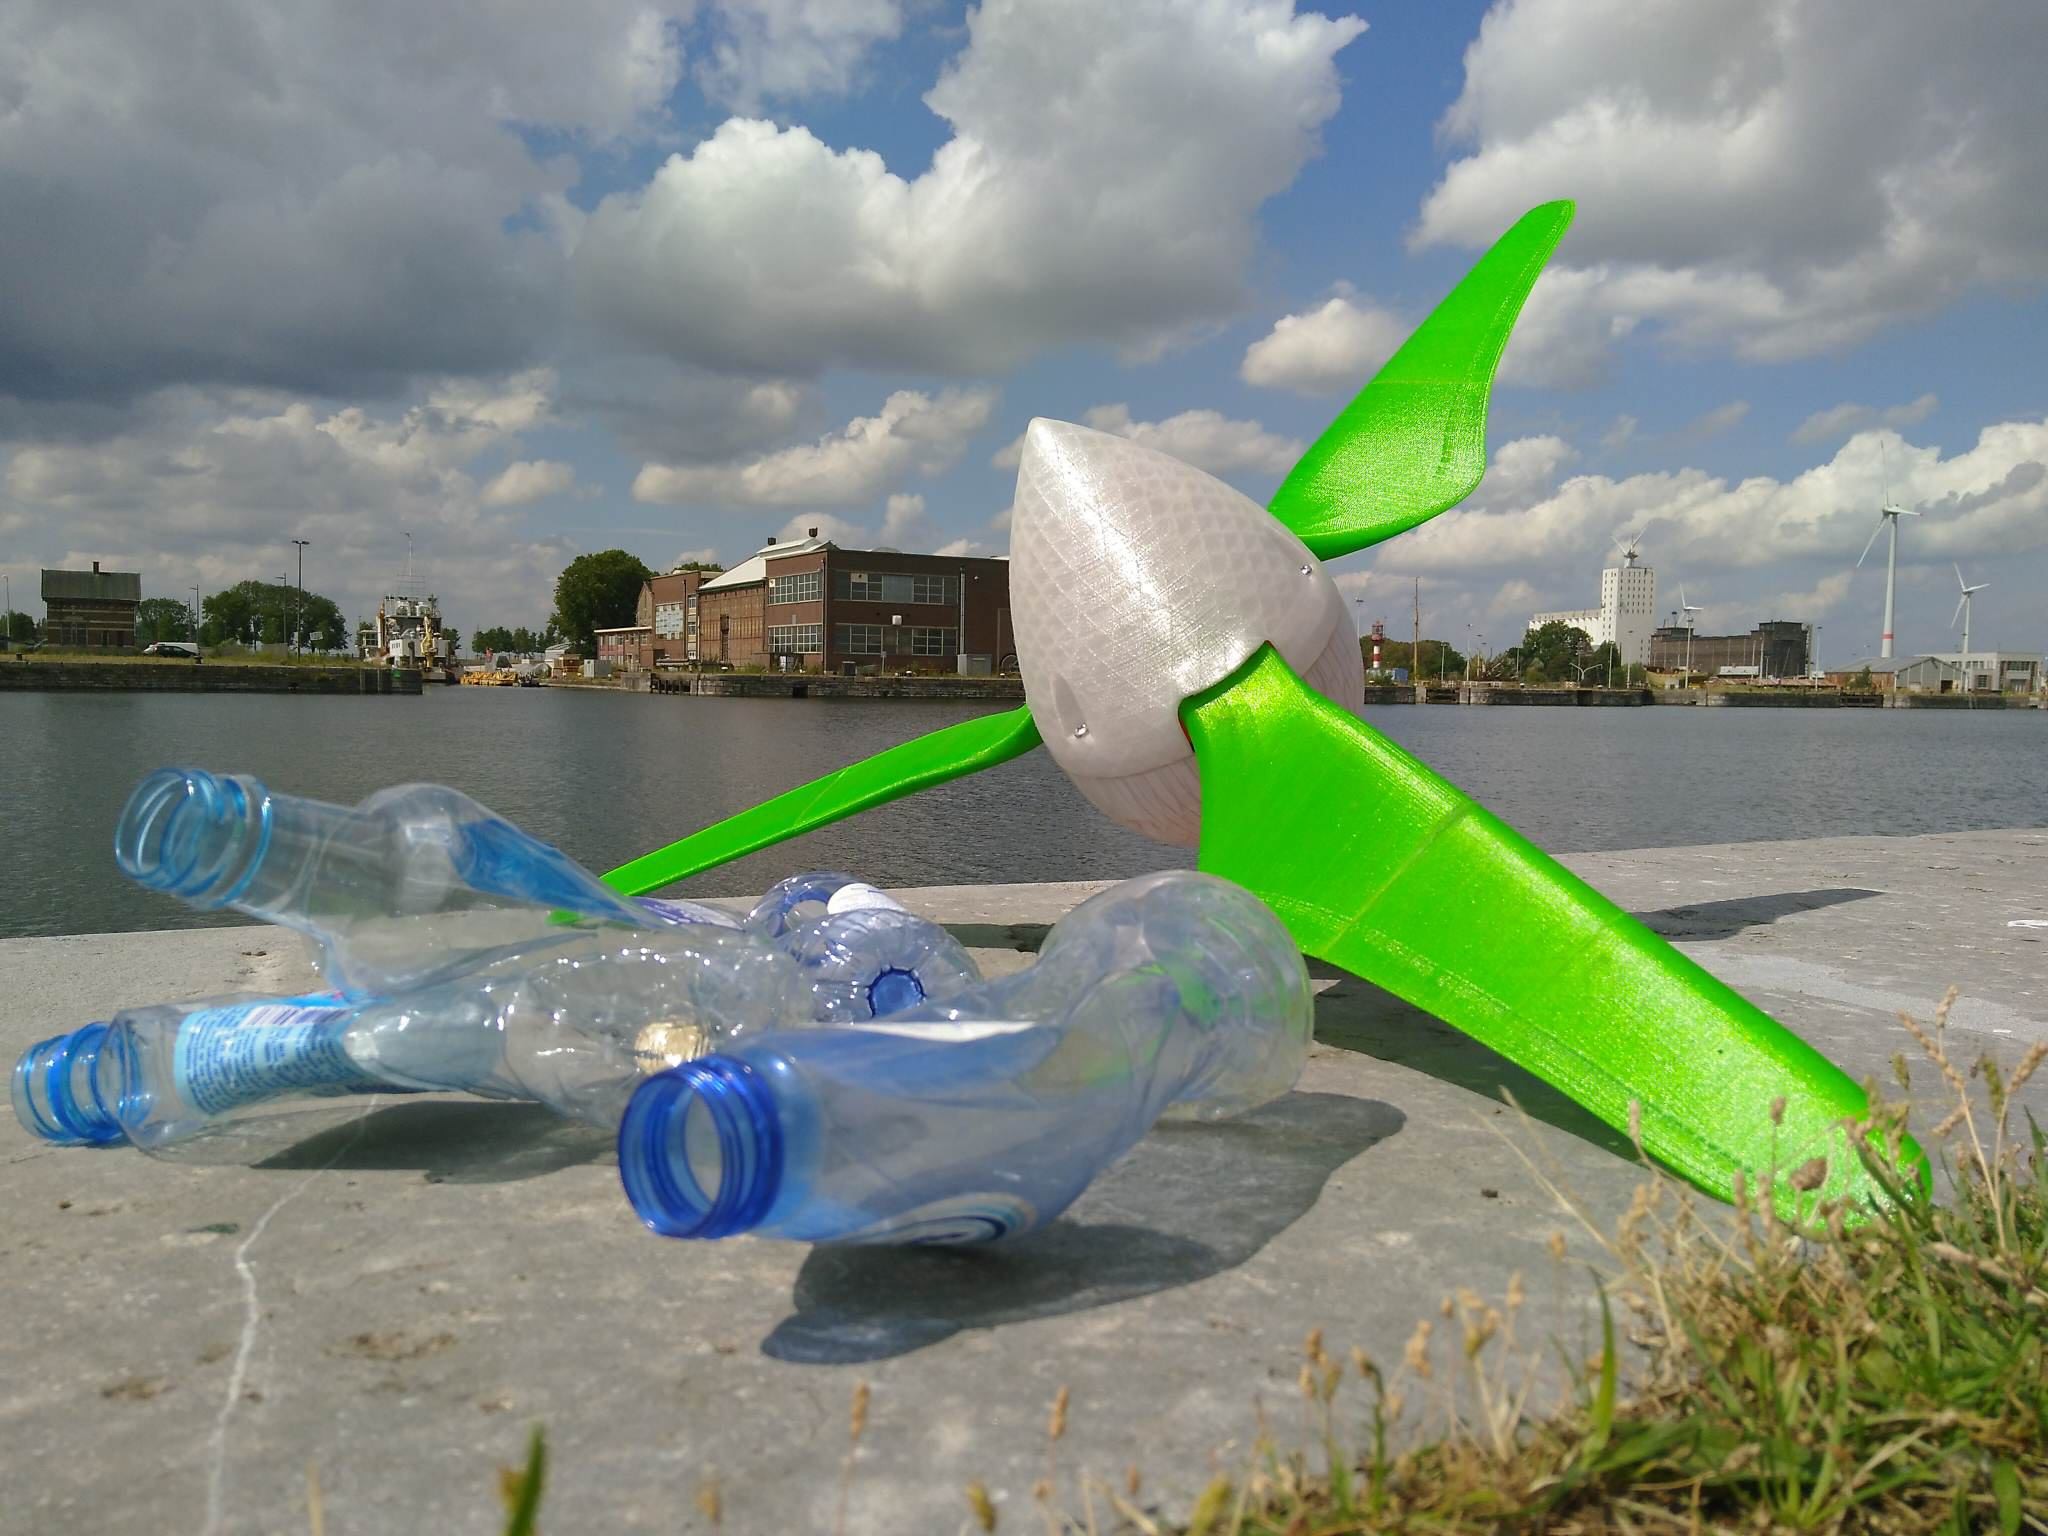
    The Propel-E is coming together nicely! Until now we have been prototyping with PET-G, but for the final version we will switch to 100% recycled PET from Tridea en BASF!

    Next up is creating a tail! Dimensions are not so critical but it is important that it is light and stiff! The tailpiece will also serve as a mount for the windturbine, and fits everything of a pole of 40mm. Herefore we use a cheap steel pole that is used for garden fencing (which was actually 38,5mm in our case). Total price: barely 20EUR!
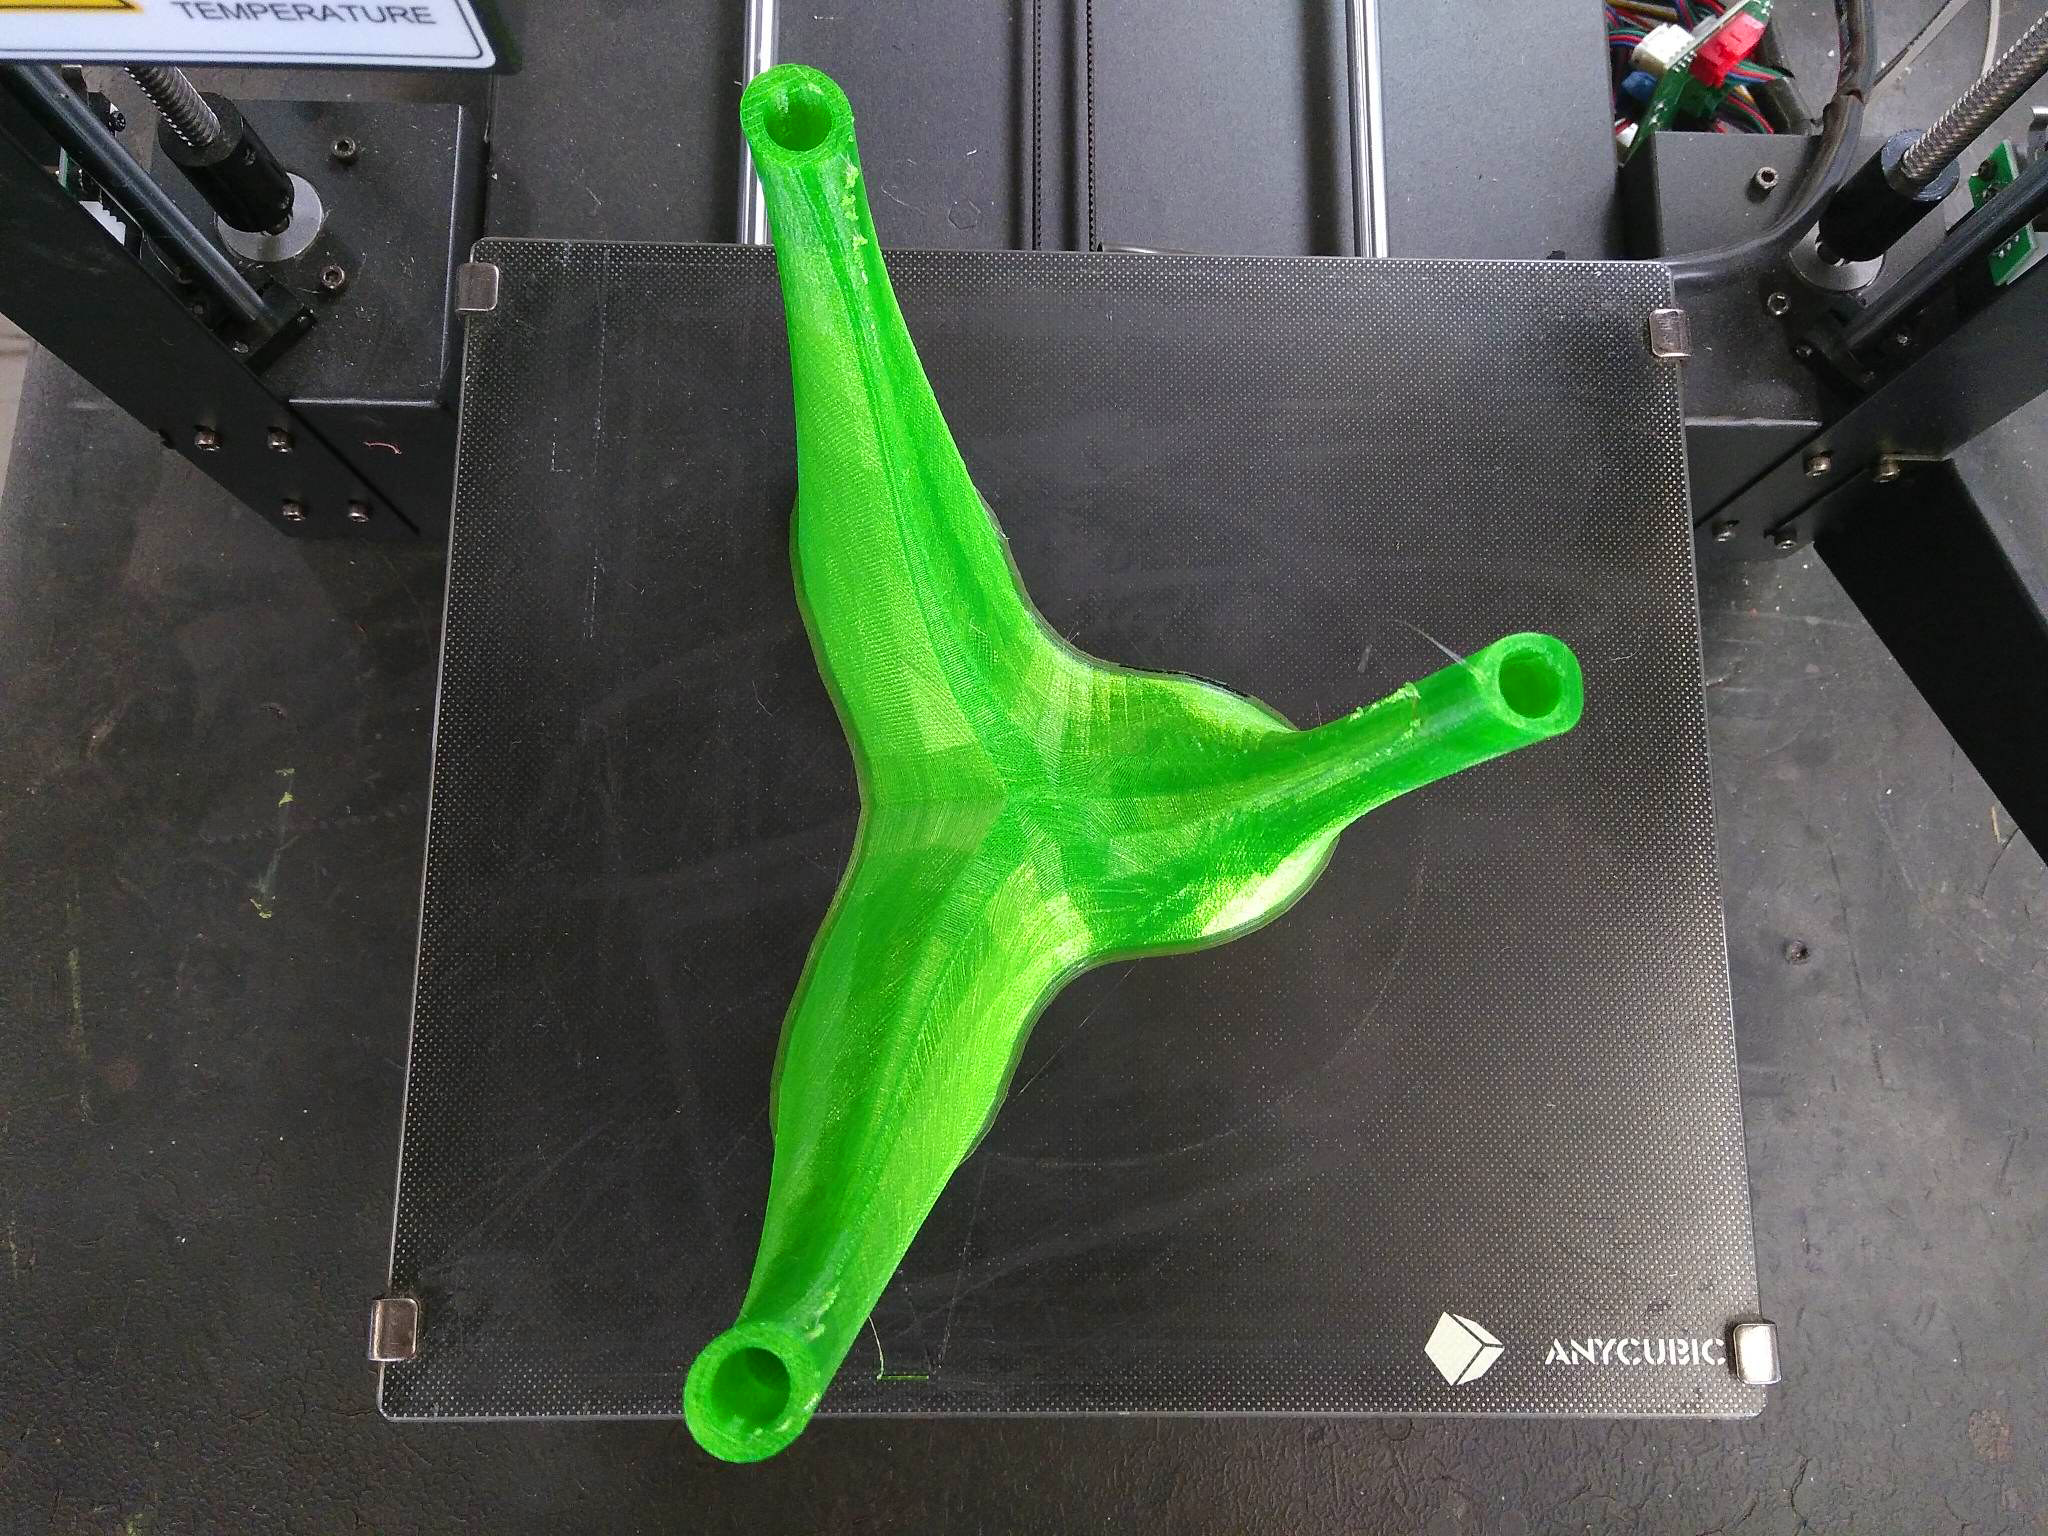
    Testprint:

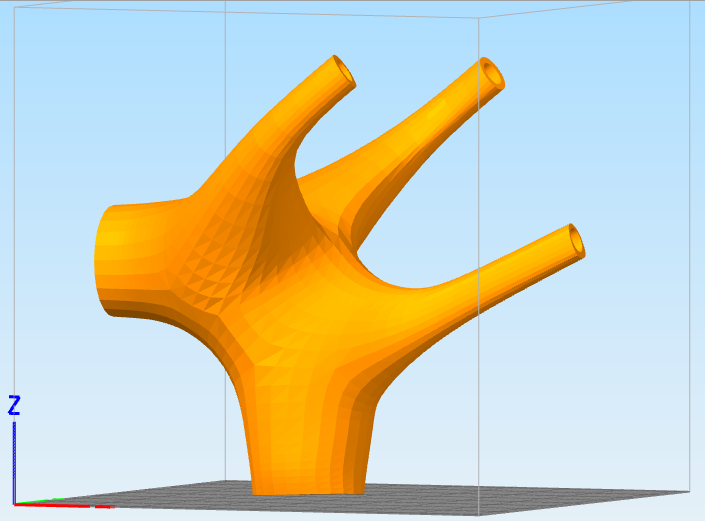
    The final result will be the printed version of this:

View all 4 project logs

Enjoy this project?

Share

Discussions

intentionalrobots wrote 04/01/2021 at 16:11 point

Love it! Do you have any more documentation than what is here or on your website? If you want any help with writing any documentation or running tests, give me a shout!

Did you work with Precious Plastics? Did you make any filament there?

Thanks for making this open source!

/w

  Are you sure? yes | no

Michael Schembri wrote 08/21/2020 at 17:13 point

Awesome: How do you convert plastic to a recycled plastic model??

  Are you sure? yes | no

Bram Peirs @ FW2W wrote 08/23/2020 at 16:20 point

Thanks! At the moment we are working with filament that has been made from recycled PET (also called rPET) from Tridea and BASF:

https://www.ultrafusefff.com/product-category/sustainable/innocircle/

https://www.trideus.be/en/tridea-the-one-pet-green.html

To recycle PET-bottles you need a shredder to shred them to small flakes. With those flakes you can make filament (with an extruder) or directly print from the flakes with a suitable printer. In the coming months we are aiming to do that ourselves so we can achieve more transparency and tracebility.

Does that answer your question?

  Are you sure? yes | no

Michael Schembri wrote 08/24/2020 at 19:23 point

Looking forward.

  Are you sure? yes | no

Fabian wrote 08/15/2020 at 20:27 point

Guys thats f**ng awesome! Really like to see a really "grown up" design of a 3D printed wind turbine! :)

  Are you sure? yes | no

Bram Peirs @ FW2W wrote 08/18/2020 at 15:22 point

Thanks :) If we manage to finish this one before the deadline, we will launch a much bigger windturbine so we hopefully earn the grown up medal ;)

  Are you sure? yes | no

Similar Projects

Does this project spark your interest?

Become a member to follow this project and never miss any updates