0%
0%
BLEifying a Honeywell PM Sensor
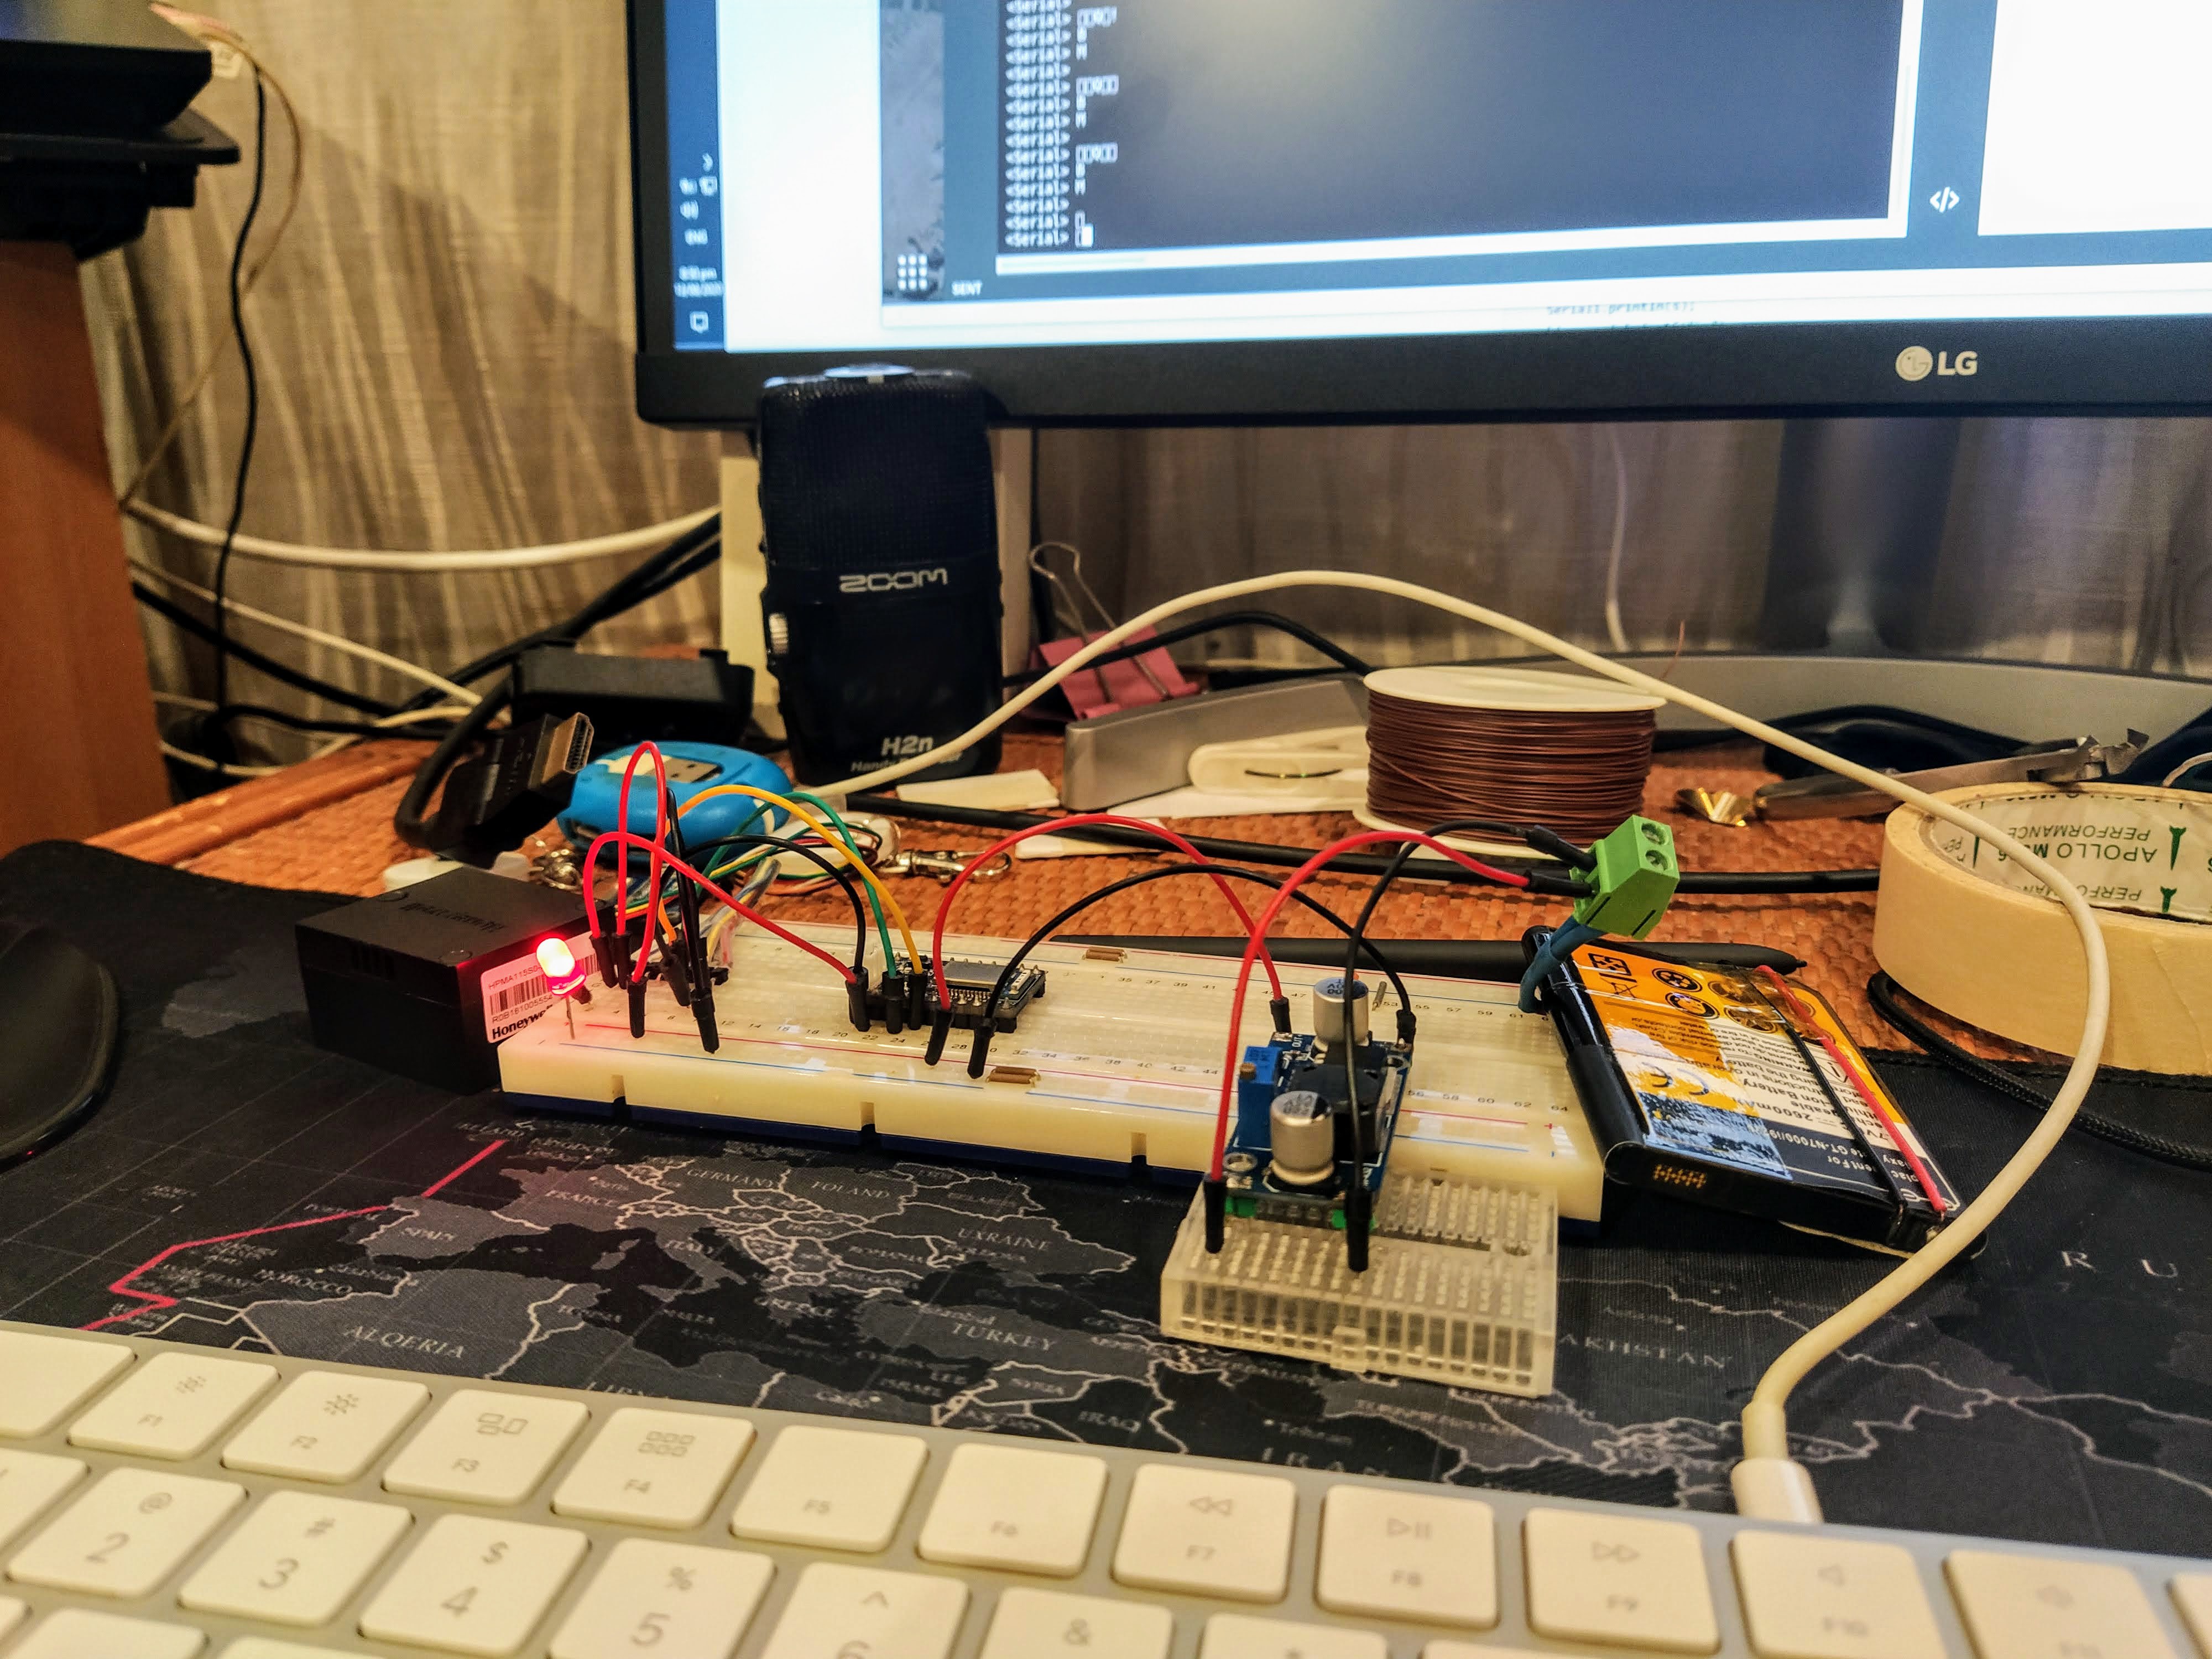
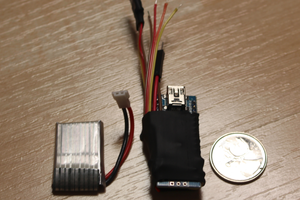
The Honeywell PMS transmits data via UART; if you wanted to get data you need wires. Adding BLE means it can just advertise data wirelessly.
 parasquid
Become a Hackaday.io member
Already have an account? Log in.
Just one more thing
To make the experience fit your profile, pick a username and tell us what interests you.
Pick an awesome username
hackaday.io/
Your profile's URL: hackaday.io/username. Max 25 alphanumeric characters.
Pick a few interests
Projects that share your interests
People that share your interests


 vcazan
 Sylwester
 Luke Beno
 Paige Niedringhaus