I created L2Camera, because I had not found an Instax camera, that works for me. Later, I realized that with this project I can reduce the amount of photo-waste in two ways. Firstly, by re-using existing, but out-of-use photo equipment. Secondly, by giving photographers a tool that creates images of higher quality and leaves less discarded shots, which go to landfill.
To build your own L2Camera you'll need:
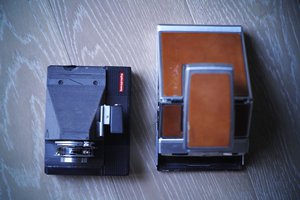
- find a donor Lubitel camera and a Kiipix/Printoss printer
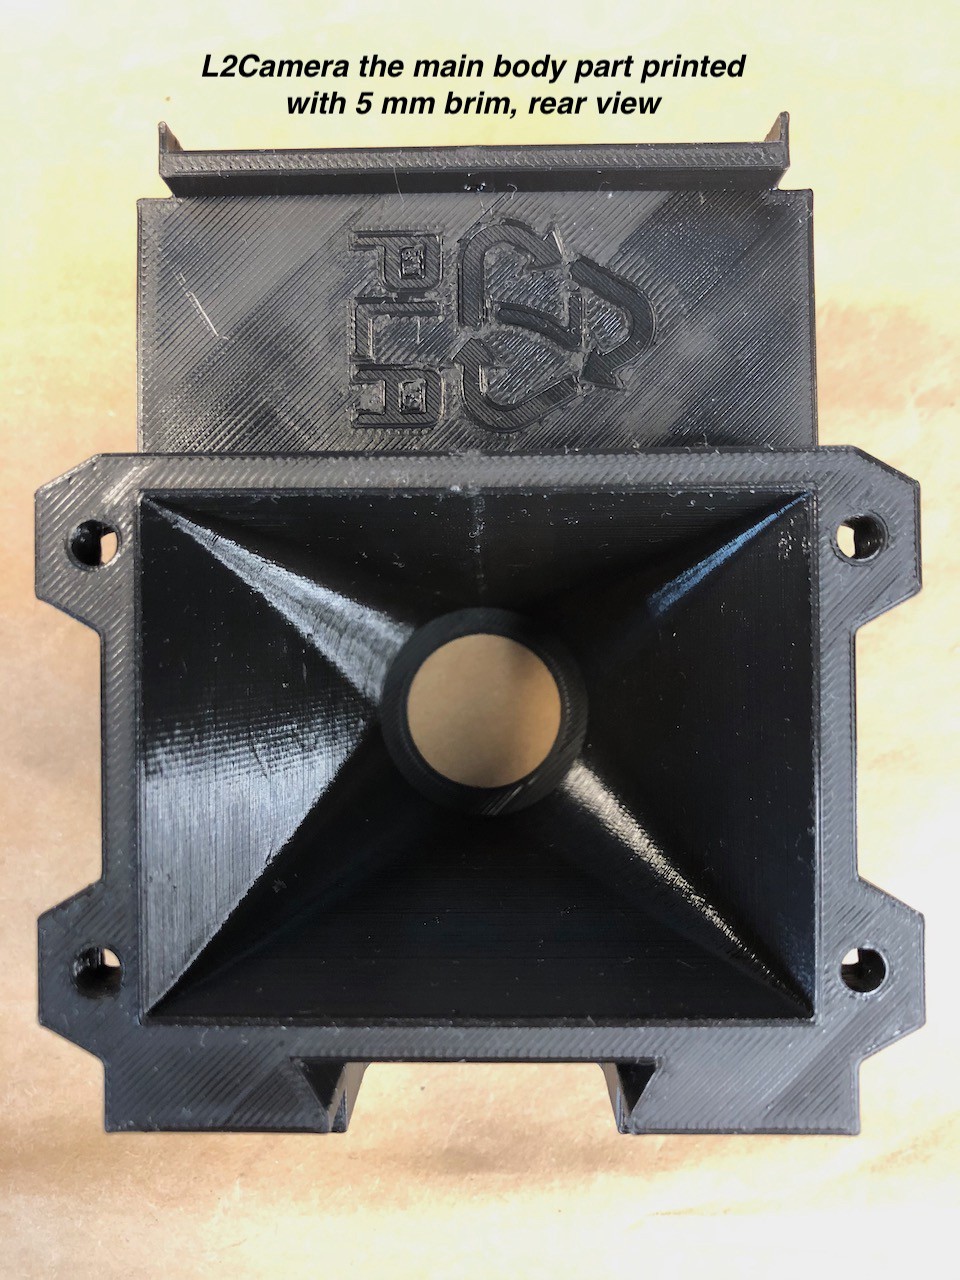
- have a 3D printer and approx. 25 meters of PLA filament
- print the 3D model
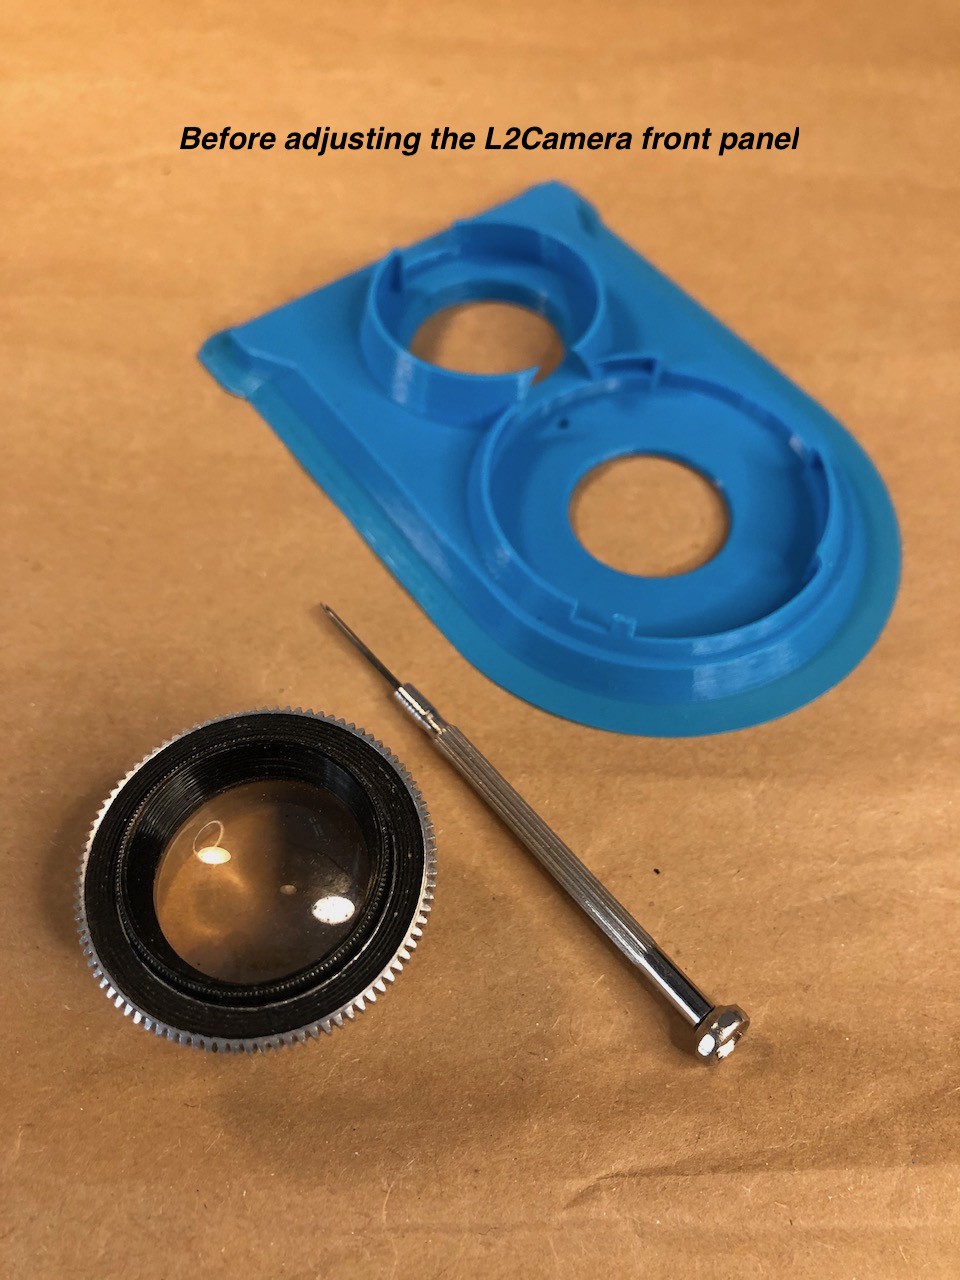
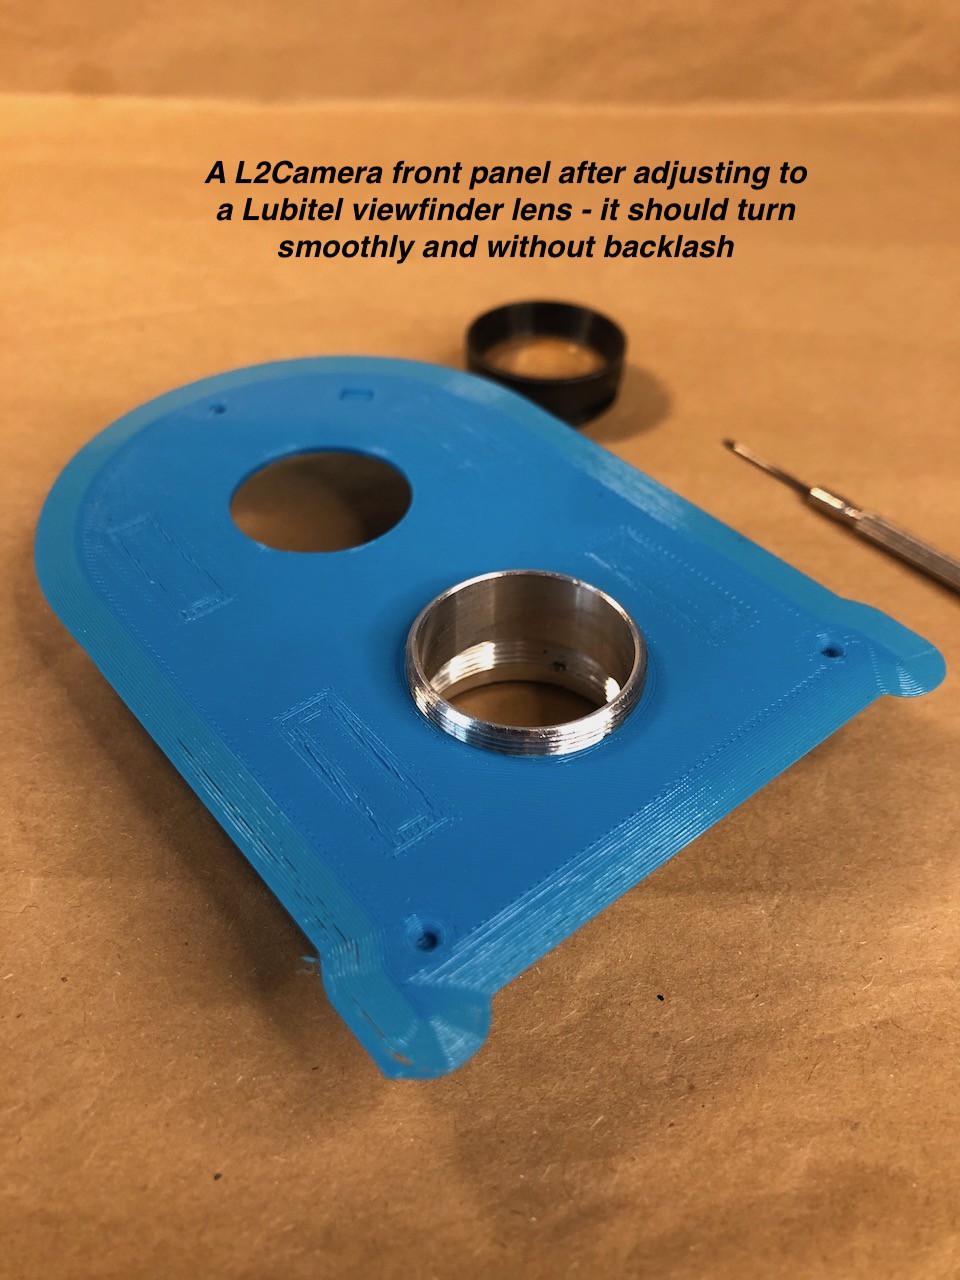
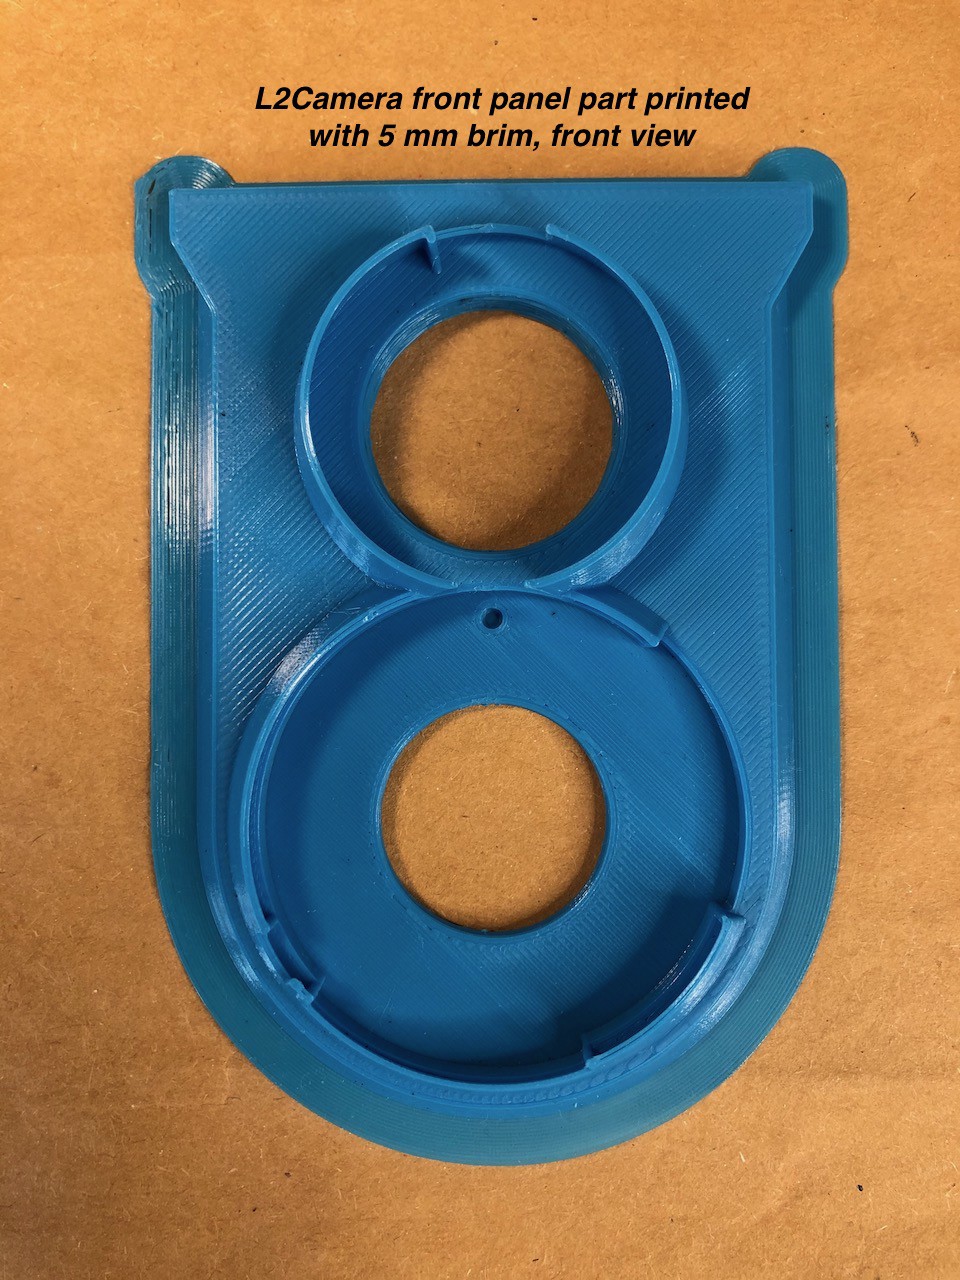
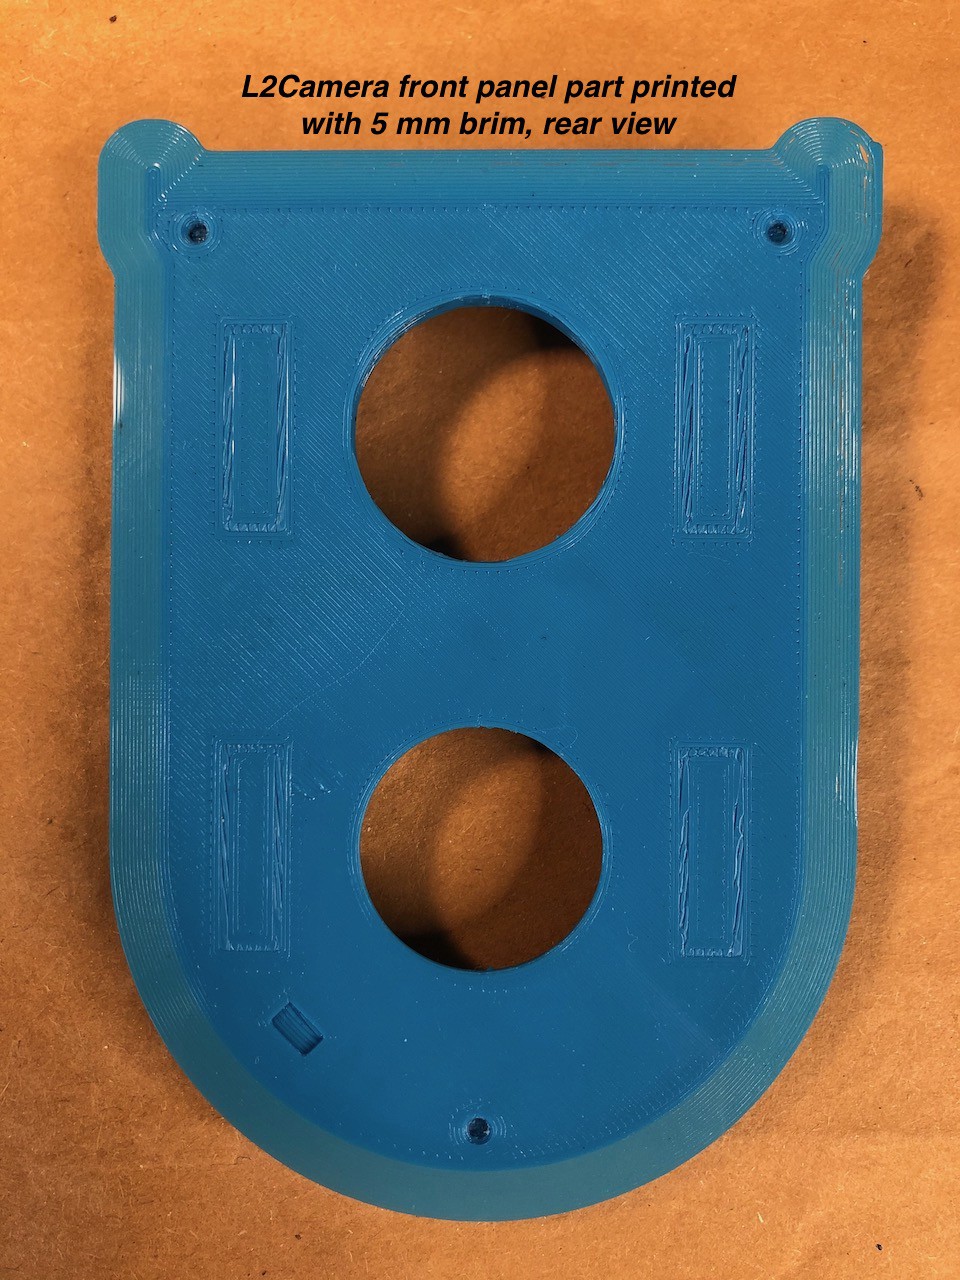
- adjust the front panel to the viewfinder lens
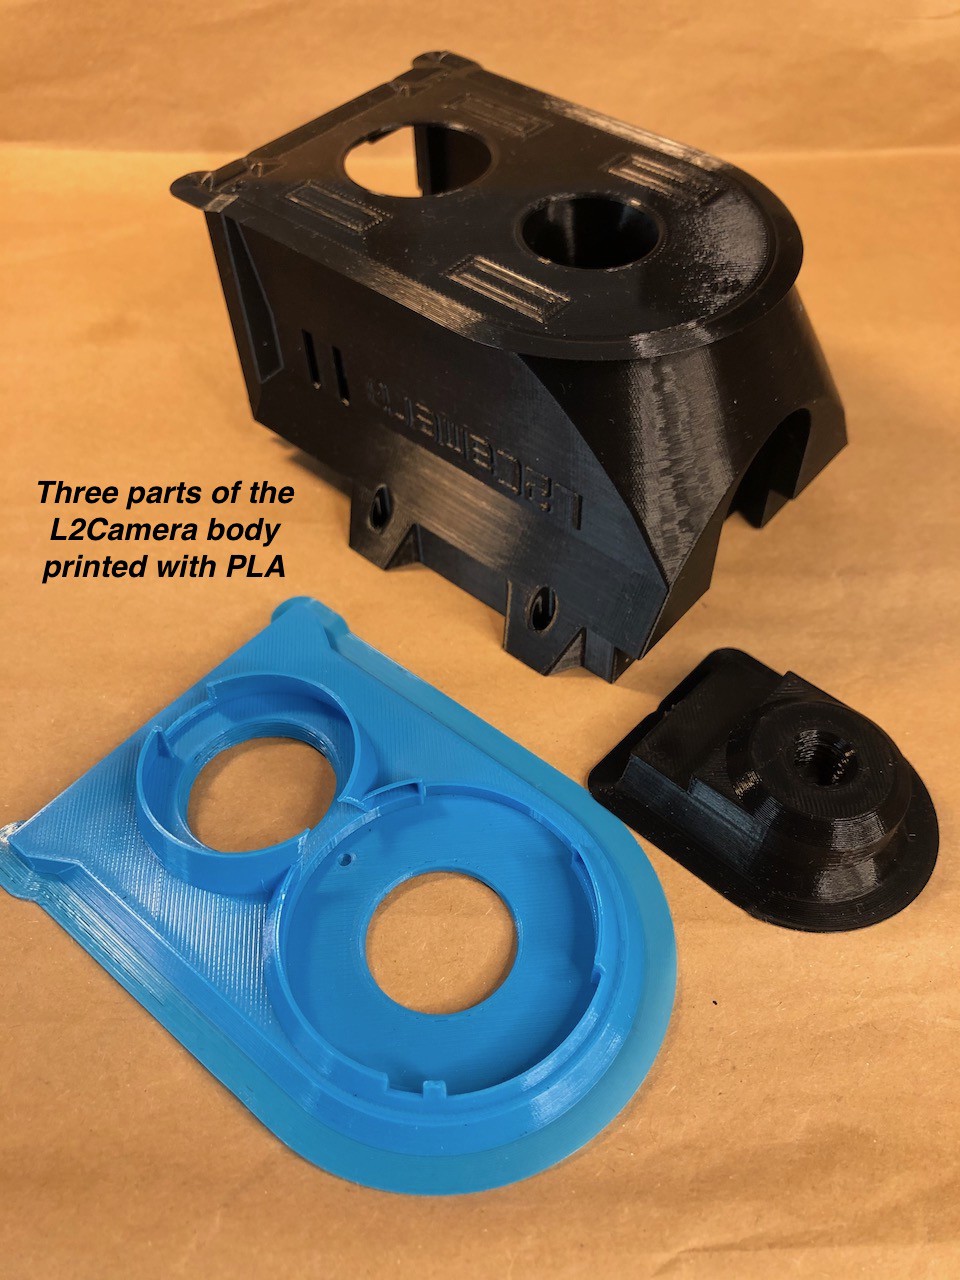
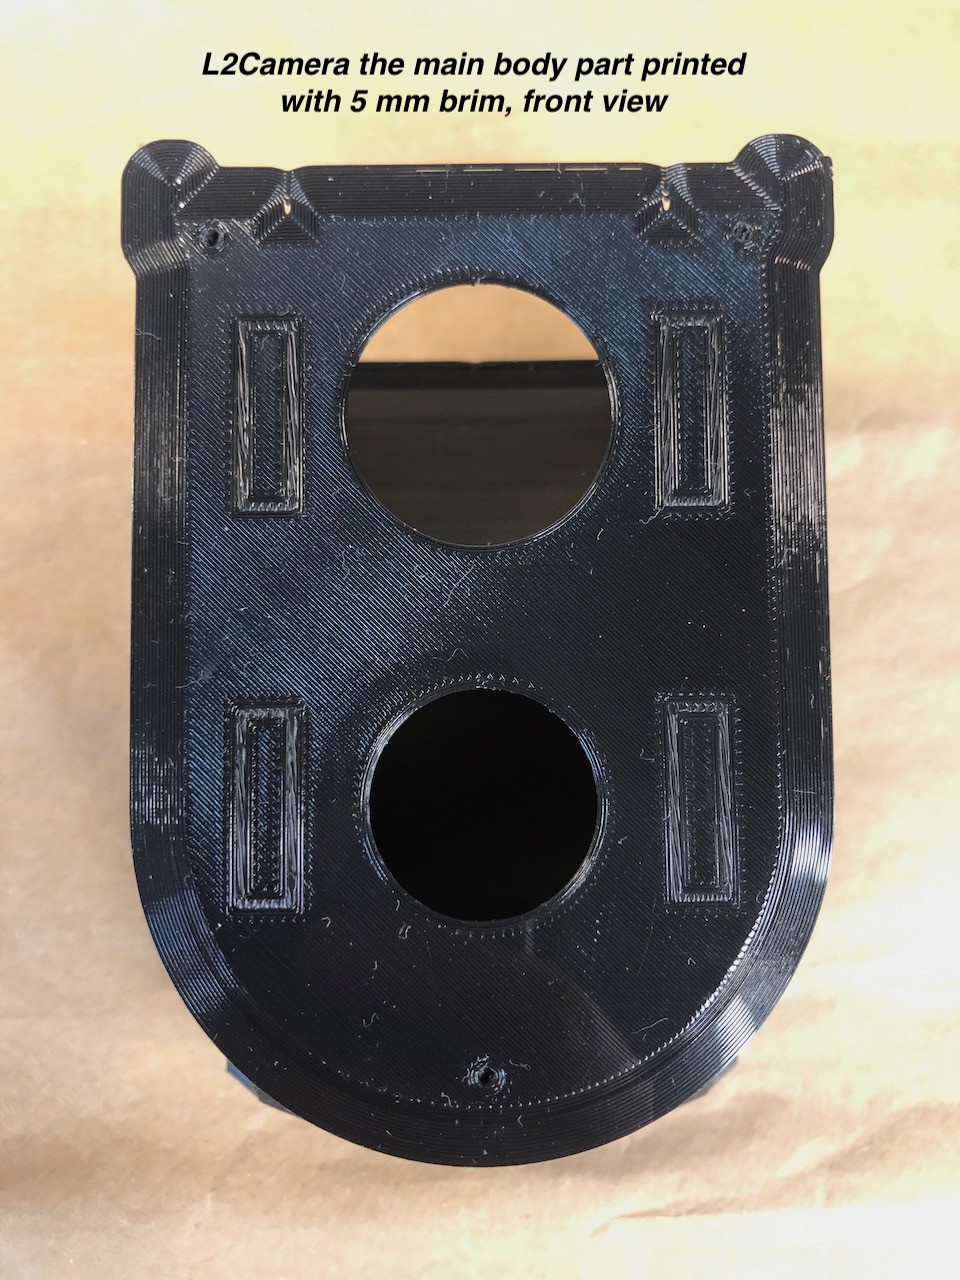
- assemble the camera body
- align the lens
- assemble the whole camera


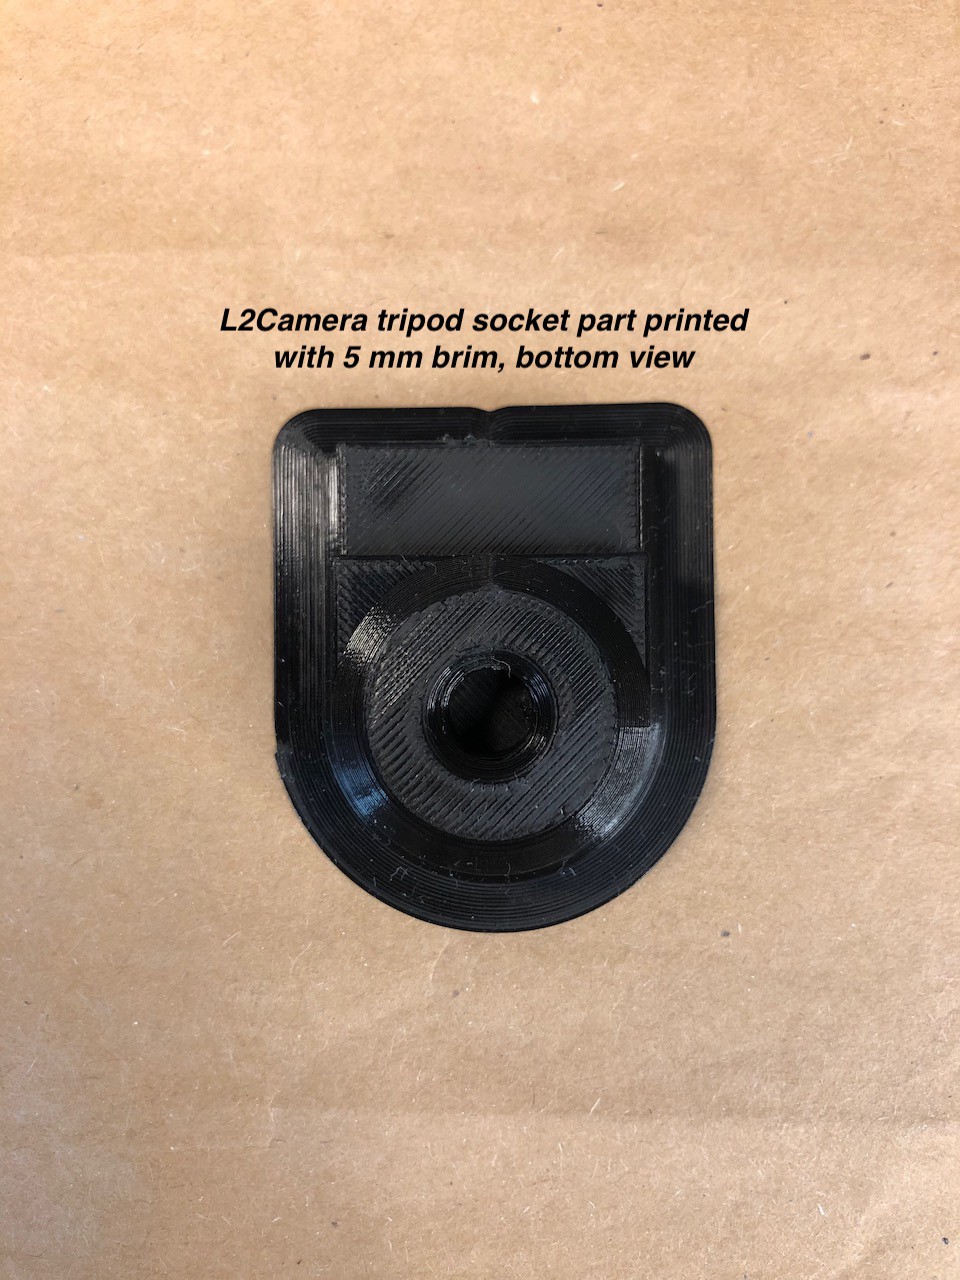
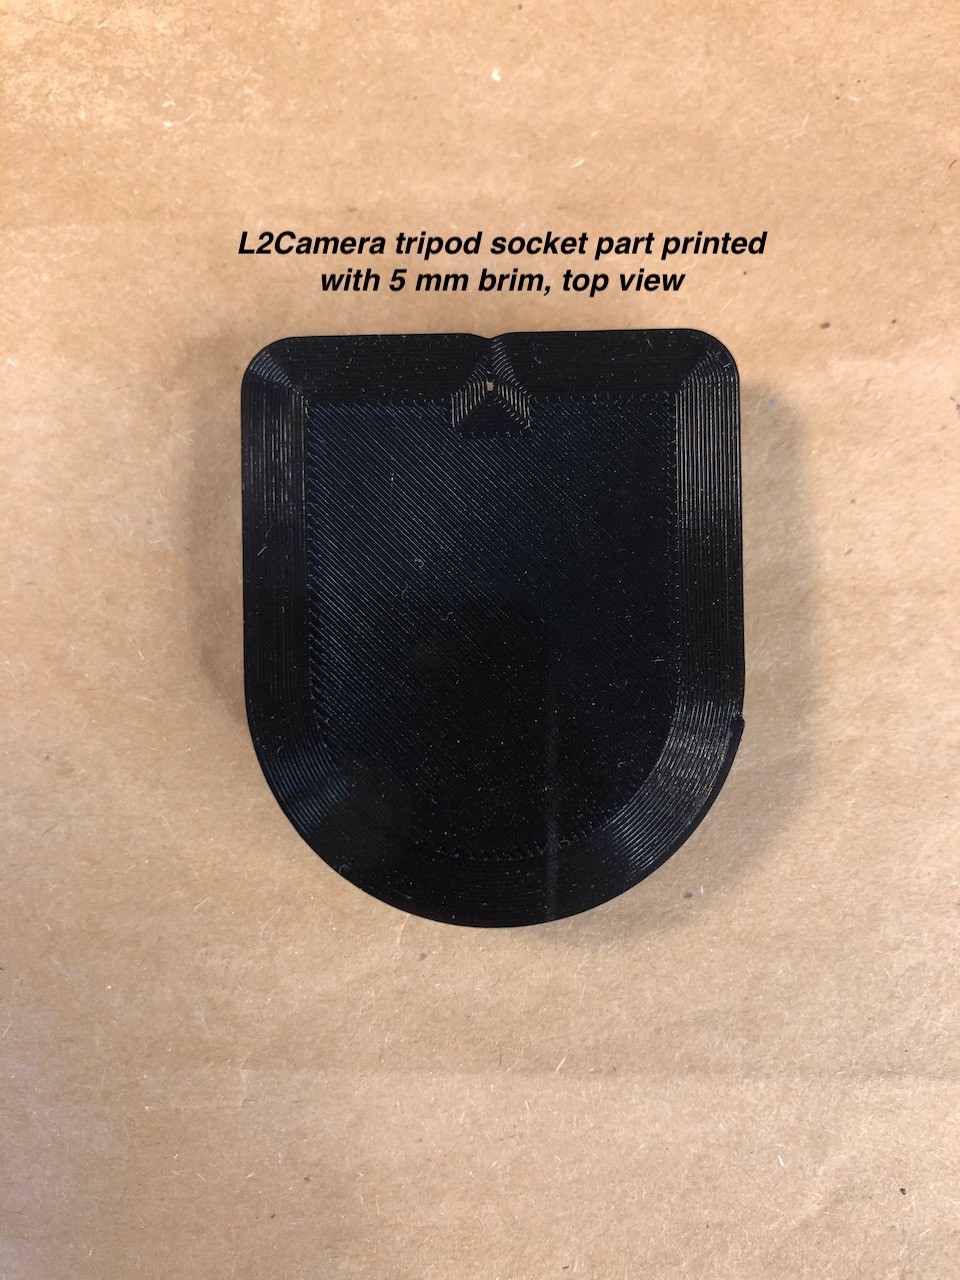
 Prepare the tripod mount part - remove the brim if you printed with brims - then slide in the socket part into the hole at the bottom of the main body.


 PengxiangXu
 Richard Hogben
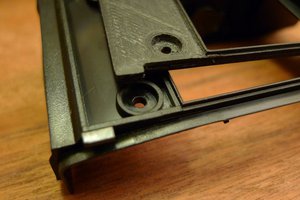
 theschlem
I am so beyond excited to discover this project, I have been infuriated by the lack of full manual Instax cameras but was too intimidated by engineering focal distances to attempt my own build. Thank you for supplying this incredible information! I have just ordered the doner components and can't wait to get started on making my own L2. Is there any chance you would be willing to share step data for the camera body instead of just STL? Thank you SO MUCH for all your work and sharing it with the community!