0%
0%
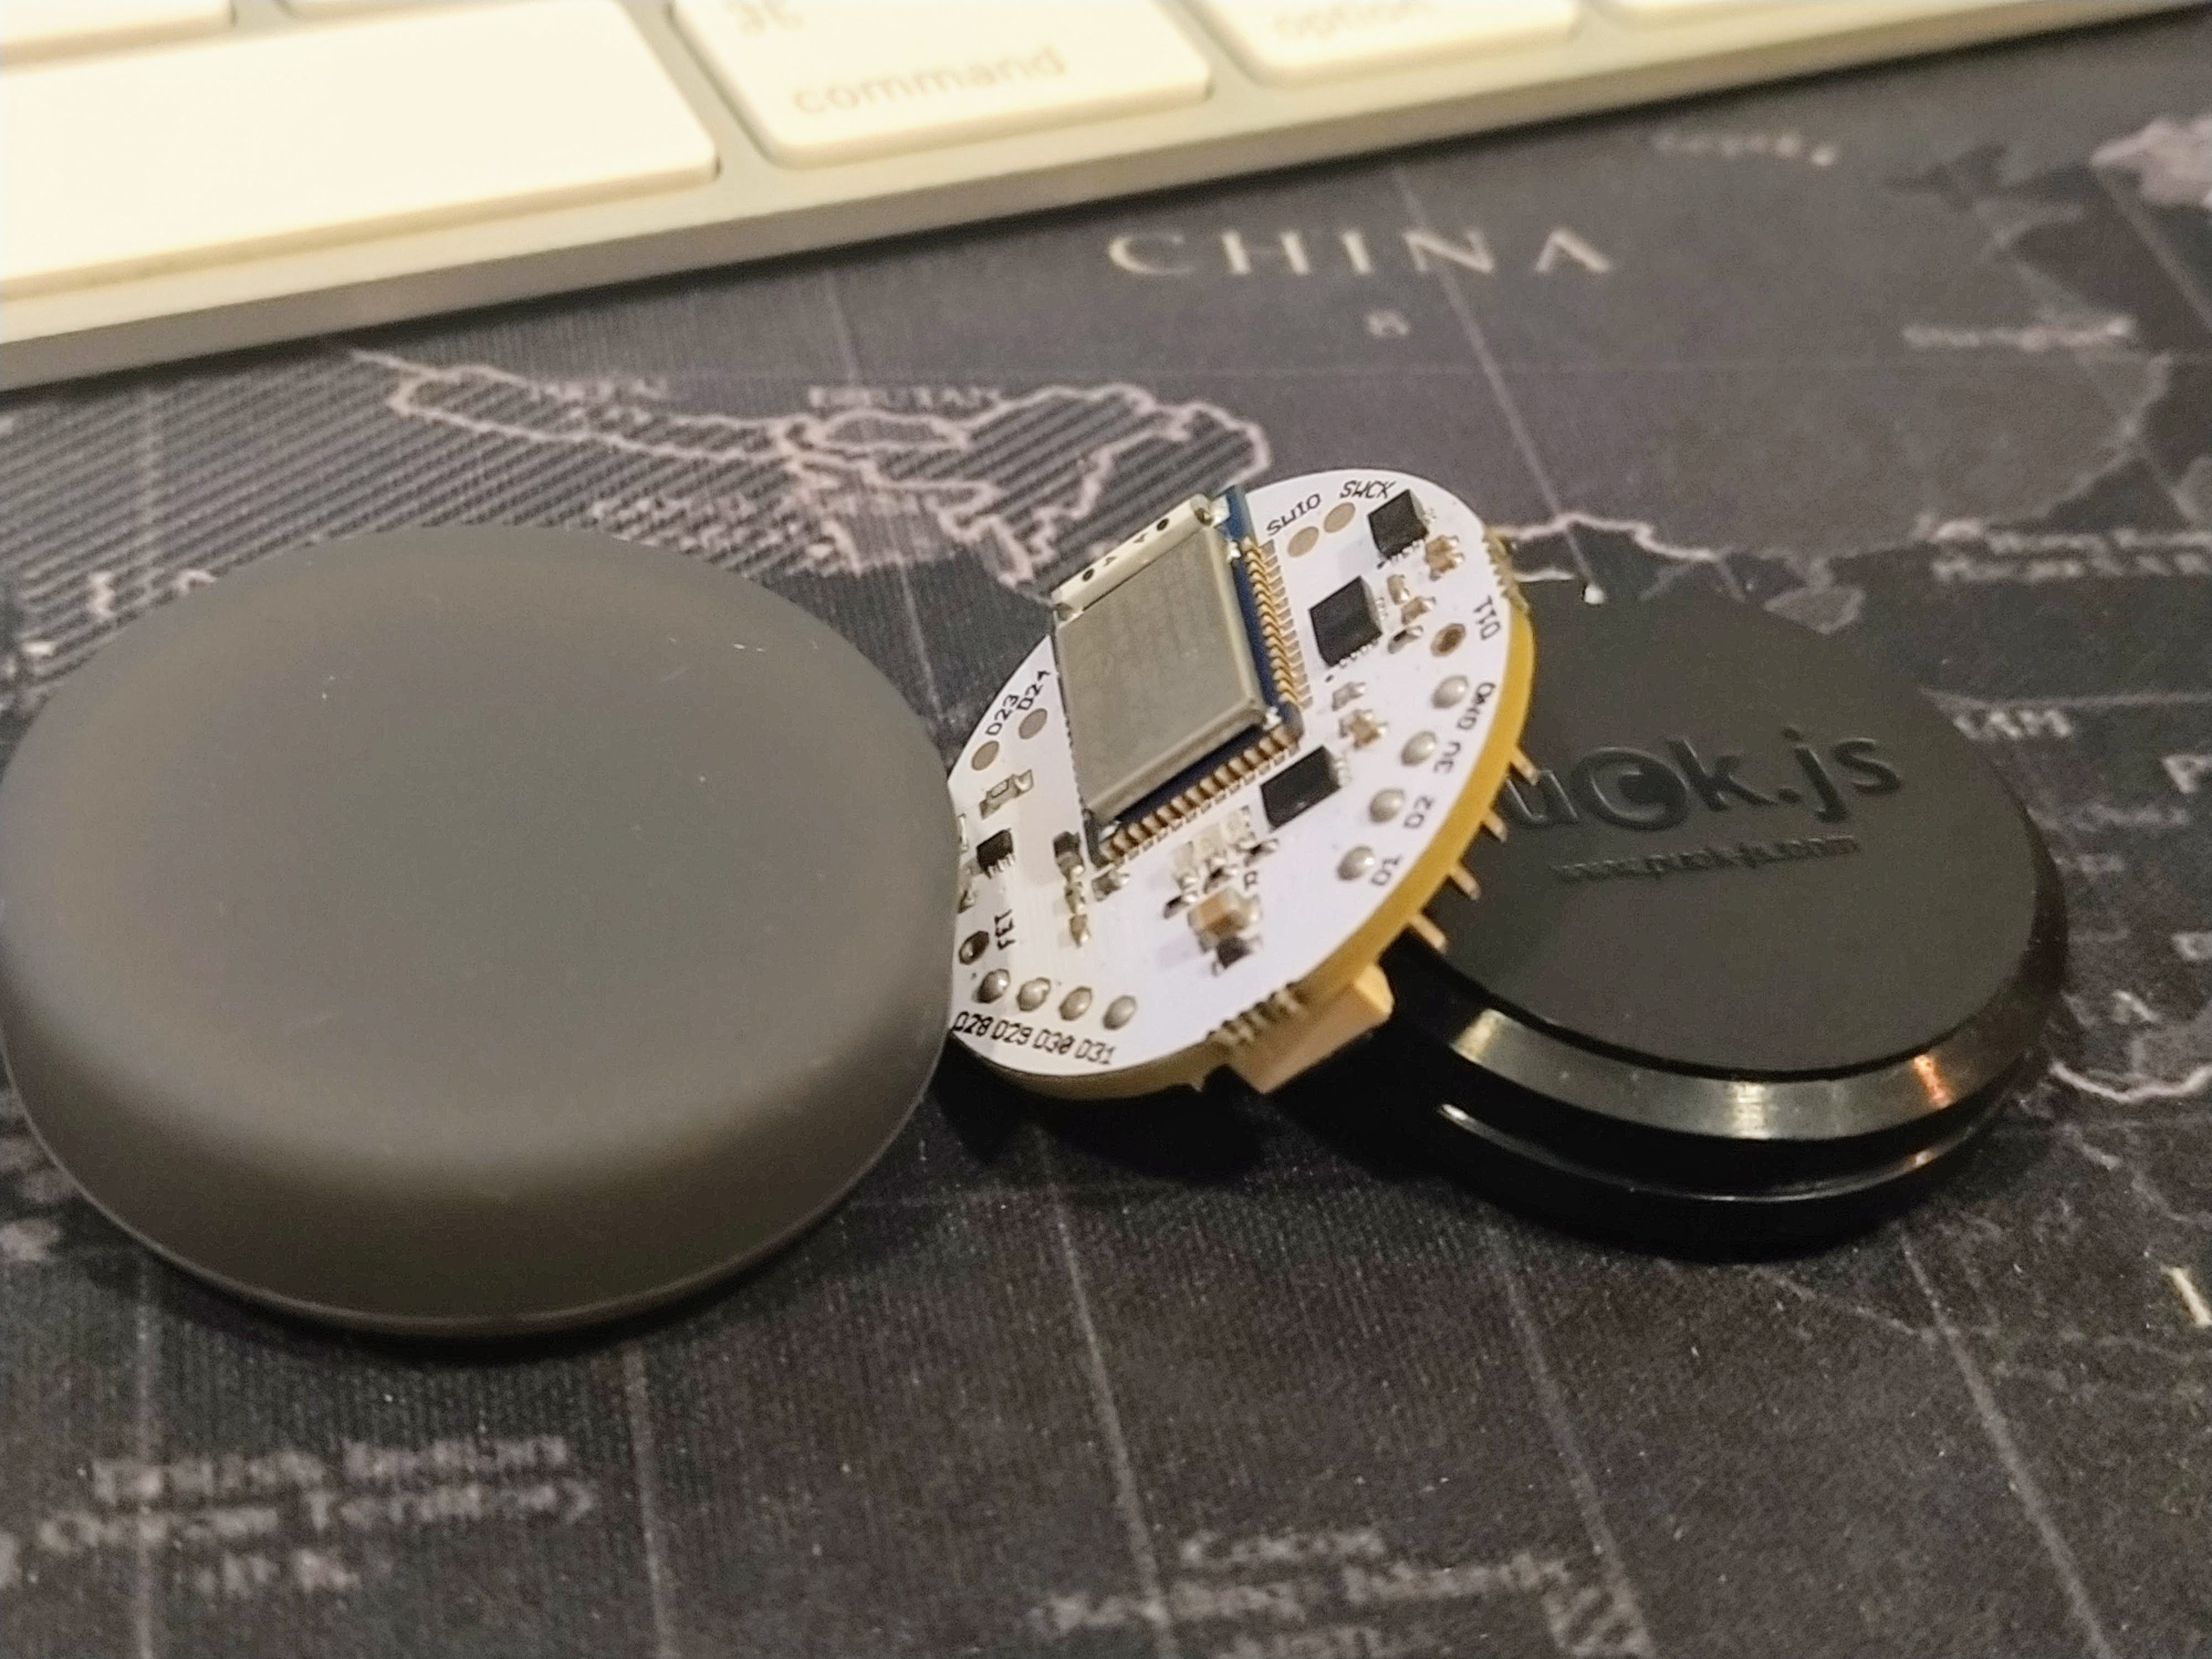
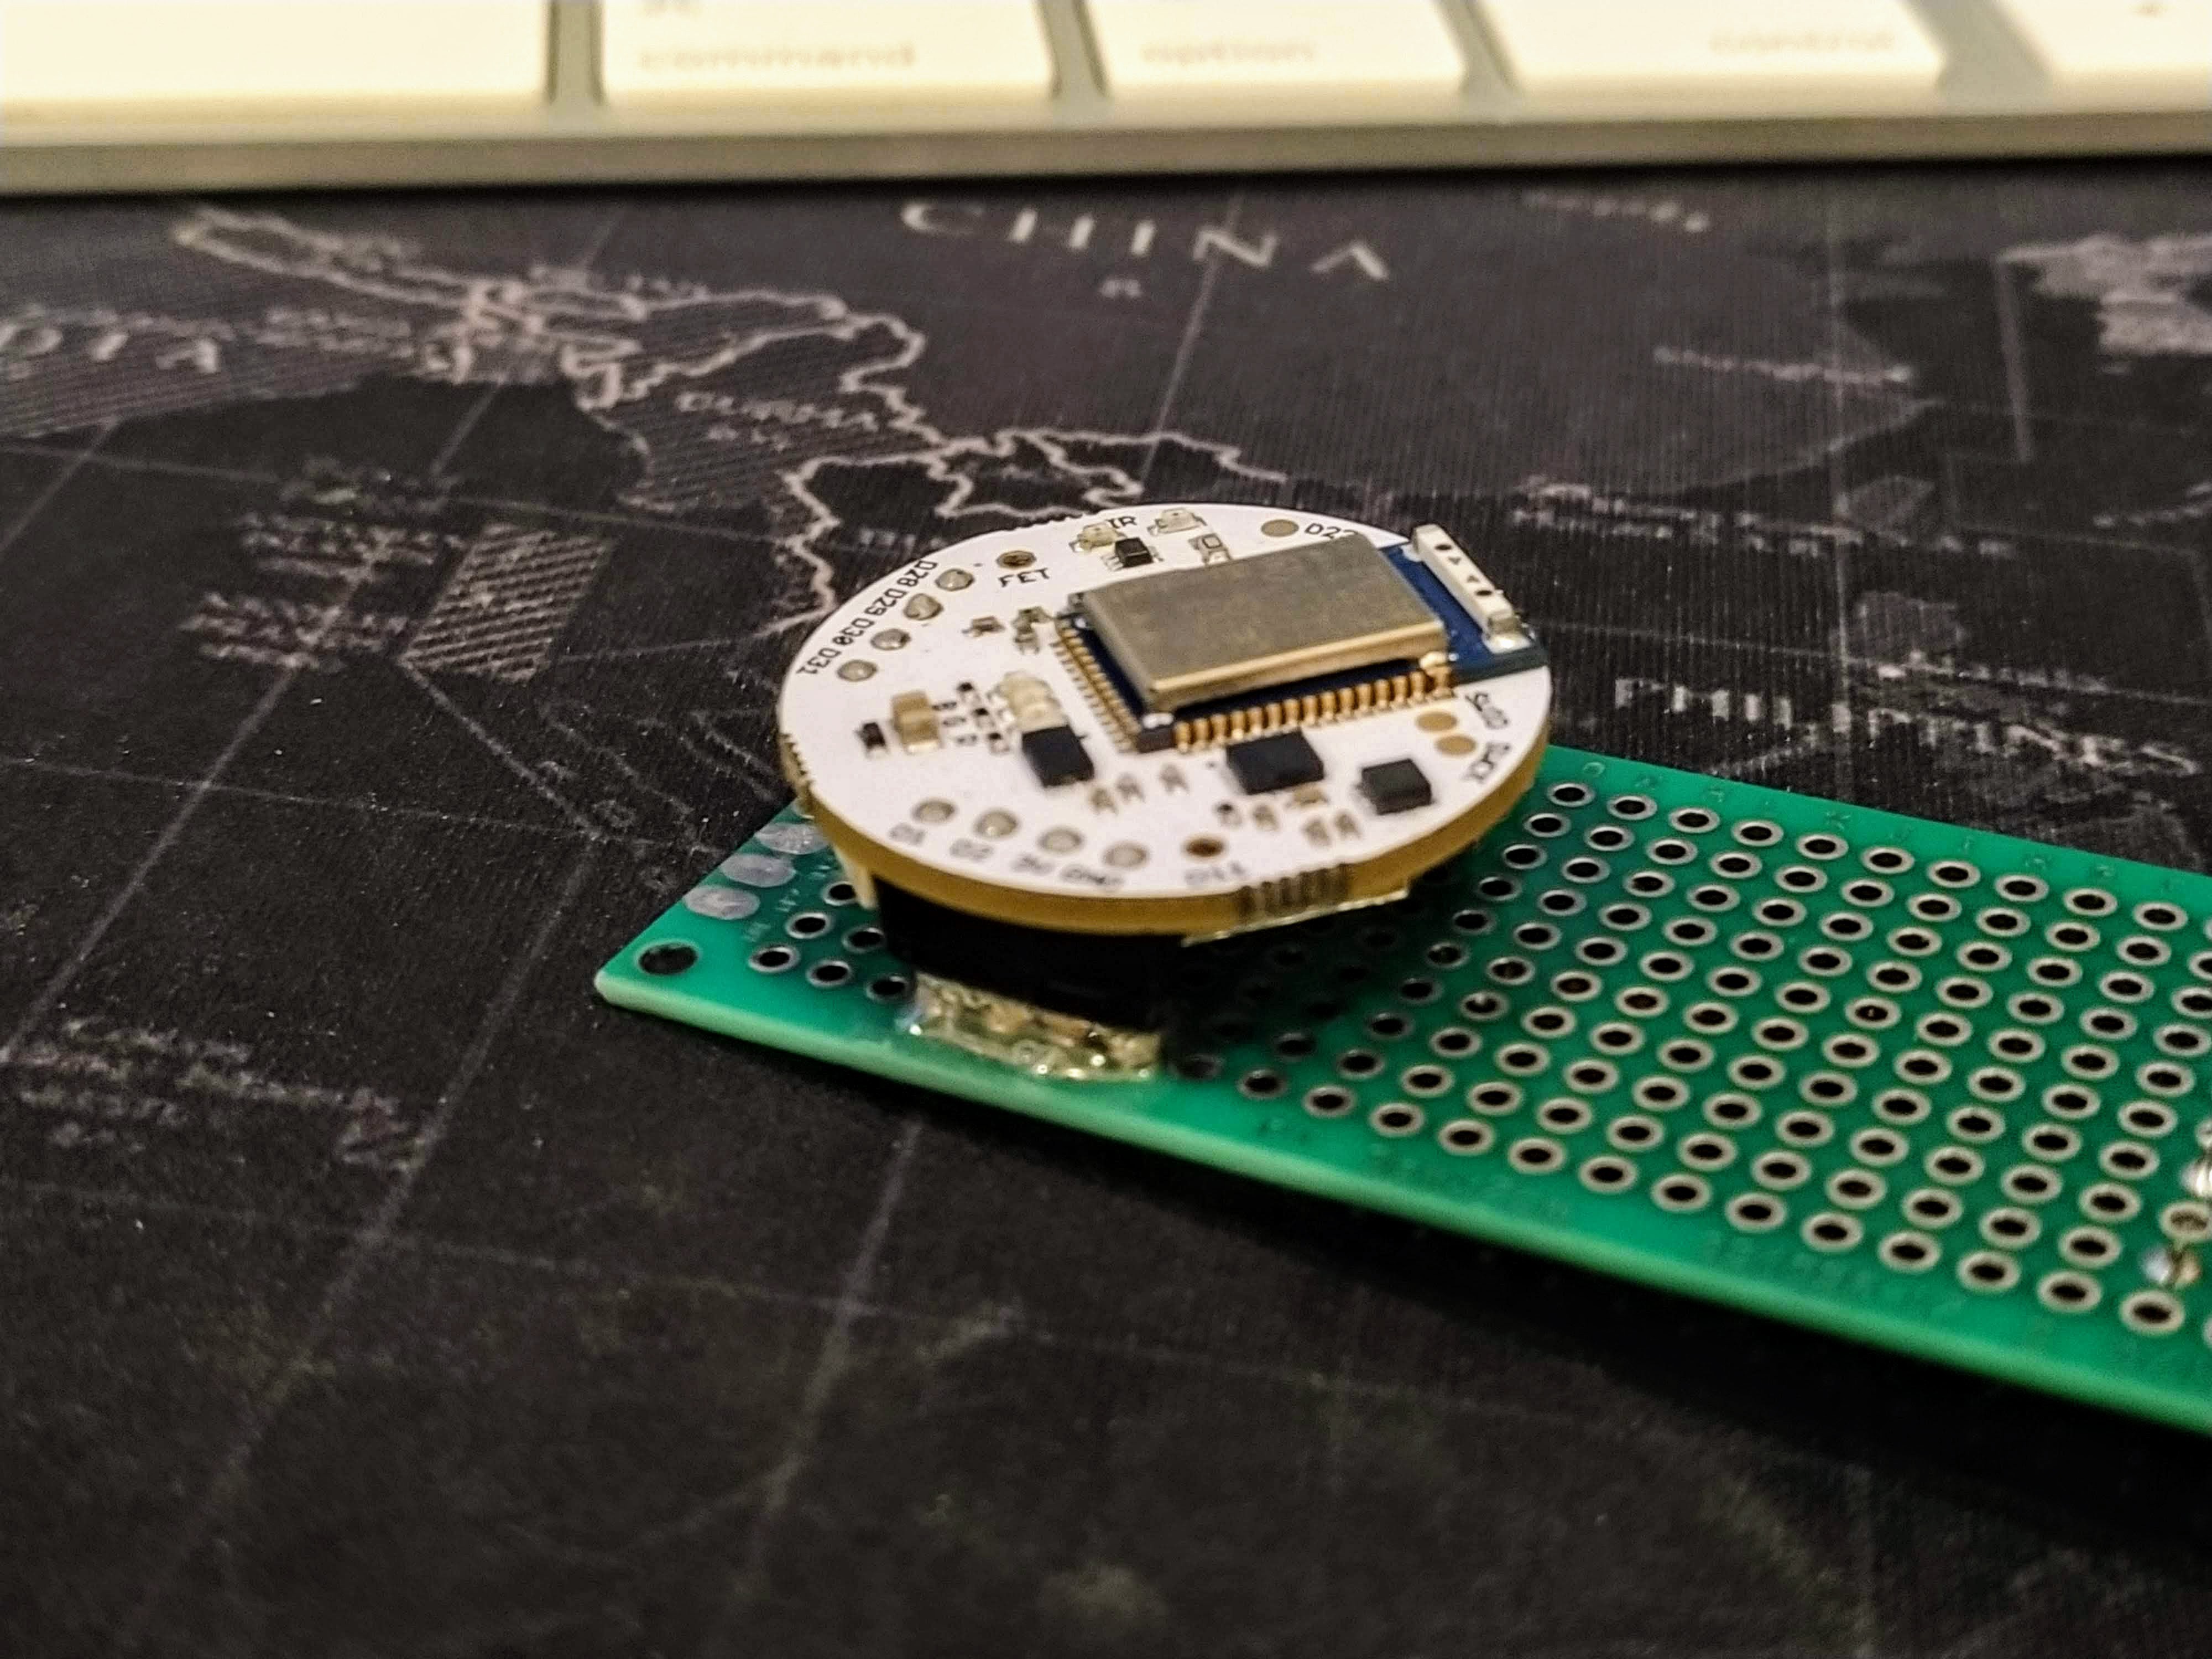
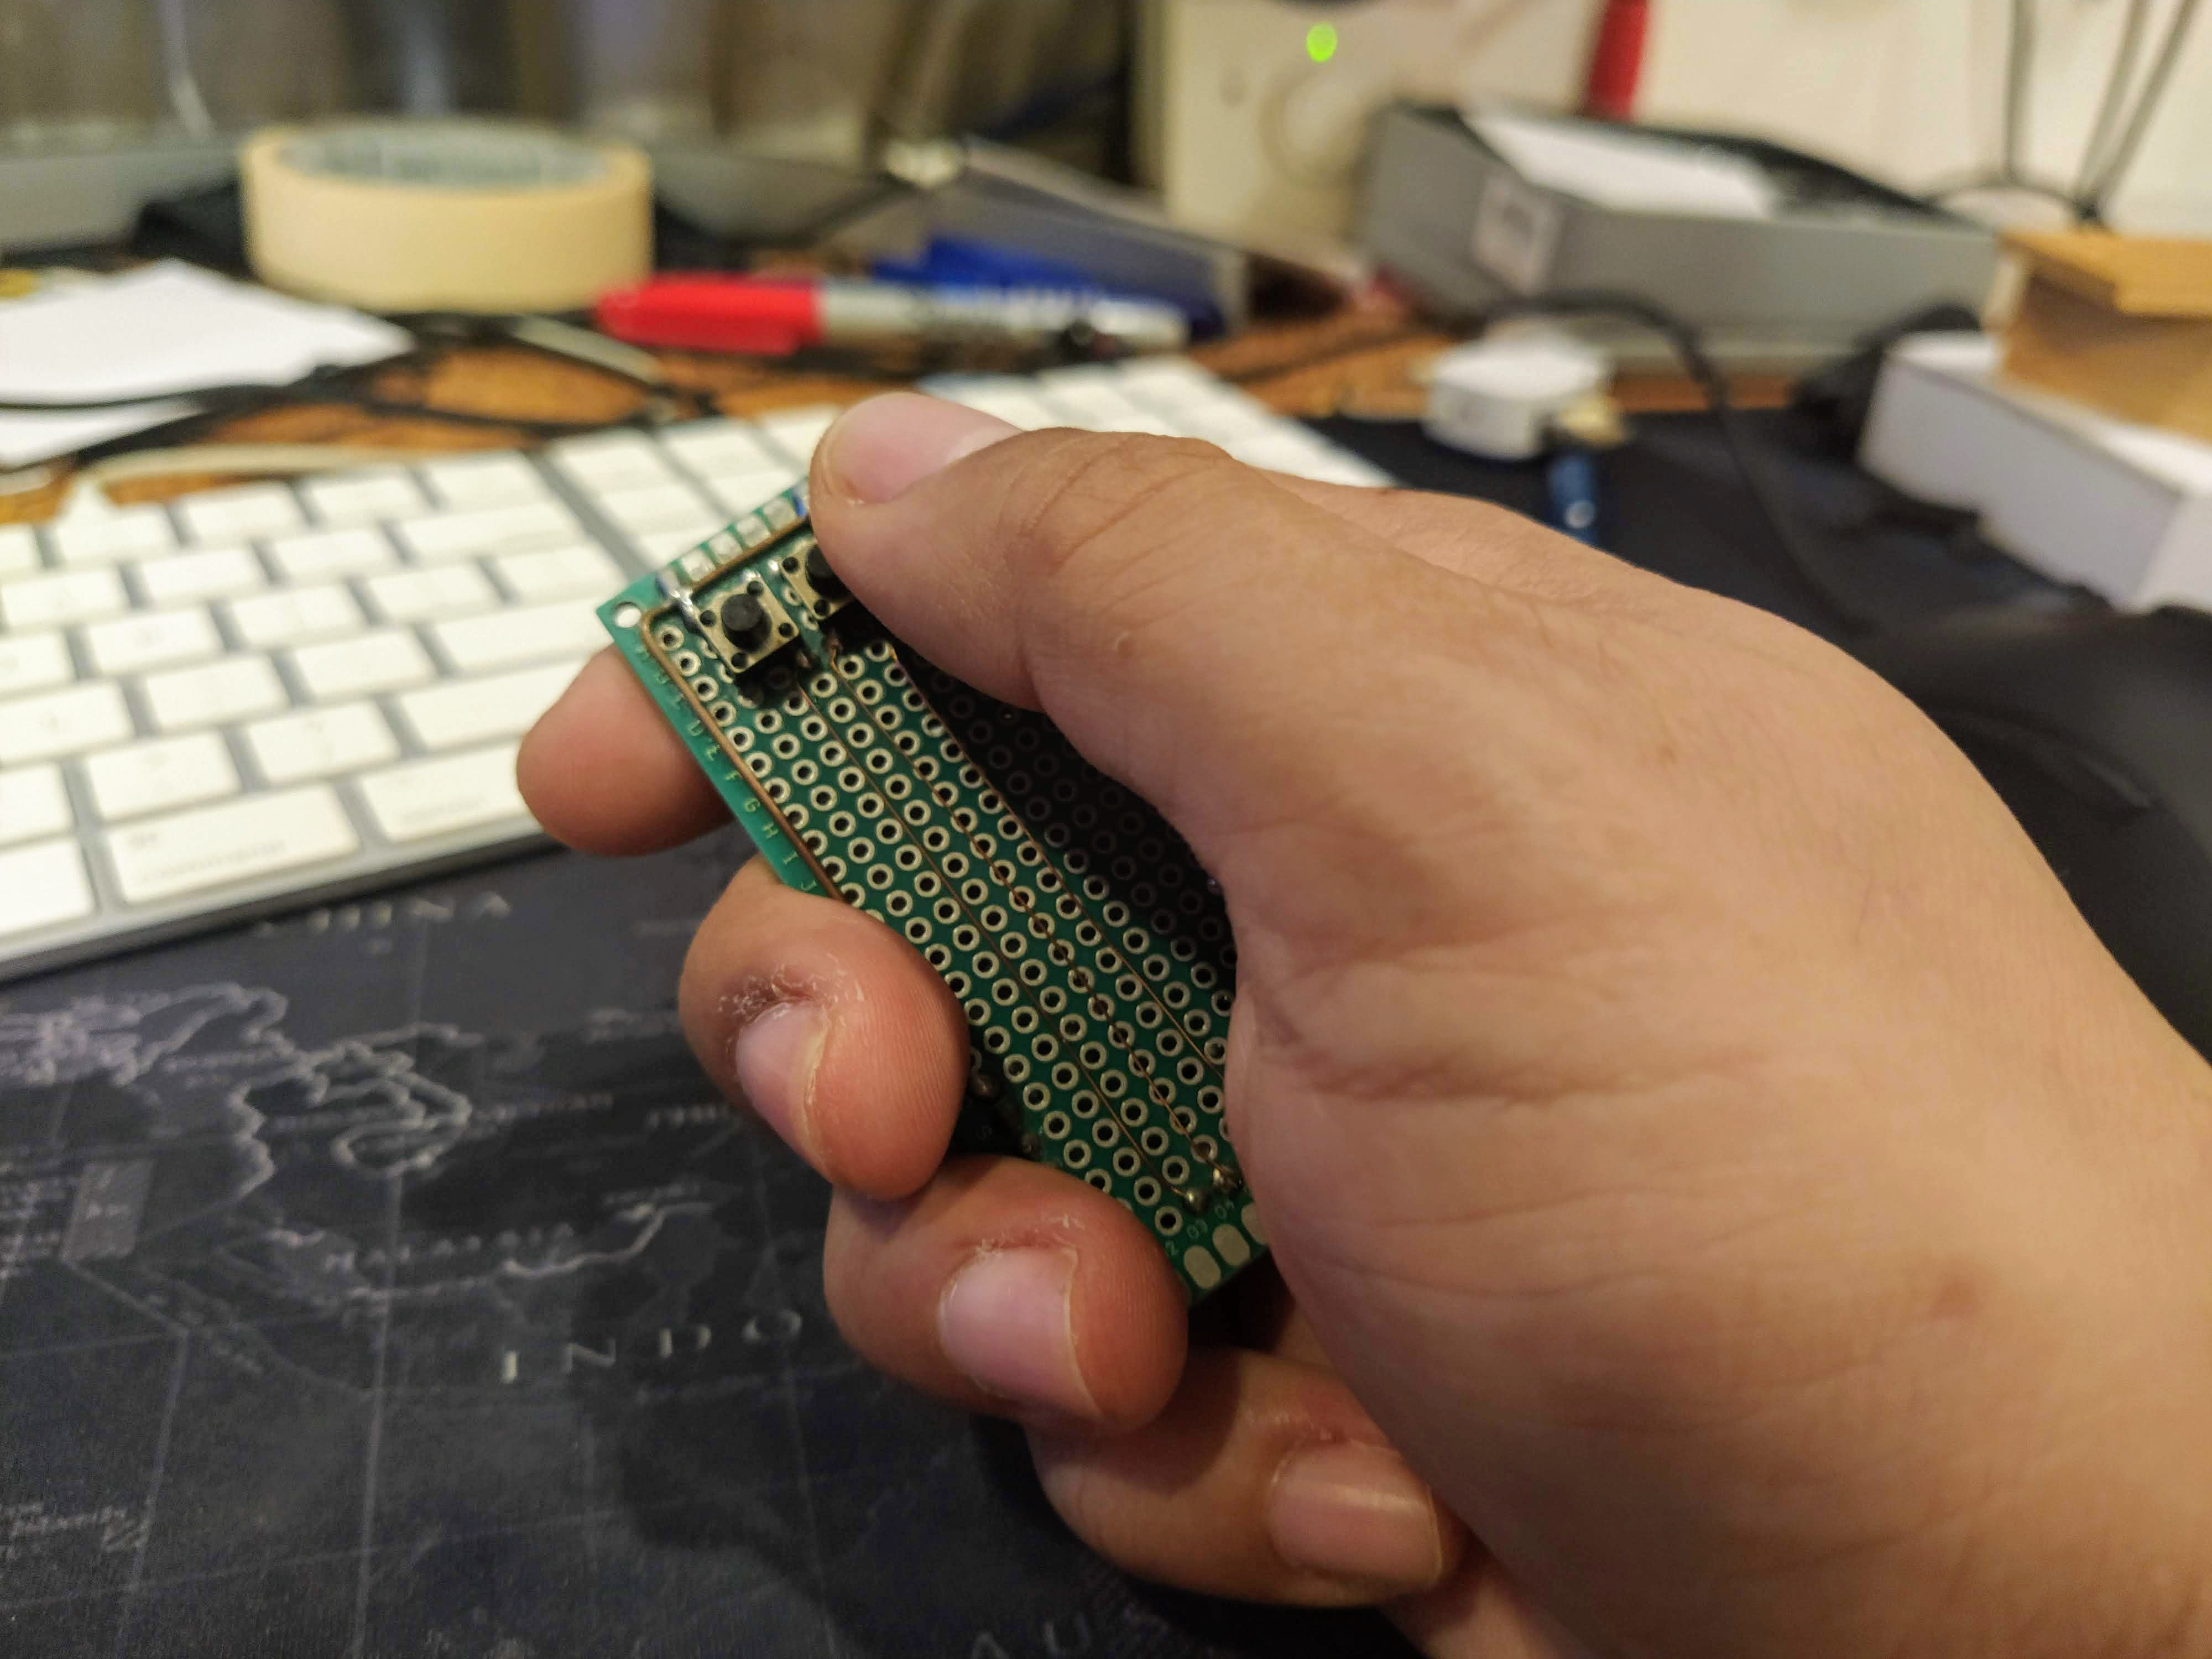
DIY BLE Presentation Clicker using Espruino
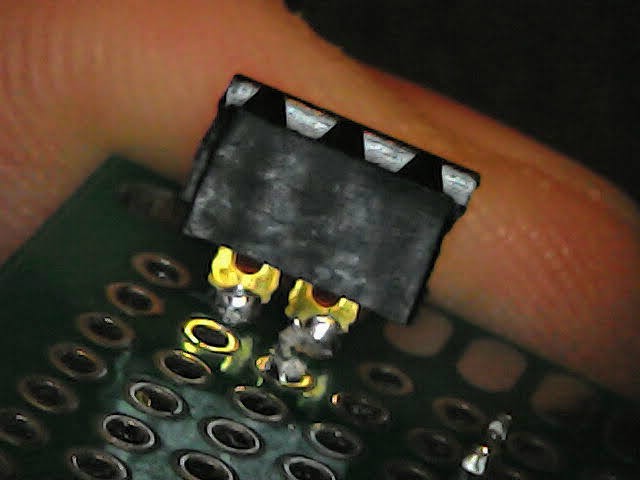
Clickers are expensive, and they don't work with all presentation software. So we make our own.
 parasquid
Become a Hackaday.io member
Already have an account? Log in.
Just one more thing
To make the experience fit your profile, pick a username and tell us what interests you.
Pick an awesome username
hackaday.io/
Your profile's URL: hackaday.io/username. Max 25 alphanumeric characters.
Pick a few interests
Projects that share your interests
People that share your interests


 facelessloser
 bobgreenwade
 Ted Yapo
 deʃhipu
I seldom get js script error on my website https://wordstotime.net . I am unable to rectify it. How did you do it?