mircemk
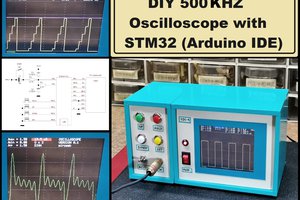
This project describes a way to make a simple oscilloscope that has a range from 10Hz to 50Khz. This is an extremely large range, given that the device does not use an external digital to analog converter chip, but only Arduino.
It was sponsored by NextPCB. You can help support me by checking them out at one of these links:
Register to get $5 coupon:
https://www.nextpcb.com?code=Mirko
Reliable Multilayer Boards Manufacturer:
https://www.nextpcb.com?code=Mirko
4 Layer PCB Boards 10pcs only $12:
https://www.nextpcb.com/pcb-quote?act=1
10% off - PCB & SMT Orders:
20%OFF - PCB & 15 % SMT Orders: https://www.nextpcb.com/activity/supp...
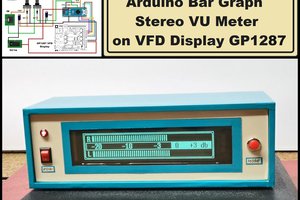
The result is displayed on a relatively large LCD screen (ST7920) with a resolution of 128x64 pixels. Measurement display area is 96x64 and information display area is 32x64, where shown the test signal frequency, Vpp etc.
It is a extremly simple to build and consist only few components:
- Arduino Nano
- ST7920 LCDdisplay with 128x64 resolution
- three momentary switches
- two potentiomemers
- and one capacitor 100 microF
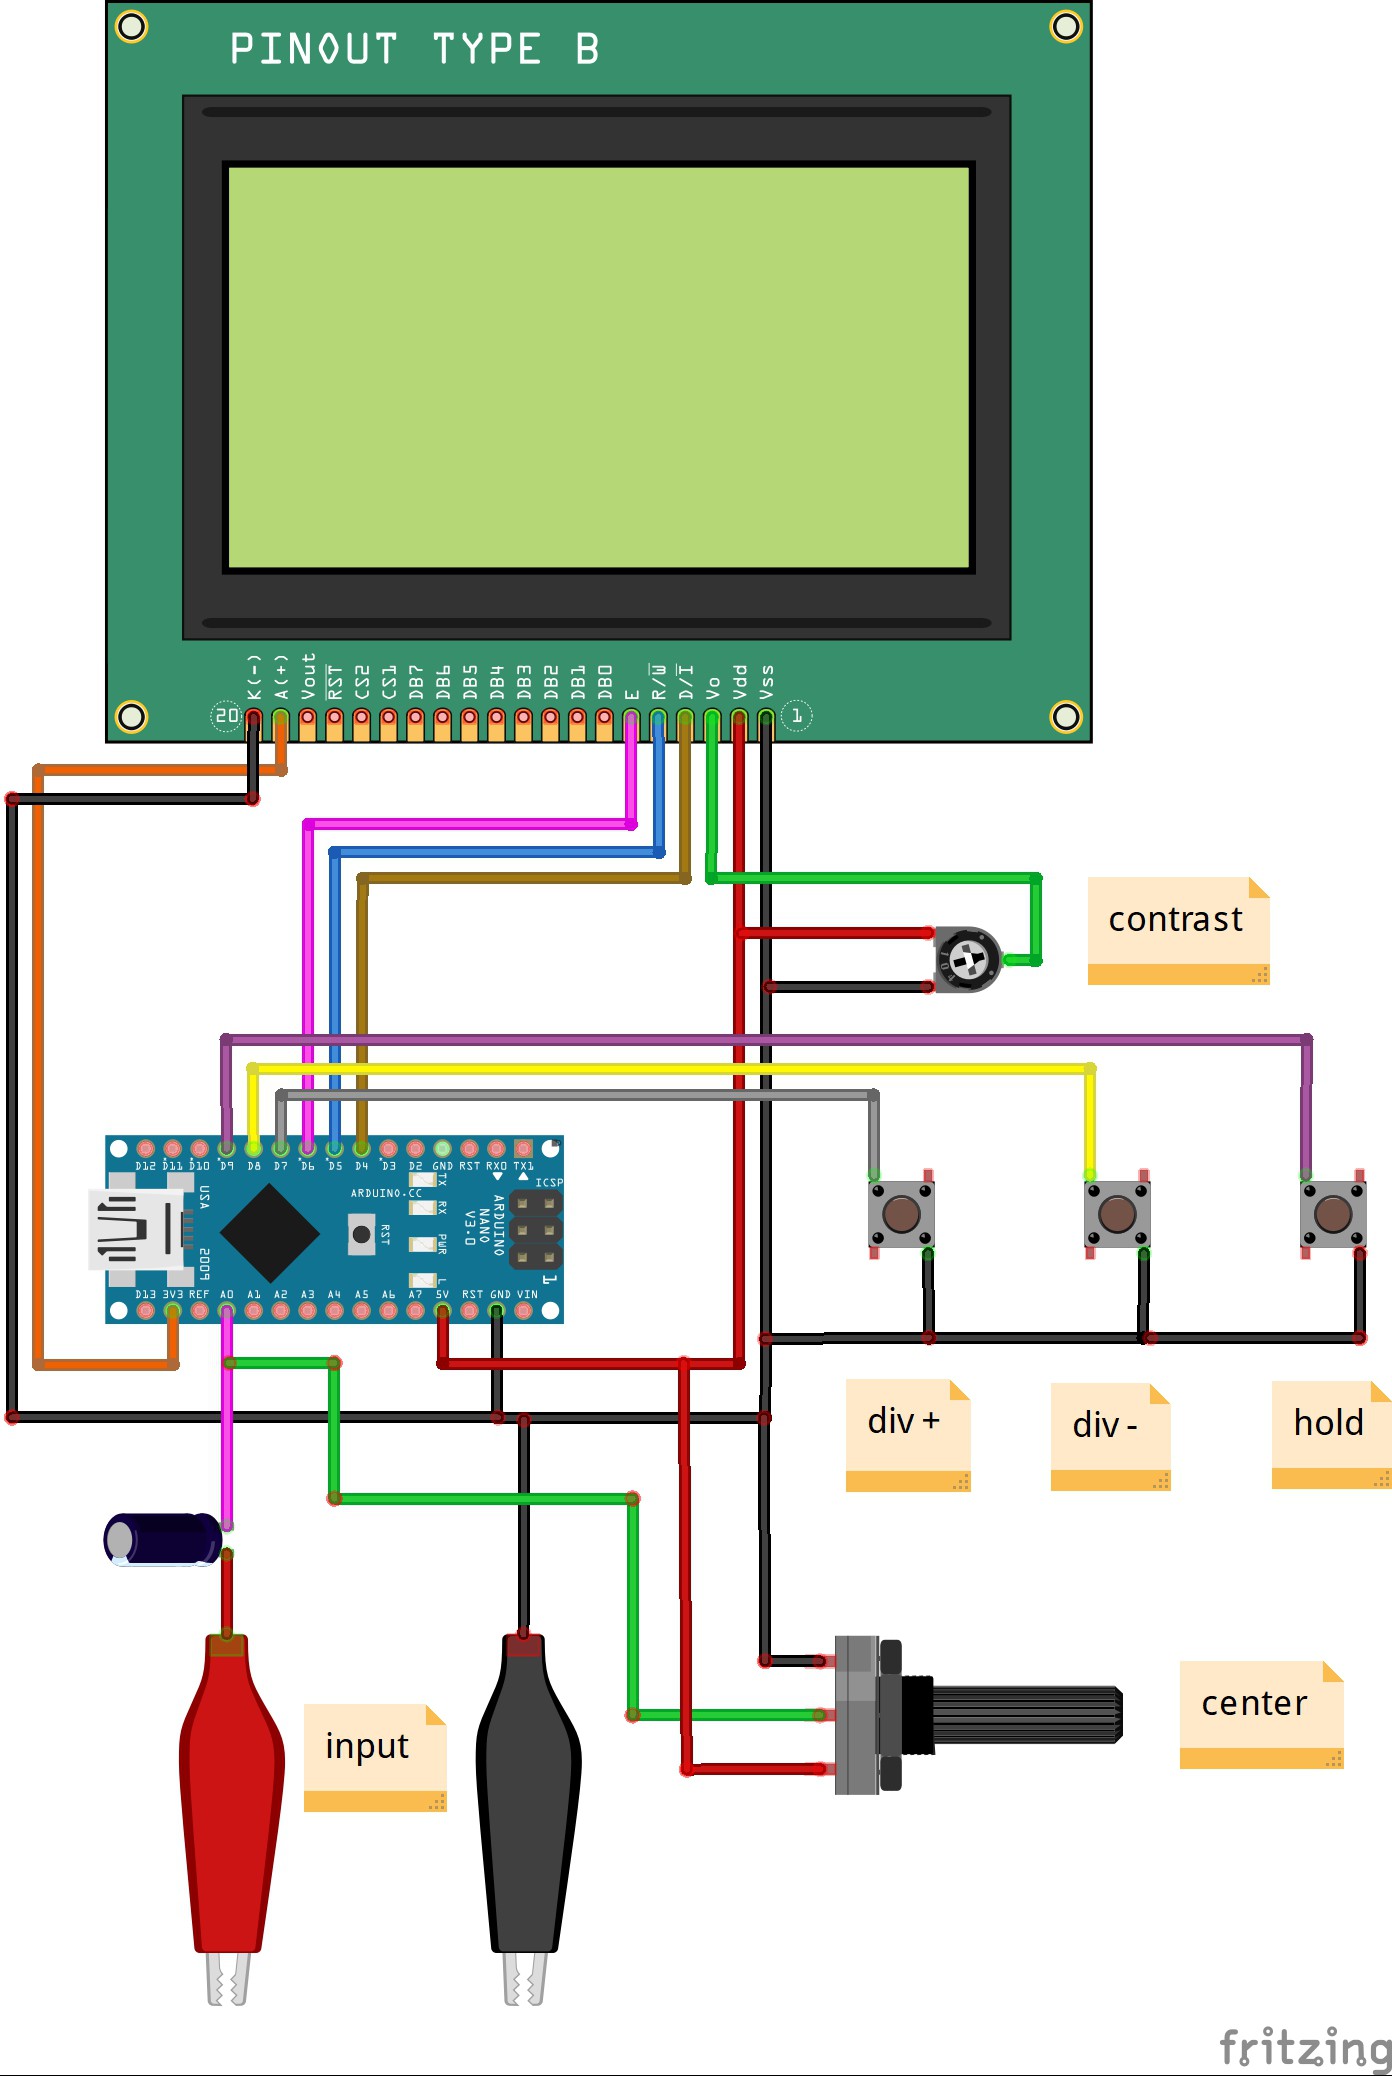
The device has several functions like: auto trigger (display very stable ) , Scanning speed: 0.02ms/div~10ms/div, according to 1-2-5 carry and divide into nine levels and Hold function: Freeze display waveform and parameters. This project is published on Wu Hanqing's blog where you can find the original code. I made minimal changes because I was building the oscilloscope based on the hardware of one of my previous projects. As you can see in the video, the instrument has a very clear view due to the large screen, and also a surprisingly good auto trigger. The vertical position of the image is adjusted with the potentiometer of 50 kohms , and contrast with 10 kohms potentiometer.I tested the oscilloscope with a sine and rectangular signal generator. Lastly, even though it is not a professional or very usable instrument, it can still be used for educational purposes or in your laboratory, for testing low frequency signals, especially knowing that the device is very easy to make and extremely cheap.