 Mattia Dal Ben
The first step in building the antenna is to wrap the wire around the guide. I used 0.25 mm thick enameled wire for this and then glued it together with some nail polish.

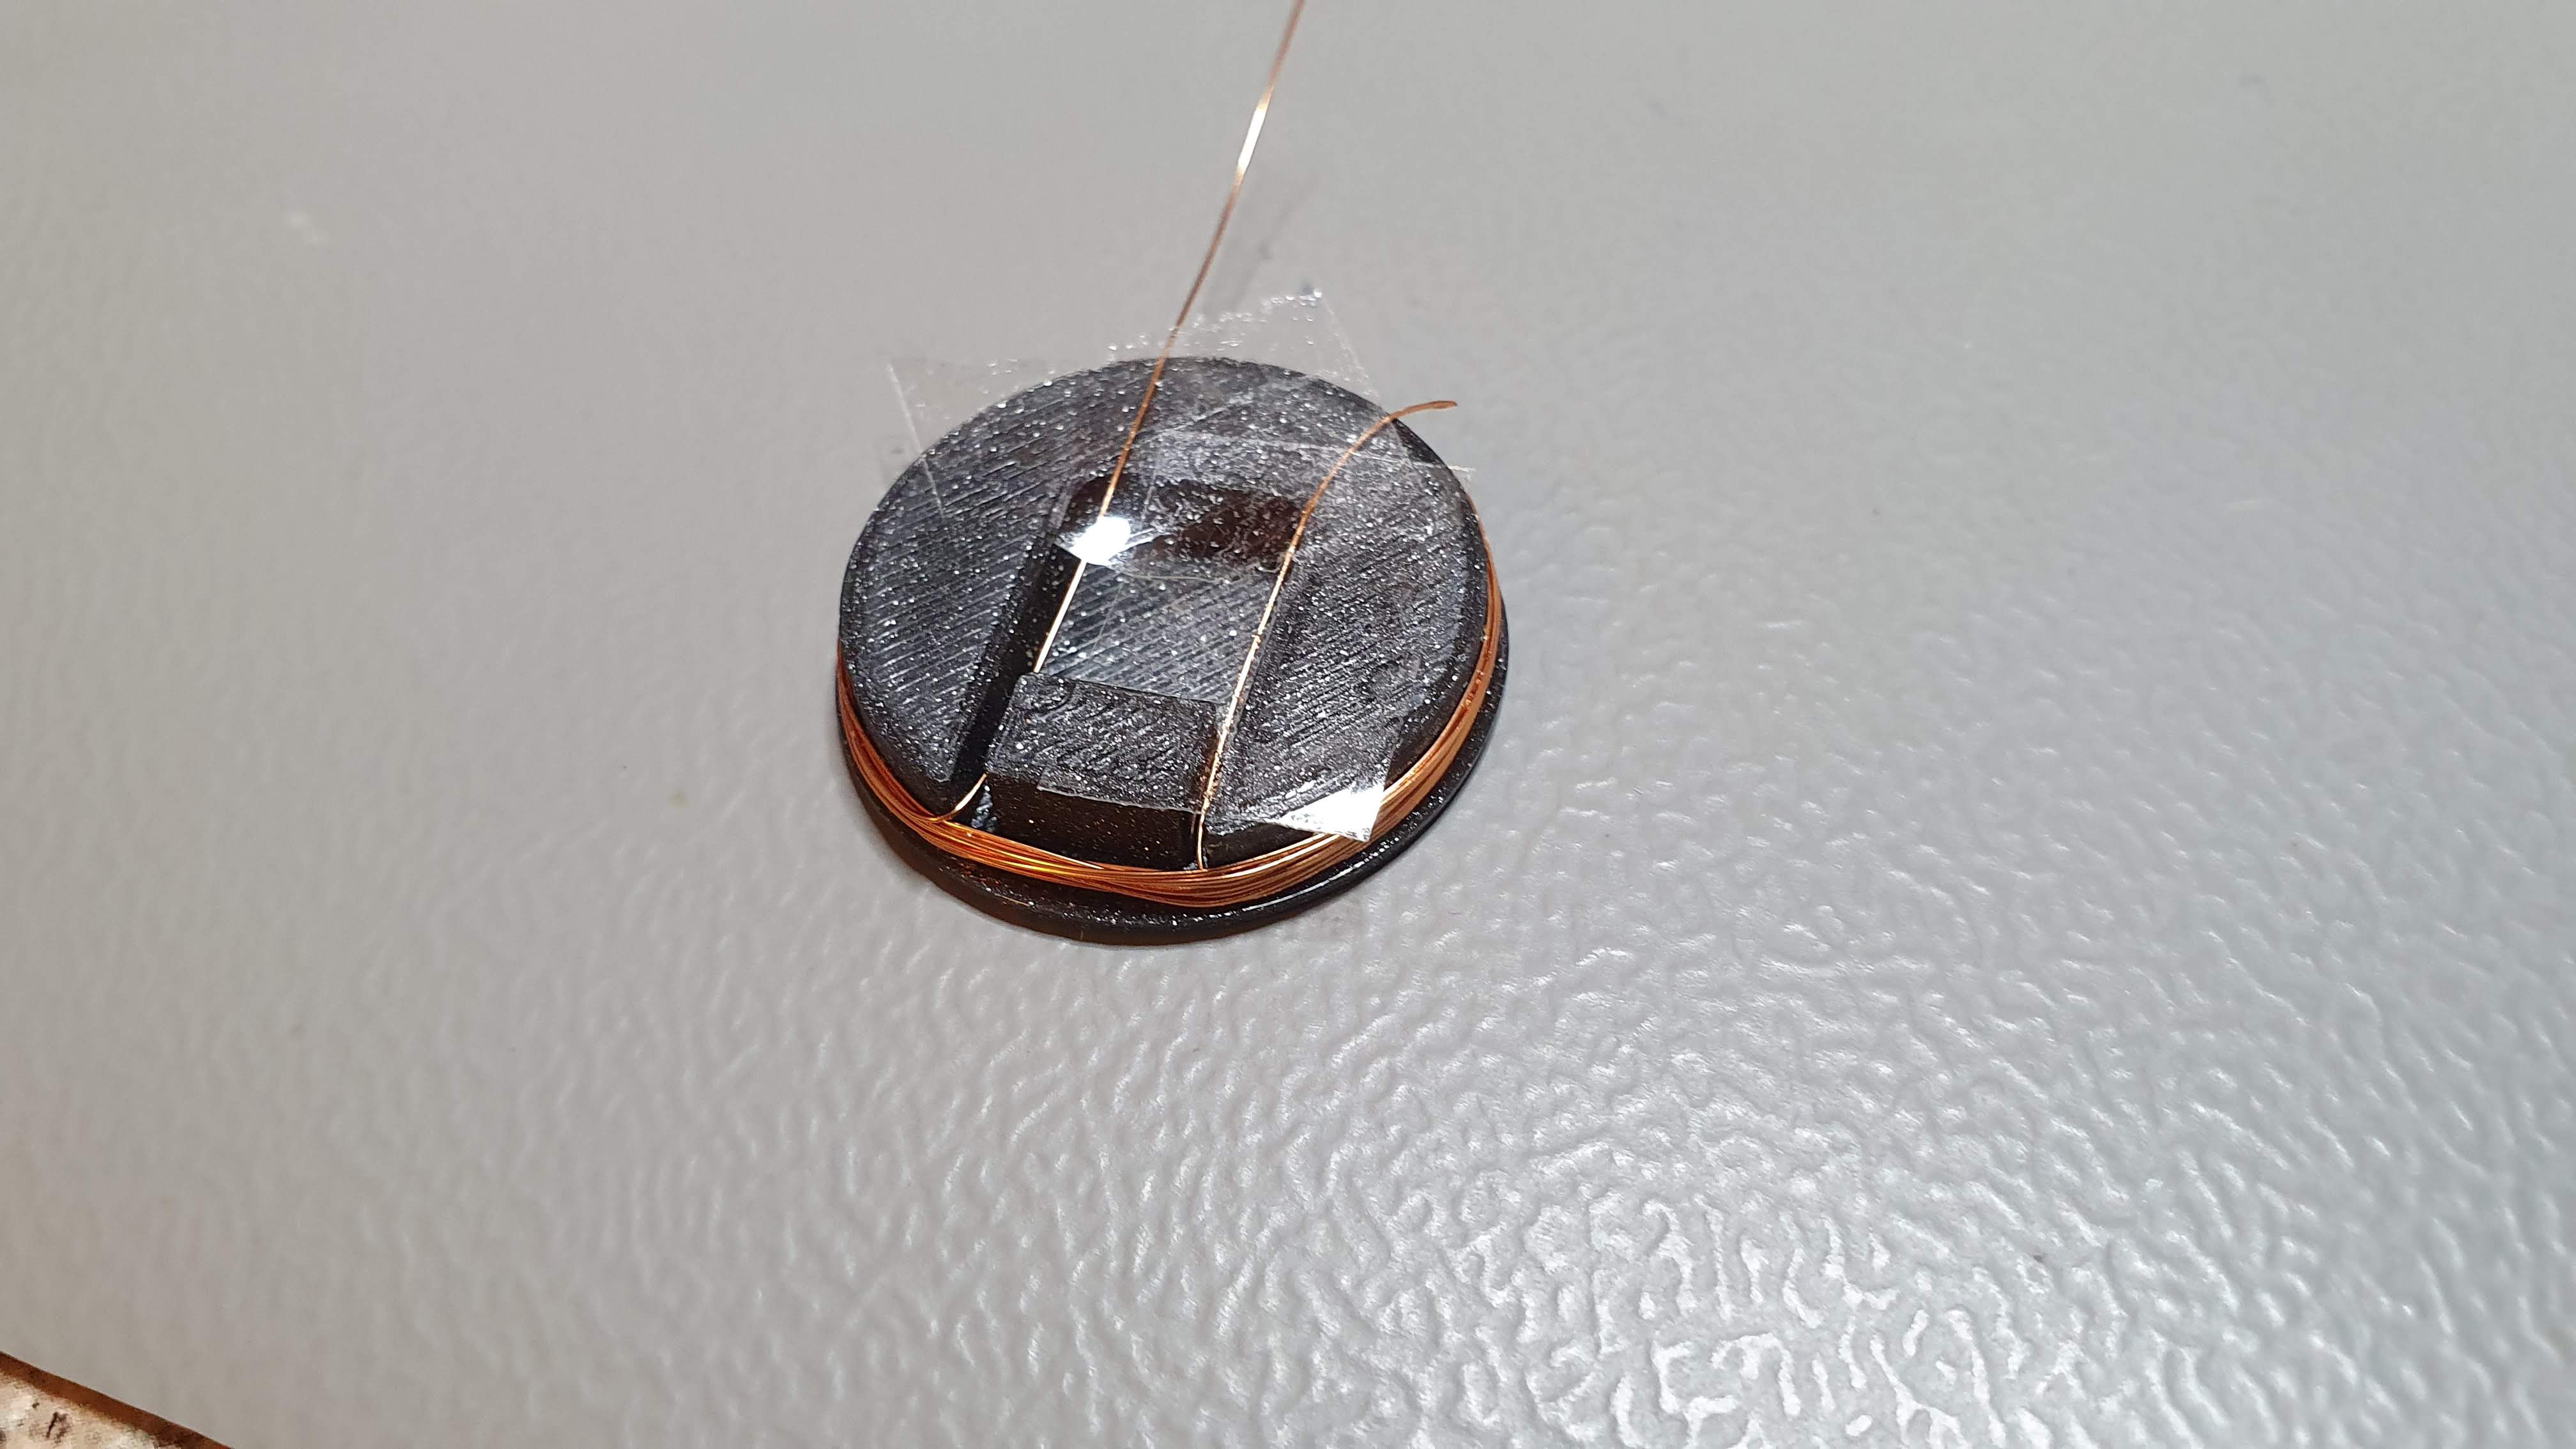
The nail polish will stick together the wires and make it possible to later remove (with some caution) the antenna from the 3D printed part. You need to be sure to add enough loop of wires for the resonant frequency to be way lower than 13.56 MHz. How do you know when to stop you ask? Experience.I got the hang of it after a few tries. Always add a few loops more than what you think you'll need.
After the nail polish was dry, I scraped off the first layer of enamel from the antenna ends and soldered the chip on.
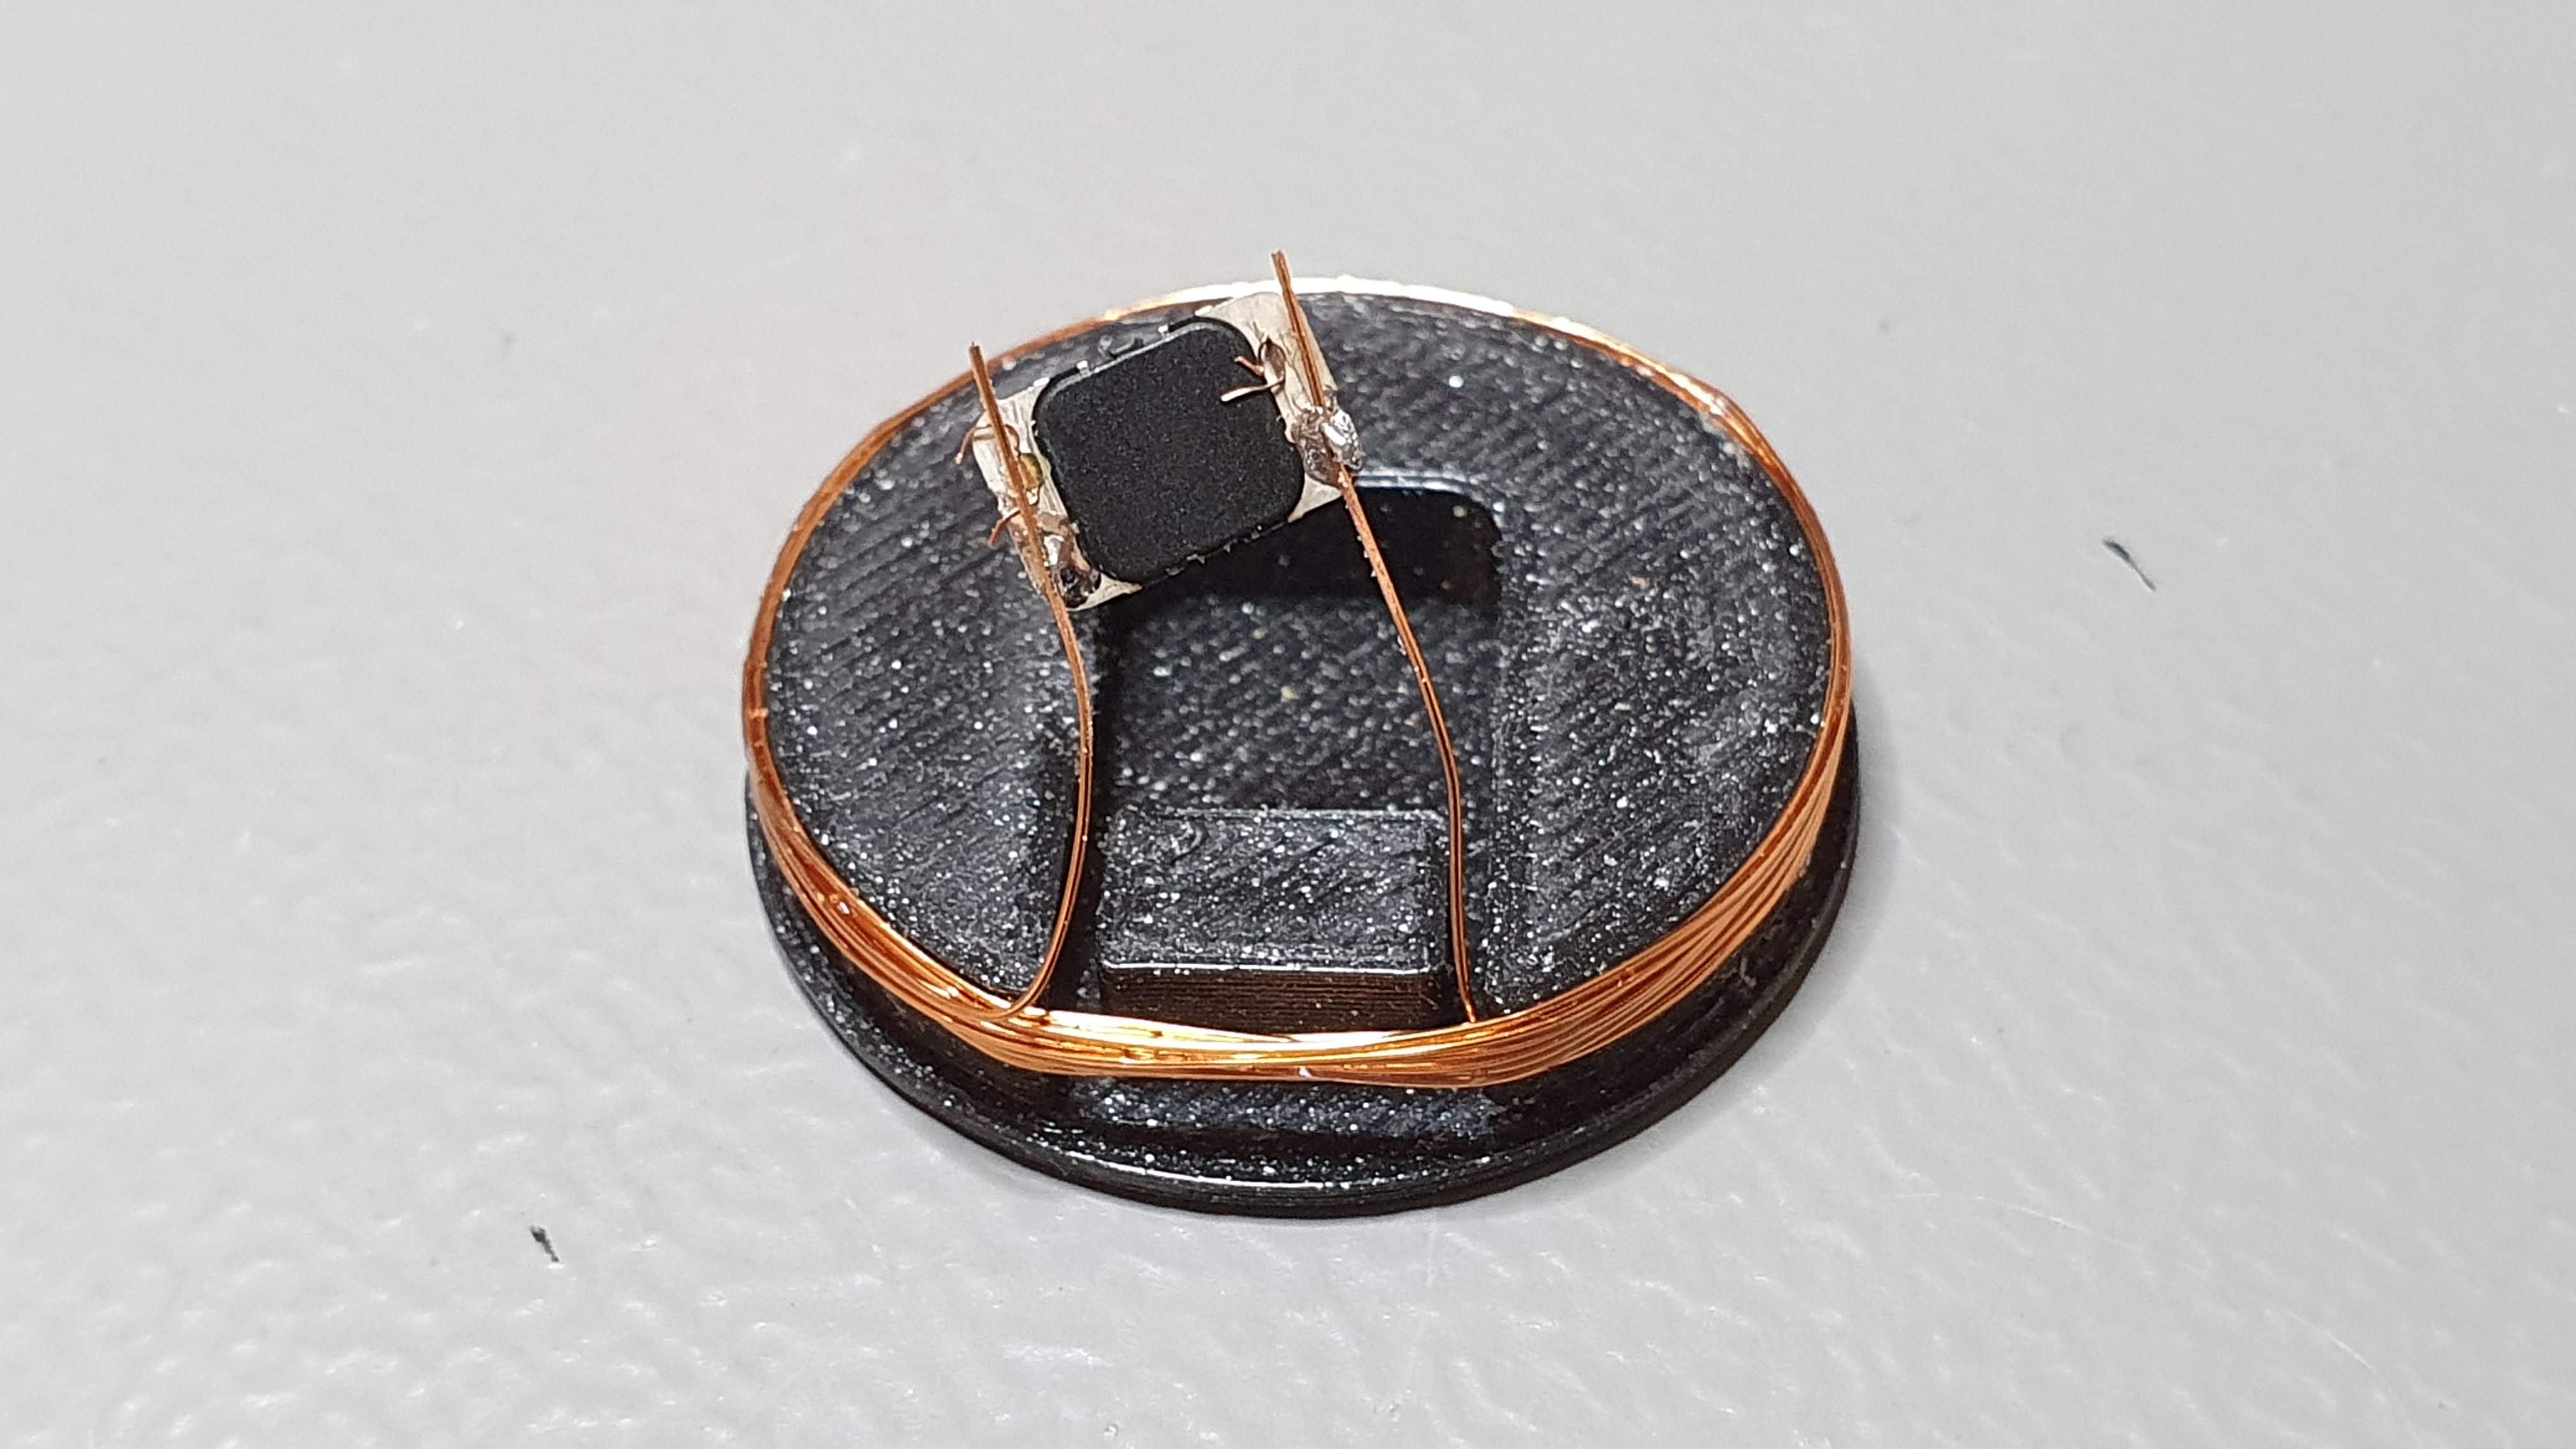
After checking that the resonant frequency was low enough (9 MHz for me at this point) I moved the antenna to the modified F-91W backplate for the fine tuning.
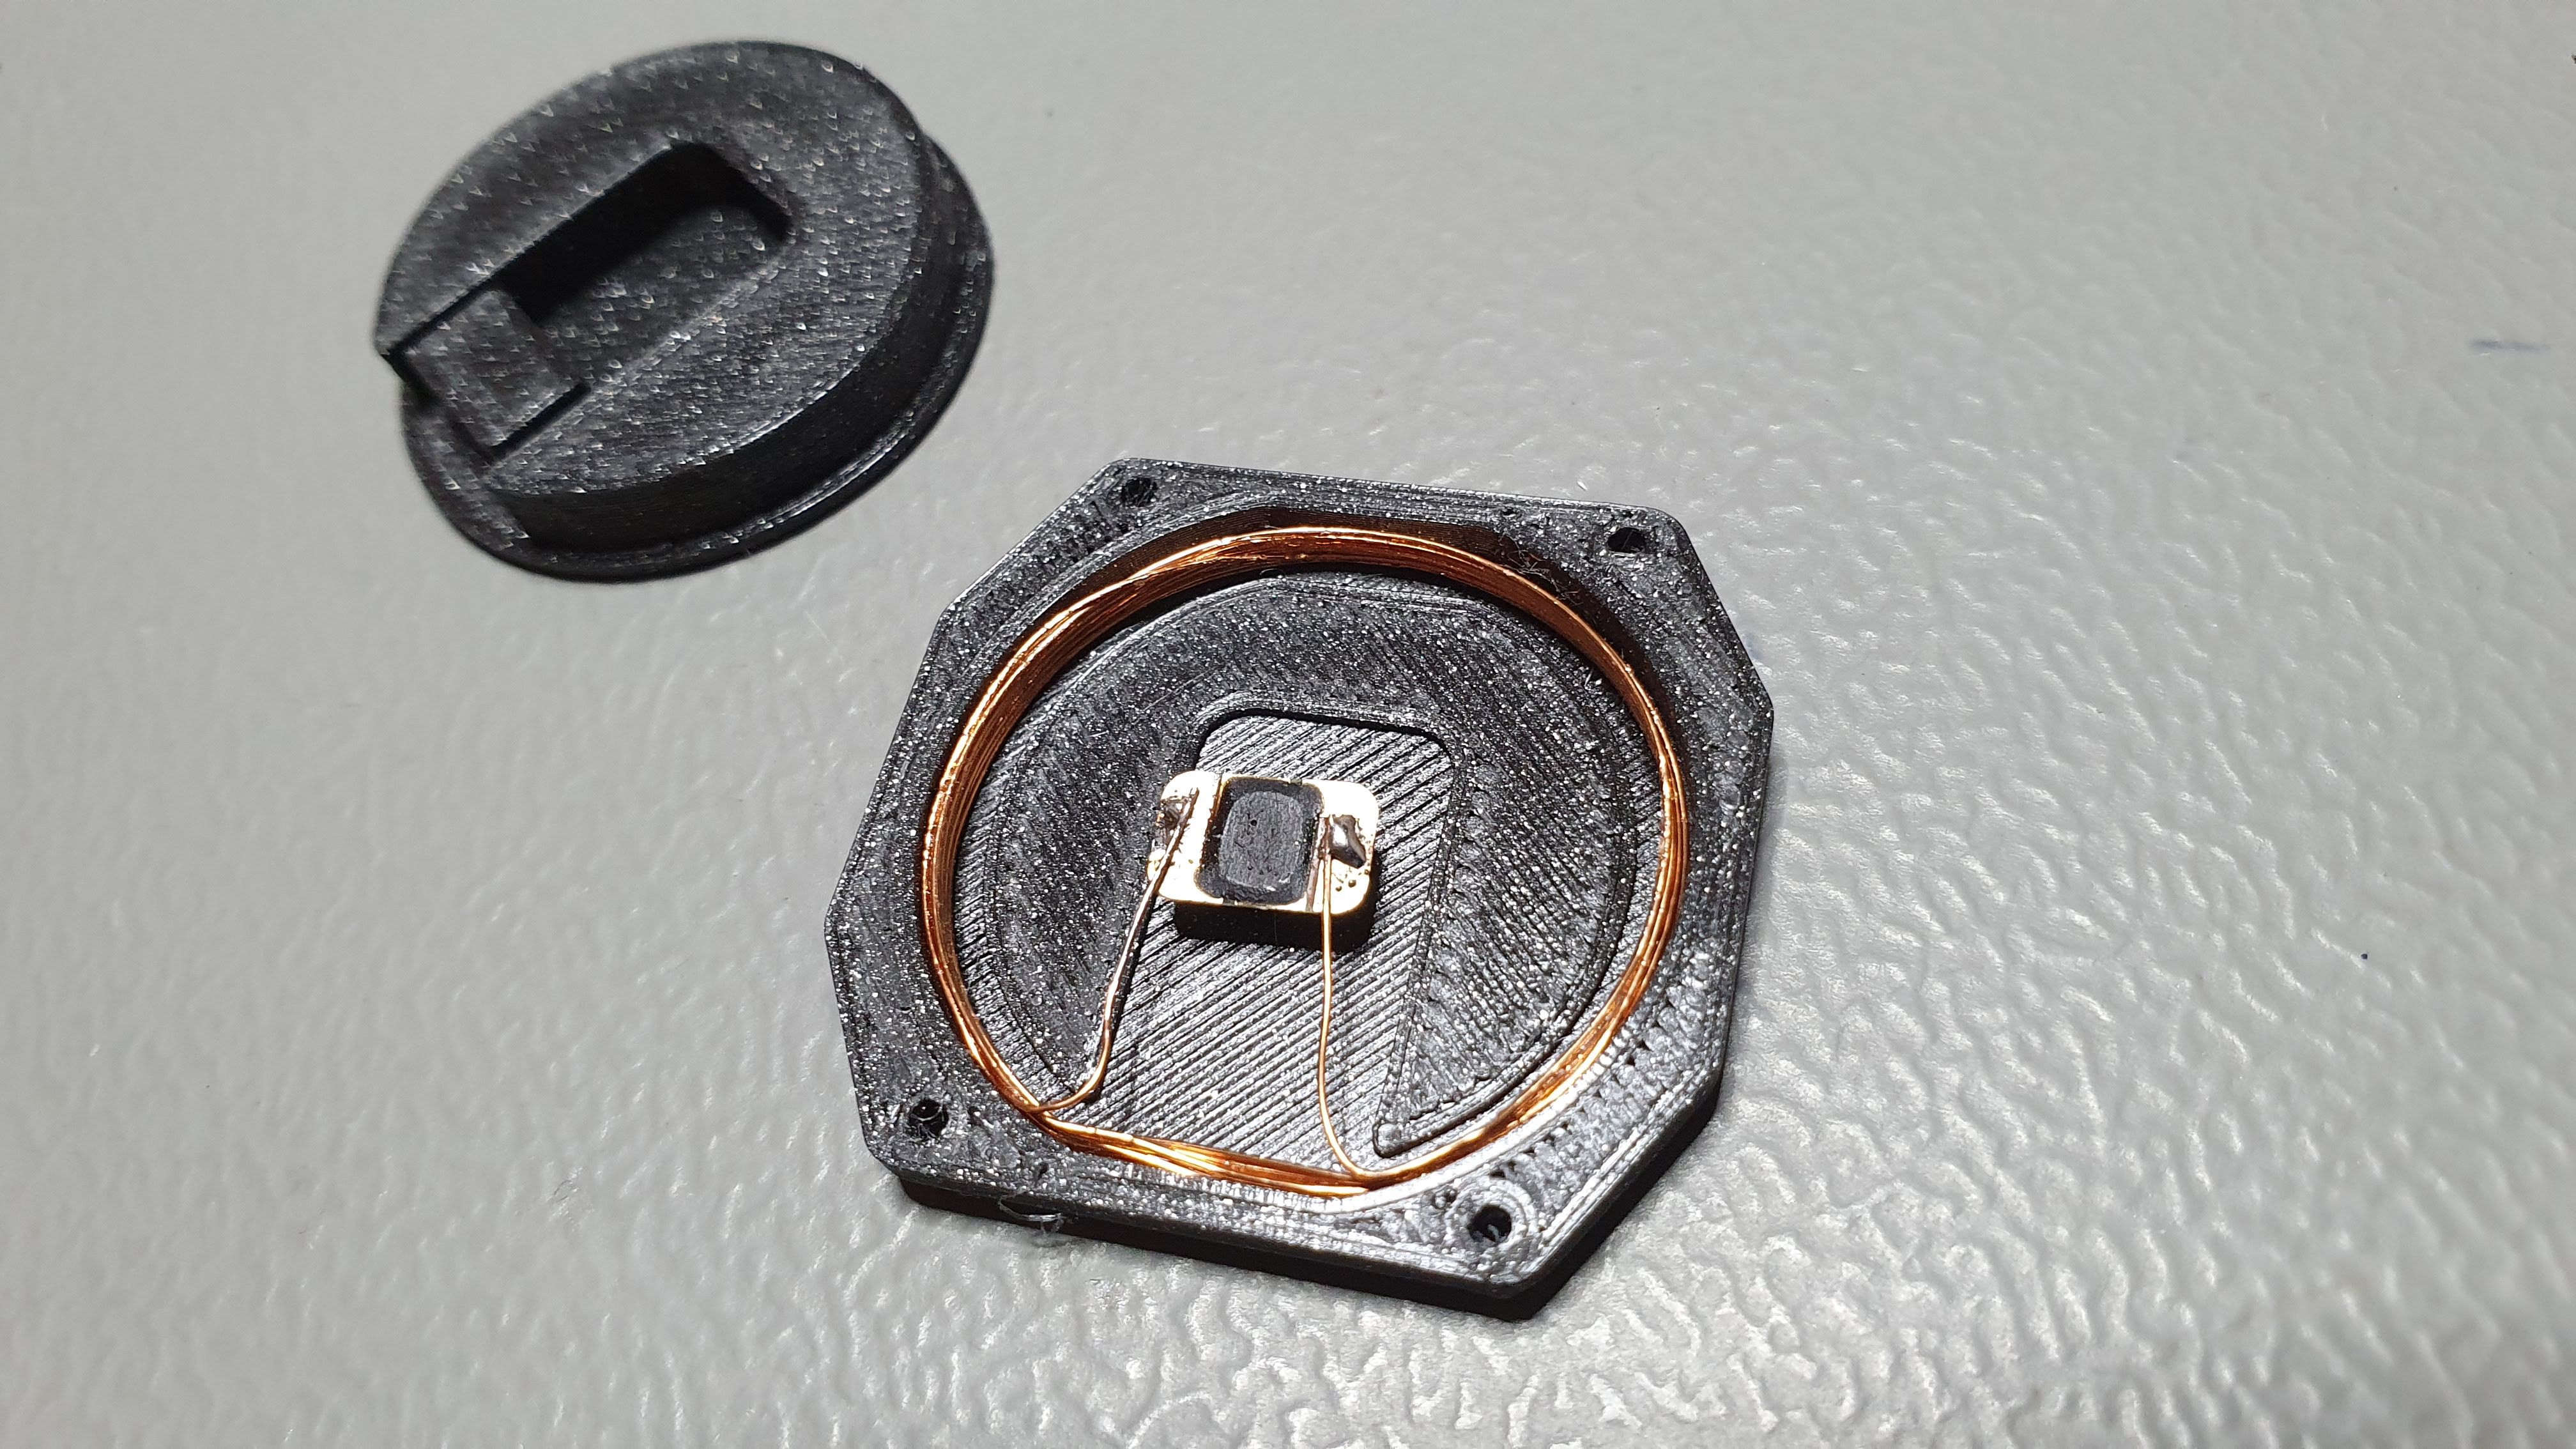
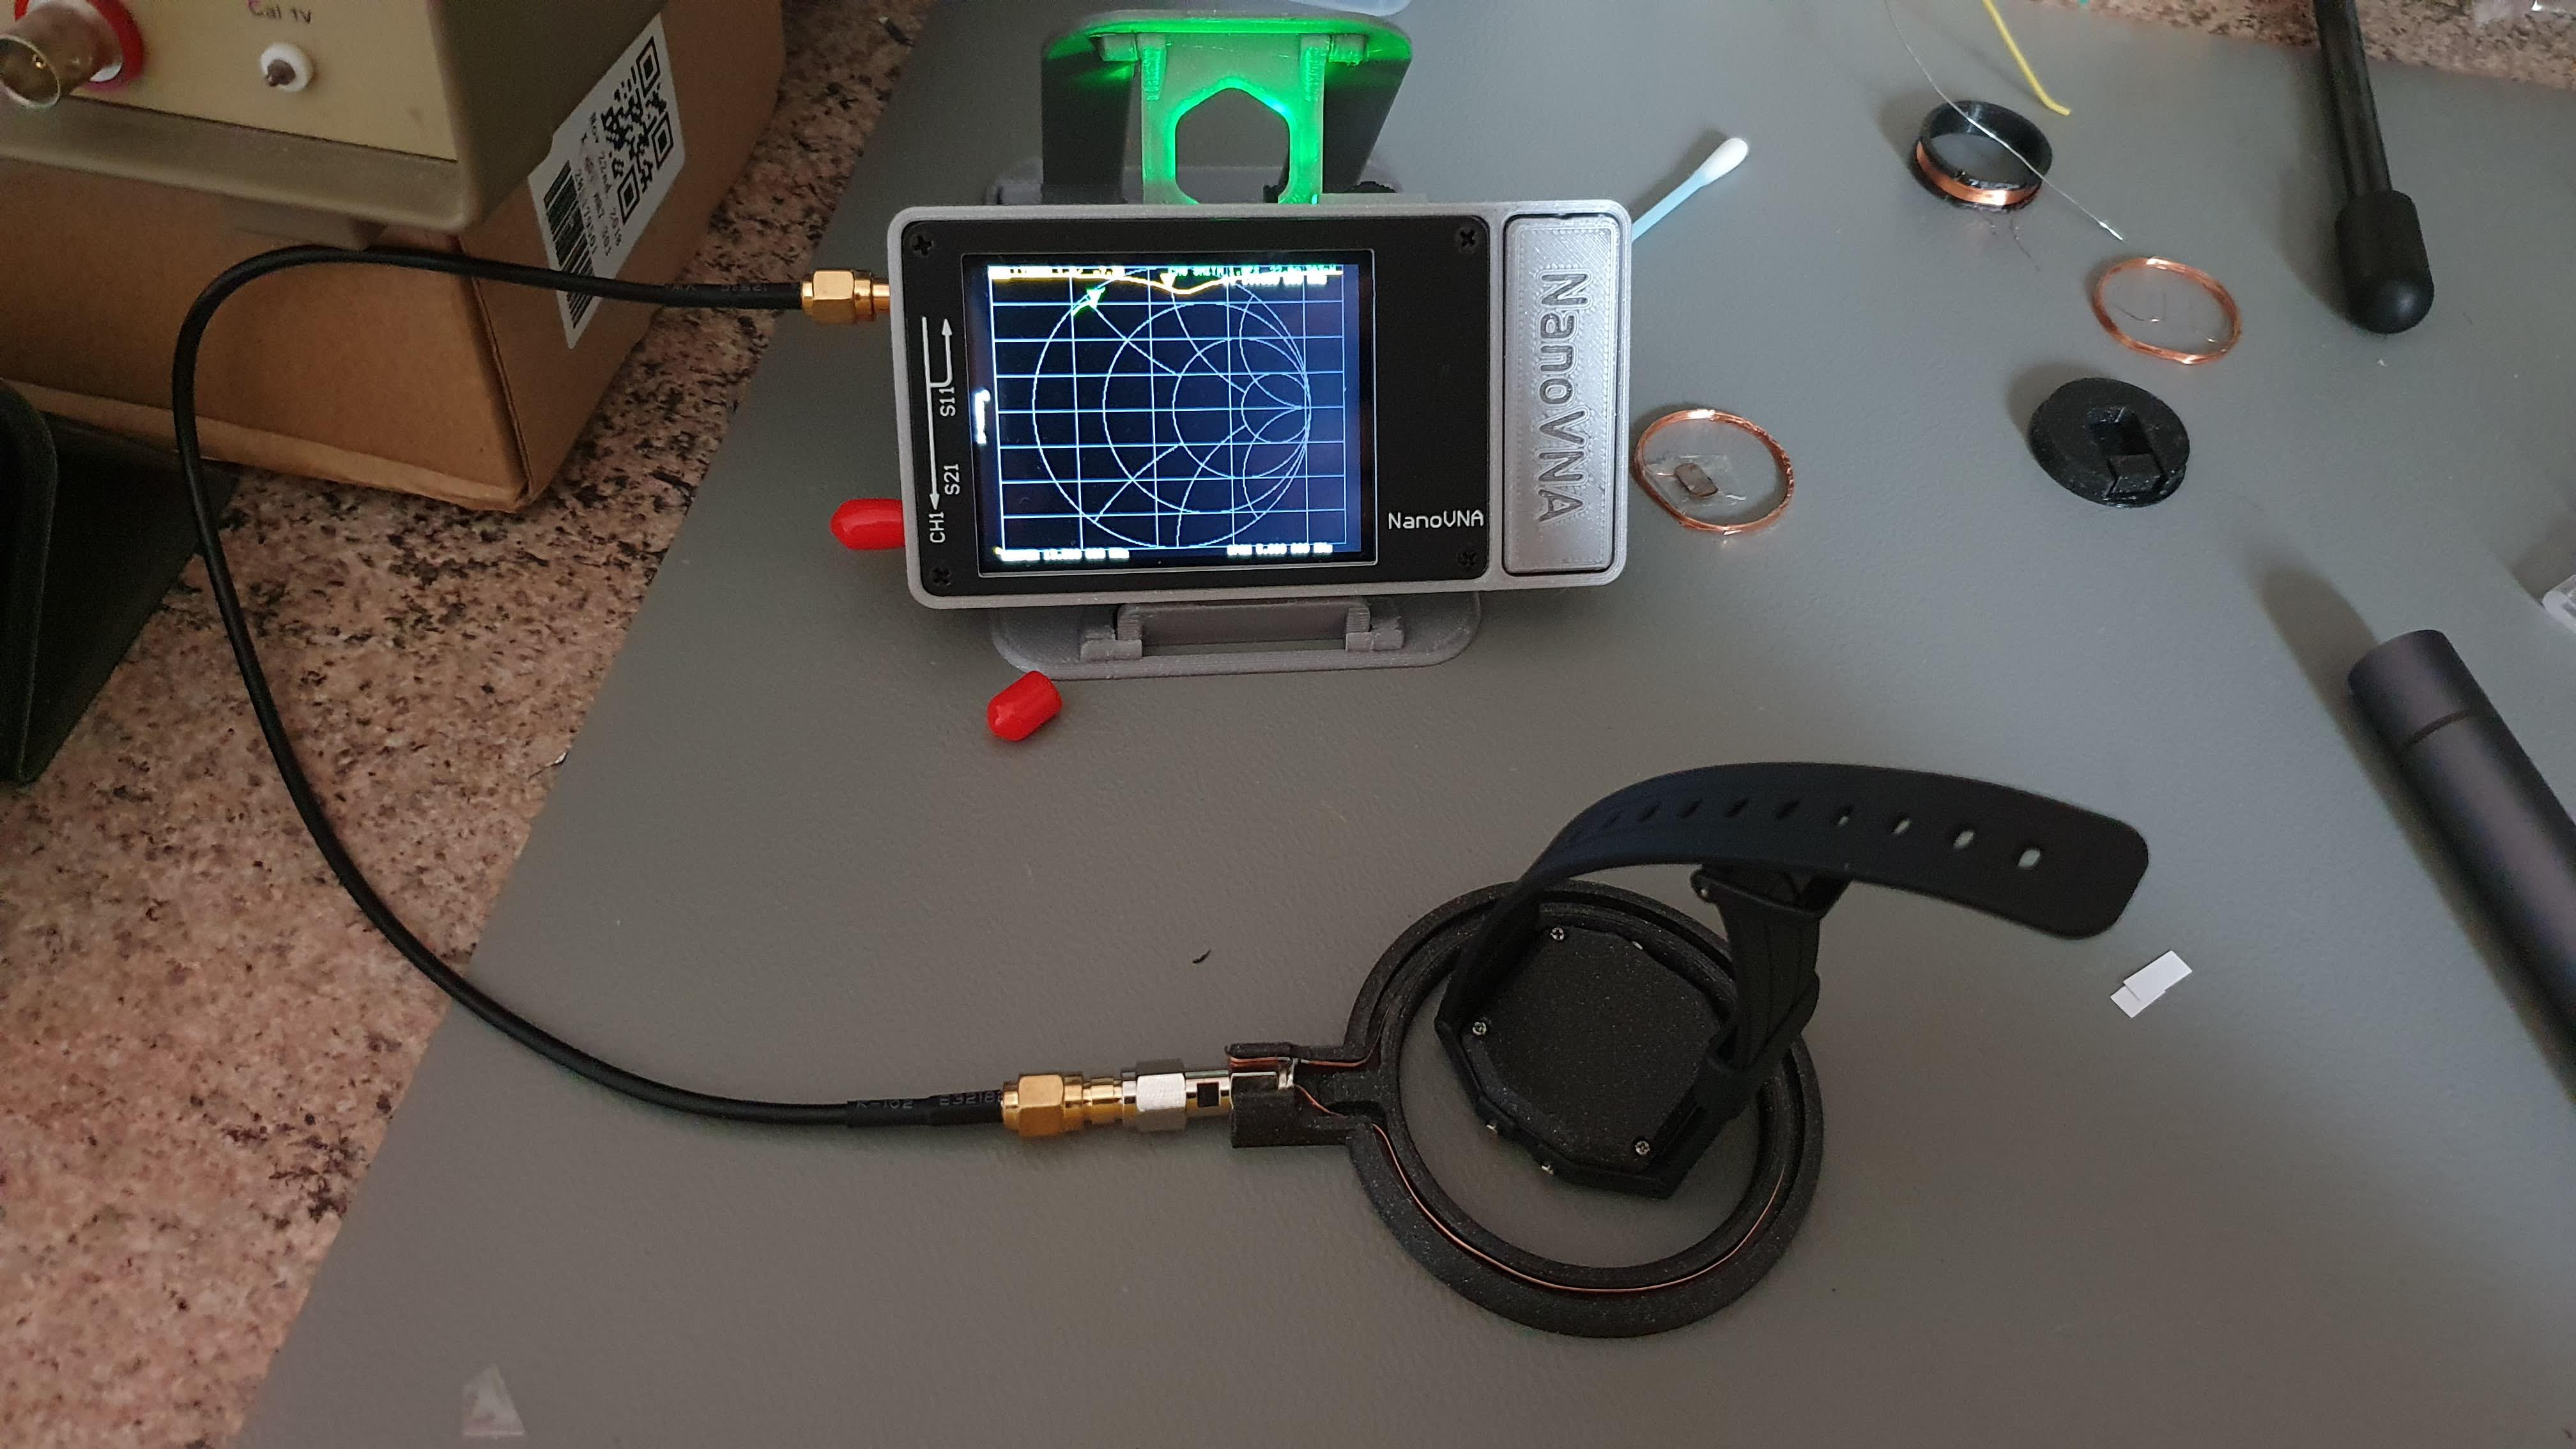
And now for the hard part: fine tuning the resonant frequency. The PCB and the thin metal casing inside the F-91W will modify the resonant frequency of the antenna A LOT! I then needed to test the resonant frequency while the chassis was mounted on the watch.
Fun fact: even the screws of the watch modify the resonant frequency! I learned it the hard way.
The fine tuning goes like this:
- Start by a lower frequency than the target one (13.56 MHz)
- Remove a loop
- Is it lower? Go to step 2. Is it higher? Go to step 4.
- If necessary add some copper tape directly to the antenna to lower the resonant frequency a little.
Here's the final results for my watch
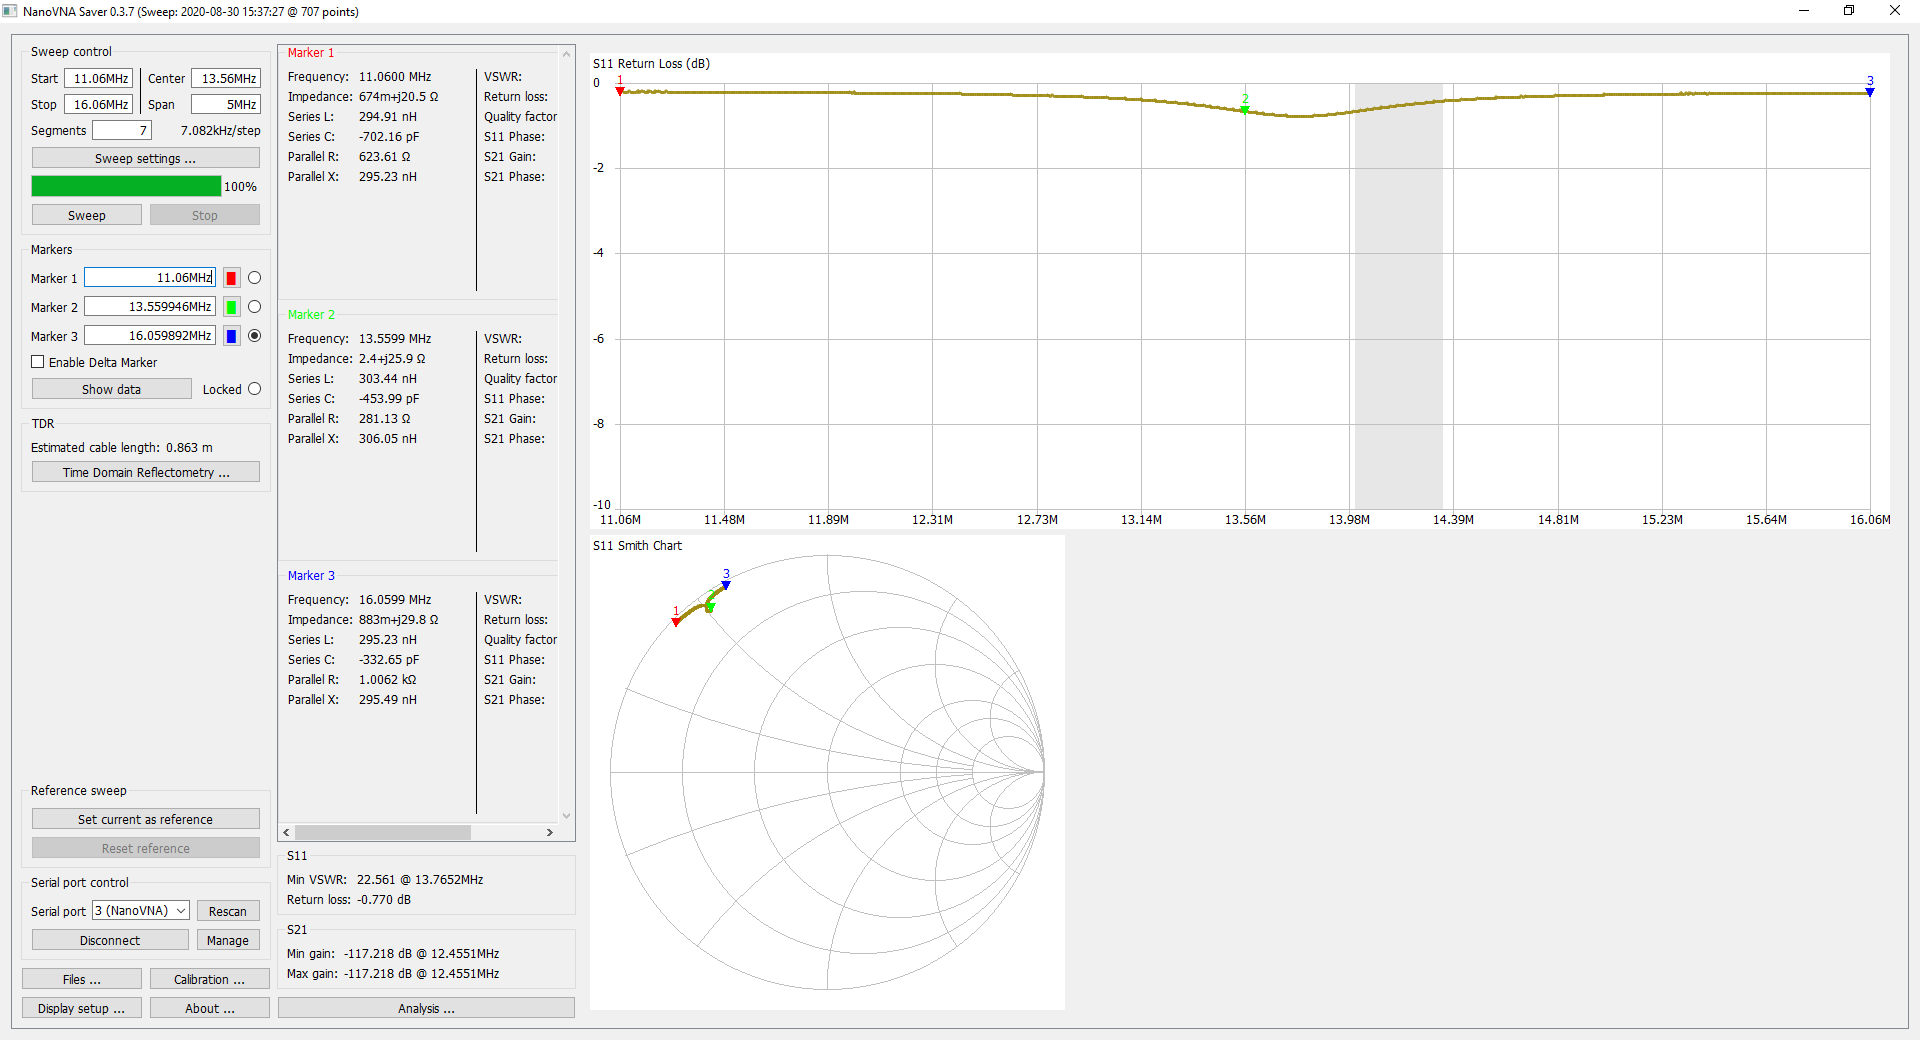
Apparently a higher (13.7MHz) than normal resonant frequency is what the Tesla Model 3 likes the most.
Discussions
Become a Hackaday.io Member
Create an account to leave a comment. Already have an account? Log In.