 Michael Gardi
I spent some time working in my Liclipse environment with Tesseract, opencv, and numpy under Python. I'll spare you the false starts and head scratching and describe what I came up with so far.
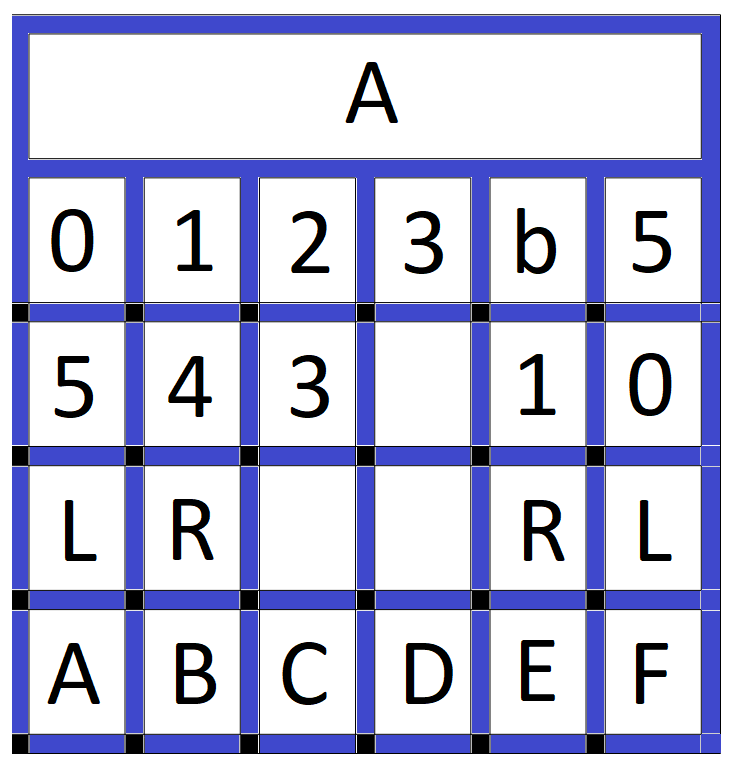
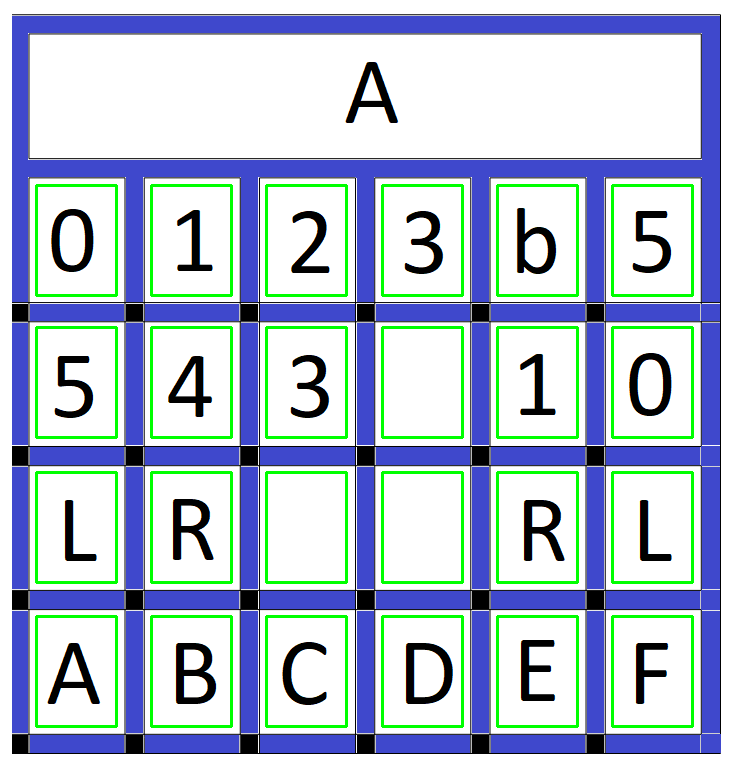
I started by creating a test image to work with. This is a slightly tweaked version of the original that had black squares along the right hand edge in addition to the others. You can see where they were. The black squares are "registration" marks that will help me identify where to find the "Tiles". There will be a black square at the lower left hand corner of each tile.
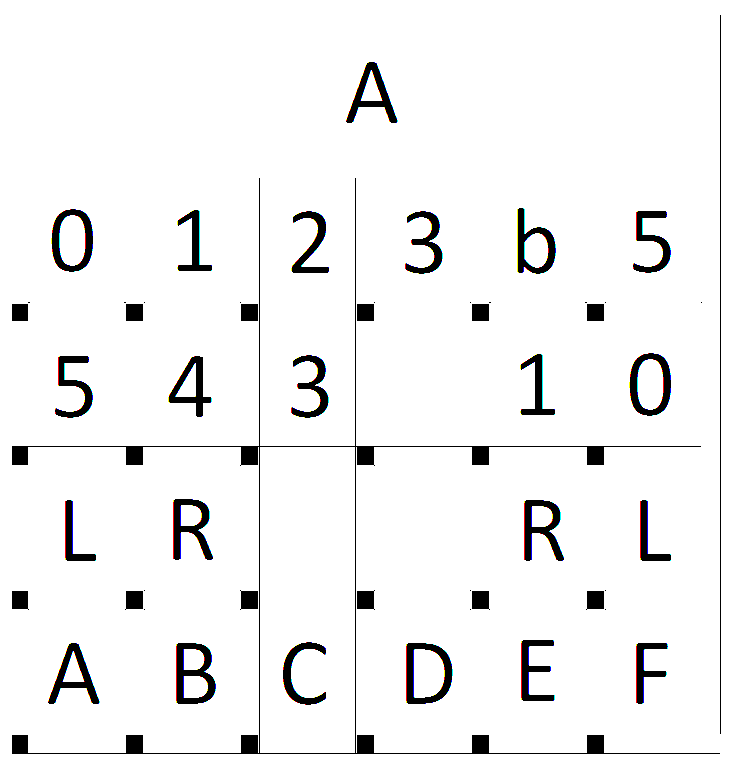
I converted this image to binary, using a fairly aggressive threshold to eliminate all but the white and black pixels. At this point I just care about the registration marks.
Some noise in the form of the thin black lines was introduced because of the way the the test image was created. At any rate I used a dilate function to eliminate any noise.
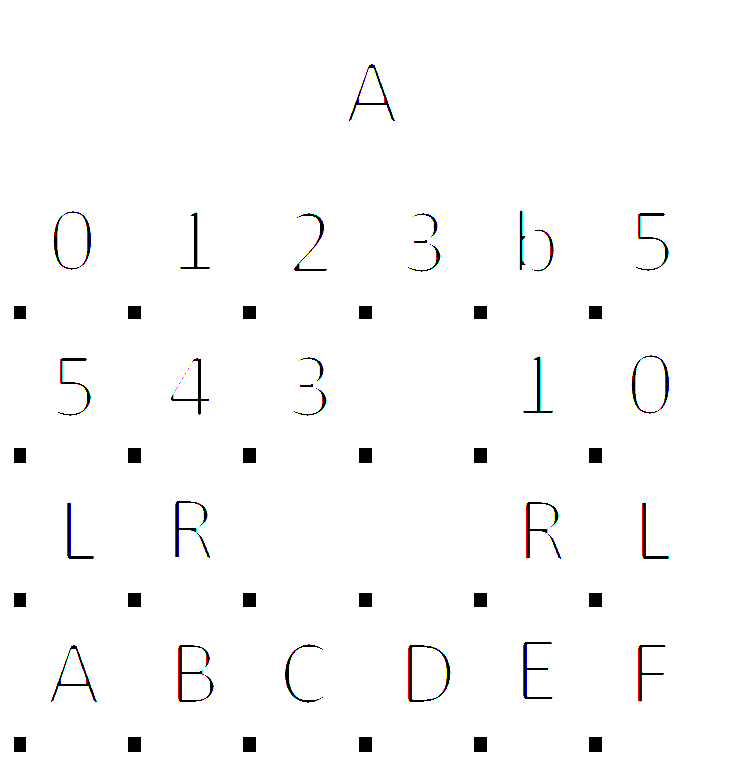
Then I applied edge detection to the dilated image.
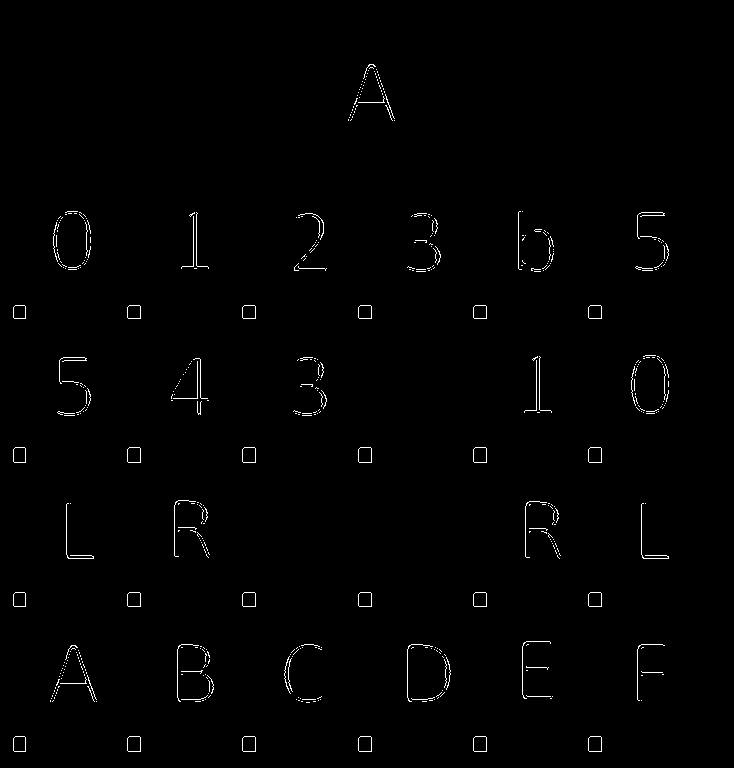
Using a findContours function on these edge lines produces a list of all the "objects" in the image including all the registration marks. I can then check this list to identify just the registration marks. I use the size of each object's bounding box to tentatively identify a registration mark, then verify the selection by ensuring that the pixels in the bounding box are all black. I check my selections of verified registration marks by drawing a box around the tiles that they anchor. These tile bounding boxes are saved to another list.
It's Tesseract time. I sort the verified tile bounding box list first by the y position, then the x position. This gives me the tiles in the proper row and column order. Then I pass the sub-image for each tile in sorted order (from the binary image above) to Tesseract. I tell Tesseract that the image passed is a single character plus pass a list of what the valid characters should be (012345bLRABCDEF). Here is the result:
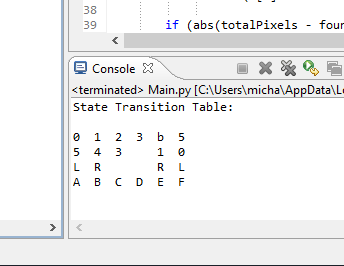
So I was pretty successful. Quite happy. Here is the test code:
import pytesseract
import cv2
import numpy as np

# Get the original image to work on.
image = cv2.imread(r'C:\\Prusa\\TMD-2\\Single State Transition Table Test.png')

# Convert to binary.
ret, binary_image = cv2.threshold(image,10,255,cv2.THRESH_BINARY)
cv2.imwrite(r'C:\\Prusa\\TMD-2\\Binary Image.png',binary_image)

# Dilate to get rid of any noise.
kernel = np.ones((5,5), np.uint8)
img_dilated = cv2.dilate(binary_image, kernel, iterations=1)
cv2.imwrite(r'C:\\Prusa\\TMD-2\\Dilated Image.png', img_dilated)

# Do edge detection on the remaining what left.
edged = cv2.Canny(img_dilated, 30, 200)
cv2.imwrite(r'C:\\Prusa\\TMD-2\\Edged Image.png', edged)

# Find the contours of the edged image objects.
contours, hierarchy = cv2.findContours(edged, cv2.RETR_EXTERNAL, cv2.CHAIN_APPROX_SIMPLE)

# Now we can find all the small squares and use them to determine the
# values in the cells of the state transition table.
custom_config = r'-c tessedit_char_whitelist=012345bLRABCDEF --oem 0 --psm 10'
cellList = []
for contour in contours:
    (x,y,w,h) = cv2.boundingRect(contour)
    if (w >= 13 and w <= 17 and h >= 13 and h <= 17):
        # Right size but is it all 'black'?
        totalPixels = w * h
        foundPixels = 0
        for i in range(h):
            for j in range(w):
                k = binary_image[y+i,x+j]
                if (k[0] < 10 and k[1] < 10 and k[2] < 10): foundPixels +=1

        if (abs(totalPixels - foundPixels) < 10):
            # All or mostly black. Probably a registration point. Show it on original image.
            cv2.rectangle(image, (x+w+10,y-10), (x+w+90,y-120), (0,255,0), 2)

            # Create a list of all the cells where tiles can be found.
            cellList.append((x+w+10, y-120, x+w+90, y-10))

# Show where I think all of the cells in the state transition table are.
cv2.imwrite(r'C:\\Prusa\\TMD-2\\Cells Image.png', image)

# Sort the cellList by row then column and extract the tile values.
lasty = 0;
print('State Transition Table:')
for cell in sorted(cellList , key=(lambda k: [k[1], k[0]])):
    if (abs(cell[1]-lasty) > 100): lasty=cell[1]; print() # row changed
    cell = binary_image[cell[1]:cell[3], cell[0]:cell[2]]
    cell_value = (pytesseract.image_to_string(cell, config=custom_config)).strip()
    print('{:2s}'.format(cell_value),end =" ")

# Wait for key press before destroying windows.
cv2.waitKey(0);
cv2.destroyAllWindows()
My next step will be to produce a "to scale" paper representation of a full 6-state / 6-symbol State Transition Table. I'll take a photo of it and see if I can accurately read the tiles.
Discussions
Become a Hackaday.io Member
Create an account to leave a comment. Already have an account? Log In.