 David Matthew Mooney
The tweaking seems to have tapered off into maintenance.


It's looking like I can repair holes in the mask with a tire repair kit, but not the dry-repair kind: tire-repair rubber cement seems to be required (I used "Certified" brand). For intensely curved areas, a piece of black neoprene rubber seems to work as a patch; tire-repair patches are way too stiff for these areas. I just followed the tire repair kit instructions. My source of neoprene membrane was a "Gorilla Grip" glove, model C23403. Use a generous amount of glue. After the repair, consistently performing a suction and pressure test upon donning the mask becomes doubly important. This repair lasted one month in midsummer with frequent outdoor use, then the patch had to be pulled off and replaced. Solar ultraviolet seems to kick hell out of elastomer, some types worse than others. Of course, this summer I am applying sunscreen spray to the mask, so we’ll see how that goes.
Oct. 03, 2022: no deterioration noted, but I did not use the mask much this summer. The sunscreen leaves the mask feeling slimy and it picks up dirt easily. Am looking for a tough UV barrier layer that sprays on and dries non-slimy.
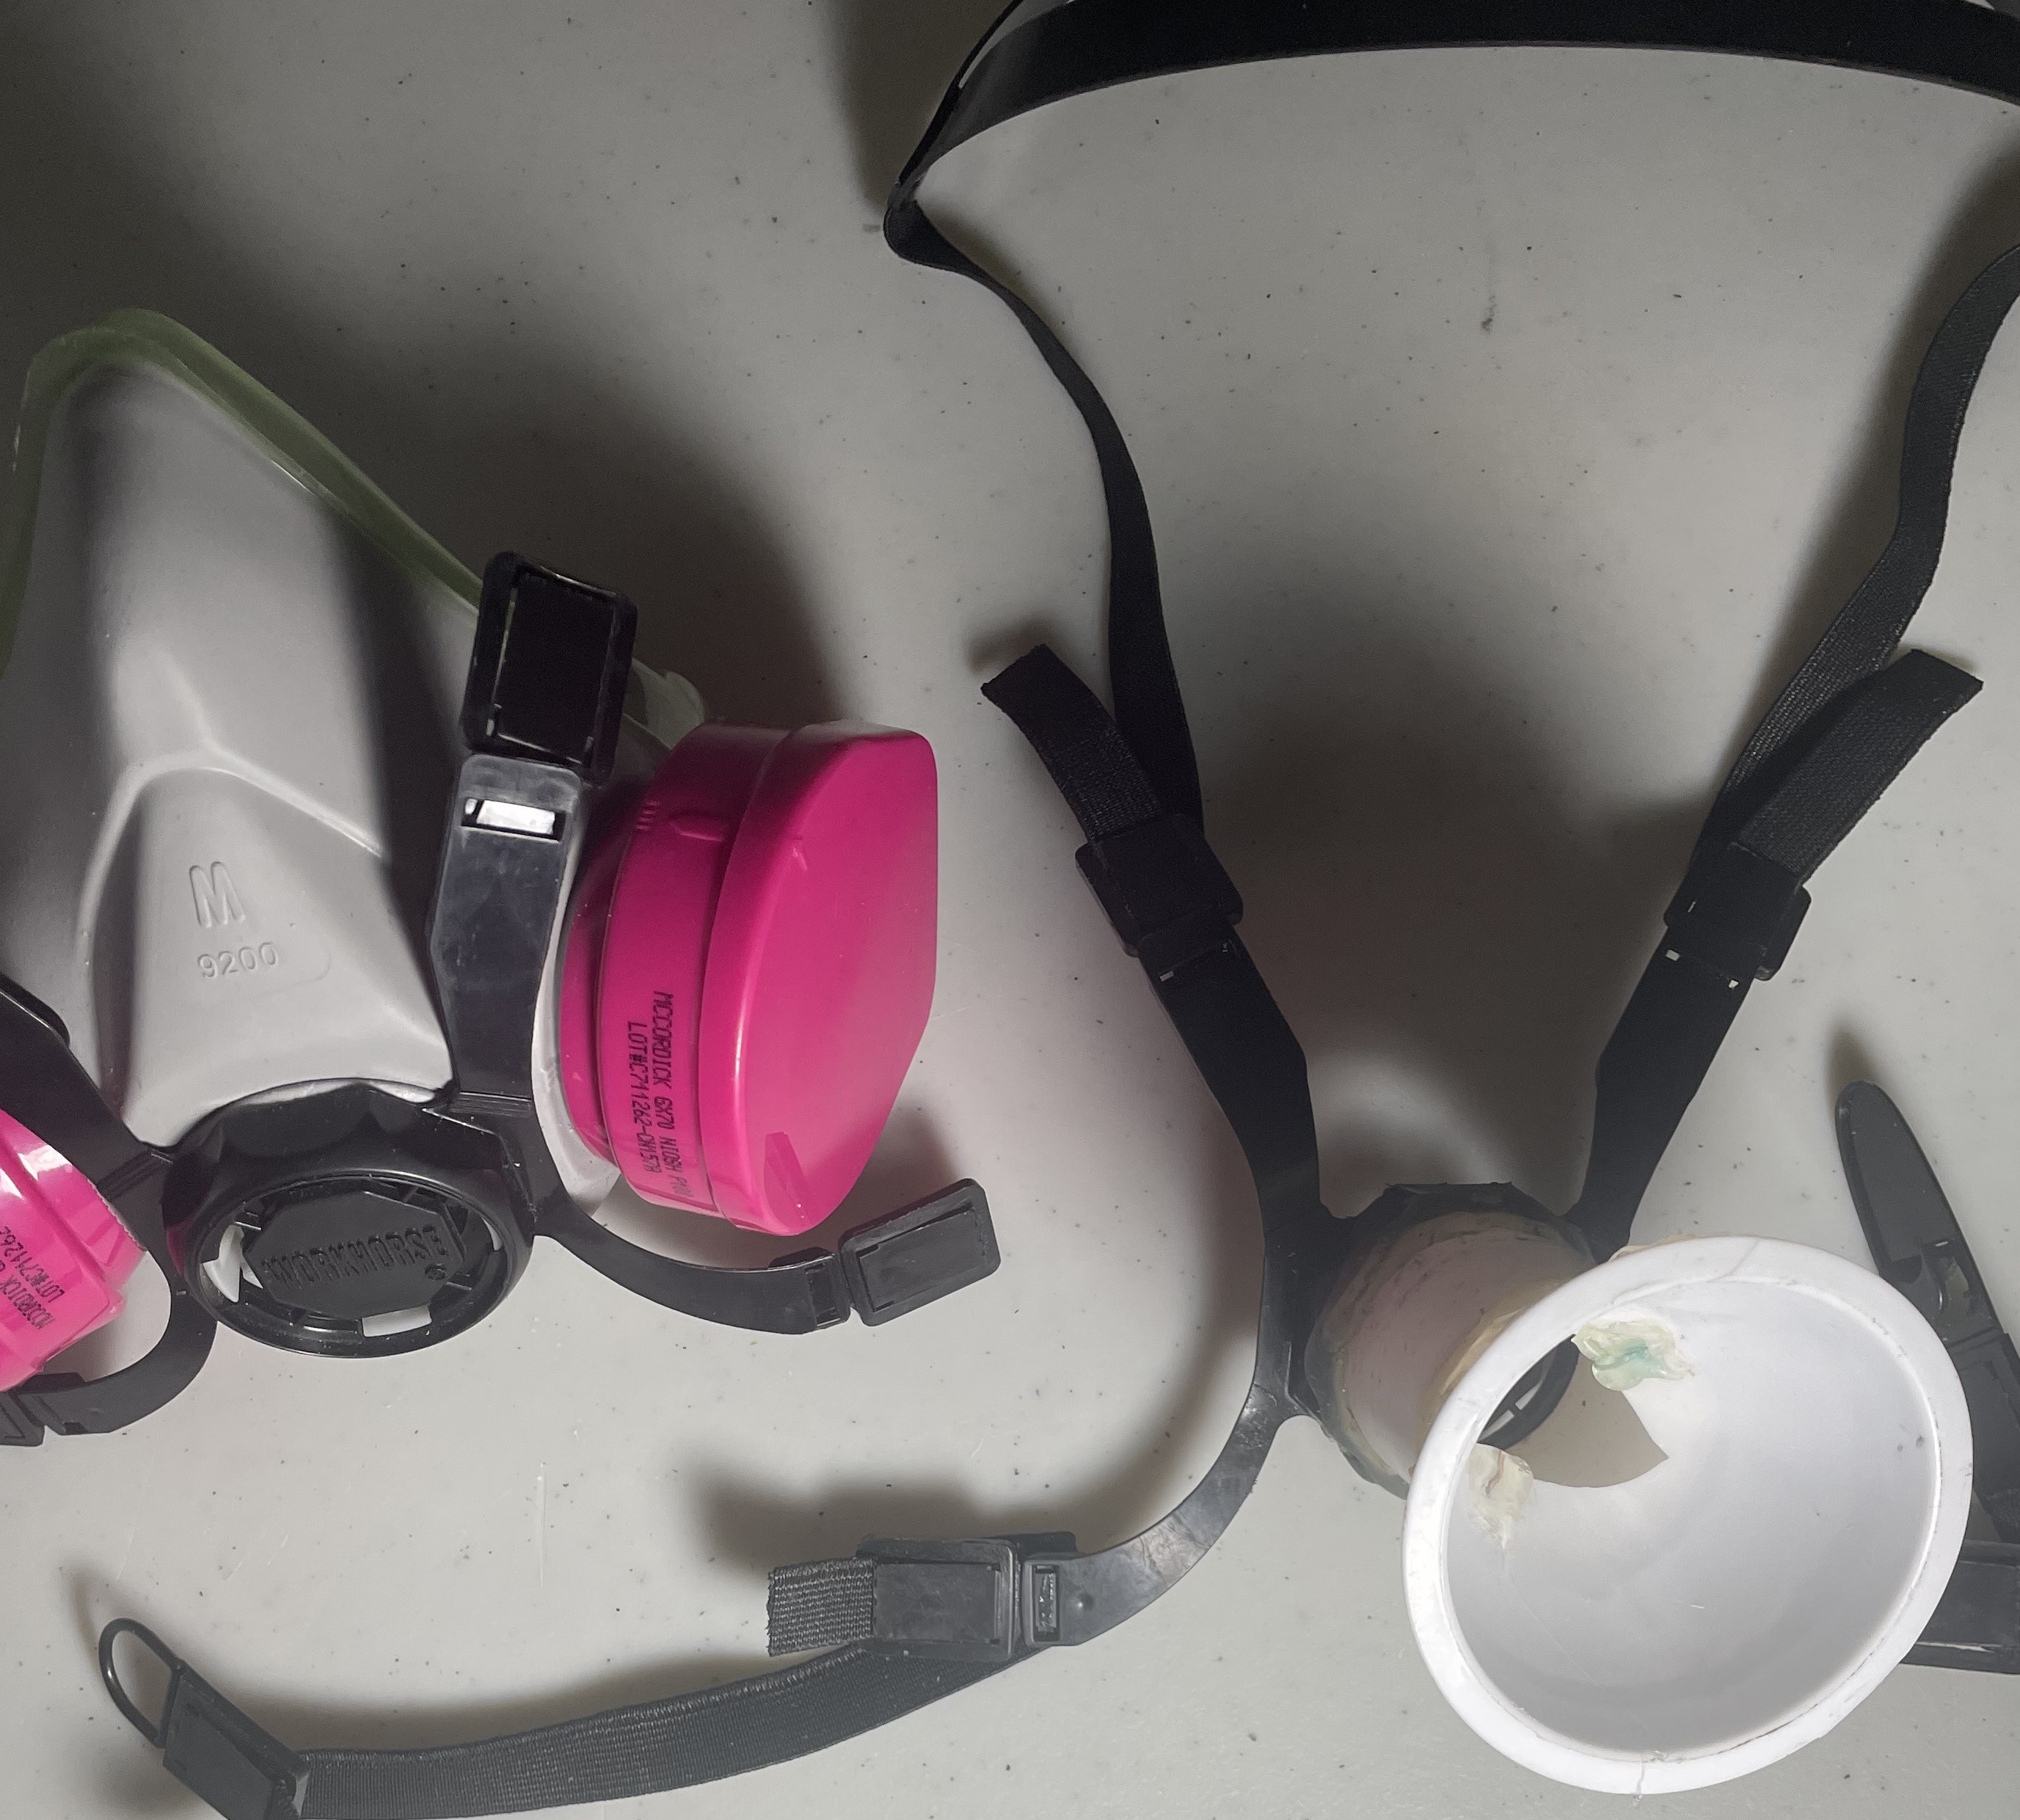
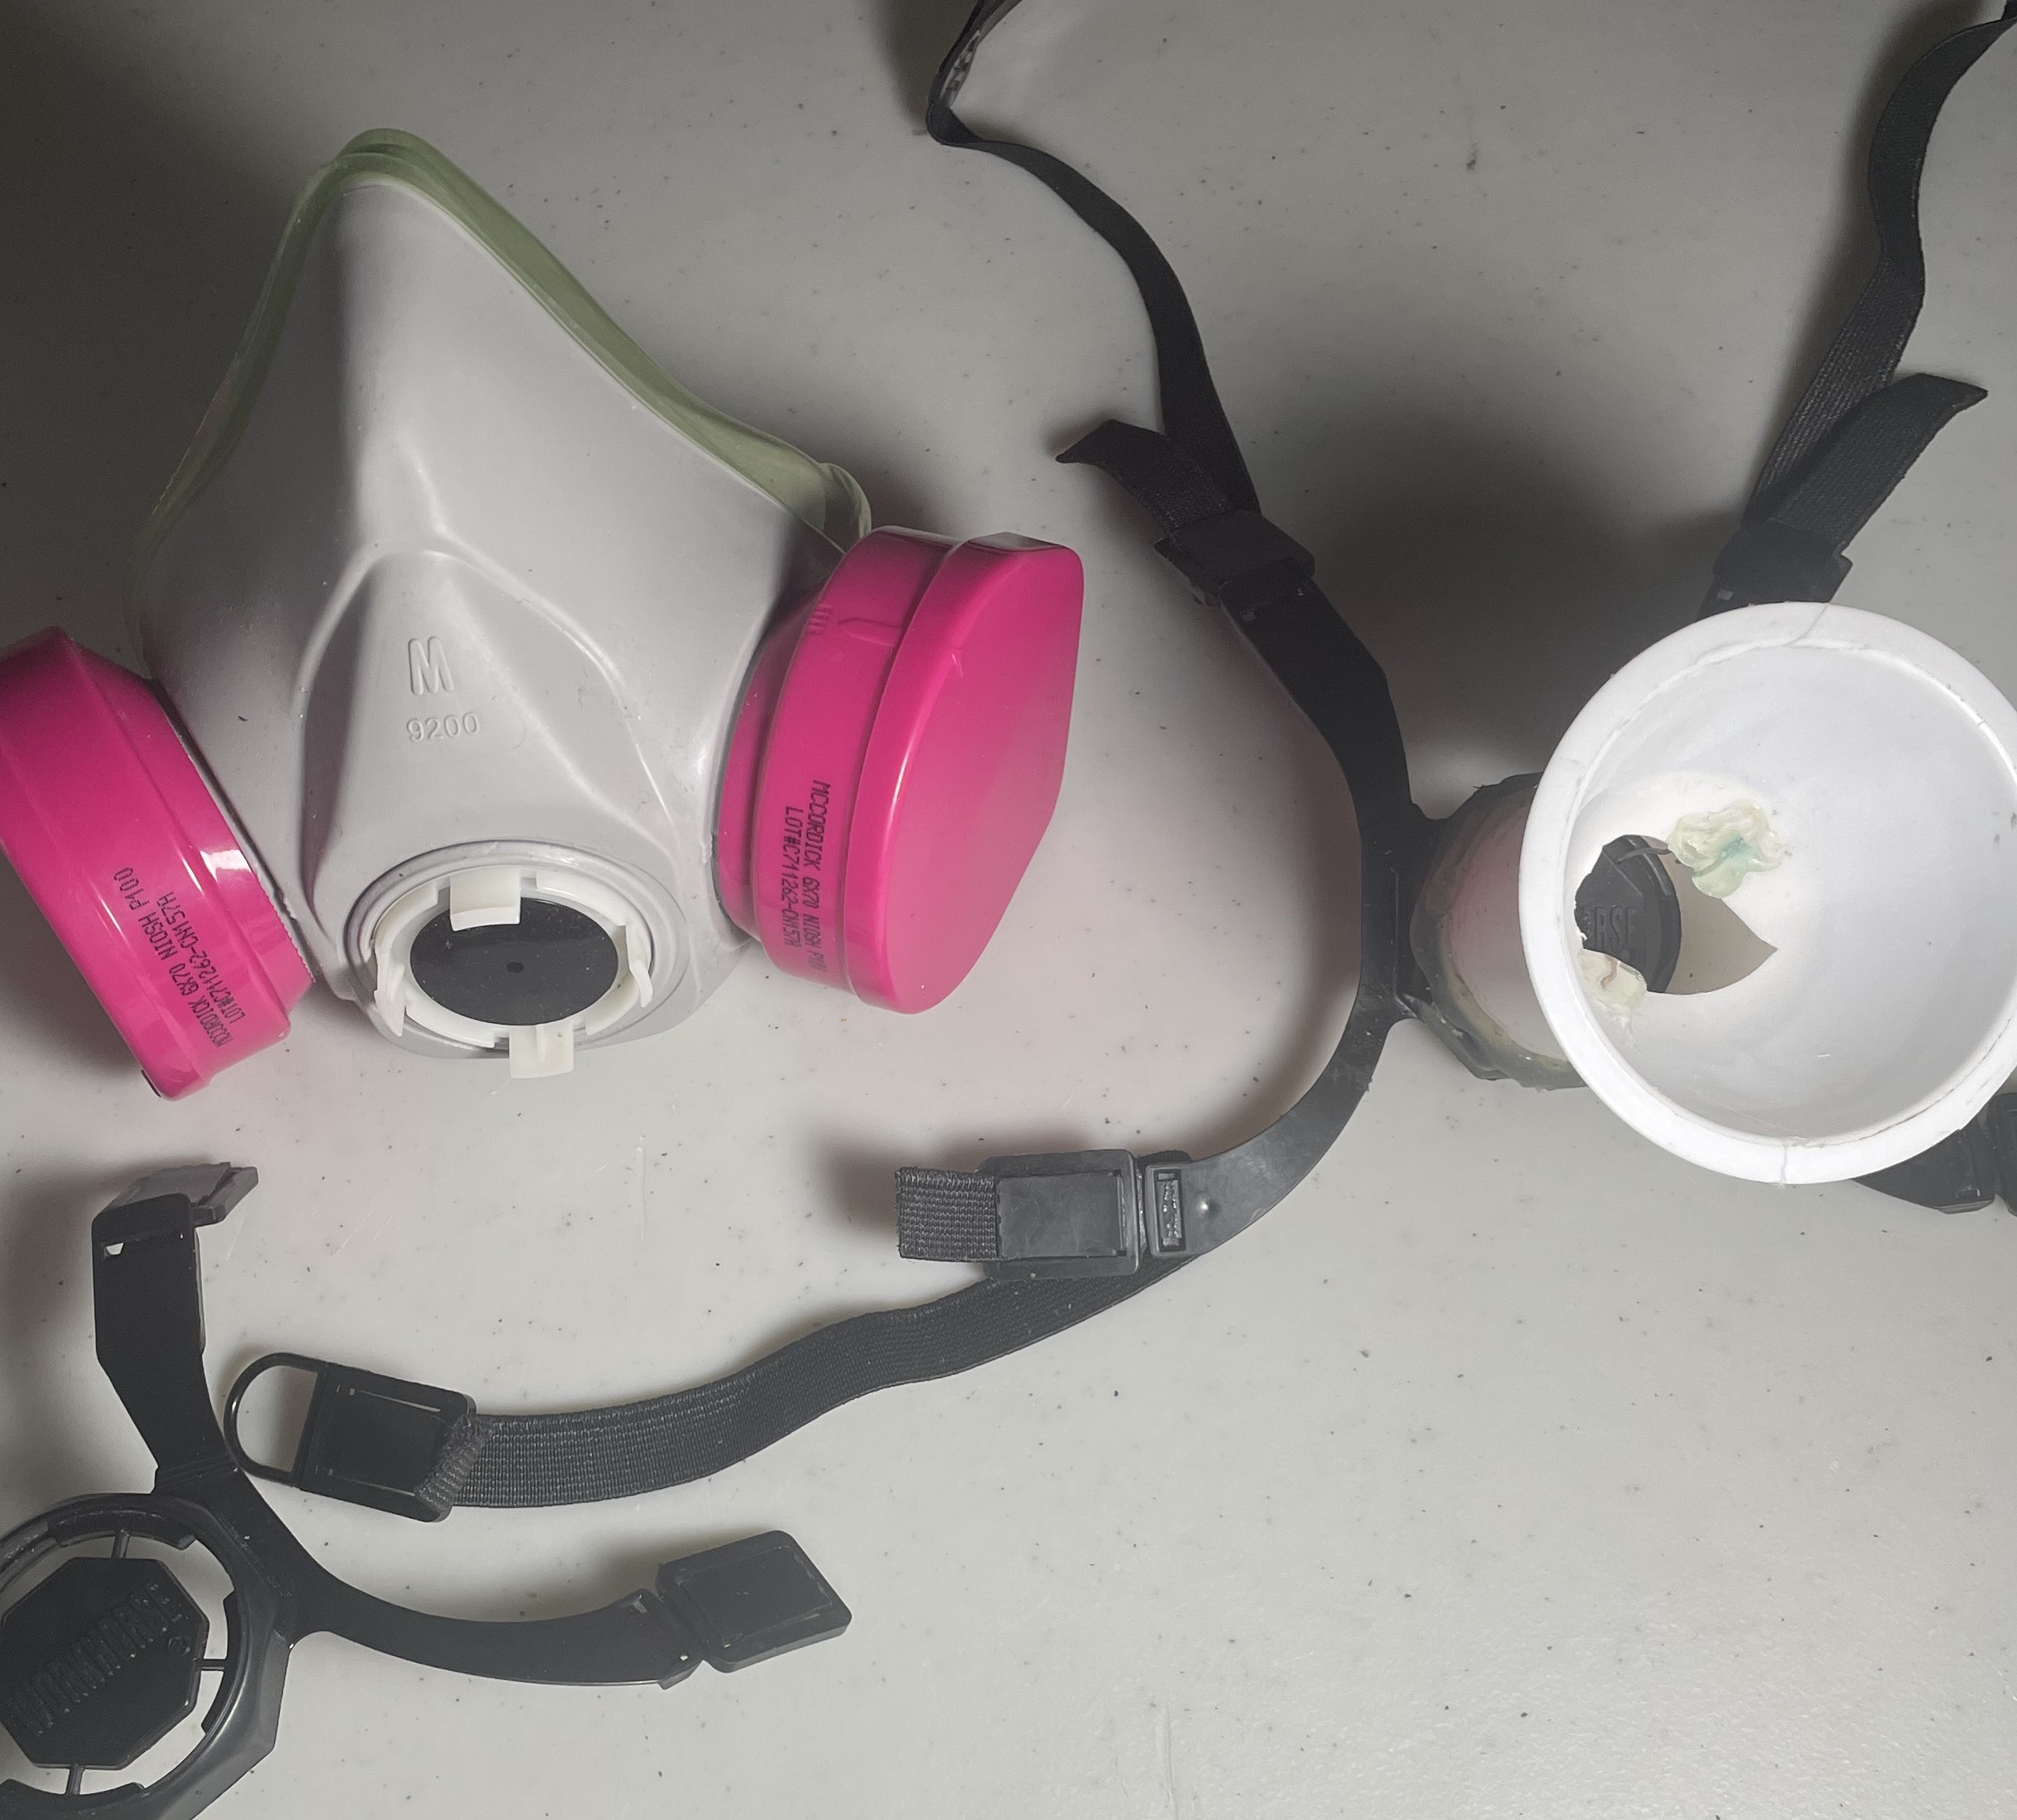
Inspect the mask for damage periodically, with disassembly, to ensure that no unfiltered air is leaking in or out. Places I have found damage: the rim of the funnel and the seals of the inlet filters.
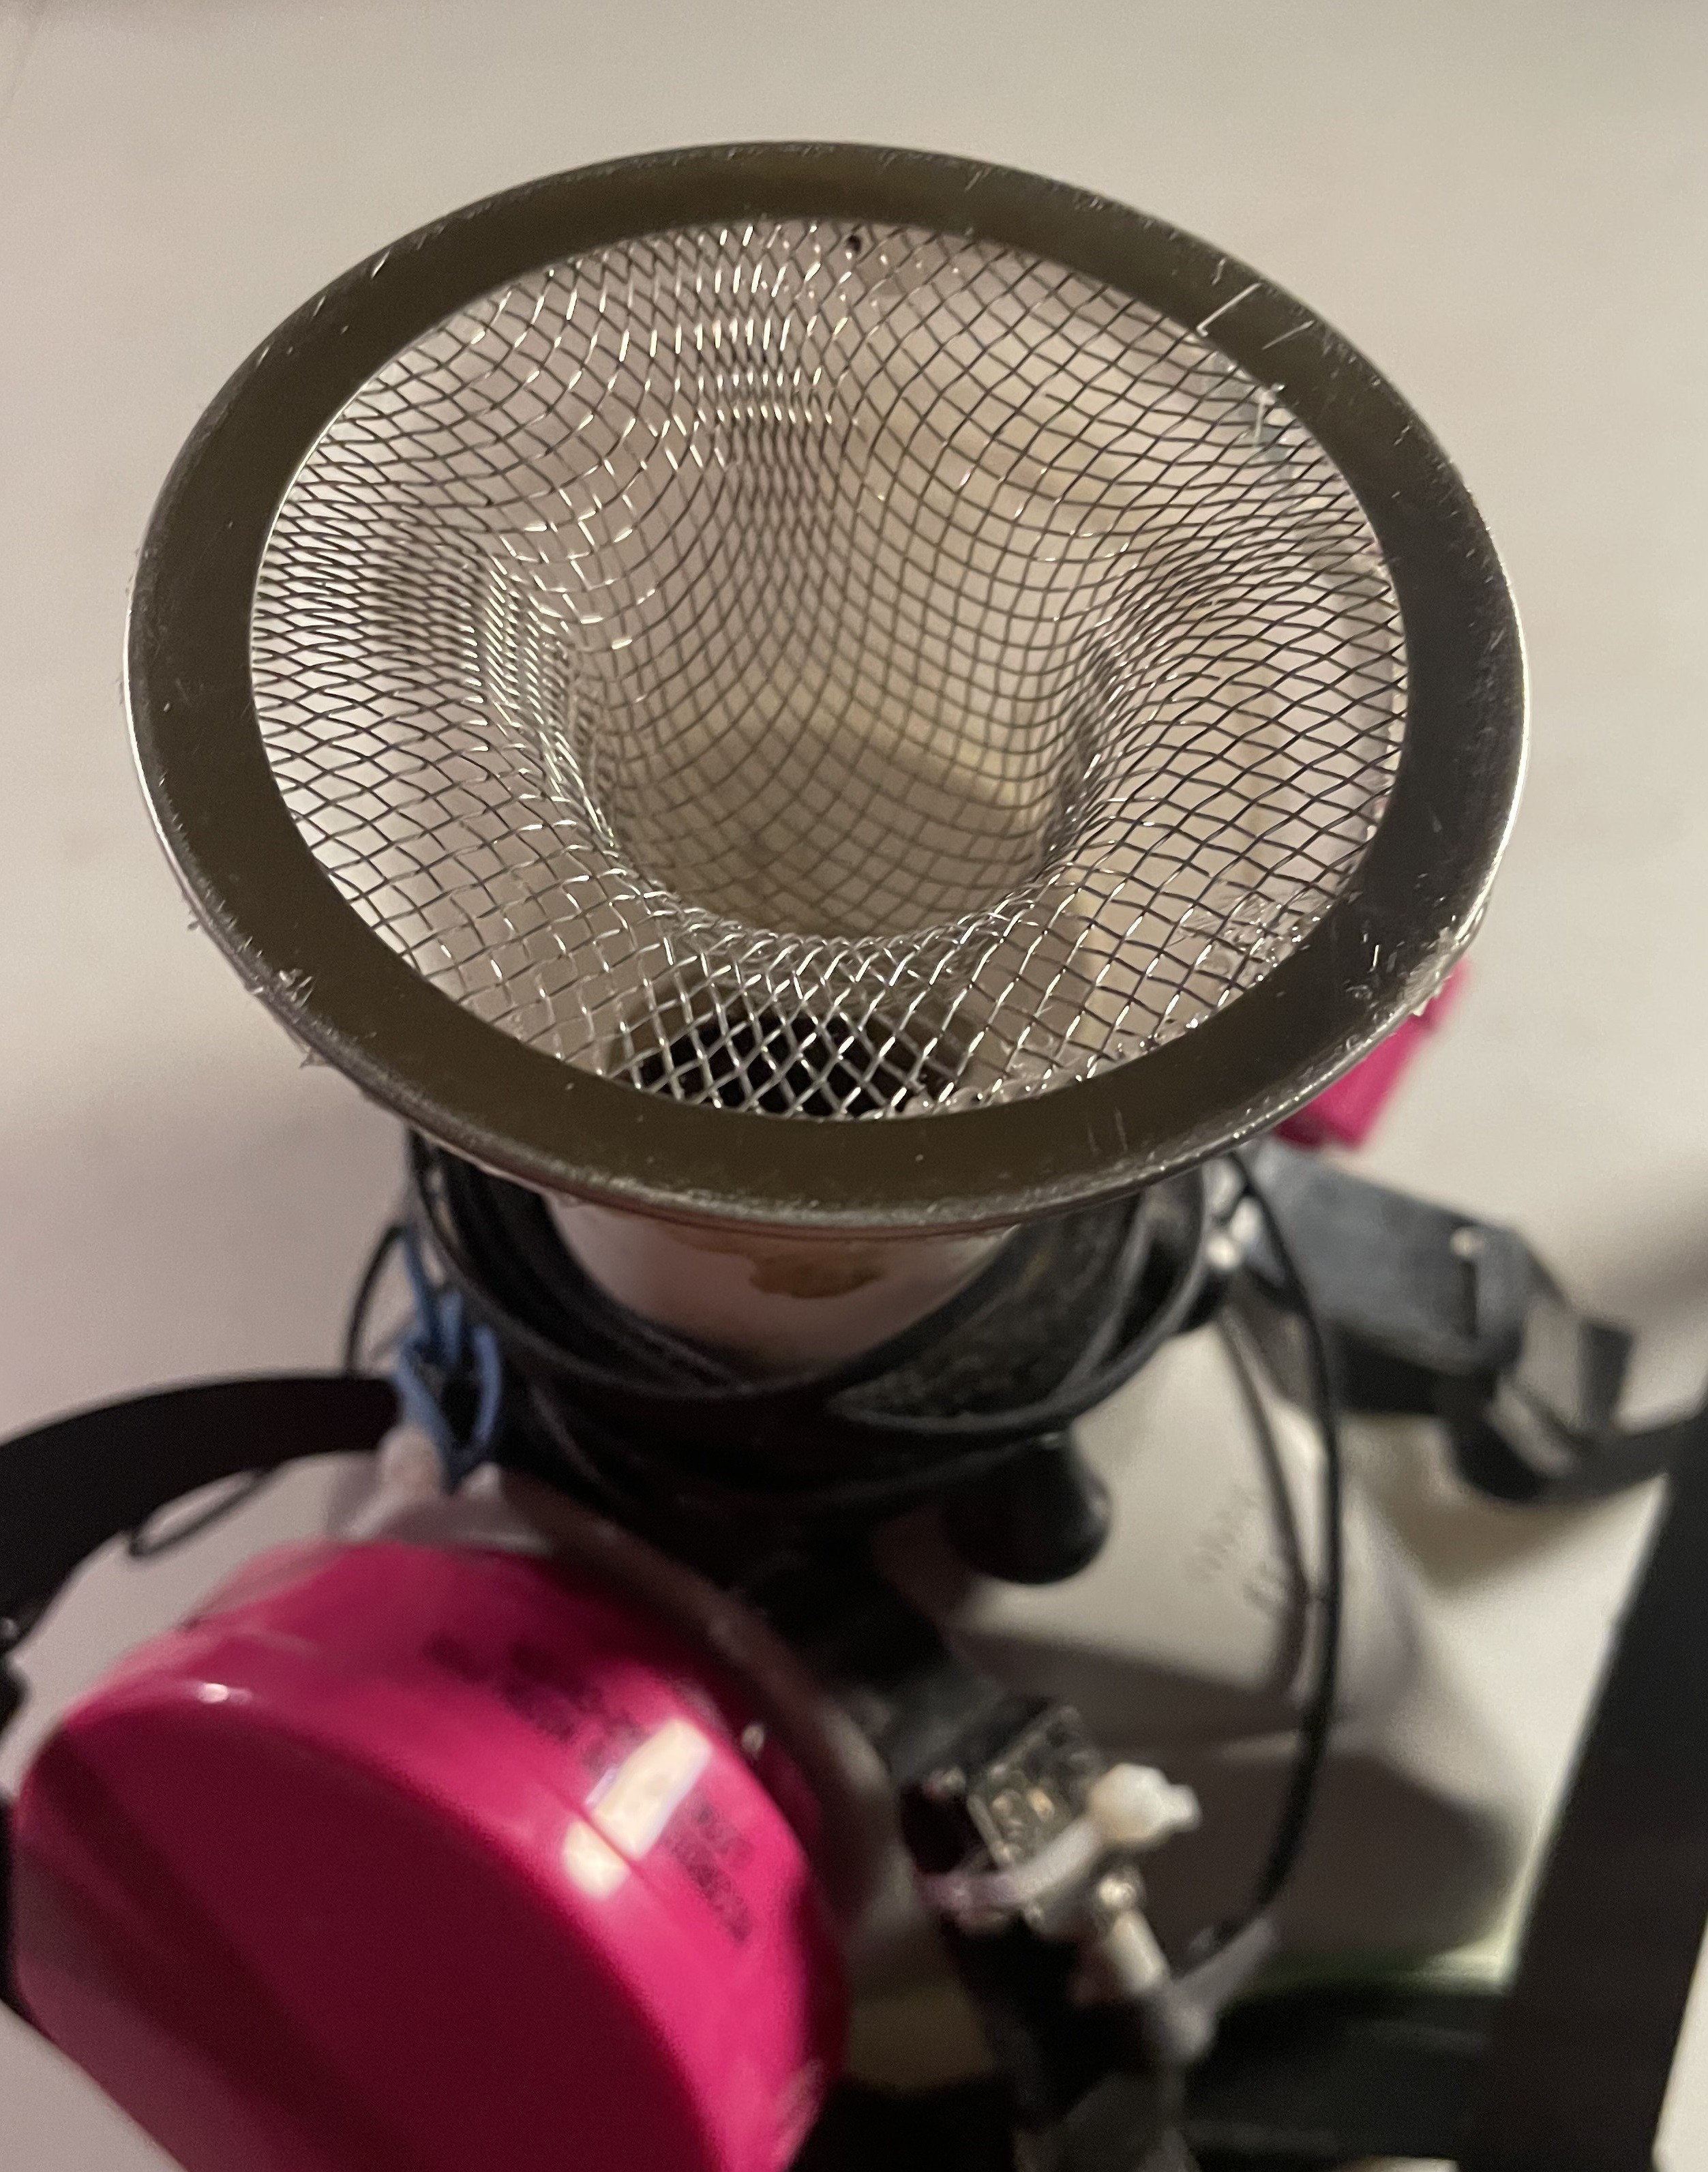
Since the funnel rim was breaking, I reinforced it by hot-gluing it to a sink strainer, as shown below. The parts to be joined were roughened with sandpaper, then cleaned with a paper towel moistened with Varsol. I cut off any glue that extended beyond the strainer to prevent future air leaks.
To replace the P100 component altogether, follow this sequence:

Remove the new exhalation valve protector by prying with a screwdriver.

This will restore basic functionality; the procedure for drilling/punching the sound holes follows.
Summary:
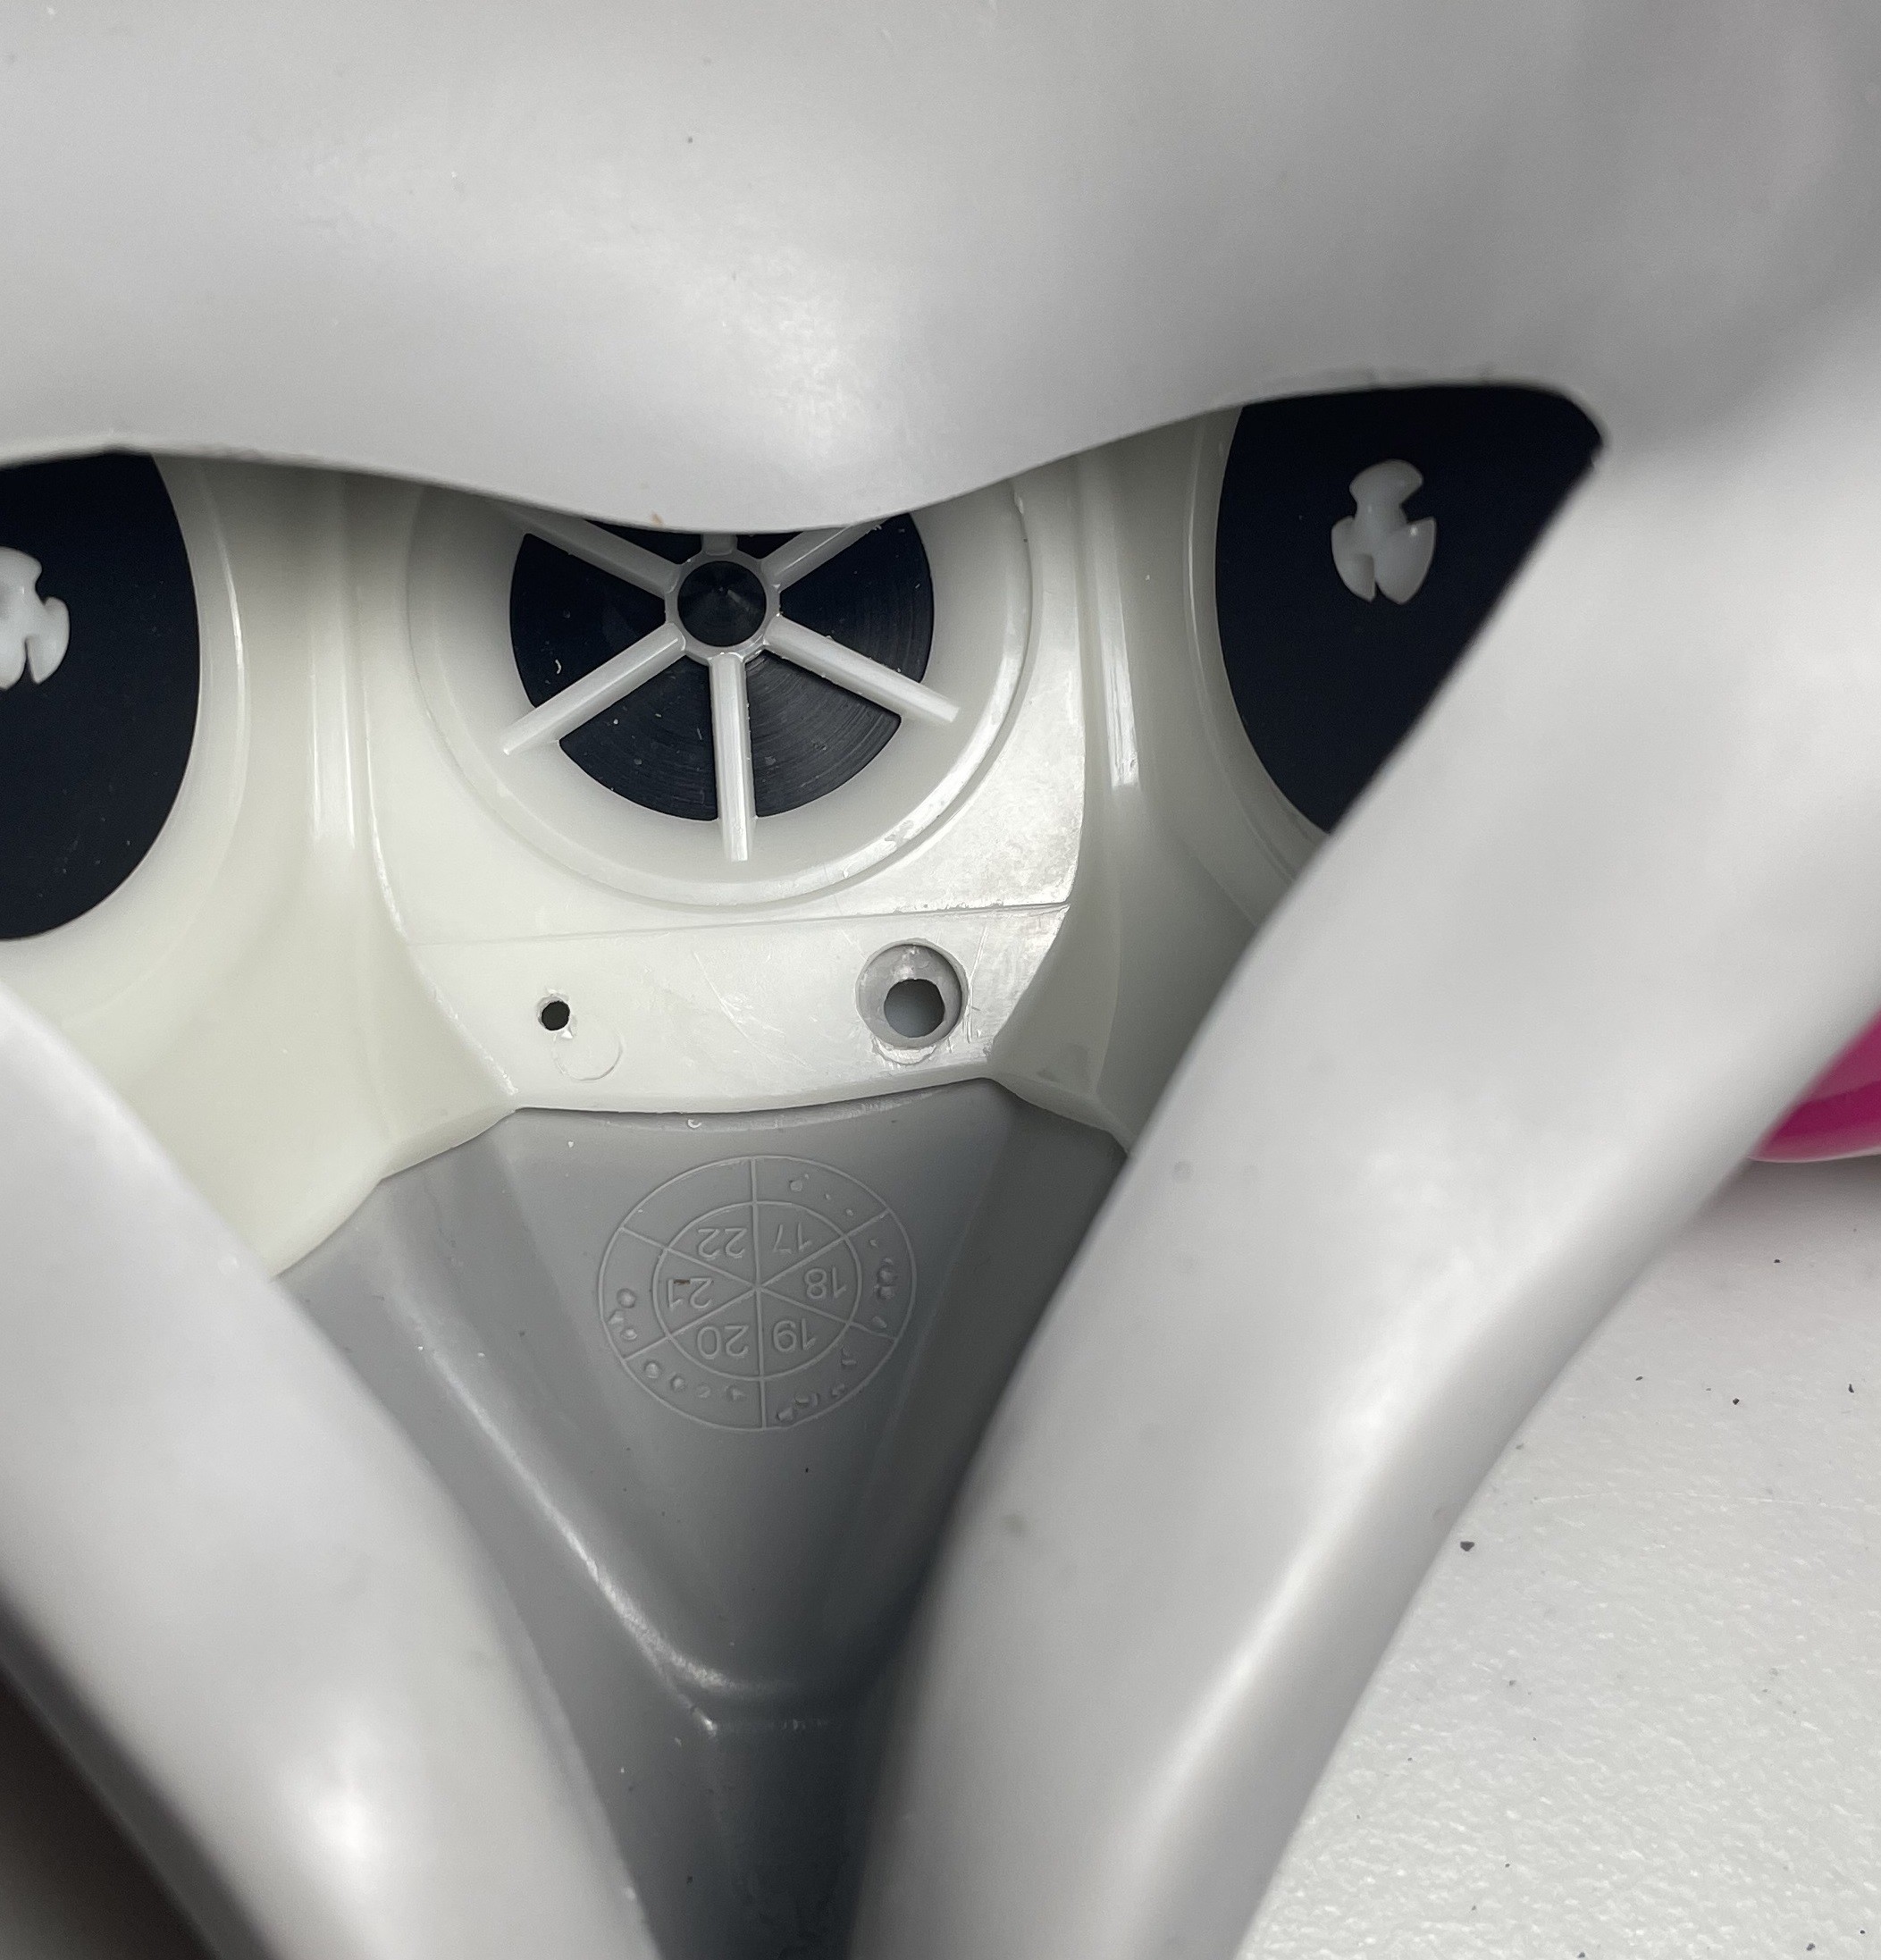
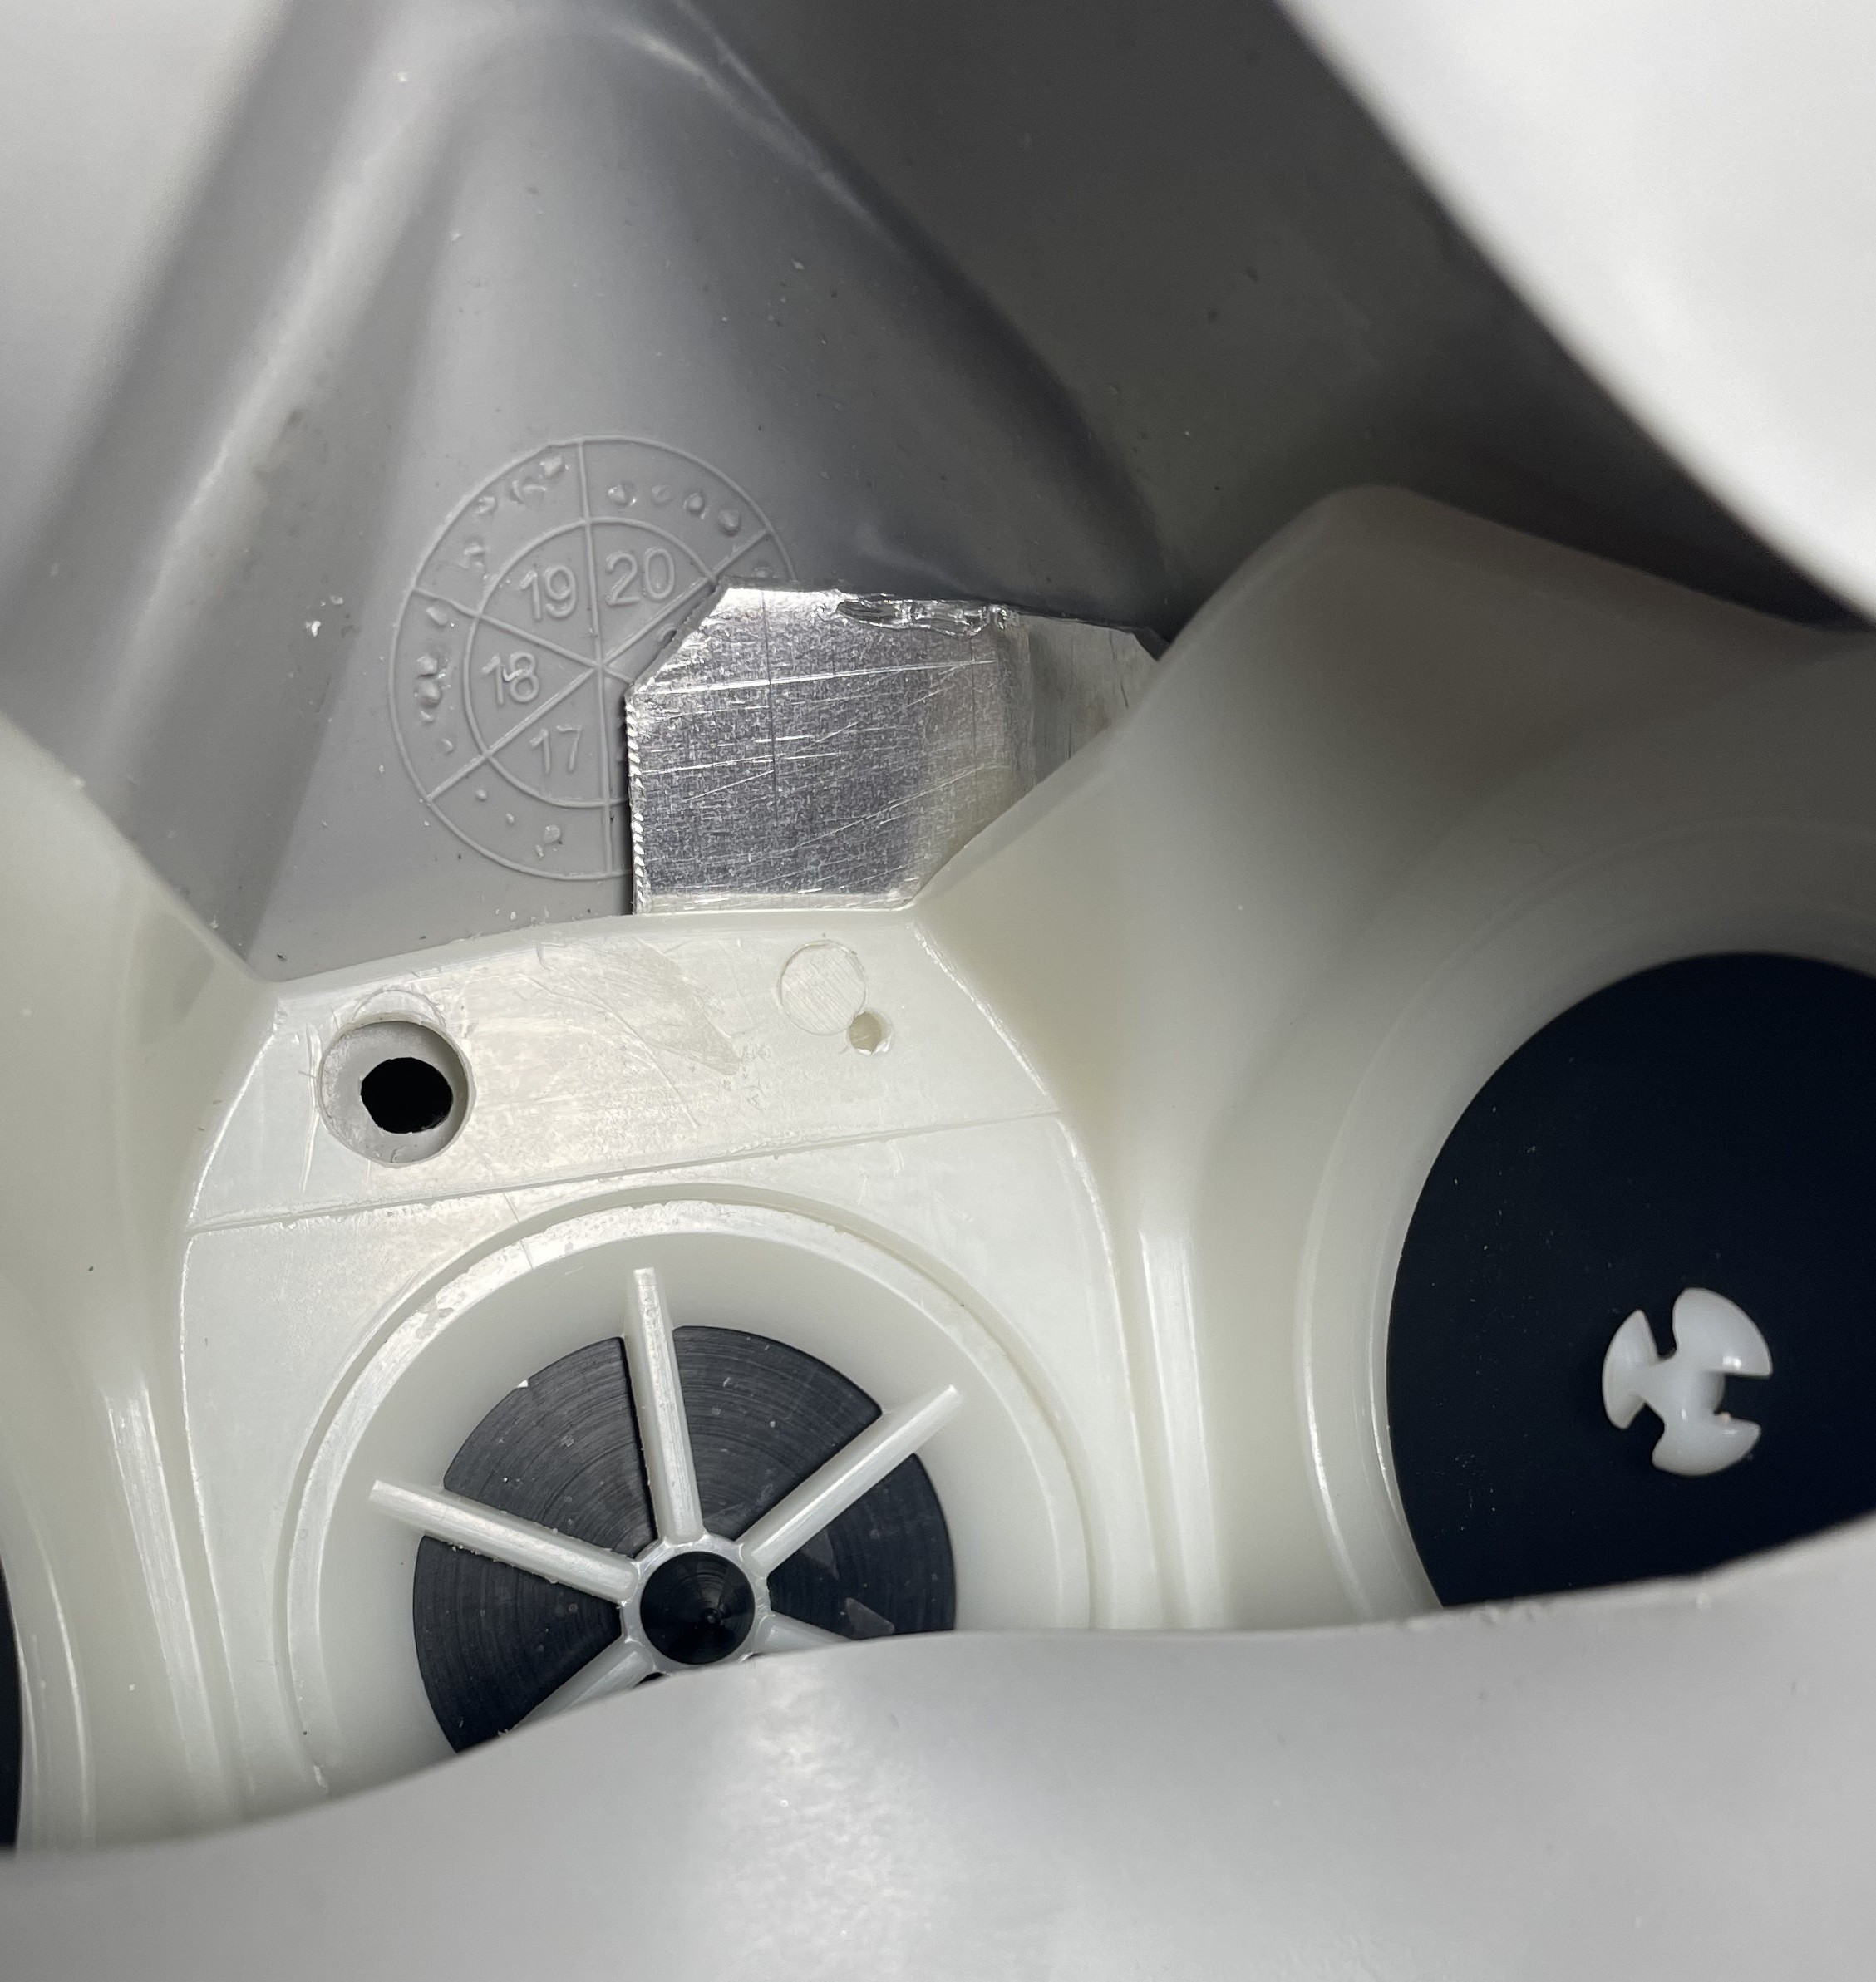
- outer sound-hole dia. (in elastomer): 5/32"
- The outer hole touches the outer ring-indentation you will find molded into the mask, along a radius of a corner of the valve protector.
- inner dia. (in nylon): 0.25"
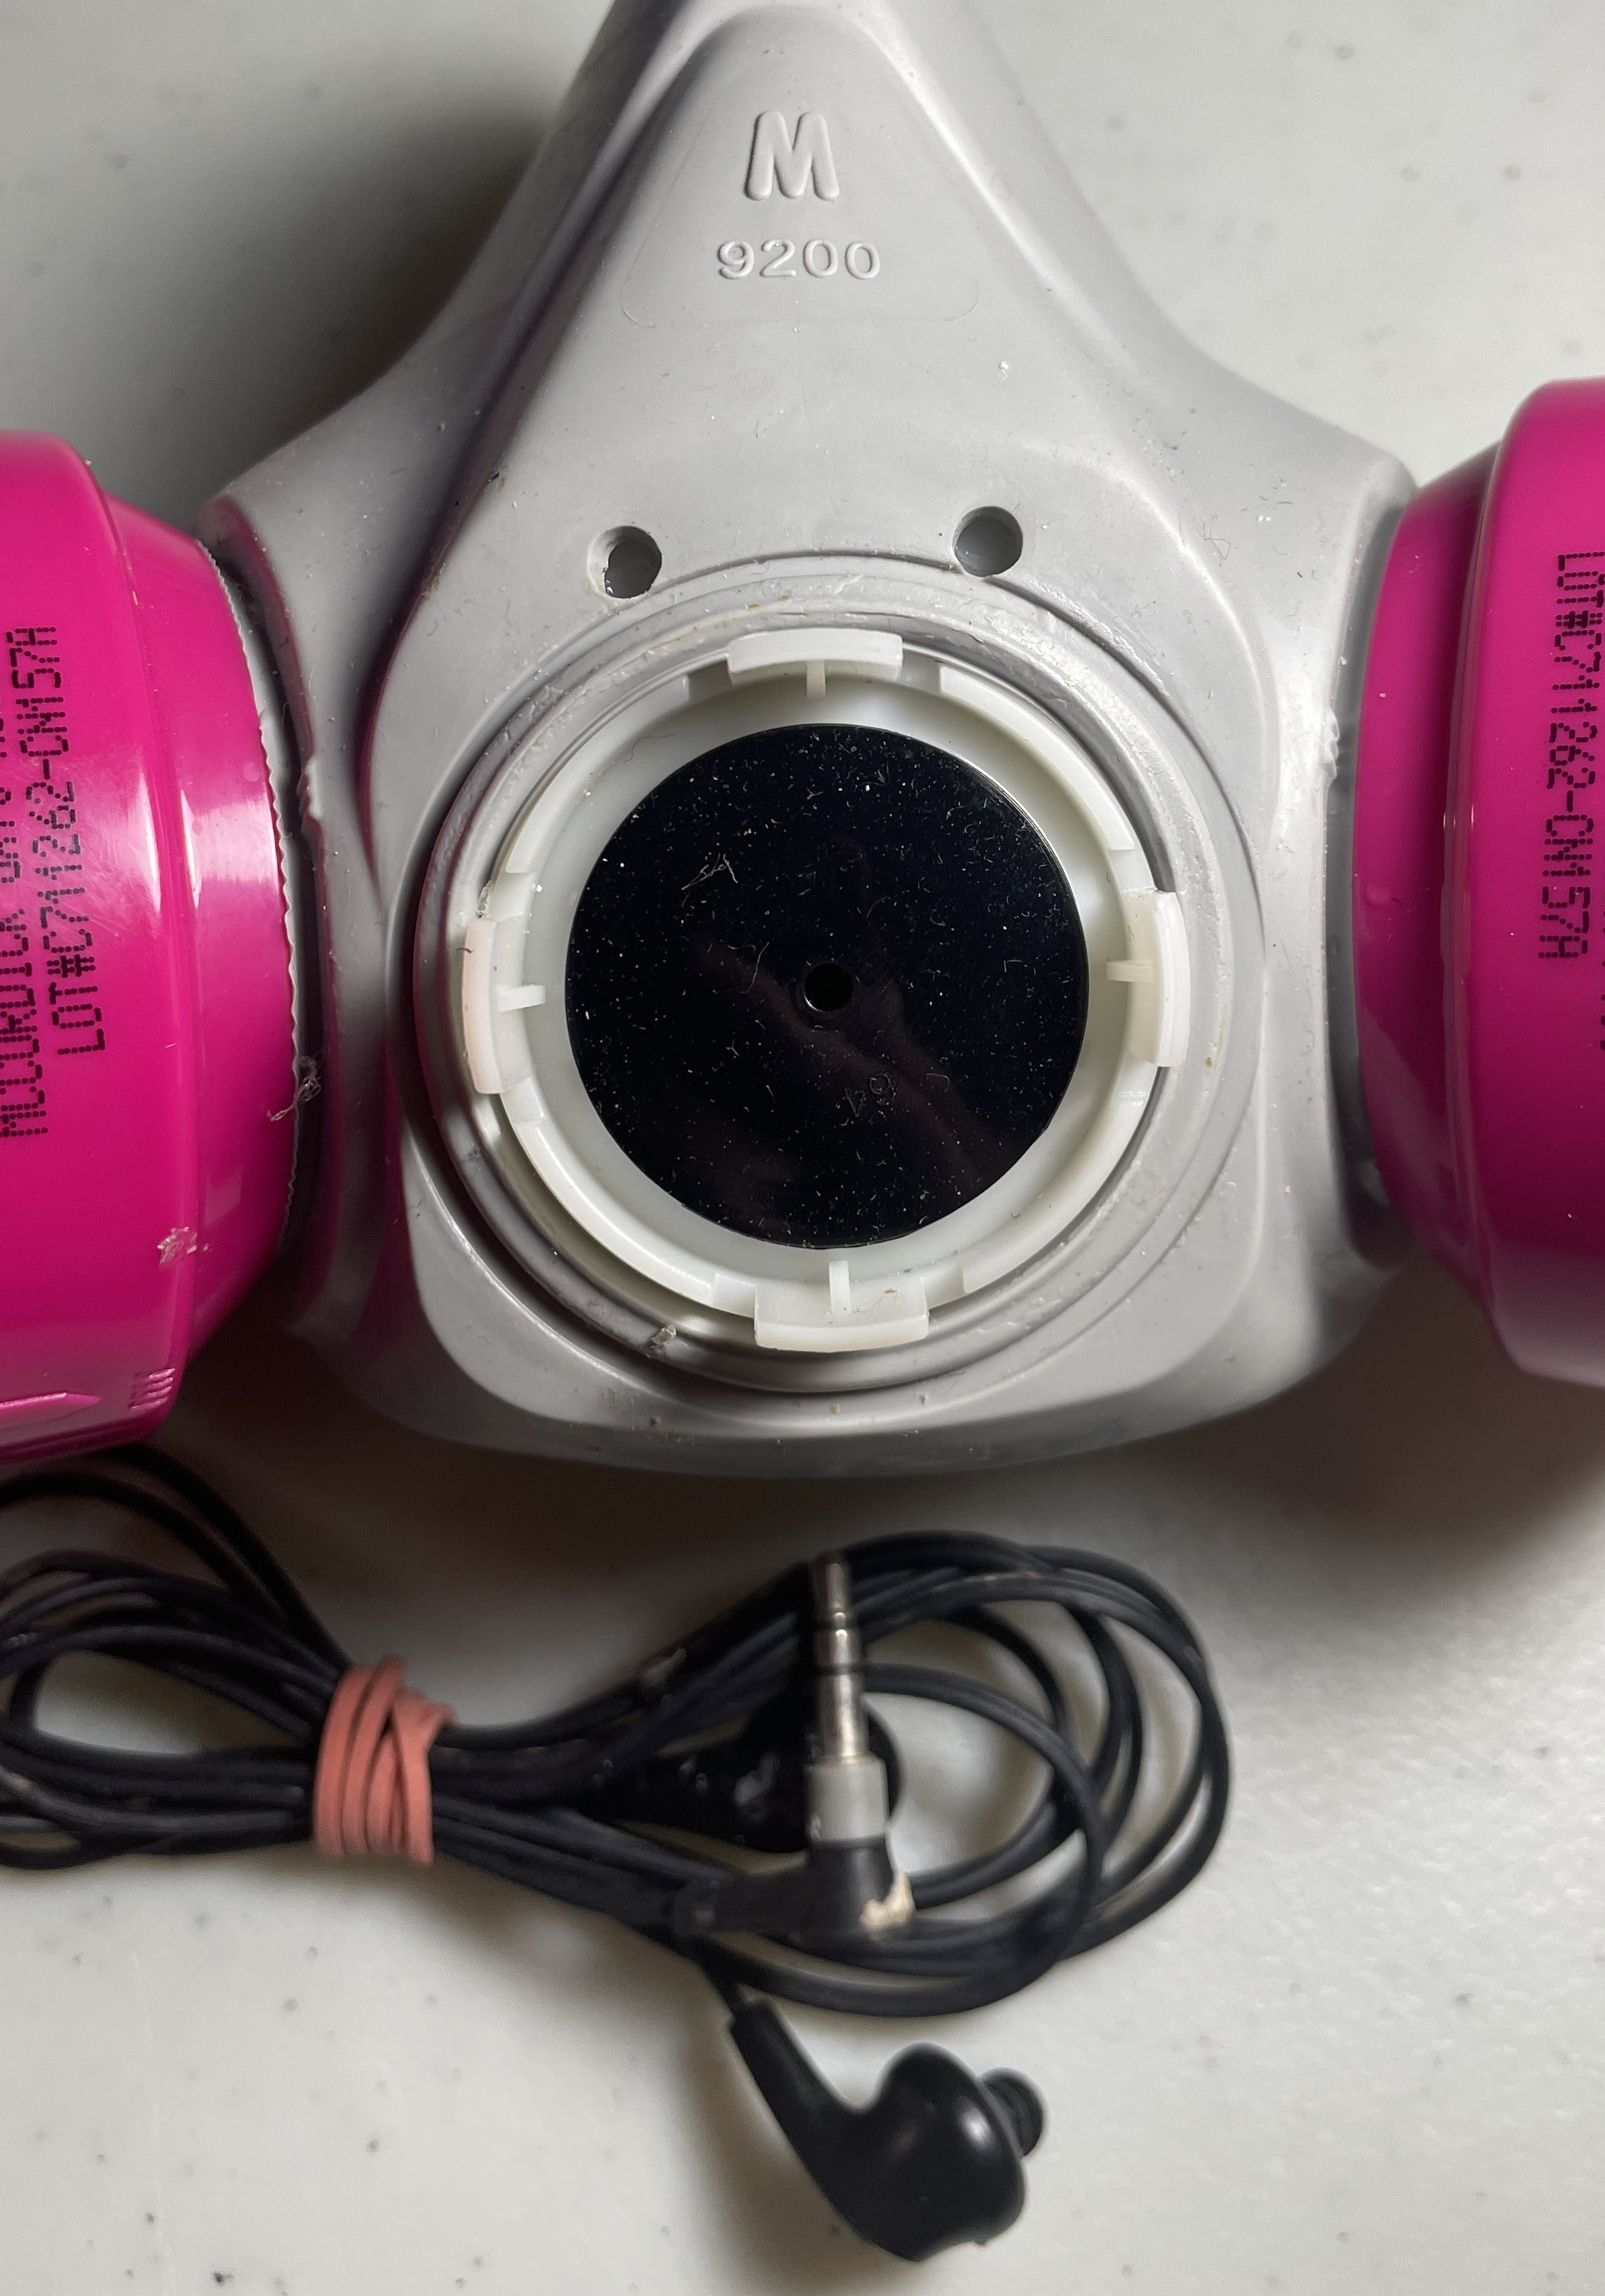
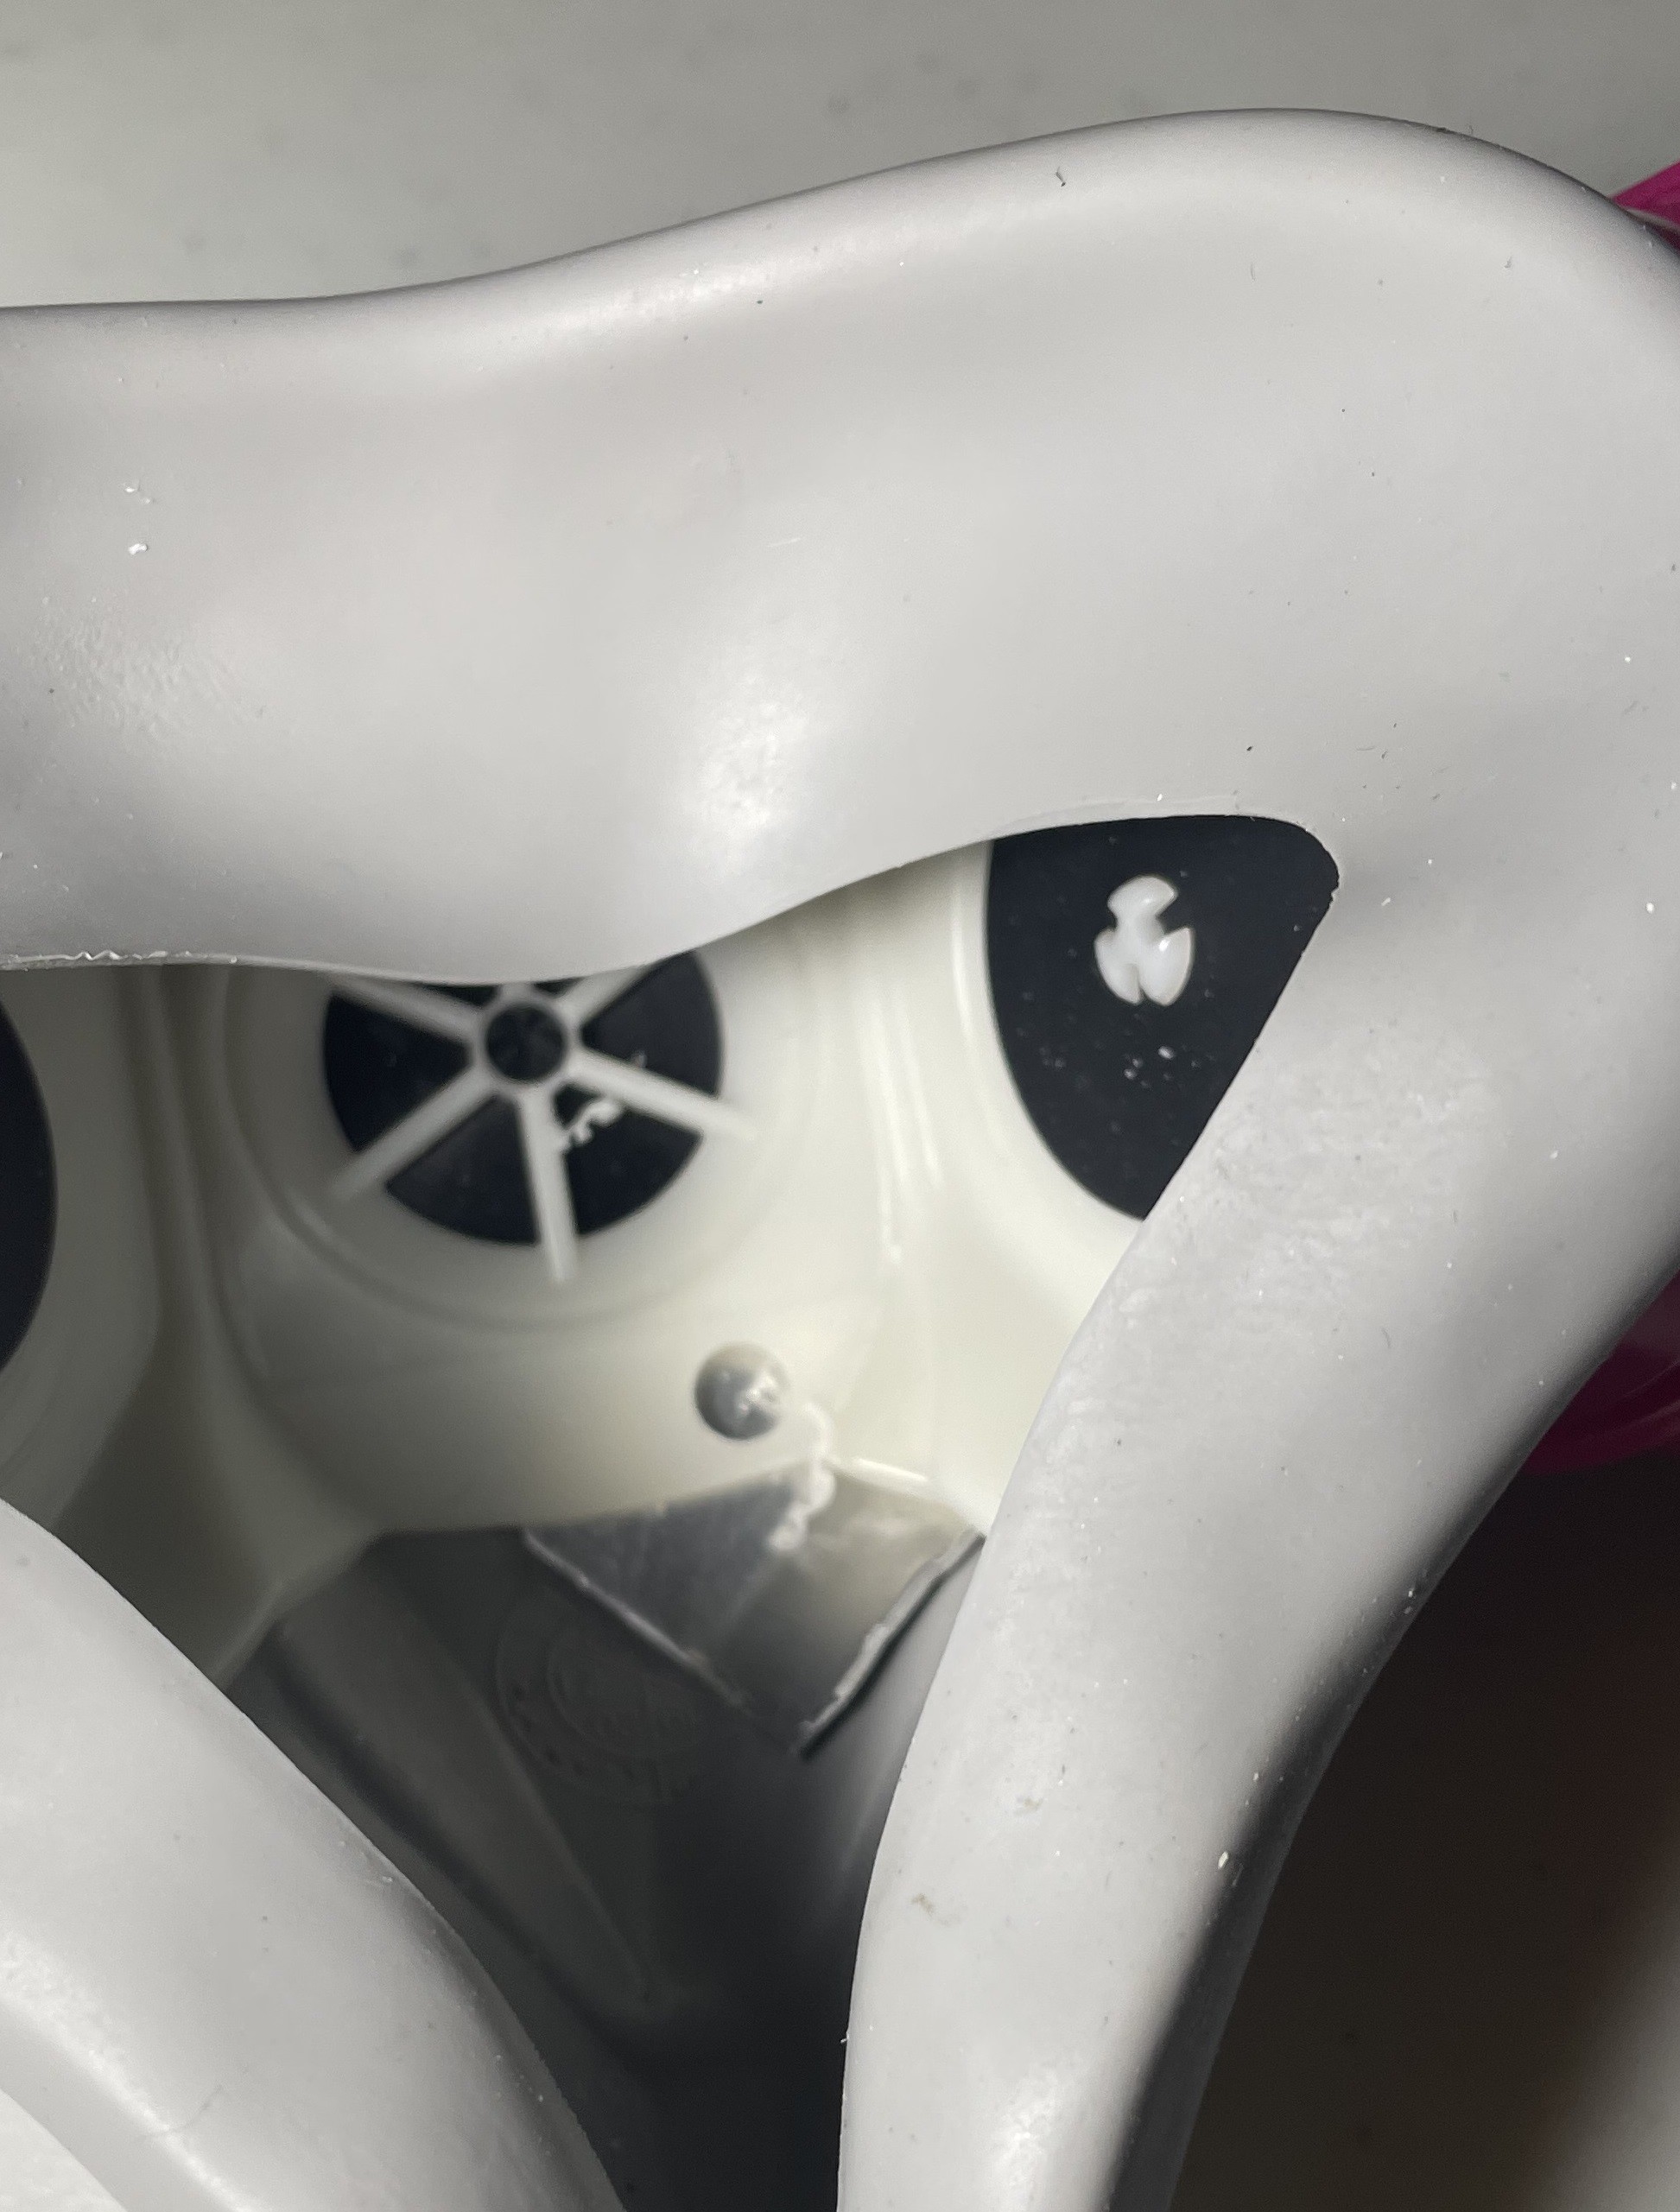
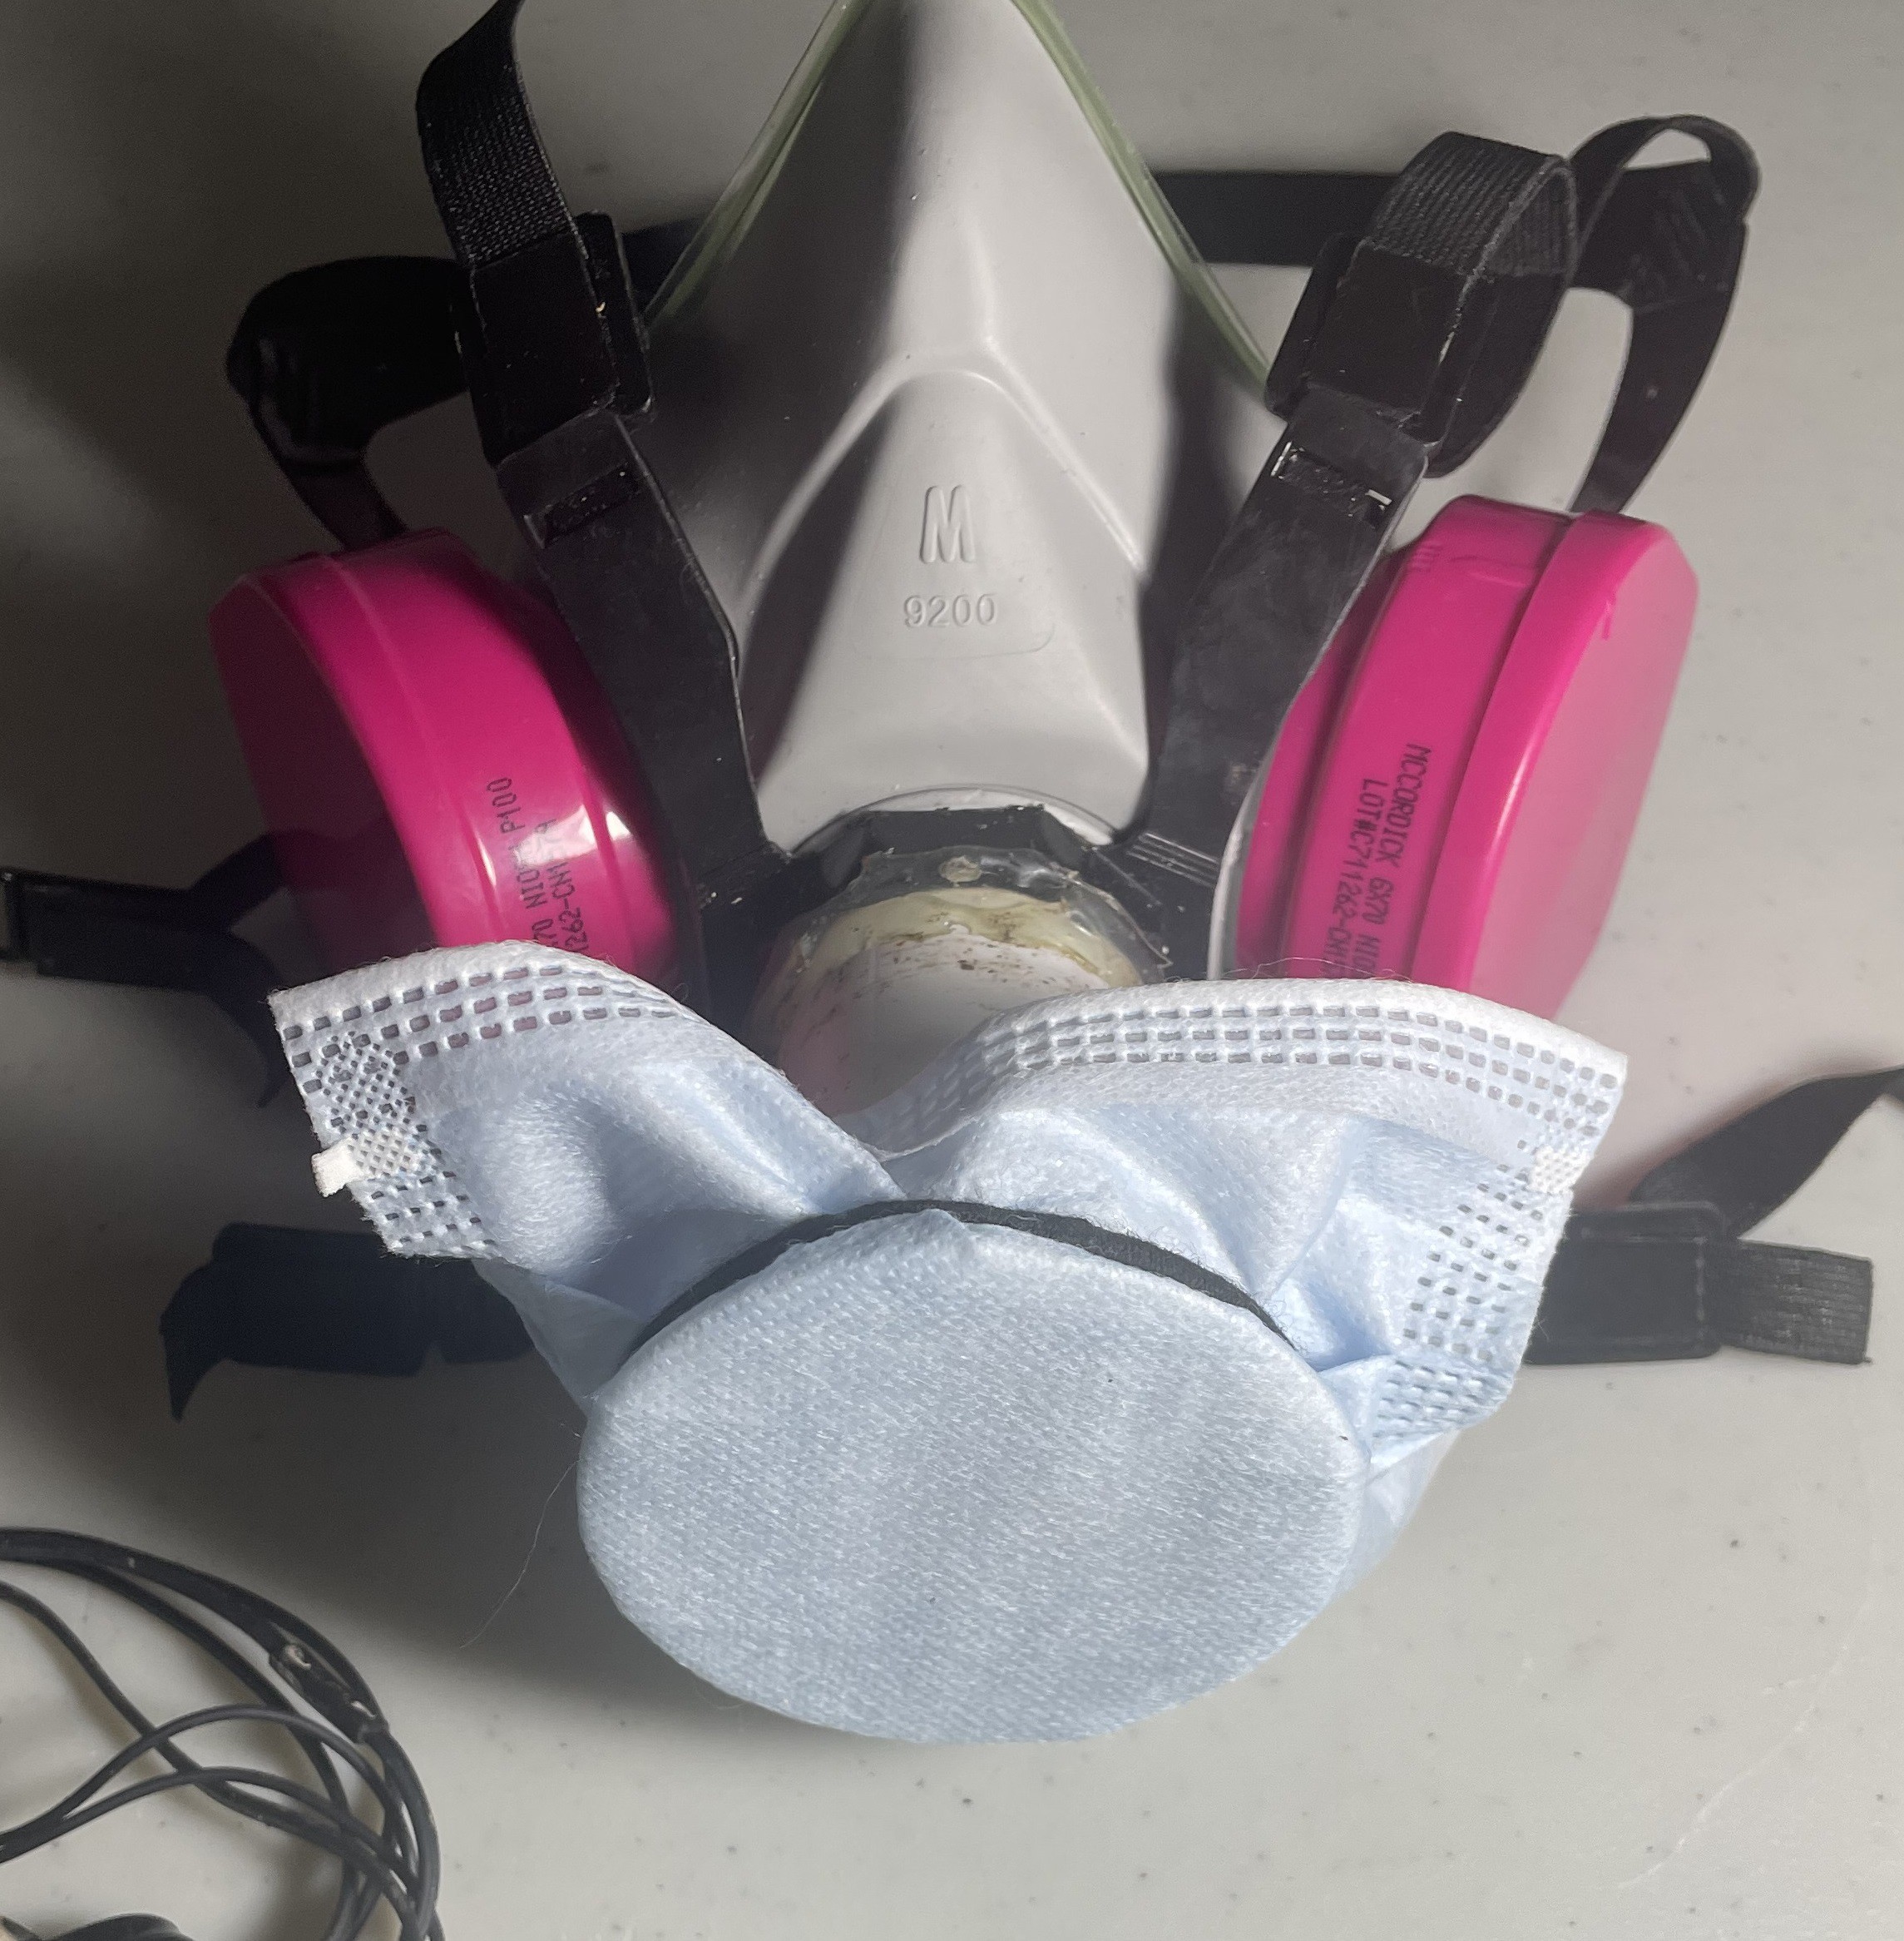
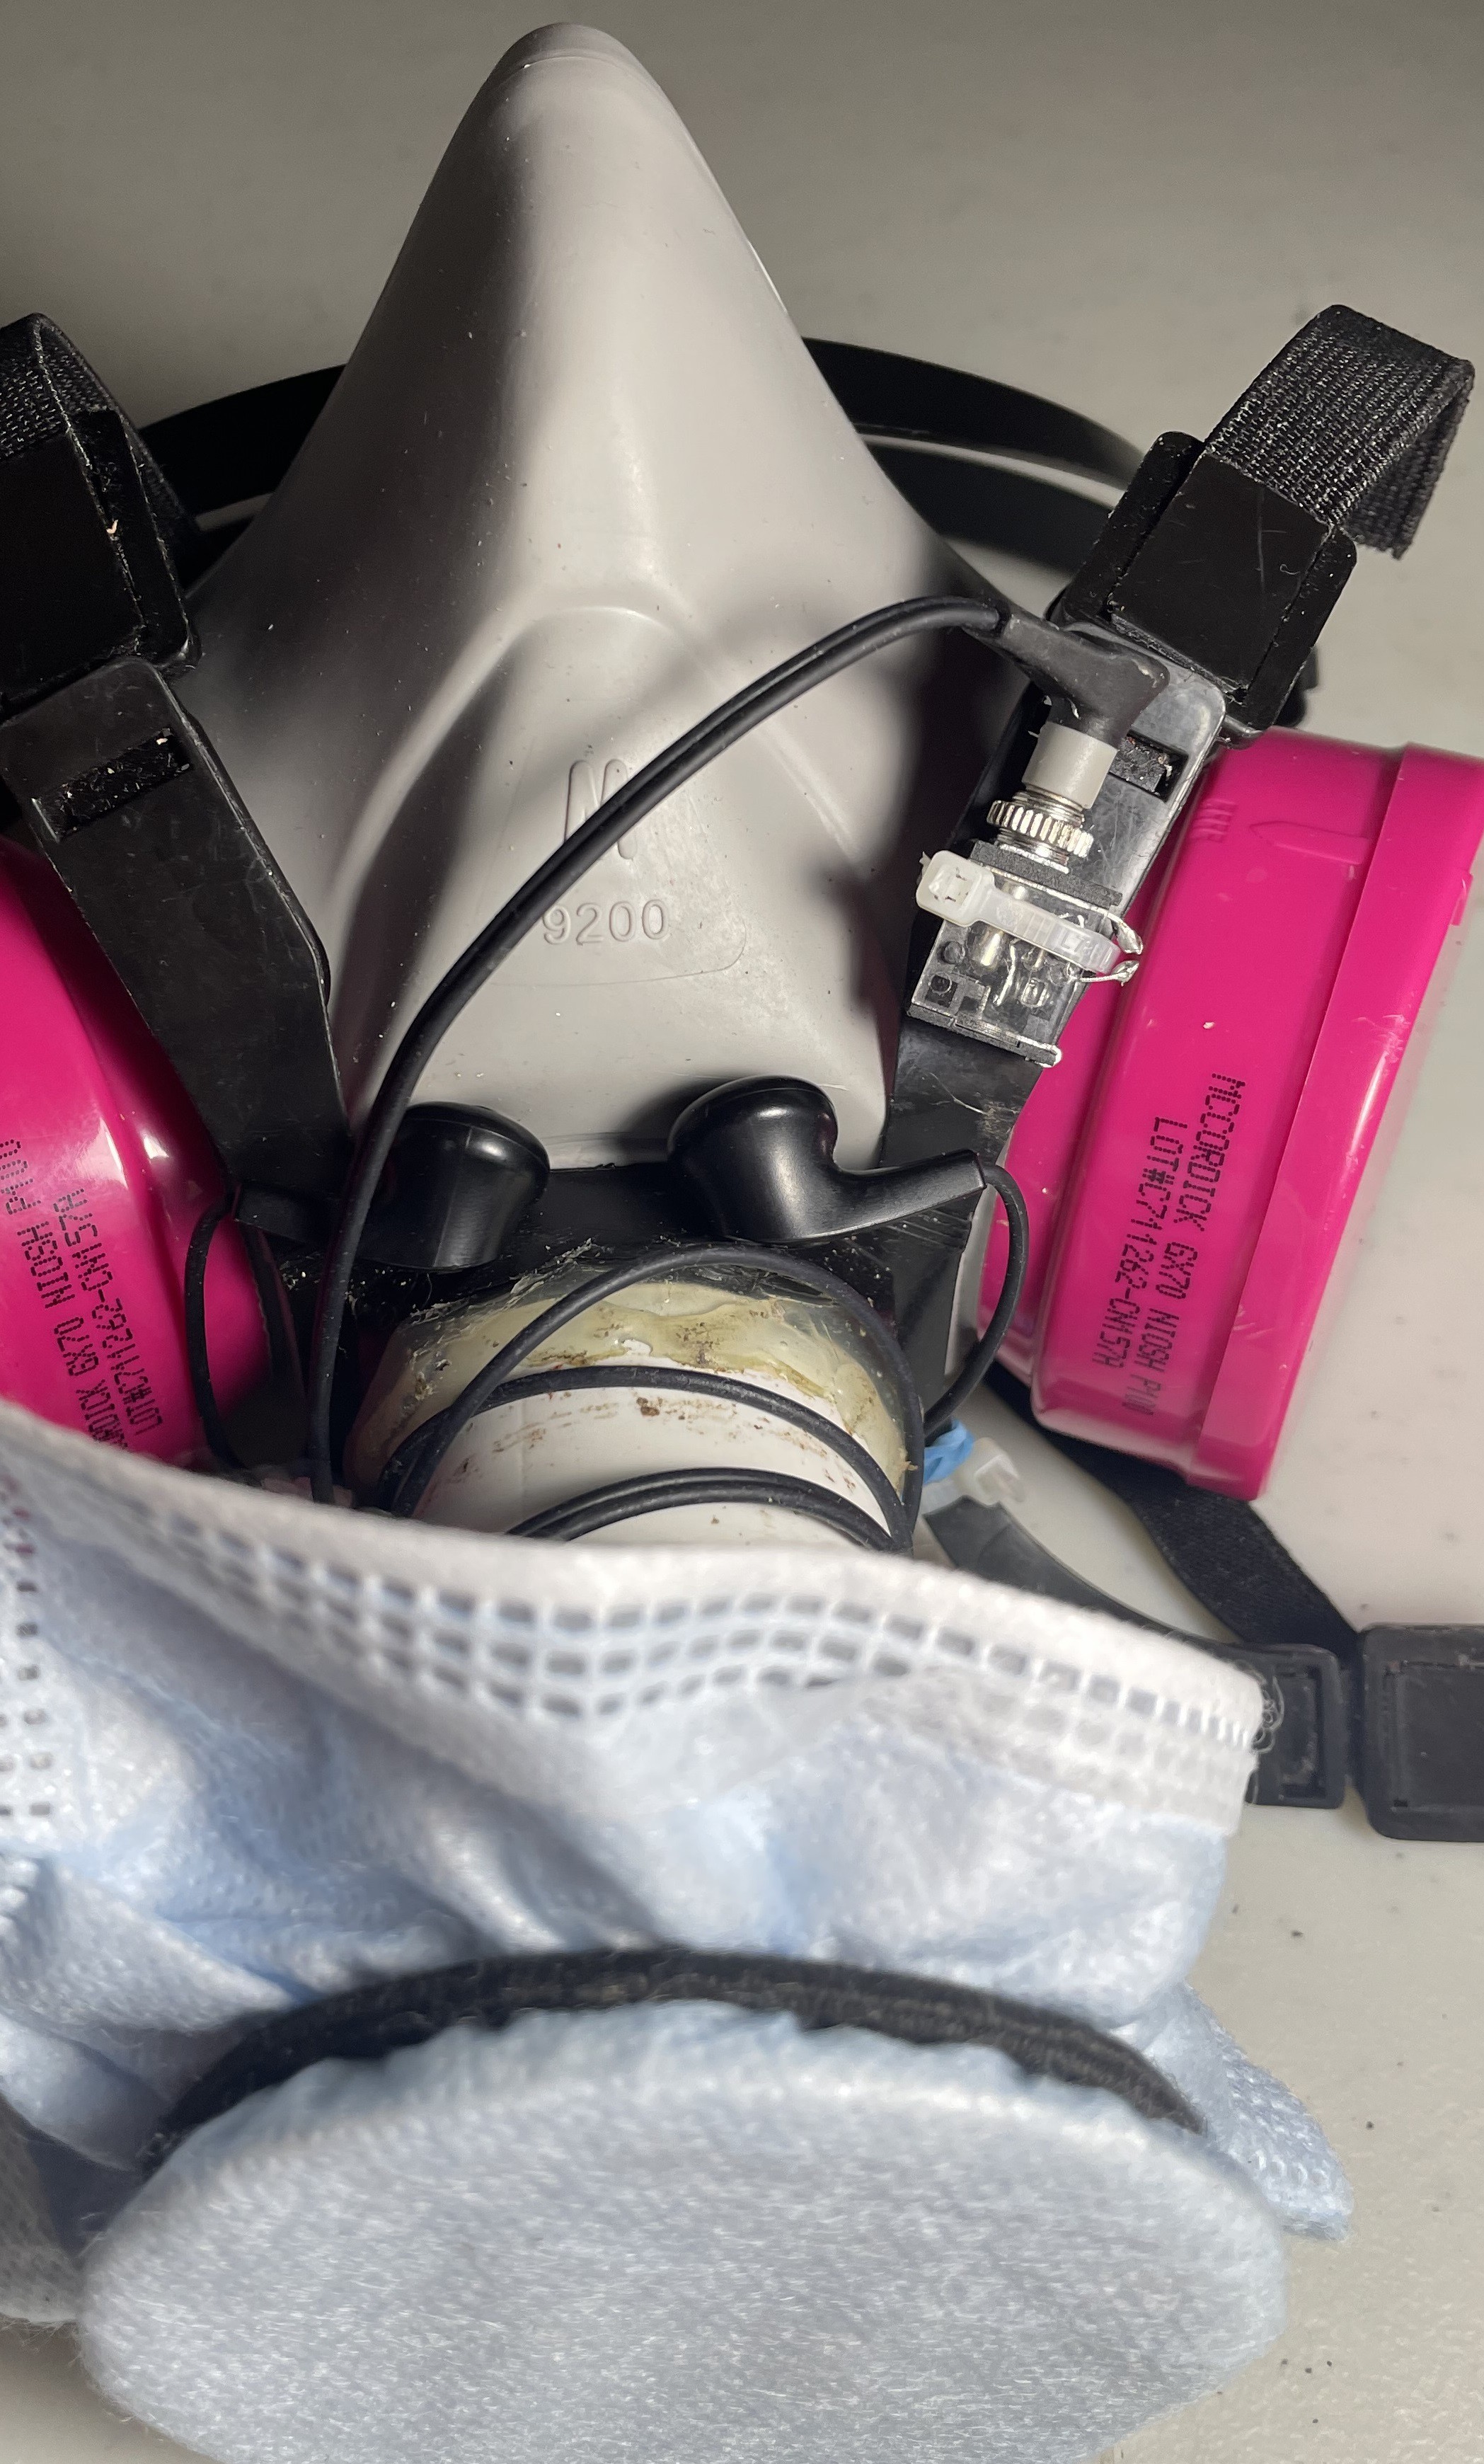
Here is the finished renovation. During final assembly, the filter holder was pared down a bit at the base to provide improved clearance for the earbuds, using an Olfa knife. A new feature was added: a mono mini jack was zip-tied to the mask to provide a convenient place to park the end of the earbud cable when not in use. The stem of the filter holder acts as a bobbin for winding up the cable. Not visible: a notch was filed into the far side of the plastic below the jack to provide a place to seat the zip tie so that it does not slip. Not shown: attaching the strain-relief elastics. The only change there is that there will be no elastic on the plug.
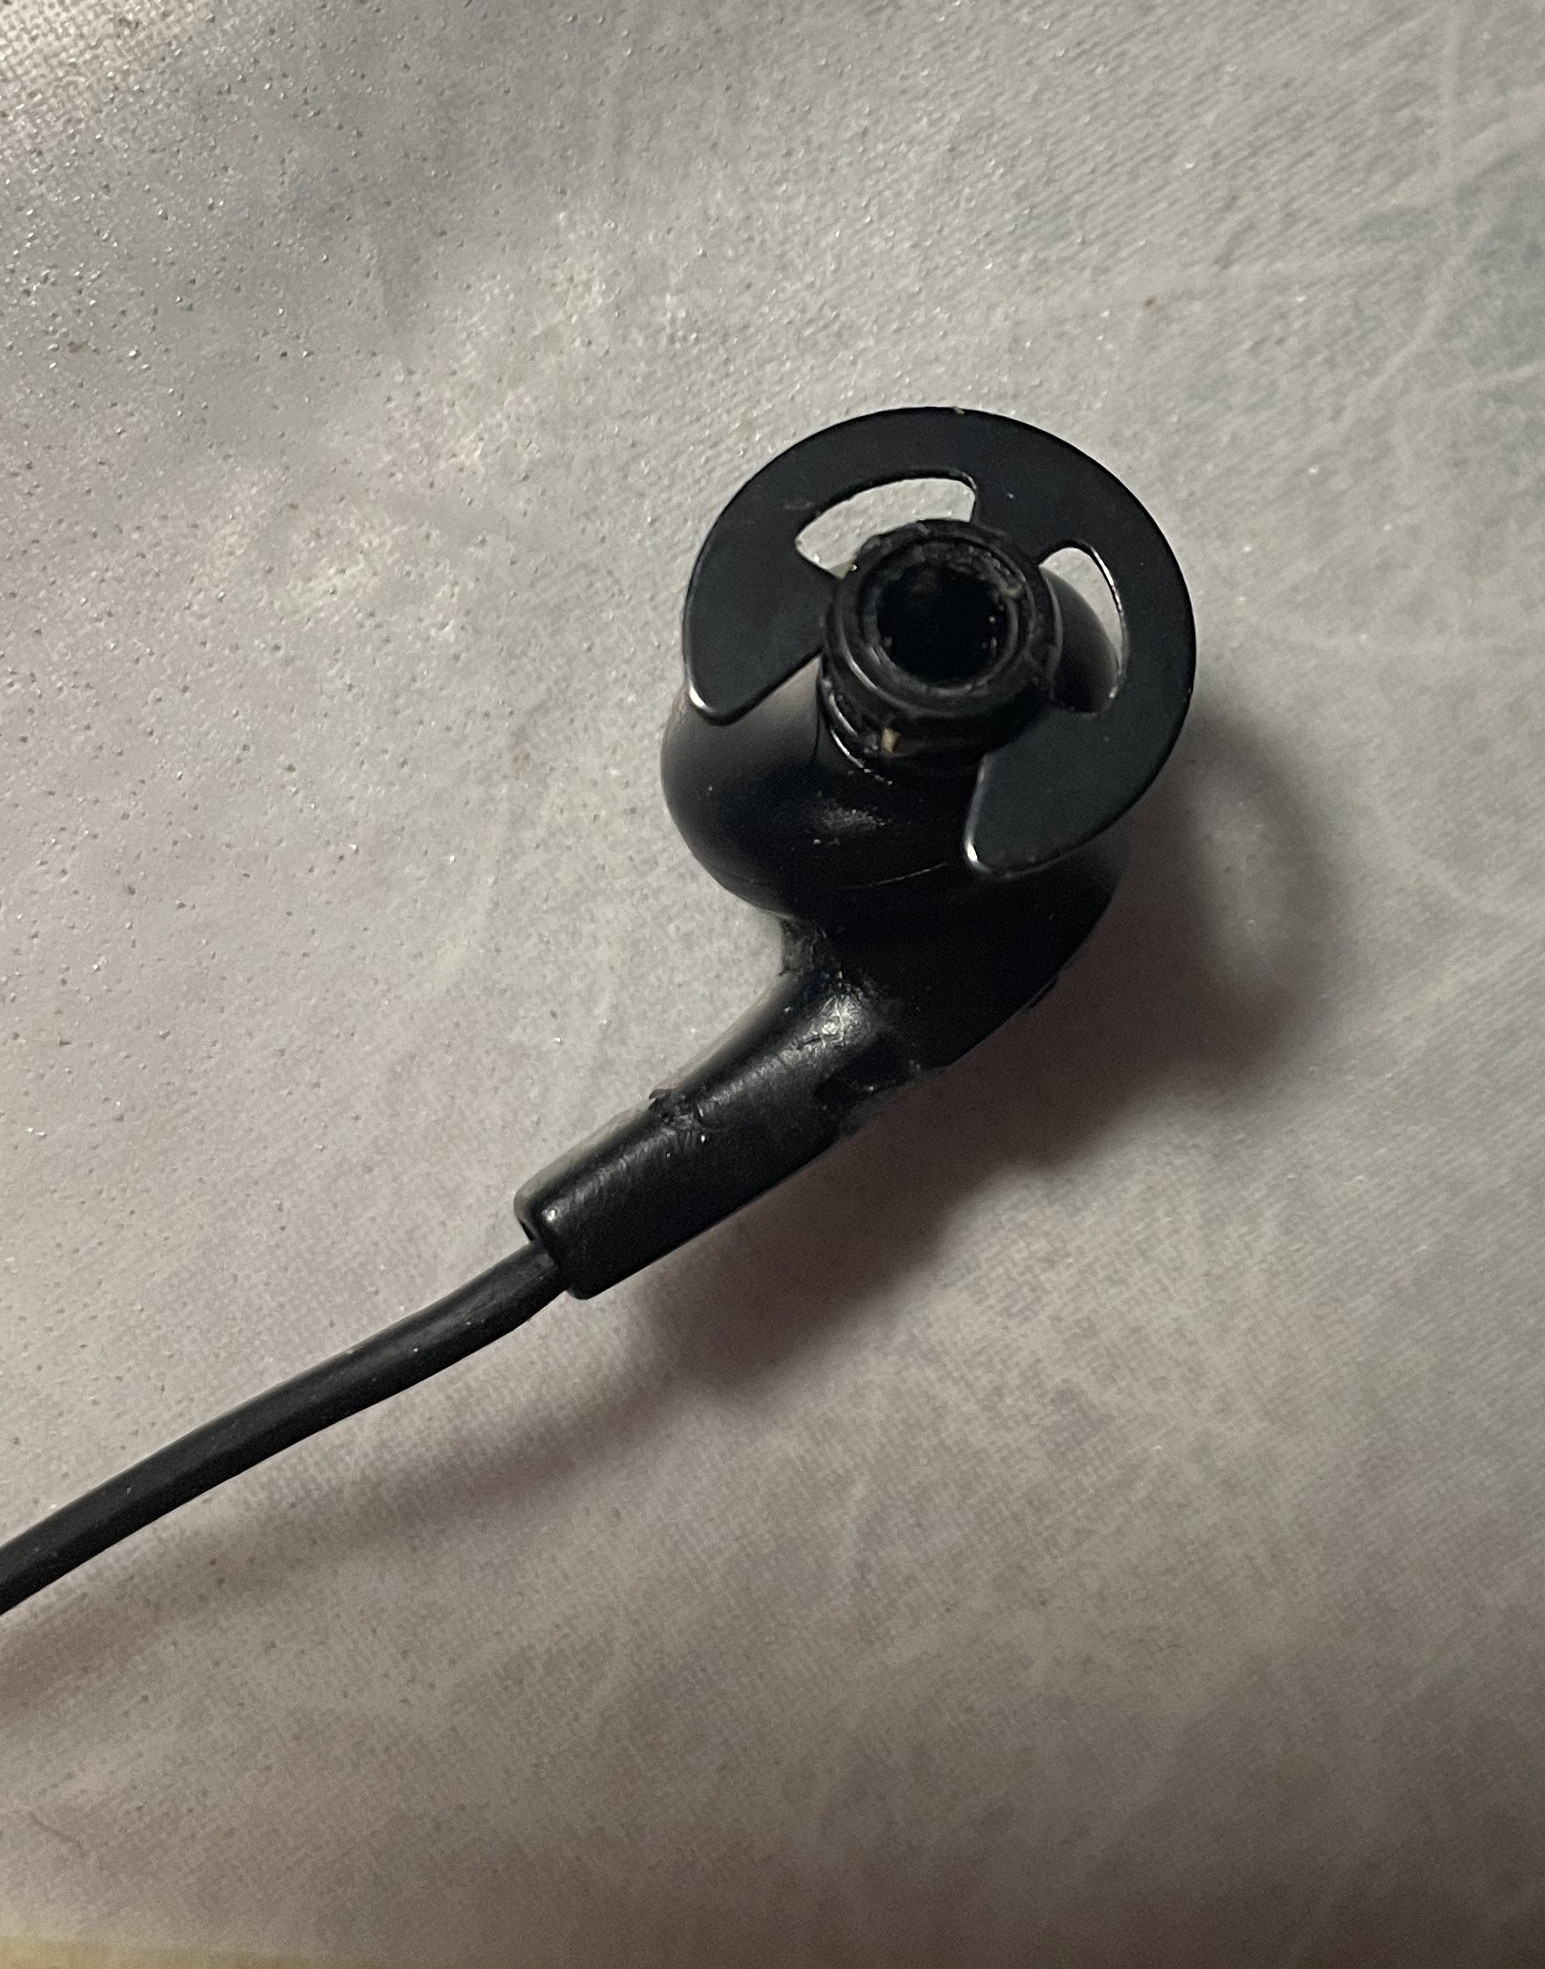
Something to try: use a 5/32” dia. E-clip applied on the inside of the mask to stabilize an elastomer-only mount of the earbud. The earbud stems appear to have the necessary grooves already. The final picture shows an earbud with an E-clip attached. (The E-clip fits 13/64" dia. and the earbud groove has been fattened up to make it fit using a piece of 3/16" OD dia. brass tubing 1/16" long and opened with wire cutters.)
Discussions
Become a Hackaday.io Member
Create an account to leave a comment. Already have an account? Log In.